To beat Locomotress Agne in Mina the Hollower consistently, use a high‑damage hammer build with Wis‑focused Wisps, auto‑heal vials, extra revival/HP relics, then play ultra‑aggressive with charged hammer hits and instant follow‑ups while learning the train‑line patterns to stay on her and end the fight fast.
Understanding Locomotress Agne’s fight shape
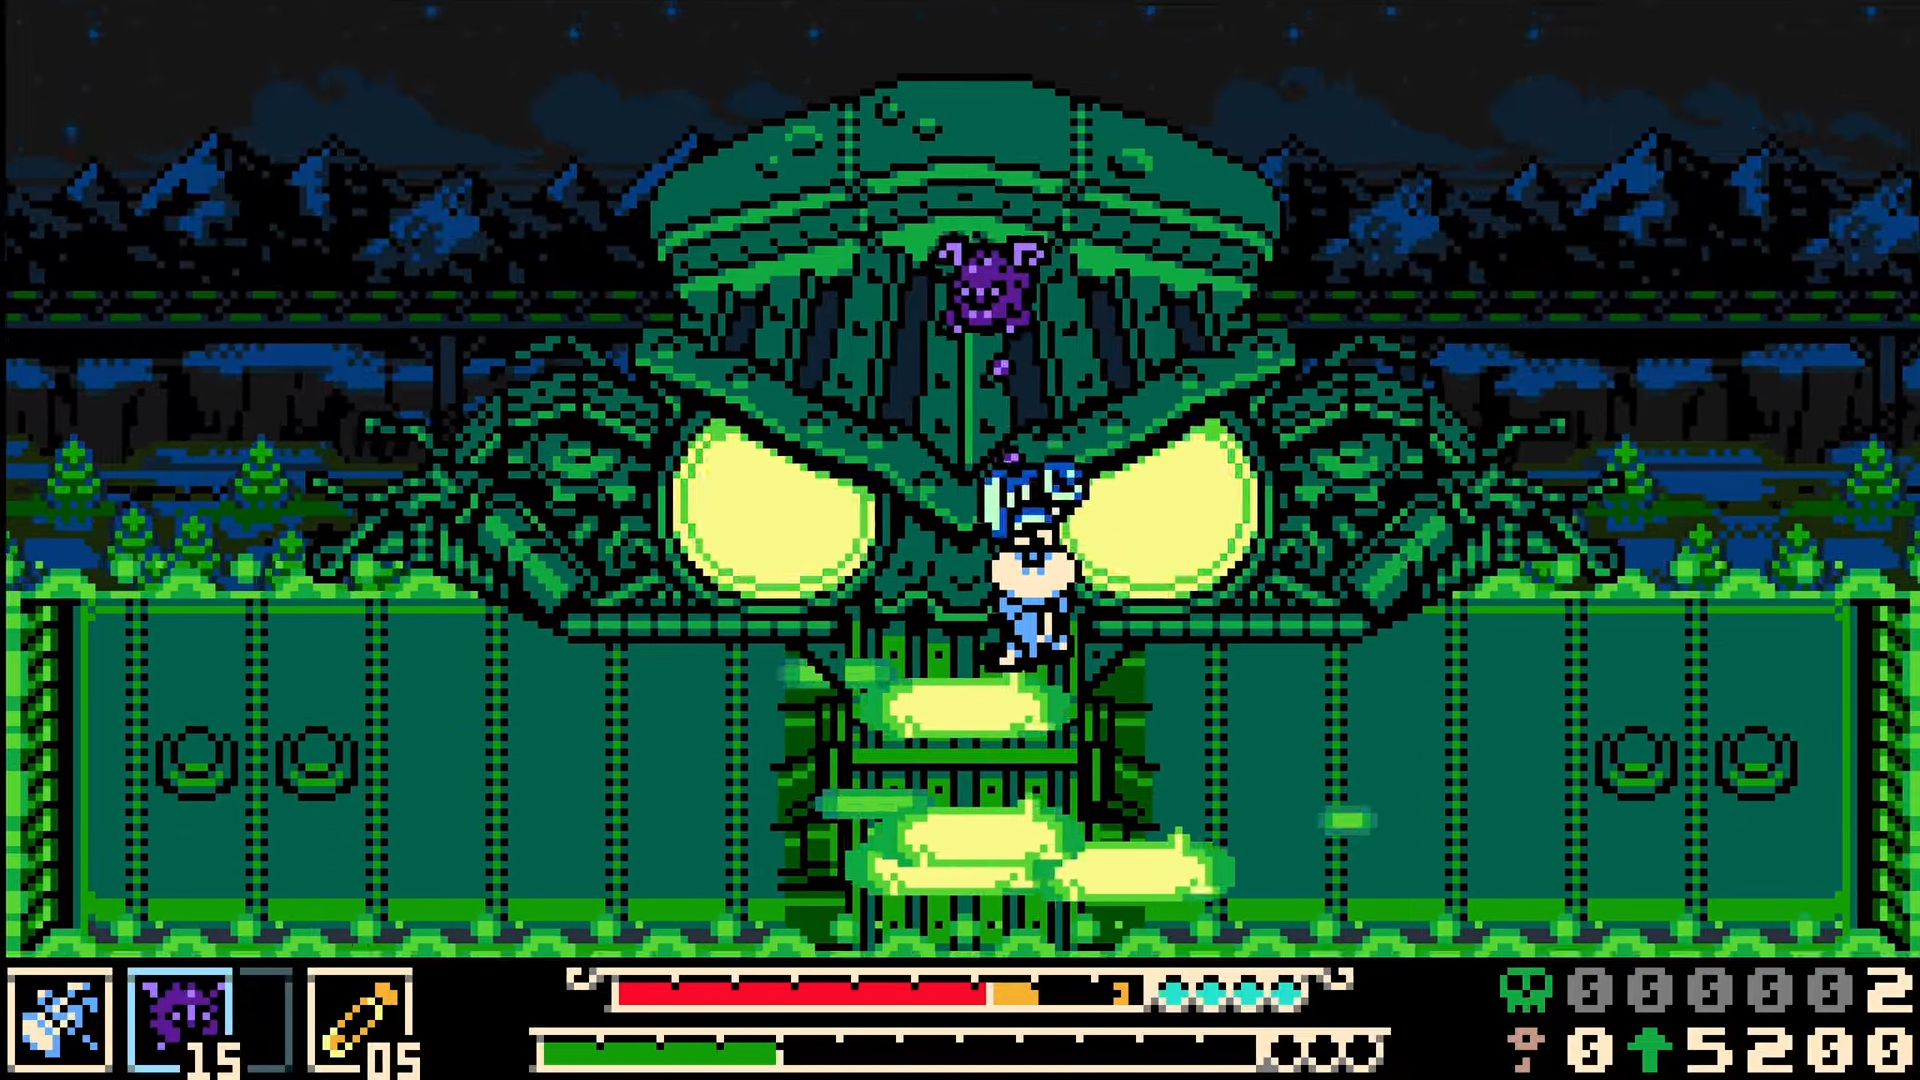
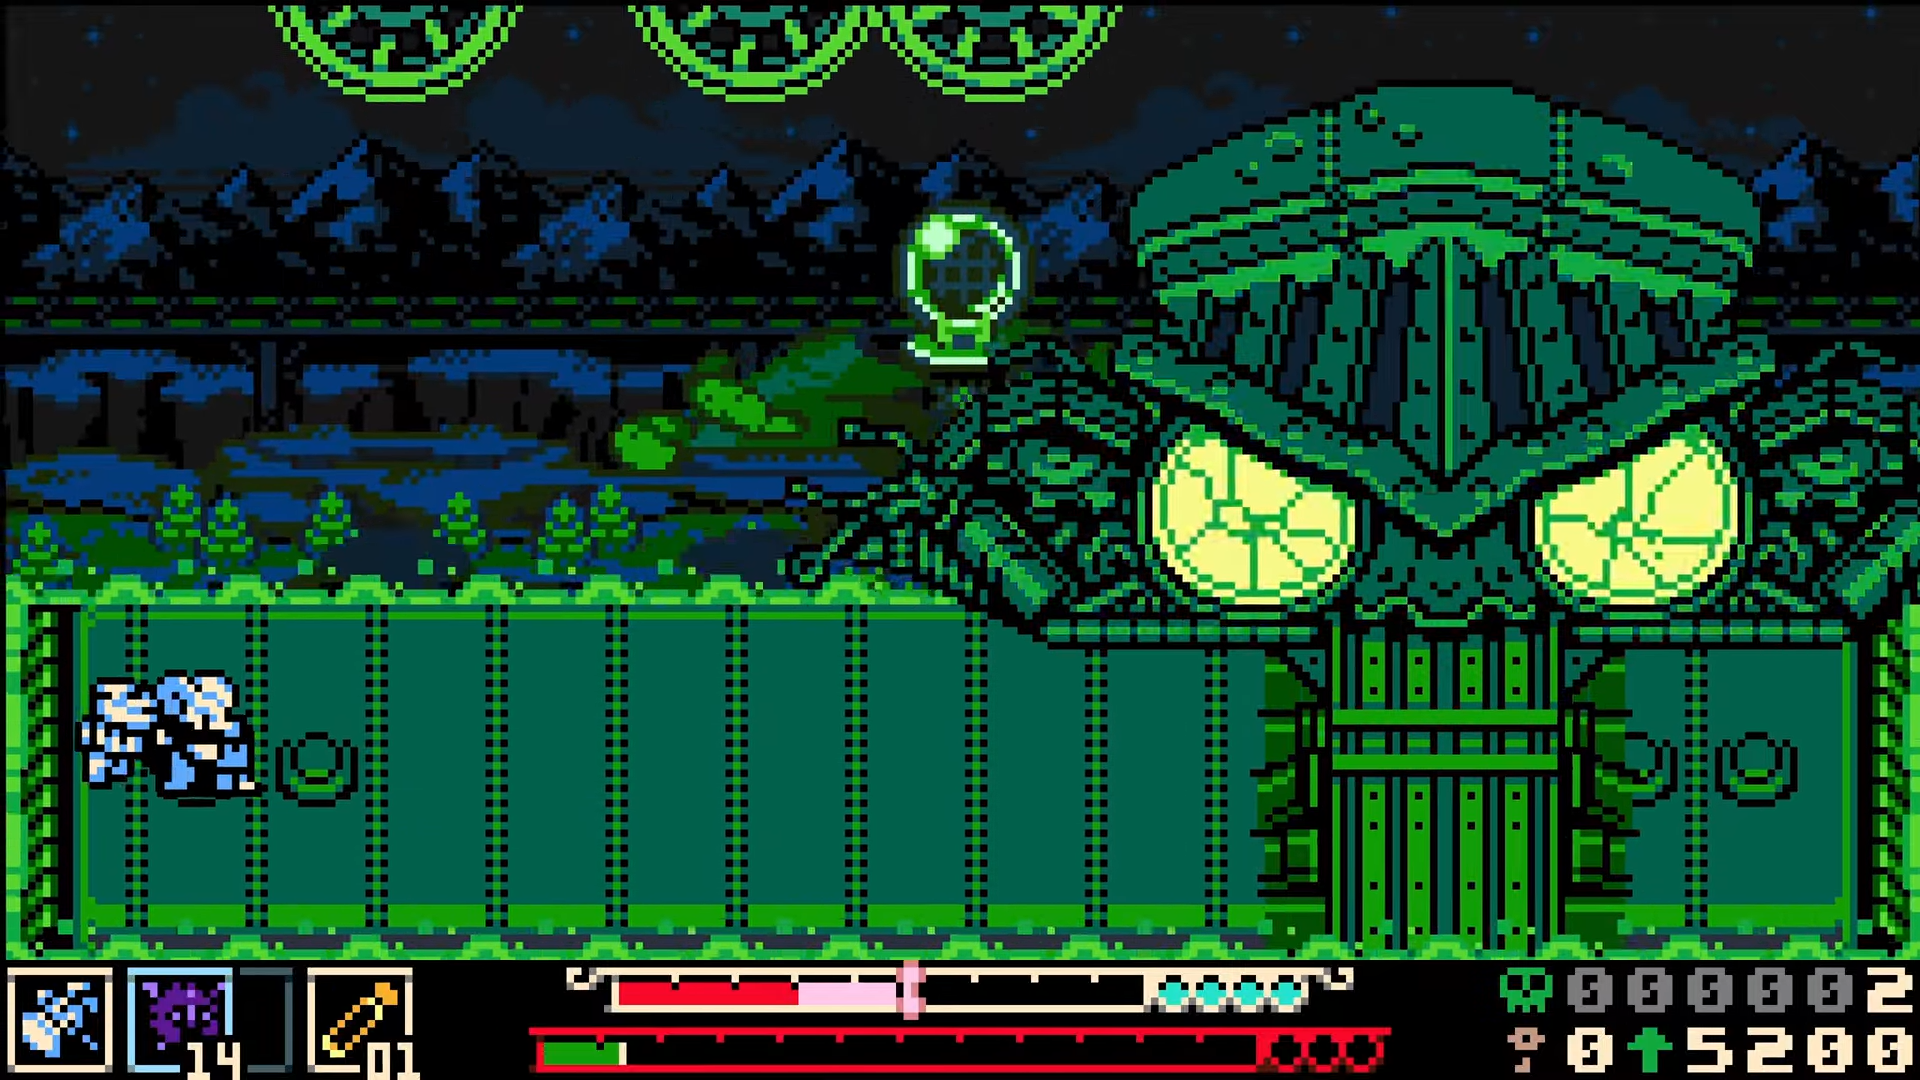
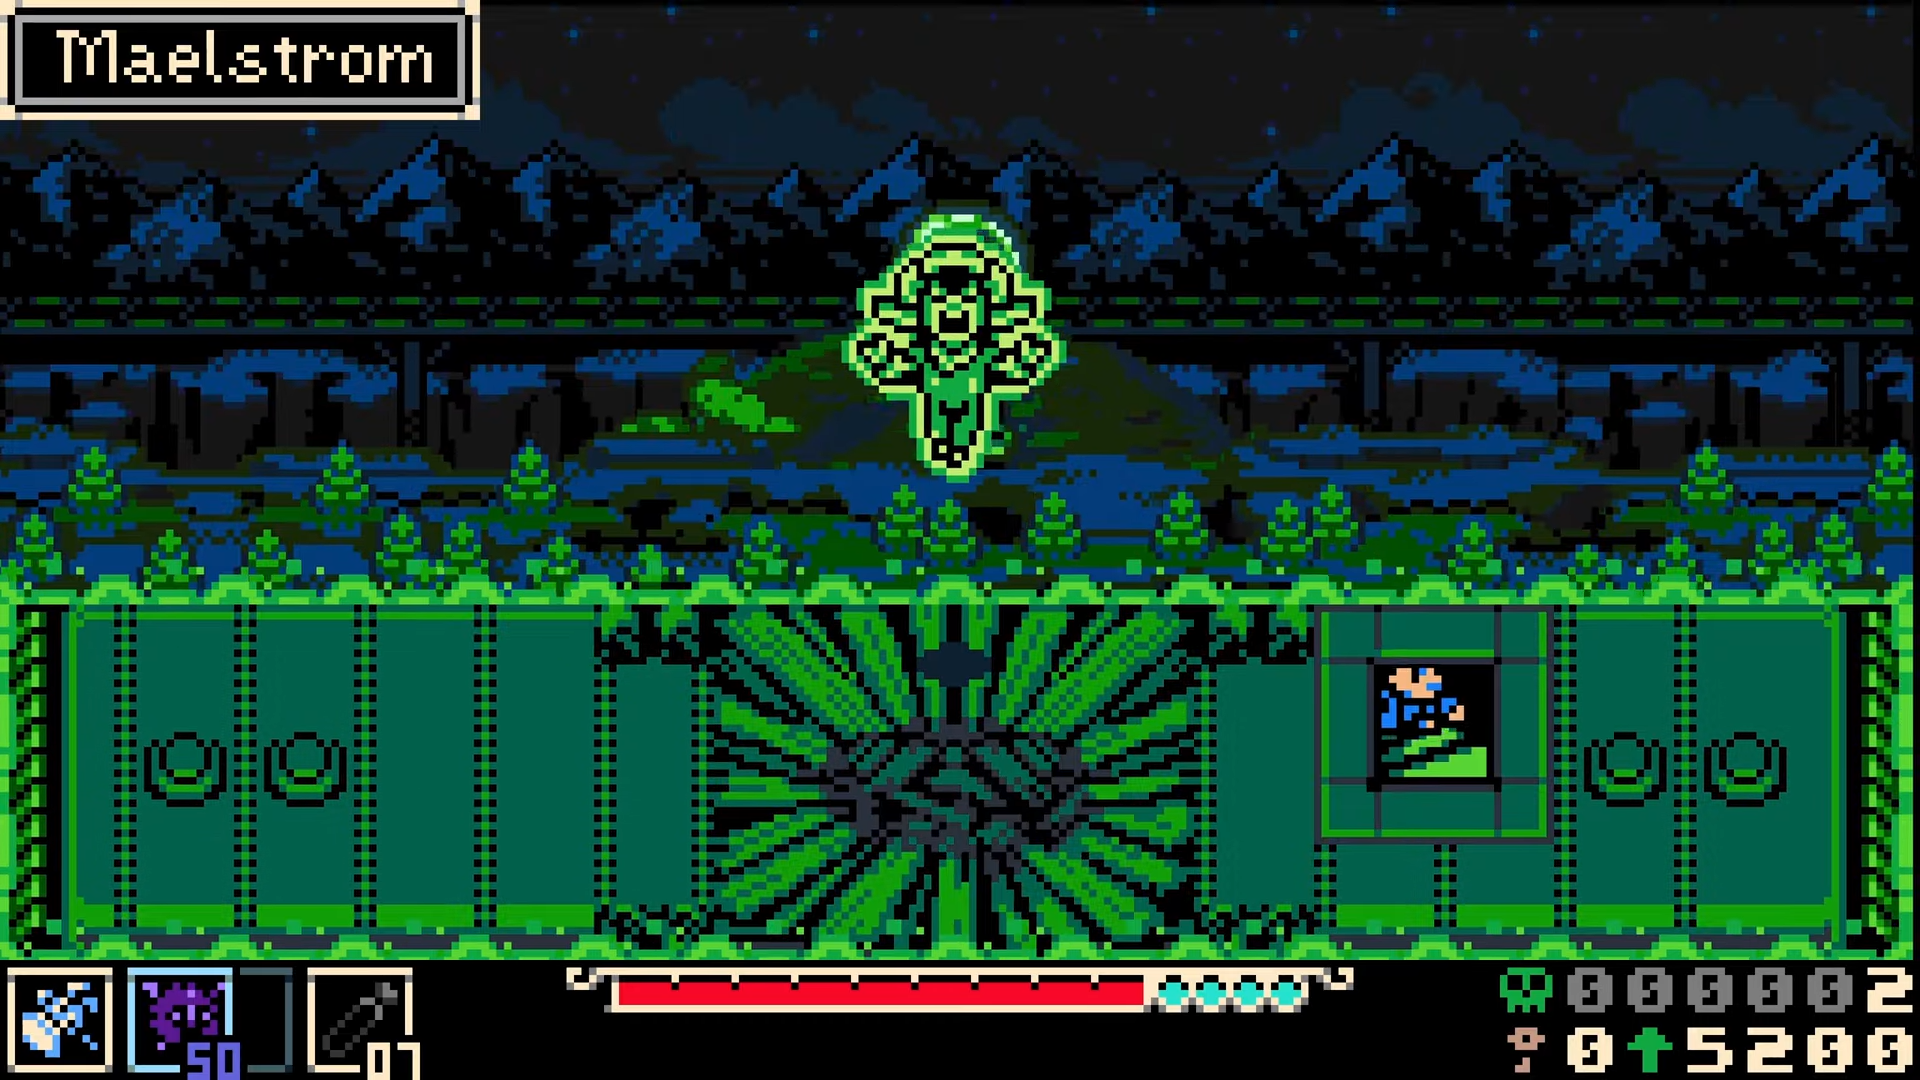
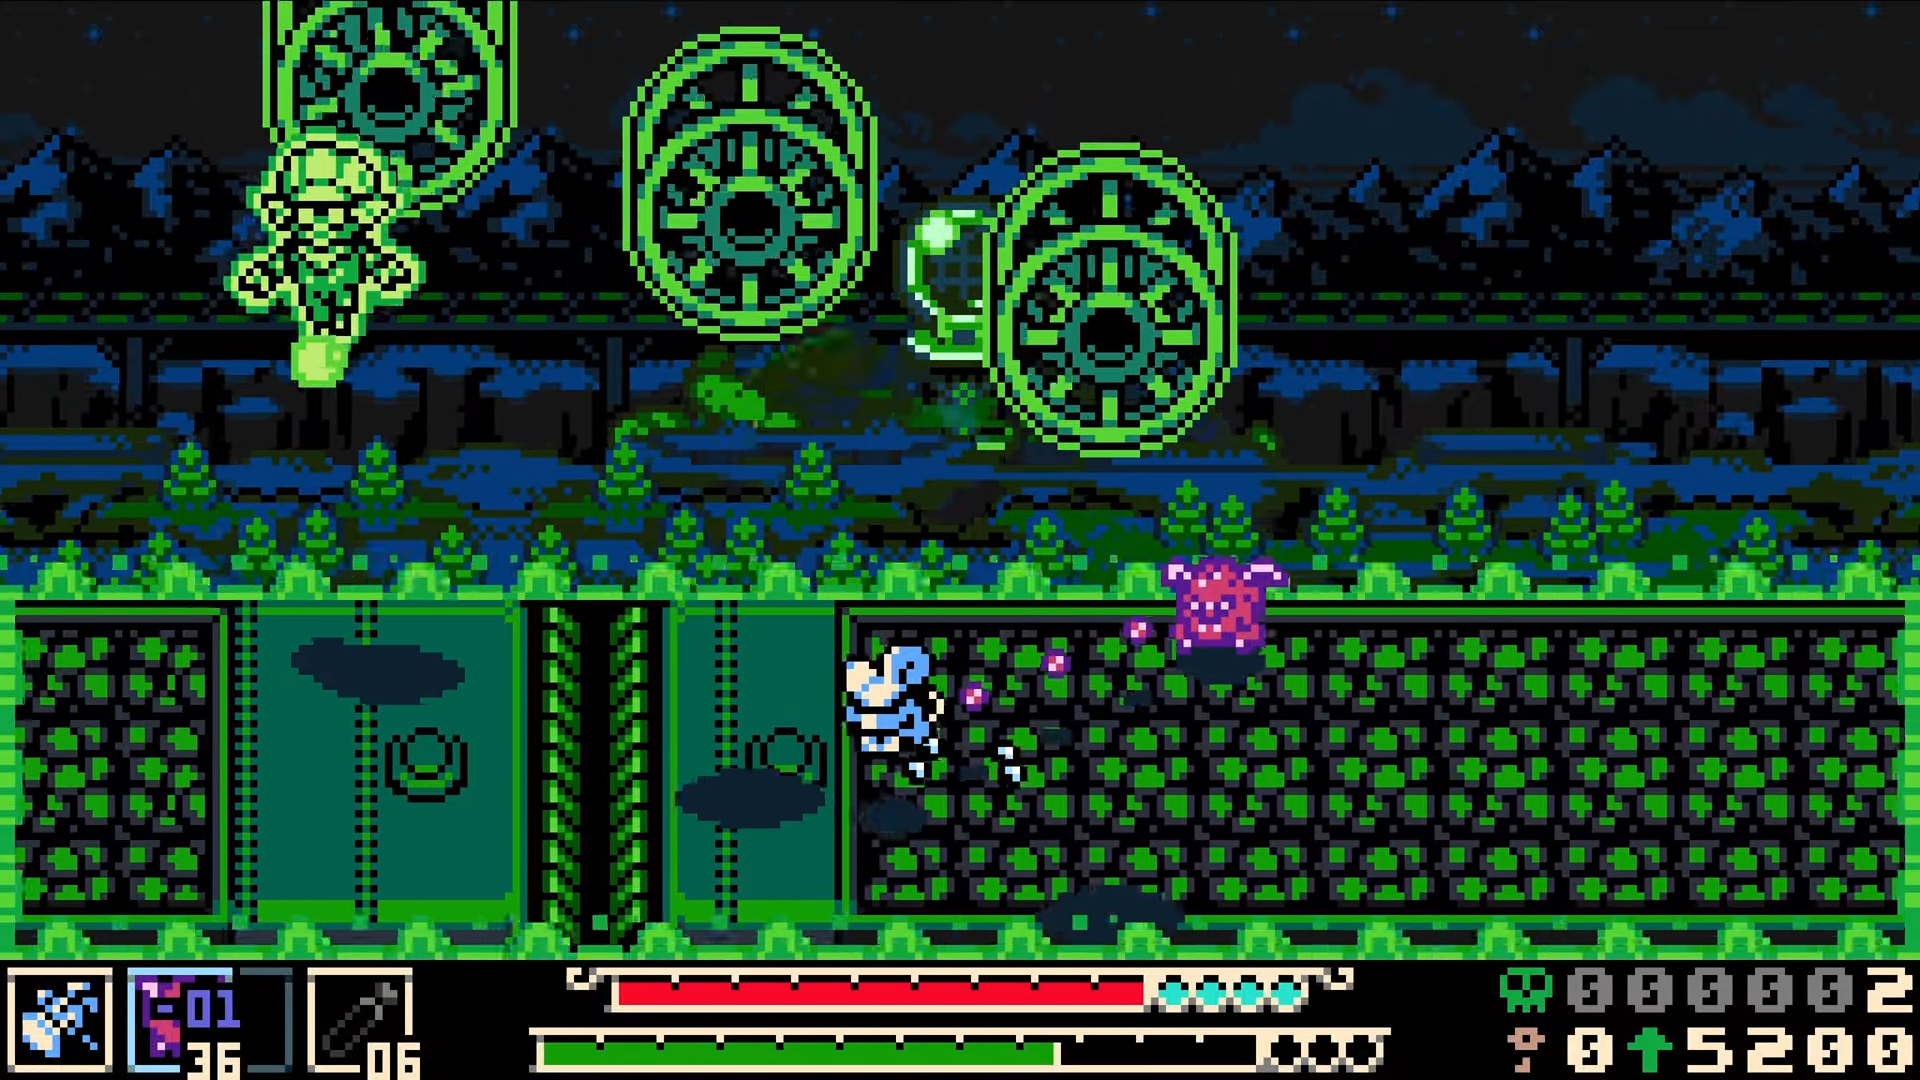
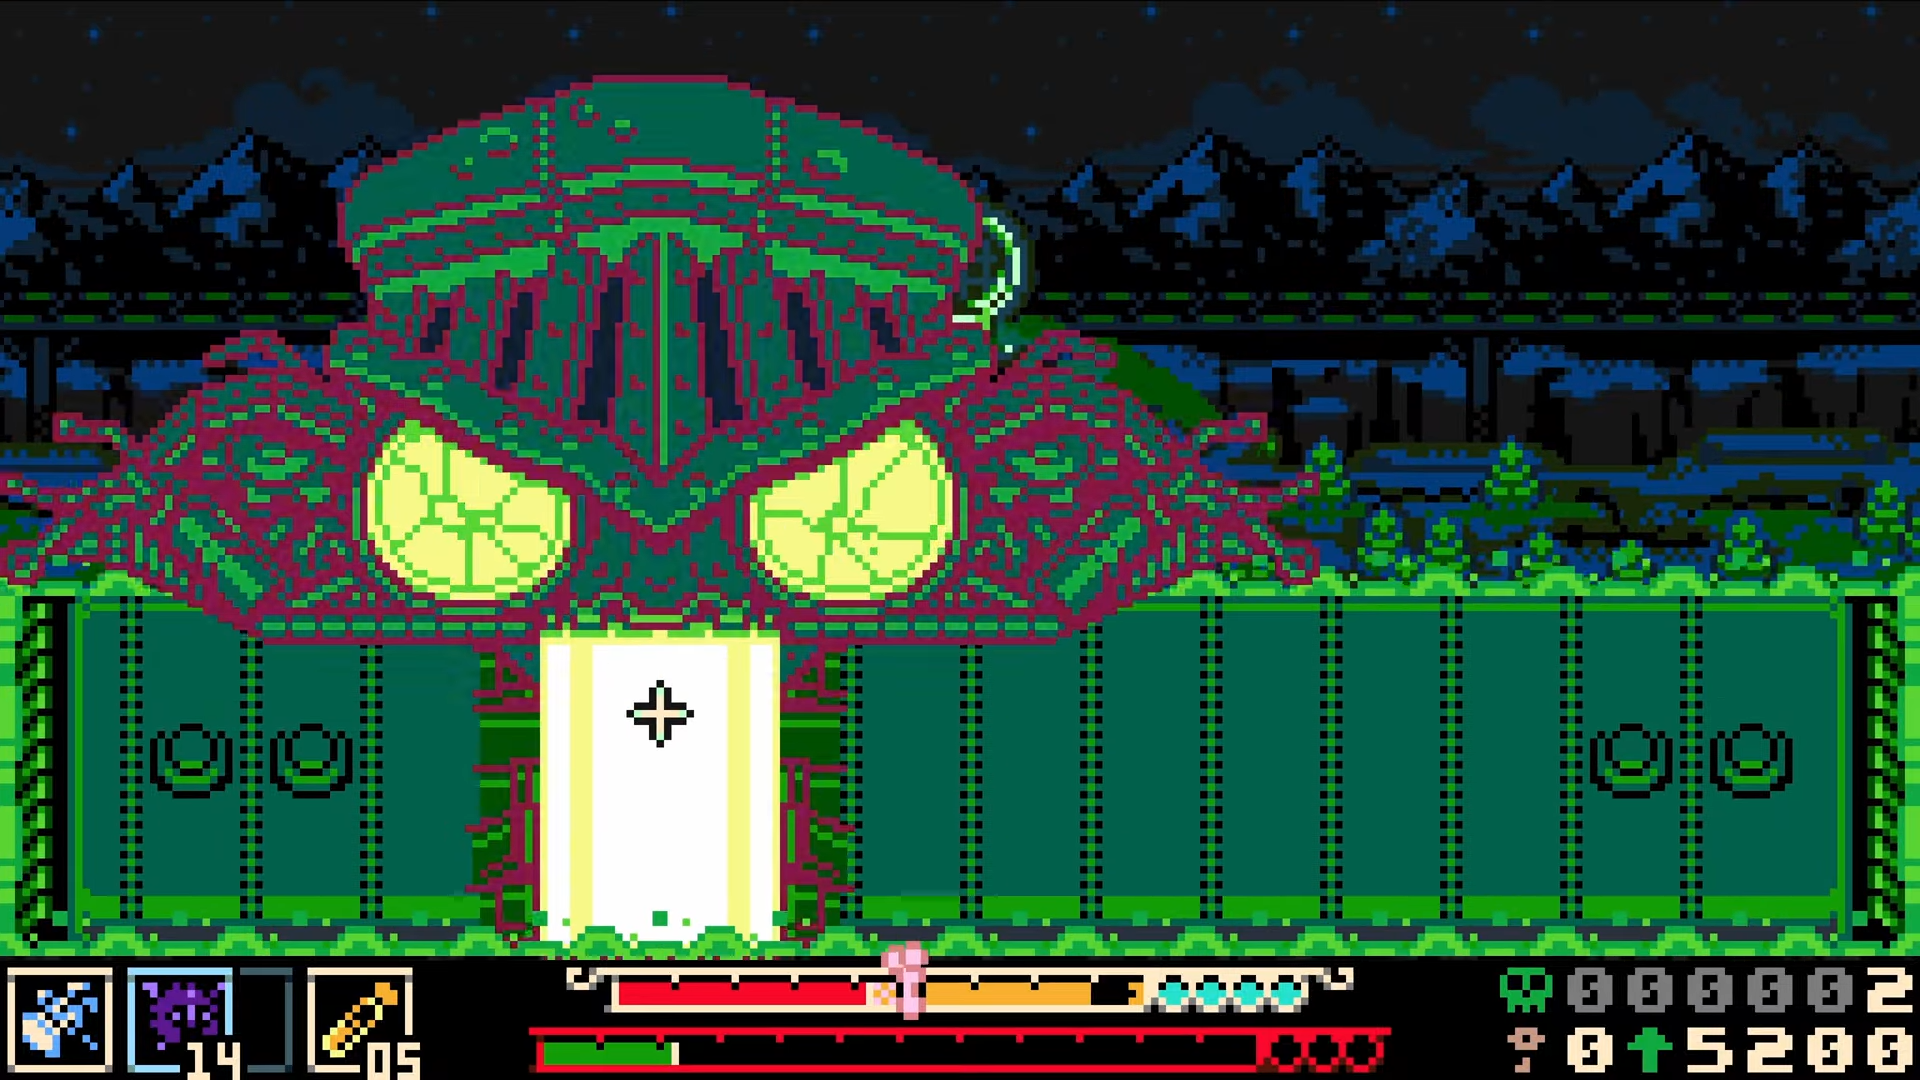
Locomotress Agne is a late‑game style boss in Coltrane Peak that keeps moving and tries to run you over with train‑line attacks and fast repositioning, so you rarely get long, safe windows. The fight is designed more like a sustained DPS race than a delicate pattern‑dance: as long as you can survive a few hits, piling on huge burst damage ends it quickly.
That’s why high‑Wis builds and heavy weapons shine here: Wis‑scaling damage lets your charged hammer attacks chunk her health bar so much that a single clean phase burns through large portions of the fight.
Recommended build for Locomotress Agne
Focus on three pillars: damage, automatic survivability, and forgiveness when you make mistakes. This lets you stay glued to Agne instead of constantly backing off to heal.
-
Stats / overall focus
-
Stack Wis first to push your skill/weapon damage as high as possible, explicitly so the fight ends before attrition kills you.
-
Secondary stats are flexible; do not dilute into a tank build because your goal is shortening the encounter, not facetanking forever.
-
-
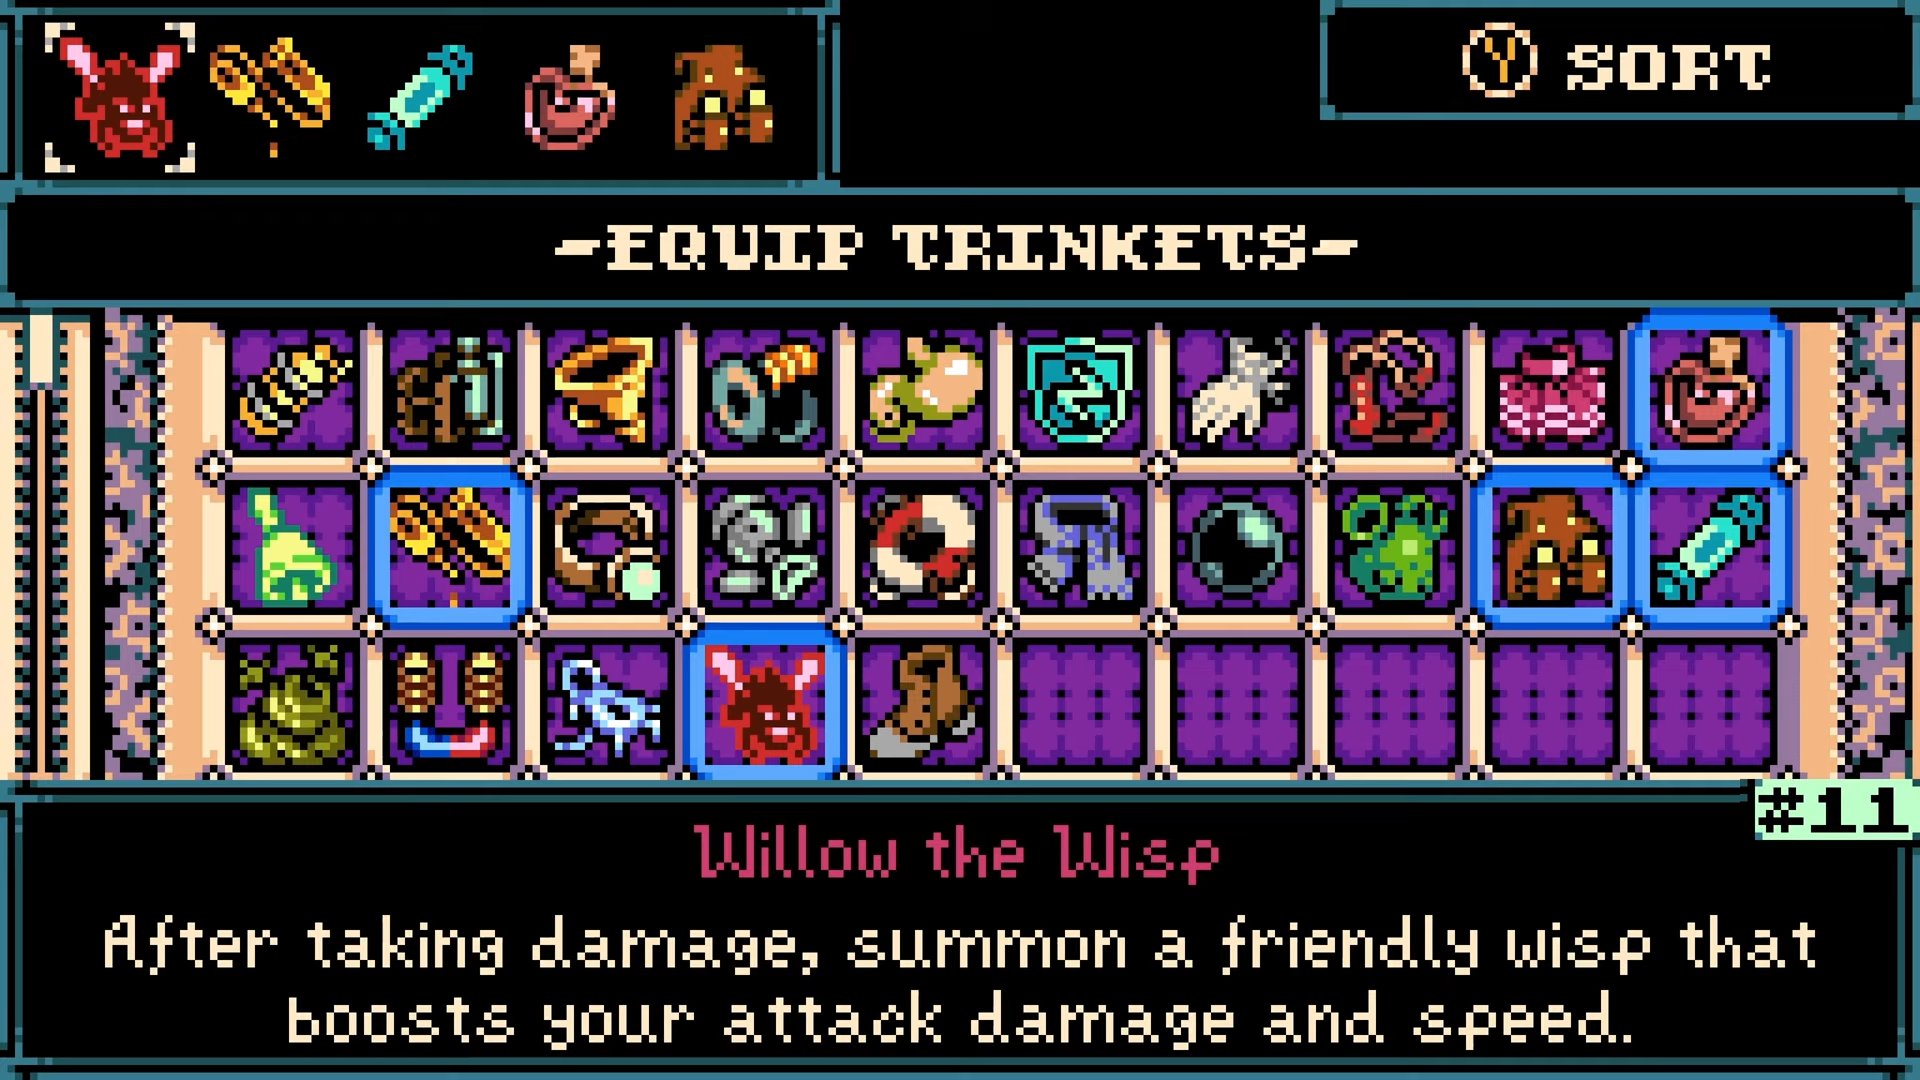
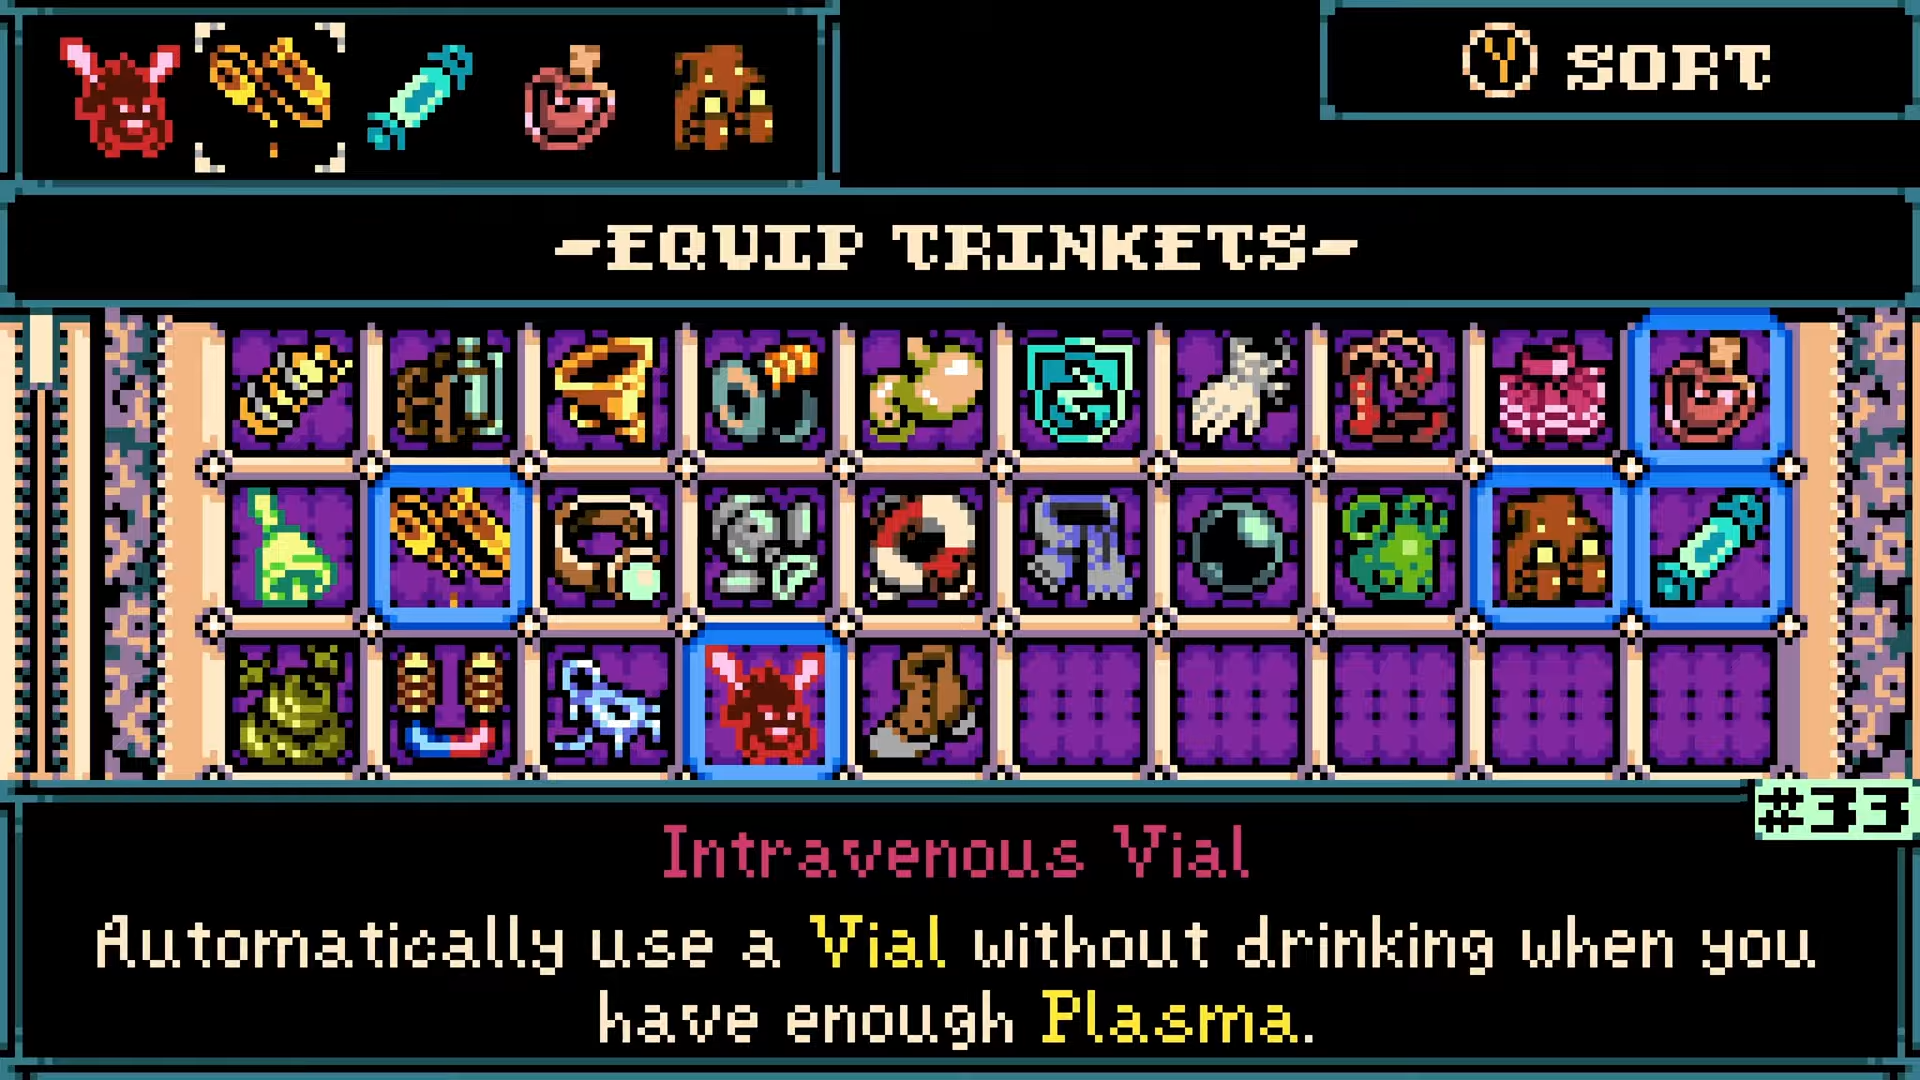
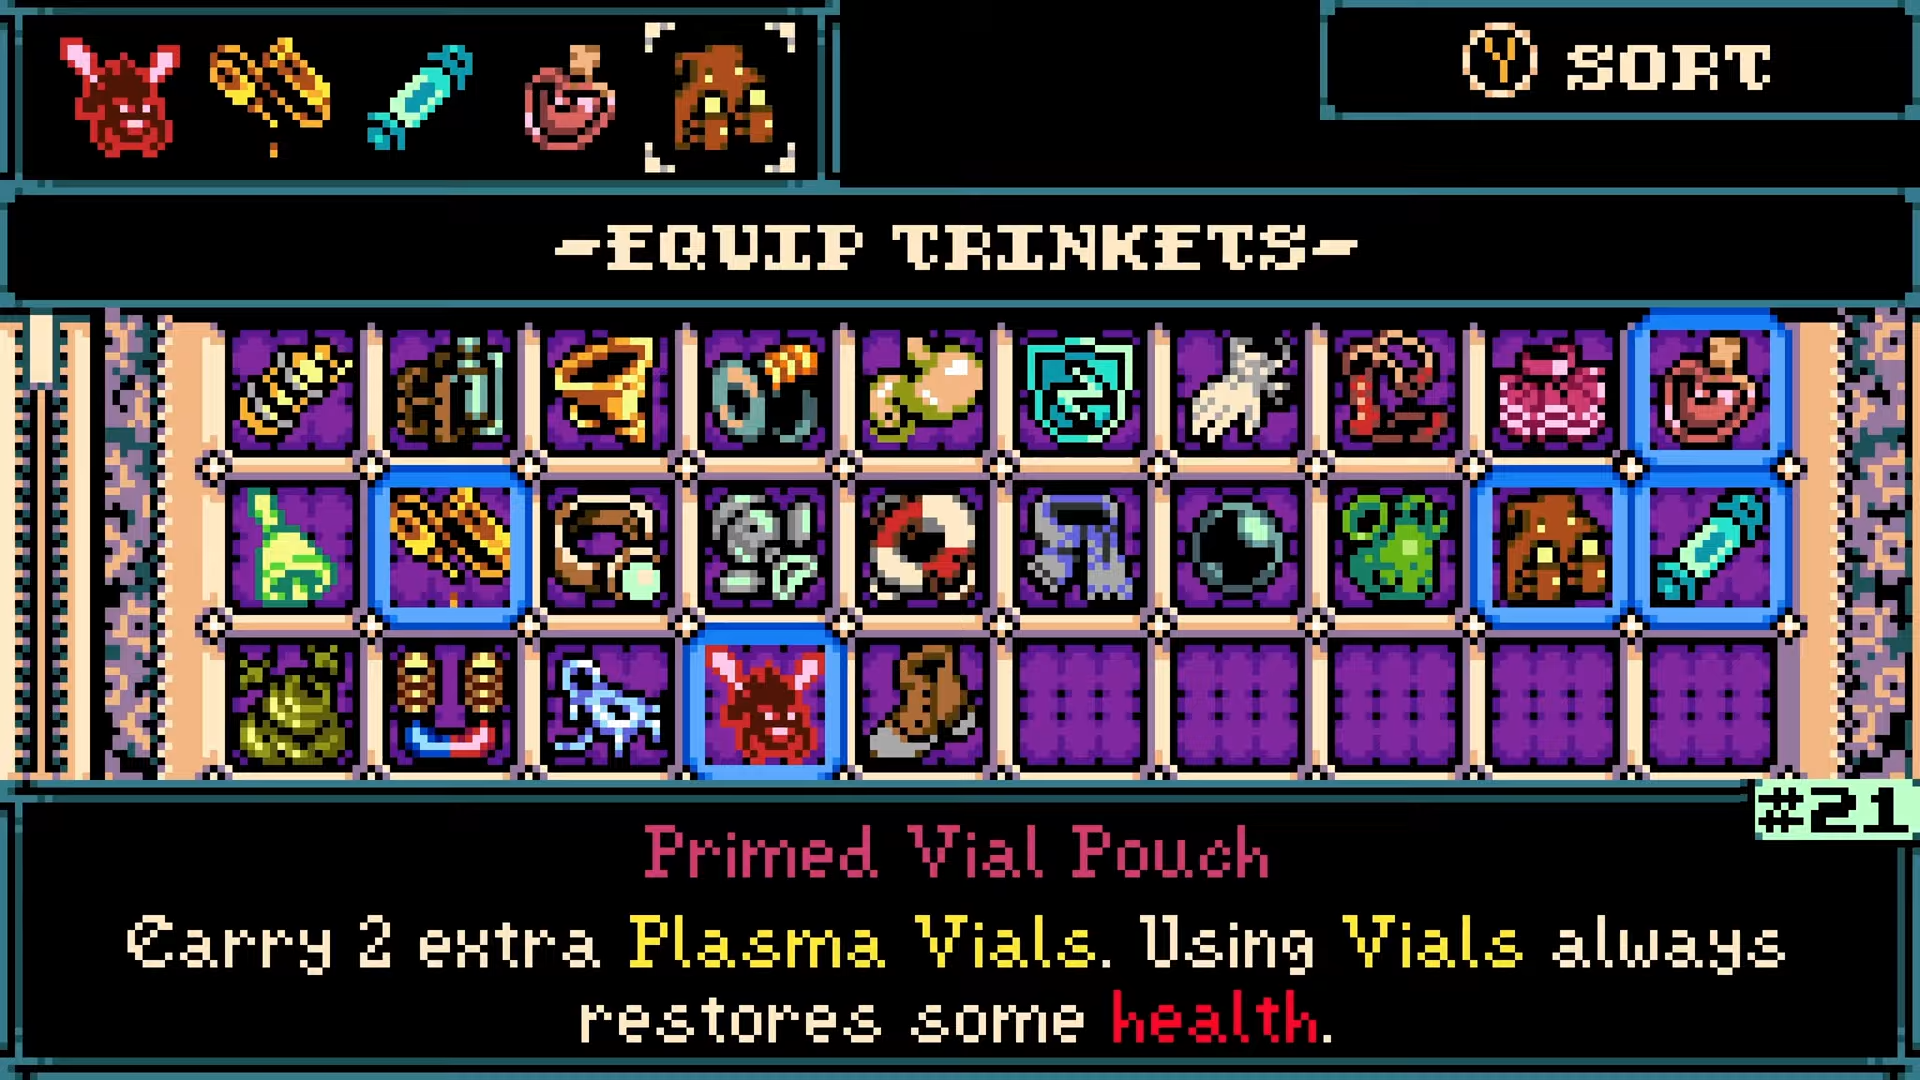
Core relics / Wisps
-
A damage‑boosting Wisp (similar to the Will‑o‑the‑Wisp used in other boss builds) as your primary slot to juice all attacks.
-
-
-
An auto‑use vial effect so your health refills automatically when low, letting you tunnel vision on spacing and heavy attacks instead of menuing.
-
-
-
A revival‑like or extra‑life relic (such as protospark‑style effects used on other bosses) to give you one “oops” moment without resetting.
-
A damage‑reduction or defensive syrup that reduces incoming hits so you can afford to eat a few mistakes while you keep swinging.
-
Extra vial capacity for more healing across the runback and fight, especially if you take chip damage on the way.
-
-
Armor / side gear
-
If you own the ghost‑themed side armor that boosts you heavily but can be lost on death, it is extremely powerful for this kind of brute‑force strategy, especially if you also have the upgrade that lets you keep it after dying.
-
-
Weapons
-
Primary: Hammer – charge it for heavy smash attacks that delete big chunks of Agne’s HP.
-
Secondary: Axe, if you’re comfortable, as a follow‑up from controller combo chains or for quick extra hits after a hammer swing.
-
How to beat Locomotress Agne (step‑by‑step)
Step 1: Enter with full vials and buffs ready
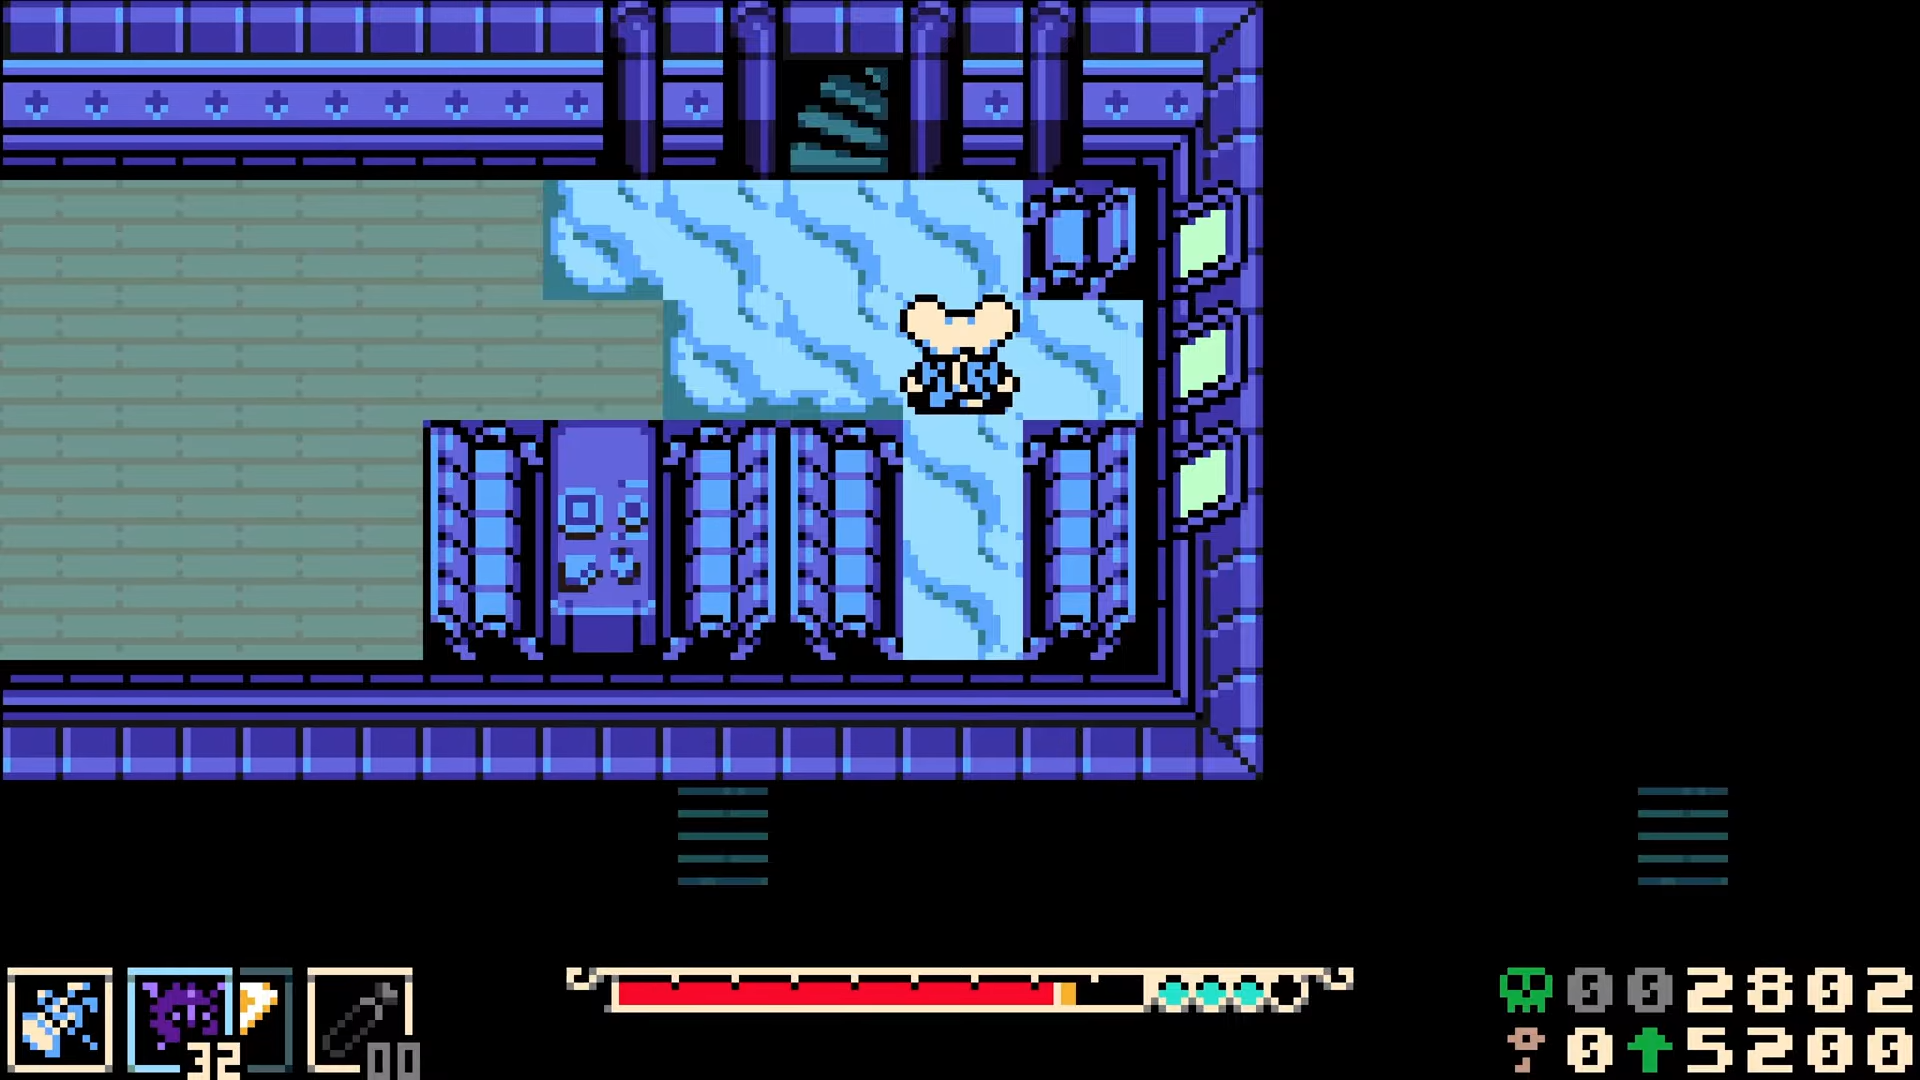
Before you step into the Locomotress Agne arena at Coltrane Peak, make sure all vials are full, your high‑Wis build is equipped, and all damage/survivability relics (auto‑vial, extra life, damage reduction) are active. This reduces the pain of the long runback if you do wipe.
Step 2: Open with a fully charged hammer hit
As soon as Agne becomes targetable, charge your hammer and position so the hit lands as she commits to an approach or post‑attack pause. The goal is to start the fight by shaving off a big slice of health, setting the tone that you’re trading big damage for limited risk.
Step 3: Chain follow‑up attacks aggressively
After any successful charged hammer hit, immediately follow up with quick swings or an Axe combo using your controller’s follow‑up input so you’re front‑loading damage. Stay right on top of her as long as she isn’t telegraphing a large punish move, because your build is tuned for DPS, not slow pokes.
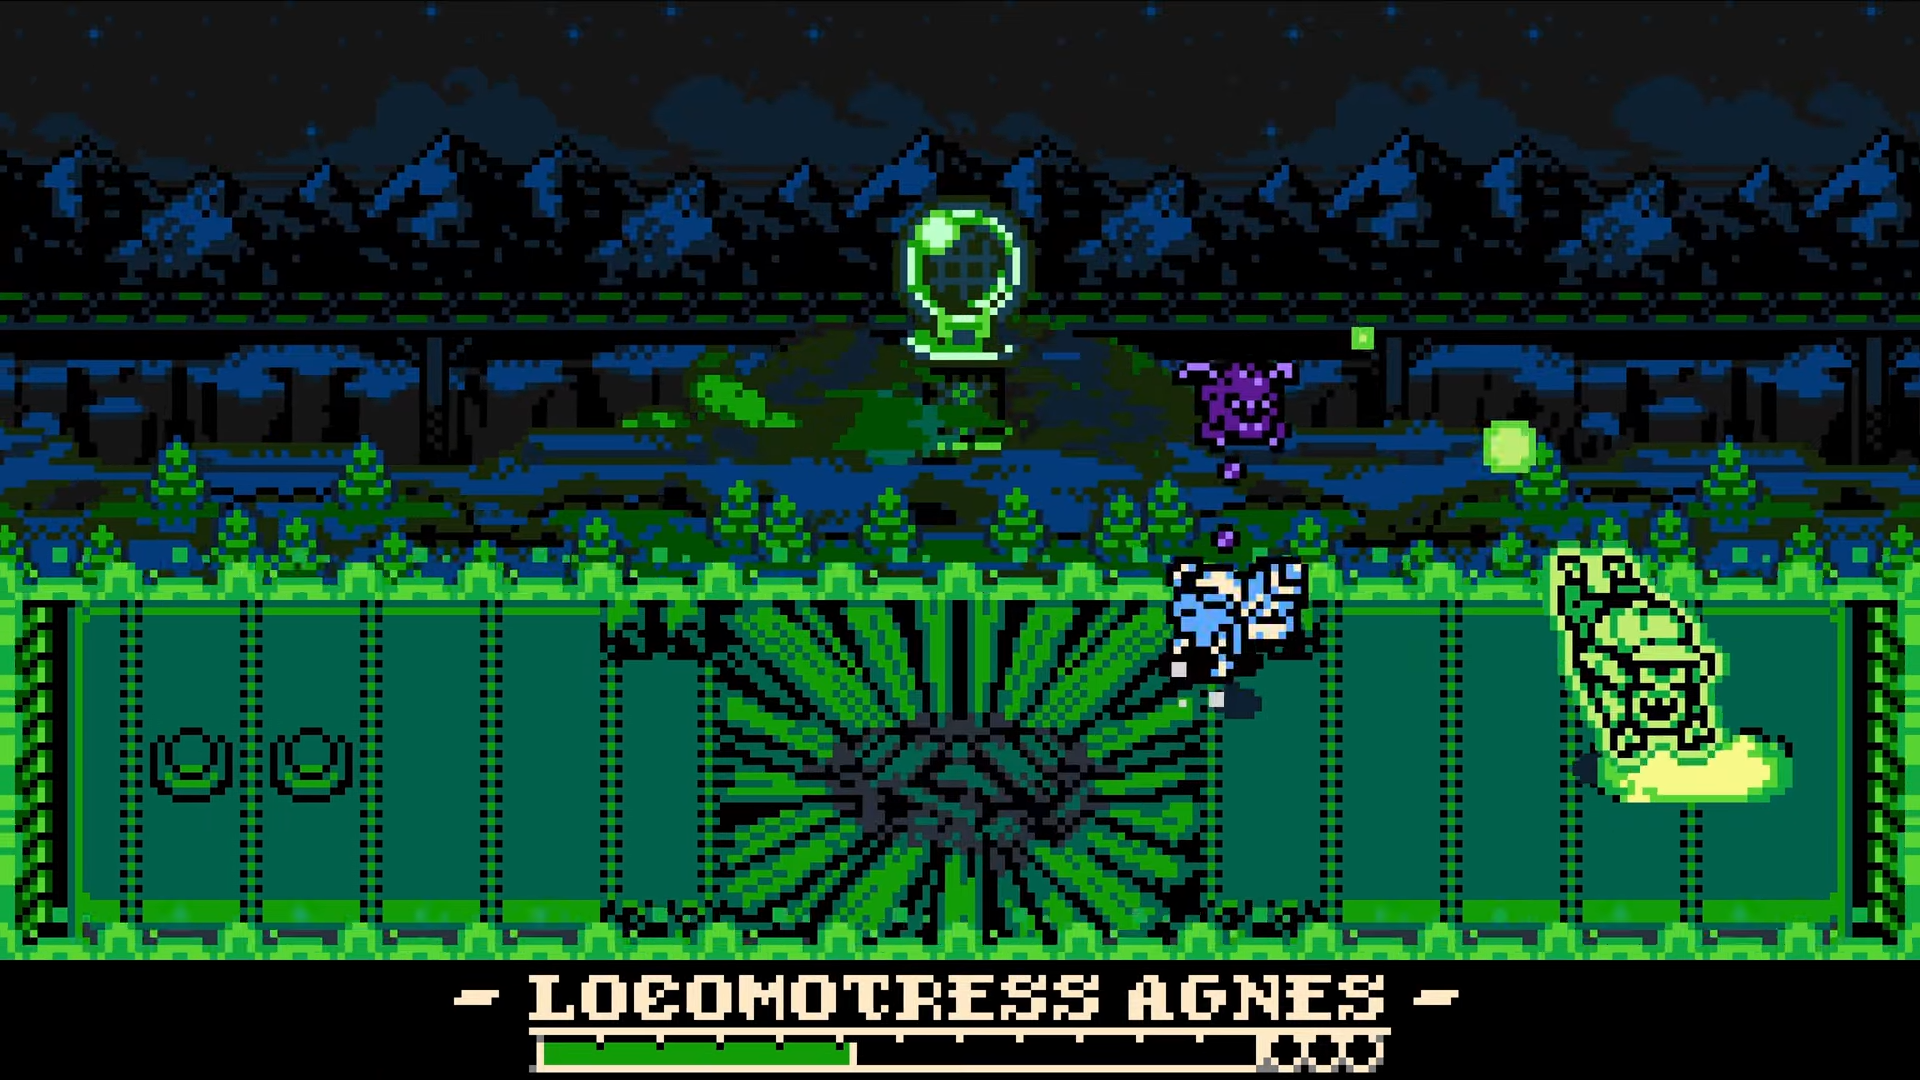
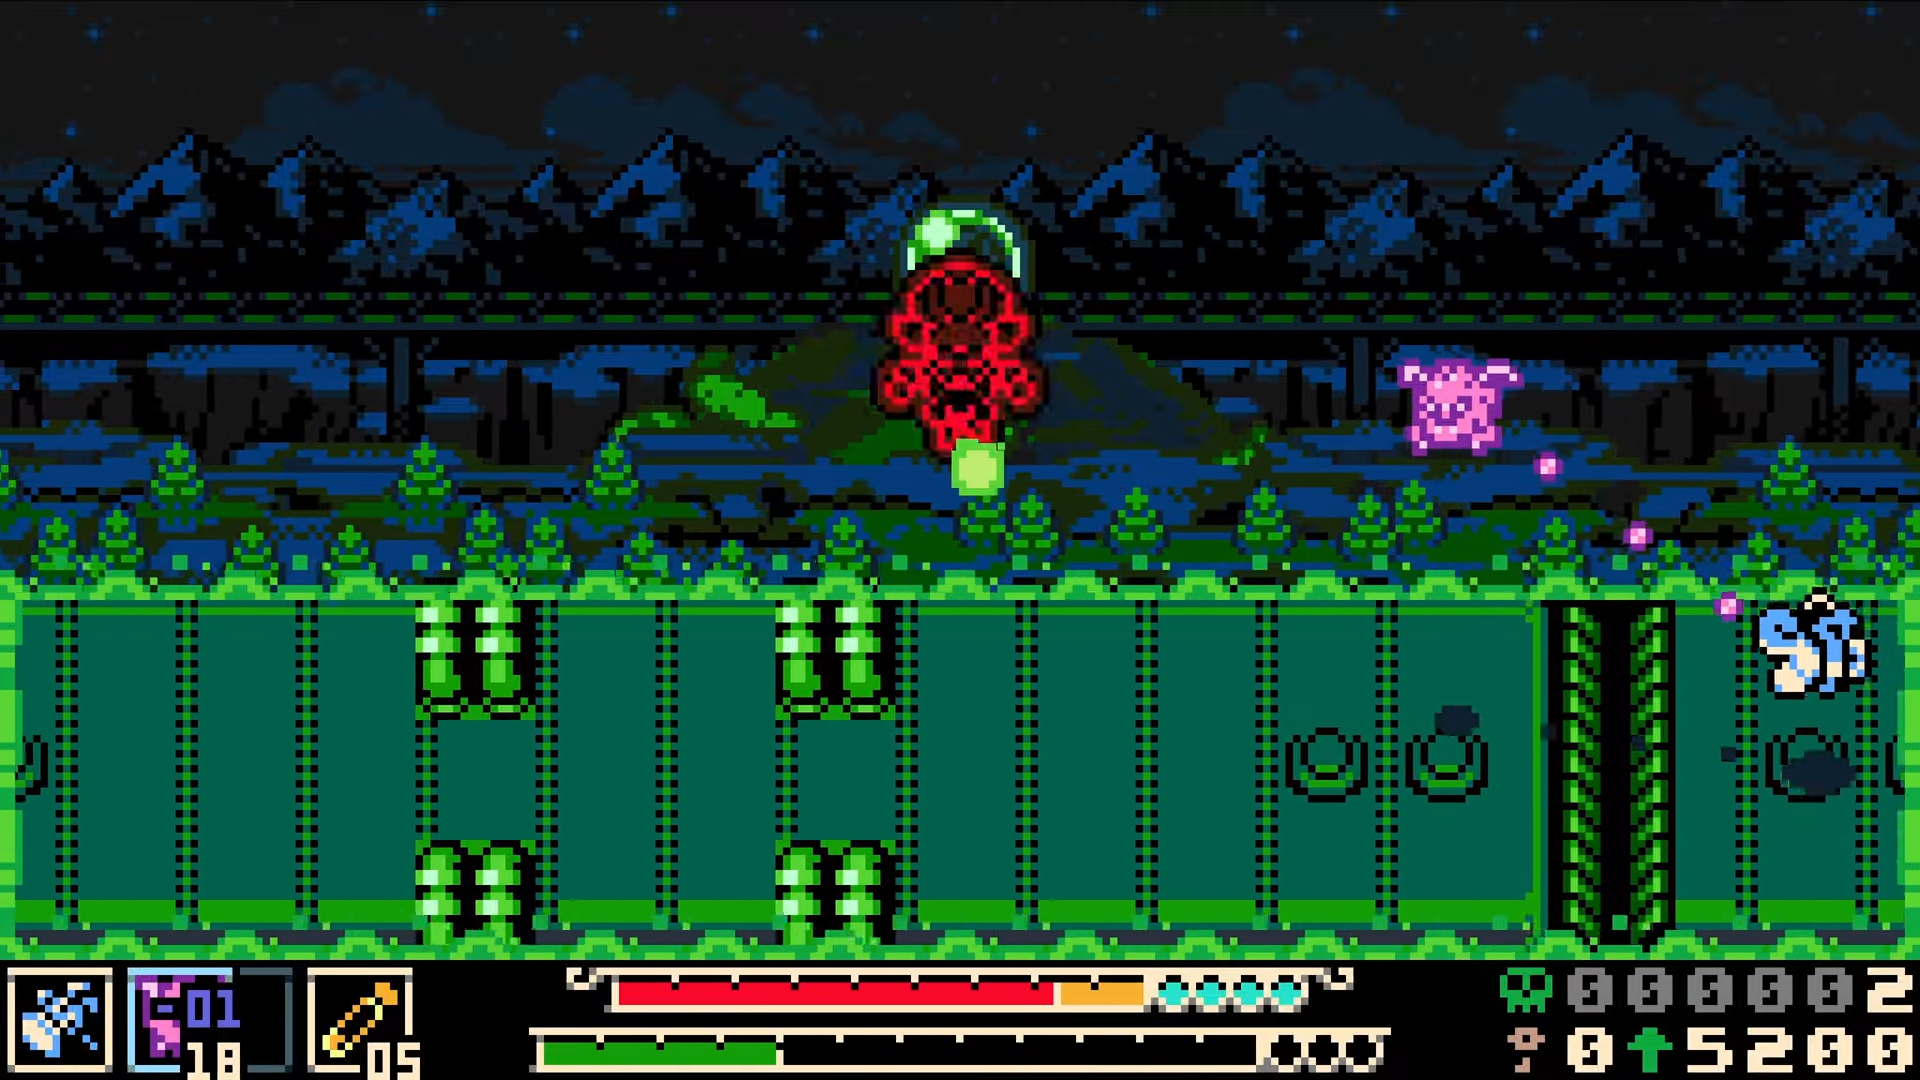
Step 4: Learn and ride the train‑line patterns
Watch how Locomotress Agne sets up attacks tied to the rails and her movement: she tends to commit to straight‑line rushes or lane‑based patterns you can sidestep or burrow around. Use these predictable lines to dodge diagonally, then immediately step in from the safe lane for another charged hammer punish.
Step 5: Let auto‑healing handle small mistakes
With the auto‑use vial equipped, treat light chip damage as acceptable and keep swinging until your health drops into auto‑trigger range. Only manually heal if you notice a big gap and your vials haven’t fired; otherwise, trust the relic to keep you alive while you maintain tempo.
Step 6: Use revival and damage reduction to stay in
If a pattern goes wrong and you get clipped by a big multi‑hit sequence, rely on your revival/extra‑life relic and damage‑reduction syrup to stay upright instead of panicking. As long as the relic procs and you’re still in range, refocus on dodging the next telegraph, then go straight back to charged hammer punishes.
Step 7: Close out with relentless pressure
Once Locomotress Agne’s health is clearly in the last chunk, abandon conservative spacing and commit to relentless pressure: charged hammer, follow‑up, tiny sidestep, repeat. The goal is to end the fight before an unexpected pattern or mistake forces you into another long runback from the last checkpoint.

Critical mistakes to avoid against Locomotress Agne
-
Over‑defensive play: Turtling and only taking tiny pokes drags the fight out, which is bad because the boss is always moving and the runback punishes repeated failures.
-
Ignoring Wis scaling: Spreading points too thin and not leaning into Wis means your hammer hits won’t delete HP fast enough to justify a brute‑force style.
-
Forgetting auto‑heal: Entering the fight without the auto‑vial style relic removes the main quality‑of‑life that lets you focus on positioning and punishes instead of healing.
-
Wasting ghost armor: Using powerful ghost side armor but losing it repeatedly because you haven’t unlocked the “keep on death” style upgrade is a huge resource sink; prioritize the upgrade if you want to lean on it.
-
Panicking after a big hit: Your build is designed to survive mistakes, so don’t instantly retreat to the edge of the arena after every hit; instead, reset your spacing slightly, dodge the next telegraph, and go back in.


Leave a Reply