Windows 11 has been released to the public and Microsoft has released a new personalized assistant to help you get on board. Windows 11 brings along numerous changes including the ability to install and use Android apps, new frosted glass UI, new stock apps, better security, and a lot more.
As such everyone seems to be itching to get their hands on the new OS, and if you too are looking to install Windows 11 on your system, then here’s how you can use the ‘Installation Assistant’ to your advantage.
Related: First 10 Things to Do on Windows 11
What is the Windows Installation Assistant?
Windows 11 Installation assistant is a dedicated tool that can help you upgrade to Windows 11 on your PC. It is the recommended way from Microsoft to get Windows 11 up and running on your system.
The Windows Installation Assistant has a few requirements just like Windows 11 and you can check them using the following section below.
Checks to perform before running the Installation Assistant
Window Installation Assistant has a few requirements. Additionally, you need to make sure that you are running the correct version of Windows to upgrade to Windows 11. Perform the necessary checks below to ensure your eligibility to use the Installation Assistant.
- Ensure that you are on Windows 10 v2004 or higher.
- Ensure that you meet the basic requirements for installing Windows 11 on your system.
- Ensure that you have at least 9GB of free disk space on your system so that you can download Windows 11 on your local storage using the Assistant.
- Ensure that you run the Installation Assistant as an administrator.
As such we have also listed the basic requirements for installing Windows 11 on your system. You can check them out below.
Requirements for Windows 11
Here are the basic requirements for installing Windows 11 on your system.
- Processor: 1GHz or faster with 2 or more cores.
- RAM: 4GB or higher
- Graphics: DX12 compatible with WDDM 2.0 driver
- Disk Space: 9GB for downloading installation files.
- System: UEFI, with Secure Boot
- TPM: 2.0 or higher
- Display: 720p @ 8bits or higher
If your PC meets the basic requirements, you can continue with the guide below to upgrade using the Windows 11 Installation Assistant.
How to use Windows 11 Installation Assistant
- Windows 11 Installation Assistant: Download Link
Download the Windows Installation Assistant using the link above. Once downloaded, right-click on the file and select ‘Run as administrator’.
Select ‘Yes’ to allow the app if you get the prompt.

Select ‘Accept and Install’.
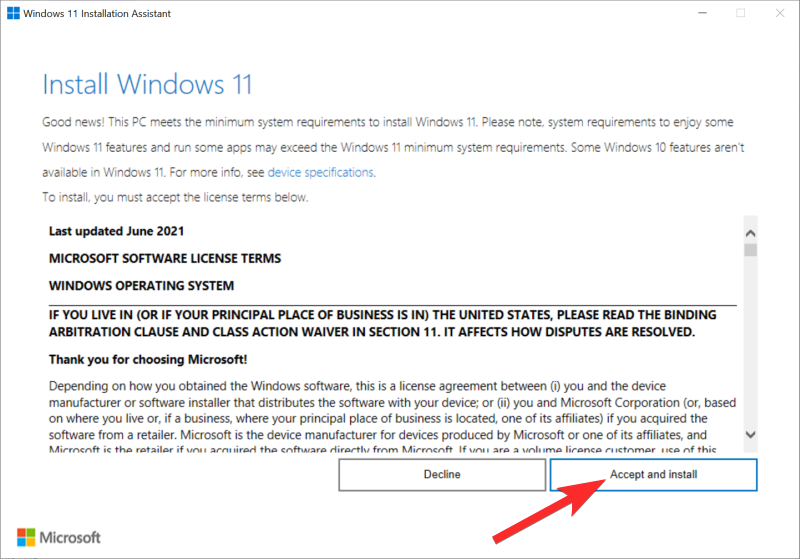
Note: You may need to scroll to the bottom of the license agreement to unlock this option.
The Assistant will now go ahead and download the necessary files to your local storage. This could take some time depending on your network speed.
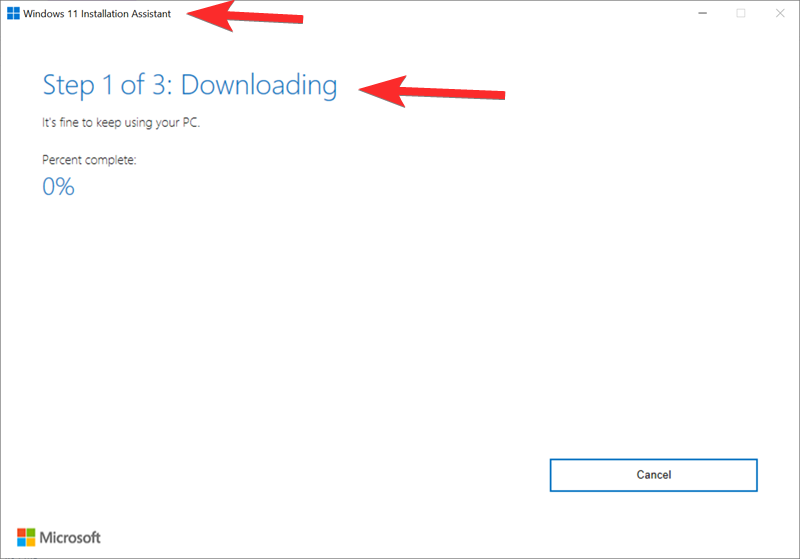
Once downloaded, the files will be verified in the background. The installation process should automatically begin once the files have been verified.
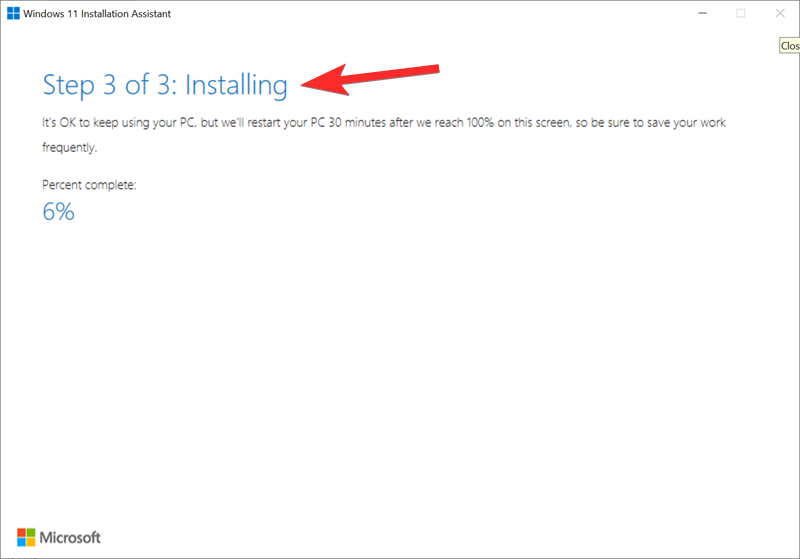
Click on ‘Restart now’ once the installation process completes.
Your PC will now restart. Log in to your account when you are at the lock screen and Windows should now continue with the setup. Once complete, you will be automatically taken to your desktop. All your data should be preserved, and all your installed apps should be intact.
Do you need to be subscribed to the Insider preview to use the Installation Assistant?
No, Windows 11 has been officially released to the public, and the Installation Assistant has been introduced to accompany the same. You can directly download and use the assistant on your PC without the need to be subscribed to Windows Insider Program.
If you are on the Beta or Dev channel, then you can leave the Insider Program to get yourself started. Depending on your installation, you might be required to reinstall Windows 11 stable version on your PC from scratch.
Windows 11 Installation Assistant Error: Use the PC Health Check app to check compatibility
Don’t worry, you can easily fix this by performing a check using the PC Health Check app. Find the link below for the app’s download link and a guide on how to fix this error.
Read: How to Fix ‘Use the PC Health Check App to Check Compatibility’ error
We hope you were able to use the Windows 11 Installation Assistant as intended. If you face any issues, feel free to drop a comment below.
Related:
- How to Disable CSM to install Windows 11
- ‘Antimalware Service Executable’ High CPU Issue: How to Fix
- How to Upgrade to Windows 11: 4 Ways Explained With Step-by-step Guides
- How to Facetime Windows Users: Complete Step-by-step Guide
- How to Enable TPM 2.0 in BIOS in HP Envy and Pavilion Laptops and Computer
- Windows 11: Show File Extensions Easily in 6 Ways


I’ve looked at upgrading to W11 on 2 of my computers (which aren’t all that old) and I get a message telling me that it can’t be installed. Methinks it’s a ploy to get me to buy new computers.
‘This PC doesn’t currently meet all the system requirements for Windows 11’
It’s got an i3 processor, 8gb ram and a 2TB HD. The other one has an i5 processor and 8gb ram and a 1TB HD.
Make sure to set TPM 2.0 in your BIOS setting
Also you have to have a graphics card that is considered compatible with windows 11 and has to be compatible with direct x12 or D12 shorter term…. If you do PC Health Checker which they link you to it will tell you if you forgot to set TPM 2.0 or if you have not enough disk space, etc.
This doesn’t work.
I meet the requirement on the health check and it still gives me the box in my update/security tab thats says I dont. My Bios is set to TPM 2.0. What kind of nonsense is REALLY going on?!!!