
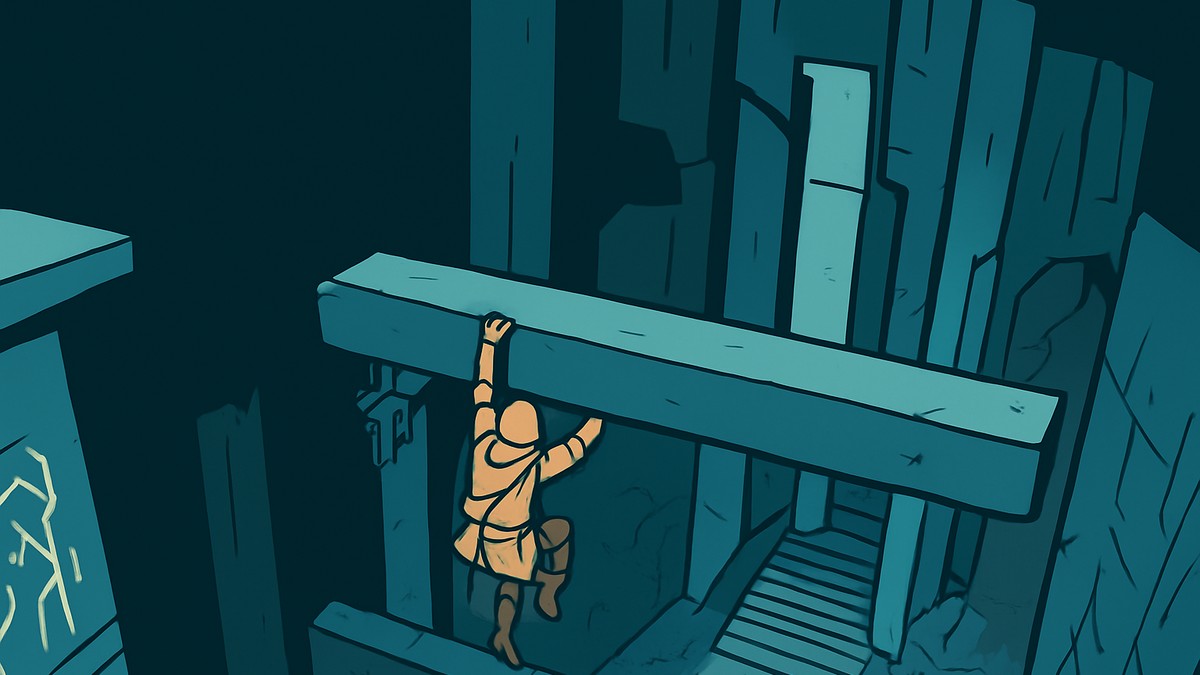
To reach the observation room in Ever a Splinter, wait out the flaming barrier, ride the moving platforms upward, clear or bypass the guards, then follow the right-side pillar route instead of trying to jump across the cliff.
Ever a Splinter takes you inside The Observatory in Long Bay, and the route to the observation room is more about patience than distance. This guide focuses only on the tricky interior platforming route, from the flaming barrier through the moving pillars, not the full mission path before or after it.
Where this Ever a Splinter route begins
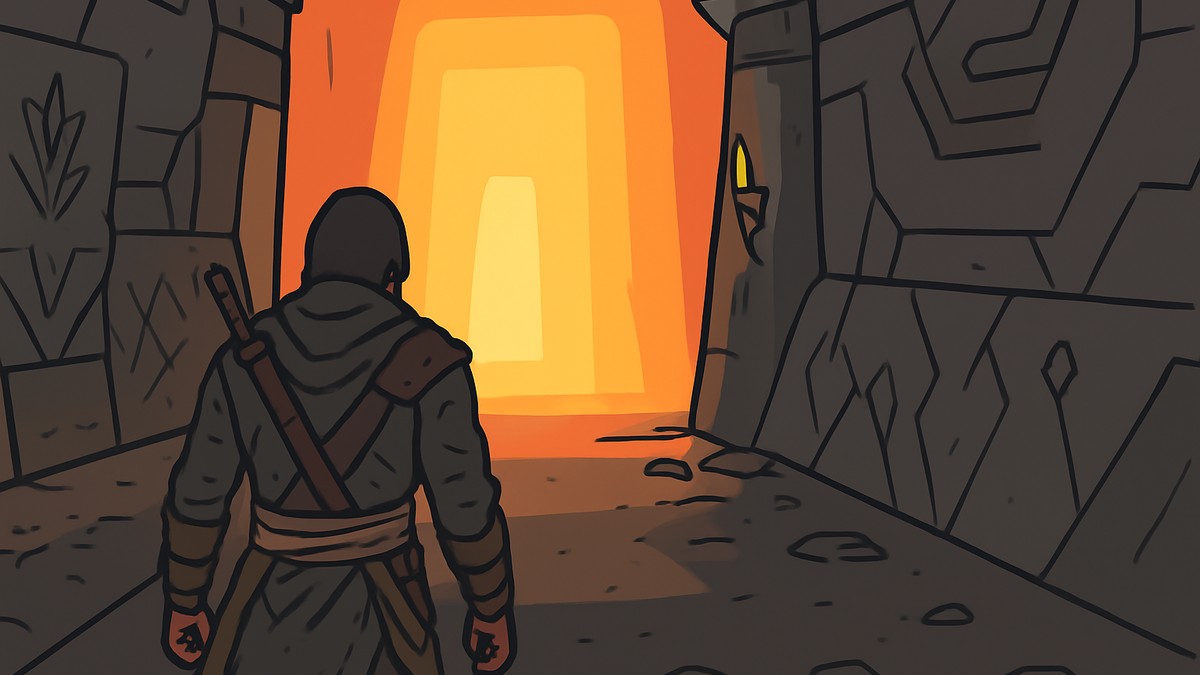
The section starts once you are already inside The Observatory and reach the flaming barrier blocking the way forward. From here, the room tries to pull your eye toward dangerous jumps and moving walls, but the correct route keeps you working upward and toward the far right side.
You do not need to treat this like a full combat encounter. The goal is to get through the interior platforming sequence and reach the observation room route cleanly, using the moving platforms instead of forcing jumps that look barely possible.
How to reach the observation room in Assassin’s Creed IV: Black Flag
Follow the moving-platform route patiently and stay to the right-side path once the cliff jump starts looking tempting.
STEP 1/15
Wait for the flaming barrier
Stop at the flaming barrier and wait until it disappears before moving forward.
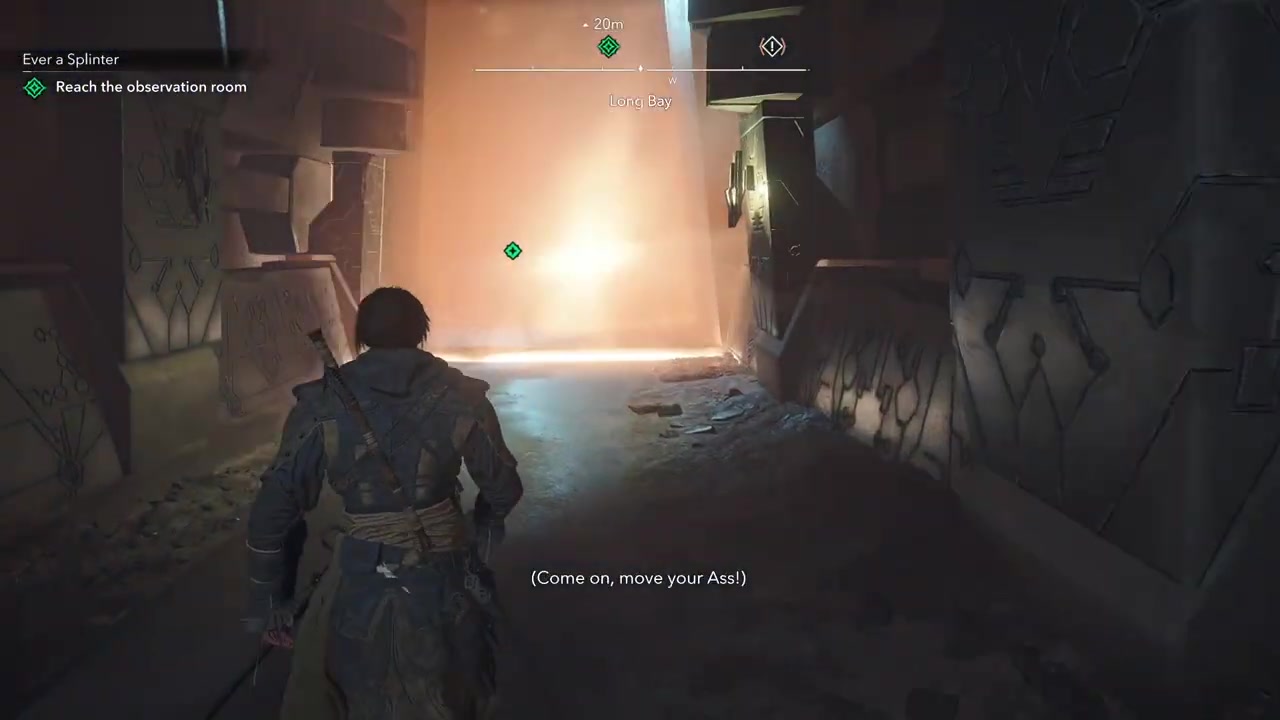
STEP 2/15
Ride the first platform upward
Move onto the first platform and let it lift you, since forcing the jump is possible but not worth the risk.
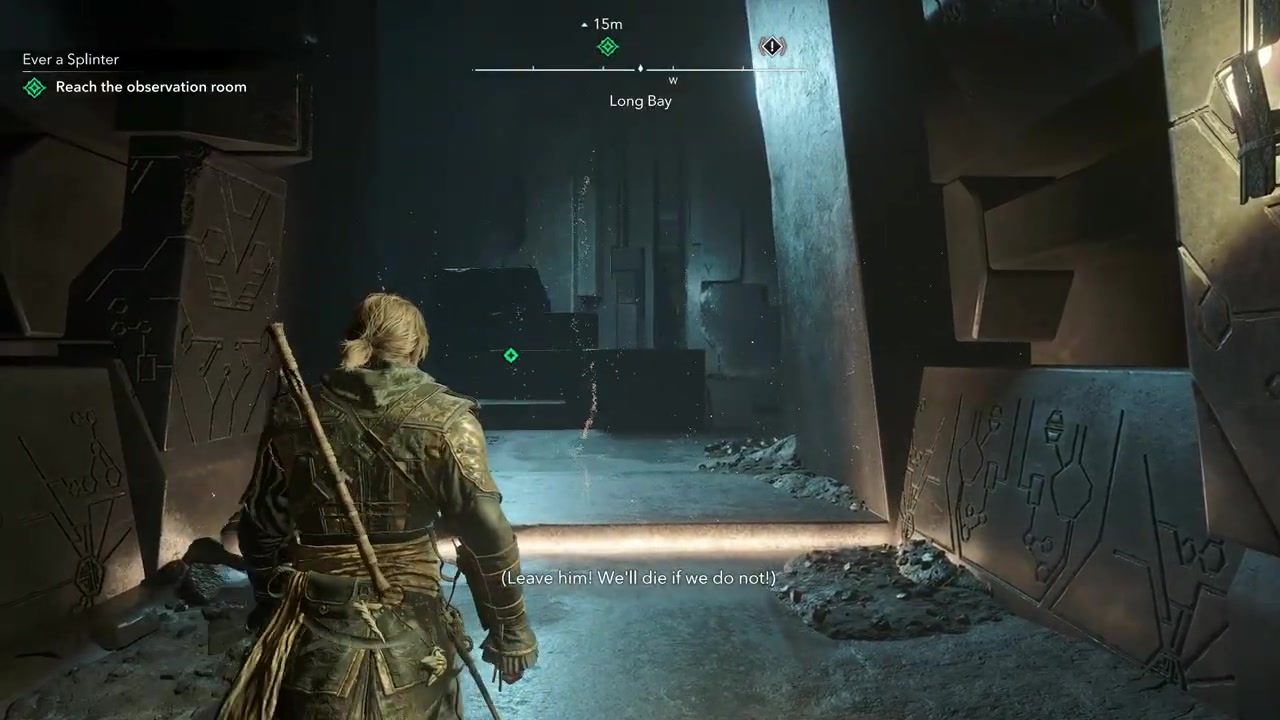
STEP 3/15
Jump into the guard area
Leap across once the platform brings you high enough, then prepare for the guards on the upper level.
STEP 4/15
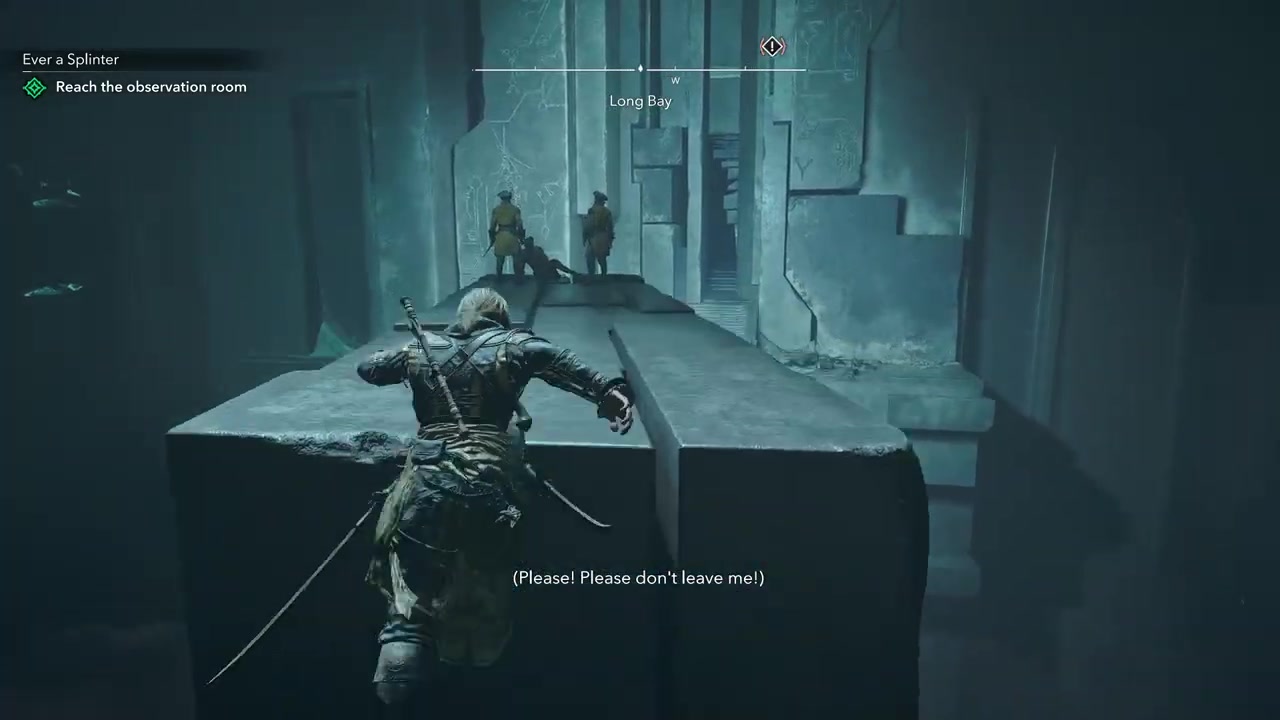
Clear the upper guards
Kill at least the two upper guards; the third guard can be spared if you want to keep moving.
STEP 5/15
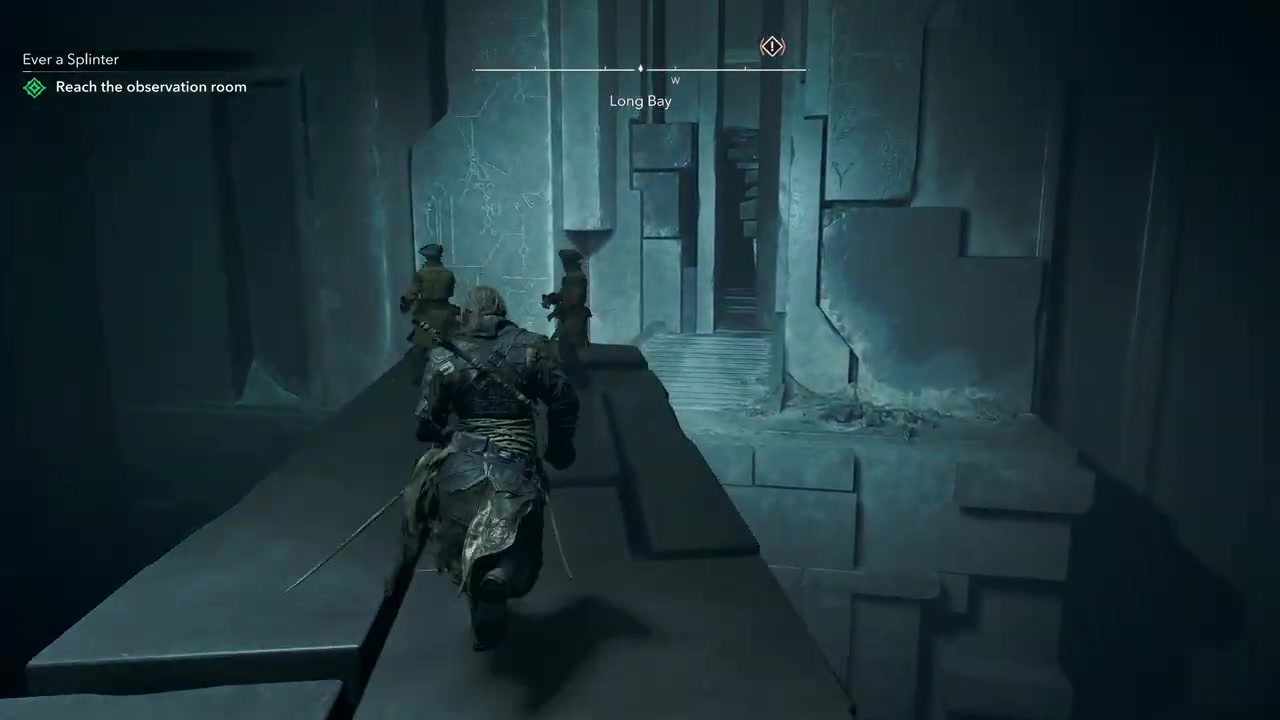
Ignore the long cliff jump
Do not try to jump all the way across the cliff when the route opens up, even though the room makes it look like the answer.
STEP 6/15
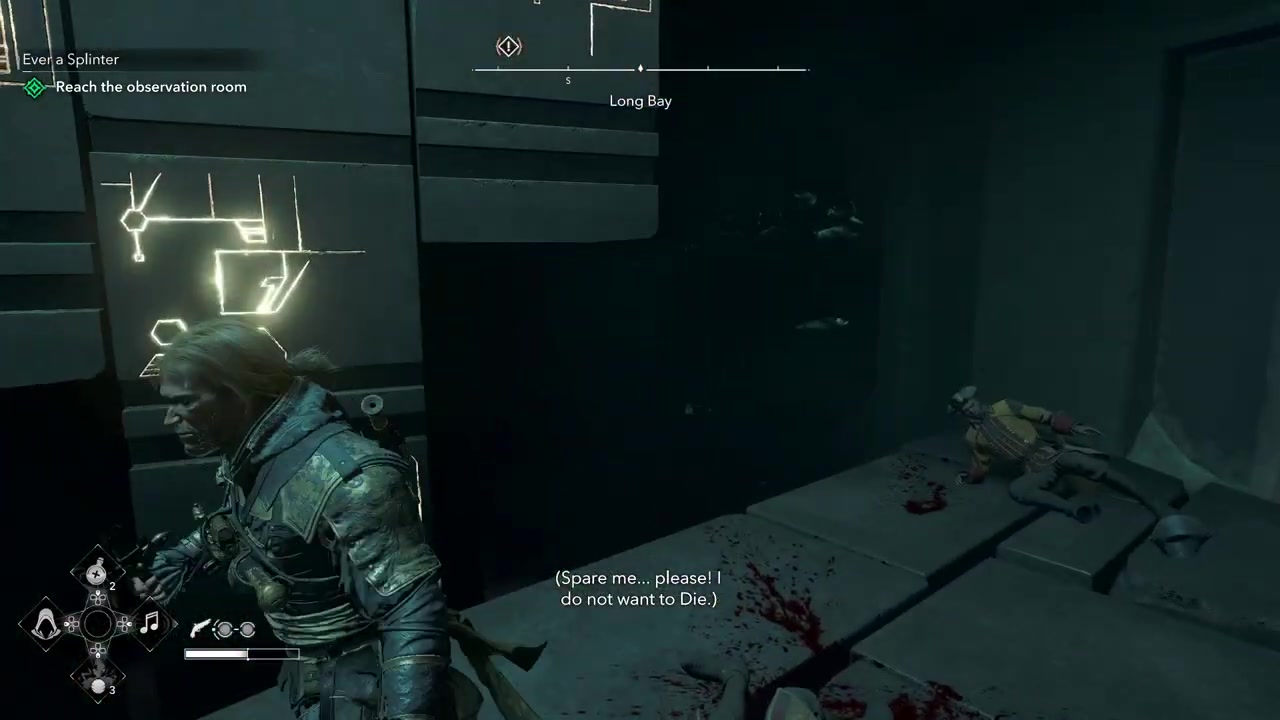
Take the side path instead
Move over to the nearby side route and follow that path around the structure.
STEP 7/15
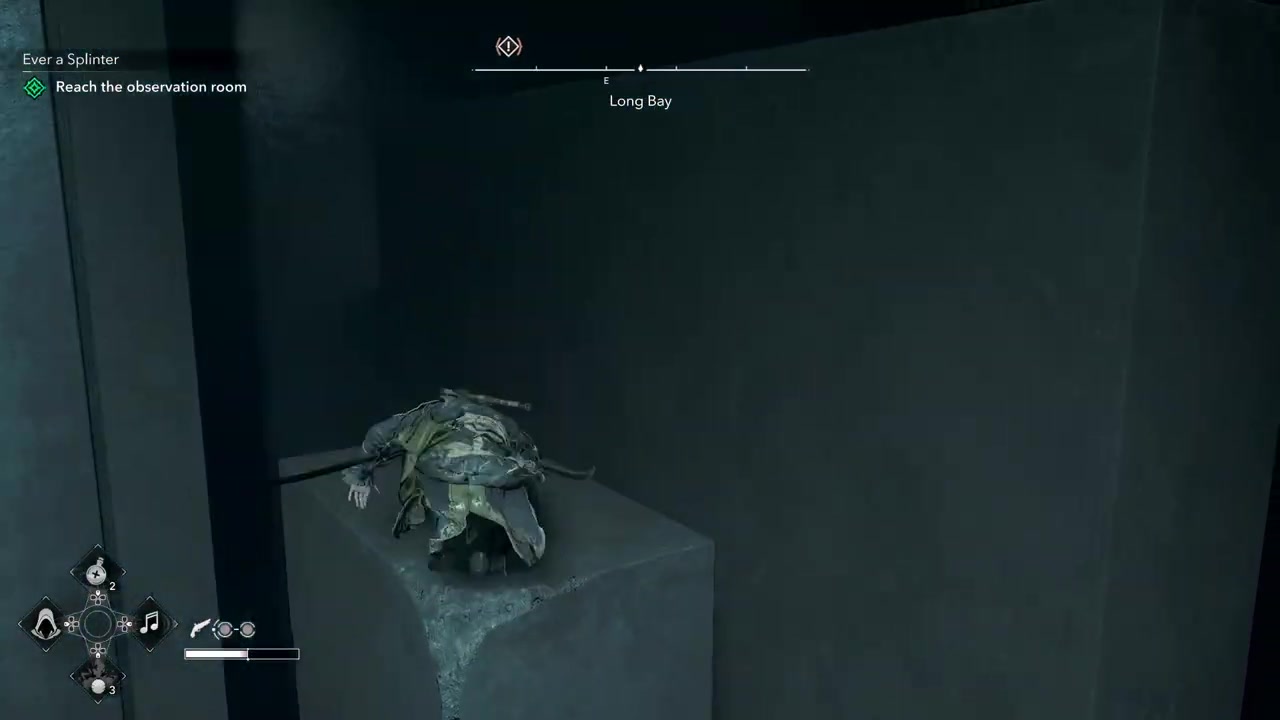
Watch the moving wall
Be careful as the wall shifts, then keep using the platforms and pillars rather than rushing the gap.
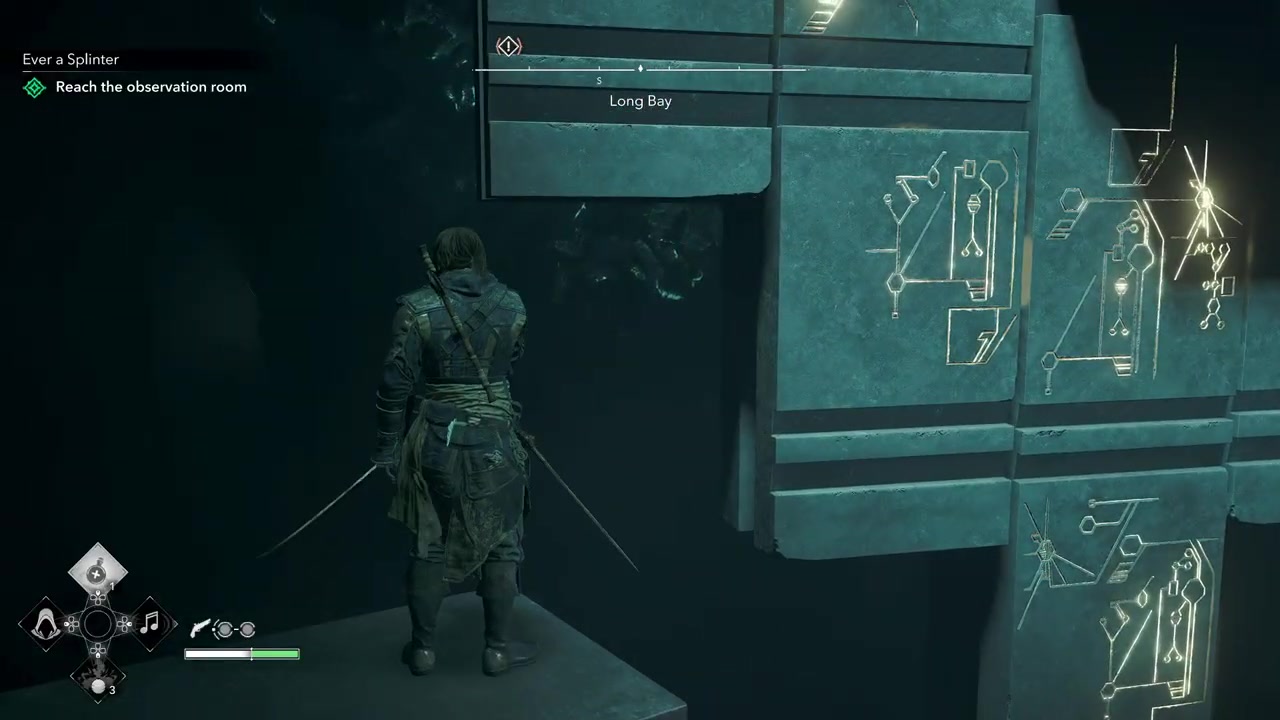
STEP 8/15
Aim for the far right side
Work across the moving pieces with the goal of reaching the far right side of the room.
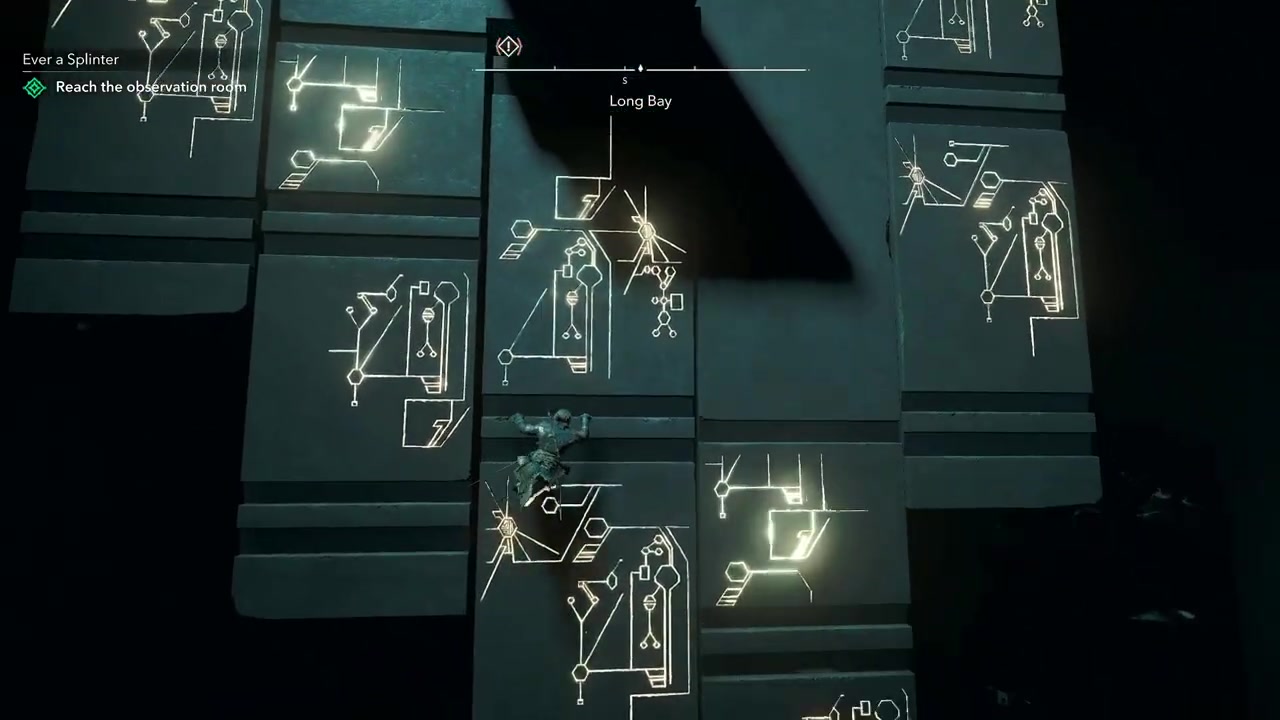
STEP 9/15
Wait on the pillar
Stand on the pillar and let it carry you back upward before making the next move.
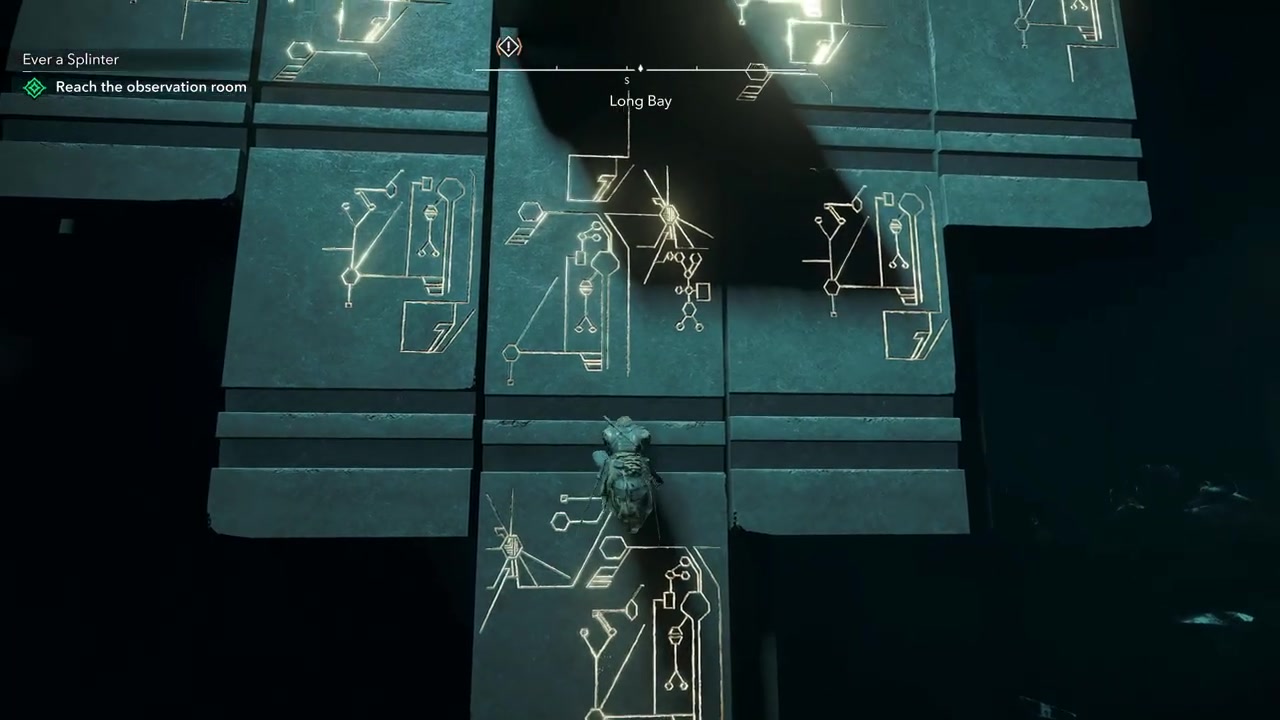
STEP 10/15
Use the next moving pillar
Repeat the same rhythm on the next pillar, waiting for it to line up instead of jumping early.
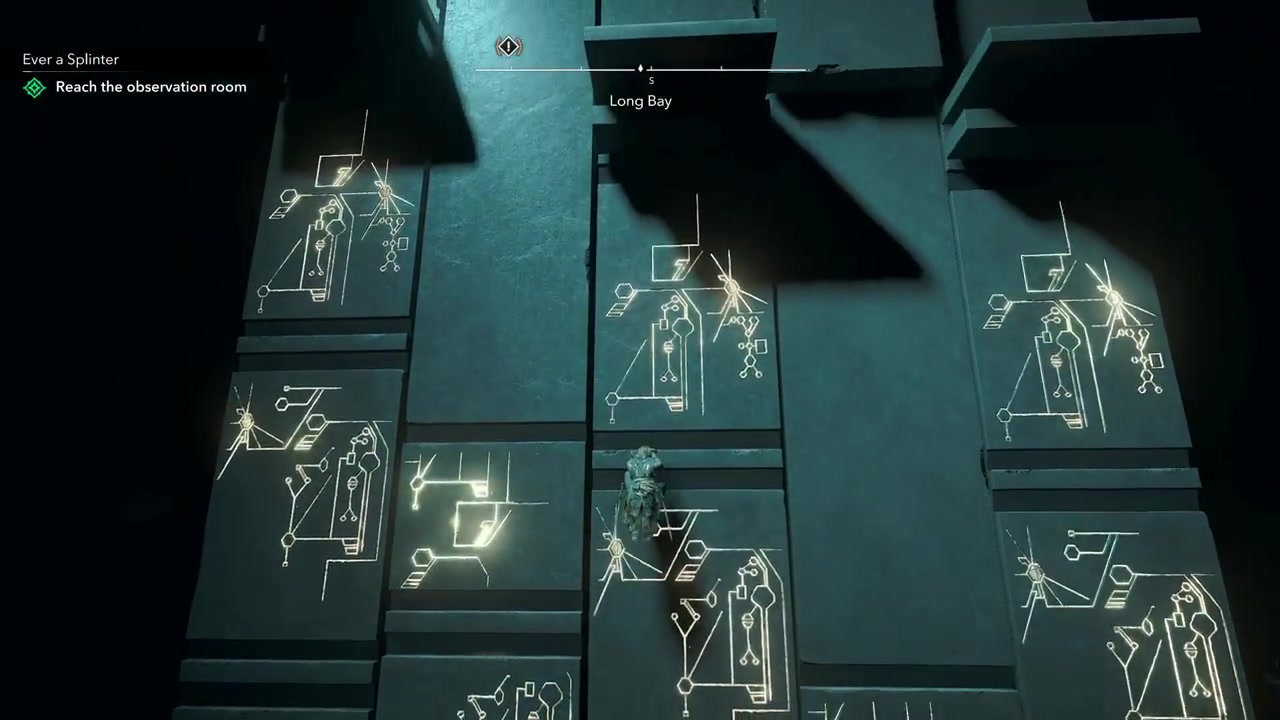
STEP 11/15
Move onto the platform
Step onto the next platform once it comes into reach and set up for the awkward camera section.
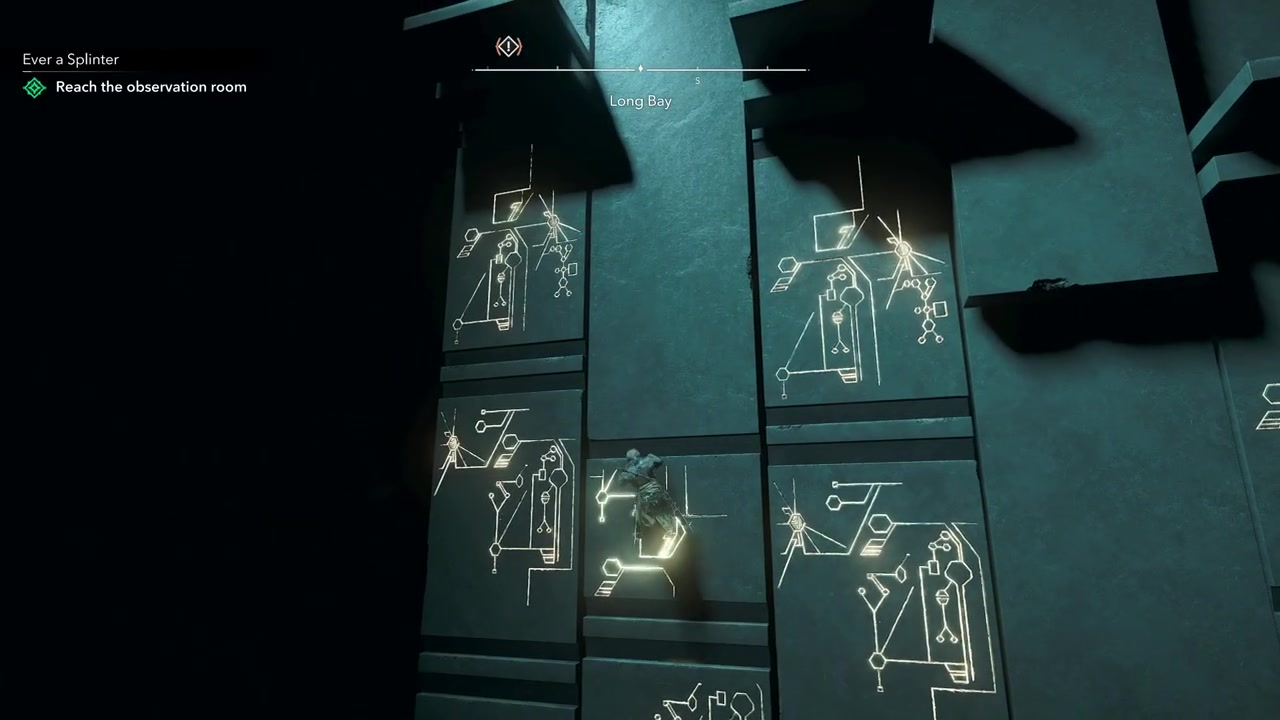
STEP 12/15
Take the camera-angle jump carefully
The next jump is tricky because of the camera, so line Edward up and jump only when the platform is steady.
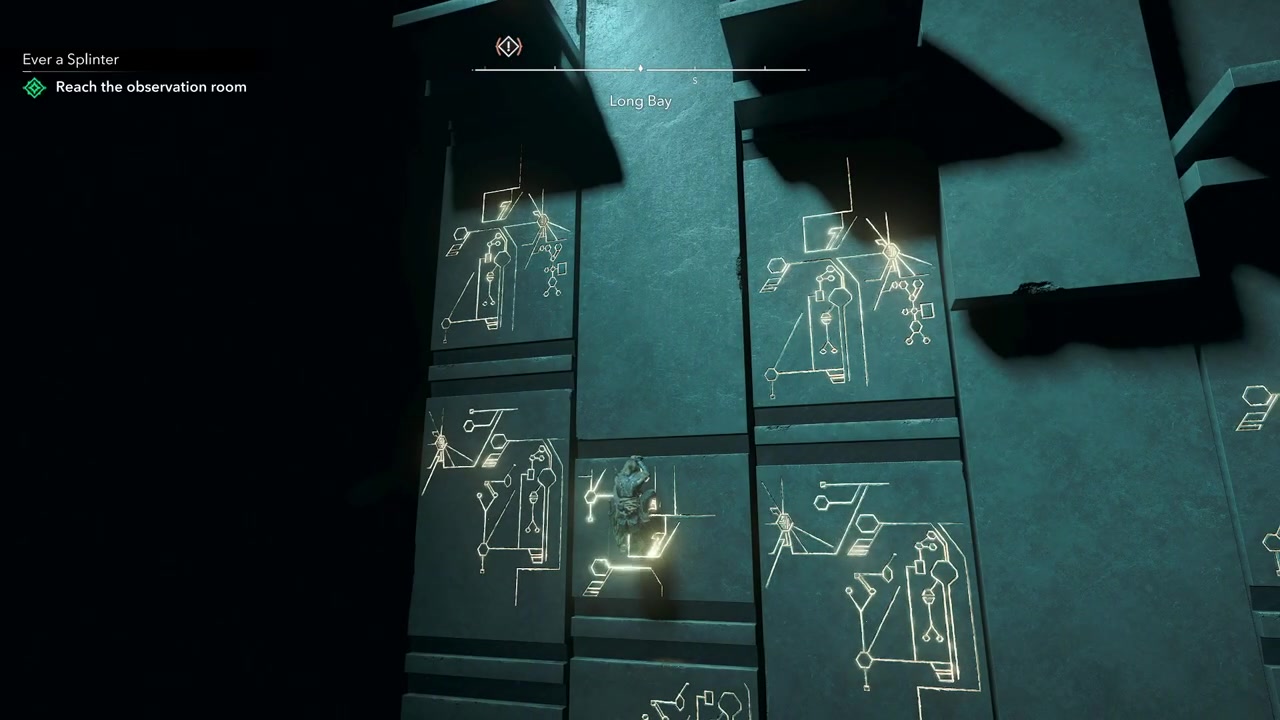
STEP 13/15
Use the nearby pillar if needed
If the jump keeps failing, move to the adjacent pillar and climb up from there instead.
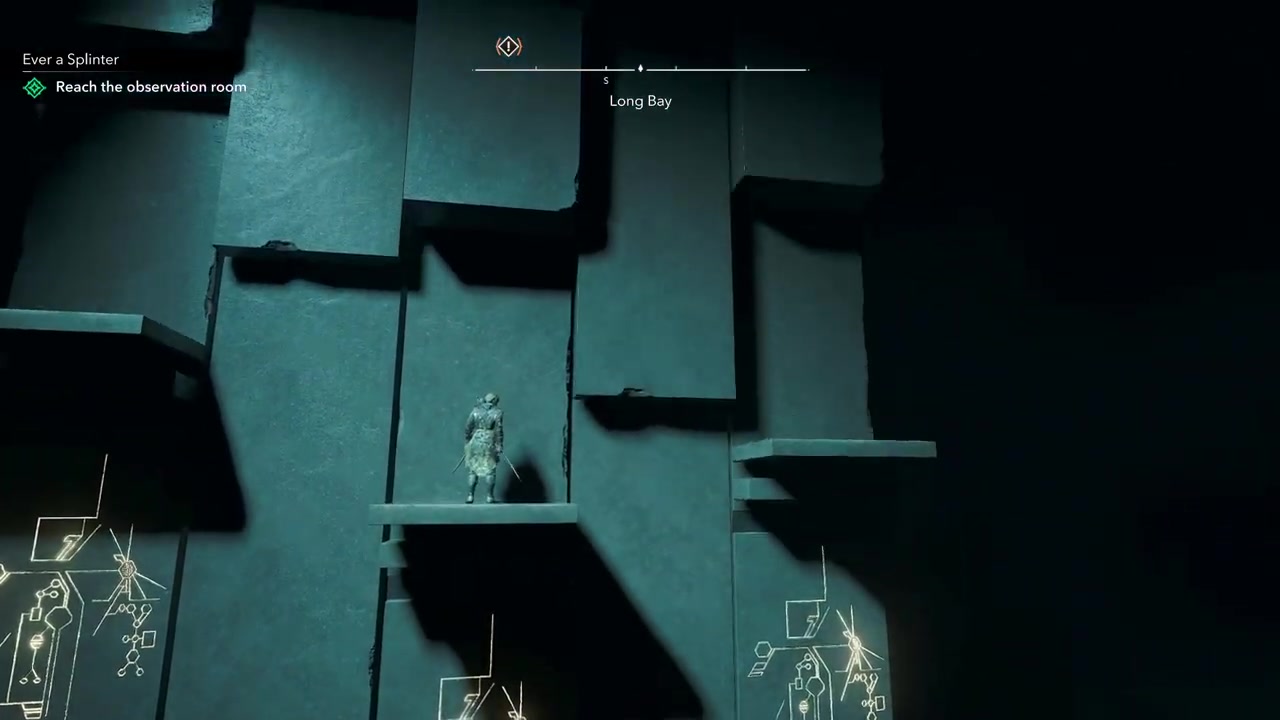
STEP 14/15
Wait before the next jump
Pause again and let the moving piece settle, because rushing this jump is where most falls happen.
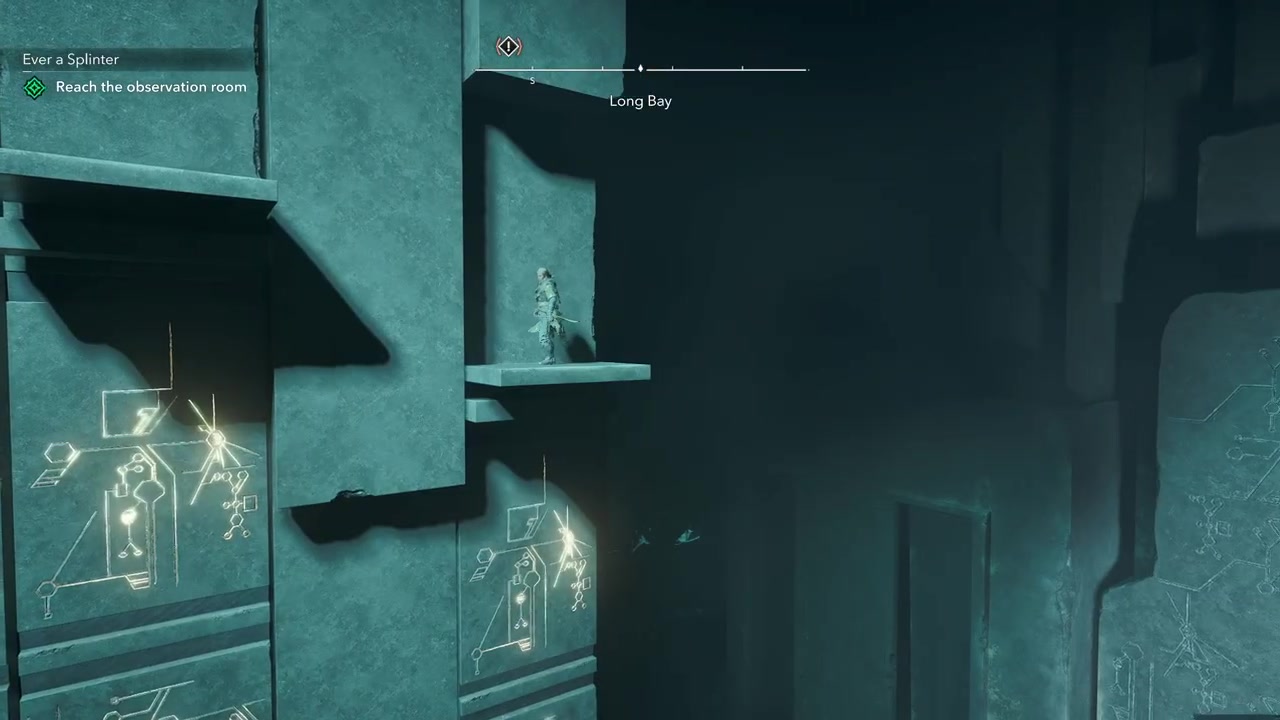
STEP 15/15
Follow the remaining path
Continue along the shown path from here and the route will carry you through the rest of the section.
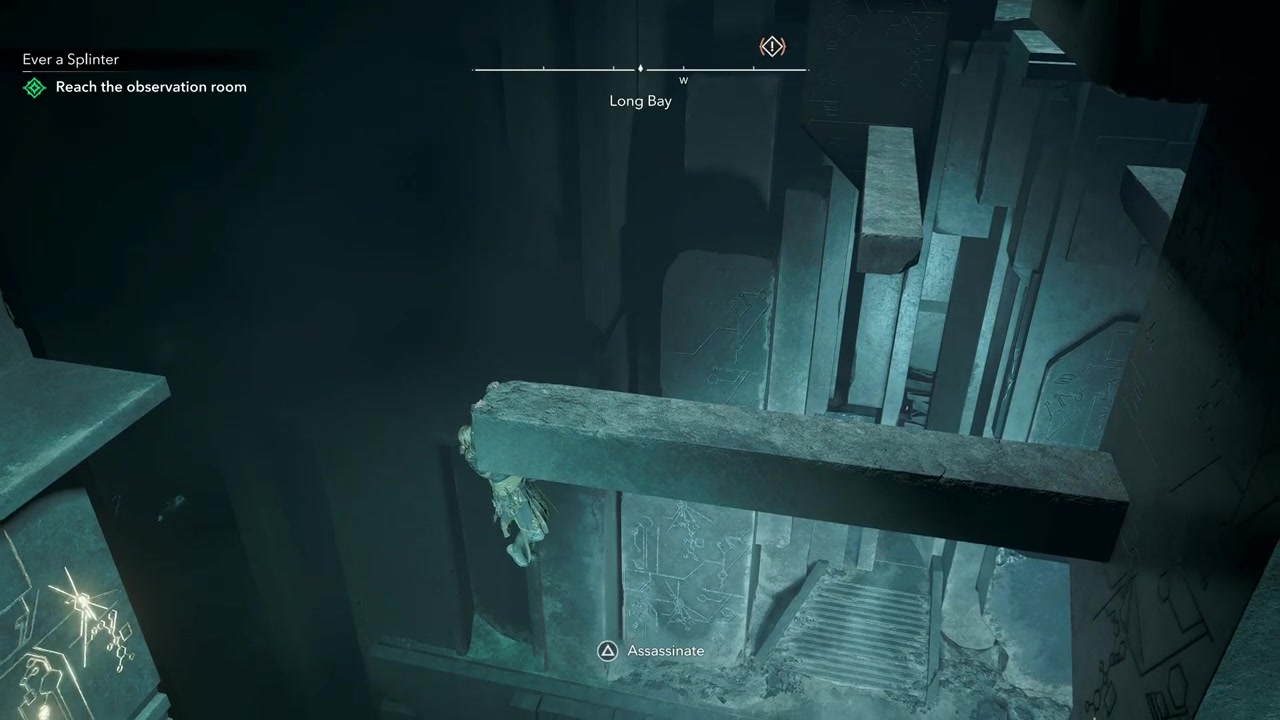
Do not force the cliff jump; the reliable route is the side path that carries you across the moving pillars toward the far right.
Video help
Mistakes that make the Observatory climb harder
KEY!The biggest mistake is rushing the moving platforms. Most of this room is built around waiting for pillars and walls to shift into place, so jumping the moment you arrive on a platform usually creates a bad angle or a short landing.
The cliff is the main trap. It looks like you should be able to make a long jump across it, but the route continues through the side path and across the moving structures on the right. If a jump looks like it is asking for perfect distance, stop and look for the moving pillar route instead.
Combat can also slow you down more than it helps. Clearing the two upper guards gives you room to move, but you do not need to turn the whole section into a full fight. Get the threats out of your immediate path, then return your attention to timing and camera position.
The last awkward bit is the camera. When it swings to a poor angle, wait before jumping and make sure Edward is facing the landing. If the direct jump keeps dropping you, use the nearby pillar as a climbable recovery route.
After the observation room route
Once you finish this route, the mission continues deeper into The Observatory toward the later objective above Laureano Torres y Ayala. The platforming does not stop being timing-based, so keep treating moving beams and light patterns as hazards rather than scenery.
Later in the Observatory sequence, the light beams can kill instantly. When the route puts you above Torres, wait for the light timing to clear before committing to the drop, then continue the assassination objective from there.
Frequently Asked Questions
Should you jump across the cliff to reach the observation room?
No. The cliff jump is the trap in this section. Instead, move to the side path and follow the moving wall, pillars, and platforms toward the far right side of the room.
Do you have to kill every guard in this section?
No. You should kill at least the two upper guards after the first platform lift so you have space to move. The third guard can be left alive if you want to keep the route fast.
Why does the final jump feel difficult?
The final jump in this route feels awkward because the camera angle can make your alignment look worse than it is. Wait for the platform to settle, face the landing cleanly, and use the nearby pillar climb if the direct jump keeps failing.
What should you do if you keep falling from the moving platforms?
Slow down and let each platform or pillar finish its movement before jumping. Most falls happen from jumping too early, especially near the moving wall and the camera-angle jump near the end of the route.




Leave a Reply