

To defeat Shihori Yoneda, clear the two pre-boss obstacle phases first, then survive her ghost-arm, skeleton-arm, track-swap, bite, and spine-slam patterns by making small controlled jumps, quick top-bottom shifts, and attacks only during the obvious openings.
Shihori Yoneda is less about raw aggression and more about staying calm while the track keeps changing under you. Before the main fight starts, you have to clear two pre-boss segments: a target-and-arrow gauntlet, then a plus/minus orb section that tests color switching and lane control.
Once Yoneda appears, the fight shifts into a rail survival test. You are dodging ghost arms, destroying skeleton arms, swapping between upper and lower tracks, jumping bite gaps, drifting into teeth, and finishing with a rail slam down the spine and rib cage.
Shihori Yoneda fight flow
| Phase | Main job |
|---|---|
| Track target gauntlet | Shift left and right, face forward for angled targets, grapple across, and use a yellow launcher to attack. |
| Plus/minus orb section | Switch between green and pink, collect matching orbs, and avoid black or red hazards. |
| Main Yoneda patterns | Dodge ghost arms, hit skeleton arms, and make quick upper-lower track shifts. |
| Final rail slam | Use the rail to slam down the spine, rib cage, and front section to finish the boss. |
KEY!The fight has a clear rhythm: survive the setup phases, then only attack when the track gives you a clean opening. Do not chase every pickup or force damage during movement-heavy patterns; staying positioned is what keeps the clear alive.
How to beat Shihori Yoneda in Denshattack!
Follow the fight in order and treat every phase as a positioning check before you commit to attacks.
STEP 1/23
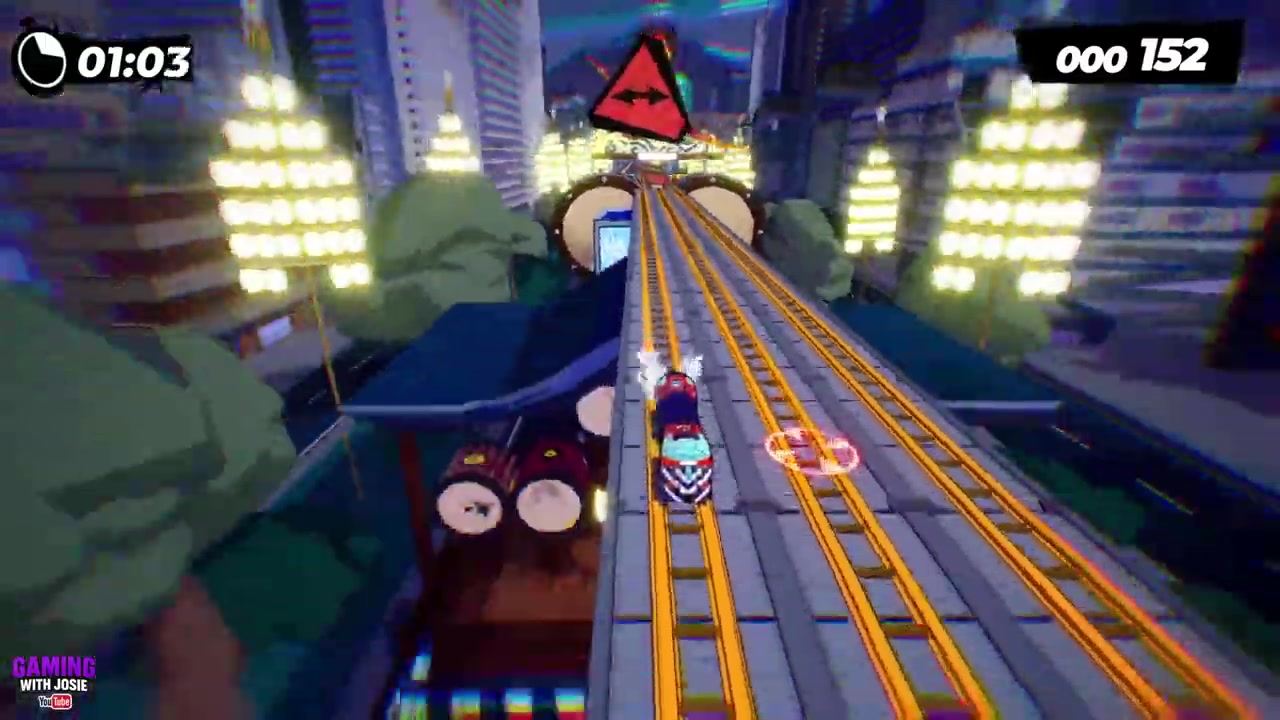
Dodge the first track targets
Shift left and right to stay out of the target markers coming down the tracks.
STEP 2/23
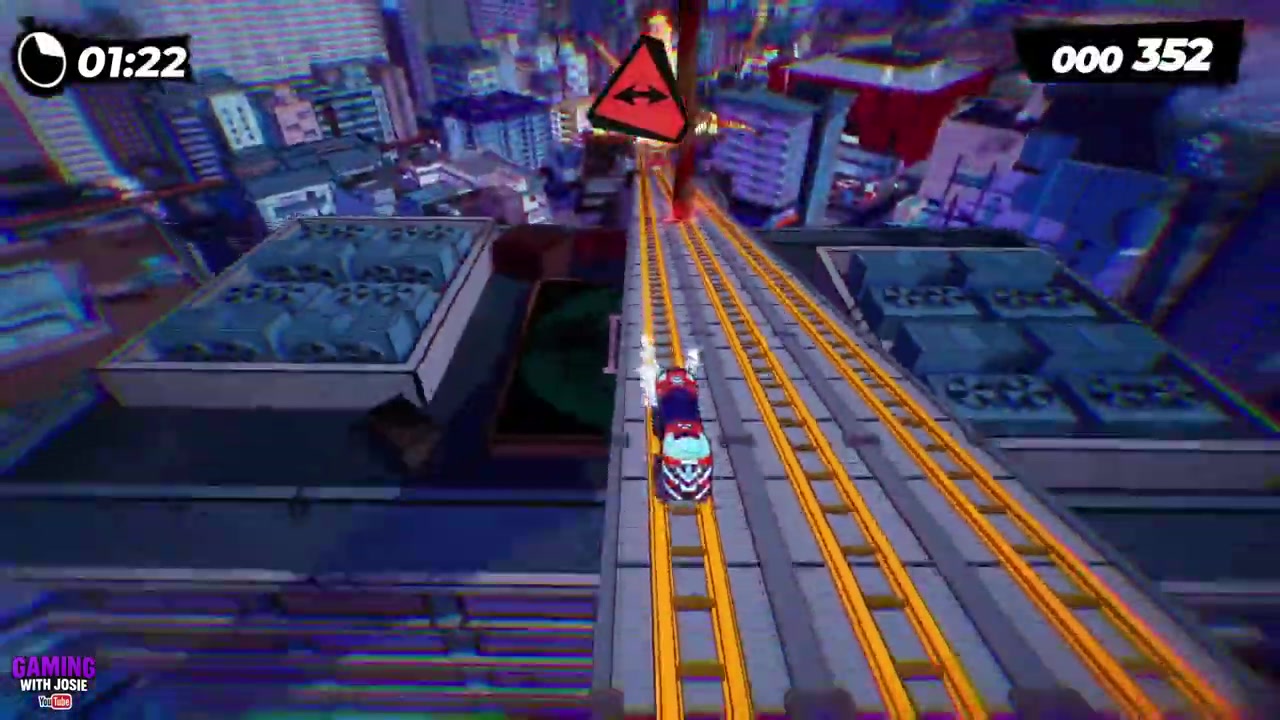
Face forward for angled targets
Turn forward as the camera changes, then choose left or right to avoid the side-angle targets.
STEP 3/23
Cross and grapple over
Move to the other side, grapple across, and keep dodging targets until the arrow section begins.

STEP 4/23
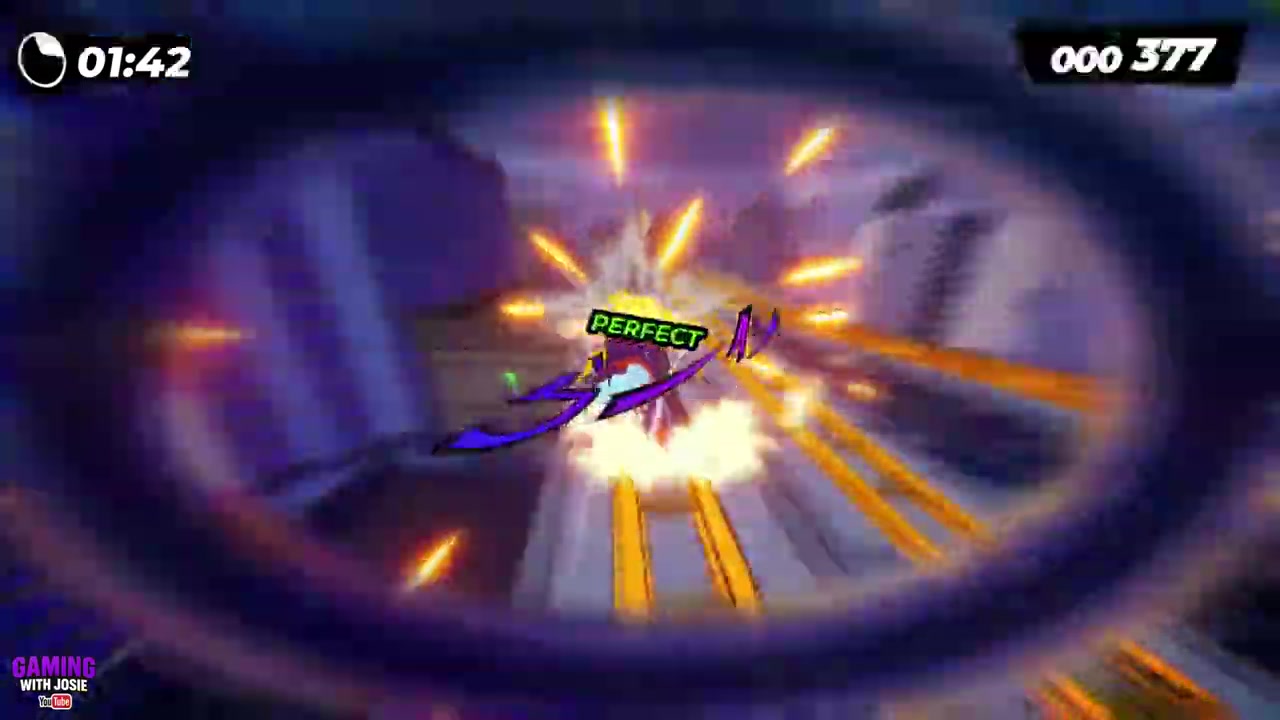
Avoid the incoming arrows
Move left and right through the arrows, keeping the last-second dodge dare optional.
STEP 5/23
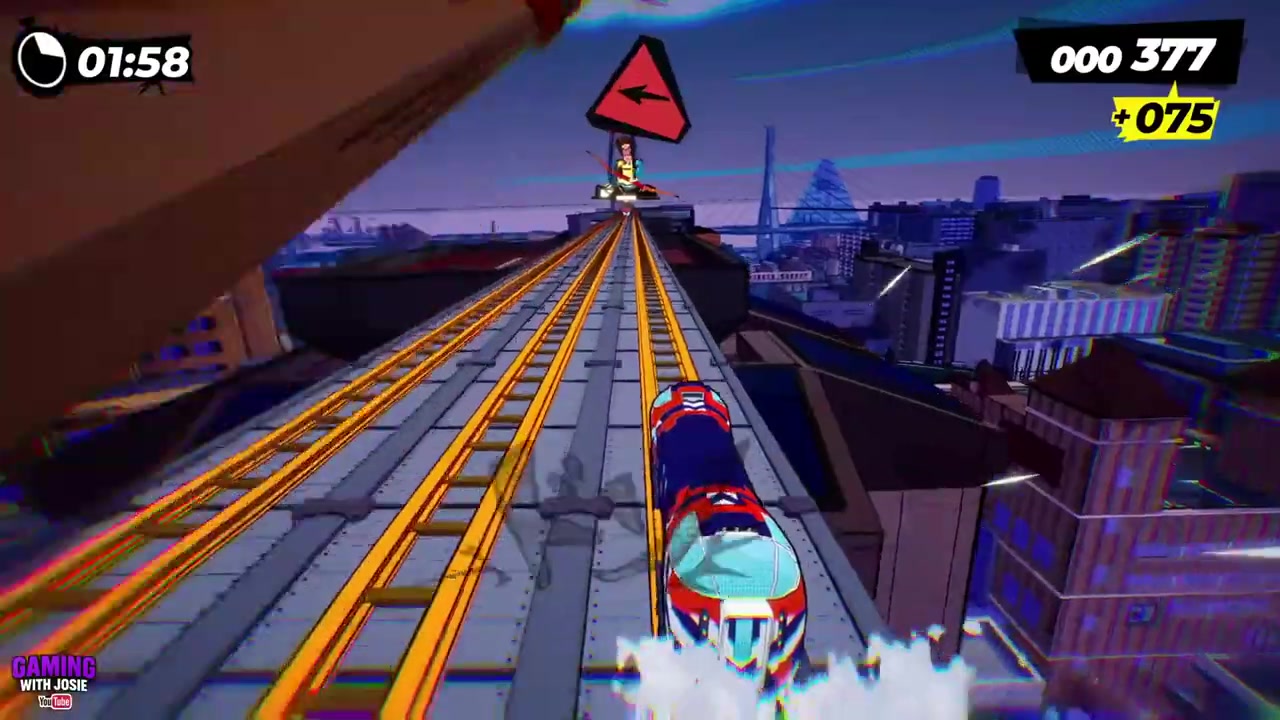
Take a yellow launcher
Hit any yellow launcher to fly up and over, then attack the mini-boss below.
STEP 6/23
Start switching plus and minus
Change between green and pink so your polarity matches the orbs you are collecting.
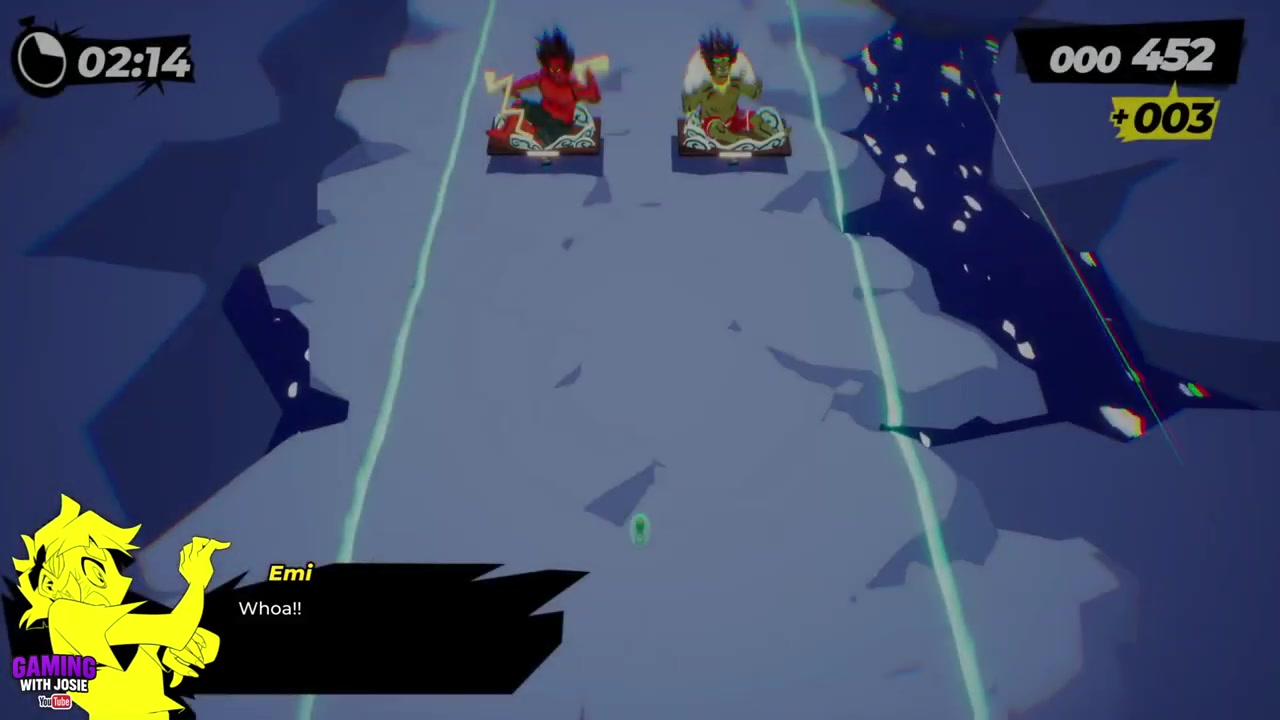
STEP 7/23
Hold the center for orb chains
Stay near the middle when the orbs line up cleanly, switching colors as the pattern changes.
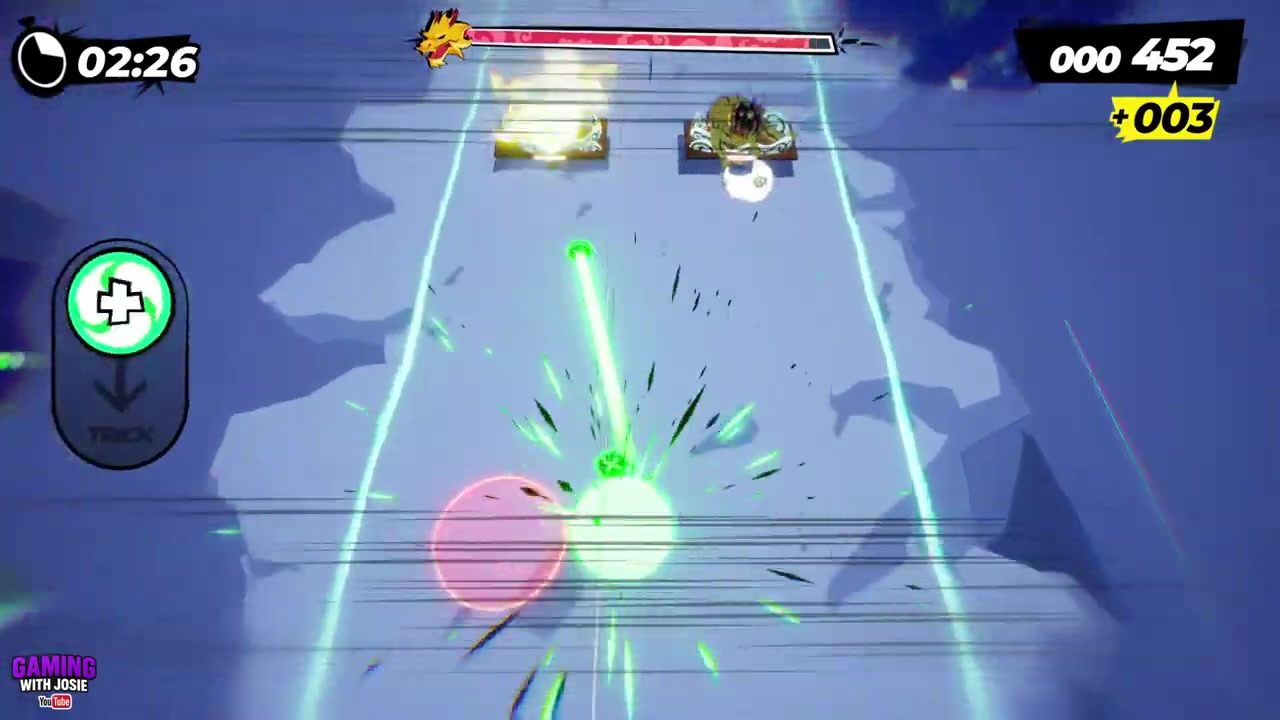
STEP 8/23
Clear the side-heavy orb wave
Stay to one side, collect as many matching orbs as you can, and avoid the red hazards.
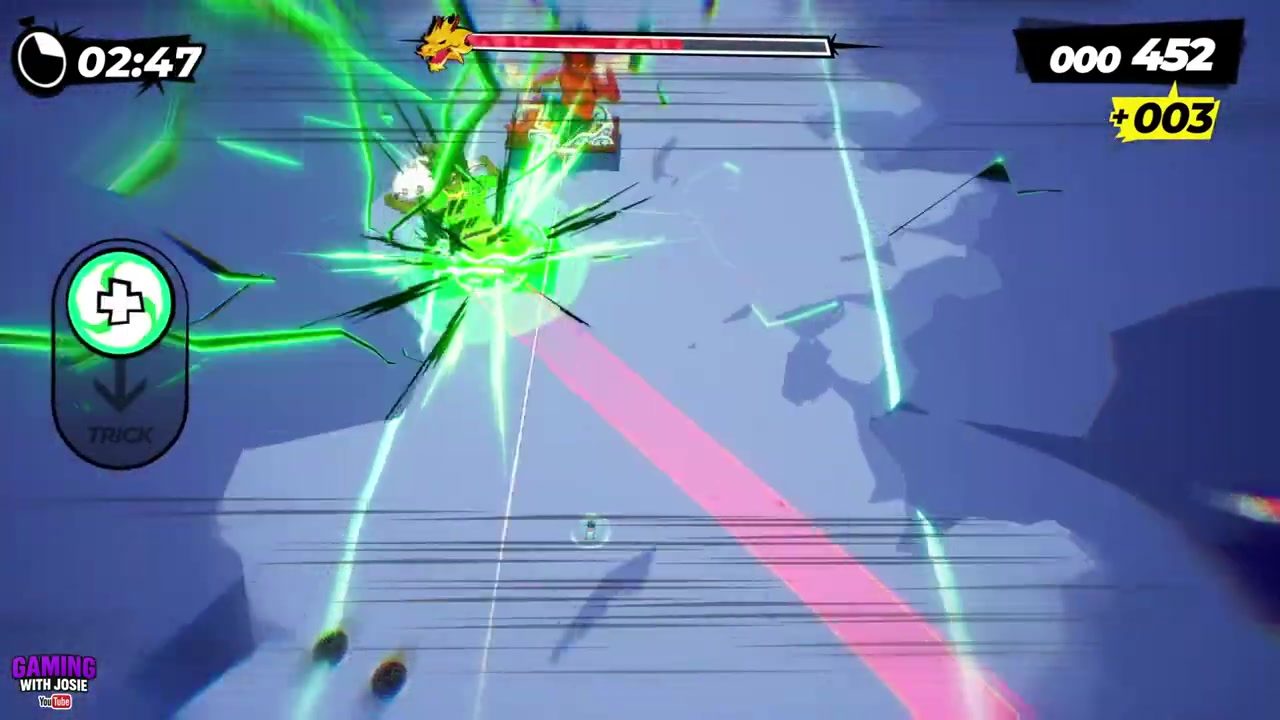
STEP 9/23
Handle the chaotic orb pattern
Switch colors for mixed waves, or focus on one color while skiing through the safe path.
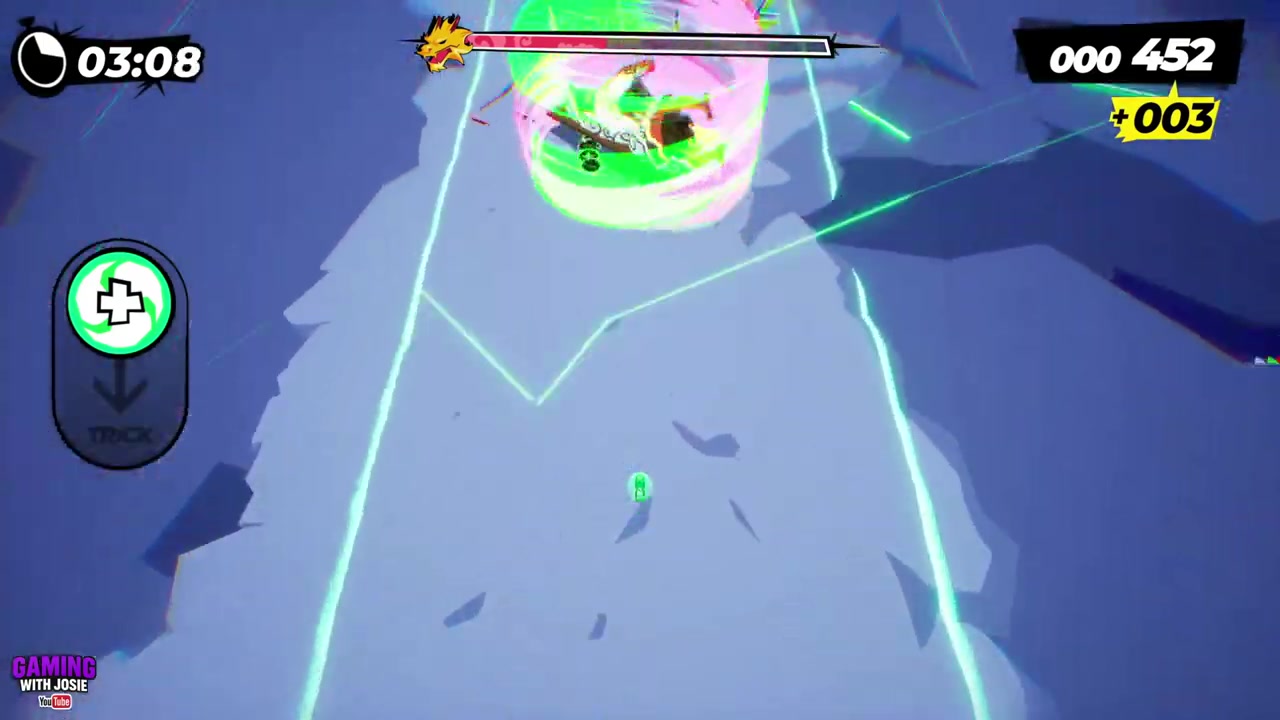
STEP 10/23
Avoid the black orbs
Pick one color or keep switching, but steer away from the black hazards before the main fight starts.
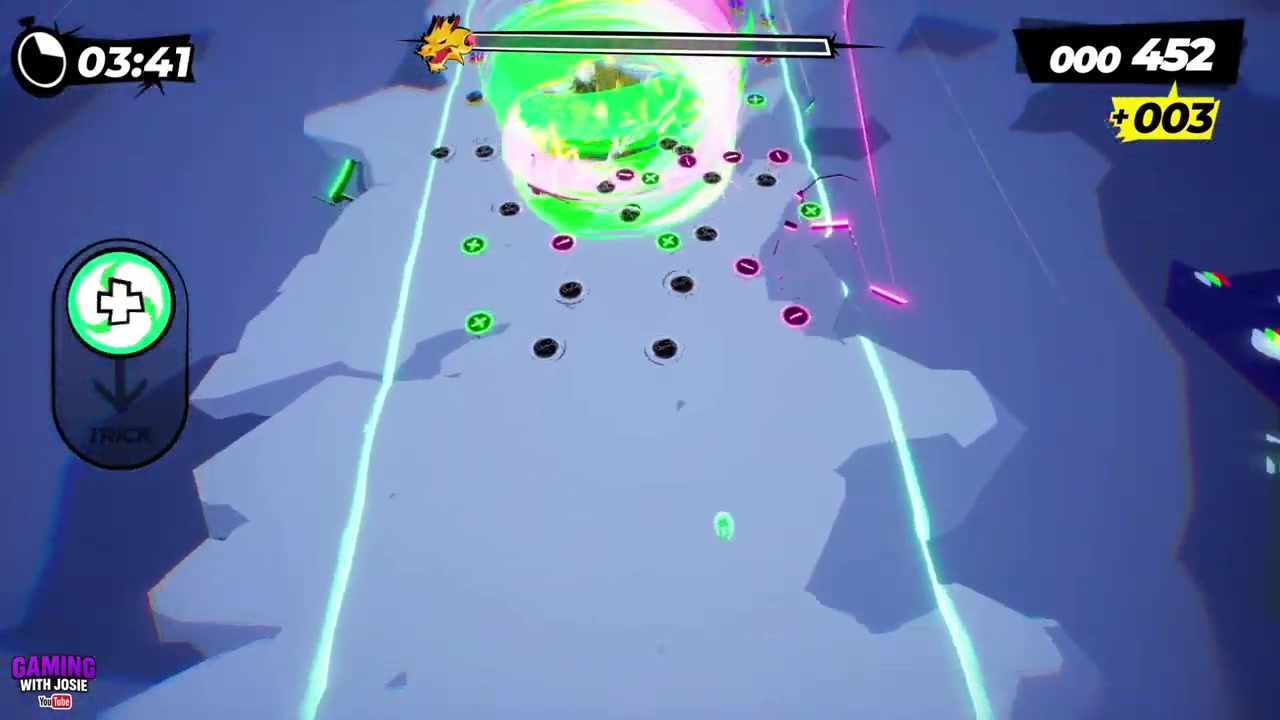
STEP 11/23
Dodge the ghost arms
Move around the ghost arms first, then prepare to attack when a skeleton arm appears.

STEP 12/23
Trick into the skeleton arm
Use a trick to destroy the skeleton arm during its opening.
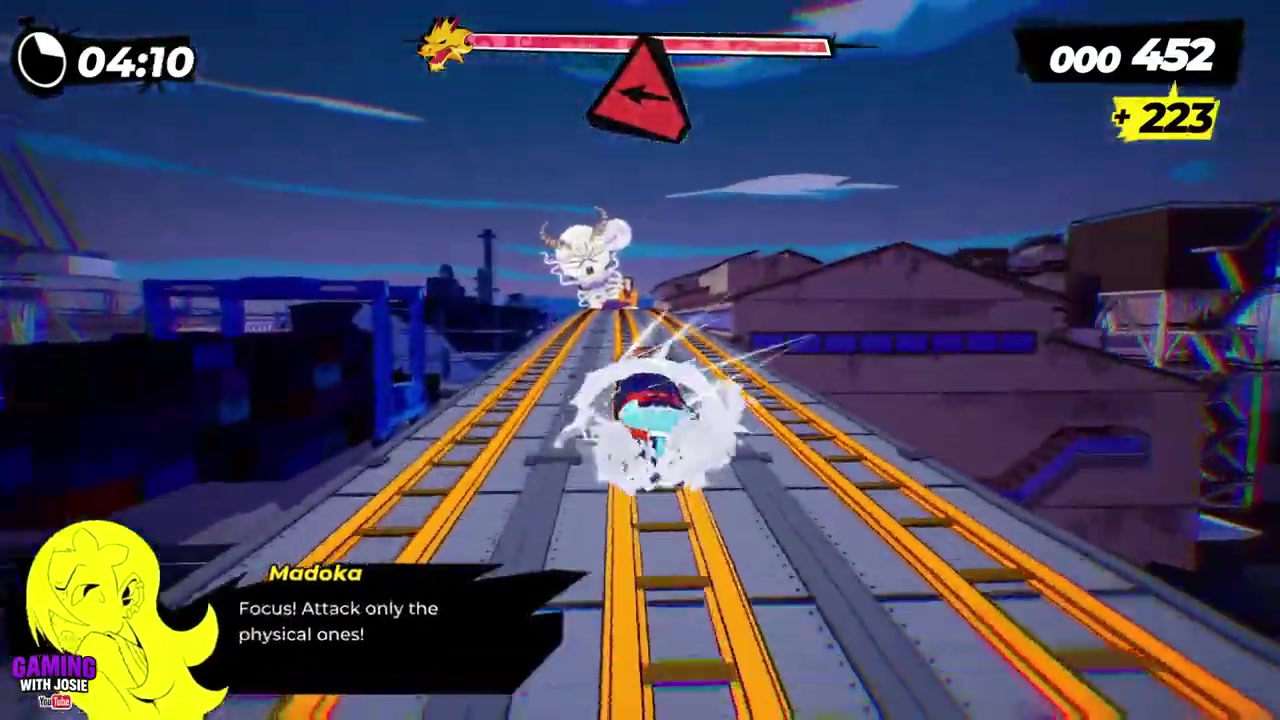
STEP 13/23
Keep jumps small
Make short jumps over the bumps and attack the next skeleton arm without overcommitting.

STEP 14/23
Shift to the upper track
Move up to avoid the bottom pattern, then drop back down as the safe lane changes.

STEP 15/23
Attack both skeleton arms
Hit the skeleton arm at the top, return to the bottom, and attack again.
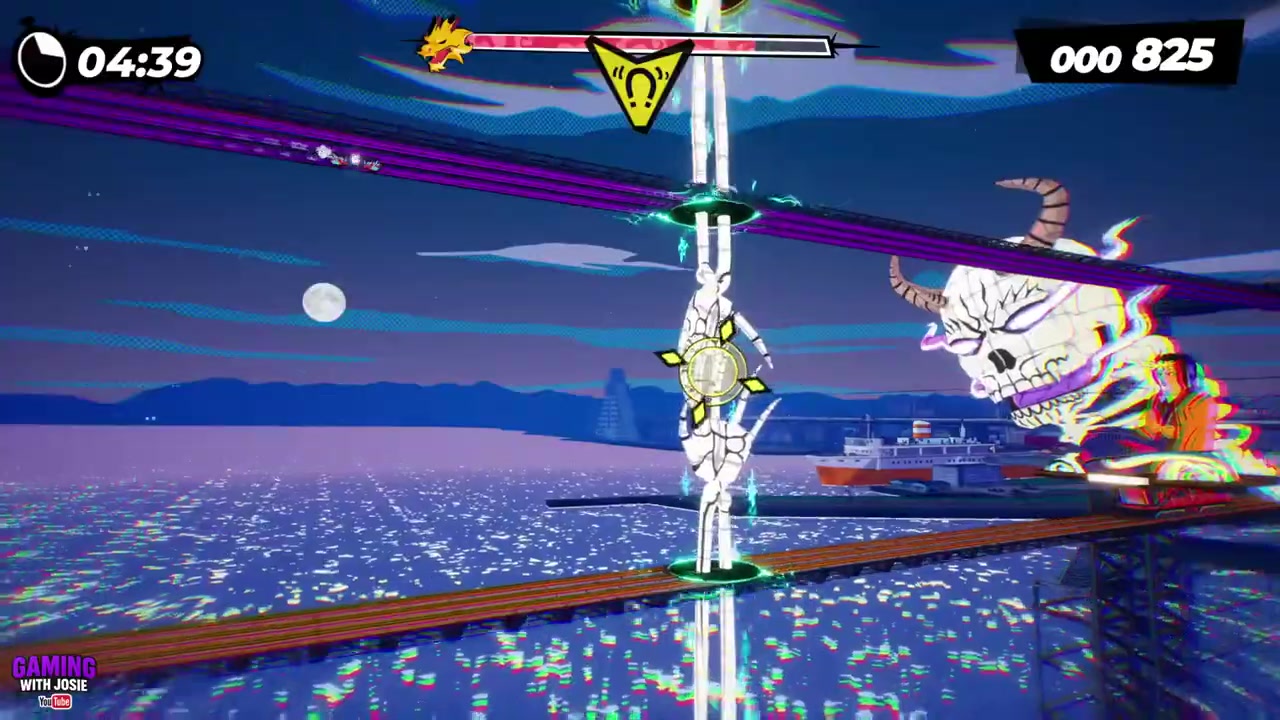
STEP 16/23
Tap between top and bottom
Shift up and straight back down without settling on the top track for too long.

STEP 17/23
Jump and slam skeleton arms
Jump, then slam down onto each skeleton arm before it reaches you.
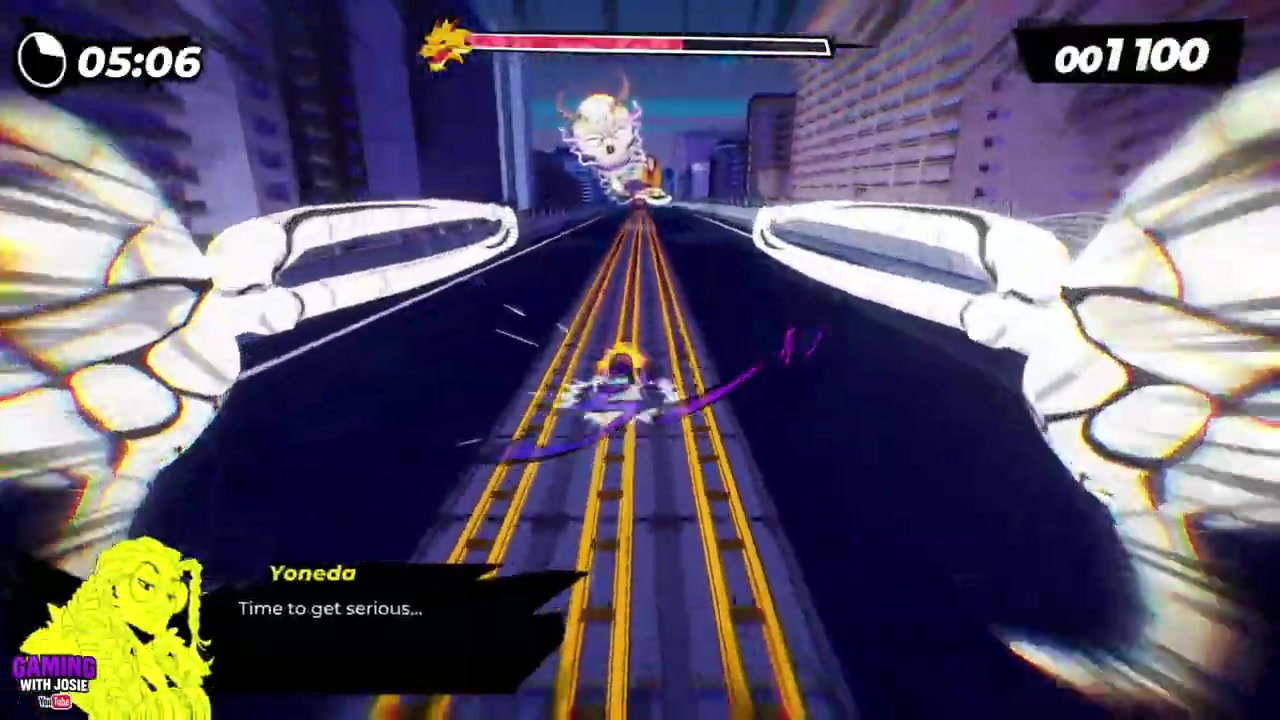
STEP 18/23
Jump the bite gaps
Use small jumps over the chomps in the track so you do not land in the next gap.

STEP 19/23
Drift into the teeth
After the bite gaps, drift into the teeth to deal damage.
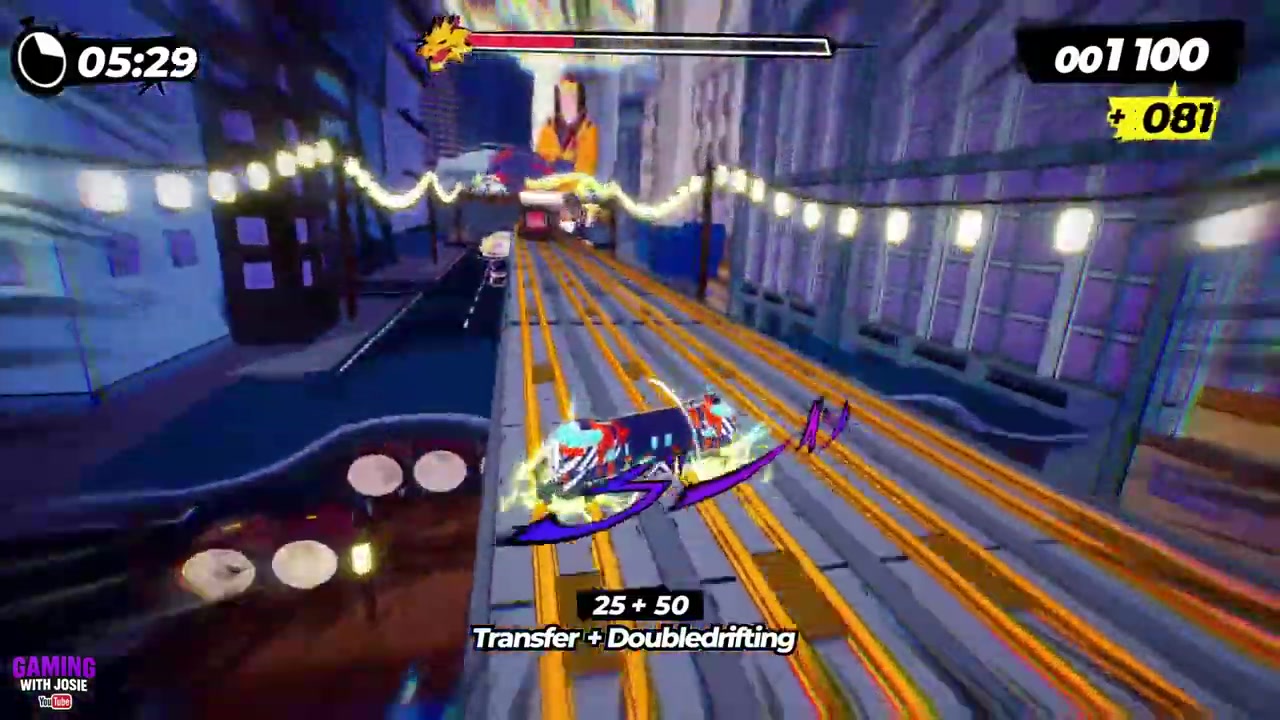
STEP 20/23
Repeat the small bite jumps
Keep the jumps low through the next chomp pattern, then drift into the teeth again.
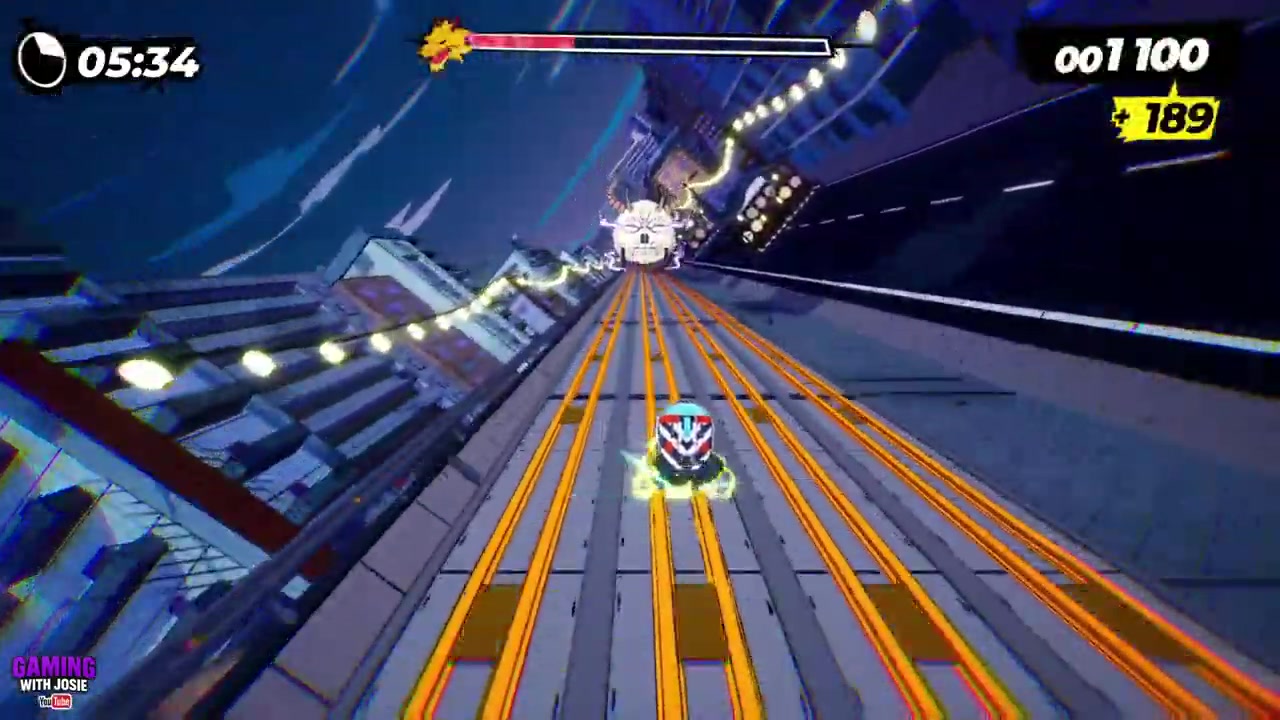
STEP 21/23
Clear the final bite set
Make the last small jumps and drift through the center opening.

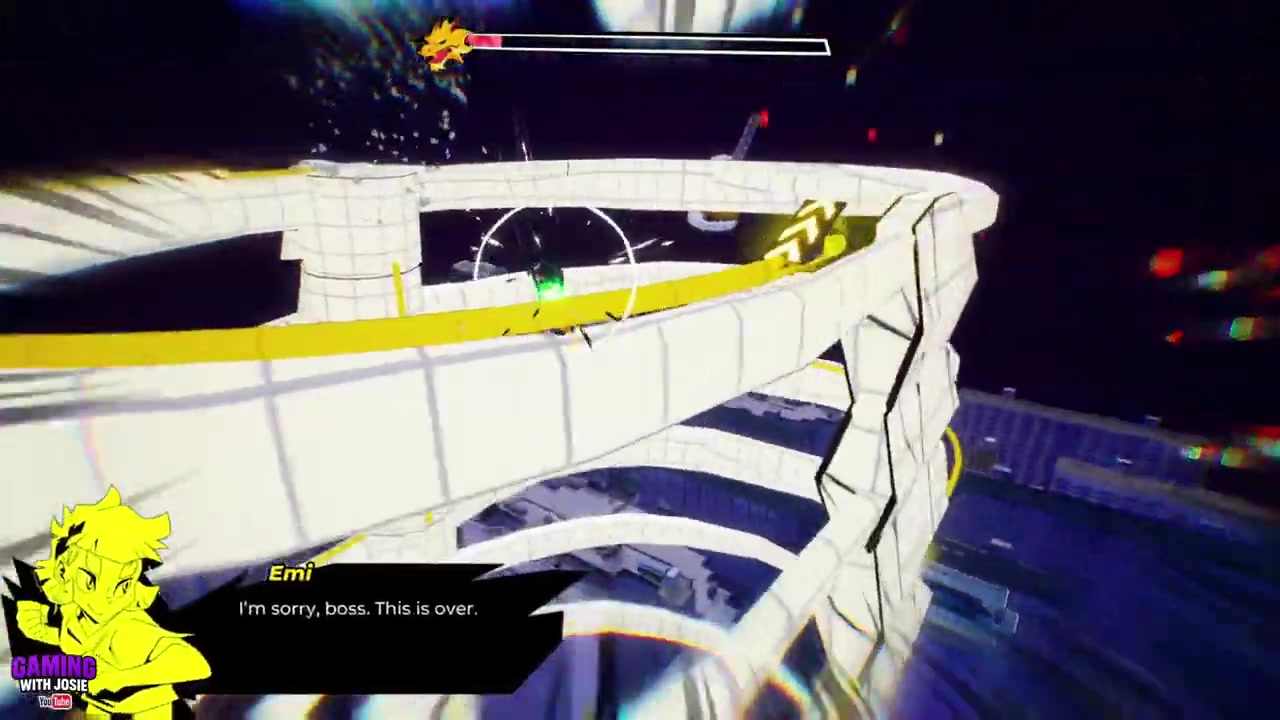
STEP 22/23
Slam down the spine
Ride the rail and slam down the spine, then continue through the rib cage and front section.
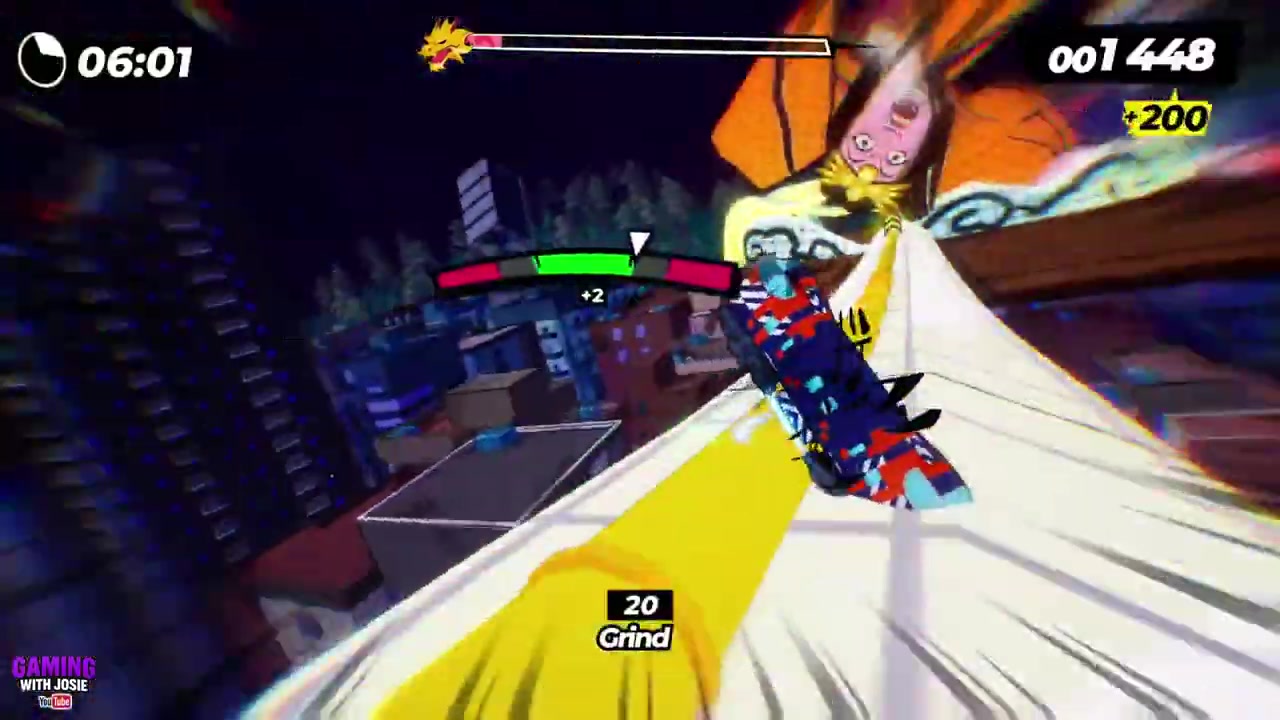
STEP 23/23
Finish Shihori Yoneda
Complete the final slam sequence to take her out.
Video help
Shihori Yoneda attacks and responses
| Attack | Response |
|---|---|
| Ghost arms | Steer around them and wait for the skeleton-arm opening. |
| Skeleton arms | Use a trick on the early arms, then jump and slam later arms before they reach you. |
| Upper/lower track waves | Shift up and down quickly, especially when the pattern asks you to leave the top track immediately. |
| Bite gaps | Make short jumps only; big jumps can carry you into the next hole. |
| Teeth drift points | Drift into the teeth after clearing each bite pattern. |
| Spine and rib cage | Stay on the rail and slam through the spine, rib cage, and front section. |
The main fight gets messy because Yoneda stacks hazards with track movement, but each pattern has a readable answer. The safest approach is to make small corrections early instead of swinging wide at the last moment.
Use smaller jumps than you think during the bite gaps; the danger is usually landing too far forward, not failing to clear the first chomp.
Mistakes that ruin the Shihori Yoneda clear
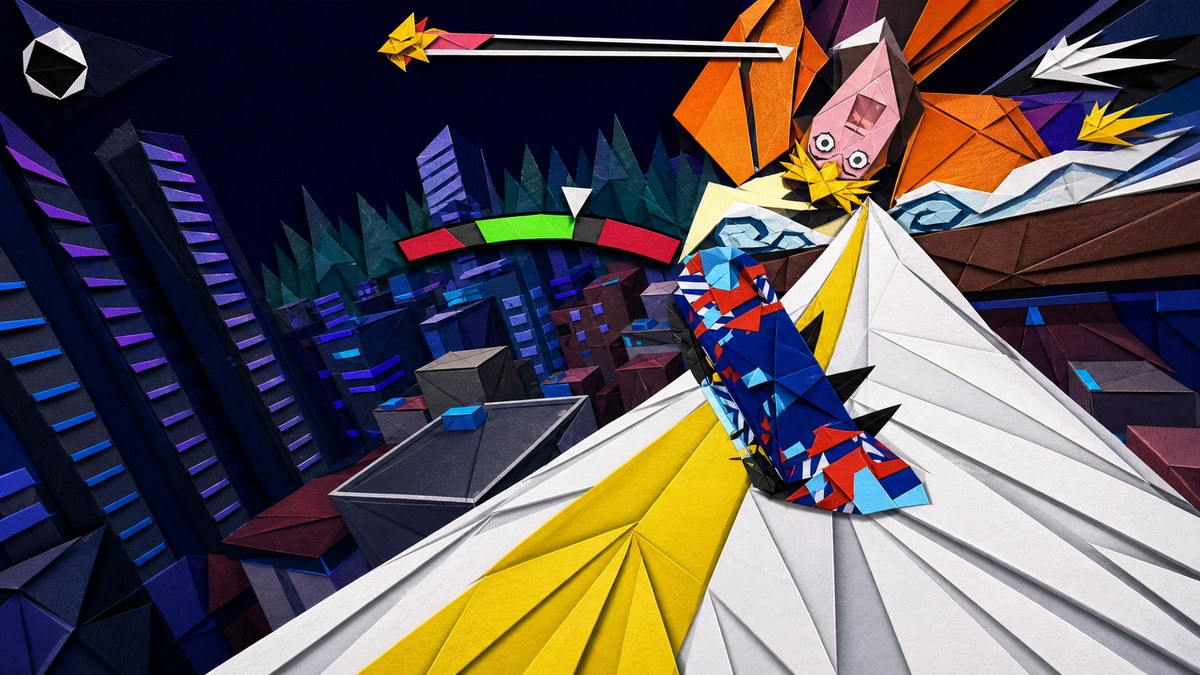
The easiest way to lose control is to over-jump the bite gaps. Yoneda places the chomps close enough that a huge jump can clear one gap and drop you into the next, so keep your inputs short and measured.
The orb section also punishes late color switching. If you forget to change between green and pink, or if you chase every orb instead of staying on a clean route, you can run straight into black or red hazards.
In the main fight, most deaths come from reacting too late to skeleton arms or rushing the upper-lower track section. Treat those moments as timing checks: shift, settle, attack only when the arm or rail line gives you the opening.
Arrow section dare
During the arrow gauntlet, there is an optional dare for dodging arrows at the very last second five times. It is worth attempting only if you are comfortable with the arrow timing, because it does not change the main route to Shihori Yoneda.
For a clean boss clear, prioritize staying alive through the arrows and taking any yellow launcher when it appears. The dare can wait until you are replaying the fight for extra objectives.
Frequently Asked Questions
Do you have to defeat the mini-boss phases before fighting Shihori Yoneda?
Yes. The encounter starts with the target-and-arrow gauntlet, then the plus/minus orb segment, and only after those are cleared does the main Shihori Yoneda phase begin.
How do you handle the plus and minus orb section?
Match your polarity to the orbs: switch between green and pink as the pattern changes, stay centered when the line is clean, and choose one color during chaotic waves if constant switching is making you crash.
What is the safest way to dodge Shihori Yoneda’s bite gaps?
Use short, low jumps. The bite gaps are spaced so that a bigger jump can overshoot the landing and put you into the following chomp.
How do you damage the skeleton arms?
Early skeleton arms can be taken out with a trick when they appear. Later in the fight, jump and slam down onto them quickly so they do not have time to reach you.
What is the optional arrow dare in this fight?
The dare asks you to dodge arrows at the last second five times during the pre-boss arrow section. It is optional and should not interrupt your main clear attempt.




Leave a Reply