
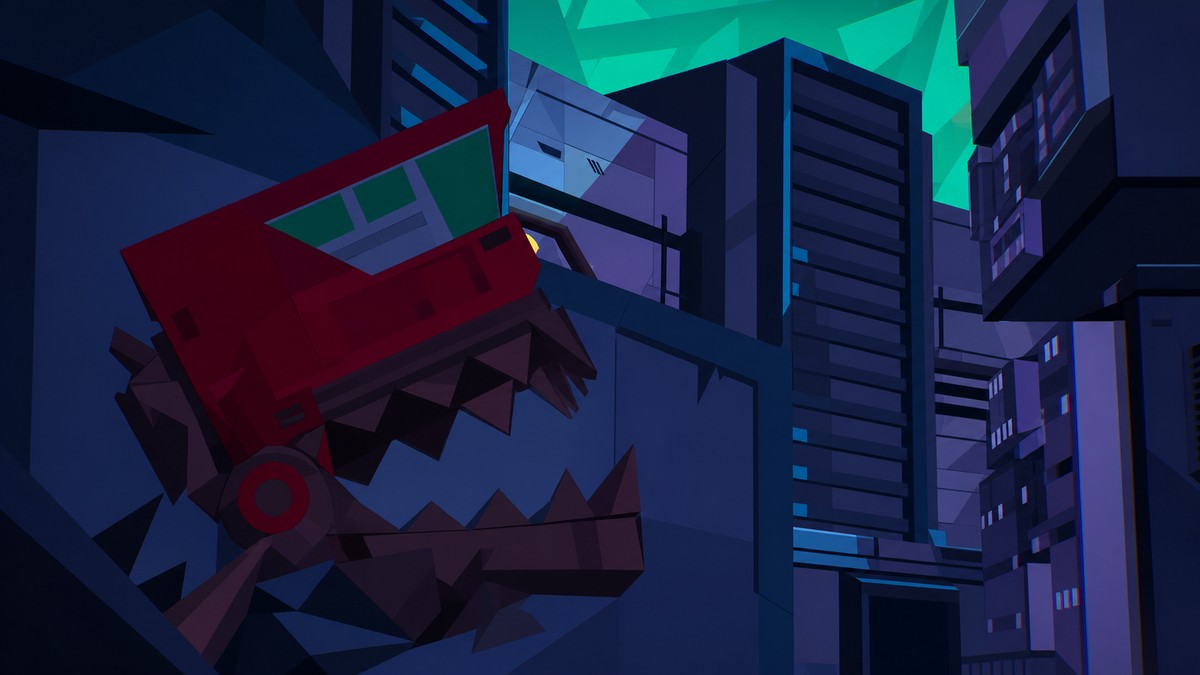
To defeat Brian Ishida, dodge his early lane and jaw attacks, charge the left-side meter by riding yellow roads while avoiding red pixels, then use tricks to fire electric shots into him before finishing the car-eating Jaws phase.
The boss may appear shortened to Brian in some places, but this guide uses Brian Ishida for the fight players are looking up. The encounter is mostly about reading lane tells, staying calm through the trap sections, and saving your trick aggression for the parts where the game clearly gives you space.
Brian Ishida fight at a glance
| Phase | What |
|---|---|
| Opening projectiles | Watch the firing lane and swap tracks before the shot reaches you. |
| Tunnel jaws | Follow the safe lane order through the biting tunnel pattern. |
| Track chomp | Move away once Brian lines up underneath your current rail. |
| Spiked door | Stay on the middle track and pass through without jumping. |
| Yellow-road charge | Ride yellow roads to fill the left meter and avoid red pixels. |
| Electric damage | Do tricks after the cutscene to fire blue shots into Brian. |
| Jaws finale | Eat cars to finish the sequence while steering clear of pink hazards. |
KEY!Brian Ishida’s fight moves through several short patterns before it turns into a damage race. Treat the first half as survival and meter-building; once the electric shots unlock, tricks become your main way to hurt him.
How to defeat Brian Ishida in Denshattack!
Use the early patterns to stay alive, fill the charge meter cleanly, then convert tricks into electric damage once the fight changes.
STEP 1/12
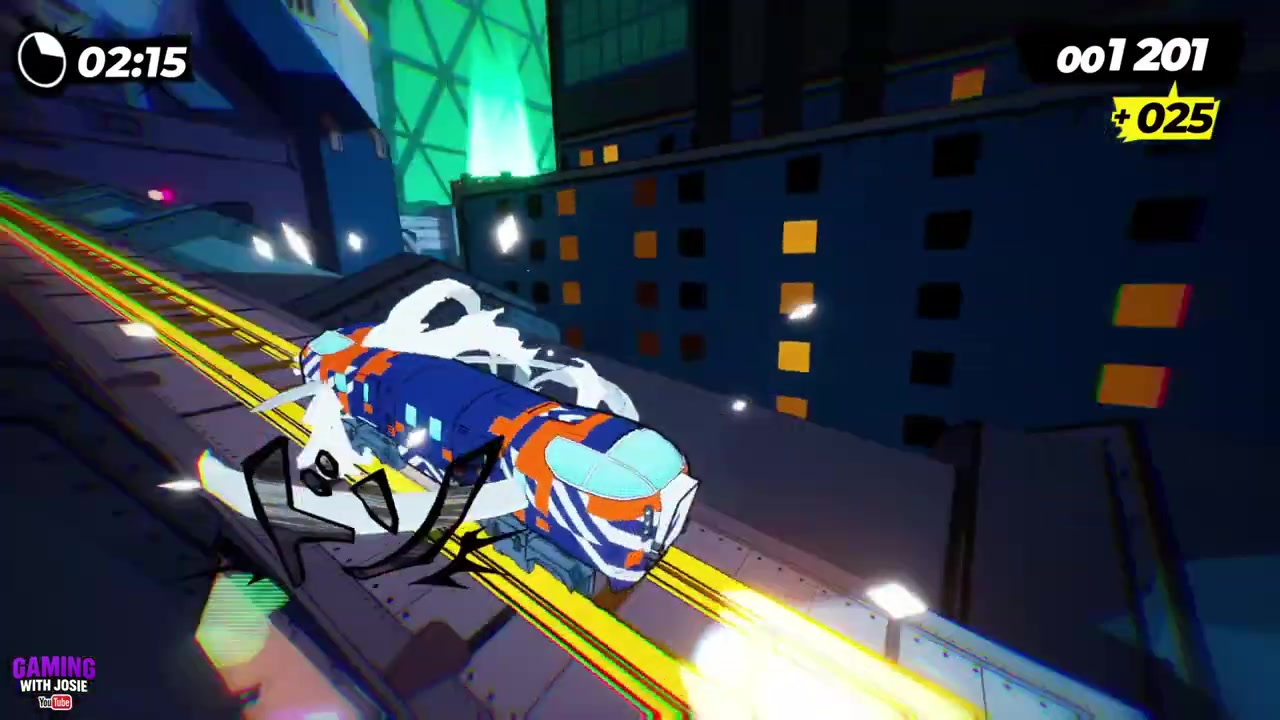
Dodge the opening projectiles
Watch where Brian aims, then change tracks left or right before the projectile reaches your lane.
STEP 2/12
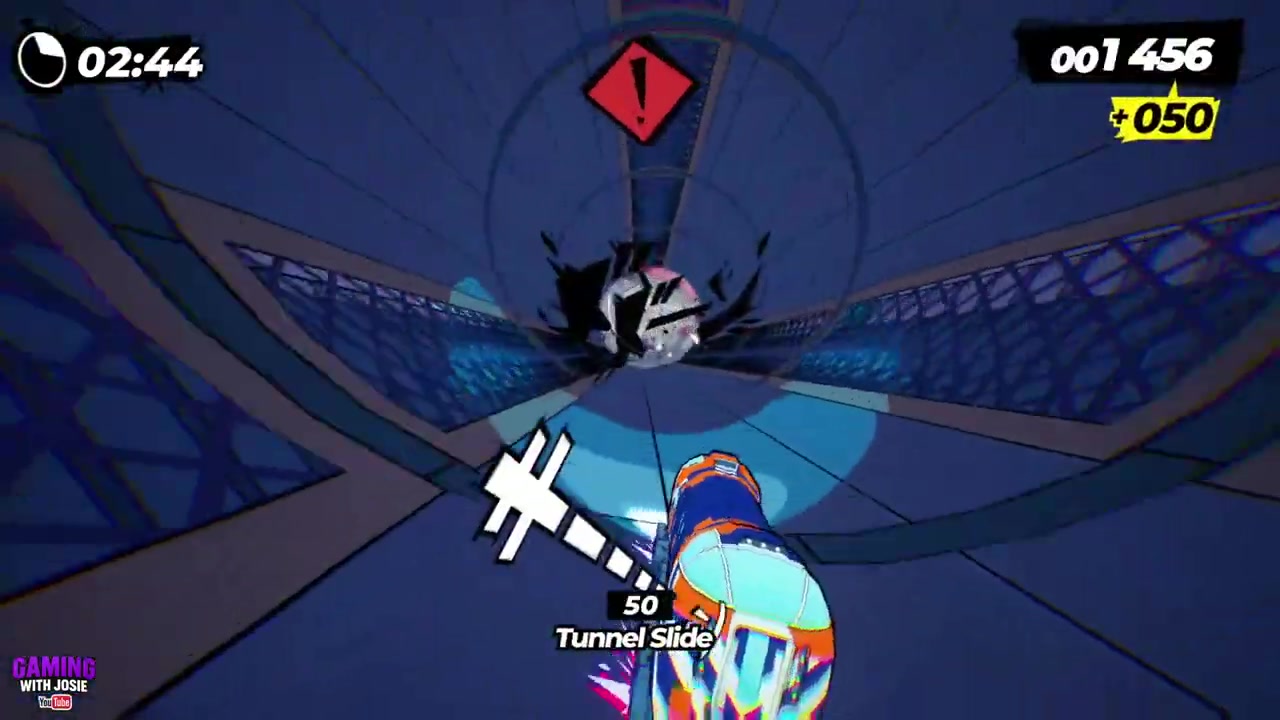
Follow the tunnel jaws pattern
Enter the tunnel and move through the jaws by going left, below, right, left, right, then below for the final bite.
STEP 3/12
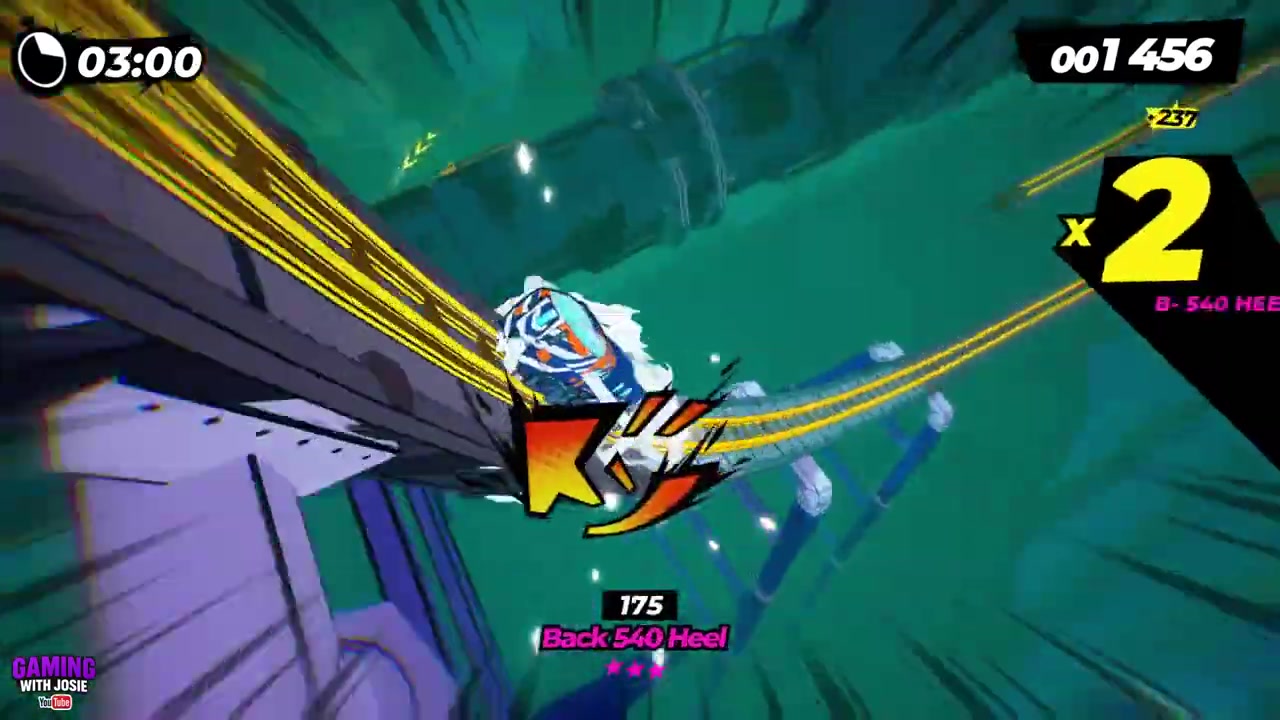
Avoid the chomp from below
Keep an eye under the tracks and move off the rail Brian is lining up to bite.
STEP 4/12
Stay centered through the spiked door
Jump the barricades before it, then hold the middle track and let the closing spikes pass around you.
STEP 5/12
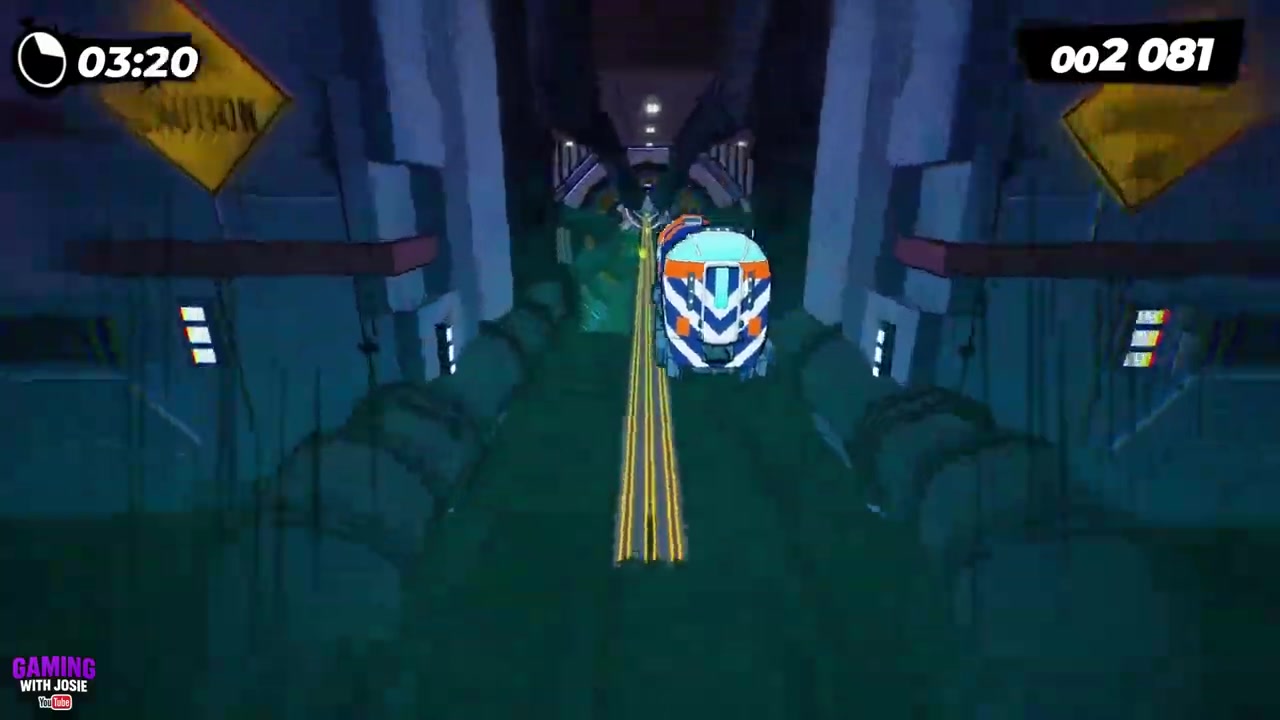
Charge the left-side meter
Ride the yellow roads to fill the bar on the left, and treat every red pixel as a hazard.
STEP 6/12
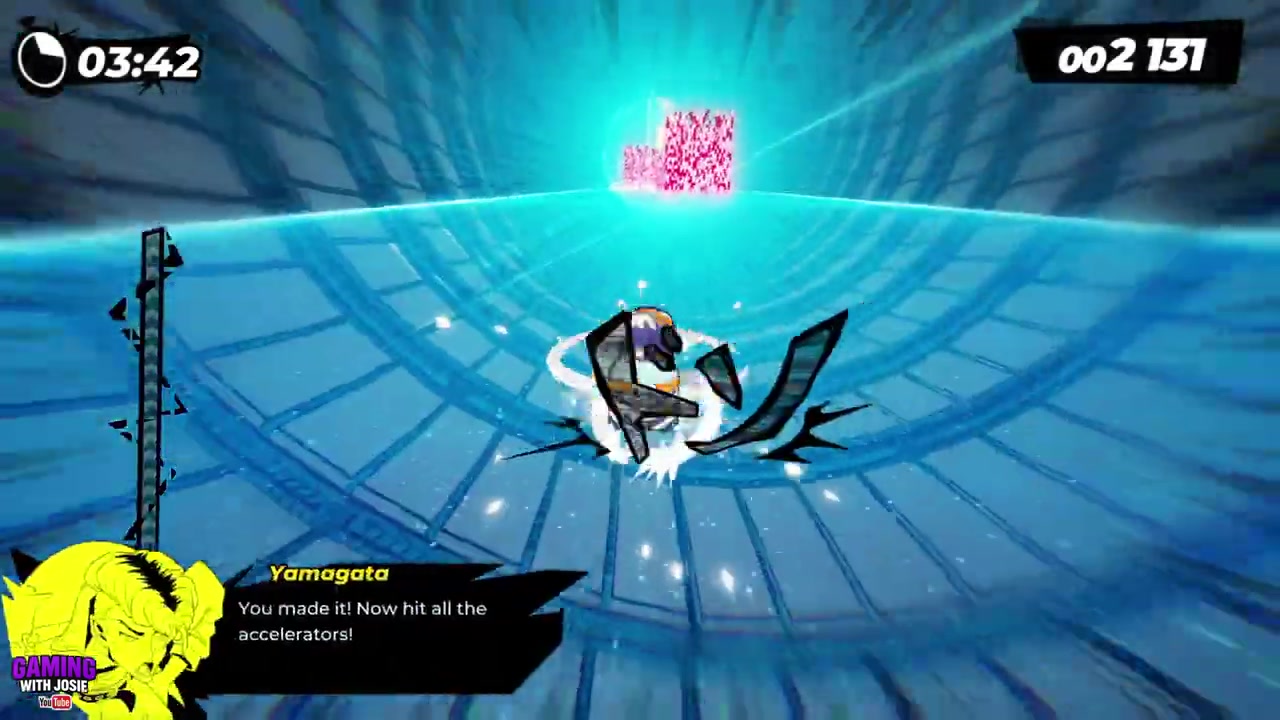
Do not chase risky yellow roads
If a yellow route sits near red pixels, take the safer line instead of forcing the charge.
STEP 7/12
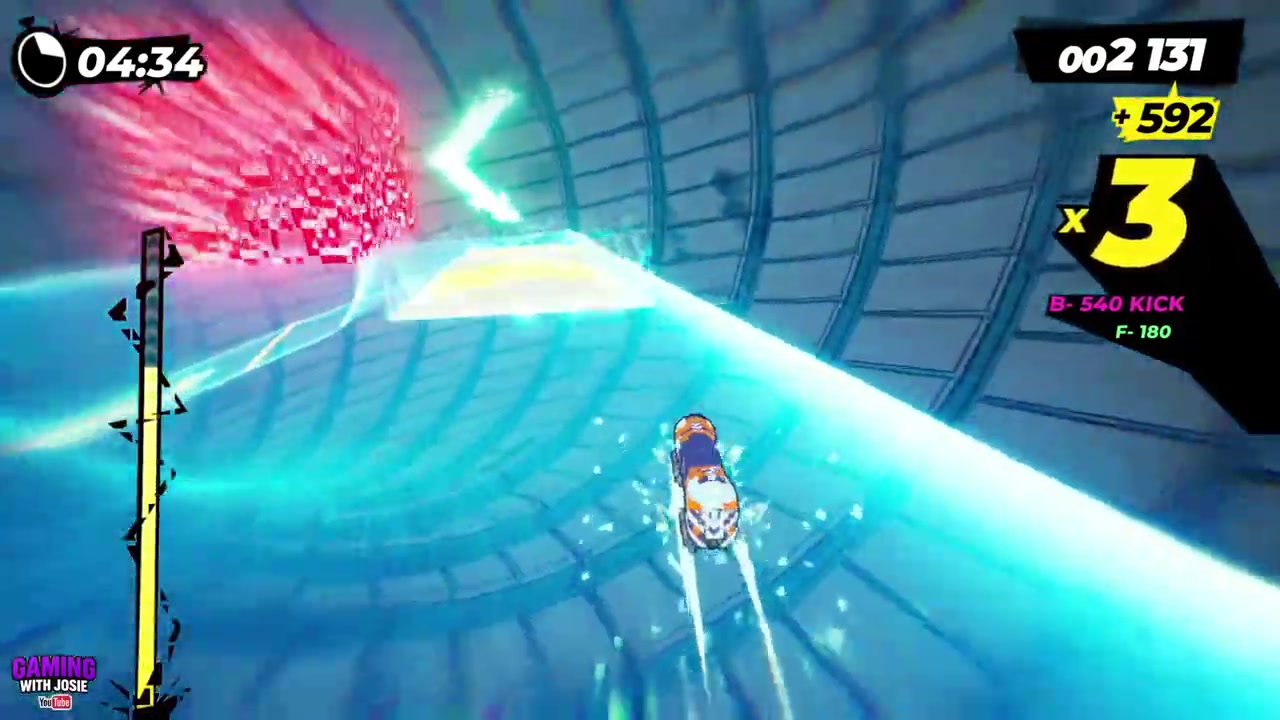
Turn tricks into electric shots
After the cutscene, every trick fires a blue electric projectile that damages Brian.
STEP 8/12
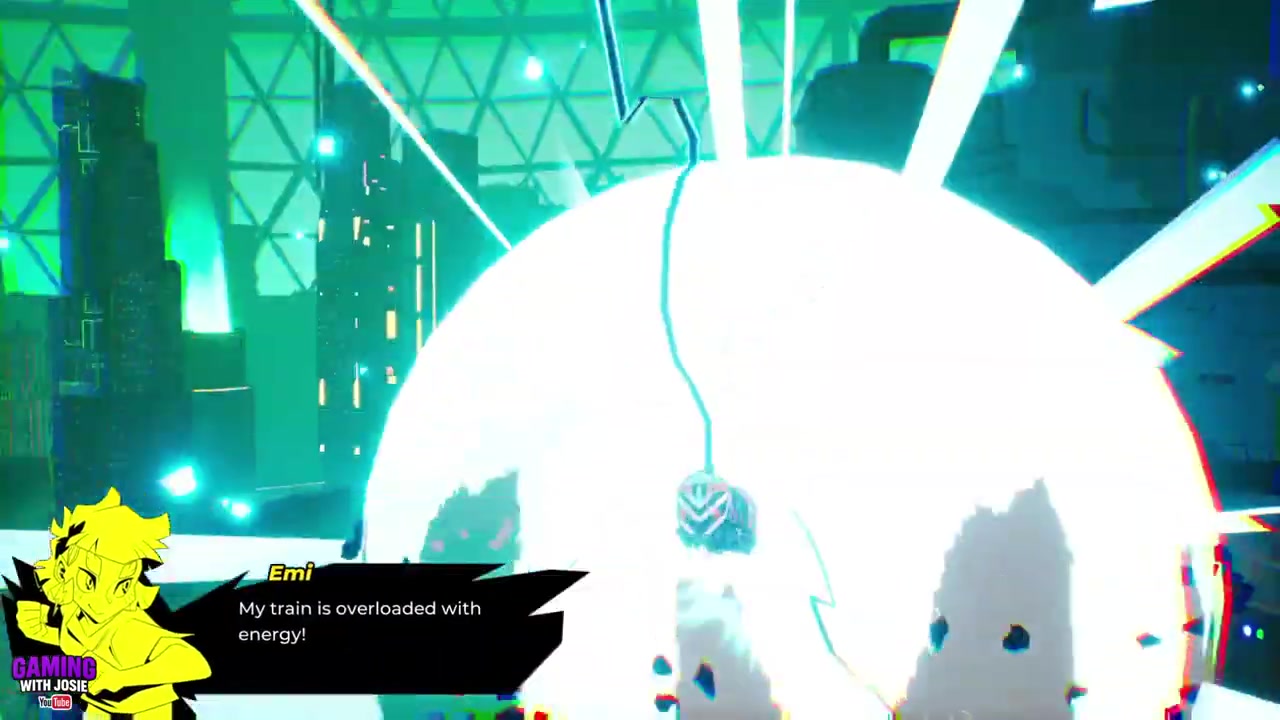
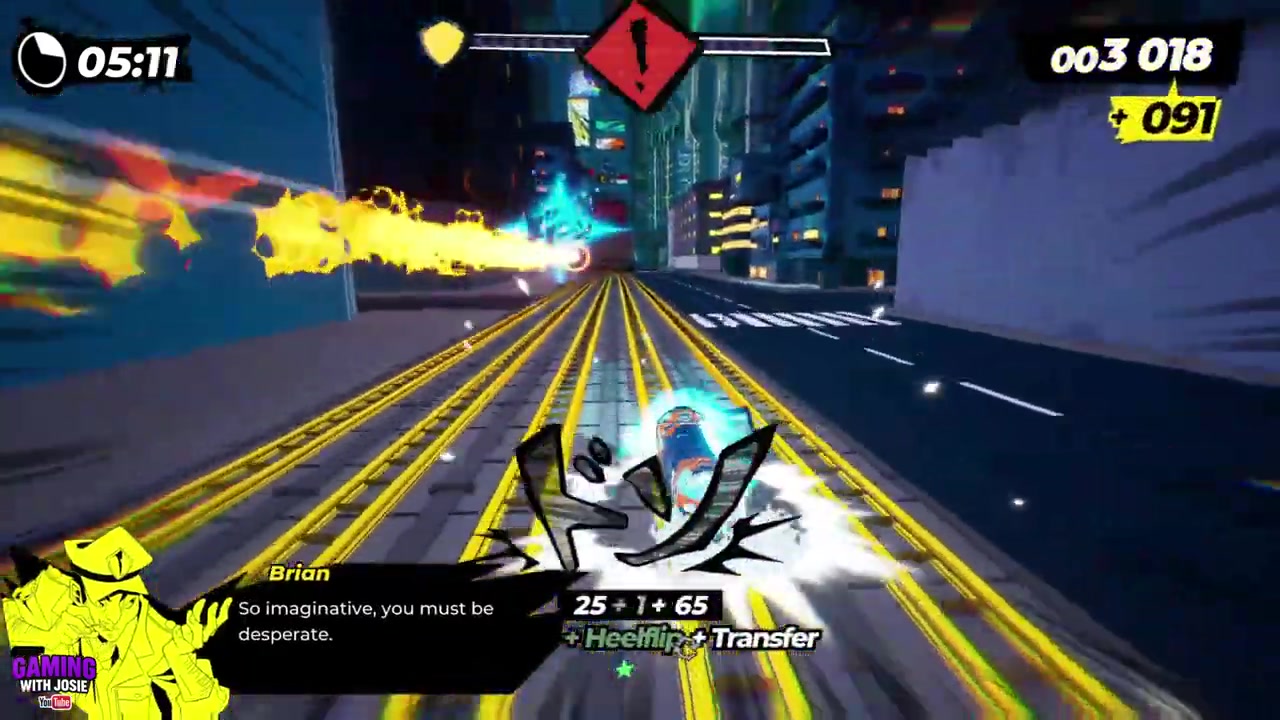
Trick over the first fire beam
Jump early over the fire beam and perform a trick in the air to send a shot into him.
STEP 9/12
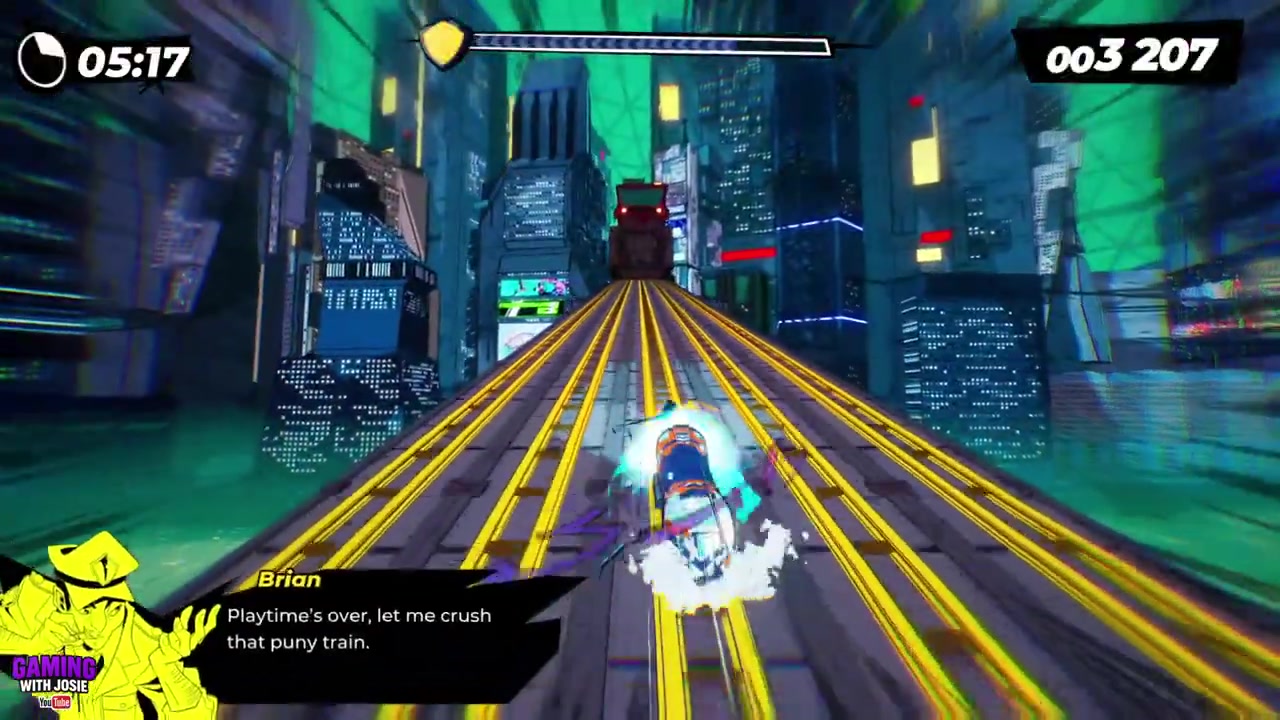
Survive the heavy fire section
When the fire pattern gets busy, focus on left-right movement instead of trying to add tricks.
STEP 10/12
Resume attacks after the dense fire
Once the lane pressure eases, jump early over fireballs and use tricks again for more electric shots.
STEP 11/12
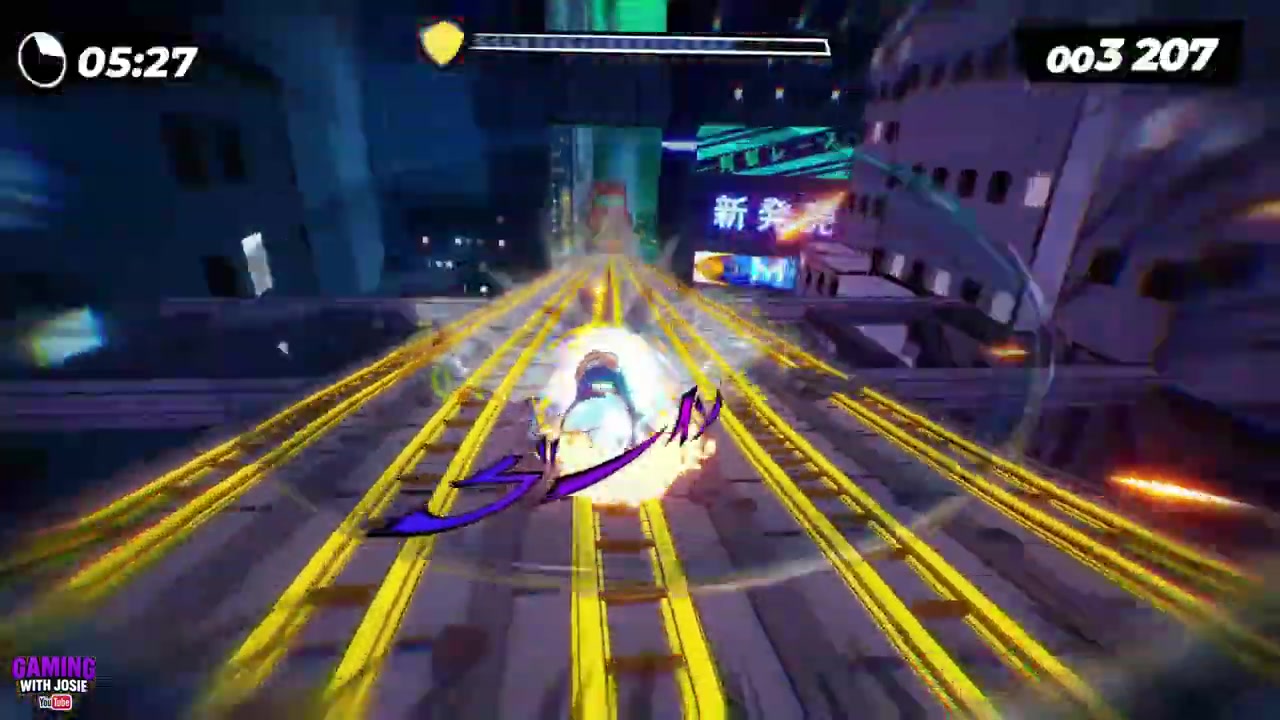
Use the wind for rapid damage
Jump into the wind section and chain spins to fire several attacks before the final sequence.
STEP 12/12
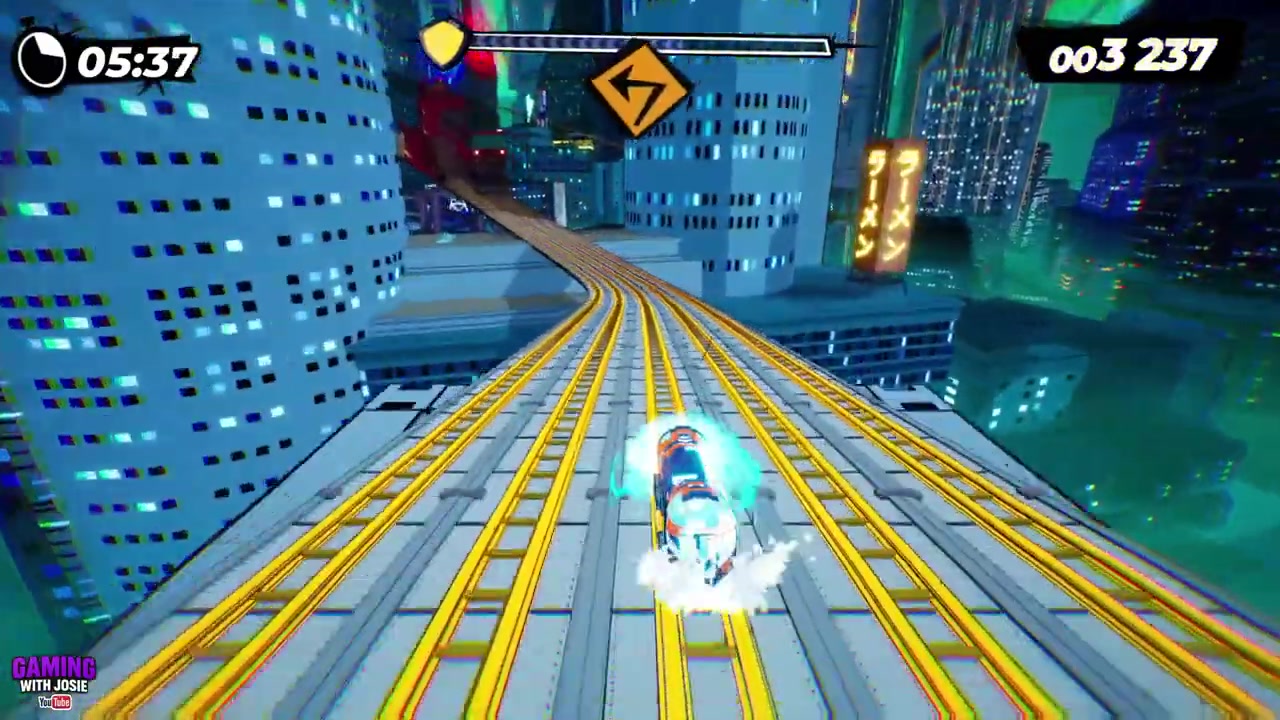
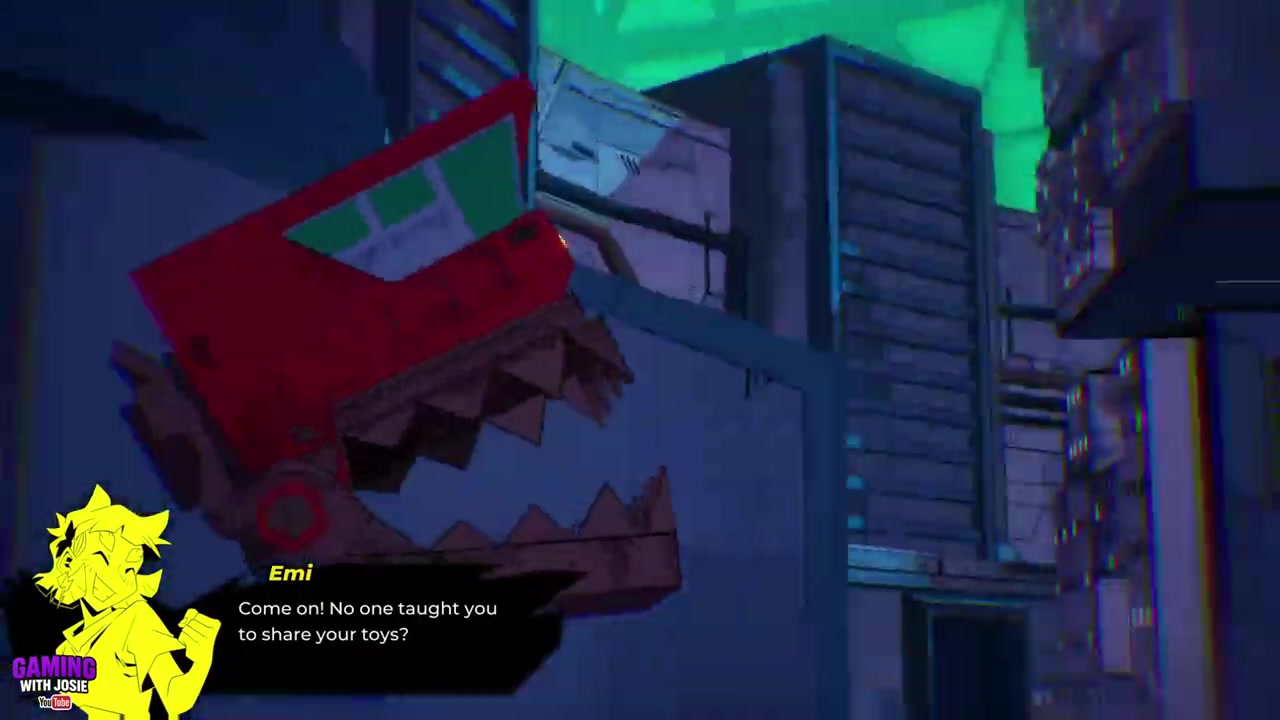
Finish as Jaws
Eat the cars through the last stretch and avoid the pink hazards until the fight ends.
Save your tricks for clear windows: use them for electric shots after the meter is charged, but drop the style play when fire fills the lanes.
Video help
Surviving Brian Ishida’s hardest patterns
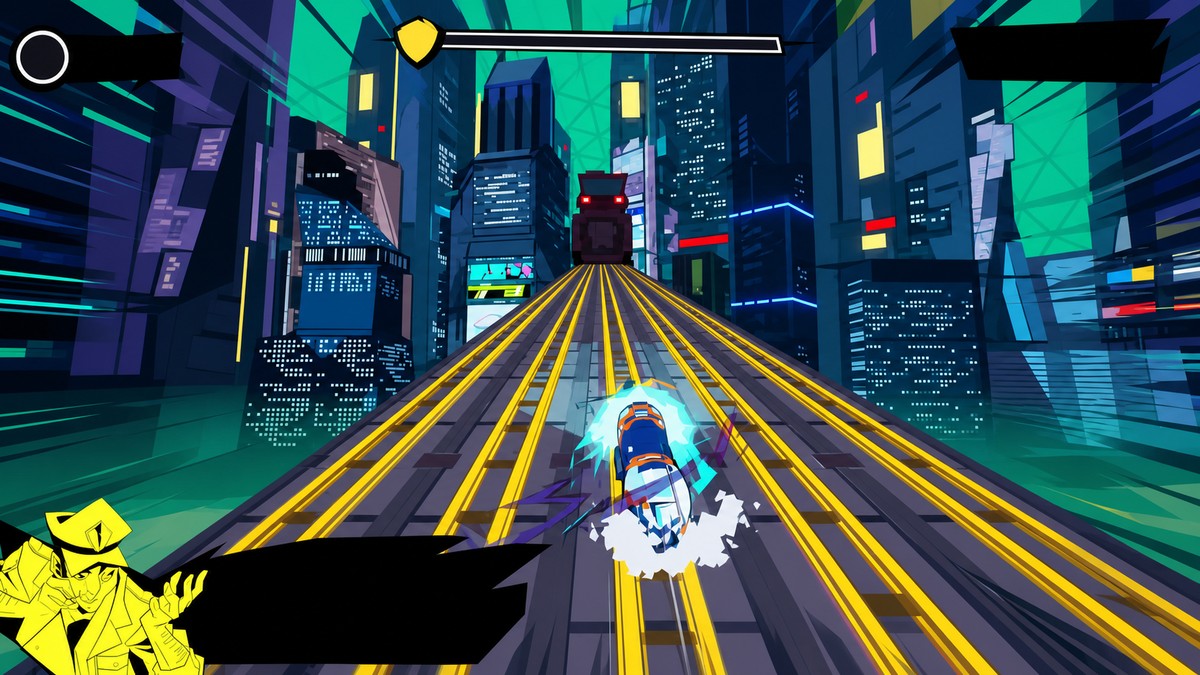
The spiked closing door is the easiest place to overreact. It looks like a jump check, but the safer play is to stay on the middle track after clearing the barricades, because the train fits through the opening without needing an extra jump.
The charge section rewards patience more than speed. Yellow roads fill the meter, but the red pixels are positioned to punish greedy routing, so take a clean line first and only add tricks when the road is open enough to recover.
Once electric shots are active, tricks are worth damage, but they are not worth taking a hit during dense fire. The best burst window comes in the wind section, where you can chain several spins quickly and land multiple attacks before the finale begins.
Common mistakes against Brian Ishida
Most failed runs come from trying to style through sections that are built for dodging. Dense fire is a lane-reading check, not a scoring window, so unnecessary tricks there can leave you committed in the air when a fireball or beam arrives.
The other big mistakes are visual ones: missing small red pixel hazards during the meter charge, jumping too late over fireballs after the electric phase begins, or clipping the pink hazards while controlling Jaws at the end. In the finale, eating cars is straightforward as long as you do not drift into pink while chasing them.
Frequently Asked Questions
Do you need to jump through the spiked closing door?
No. Jump the barricades before it, then stay on the middle track; the train fits through the spiked door without another jump.
How do you damage Brian Ishida after charging the meter?
After the meter is filled and the cutscene ends, performing a trick launches a blue electric shot at Brian and removes health.
Should you do tricks during the fire-dodging section?
No. During the busiest fire pattern, stick to lane changes and survival, then start tricking again once the attack spacing opens up.
What do the yellow roads and red pixels do?
Yellow roads charge the meter on the left side of the screen. Red pixels are hazards, so route around them even if that means giving up a greedy yellow-road line.
What should you avoid in the final Jaws phase?
Avoid the pink hazards. Your goal in that last section is simply to eat the cars through to the end without touching pink obstacles.




Leave a Reply