
You can get Experimental Hogyoku Shards in VV: Ultimatum from daily rewards, raid chests, the Hogyoku wish that gives 7 shards, high-level missions, codes when active, and paid or trading routes depending on availability.
The Experimental Hogyoku Shard is one of the most useful reroll items in VV: Ultimatum, but it is spread across a handful of very different sources — some free and repeatable, some tied to codes that rotate, and one shop route that keeps shifting between patches. This guide covers what the shard actually does and every known way to farm it, so you know which routes are worth your time and which to treat as bonuses.
What an Experimental Hogyoku Shard rerolls
| Detail | Value |
|---|---|
| Rarity | Rare |
| Value | 400 Skull |
| Droppable | Yes |
| Bankable | Yes |
| Reroll result | Shikai (Shinigami), Resurrección (Hollow/Arrancar), Schrift (Quincy) |
An Experimental Hogyoku Shard is a Rare consumable whose whole job is to reroll your race’s weapon form. When you use one, it strips your current form and hands you a random new one based on your race: for Shinigami it rerolls your Shikai, for Hollow and Arrancar it rerolls your Resurrección, and for Quincy it rerolls your Schrift.
KEY!The important limit is that it only touches your weapon form. It will not change your ability type, your stats, or your skill tree, so you can chase a better Shikai or Schrift without fear of losing your build. One in-game description loosely suggests the shard can reset a build or refund other progression, but the item’s own behavior is a weapon-form reroll and nothing more — that is the version to trust. Because it is both droppable and bankable, you can safely stockpile shards before you commit to rerolling.
Best ways to farm Experimental Hogyoku Shards
| Method | How it works |
|---|---|
| Daily rewards | Complete daily tasks and claim rewards for a steady, free shard trickle. |
| Raid chests | Run raids and open the chests, which have a chance to hold shards. |
| Hogyoku wish | Use The Hogyoku and pick the “I want 7 Experimental Shards” wish for 7 at once. |
| Level 70+ missions | Shards start dropping naturally from missions at level 70 and above. |
| Redeem codes | Codes hand out shards when the developers release them. |
| Trading | Trade regular Hogyoku Shards plus small adds for Experimental Shards. |
| War Medal shop | A coach NPC may sell one shard for 50 War Medals, though the location varies. |
| Microtransactions | Buy shards directly if you want them faster. |
The two routes you should lean on every single day are daily rewards and raid chests — they cost nothing, they refresh constantly, and they are the most reliable way to build a stockpile over time. Missions at level 70 and above are the endgame source: below that, these shards simply do not drop, so grinding low-level content for them is wasted effort. Once your account is deep enough, high-level mission farming becomes the only truly infinite tap once codes dry up.
The biggest single haul comes from the Hogyoku wish, which drops 7 shards in one go — more on that below. The remaining routes are situational. Trading runs at a rough community rate of one Hogyoku Shard plus small adds per Experimental Shard, but that rate floats, so it is easy to overpay. The War Medal shop reportedly lists a shard for 50 War Medals at a coach NPC, though the shop’s location has been described both as sewers in the Human World and a black-market coach in Hueco Mundo, so expect it to move or vary by patch. And microtransactions are always there if you just want to skip the grind.
Save your Hogyoku for the “I want 7 Experimental Shards” wish — it is by far the most efficient single source and gives you enough shards for several rerolls at once.
Using the Hogyoku wish for 7 shards
The Hogyoku wish is the fastest way to grab a batch of shards in one sitting, and it is worth understanding the item chain behind it before you spend.
STEP 1/4
Gather regular Hogyoku Shards
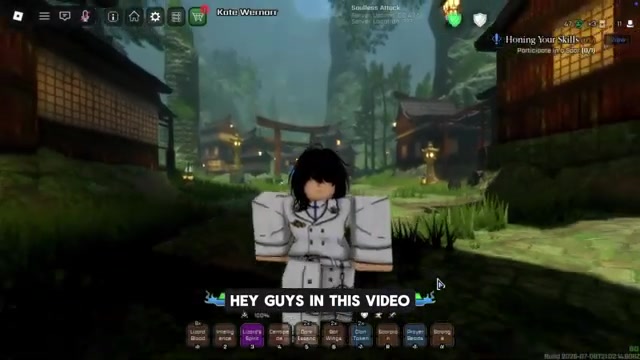
Collect regular Hogyoku Shards through dailies, raids, and events; some reports put The Hogyoku’s cost at 8 Hogyoku Shards.
STEP 2/4
Craft The Hogyoku
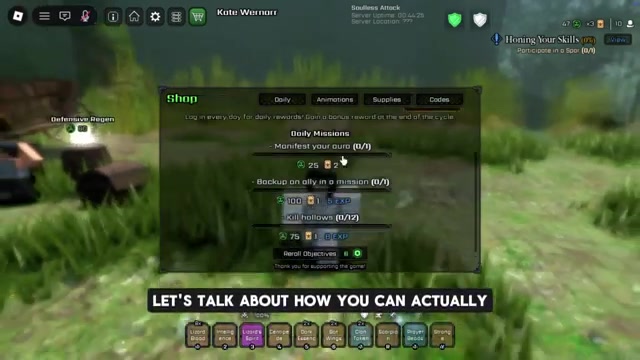
Combine those shards into The Hogyoku, the item that unlocks the wish system.
STEP 3/4
Open the wish menu
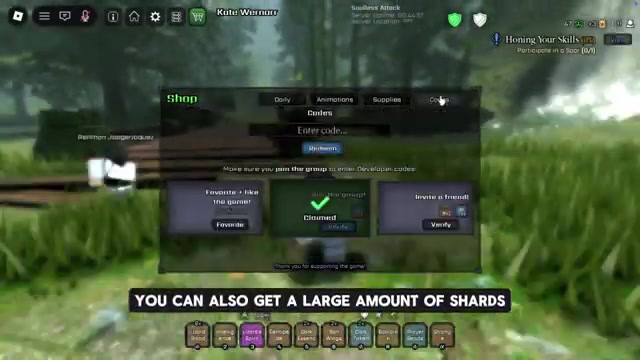
Use The Hogyoku to bring up its list of wish options.
STEP 4/4
Choose the 7-shard wish
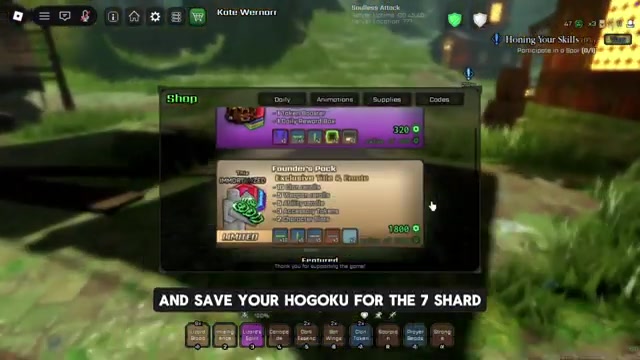
Select “I want 7 Experimental Shards” to receive 7 Experimental Hogyoku Shards at once.
Keep the two items straight: regular Hogyoku Shards are the crafting material for The Hogyoku, while Experimental Hogyoku Shards are what the wish pays out and what you actually spend on weapon-form rerolls.
Video help
Codes that reward shards
| Code | Reward |
|---|---|
| SDFIX | 5 Experimental Hogyoku Shards + 3 Reiatsu Color Rerolls |
When the developers push a code, it can include Experimental Hogyoku Shards as a reward. The one currently making the rounds is SDFIX, which pays out 5 Experimental Hogyoku Shards and 3 Reiatsu Color Rerolls. VV: Ultimatum codes rotate and expire without warning, so redeem it as soon as you can — if it has already lapsed, it simply will not verify.
Redemption has one step players routinely miss. First, join the Midnight Continent Roblox group from the game’s page. Then finish the in-game tutorial so the Shop button appears in the top-right of the UI. Open Shop, switch to the Codes tab, verify your group membership, type the code, and press Redeem. If you skip the group, the Codes tab refuses to verify and a perfectly valid code looks broken.
What to do before you spend shards
Every reroll is completely random, so treat these shards like currency you save rather than spend the moment you have one. If you are hunting a specific Shikai, Resurrección, or Schrift, burning a single shard and hoping for the exact form you want almost never works on the first try.
Build up a small pile — several shards at minimum — before you start rerolling toward a target form. Spending one at a time feels wasteful the moment you roll something you do not want and have nothing left to reroll again, so a buffer keeps you from getting stuck one roll short of the form you were chasing.
Mistakes that waste shards
The most common tangle is confusing the three similarly named items: regular Hogyoku Shards craft The Hogyoku, The Hogyoku grants wishes, and Experimental Hogyoku Shards reroll your weapon form. Mixing them up leads to spending the wrong material at the wrong step.
A few other traps to avoid: expecting drops from low-level missions when these shards only appear at level 70 and above; forgetting to join the required Roblox group before redeeming codes; and overpaying in trades, where the going rate drifts and it is easy to hand over far more than a shard is worth.
Frequently Asked Questions
What does an Experimental Hogyoku Shard do?
It rerolls your race’s weapon form — your Shikai, Resurrección, or Schrift — replacing your current form with a random new one.
Can Experimental Hogyoku Shards change your stats or skill tree?
No. The shard only rerolls your weapon form. It does not touch your ability type, stats, or skill tree, so your build stays intact.
What is the fastest way to get multiple Experimental Hogyoku Shards?
The Hogyoku wish “I want 7 Experimental Shards” gives 7 shards at once, making it the best source when you need several rerolls. Stack it on top of daily rewards and raid chests for a steady supply.
Does the SDFIX code still work?
SDFIX is reported to give 5 Experimental Hogyoku Shards and 3 Reiatsu Color Rerolls, but VV: Ultimatum codes rotate often, so it may have expired. Try it right away — if it no longer verifies, it has lapsed.
Are Experimental Hogyoku Shards the same as regular Hogyoku Shards?
No. Regular Hogyoku Shards are the crafting material for The Hogyoku, while Experimental Hogyoku Shards are the reroll item used on your weapon form.
More questions⤵
Should you save shards before rerolling?
Yes. Rolls are random, so if you want a specific form, save several shards first rather than spending them one at a time and getting stuck without a reroll.




Leave a Reply