
To fix the dismantled kiln at Kilnden Workshop, place the two correct kiln fragments on top with Axiom Force, use an aerial Force Palm to lock each piece in, then push the side lever to restart the kiln.
The dismantled kiln is one of several repair jobs inside Kilnden Workshop, and it trips people up because the fix looks fiddlier than it is. Once you know that only two fragments matter and that the Force Palm has to come from above, the whole thing takes under a minute. Below is the exact order, the alignment cue to watch for, and the mistakes that make players think the kiln is bugged.
- Where the dismantled kiln fits in the Kilnden Workshop quest
- The two kiln pieces you actually need
- How to repair the dismantled kiln in Crimson Desert
- What the green and blue highlights mean
- If the kiln still won’t complete
- Nearby Kilnden Workshop objectives to tackle next
- Frequently Asked Questions
Where the dismantled kiln fits in the Kilnden Workshop quest

This step belongs to the Kiln Repair at the Kilnden Workshop objective, and the specific line you are chasing here reads “Fix the dismantled kiln.” It is easy to confuse with the other kiln tasks in the same interior, so keep them straight: this is the one where you physically stack broken pieces and slam them into place.
It is not the disconnected kiln (a separate repair nearby) and not the fuel step where you feed the kiln five glowing orbs. Those come with their own prompts. If your current objective marker points at a kiln with missing top sections and loose rubble around it, you are in the right place.
The two kiln pieces you actually need
| Part | Cue |
|---|---|
| Lower / middle ring-like piece | Rests near the kiln next to the NPC; rough broken edges, open ring shape — grab this one first. |
| Upper flat-top / chimney piece | The covered fragment with a flat top; it seats on top of the first piece and highlights green when turned the right way. |
Ignore the spare closed-top debris scattered around the workshop — those solid, capped pieces will never snap into alignment no matter how you angle them. If a fragment refuses to glow green when you hover it over the kiln, it is the wrong piece; back off and grab a rough-edged, broken one instead. The second required piece is described a little differently depending on where you look — behind the kiln, a smaller circular part on the left, or a flat-top cover — but it is the same top component, so trust the visual cue over any fixed location.
How to repair the dismantled kiln in Crimson Desert
Work the two fragments onto the kiln in order, lock each one with an aerial Force Palm, then throw the lever to bring it back online.
Grab the first piece near the NPC
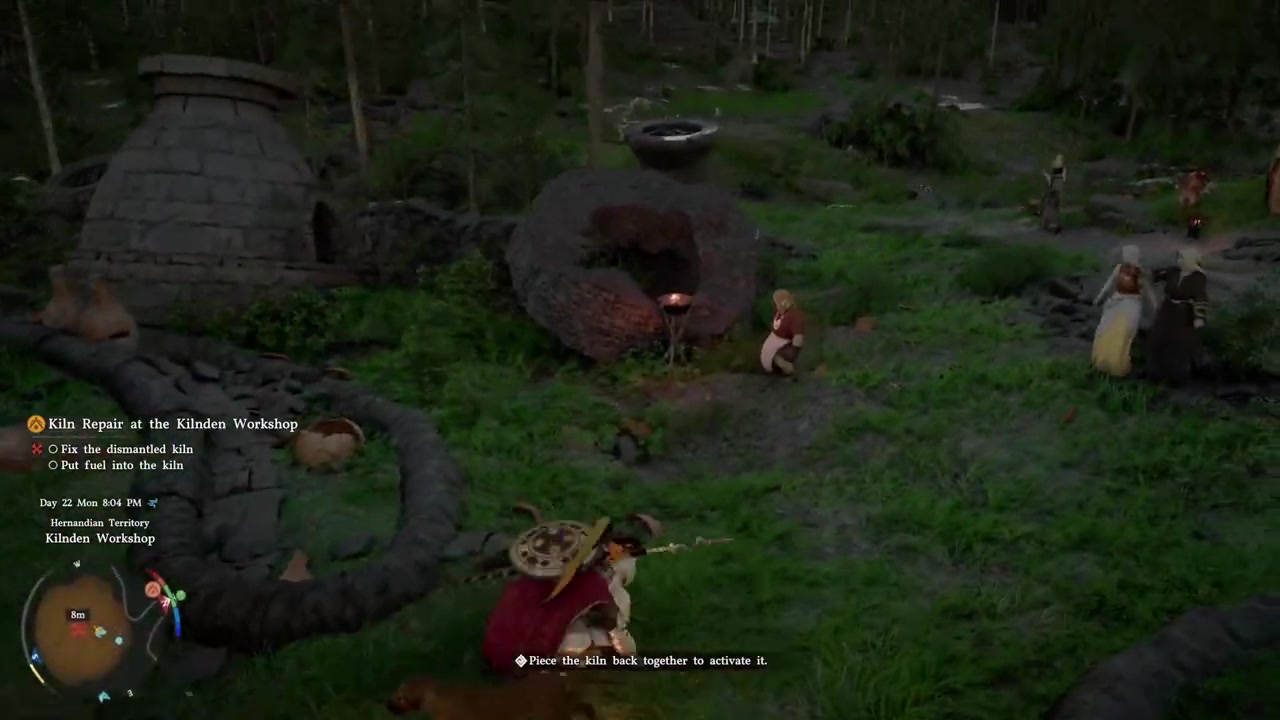
Hold L3 to activate Axiom Force and lift the ring-like fragment sitting beside the NPC.
Line it up until it turns green
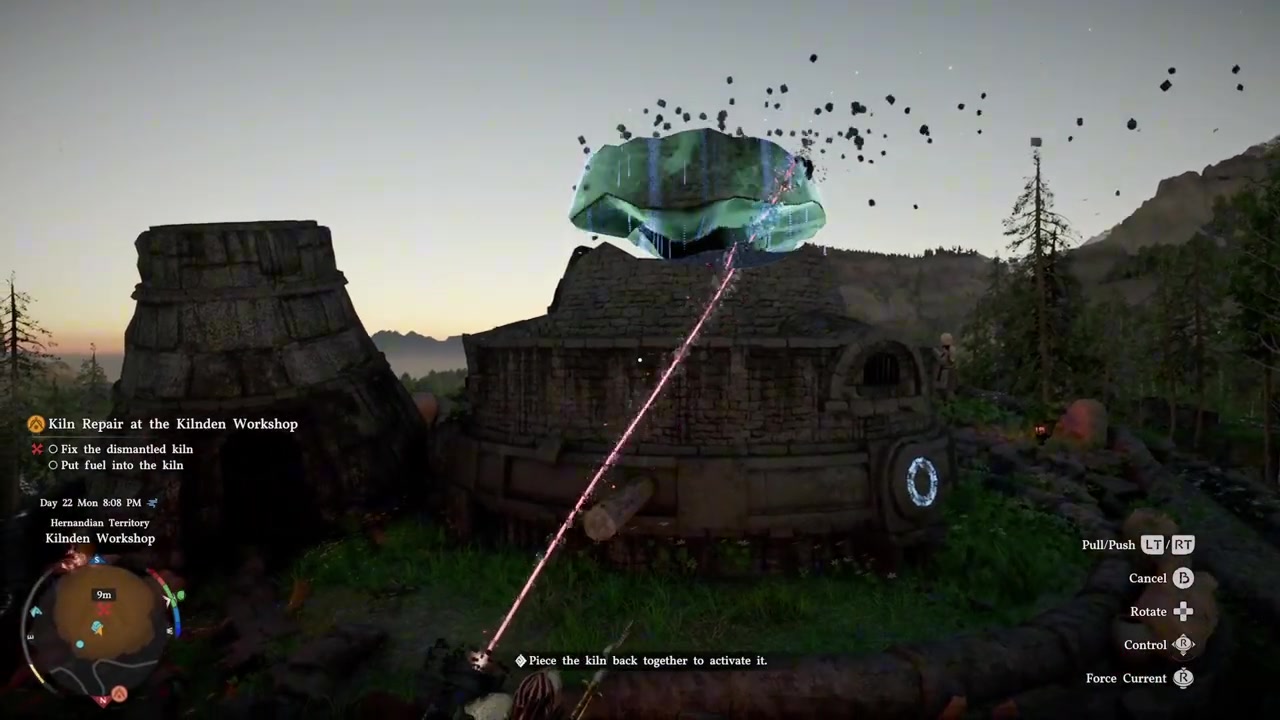
Hover it over the kiln and adjust until it highlights green, which means it is correctly aligned.
Set it down on the kiln
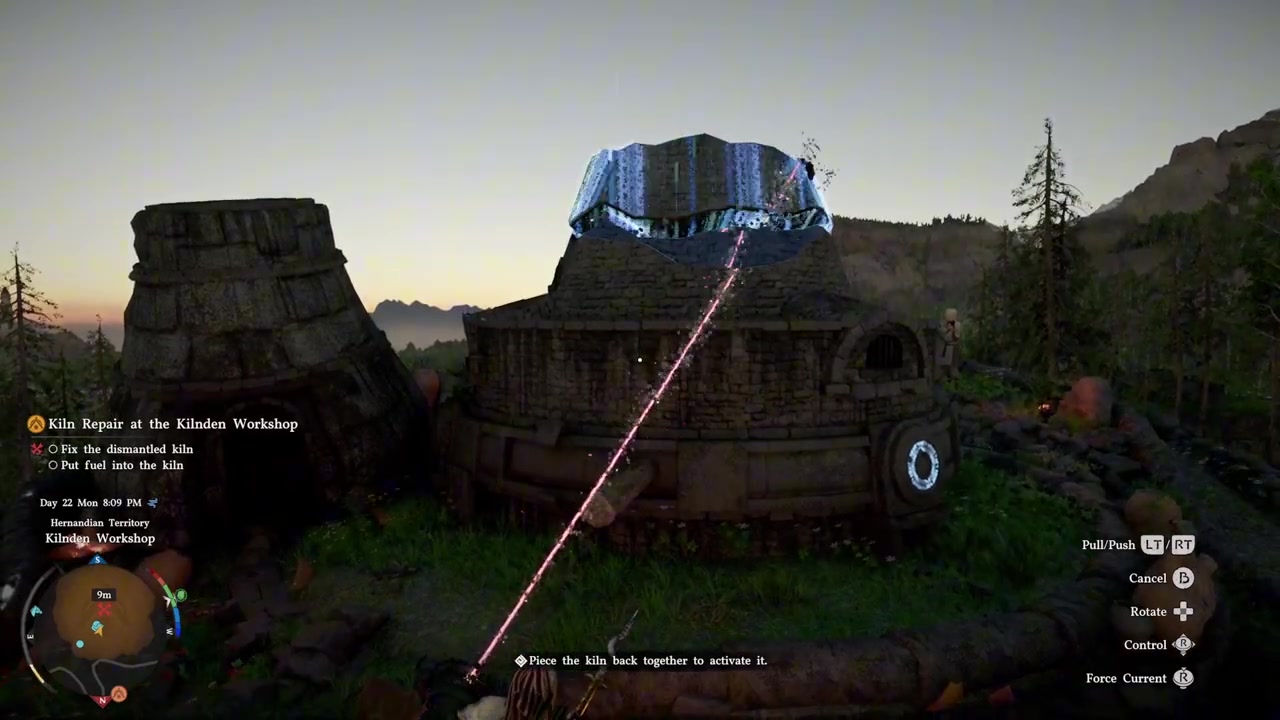
Place it as close as you can; while it stays green, it is seated in the right spot.
Climb on top and Force Palm it
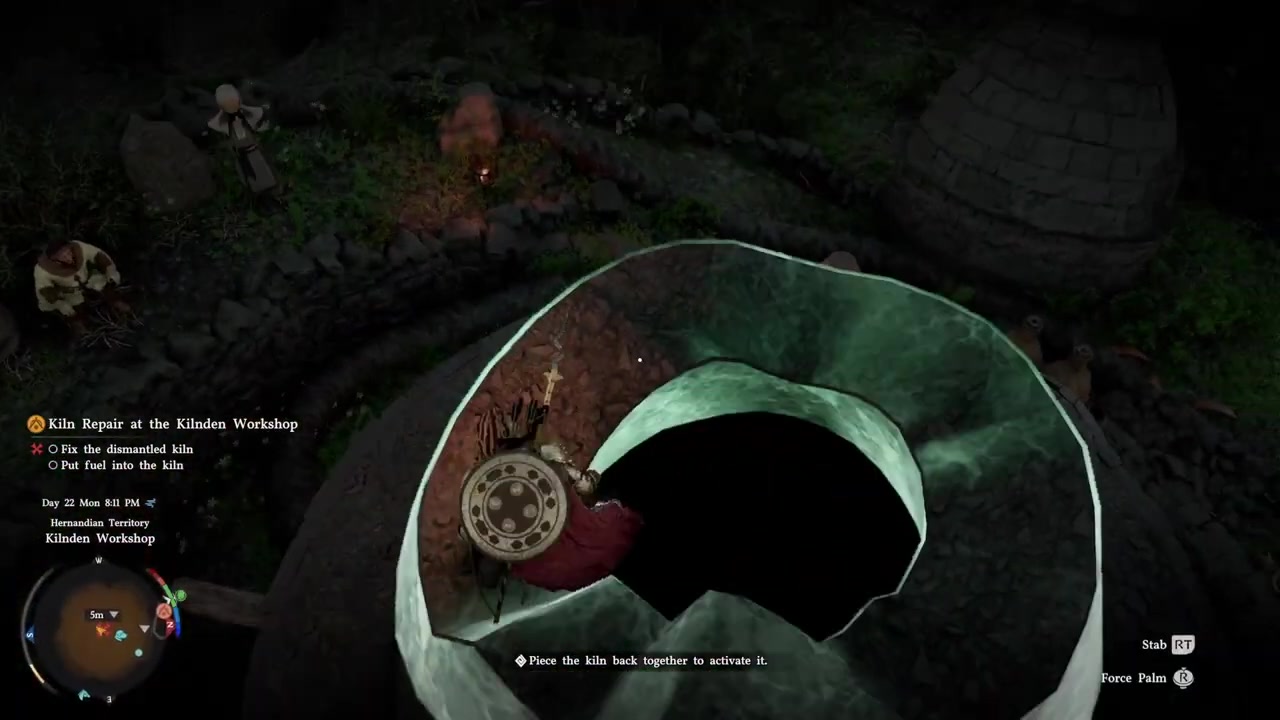
Get onto the piece, crouch, then trigger Force Palm (commonly R3) downward to slap it into place.
Grab the second flat-top piece
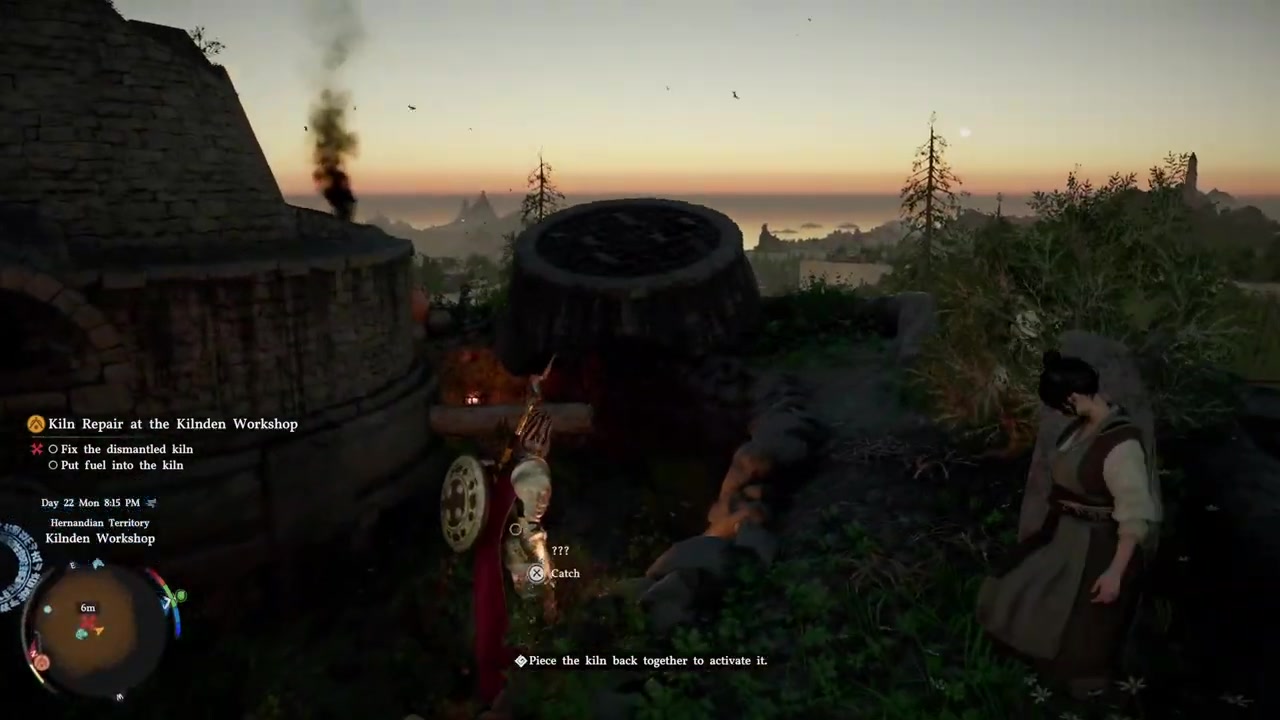
Use Axiom Force again to lift the covered, flat-top fragment onto the kiln.
Rotate it until green, not blue
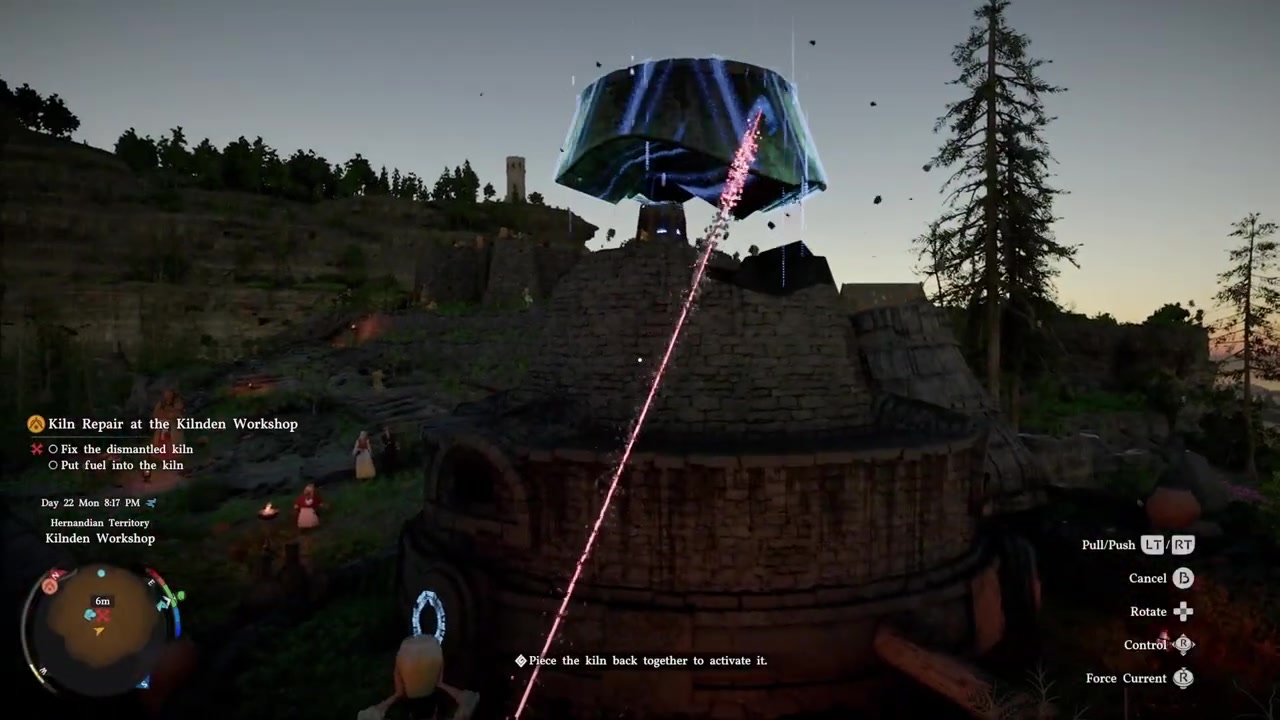
Turn it until it reads green; if it flips to blue, it is misaligned and will not lock.
Rest it on top of the first
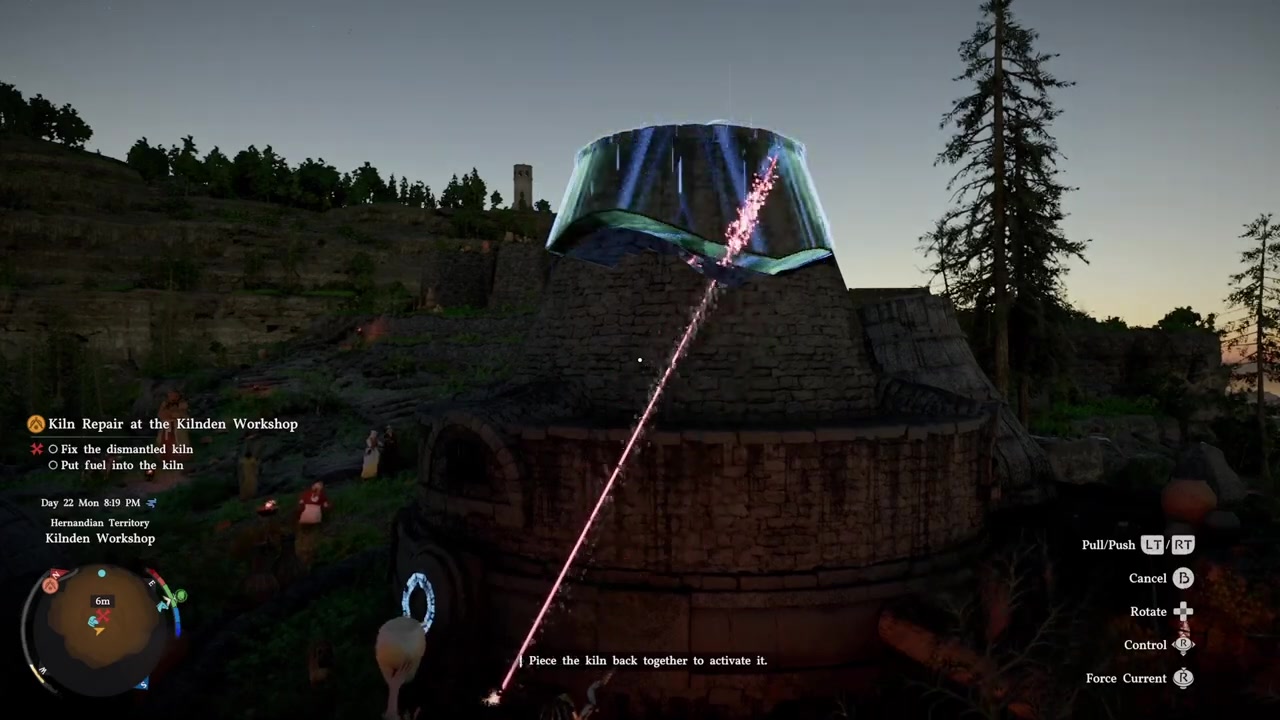
Ease it down on the green alignment and let it settle on the stack.
Force Palm the second piece
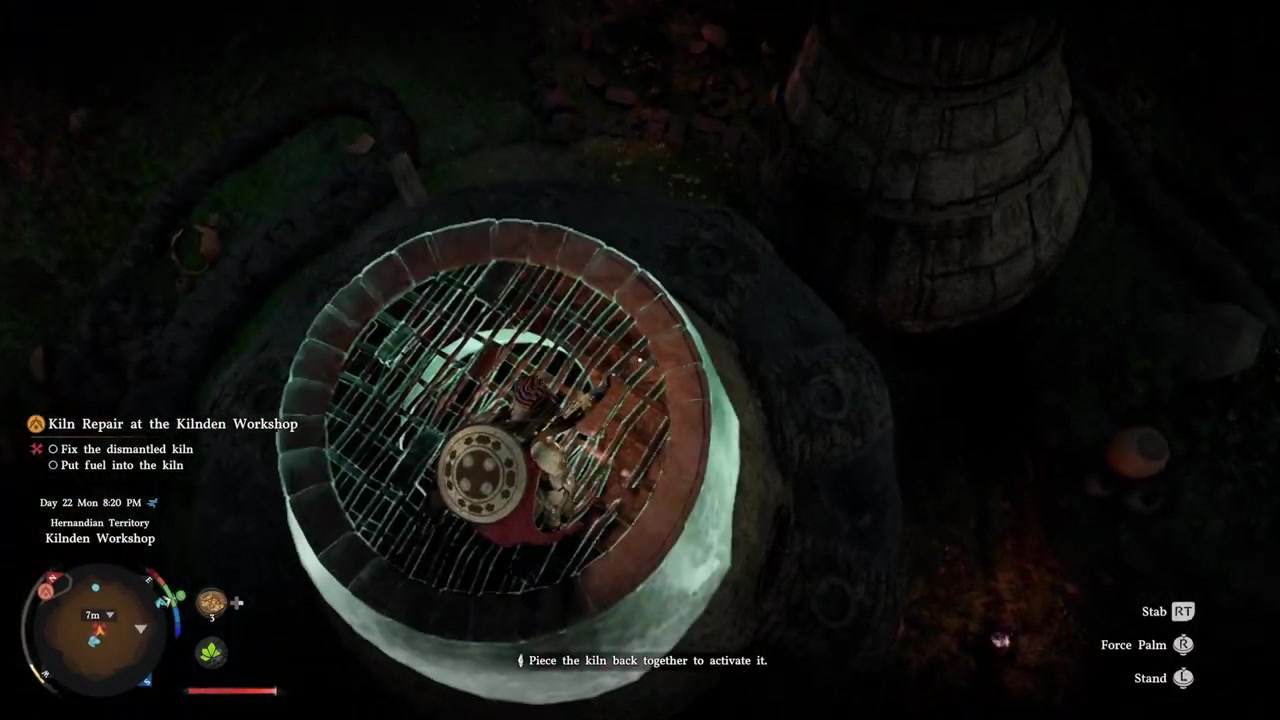
From on top again, hit it with a downward Force Palm to fuse it in.
Push the side lever
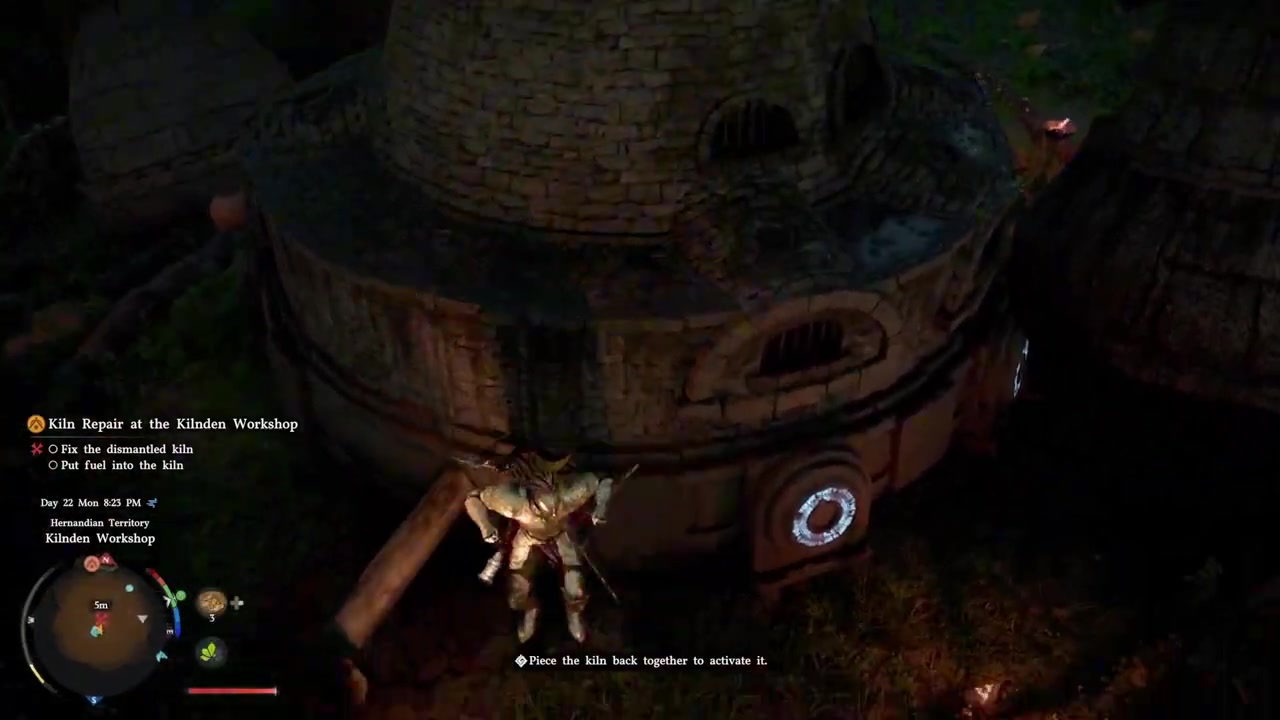
With both pieces seated, push the side lever to charge the kiln — it starts smoking and the objective completes.
The Force Palm must come from on top of the pieces while airborne — jump and slam downward. Doing it from the ground is the single most common reason the kiln refuses to lock.
Video help
What the green and blue highlights mean
The color is your whole guidance system here. Green means the piece is correctly lined up and ready to place; blue means it is not. When you rotate a fragment over the kiln, watch it flip between the two — settle it only while it is showing green, and it will sit and hover in position instead of clipping or sliding off.
Timing on the Force Palm matters just as much. You want to be standing on the stacked piece, then perform the palm while airborne and aimed downward, so it drives the fragment into the kiln. A ground-level Force Palm often just doesn’t register, which is why a piece that looks perfectly placed still won’t lock in.
If the kiln still won’t complete
Most failed attempts come down to a handful of things. If nothing is snapping, check that you are using the two rough-edged fragments and not the closed-top spare pieces — those never align. If a piece won’t seat, you probably didn’t get the green highlight; reposition until it glows before letting go. And if the objective won’t tick despite everything looking right, you are almost certainly doing the Force Palm from the ground instead of from on top while jumping.
One more easy miss: Force Palm has to be unlocked and mapped to a button. Some players reach this quest without the move bound and assume the kiln is broken when it simply isn’t triggering. A few players have also run into the kiln feeling finicky or refusing to lock even after a clean attempt; leaving the area to force a reset is a workaround some have used, though it is a player report rather than a guaranteed fix, so try the fundamentals first.
Nearby Kilnden Workshop objectives to tackle next
The dismantled kiln is only one part of the workshop sequence. Once it’s smoking, you’ll usually move on to the disconnected kiln, which uses the same Axiom Force and Force Palm logic on another broken unit nearby.
After that comes putting fuel in the kiln — collecting five fuel orbs and dropping them into the kiln’s chambers before pulling its lever — and activating the Ancient Generator, the symbol-rotation puzzle that powers the whole setup. Knock those out in that rough order and the Kilnden Workshop chapter falls into place.
Frequently Asked Questions
How many pieces do you need to fix the dismantled kiln?
Just two. You stack the lower ring-like fragment and the upper flat-top piece on the kiln — every other bit of rubble around it can be ignored.
What does the green highlight mean?
Green means the piece is correctly aligned and ready to place. If a fragment shows blue instead, it’s turned the wrong way and won’t lock, so rotate it until it goes green.
Why is Force Palm not fixing the kiln?
Almost always because it’s being done from the ground. Climb on top of the placed piece and perform Force Palm downward while airborne. Also confirm the move is actually unlocked and bound to a button.
Do you need to use the closed-top spare pieces nearby?
No. The closed-top debris is a decoy — only the two rough-edged, open fragments will align and snap in. If a piece never glows green, it’s one of the spares.
What should you do after the dismantled kiln is fixed?
Move on to the other Kilnden Workshop tasks: the disconnected kiln, putting fuel in the kiln with five fuel orbs, and activating the Ancient Generator.






Leave a Reply