
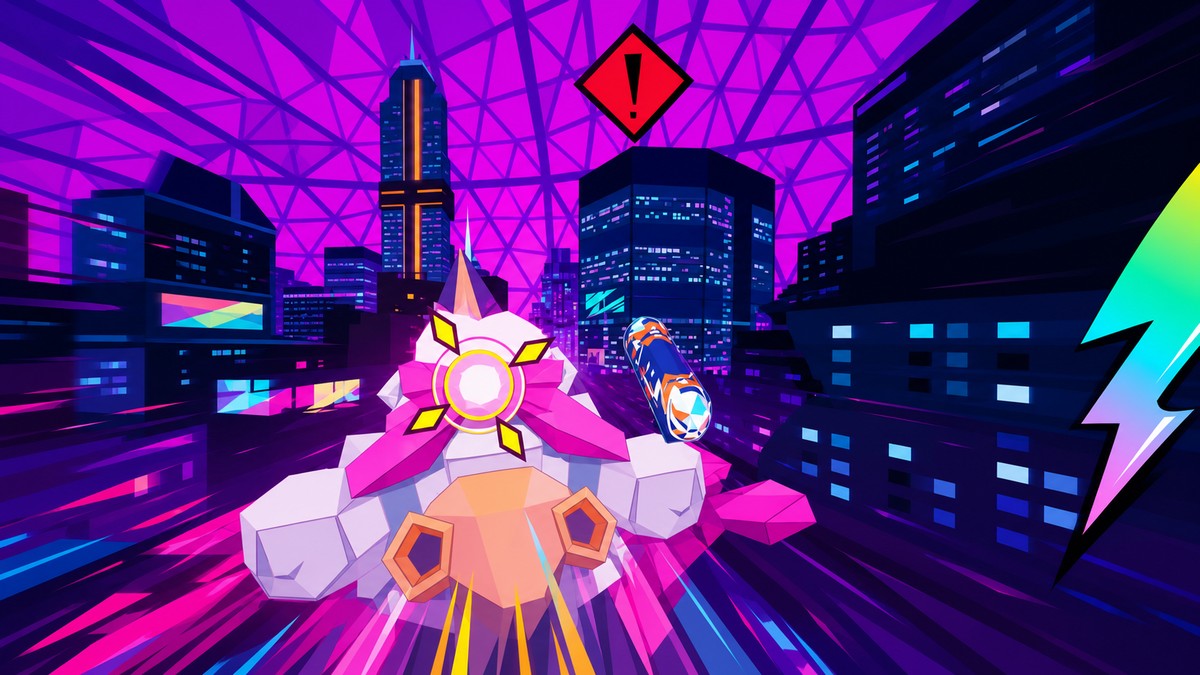
To defeat Yoshiie Mitsutake, dodge the wind swirls and swipe patterns in phase one, attack both shoulders, ground-slam her when she lies on the tracks, then survive the rail-riding phase and steer her arm through the final barrel-and-building sequence.
This Denshattack! boss fight is a rhythm check more than a damage race: read the animation, clear the hazard, then take the opening. The first half tests your jumps and timing against swirls, slams, and swipe strings, while the second half shifts into rail control and a short target sequence.
Yoshiie Mitsutake fight phases
| Phase | What |
|---|---|
| Phase 1 | Dodge wind swirls, jump slams, hit both shoulders, jump swipe strings, and slam her when she lies across the tracks. |
| Phase 2 | Ride the rails cleanly, pass the glass and track switches, then control her arm through the barrel-and-building sequence. |
Yoshiie Mitsutake has two main phases. Phase one is the actual pattern fight, and phase two turns into a rail-riding survival stretch before the final arm-control finish.
The damage openings are narrow, so do not try to force hits while she is attacking. Wait for the shoulder routes or the track lie-downs, then commit.
Prioritize clean dodges over score tricks whenever Yoshiie Mitsutake is attacking; the safe scoring windows come after the heavier patterns, not during them.
How to defeat Yoshiie Mitsutake in Denshattack!
Follow the fight in order, taking each damage window only after the matching attack pattern ends.
STEP 1/33
Dodge the opening wind swirls
Move left and right through the wind swirls as soon as the fight loads in.
STEP 2/33
Jump the first slam
Hop over Yoshiie Mitsutake’s slam attack before aiming for a shoulder.
STEP 3/33
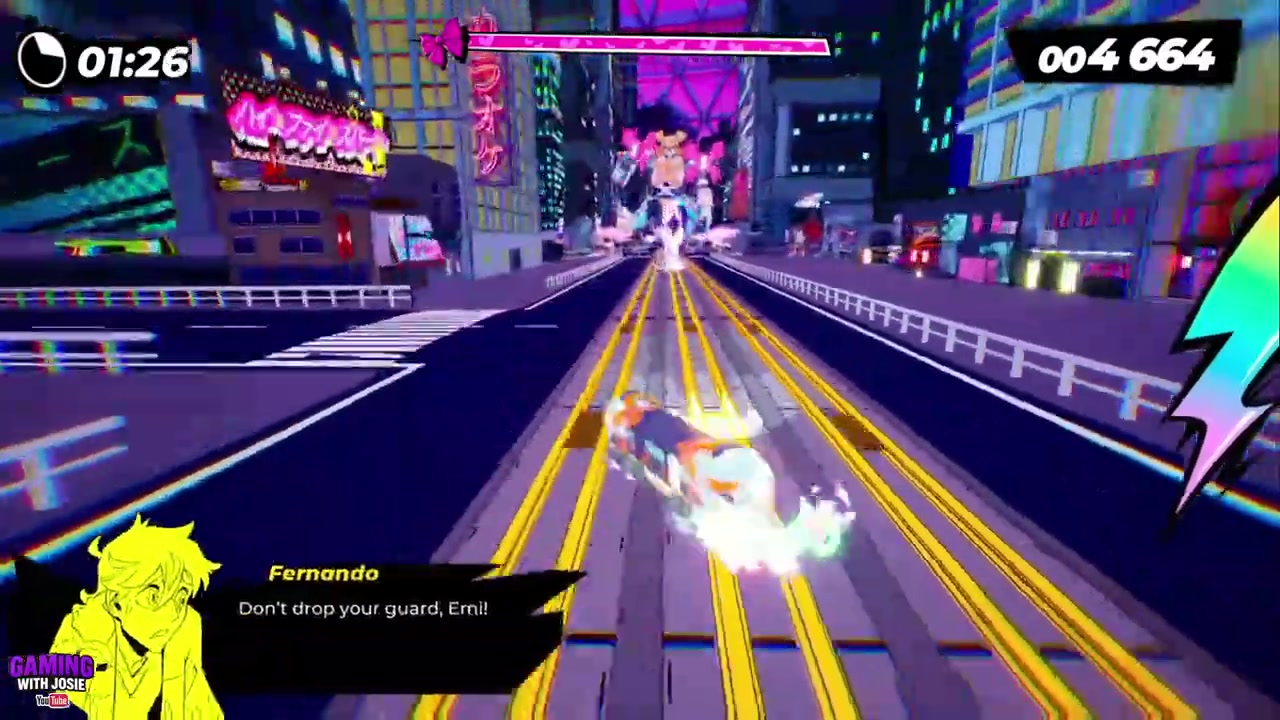
Hit the first shoulder
Pick one arm, climb toward the shoulder, and attack it to knock her back.
STEP 4/33
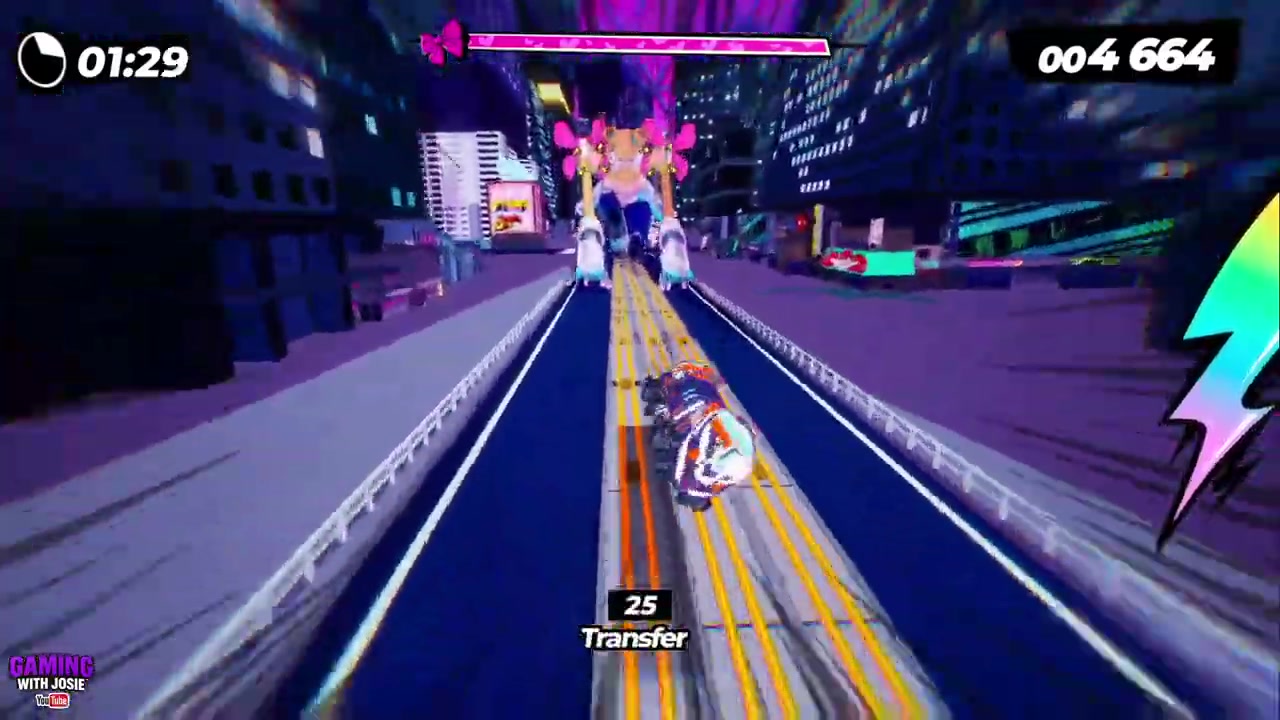
Prepare for the first swipe string
When she crouches onto her knees, get ready to jump the incoming swipes.
STEP 5/33
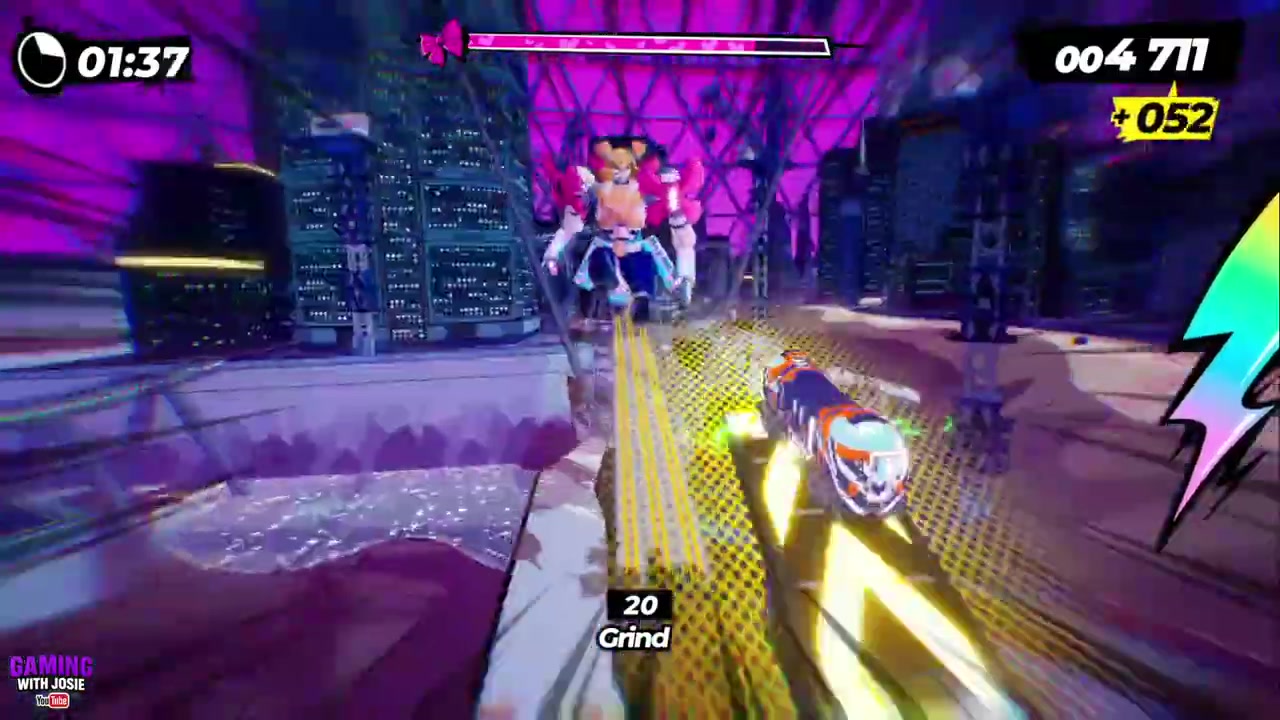
Jump the three single swipes
Clear the first, second, and third single swipes without chasing tricks.
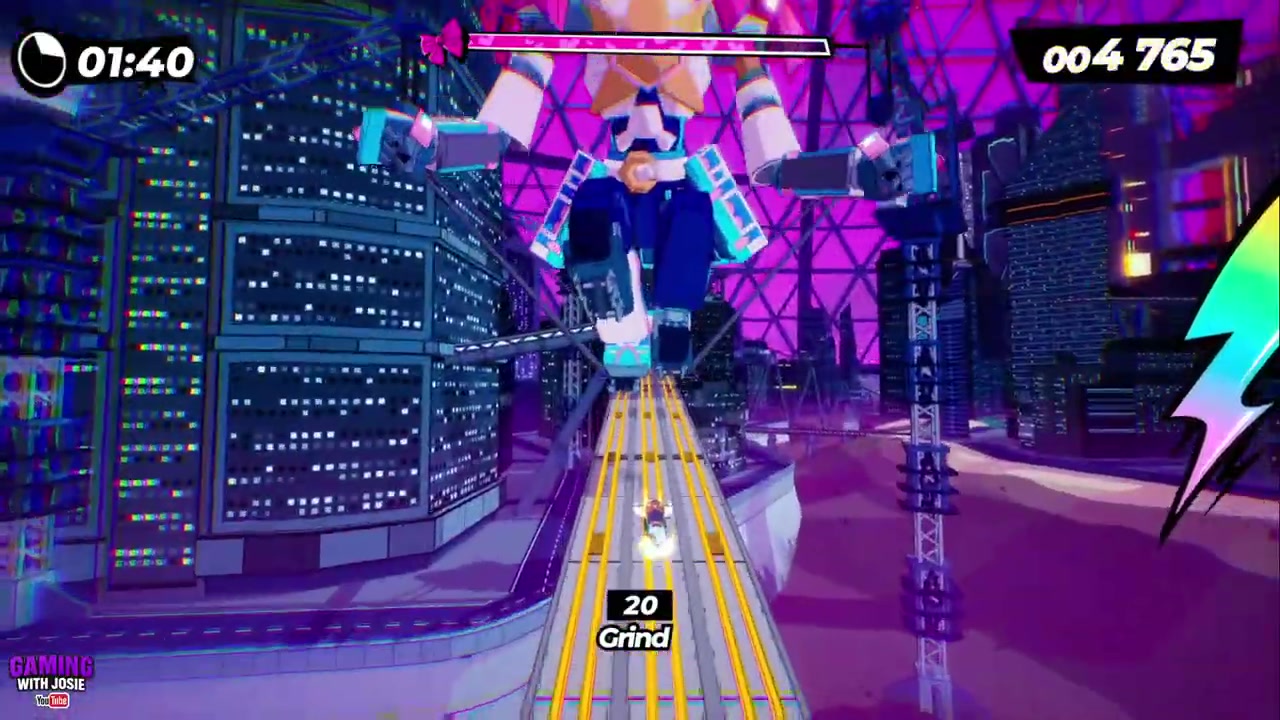
STEP 6/33
Clear the double swipe
Stay airborne long enough to avoid the double swipe at the end of the combo.
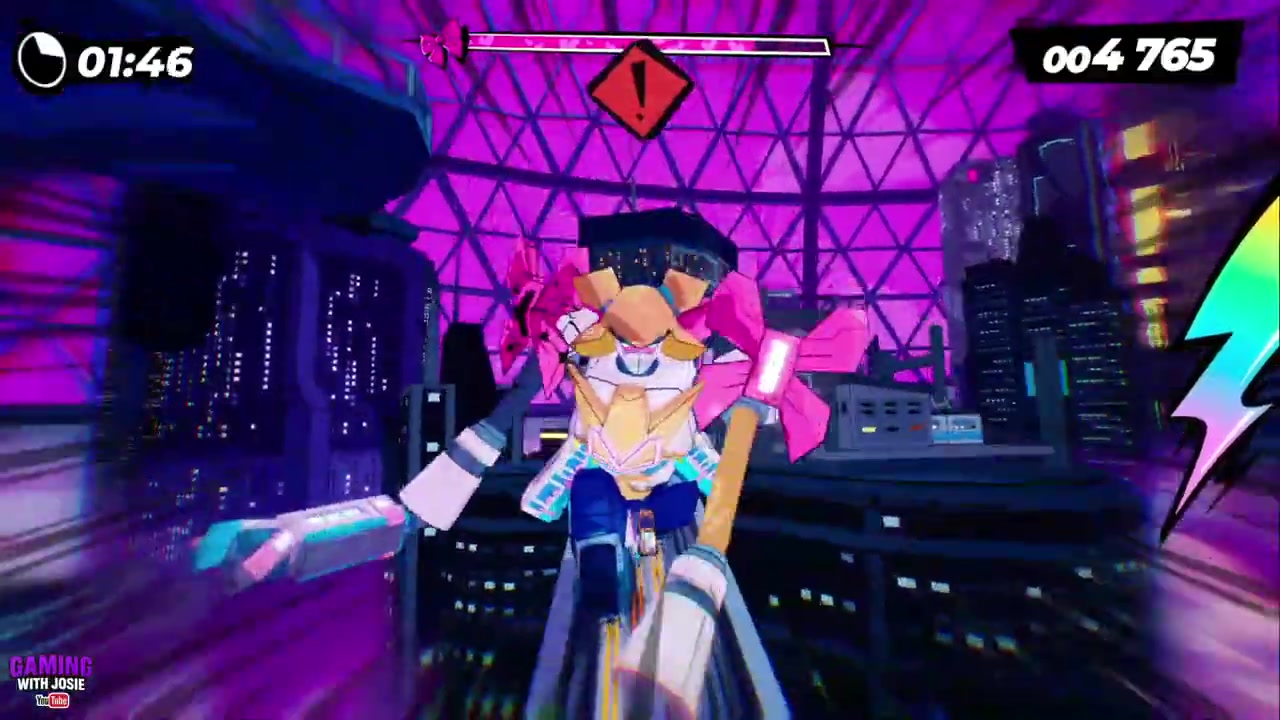
STEP 7/33
Dodge the next wind swirls
After the tunnel, weave around the second set of wind swirls.
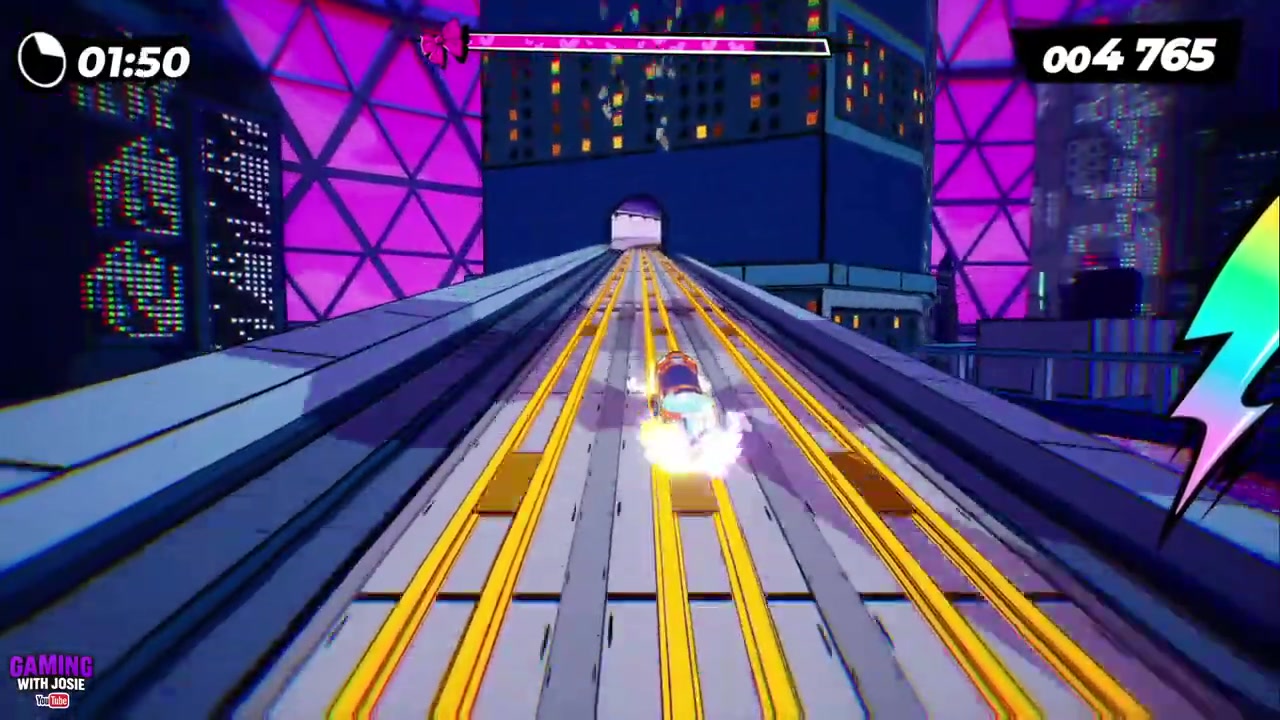
STEP 8/33
Hit the second shoulder
Go up the other arm and attack the second shoulder opening.
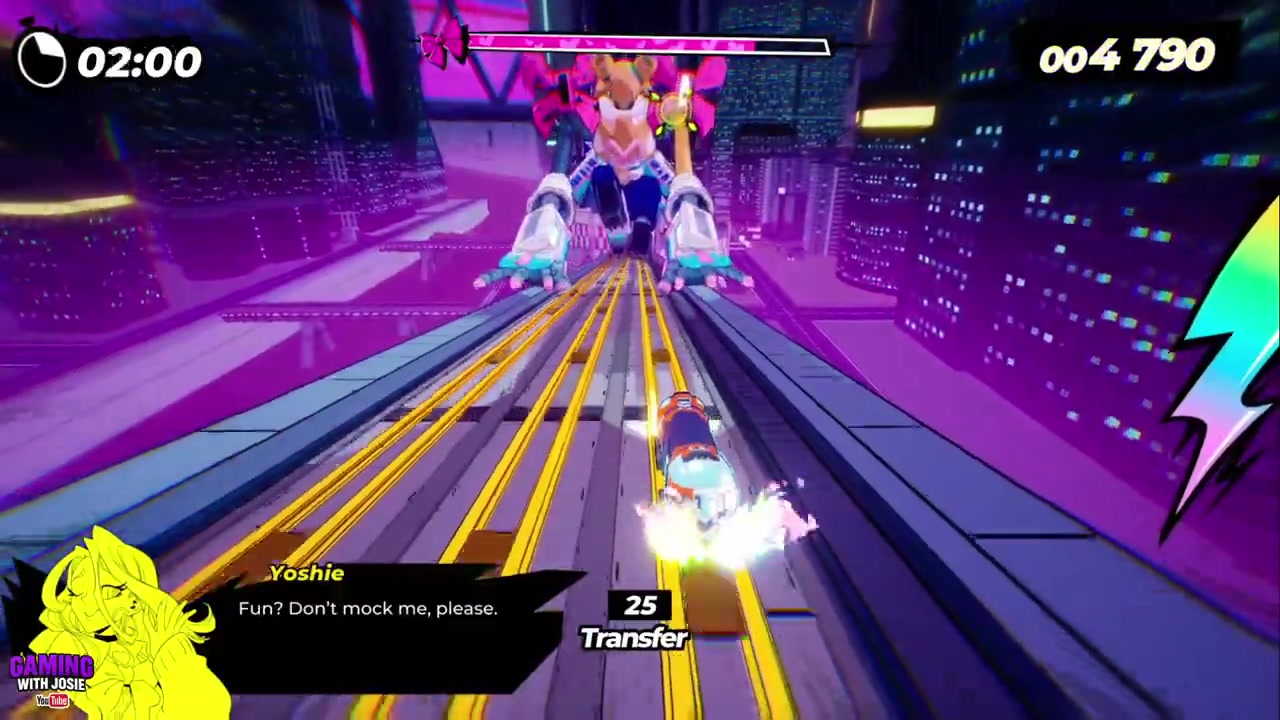
STEP 9/33
Read the repeated kneel
When she kneels again, set up for the same swipe pattern.
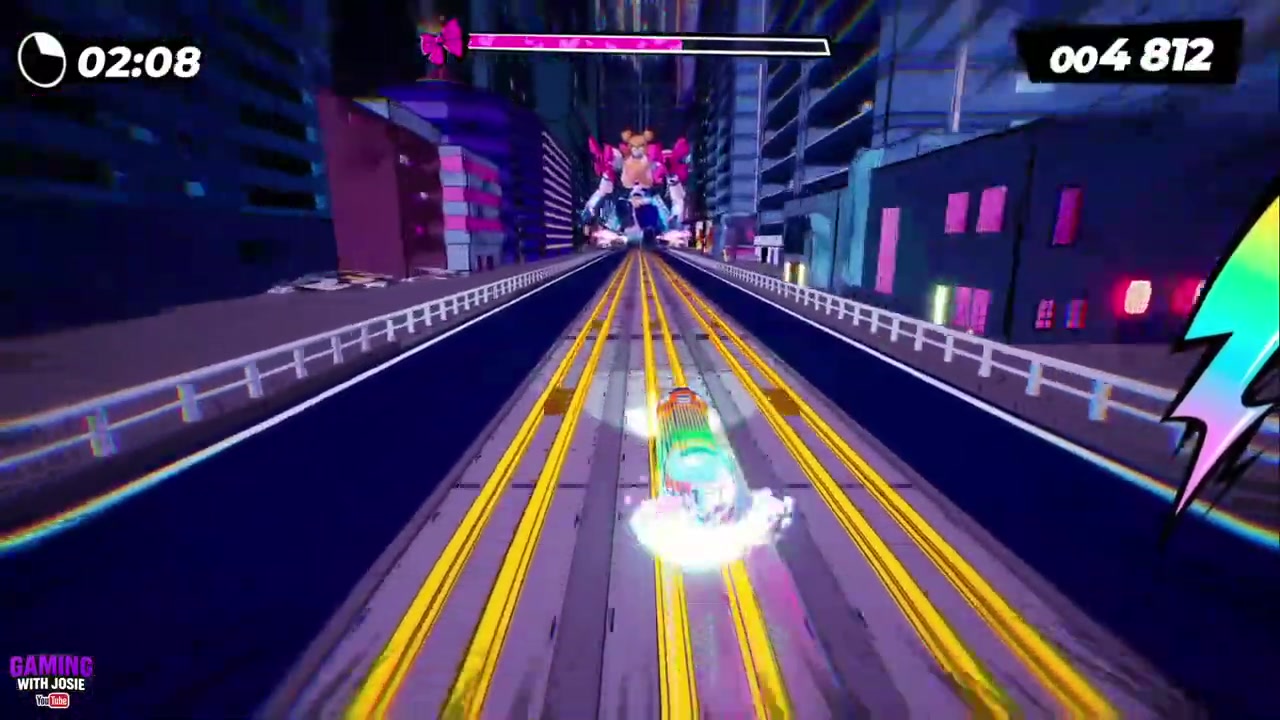
STEP 10/33
Jump the repeat swipe combo
Jump the three single swipes and then the double swipe to keep the run moving.
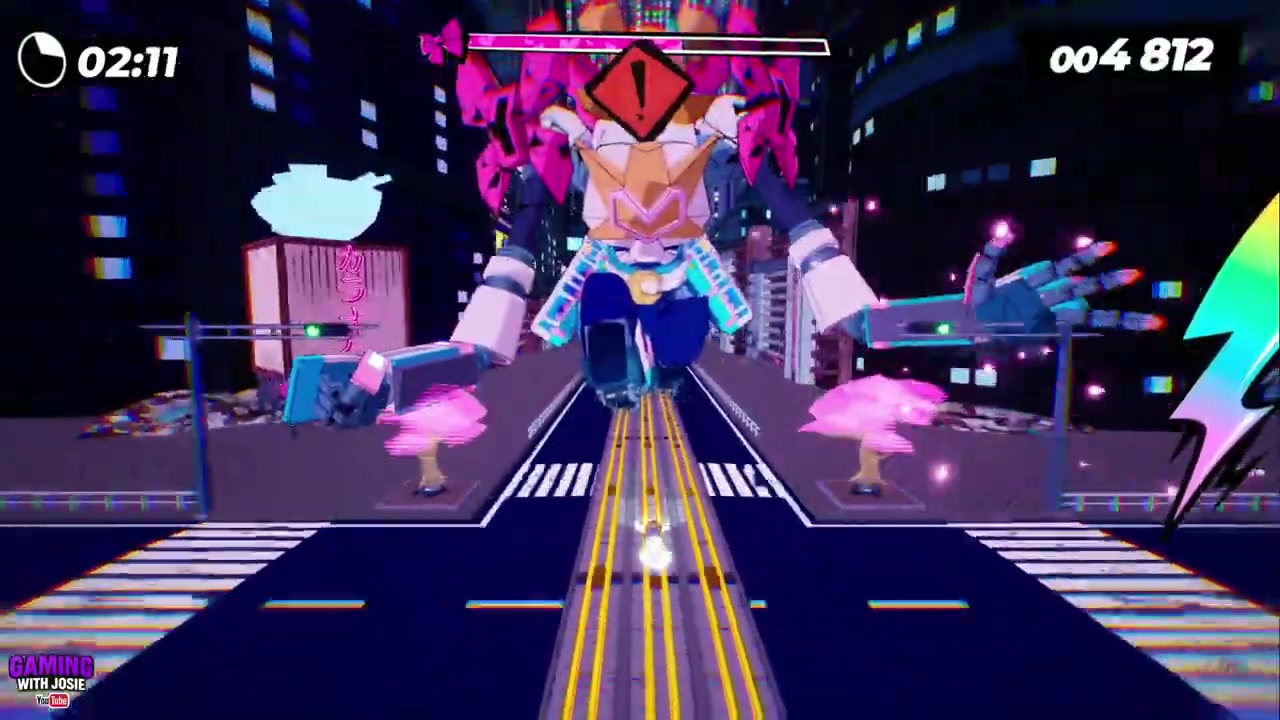
STEP 11/33
Wait for the track lie-down
When she lies across the tracks, hold your jump until you can line up the slam.
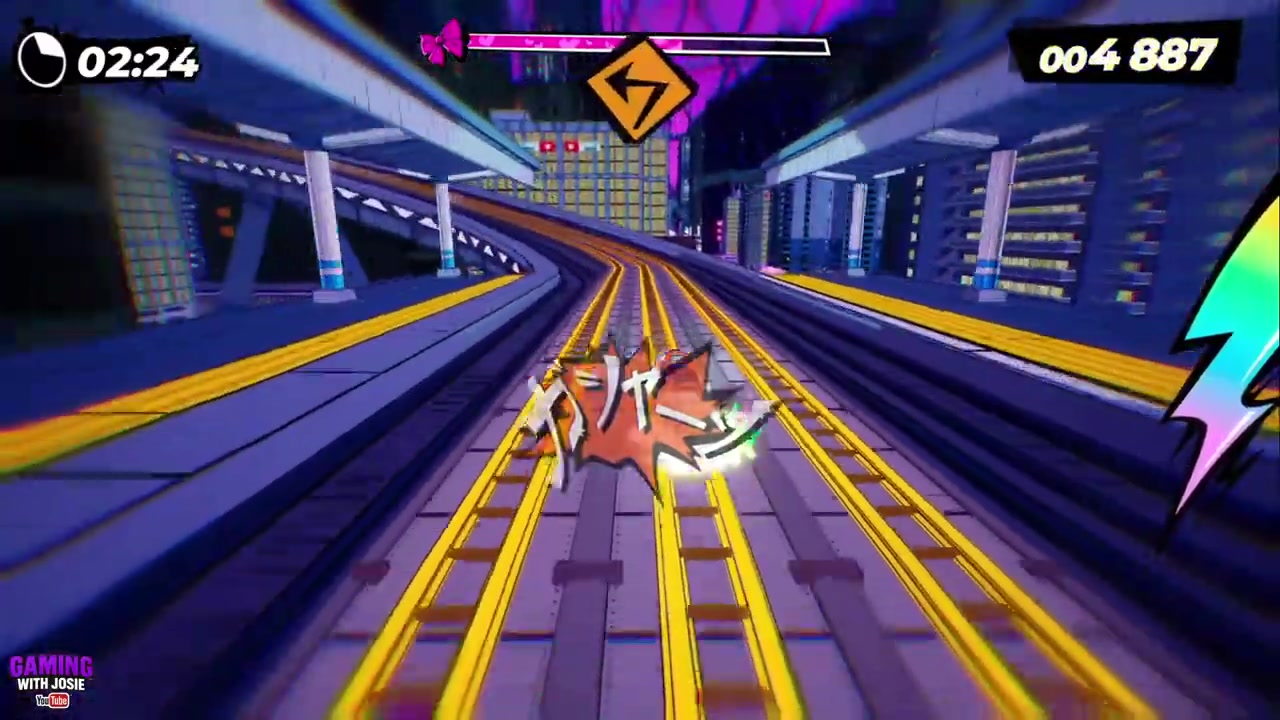
STEP 12/33
Slam her the first time
High-jump and slam down onto her while she is stretched across the tracks.
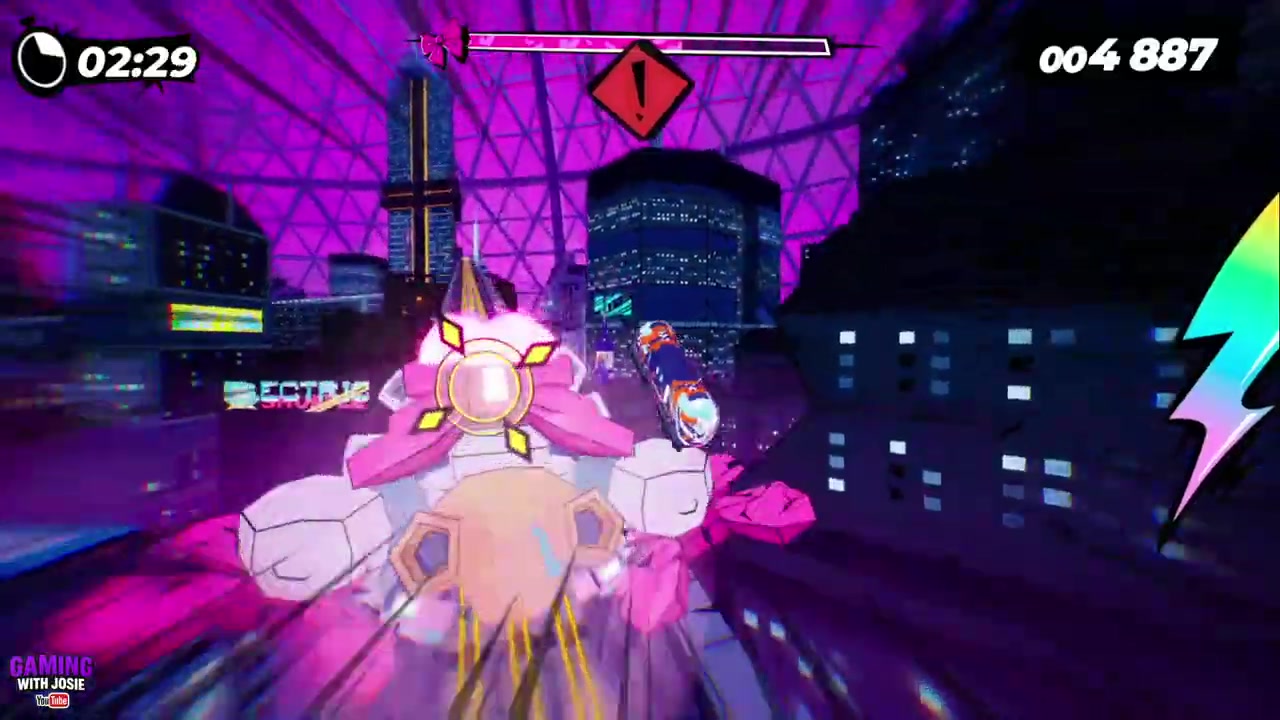
STEP 13/33
Slam her the second time
Repeat the high jump and downward slam the second time she lies down.
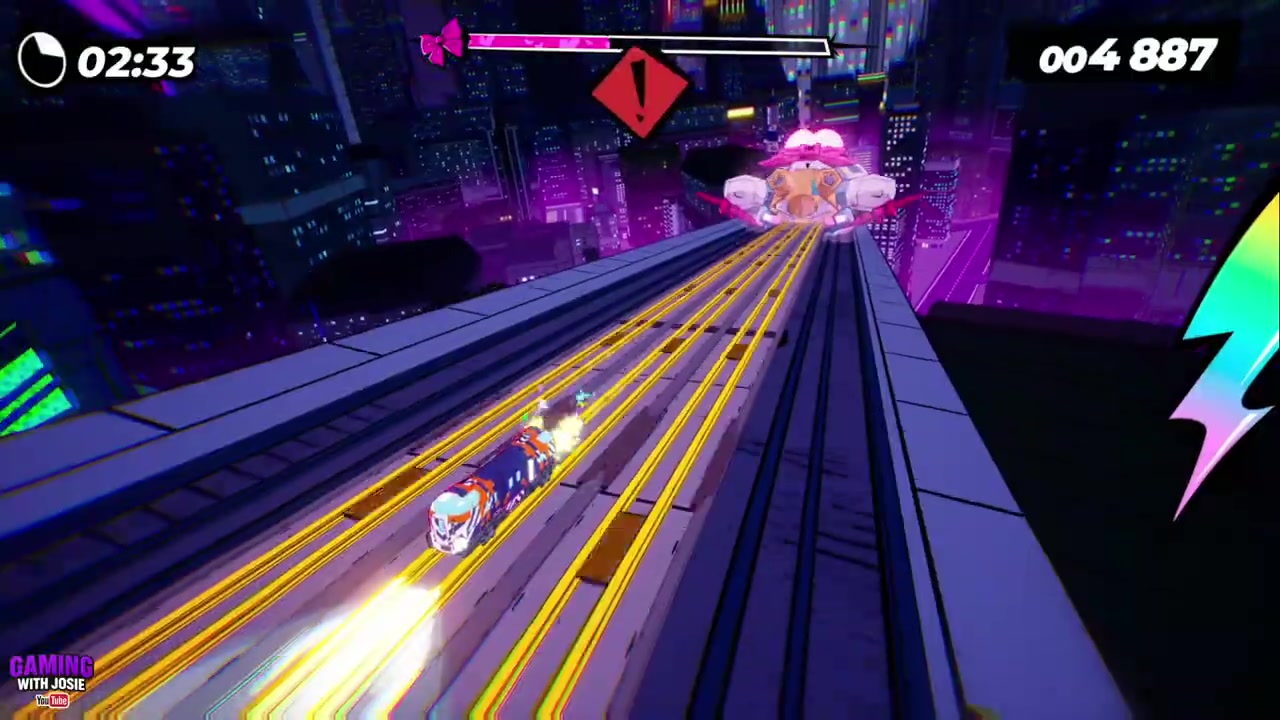
STEP 14/33
Use the breather safely
Rack up points only if the track ahead is calm and your train is under control.
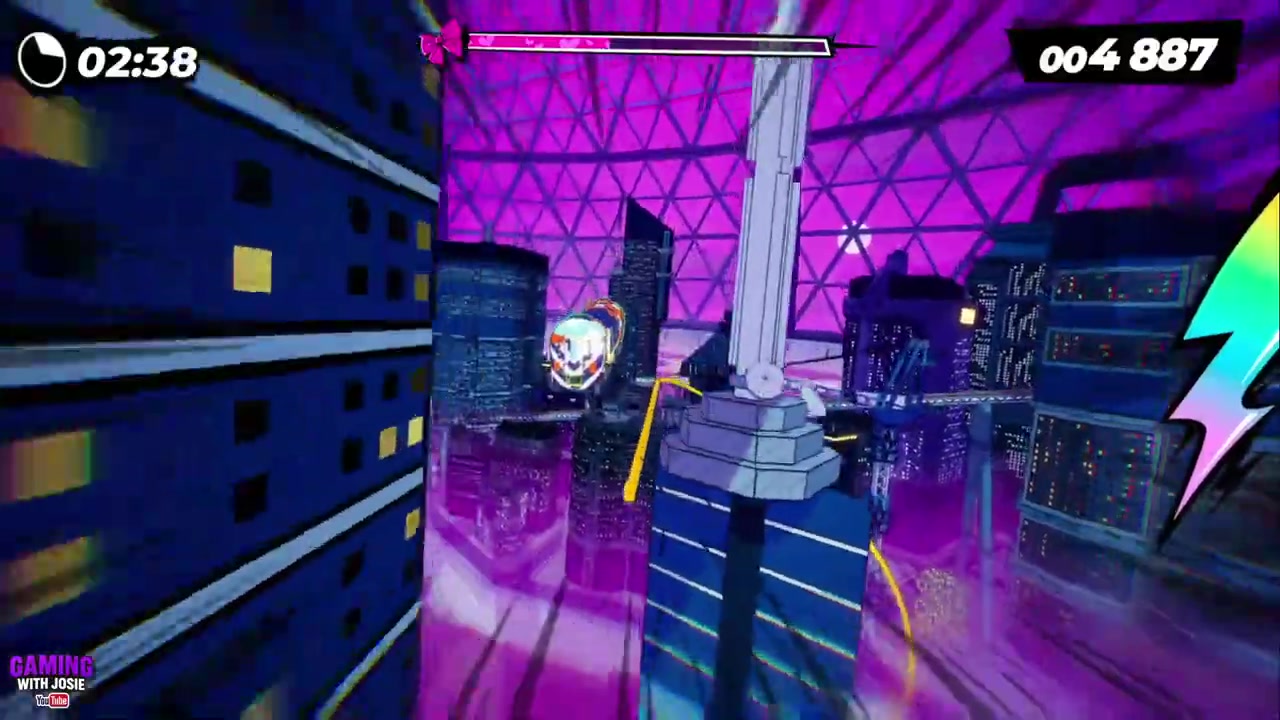
STEP 15/33
Clear the last kneel swipe string
Jump the final three single swipes and the double swipe.
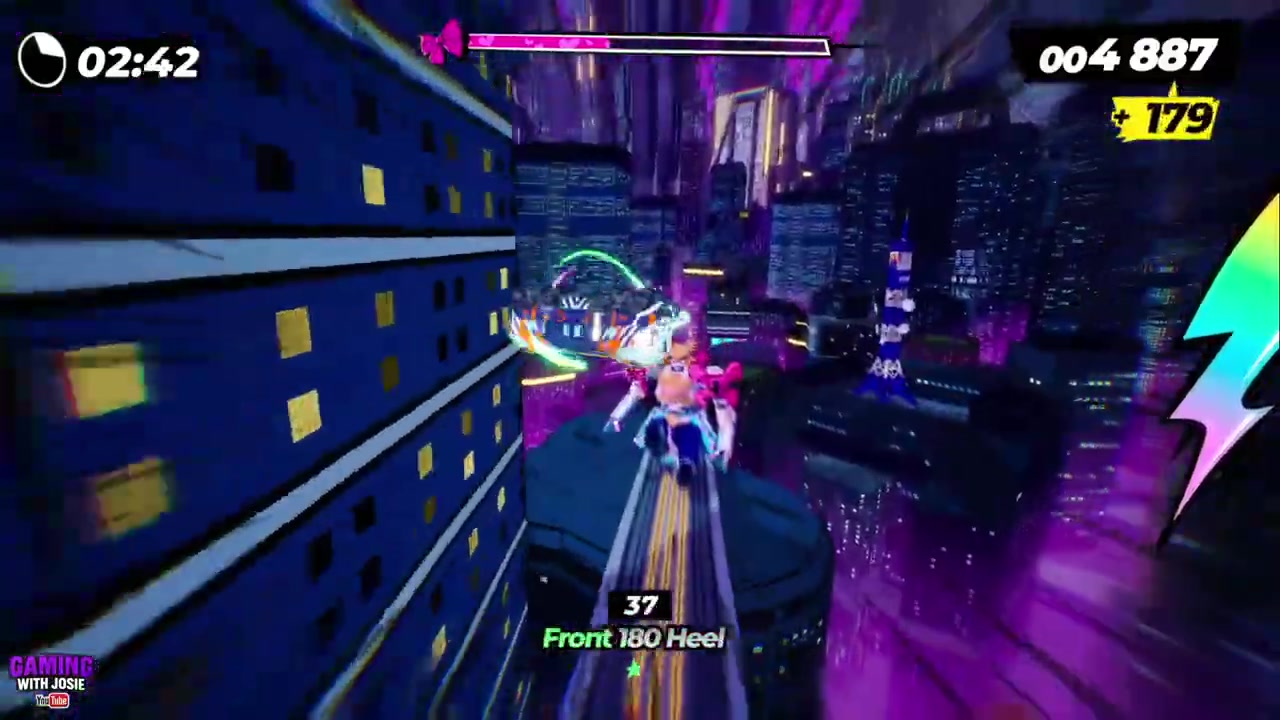
STEP 16/33
Dodge the final phase-one wind
Weave around the wind swirls that close out the first phase.
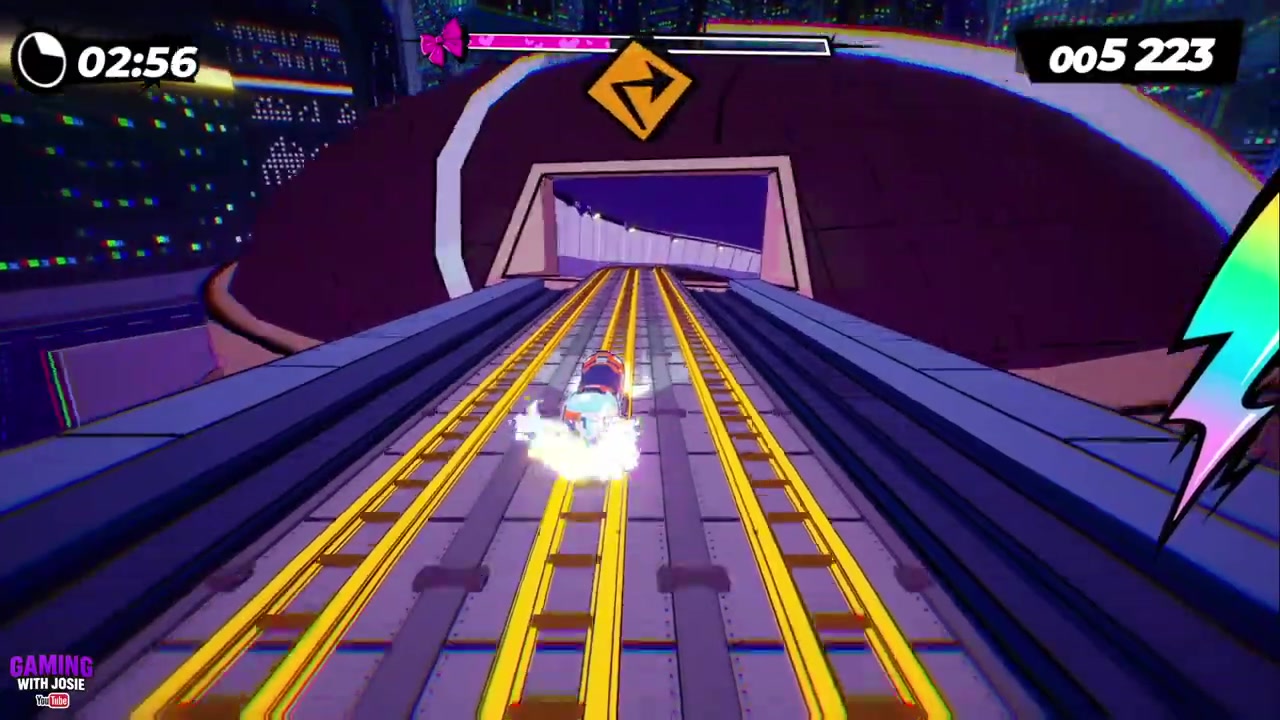
STEP 17/33
Jump the last phase-one slam
Clear the slam to trigger the cutscene into phase two.
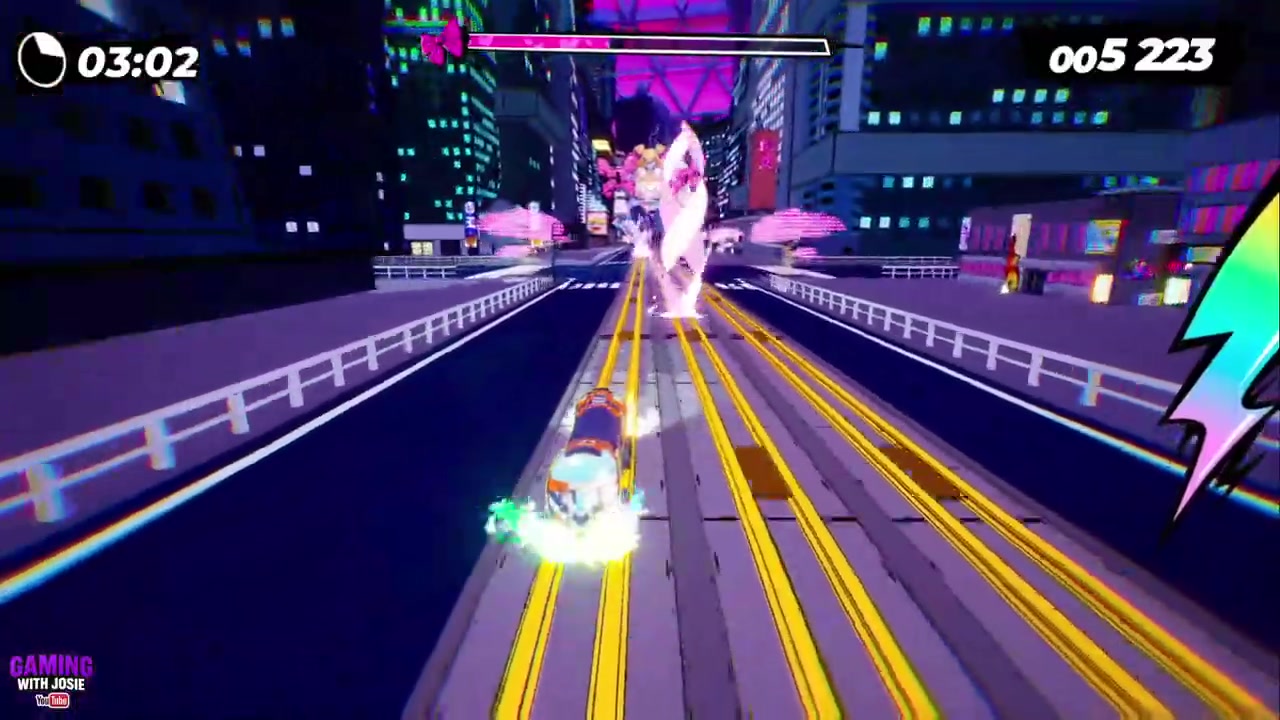
STEP 18/33
Ride the phase-two rails
Keep advancing through the rail-riding stretch and watch the route ahead.
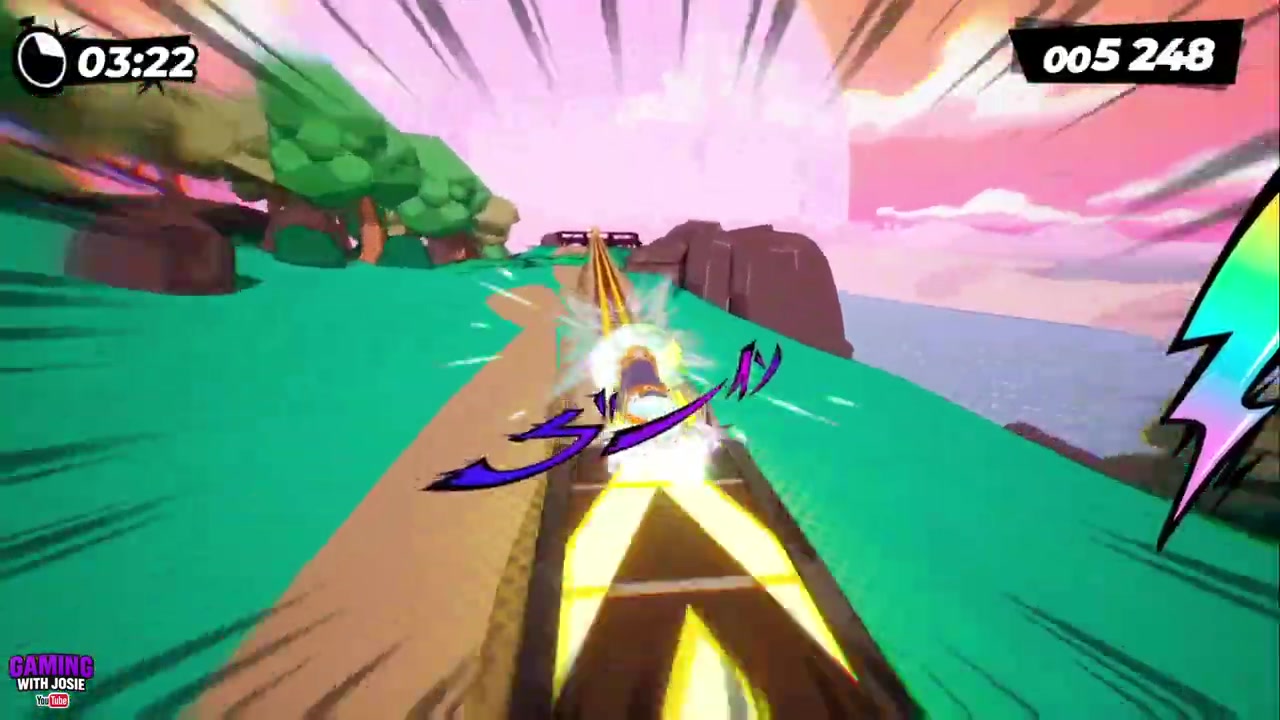
STEP 19/33
Chain onto the next rails
Jump across the next rails without overcommitting to tricks.
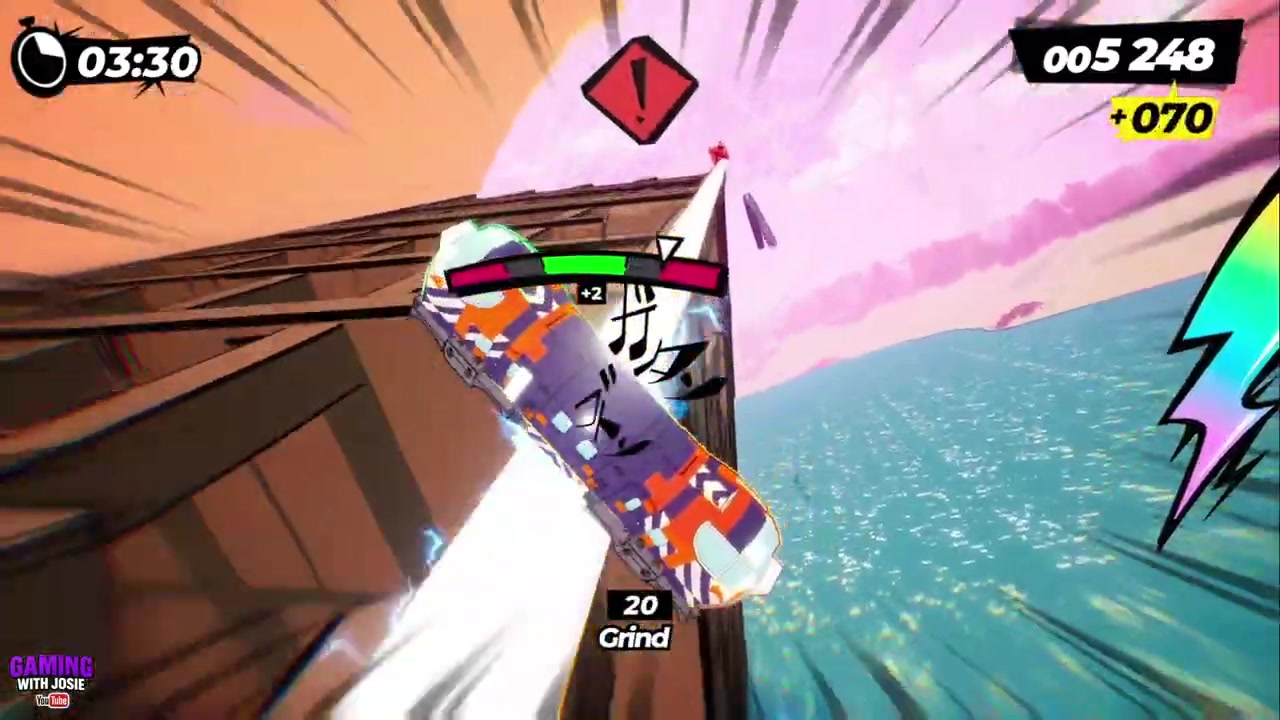
STEP 20/33
Crash through the barriers
Hold your line as you break through the glassy obstacles and keep moving.
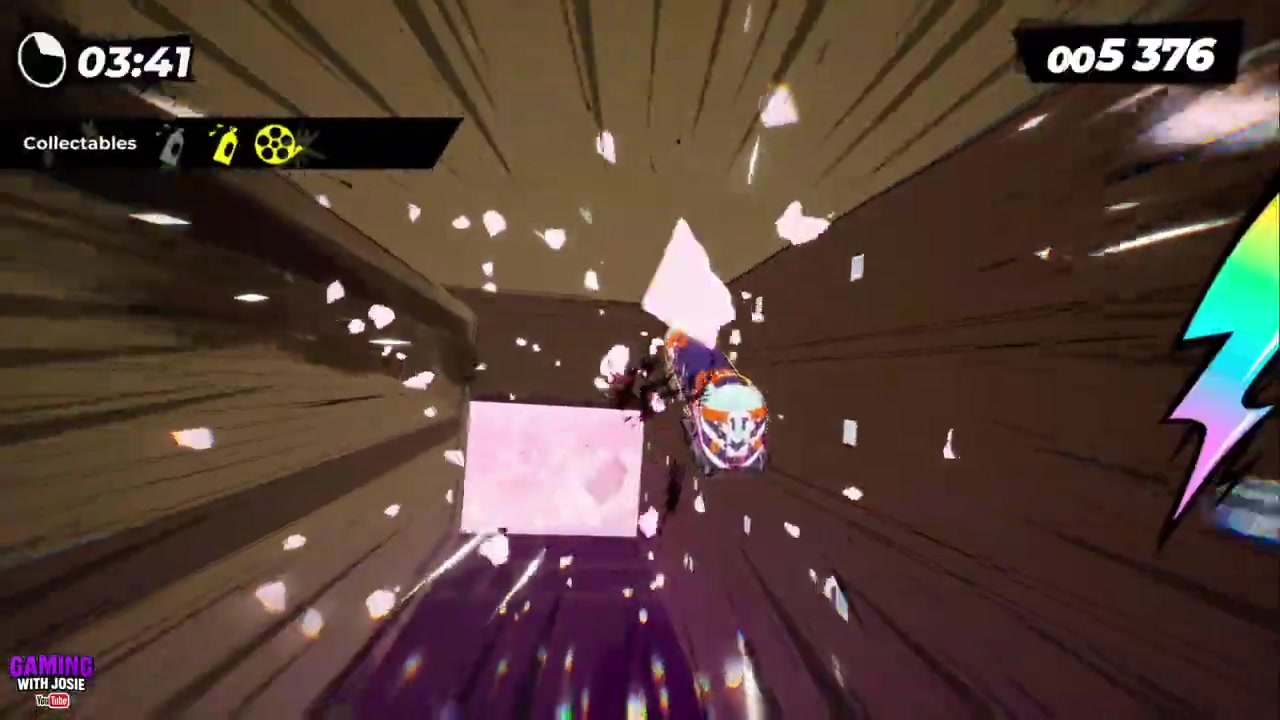
STEP 21/33
Switch right, left, then right
Follow the visible route changes over to the right, left, and right again.
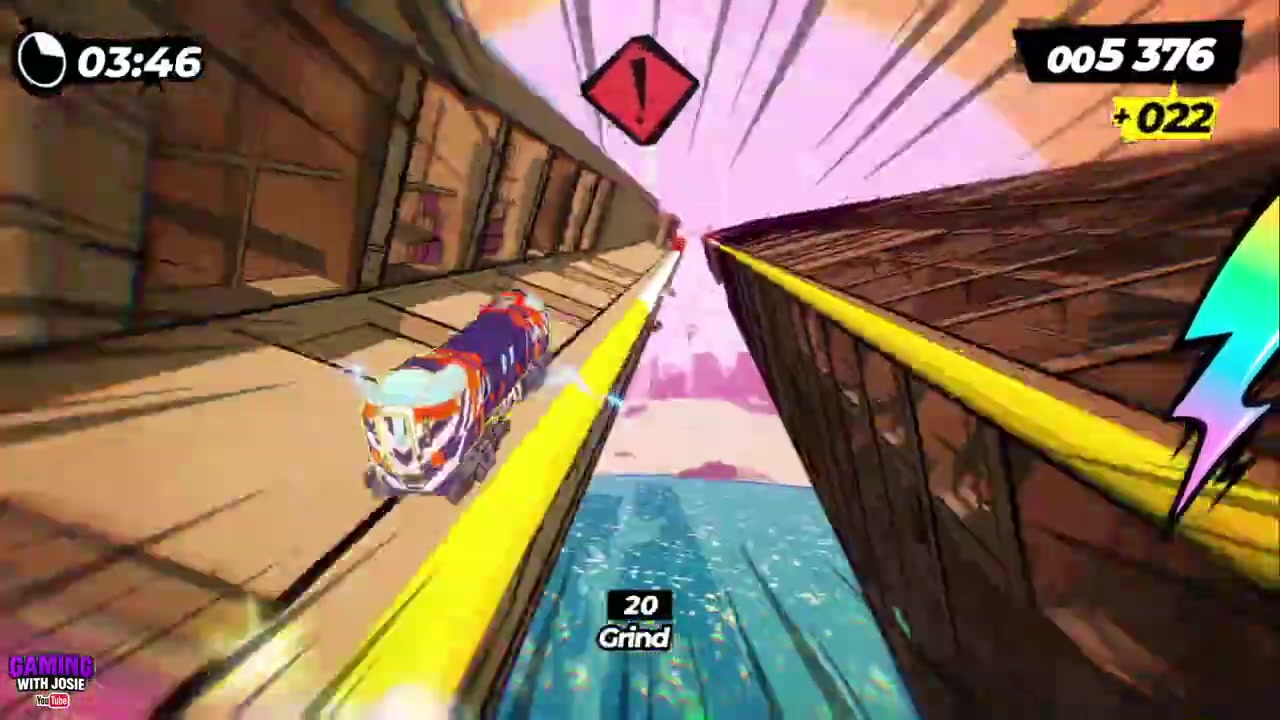
STEP 22/33
Circle the tower route
Stay with the rail as it carries you up and around the tower.
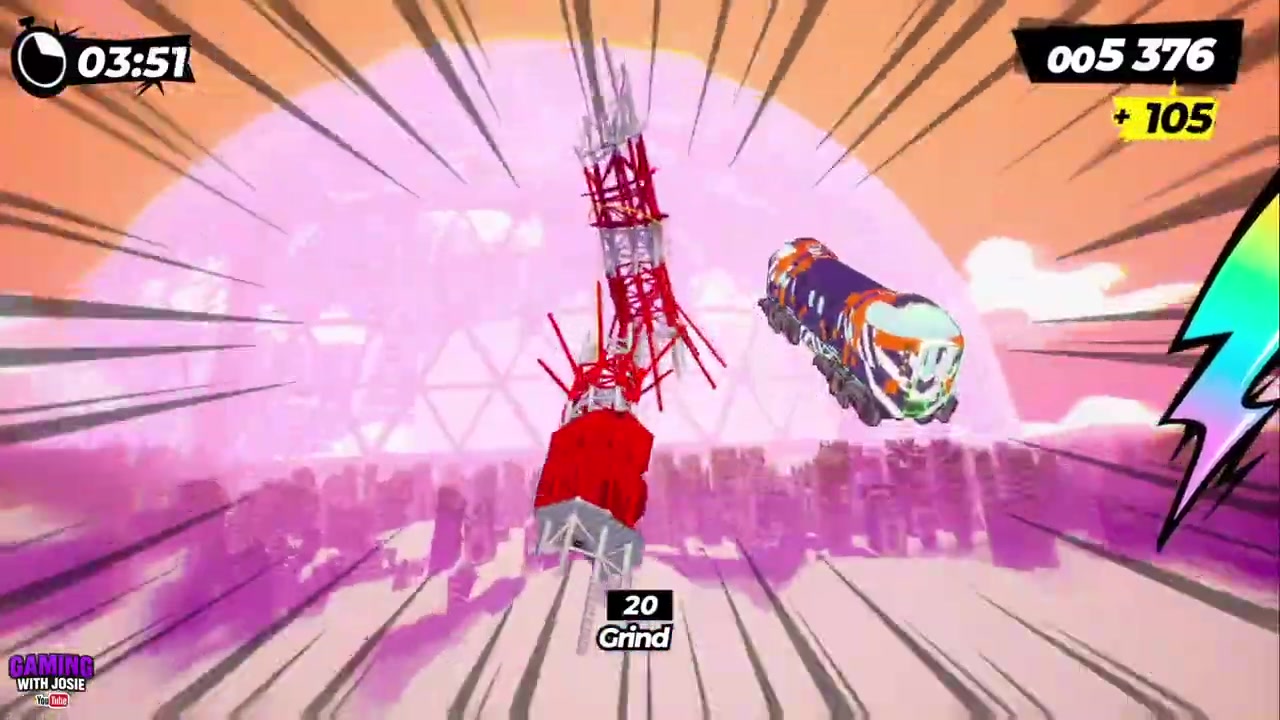
STEP 23/33
Pick a glass side
Choose either left or right through the glass, then keep the line stable.
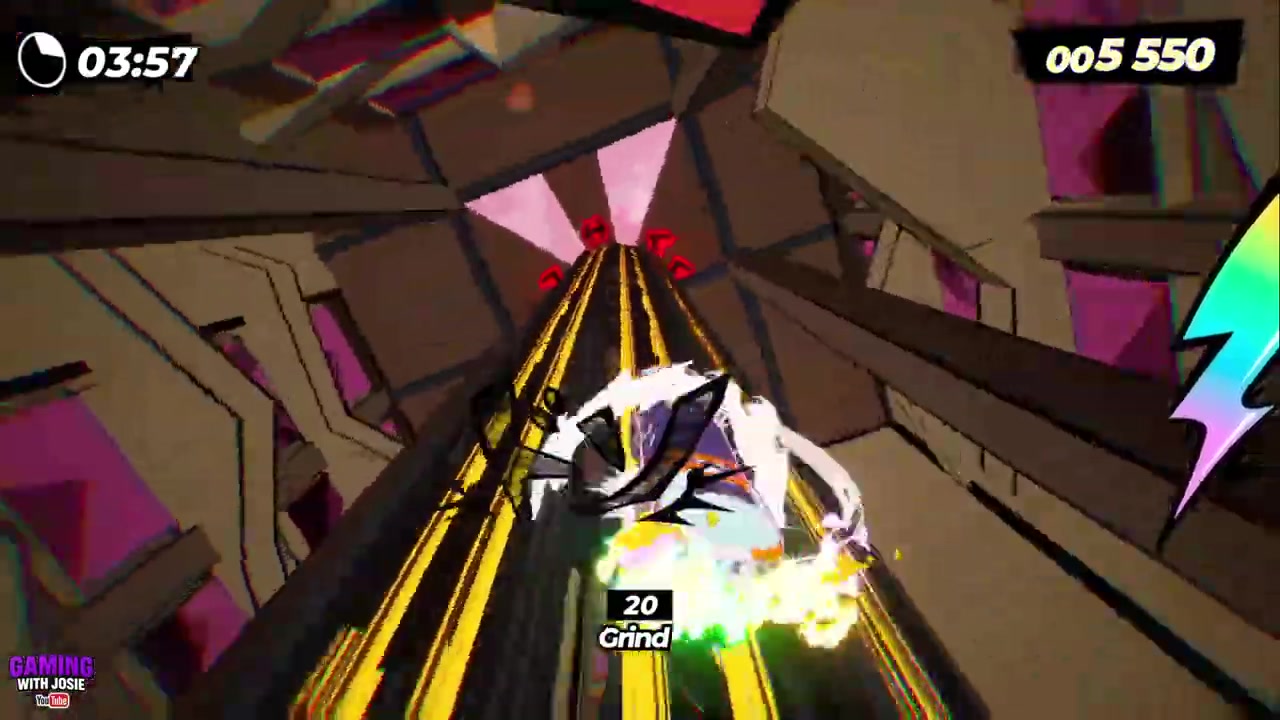
STEP 24/33
Swap tracks and return center
Switch to one track, loop back on yourself, and settle into the center route.
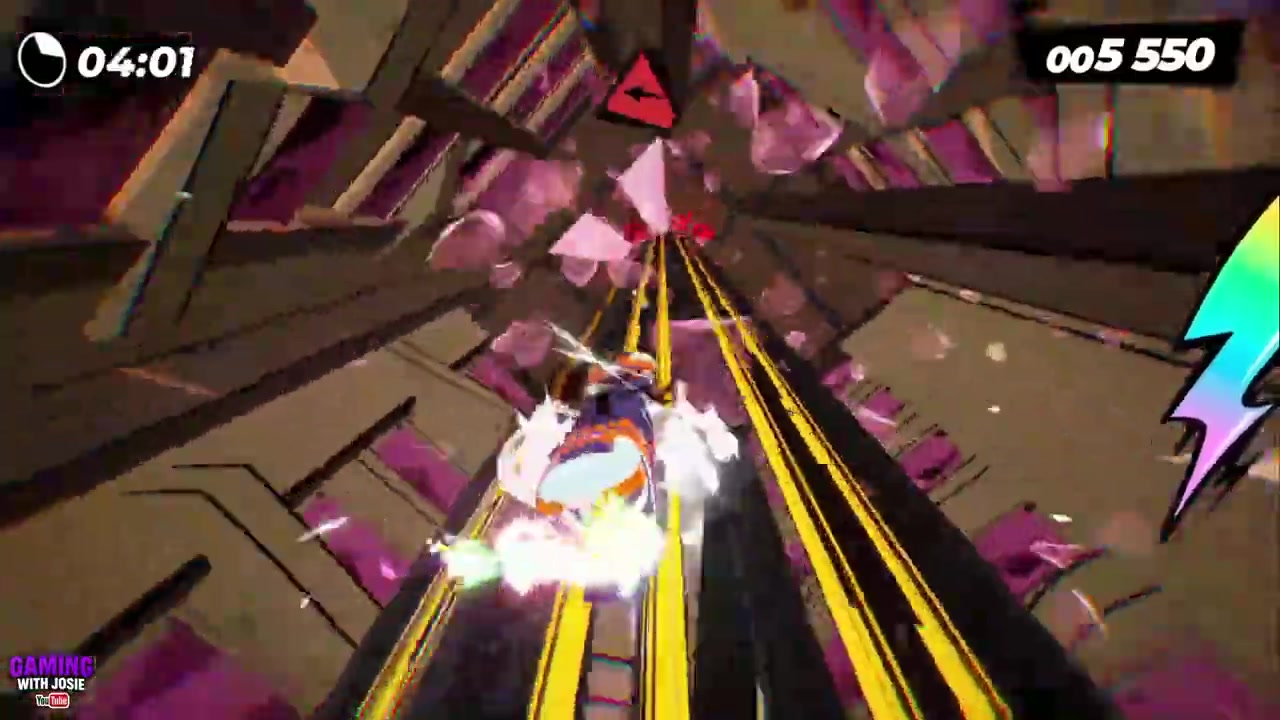
STEP 25/33
Control Yoshiie’s arm
Take control of her arm for the final target sequence.
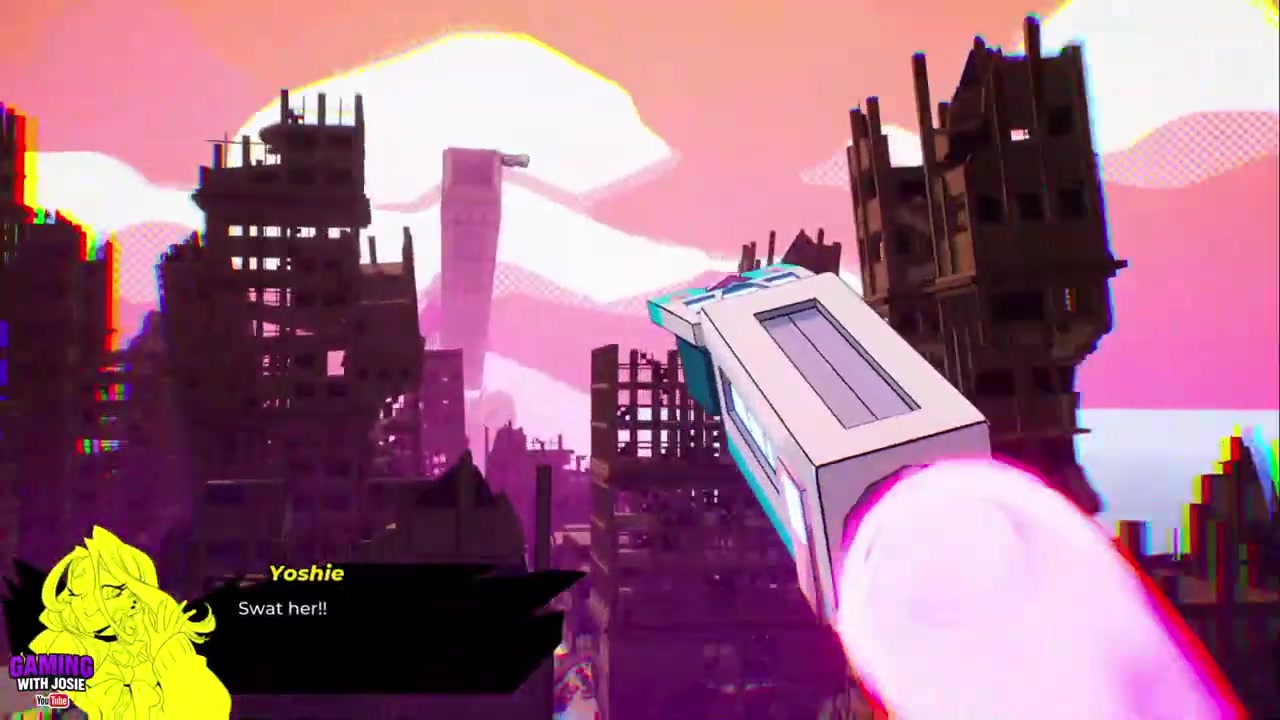
STEP 26/33
Hit the first barrel group
Steer the arm into the first group of barrels while watching for thrown buildings.
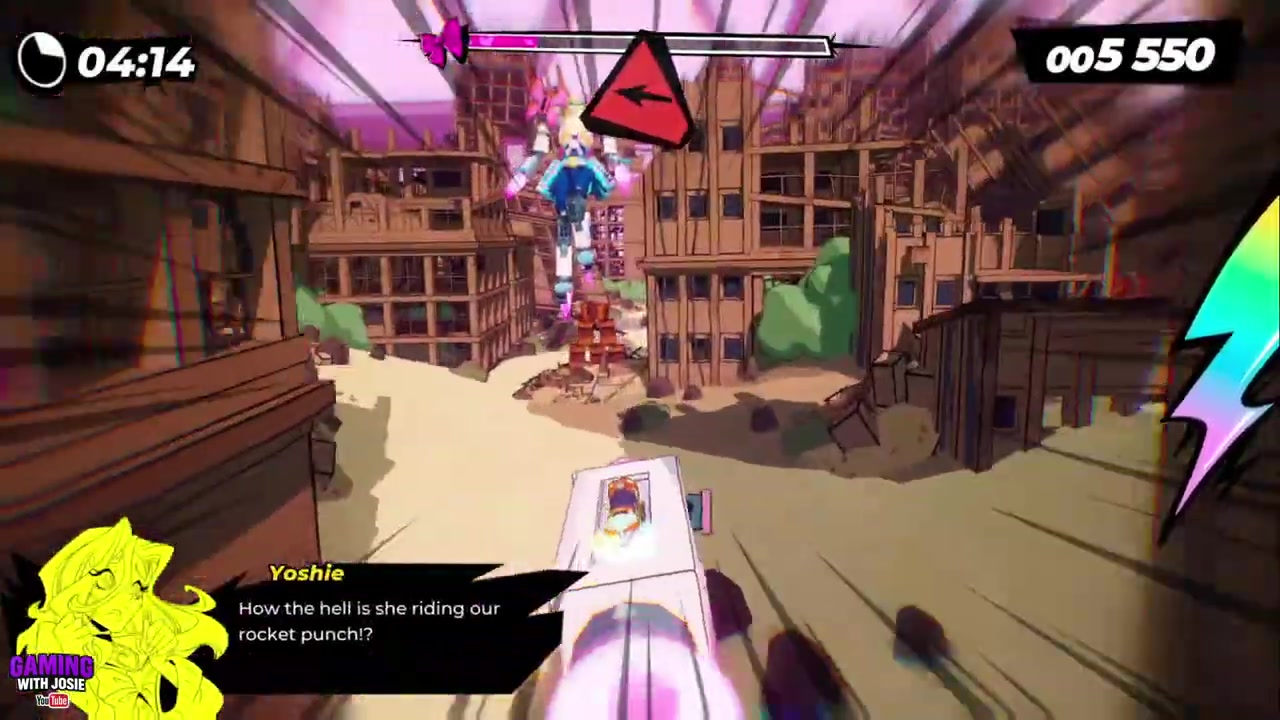
STEP 27/33
Hit the second barrel group
Stay on course into the second barrel group and keep moving left.
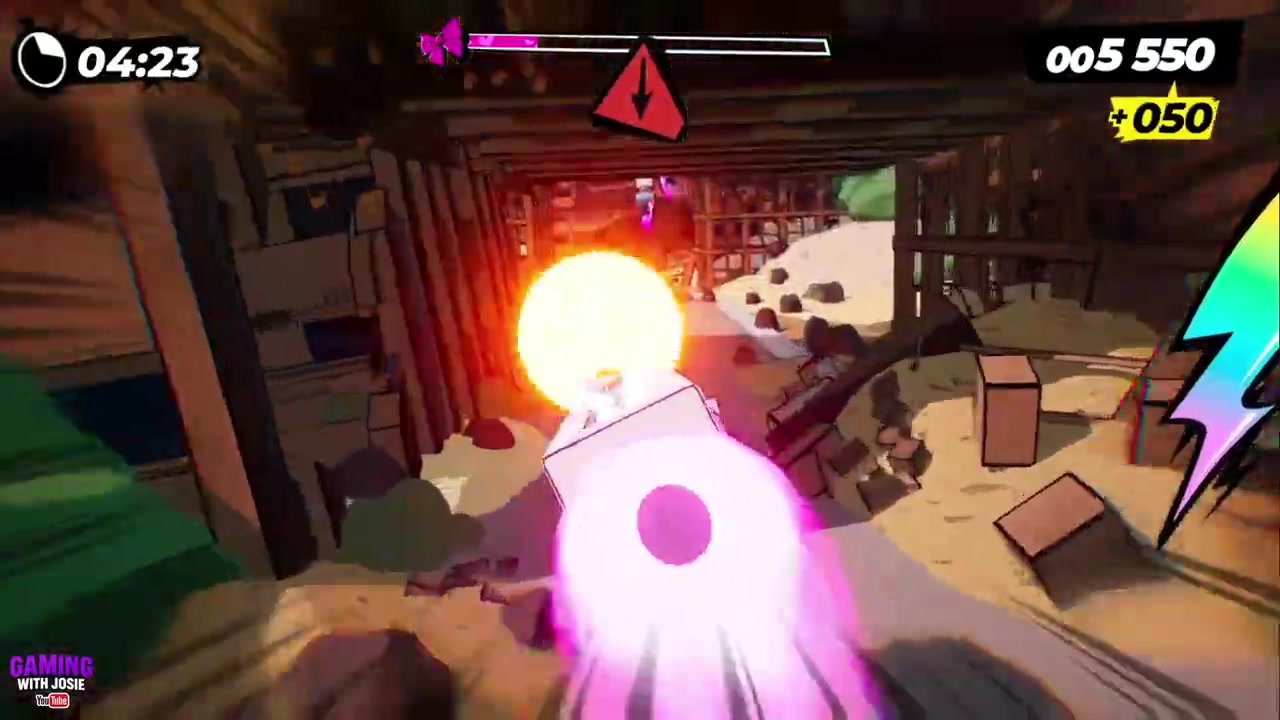
STEP 28/33
Duck under the next building
Drop the arm path under the incoming building before lining up more barrels.
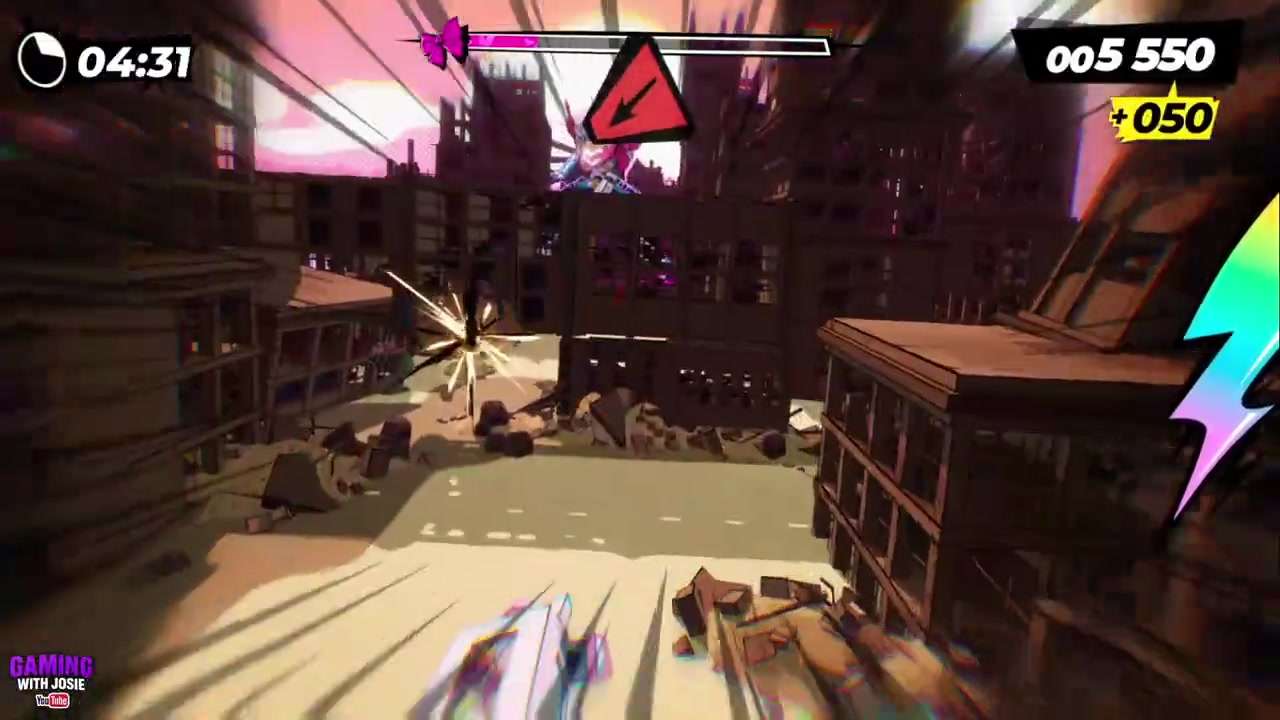
STEP 29/33
Hit the third barrel group
Curve into the next barrels after the building passes.
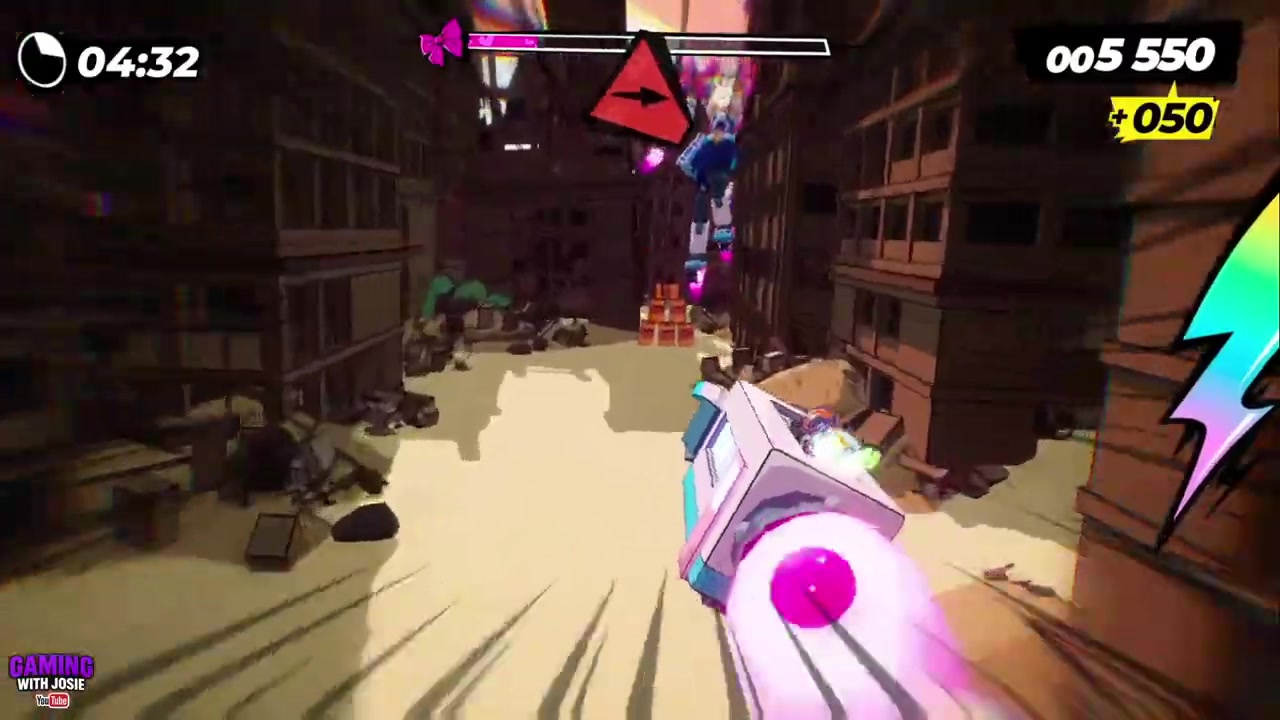
STEP 30/33
Avoid the right-side building
Move around the next building as the route bends right.
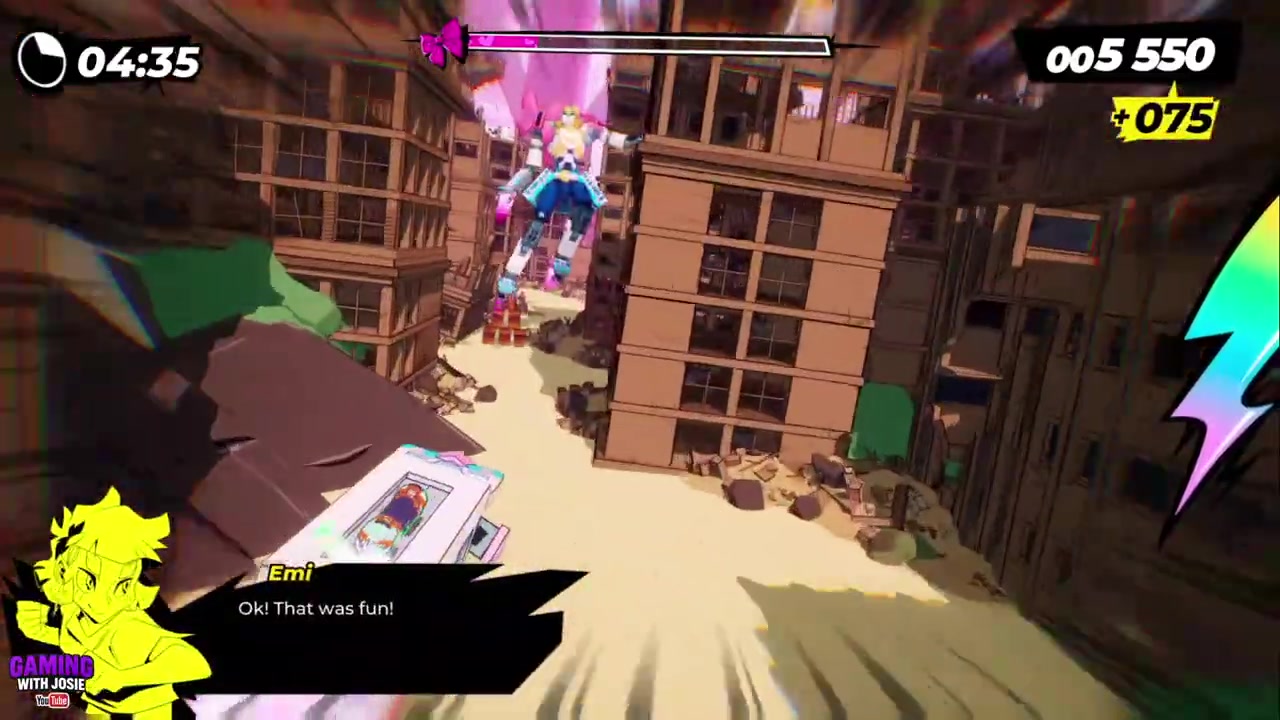
STEP 31/33
Hit the fourth barrel group
Take the next barrel group on the right-side route.
STEP 32/33
Hit the fifth barrel group
Finish the final barrel group to complete the arm-control sequence.
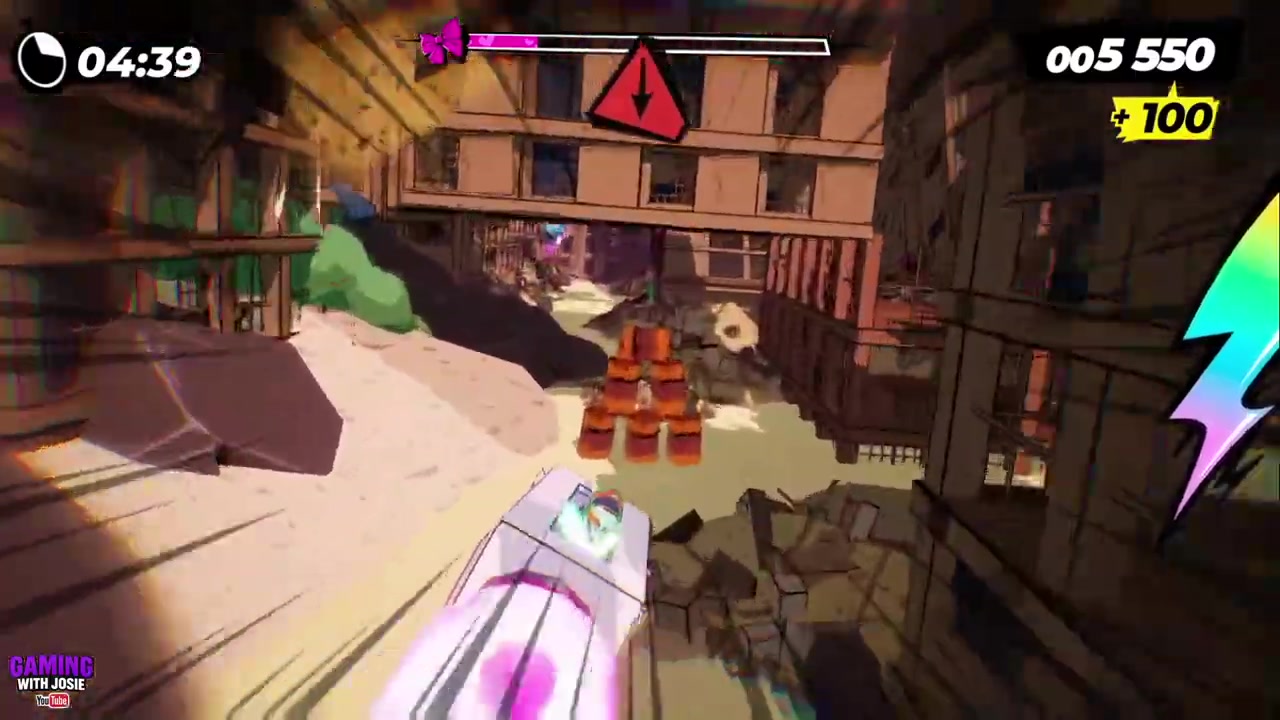
STEP 33/33
Reach the ending stretch
Carry the sequence to the end of the track to finish Yoshiie Mitsutake.
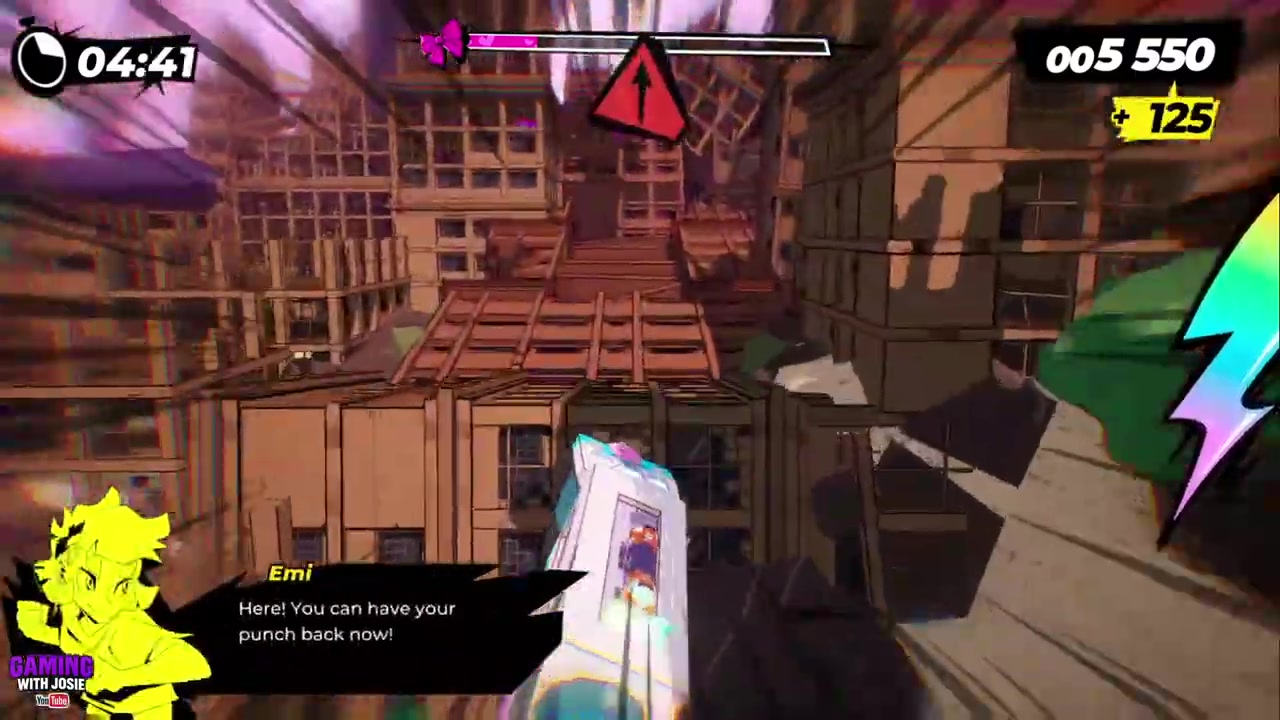
Video help
Phase 2 rail ride and barrel targets
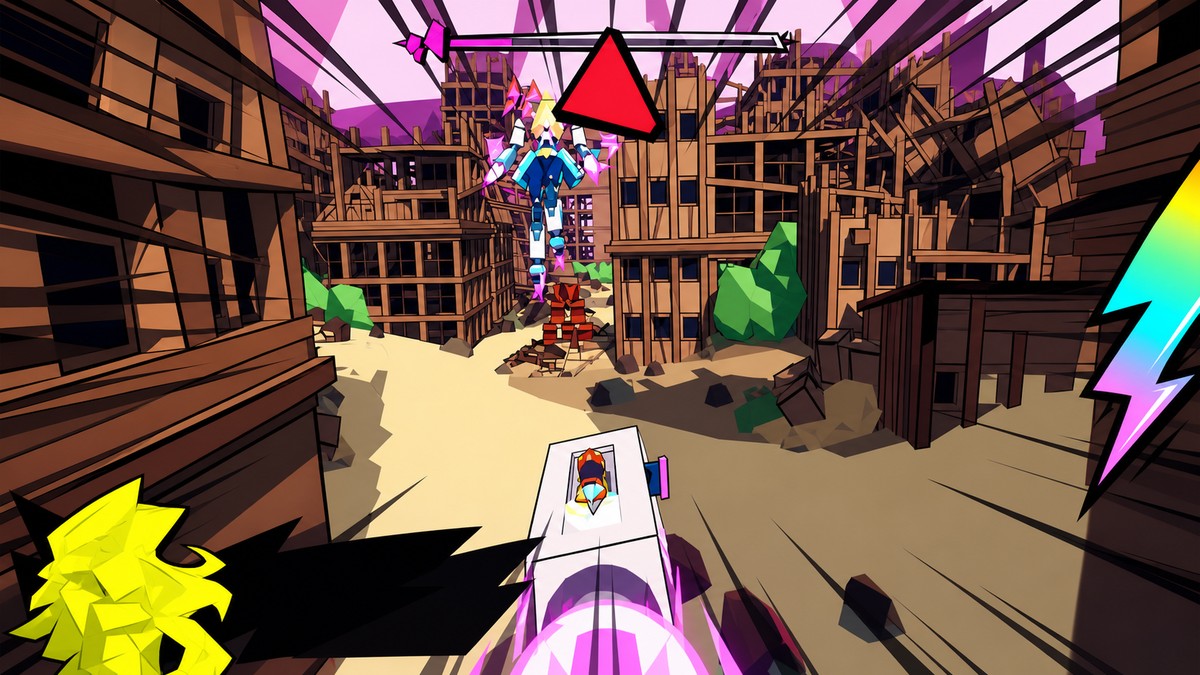
Phase 2 is mostly about staying alive through the course. Keep your train lined up for the next rail, make small corrections early, and treat the glass split as a route choice rather than a damage moment.
Once the fight hands you Yoshiie’s arm, the goal changes again. Steer into the barrel groups, but keep enough space to react to the buildings she throws across the path.
The final sequence is easiest when you think of it as barrels first, buildings second: line up each barrel group, then immediately adjust around the next obstacle instead of holding the same direction too long.
Survival and scoring advice for Yoshiie Mitsutake
Watch Yoshiie Mitsutake’s posture before every attack. The kneel means swipes are coming, the track lie-down means a high-jump slam opening is coming, and the raised slam animation means you should be ready to hop instead of attacking.
For the swipe strings, prepare your jump rhythm before the first swipe reaches you. The pattern gives you three single swipes and then a double swipe, so the mistake to avoid is landing too early after the third jump.
Use the calmer rail stretches for score only when your line is already stable. Denshattack! rewards tricks and chain control, but this boss punishes greedy movement during active attack patterns.
Yoshiie Mitsutake name spelling
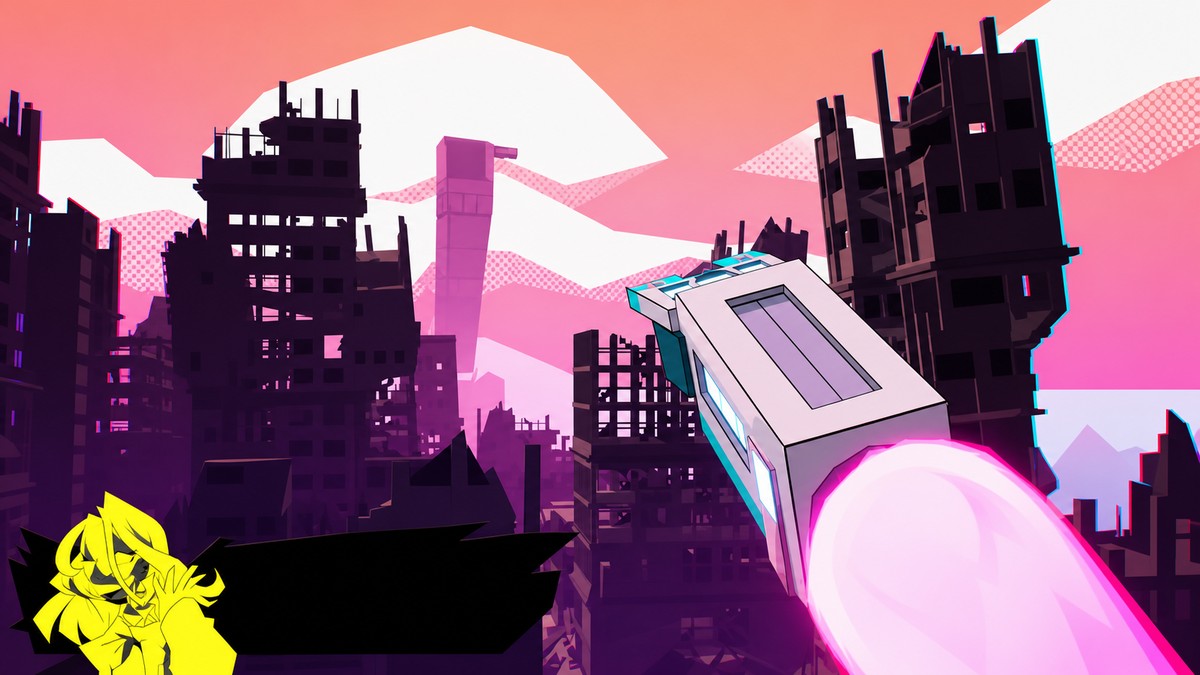
The boss name appears with the spellings Yoshiie Mitsutake, Yoshie Mitsutake, and Yoshie Mitsutake in early listings and captions. This guide uses Yoshiie Mitsutake consistently while focusing on the demonstrated fight pattern.
Frequently Asked Questions
How many phases does the Yoshiie Mitsutake fight have?
The fight has two main phases. The cutscene after the final phase-one slam marks the switch into the rail-riding phase.
How do you avoid the swipe combo?
Jump the three single swipes, then stay ready for the double swipe that follows immediately after the third one.
When can you damage Yoshiie Mitsutake?
You damage her during the shoulder openings and when she lies across the tracks for the high-jump slam. The final arm-control sequence ends the fight through barrel hits.
Do you need to perform tricks during the boss fight?
No. Tricks are optional for score, and you can clear the fight by focusing on dodging, jumping, rail control, and the required attack openings.
How many barrel groups are in the final arm-control section?
There are five barrel groups in the final arm-control section.




Leave a Reply