
To beat HMS Fearless and Royal Sovereign, use a heavily upgraded Jackdaw, avoid sailing alongside or between them, keep looping back into their path, damage both ships evenly with mortars, broadsides, barrels, and bracing, then sink them almost together before the survivor can ram you down.
HMS Fearless and Royal Sovereign turn a normal Legendary Ship duel into a two-on-one trap. The danger is not just their health; it is the way they try to box the Jackdaw in, punish you with double broadsides, and then make the last surviving ship wildly aggressive if you sink one too early.
The cleanest plan is to stop thinking of this as two separate kills. Keep moving, keep turning back into their path, use every safe damage window, and make sure both ships reach low health together before you commit to the finish.
- What makes HMS Fearless and Royal Sovereign dangerous
- Recommended Jackdaw upgrades and encounter details
- How to beat HMS Fearless and Royal Sovereign in Assassin’s Creed Black Flag
- How to survive the barrel phase
- Optional chain shot and ram method
- Mistakes that ruin this Legendary Ship fight
- Rewards and what to do next
- Frequently Asked Questions
What makes HMS Fearless and Royal Sovereign dangerous
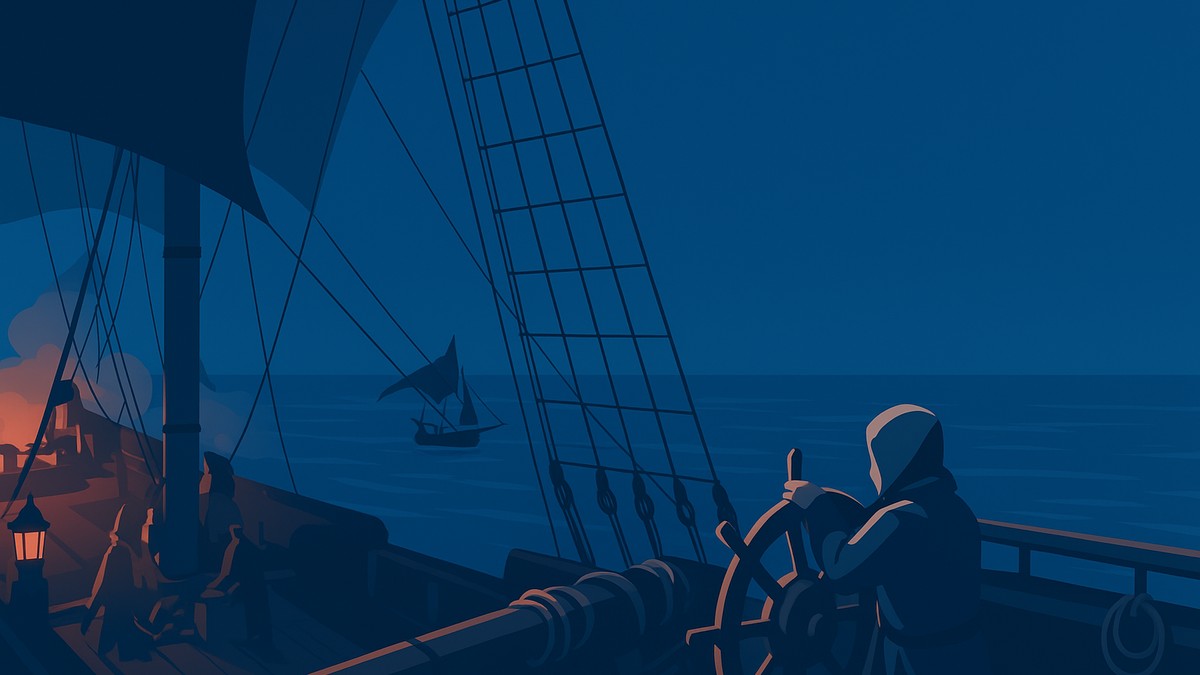
This fight is different because the two Legendary Ships work best when you let them control your angle. If you sail beside one ship for too long, the other can punish your exposed side, and even bracing will not erase all the damage from repeated broadsides.
The worst habit is trying to quickly delete one target and then treat the rest as a one-on-one battle. Once one ship goes down, the survivor becomes much more aggressive, sets itself up for rams, and can burn through a damaged Jackdaw before you recover your line.
KEY!Your win condition is simple: keep both ships alive but badly damaged, then finish them close together. That makes the final enraged phase as short as possible.
Recommended Jackdaw upgrades and encounter details
| Detail | What to know |
|---|---|
| Ships | HMS Fearless and Royal Sovereign |
| Map area | Northeastern ocean, around Eleuthera |
| Coordinates | About 811,858; some maps place it at 811,855 |
| Difficulty | Endgame Legendary Ship fight |
| Best upgrades | Hull armor, broadside cannons, mortars, swivel cannons, ram |
| Reward summary | Reales and HMS Fearless ship cosmetics; the Brothers in Arms reward label can appear differently |
You should treat this as endgame naval content. A near-maxed or fully upgraded Jackdaw gives you enough armor to survive bad angles and enough damage to end the fight before the arena turns into a barrel field.
Prioritize hull armor first, because this encounter has very little room for mistakes. After that, bring strong broadside cannons, mortars, swivel cannons, and ram upgrades, then refill health and ammunition before you sail into the battle.
Do not sink either ship until both are almost dead; the survivor’s ramming phase is the part most likely to erase a good attempt.
How to beat HMS Fearless and Royal Sovereign in Assassin’s Creed Black Flag
Use this loop to stay out of their broadside trap, keep both health bars even, and end the fight before the surviving ship can chain-ram you.
STEP 1/20
<
p class=”vg-step-title” data-vg-step=”1″ data-vg-of=”20″ id=”max-out-durability-before-starting” style=”margin:16px 0 6px”>Max out durability before starting
Enter with Jackdaw durability at or near maximum, because both ships hit hard even when you brace.
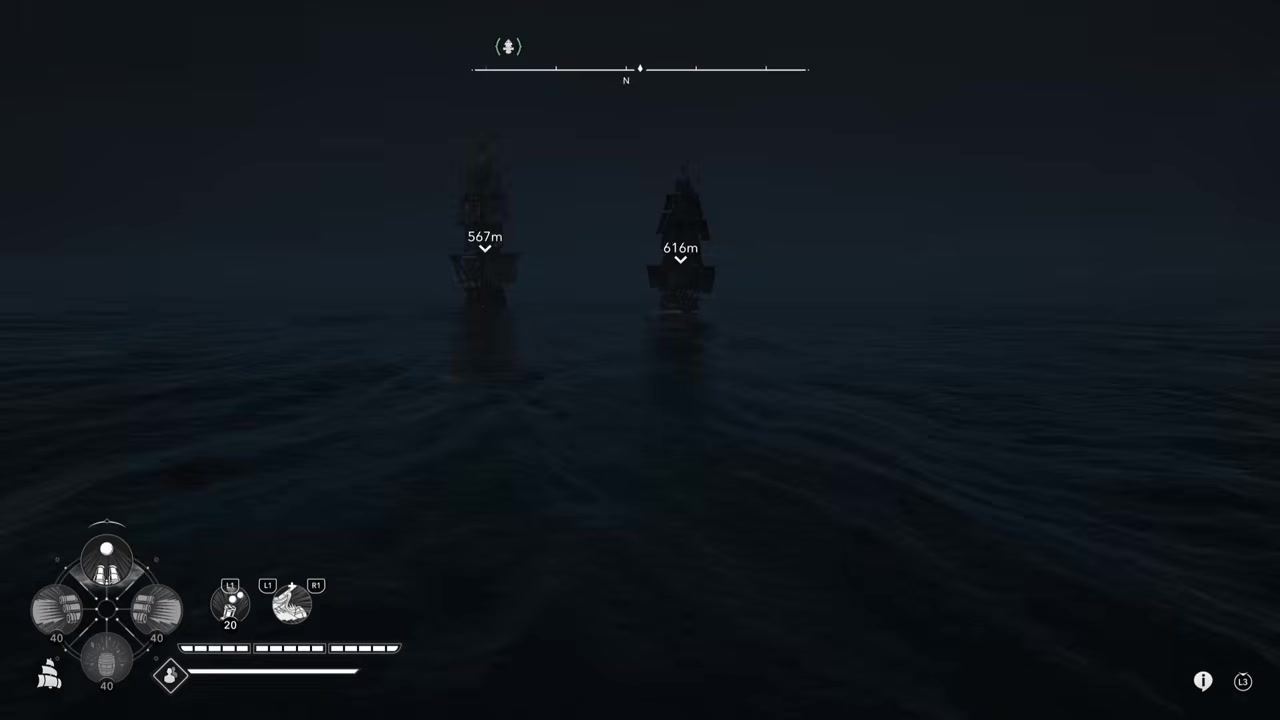
STEP 2/20
Avoid sailing alongside either ship
Do not sit parallel to one target, because the second ship can fire into your exposed side.
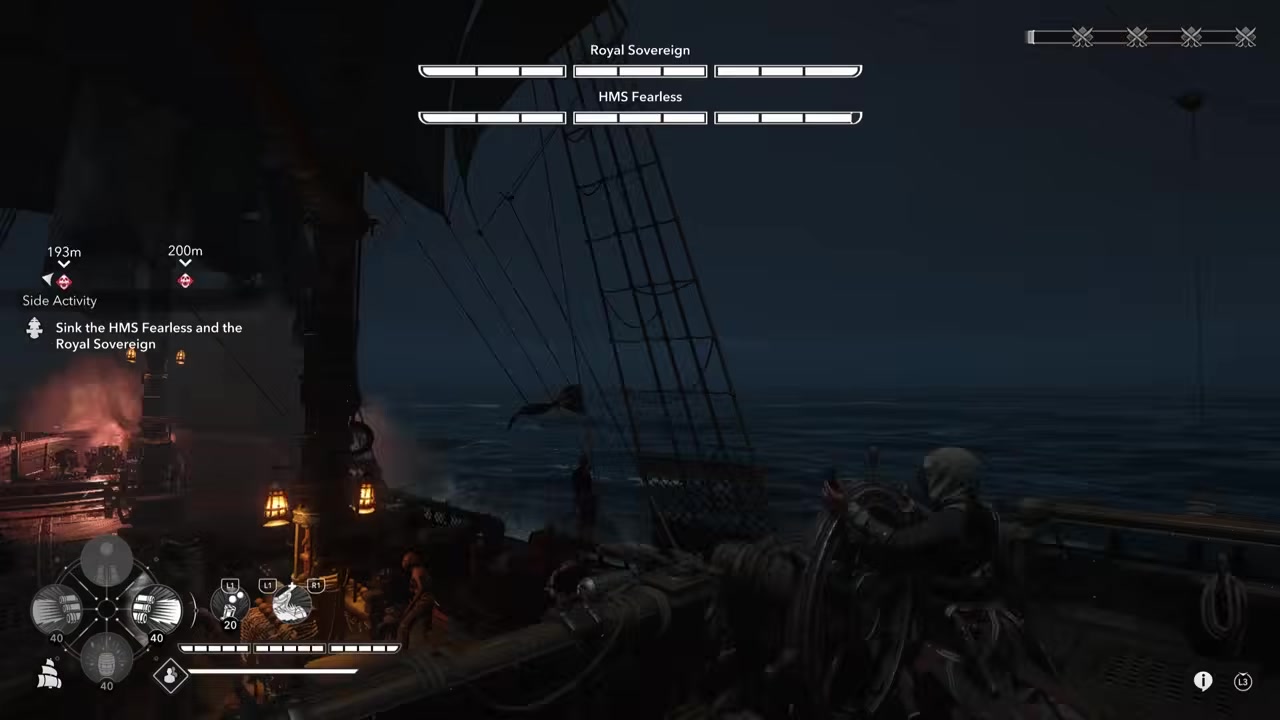
STEP 3/20
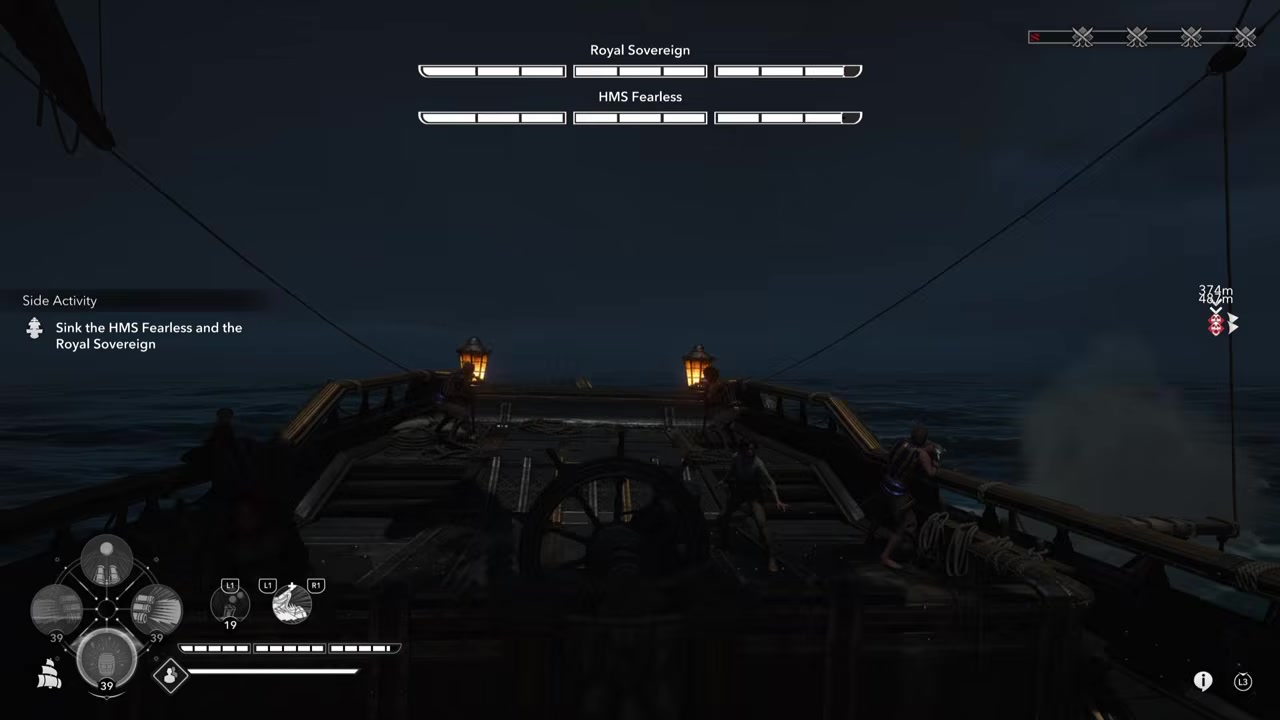
Loop back through the middle
Keep turning back toward their approach path instead of letting them drag you into a long side-by-side chase.
STEP 4/20
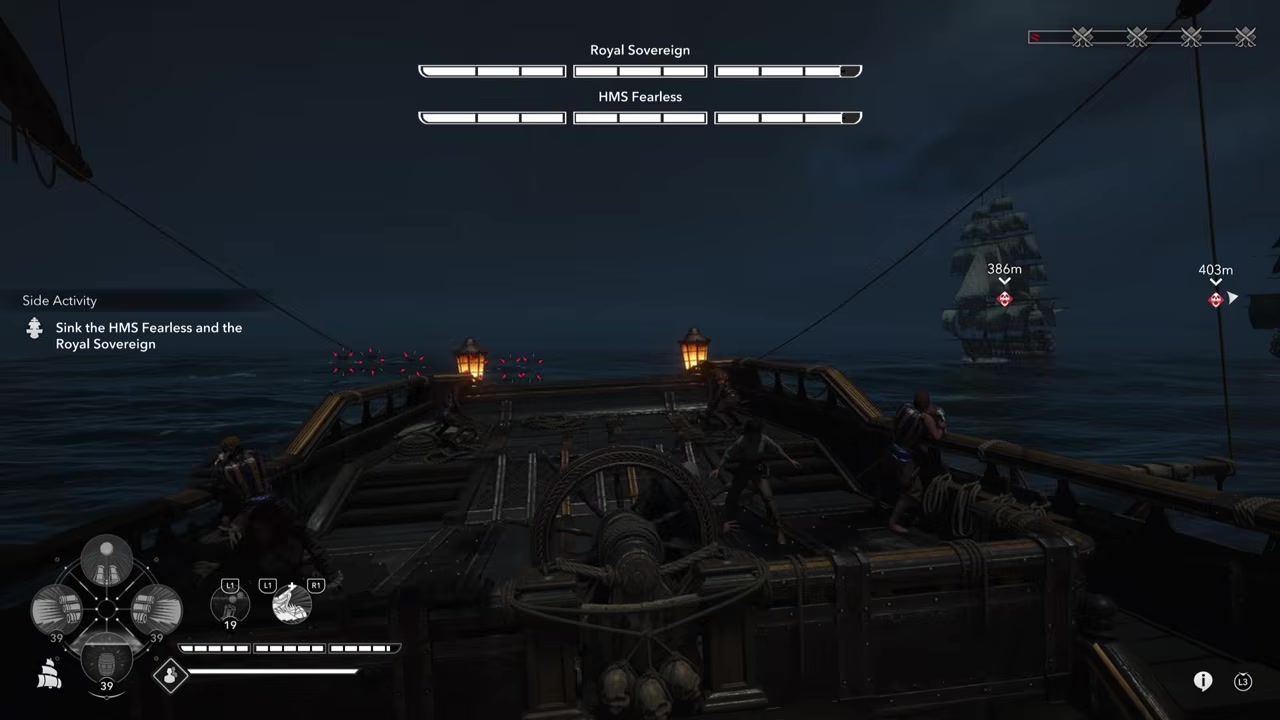
Drop barrels during close passes
Use your powder barrels as you pass through their line, since a good detonation deals heavy burst damage.
STEP 5/20
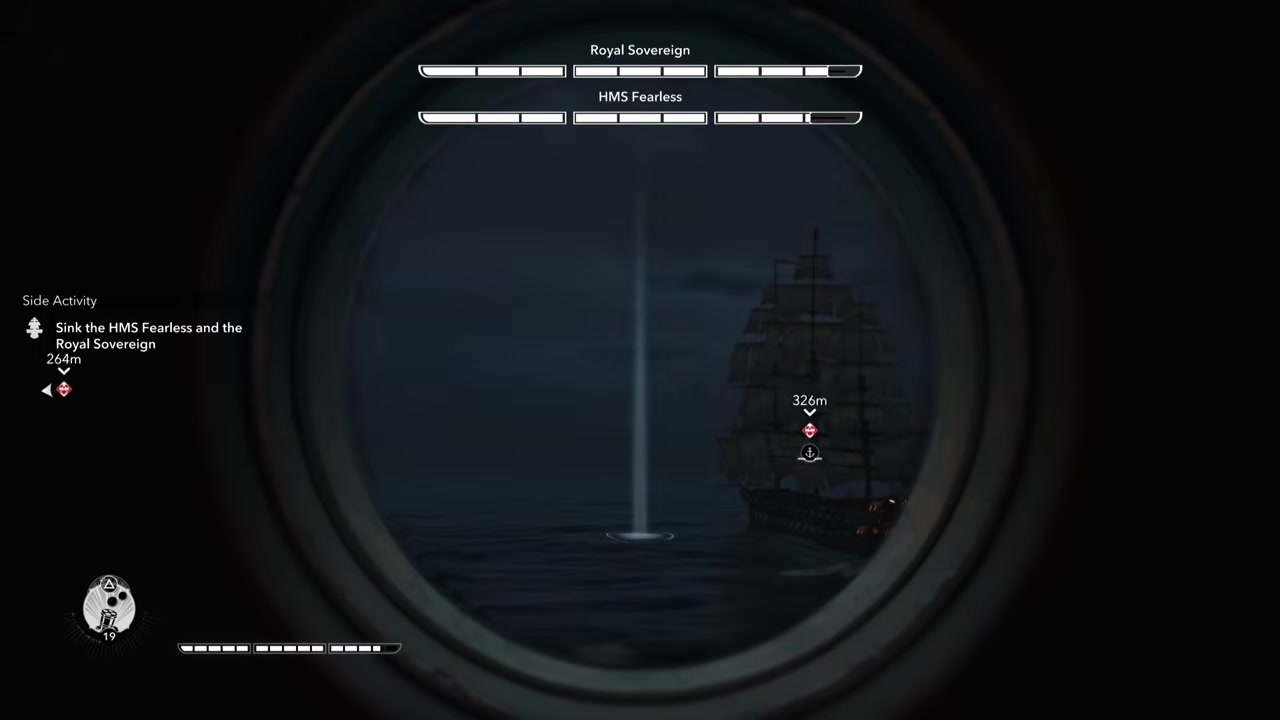
Fire mortars when they are distant
When both ships pull away, use mortar shots and try to place them where the two ships cross.
STEP 6/20
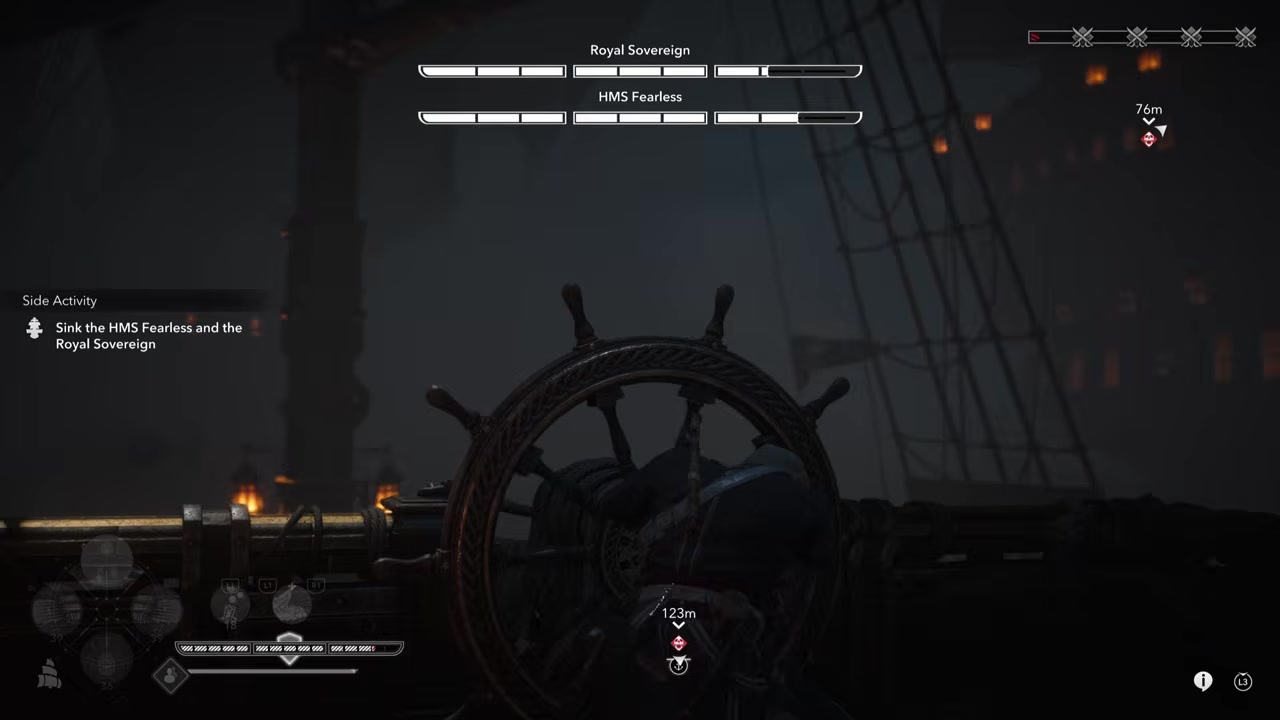
Brace before the broadside lands
Brace through incoming fire, answer with your own shots, then turn away before the second ship gets a clean angle.
STEP 7/20
Meet them head-on when they approach
If they are coming toward you, turn into the encounter path and avoid riding beside them.
STEP 8/20
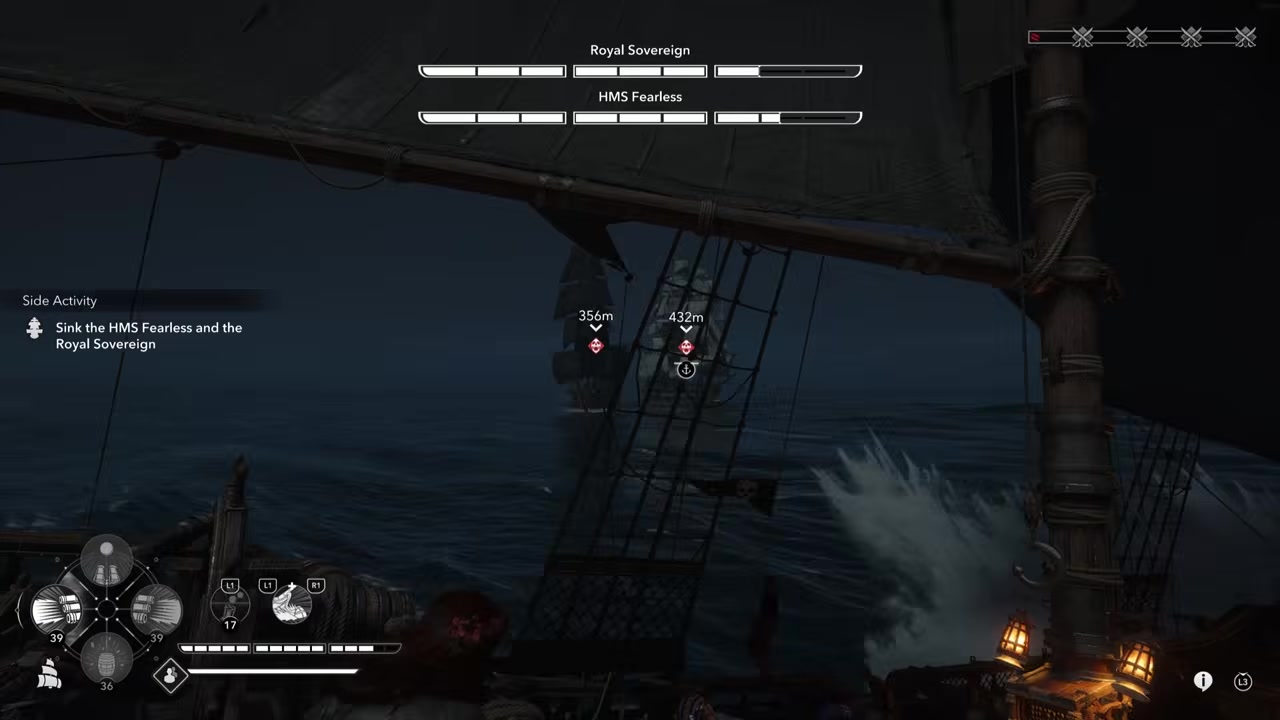
Do not obsess over one target
It does not matter which ship you start on, as long as you keep switching before one health bar drops too far ahead.
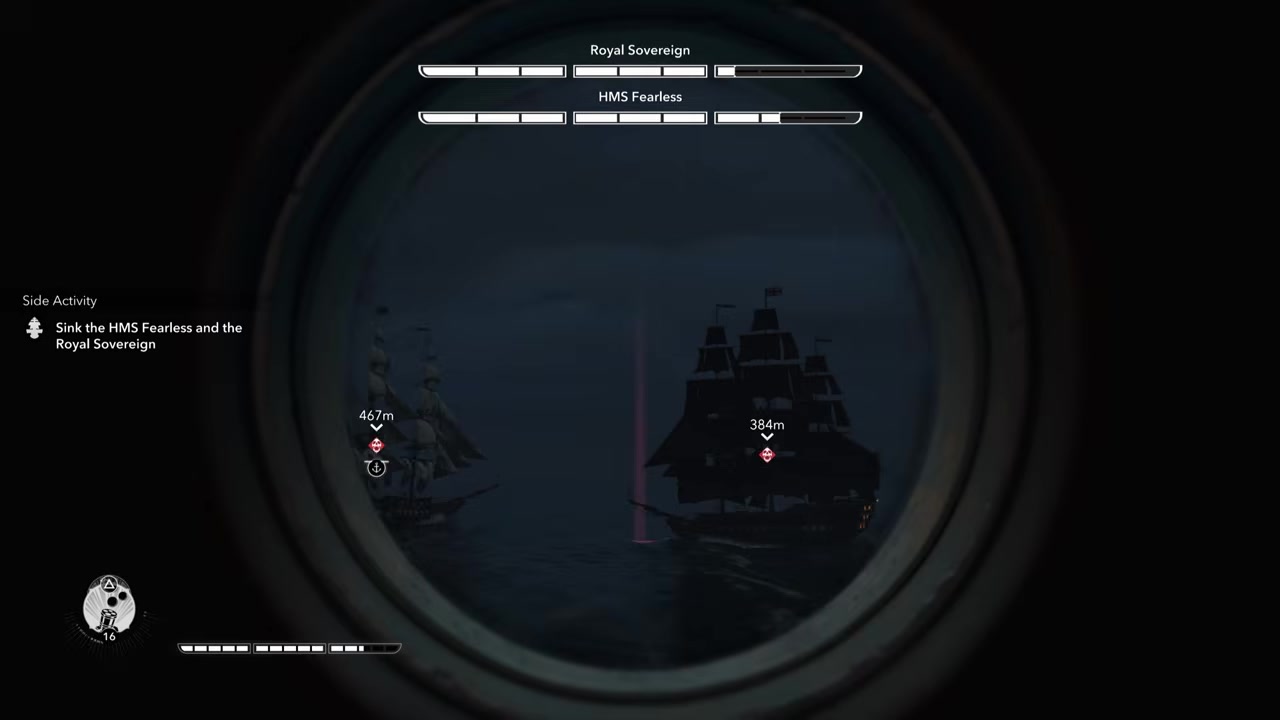
STEP 9/20
Chain barrels into a hit
Drop barrels, then fire when a ship moves near them to turn a pass behind you into extra damage.
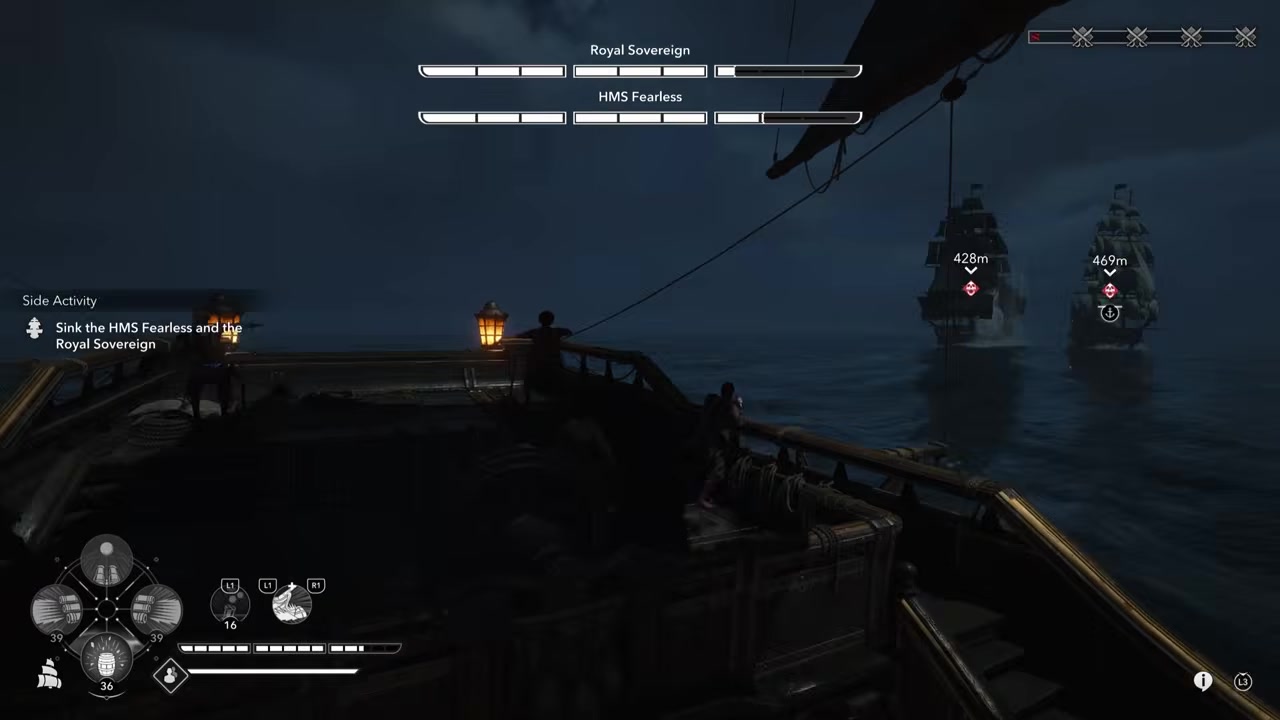
STEP 10/20
Expect phase two barrels at low health
Once a ship falls to roughly the last stretch of its health bar, the fight becomes harder because enemy barrels enter the route.
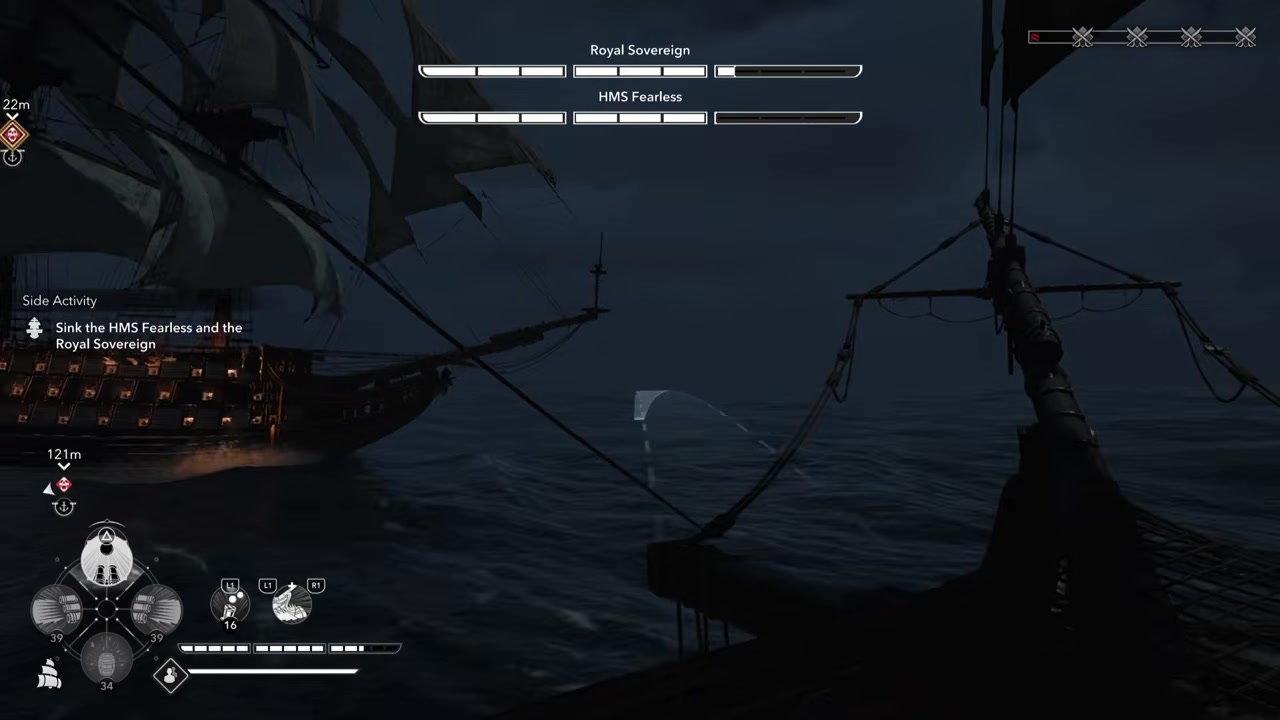
STEP 11/20
Watch your turn after every exchange
Keep checking your next turn, because you need room to loop back without running into barrels or the boundary.
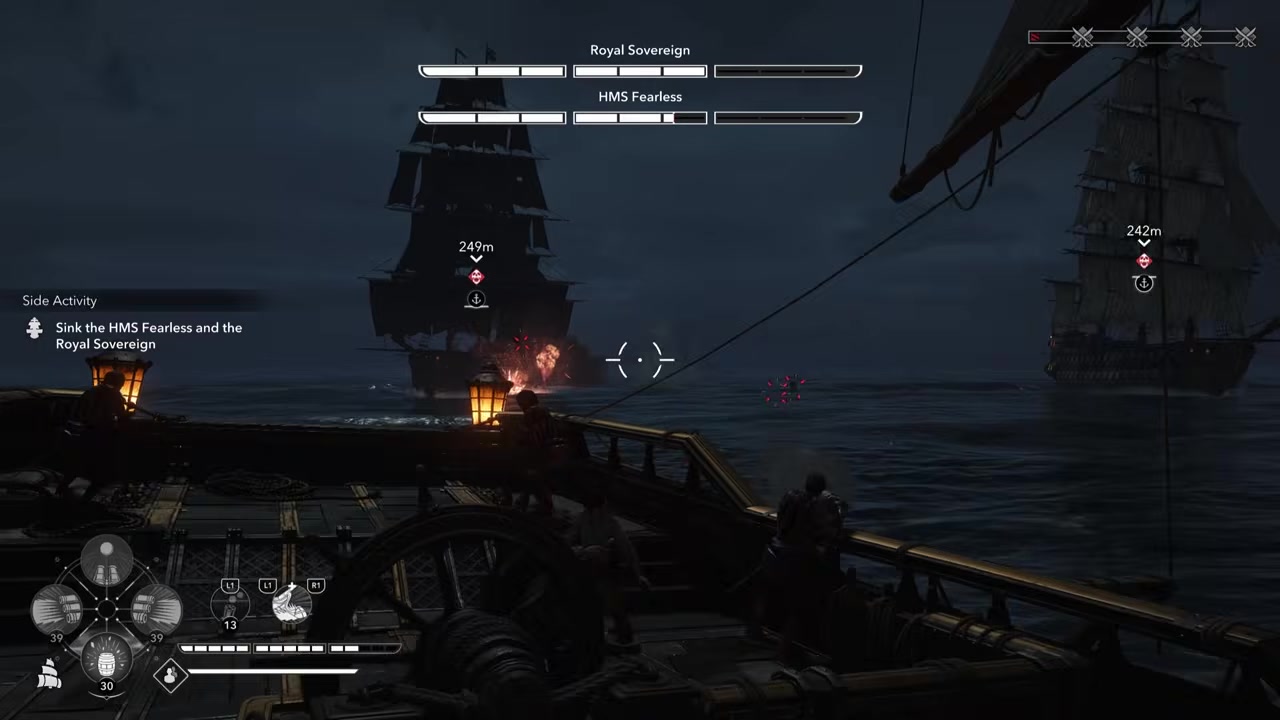
STEP 12/20
Even out the health bars
If HMS Fearless has taken more damage, shift pressure to Royal Sovereign until both are close.
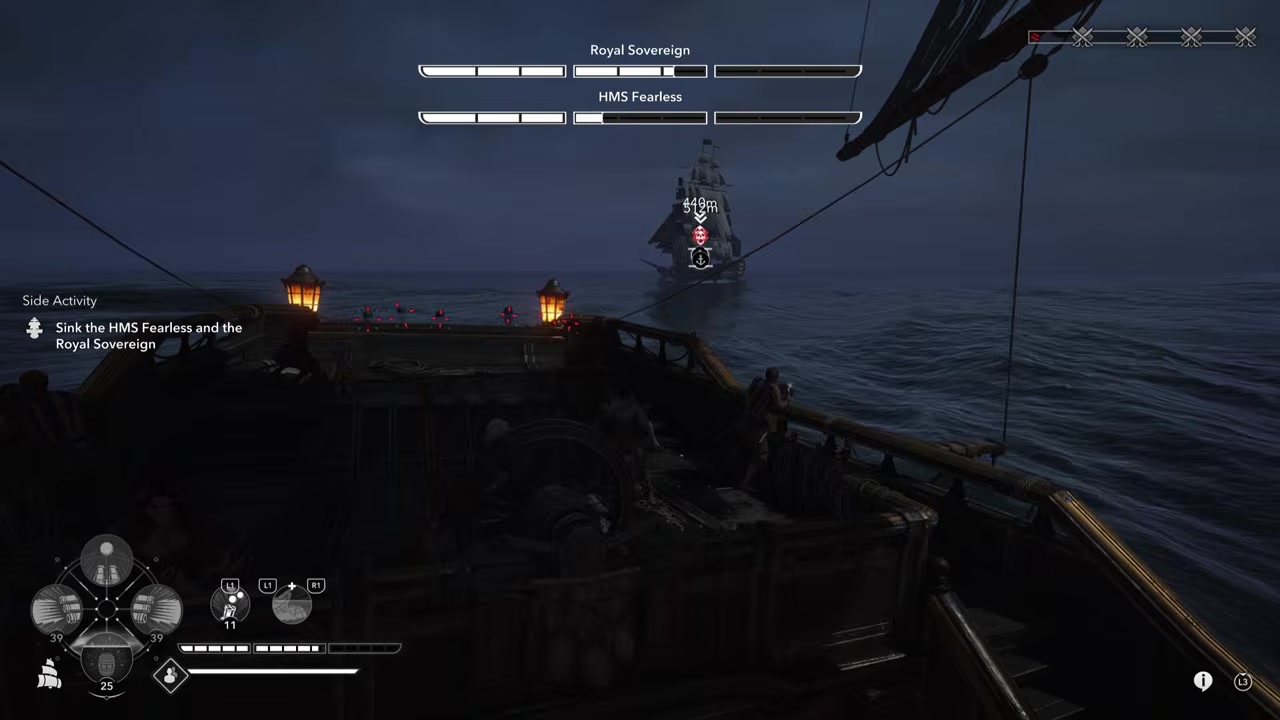
STEP 13/20
Detonate barrels with mortars if lined up
You can trigger your dropped barrels with a mortar shot instead of always relying on the swivel gun, but the ship must be close enough.
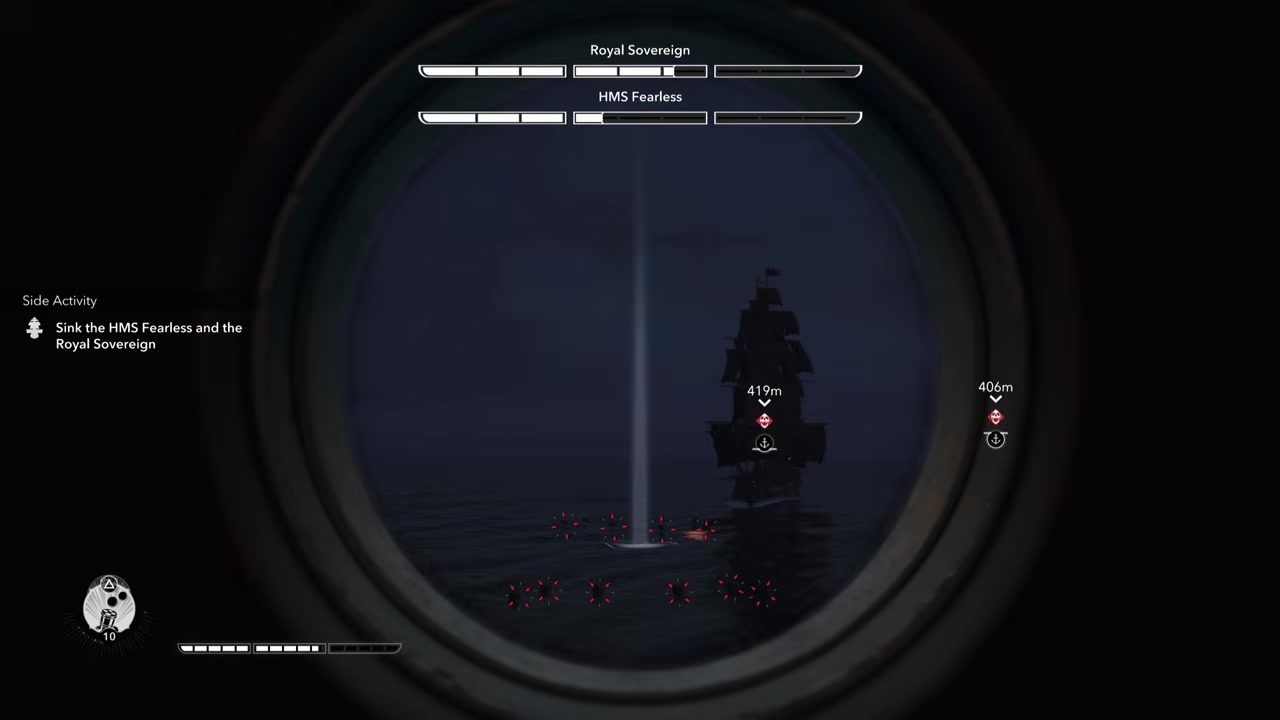
STEP 14/20
Clear only barrels blocking your route
Destroy the barrels directly in your path, then leave safe ones behind so the enemy can hit them or you can shoot them later.
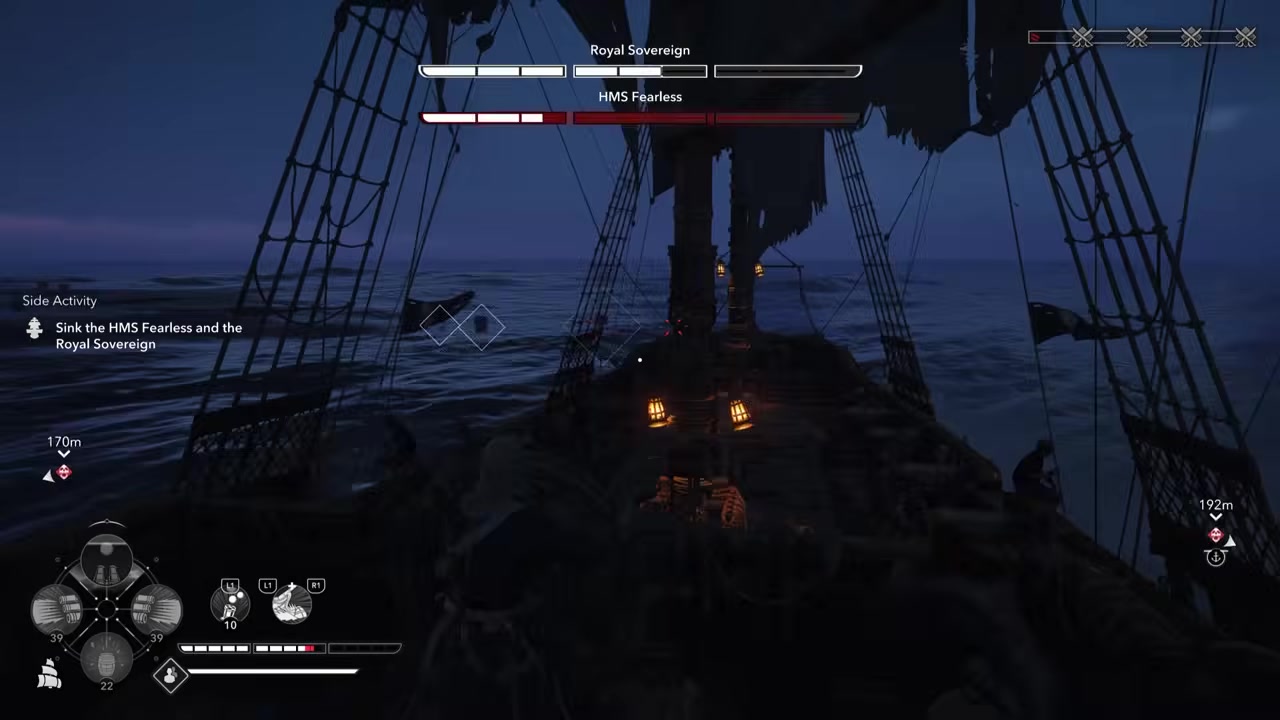
STEP 15/20
Swap to the healthier ship
When one ship is already low, focus the other so you do not create a long solo phase against an enraged survivor.
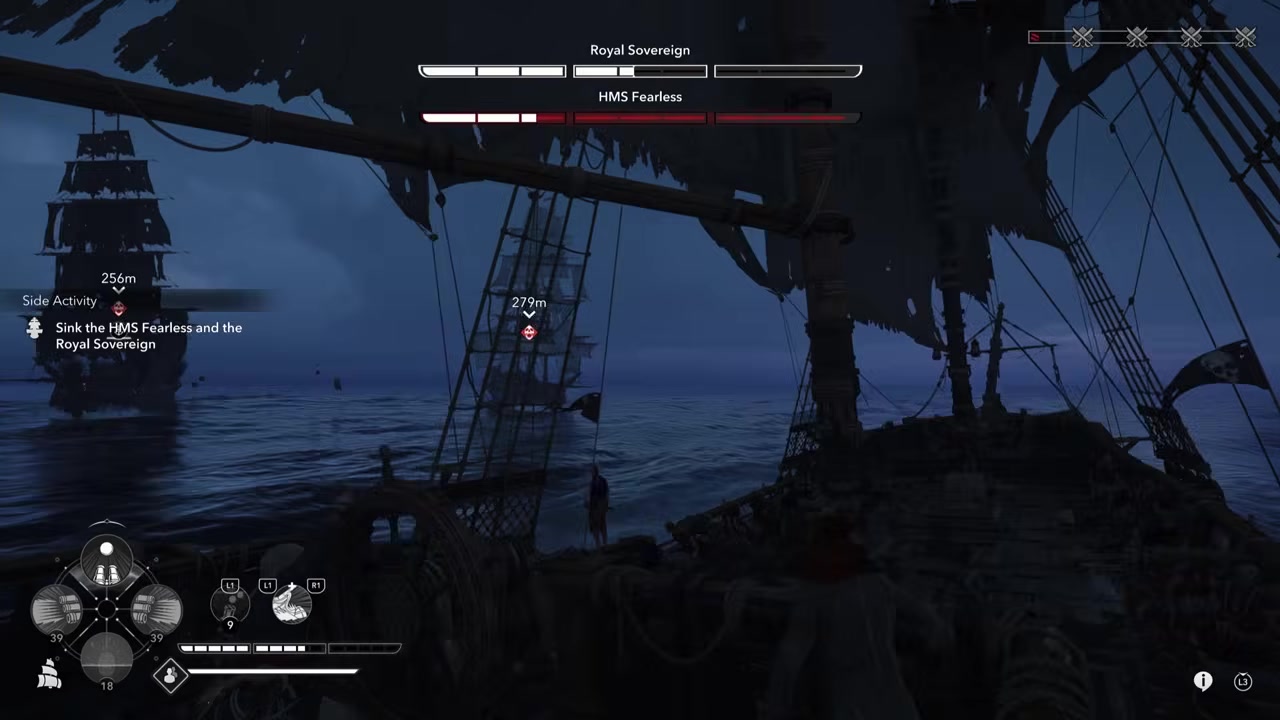
STEP 16/20
Brace twice when the angle is bad
If both ships are firing into your turn, brace through the first hit and be ready to brace again.
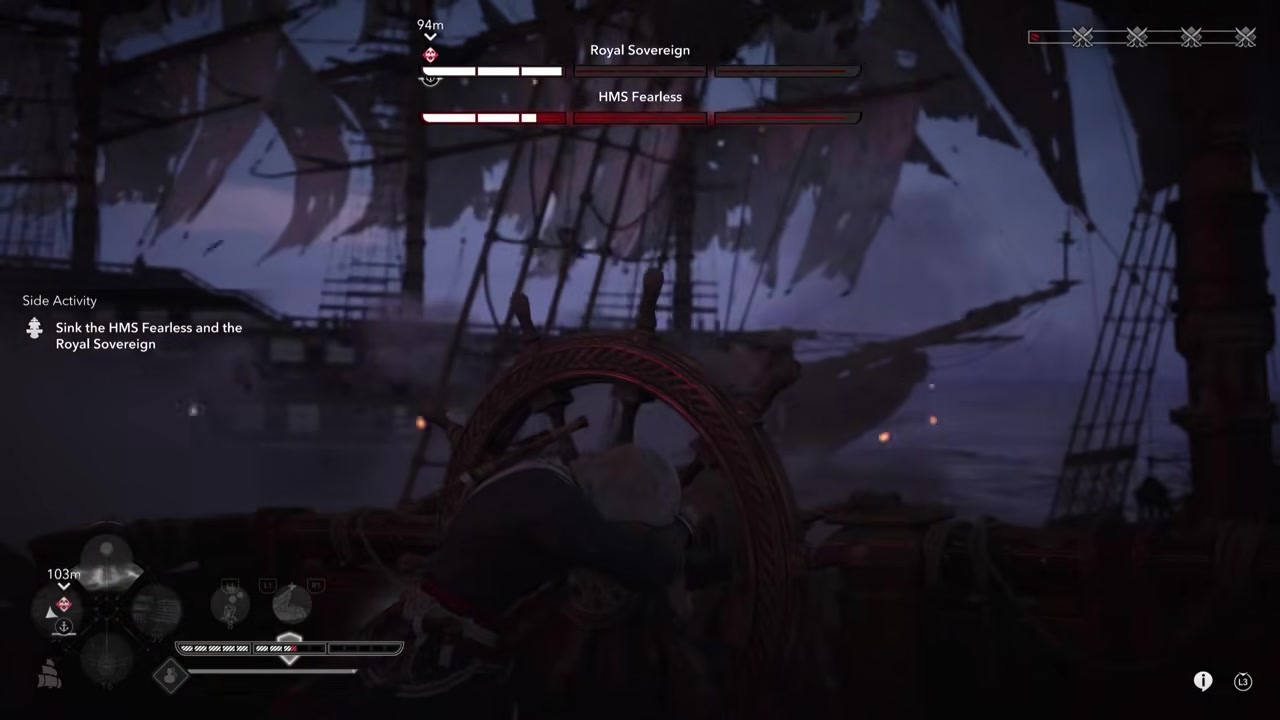
STEP 17/20
Stay composed near the finish
A near-win can collapse fast, so keep looping, bracing, and checking both health bars instead of rushing one kill.
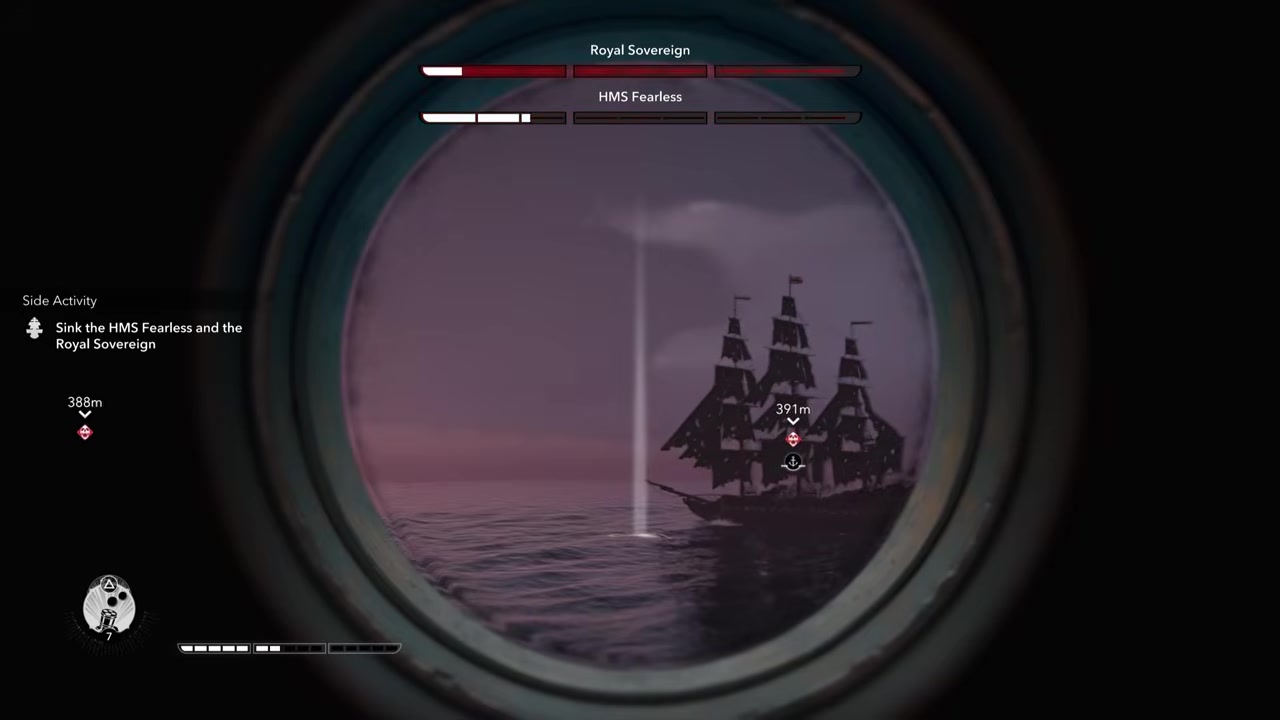
STEP 18/20
Bring both ships to kill range
Before landing the final shots, make sure both ships are nearly dead so the survivor has only seconds to act.
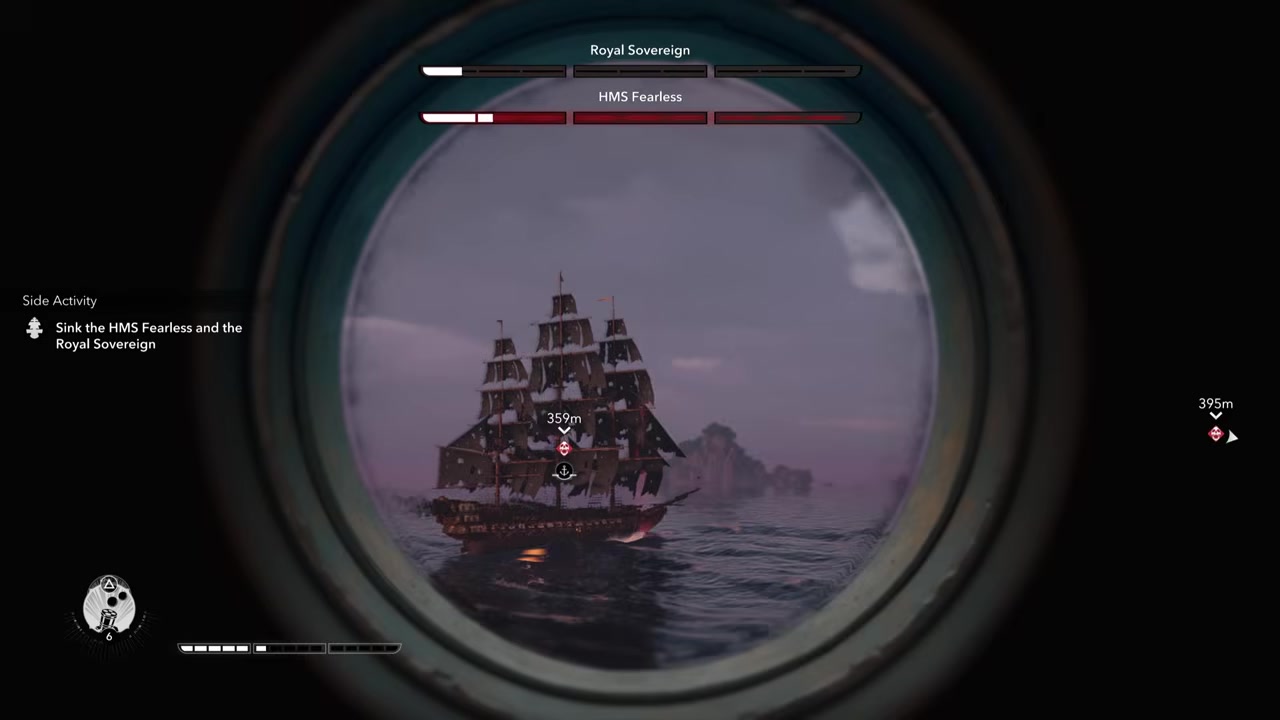
STEP 19/20
Avoid getting trapped near the edge
If you run out of turning room, you can be boxed in and punished by broadsides, barrels, and rams.
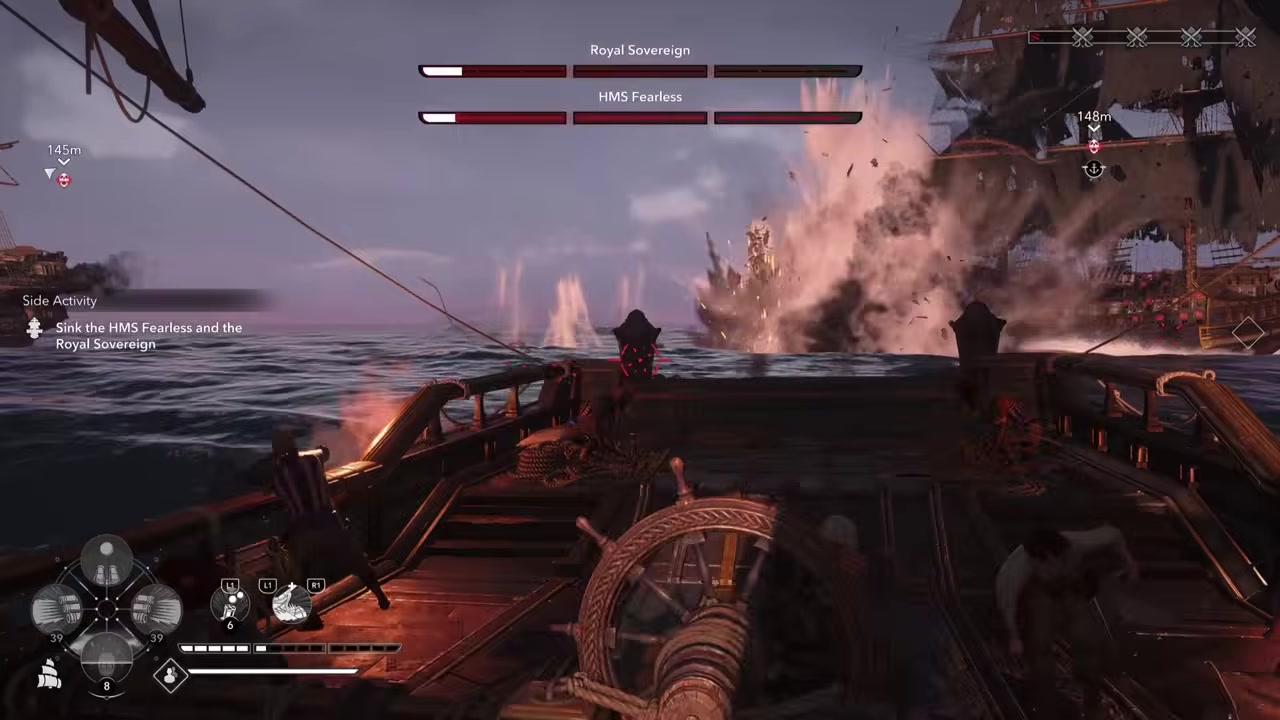
STEP 20/20
Finish them almost together
Drop barrels and unload your strongest shots so one ship sinks and the second goes down immediately after.
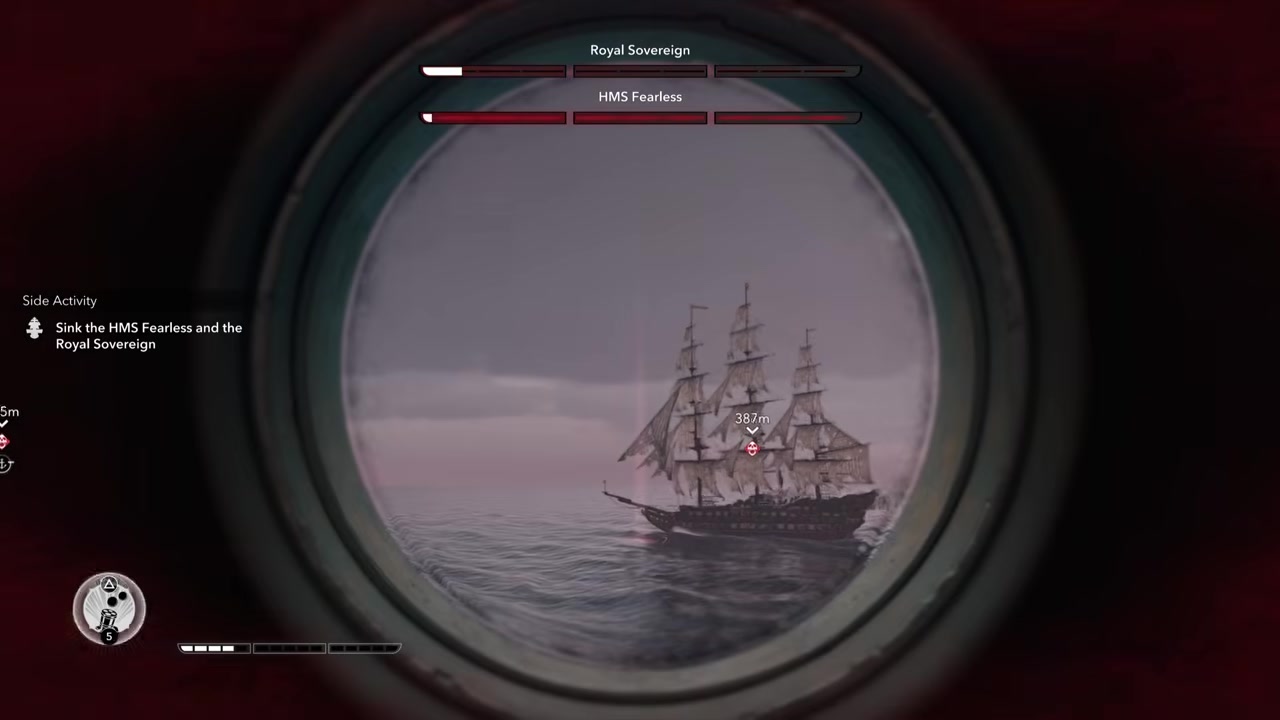
Video help
How to survive the barrel phase
The fight gets nastier once explosive barrels become part of the pattern. From that point on, you are not only watching the ships ahead of you; you also need to track the water behind and around your turning line.
Do not waste time clearing every barrel in the arena. Shoot the ones that block your route, especially when you are about to turn back through the middle, and leave safer barrels in place when they can punish a pursuing ship.
Swivel shots are useful when a barrel is lined up cleanly, but you can also use mortar fire or your own barrel drops to create bigger bursts. The important part is spacing: barrels only matter when a ship is actually close enough to take the blast.
Optional chain shot and ram method
If you are comfortable fighting at close range, chain shot can make this encounter more controllable. Fire from the bow to slow or disable one ship, ram it while its sails are compromised, then punish the pass with heavy shot, broadsides, swivel fire, or mortar damage.
This method works best as a control tool, not as permission to tunnel one target to death. Bring one ship down to low health, break away, and repeat the same pressure on the other so the final kill still happens quickly.
The risk is positioning. A failed ram cycle can leave the Jackdaw broadside-on, trapped near the boundary, or exposed to the untouched ship, so use chain shot and ramming only when you can still turn out afterward.
Mistakes that ruin this Legendary Ship fight
| Mistake | What to do instead |
|---|---|
| Sailing between both ships | Turn back through their path quickly and avoid staying in a double broadside lane. |
| Sailing parallel too long | Use short passes, fire, brace, then peel away before the second ship lines up. |
| Killing one ship too early | Lower both health bars first, then finish them almost together. |
| Ignoring barrels | Destroy barrels in your route and use safe ones as traps. |
| Entering under-upgraded | Upgrade hull armor, cannons, mortars, swivels, and ram before attempting the fight. |
| Forgetting to brace | Brace before broadsides, mortar hits, and incoming rams. |
| Getting trapped near the boundary | Start your turn earlier and keep enough open water to reset the loop. |
Most failed attempts come from giving the two ships the angle they want. The longer you sail beside them, the more likely you are to eat stacked cannon fire, panic into a bad turn, or hit barrels while trying to escape.
Rewards and what to do next
Beating HMS Fearless and Royal Sovereign pays out Reales and unlocks HMS Fearless-themed ship cosmetics. Reward wording can vary, especially around the Brothers in Arms label, but the fight is worth clearing for both money and completion progress.
After this, the natural next targets are the other Legendary Ship encounters: La Dama Negra, El Impoluto, and HMS Prince. If your Jackdaw still feels short on damage or survivability, go after more Ultimate Ship Plans before forcing the remaining fights.
Frequently Asked Questions
Do you have to destroy HMS Fearless and Royal Sovereign at the same time?
You do not need the kills to land on the exact same second, but you should sink them as close together as possible. If one ship dies while the other still has plenty of health, the survivor becomes extremely aggressive and can ram you down fast.
Which ship should you target first?
Either ship can be your first target. The more important rule is to switch targets often so HMS Fearless and Royal Sovereign reach low health together.
What upgrades should the Jackdaw have before this fight?
Bring the Jackdaw as close to fully upgraded as you can, with special priority on hull armor, broadside cannons, mortars, swivel cannons, and the ram. Refill ammunition and start with full health.
Why does the remaining ship become so hard after one ship sinks?
Once one ship goes down, the remaining ship becomes much more aggressive and focuses on ramming and heavy pressure. That is why leaving the survivor at high health usually turns a strong attempt into a quick loss.
Can you beat this fight with chain shot and ramming?
Yes. Use chain shot to slow a ship, ram it, punish it with close-range fire, then break away before you are trapped. Just keep the same core rule: do not kill one ship while the other is still healthy.
More questions⤵
Where is the HMS Fearless and Royal Sovereign Legendary Ship battle?
The encounter is in the northeastern ocean around Eleuthera, near coordinates 811,858. Some maps place the marker at 811,855, but both point to the same Legendary Ship battle.




Leave a Reply