
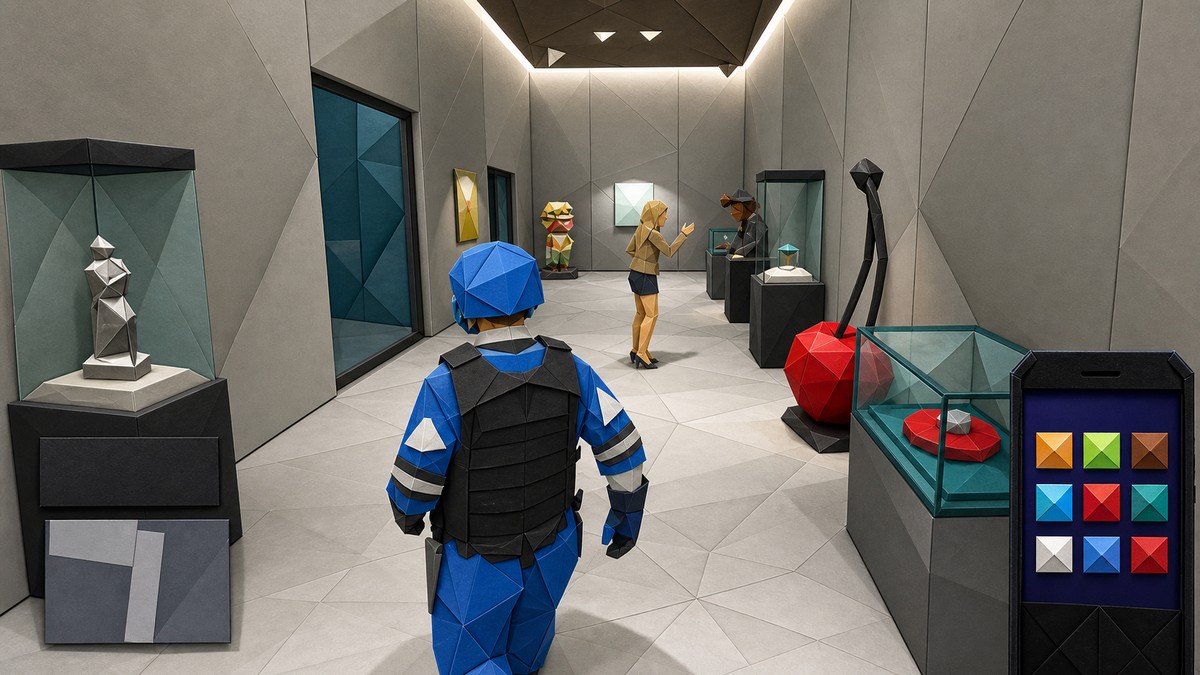
Secondary targets in the Kortz Center Heist are the small paintings and glass-case valuables found in the vault, Exhibit Level 2, the main galleries, the lower level, and the upstairs Crisp Gallery, and you must scope them by CCTV or Snapmatic before the finale.
The Kortz Center scope-out is split between two methods: CCTV for the vault and Exhibit Level 2, then Snapmatic photos for the walkable gallery targets. Treat the route as area-based rather than a fixed spawn seed, because item names and values can rotate between runs while the target spots remain what you need to check.
- Kortz Center secondary target areas
- How Kortz Center secondary targets work
- How to start the Kortz Center scope-out in Grand Theft Auto Online
- Vault secondary paintings
- Exhibit Level 2 CCTV painting
- Main floor paintings and glass cases
- Lower-level display cases
- Upstairs route and Crisp Gallery targets
- Buyer-request targets and gold dollar signs
- Scope-out mistakes that waste time
- When the timer ends or targets are missing
- Frequently Asked Questions
Kortz Center secondary target areas
| Area | Targets to check |
|---|---|
| Vault | Four secondary paintings seen through CCTV, separate from the primary vault painting. |
| Exhibit Level 2 | One small painting found before leaving the CCTV feeds. |
| Main floor galleries | Small paintings and glass cases on both sides of the wall, plus the last glass case on the floor. |
| Lower level | Three glass cases: skull, special egg, and gold rings. |
| Upstairs route | Small paintings after taking the stairs to the top and turning right. |
| Crisp Gallery | Multiple secondary targets, including a gold dollar-sign buyer request and a blue diamond. |
| Far upstairs gallery | Three more glass cases farther along after the Crisp Gallery route. |
KEY!Use this as your sweep order: finish every CCTV target first, then move through the building with Snapmatic open and photograph each qualifying target on its own. A single showcase run has been counted at 33 total secondary targets, but the exact pool and values can shift, so the reliable habit is to check every area listed above.
How Kortz Center secondary targets work
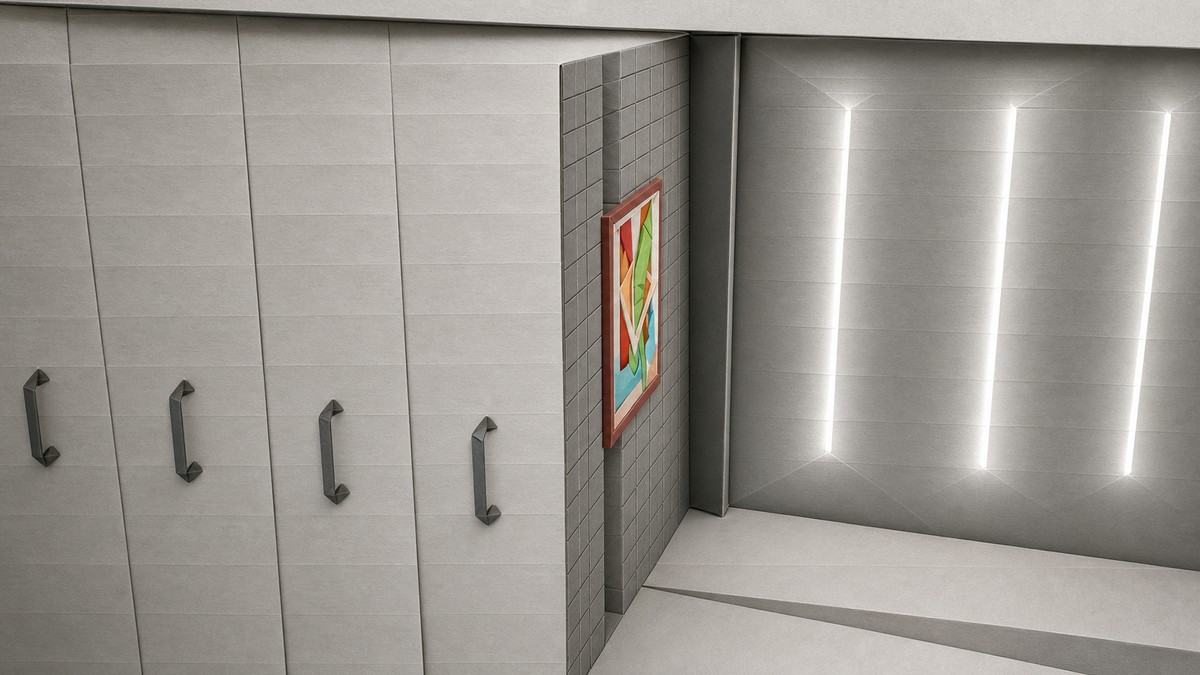
A secondary target is any lootable exhibit that is not the primary vault painting. In this heist, that mainly means small named paintings and valuables inside reinforced glass display cases.
The large paintings and big display pieces are scenery for this purpose. If the photo does not register, move closer, center a single small painting or case, and send that shot before moving to the next target.
Once a target is scoped, it is added to the planning board and appears on your route/map as loot to consider during the finale. Display-case loot may also depend on having the right prep ready for the actual robbery, so scoping the case is only the first part of making it useful.
How to start the Kortz Center scope-out in Grand Theft Auto Online
Start from the mansion, reach the Bell Building security system, and use the camera feeds before beginning the on-foot gallery sweep.
STEP 1/29
Start the scope-out
Begin the heist setup inside your mansion and take the scope-out mission that sends you to the Kortz Center.
STEP 2/29
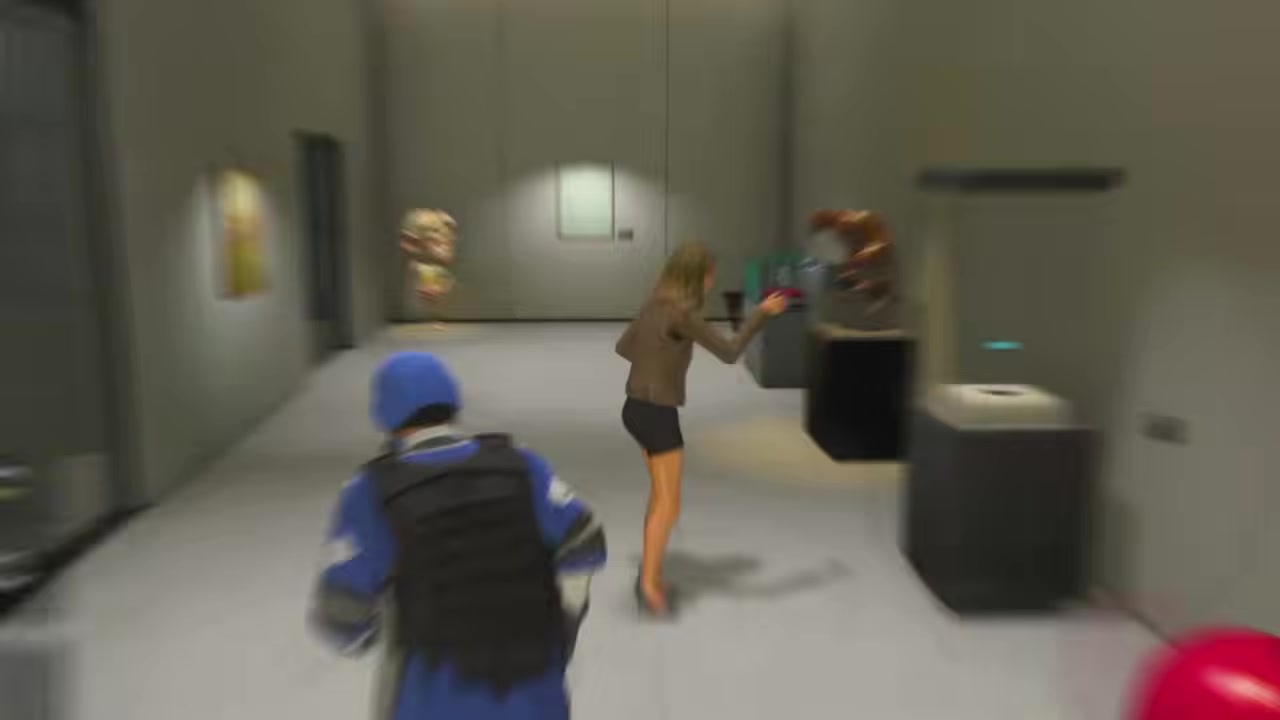
Enter the Bell Building
Go inside once the contact finishes talking and move into the interior route.
STEP 3/29
Head right inside
Follow the right-side path toward the restricted security area.
STEP 4/29
Avoid security
Stay away from red cameras and guards, because getting spotted kicks you out even though you can re-enter.

STEP 5/29
Enter stealth
Press the left analog stick or Left Ctrl to move quietly.

STEP 6/29
Knock out the guard
Take down the guard in stealth before using the security system.
STEP 7/29
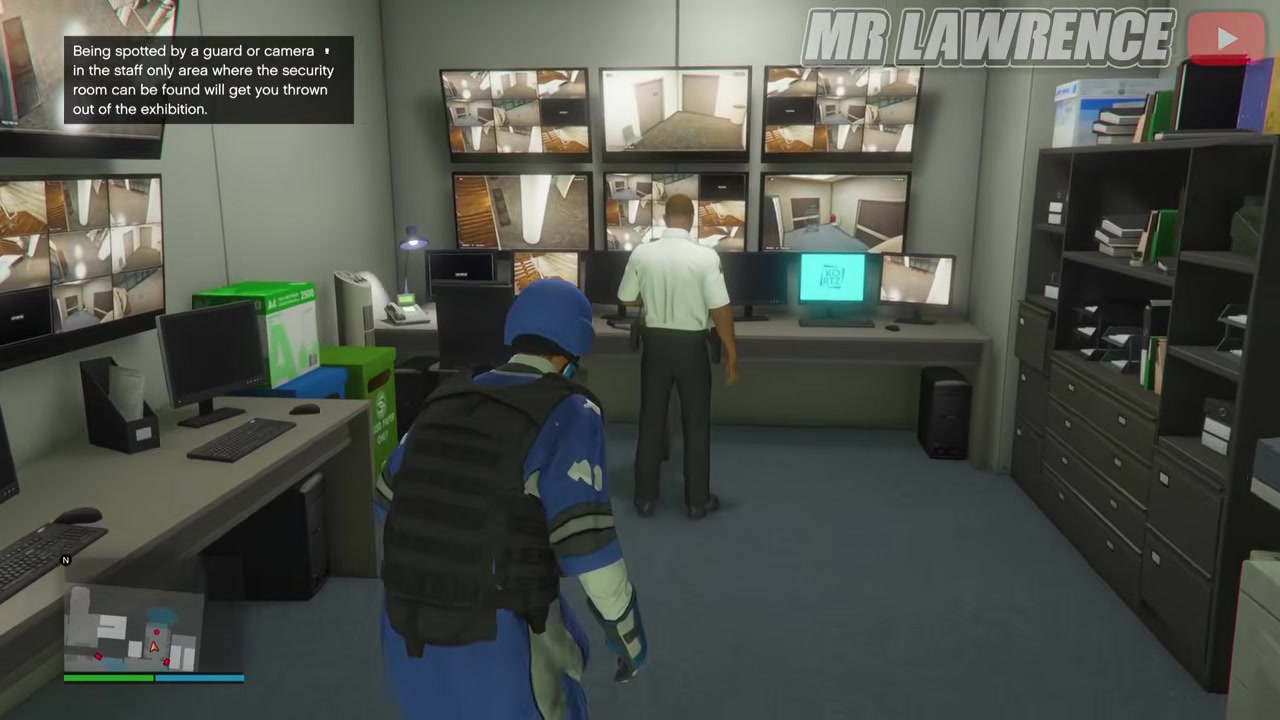
Upload Heavy Land
Press the prompt to upload Heavy Land to the security system.
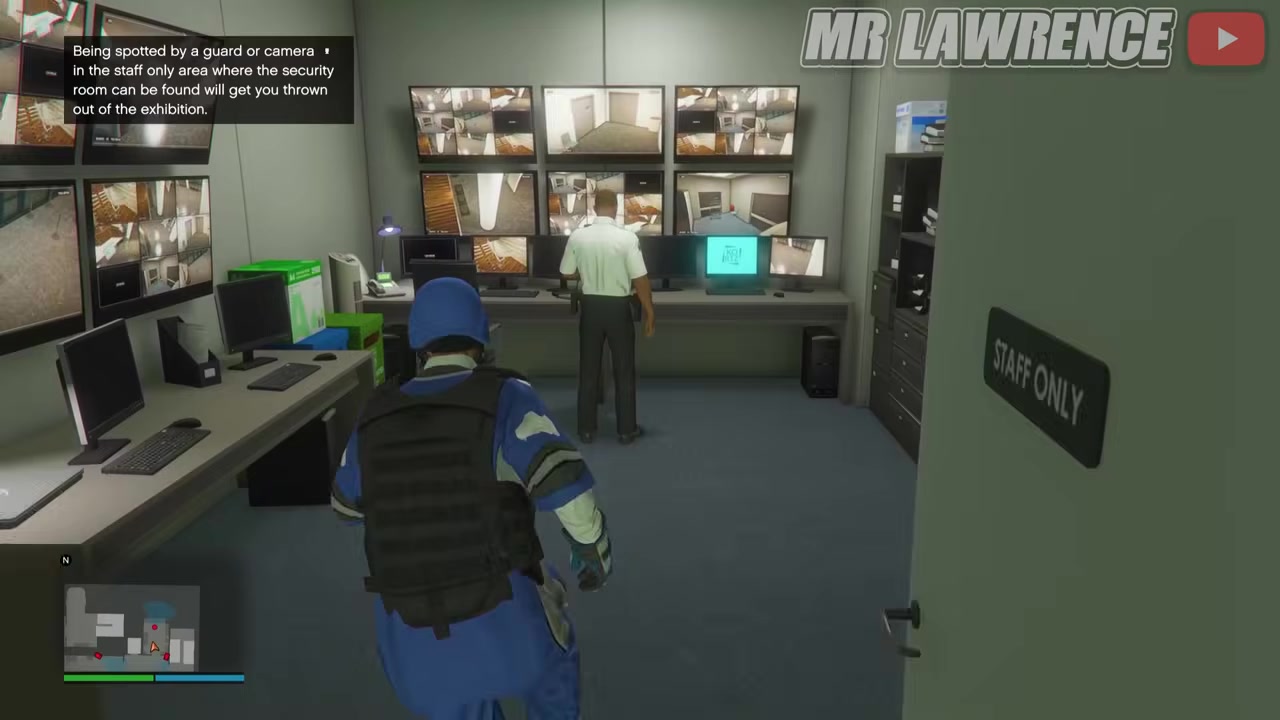
STEP 8/29
Wait for the upload
Let the loading bar finish in the bottom-right corner.
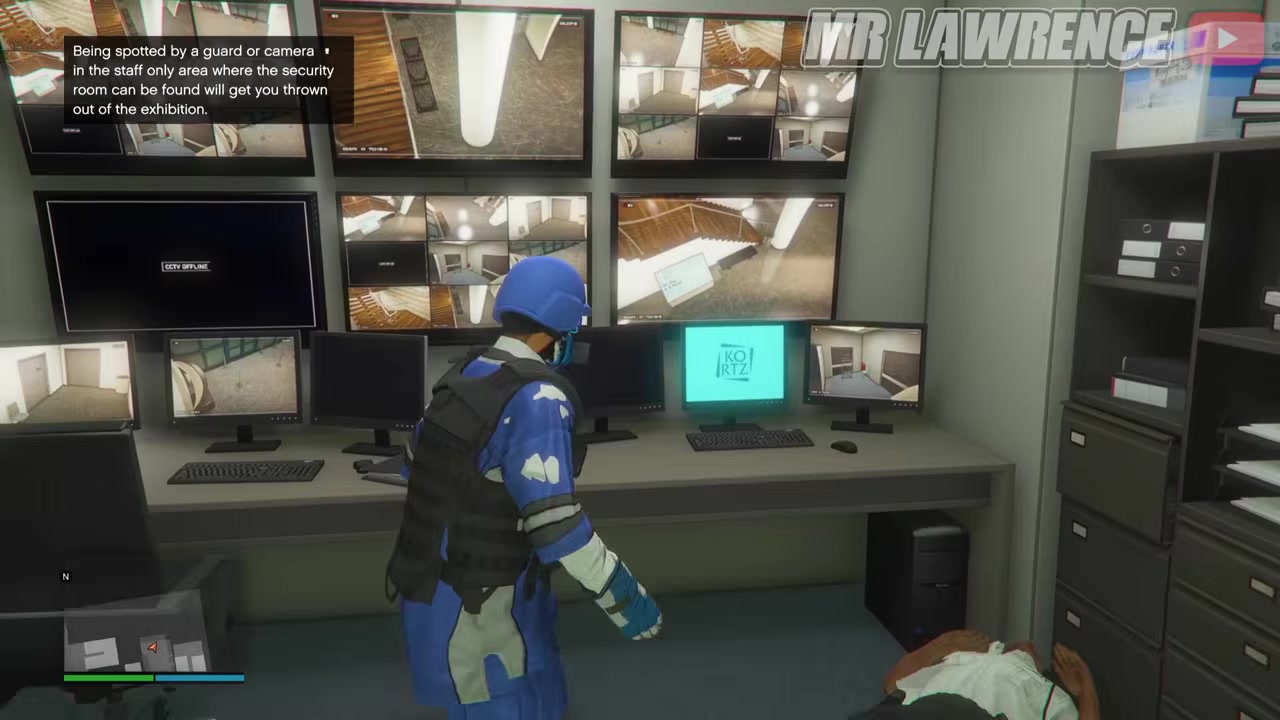
STEP 9/29
Open CCTV feeds
Press Right on the D-pad again to access the security camera feeds.
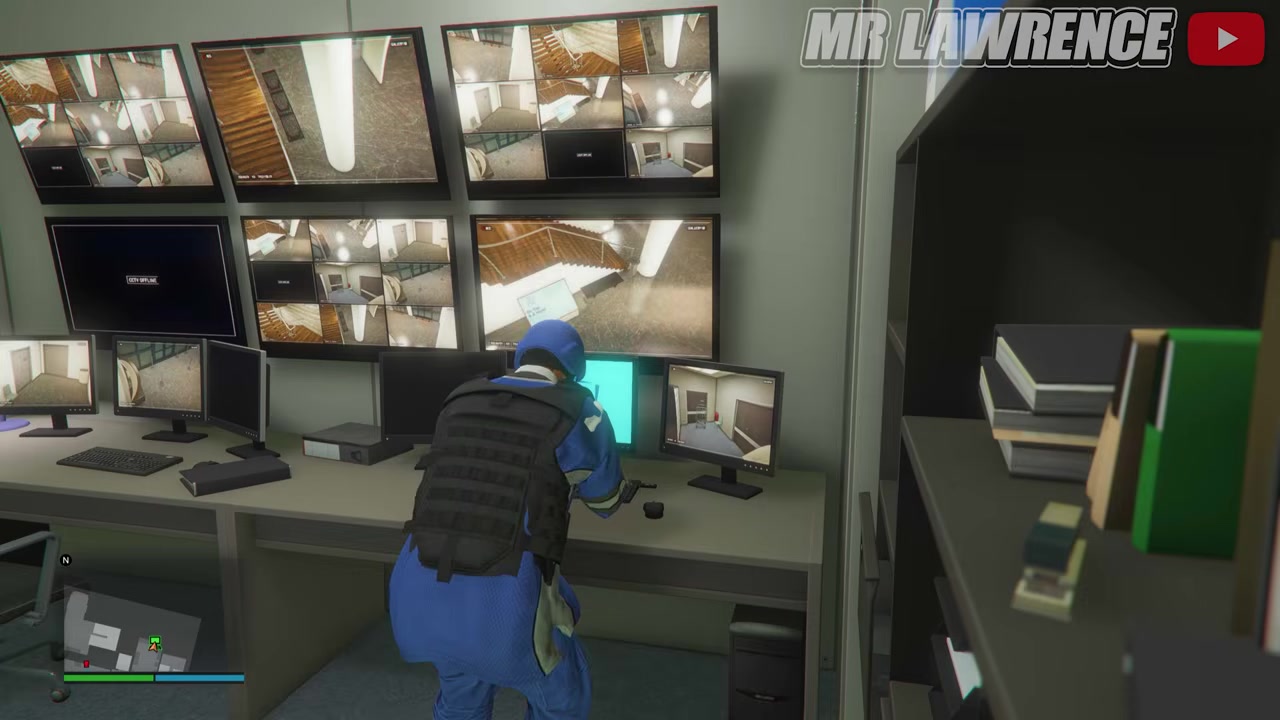
STEP 10/29
Check the vault left side
Pan the vault camera left to find the first secondary loot painting, with its value shown in the bottom-left corner.
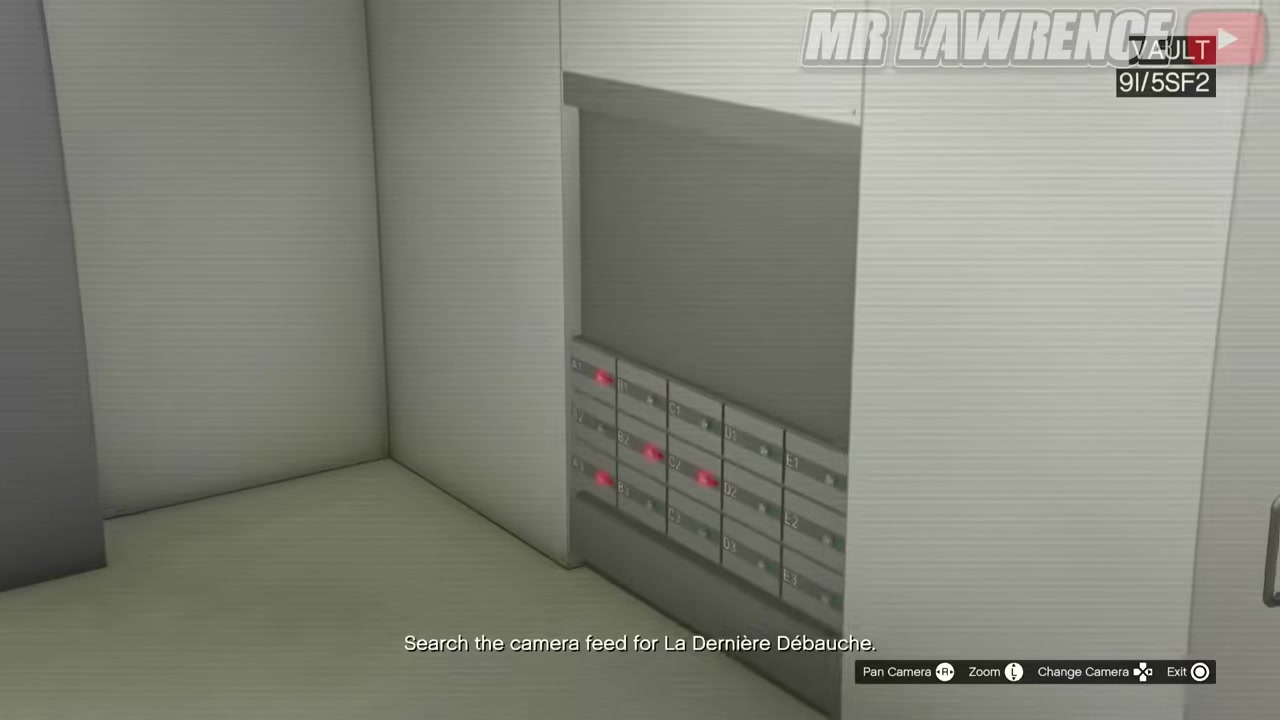
STEP 11/29
Keep checking the vault
Continue through the vault feed to mark the next secondary painting.
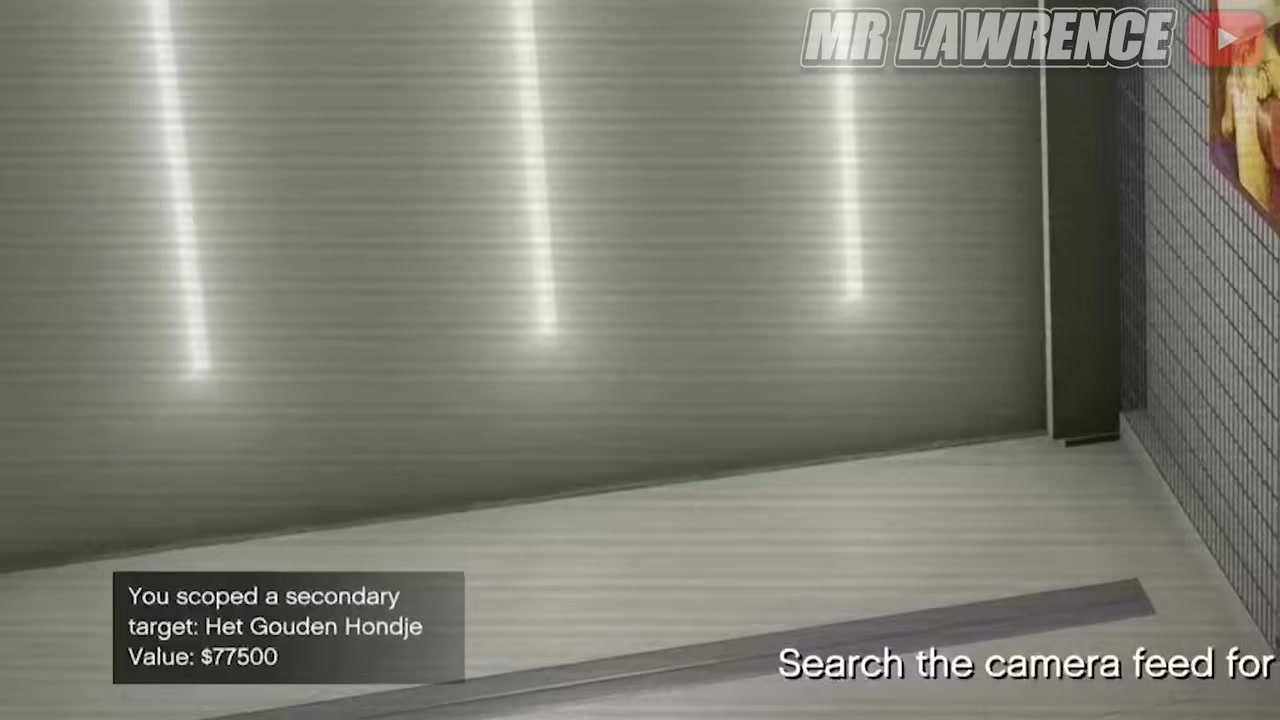
STEP 12/29
Ignore the primary painting for this list
Note the primary target separately, because it is not part of the secondary loot count.
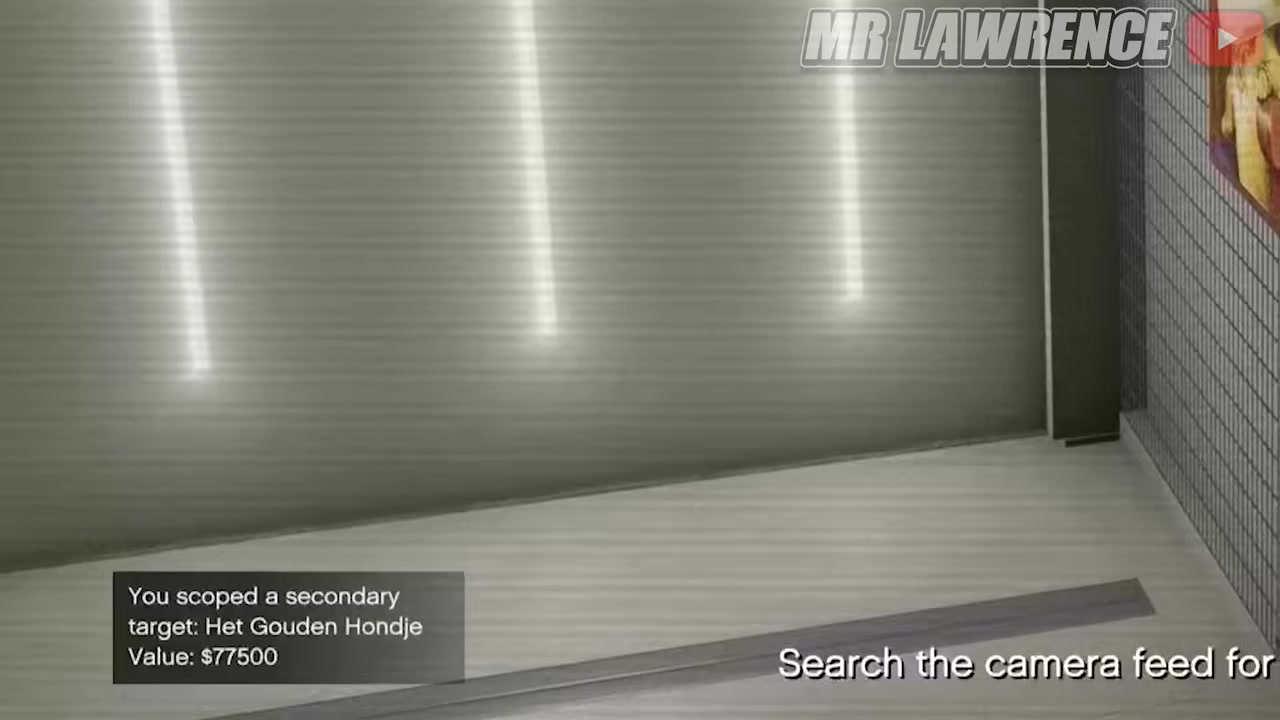
STEP 13/29
Mark the remaining vault paintings
Find the last two secondary targets inside the vault before leaving the vault cameras.
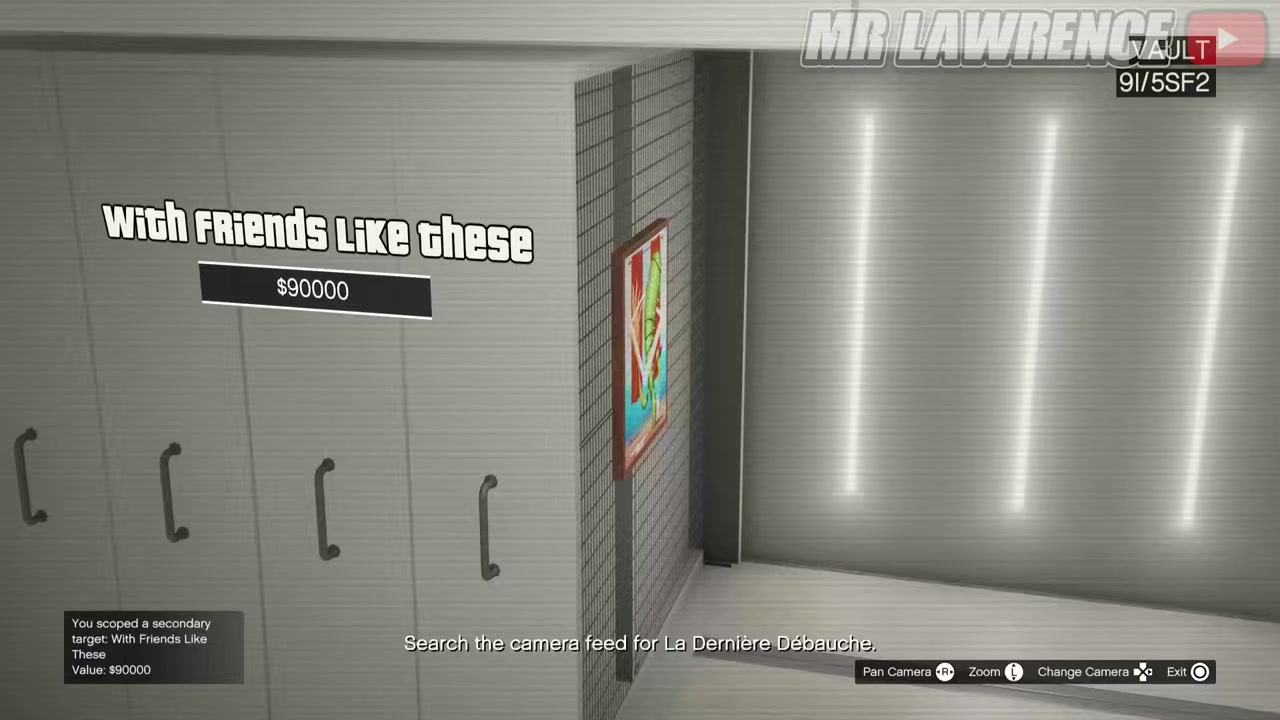
STEP 14/29
Check Exhibit Level 2
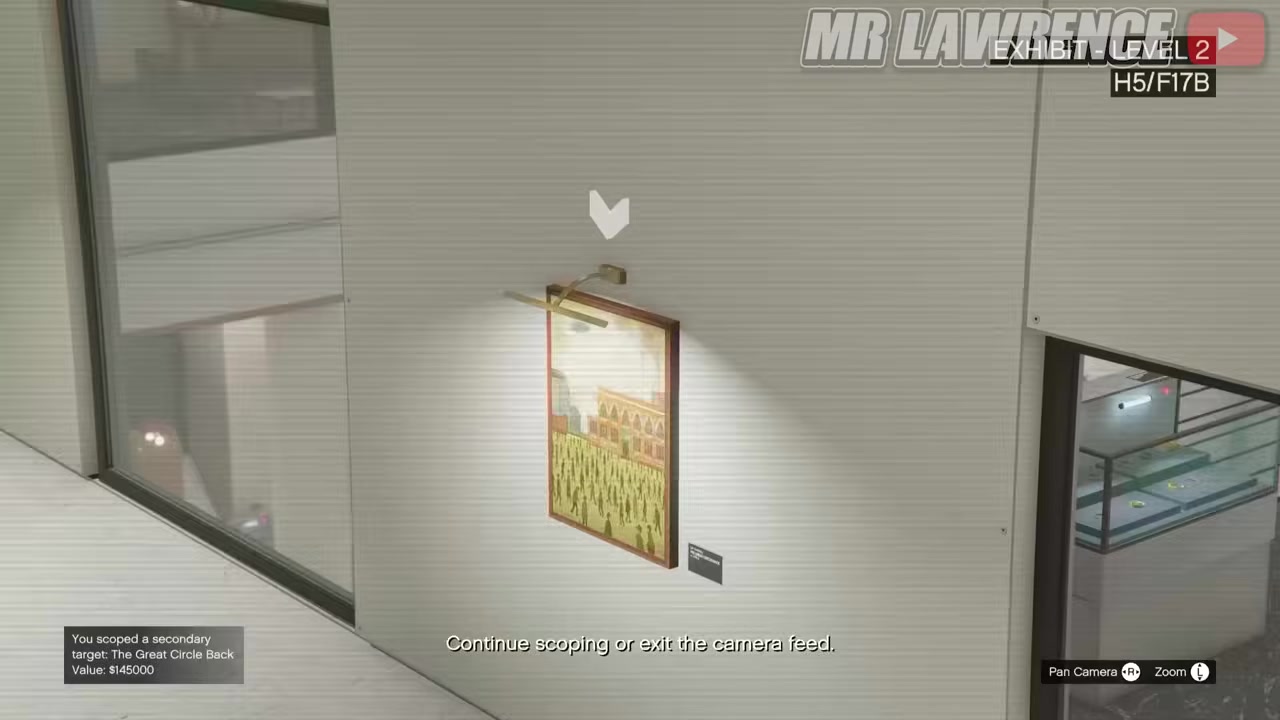
Stay in CCTV long enough to mark the final camera-found secondary target: the Exhibit Level 2 painting.
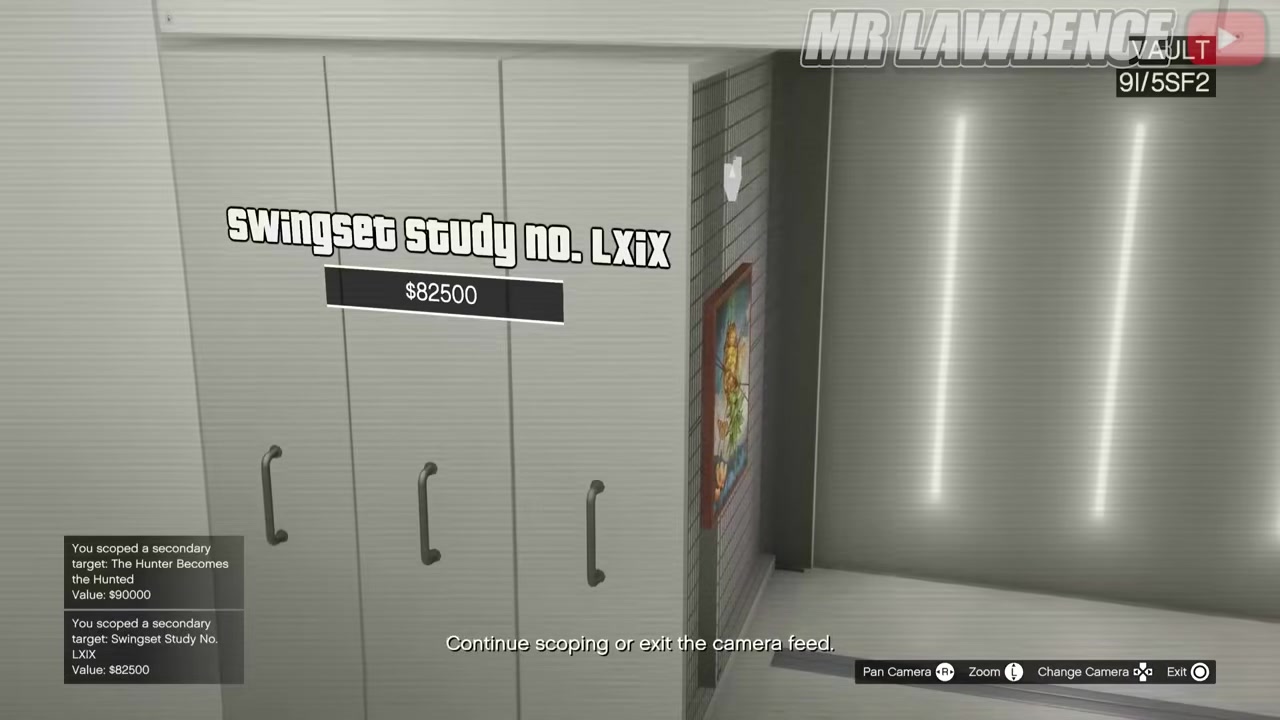
STEP 15/29
Open Snapmatic
Return to the main floor, pull up your phone, and open the Snapmatic camera app.
STEP 16/29
Photograph small paintings
Take photos only of the small paintings, because the big ones cannot be stolen.
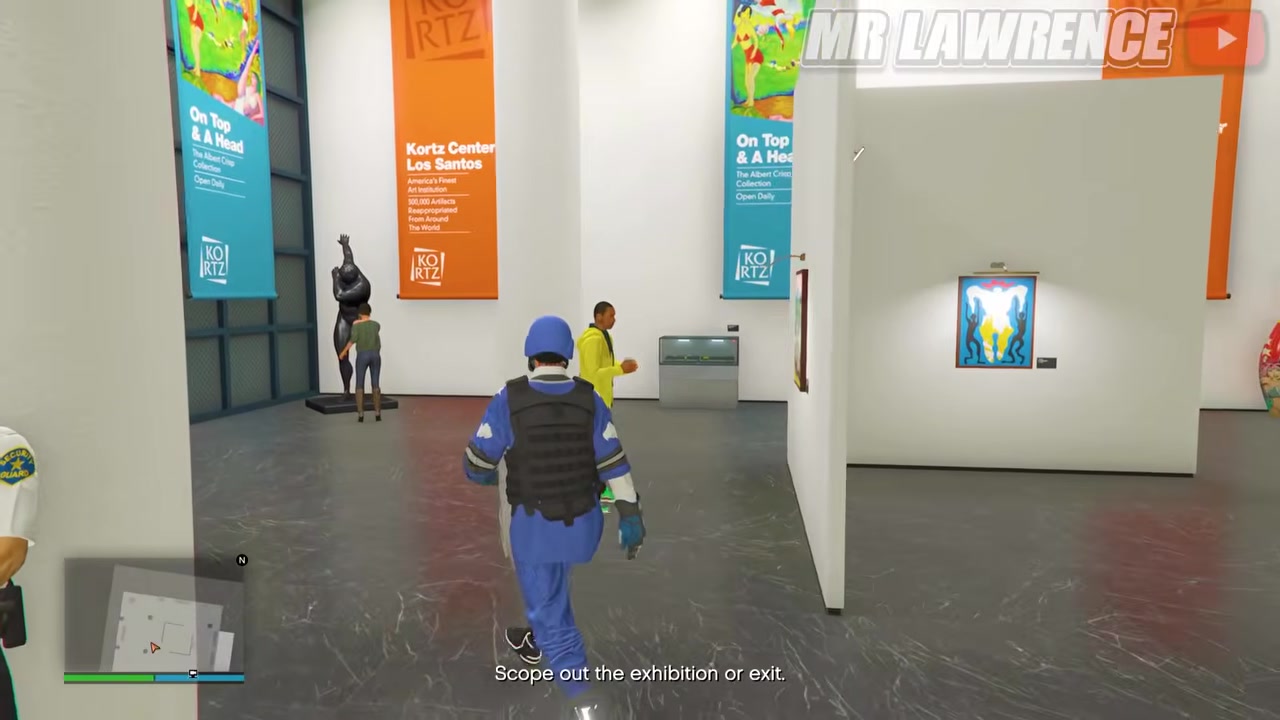
STEP 17/29
Send each photo to Raf
Send every successful photo individually, using Square on PlayStation when prompted.
STEP 18/29
Photograph glass cases
Take separate photos of glass cases containing rings, statues, and other valuables.
STEP 19/29
Check behind the wall
Photograph the glass cases behind the wall just like the cases on the first side.
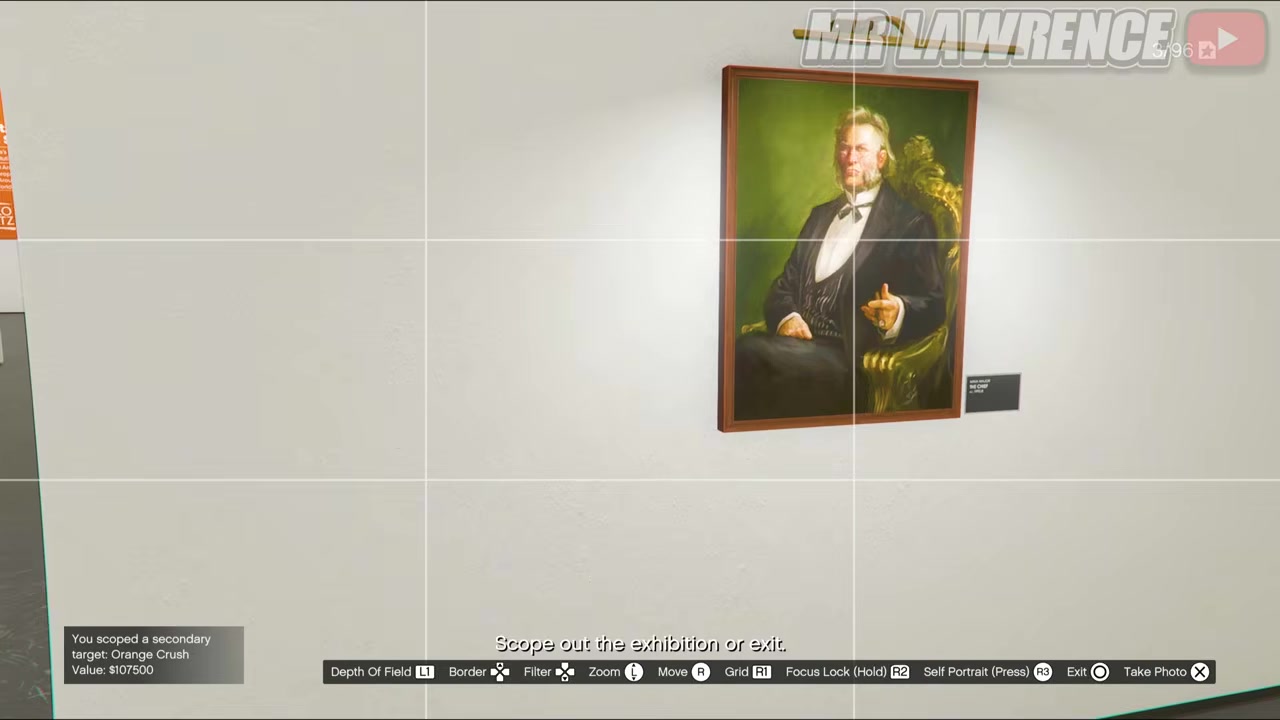
STEP 20/29
Get the last main-floor case
Scope the final glass case on the main floor before going downstairs.
STEP 21/29
Move to the lower level
After the main-floor case is sent, head down to the lower-level area.
STEP 22/29
Mark the lower cases
Photograph the three lower-level glass cases with the skull, special egg, and gold rings.
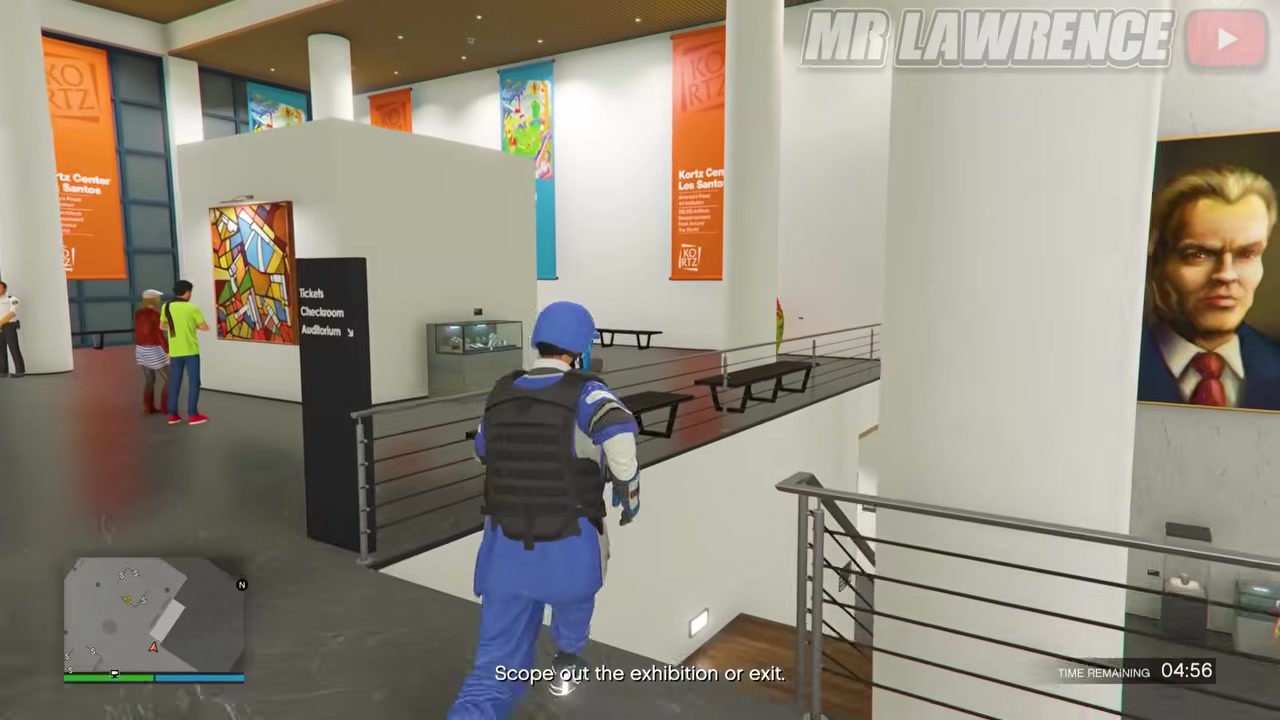
STEP 23/29
Go upstairs
Return up the stairs, pass through the door, and take the stairs all the way to the top.
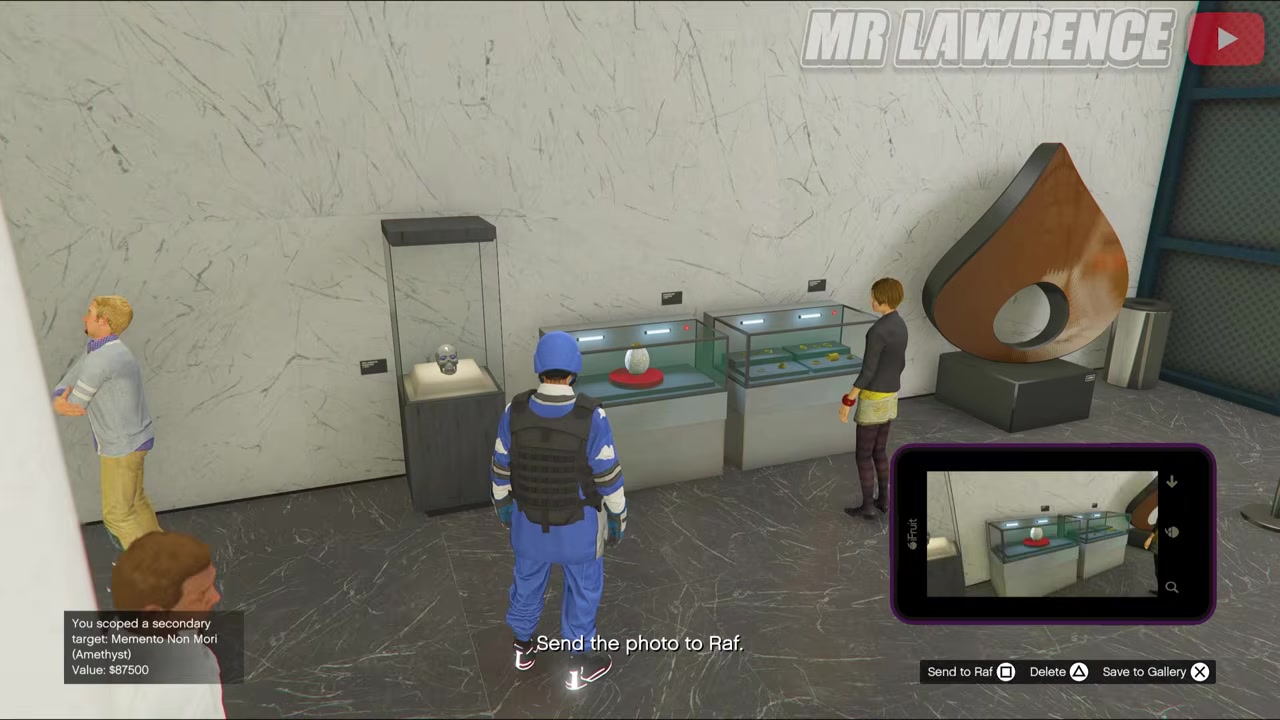
STEP 24/29
Photograph right-side paintings
Turn right at the top and photograph the small paintings there.
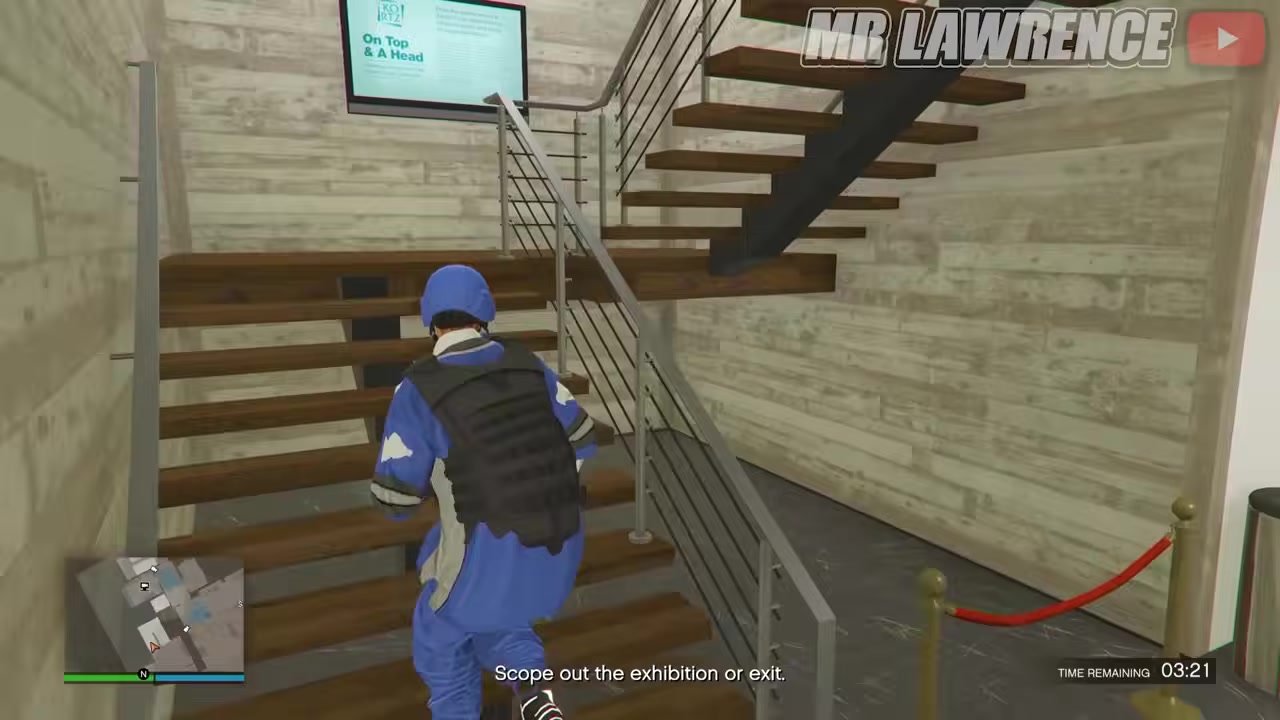
STEP 25/29
Enter Crisp Gallery
Continue into the Crisp Gallery and prepare to photo every secondary target inside.
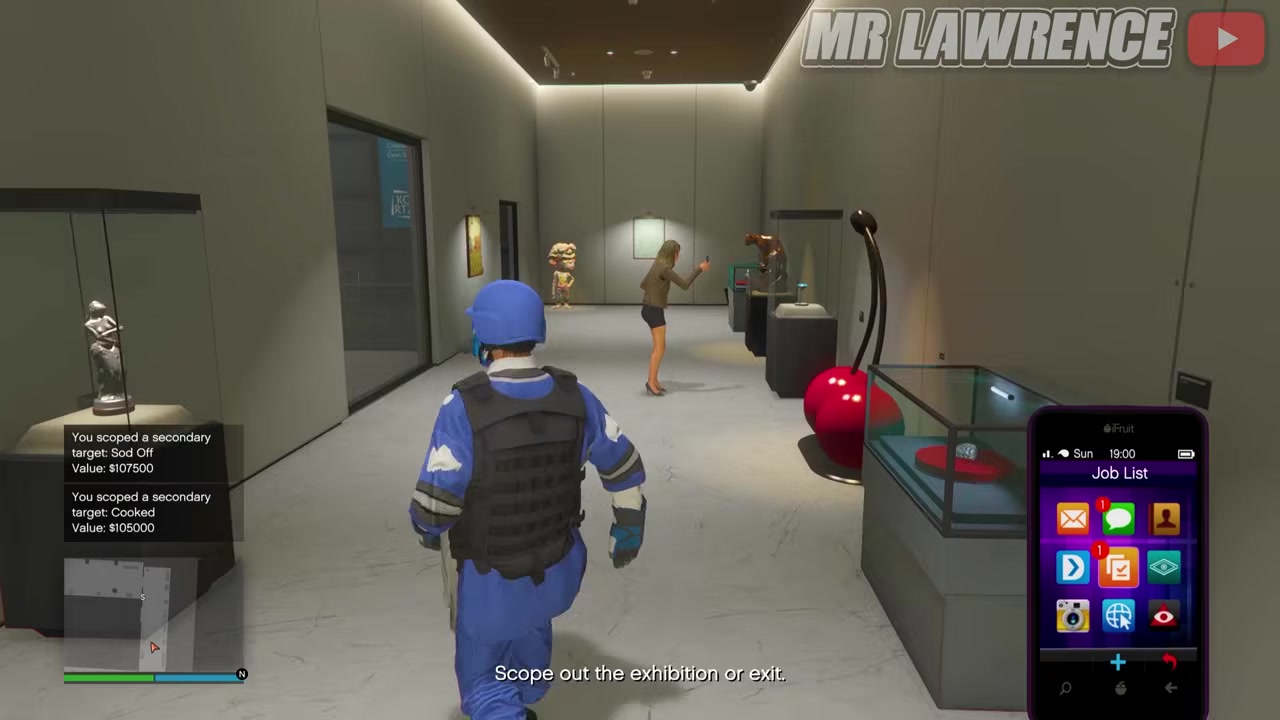
STEP 26/29
Capture all Crisp Gallery targets
Photograph each target separately, including the buyer-request target and the blue diamond.
STEP 27/29
Finish the far cases
Keep walking after the Crisp Gallery to find the final three glass cases.
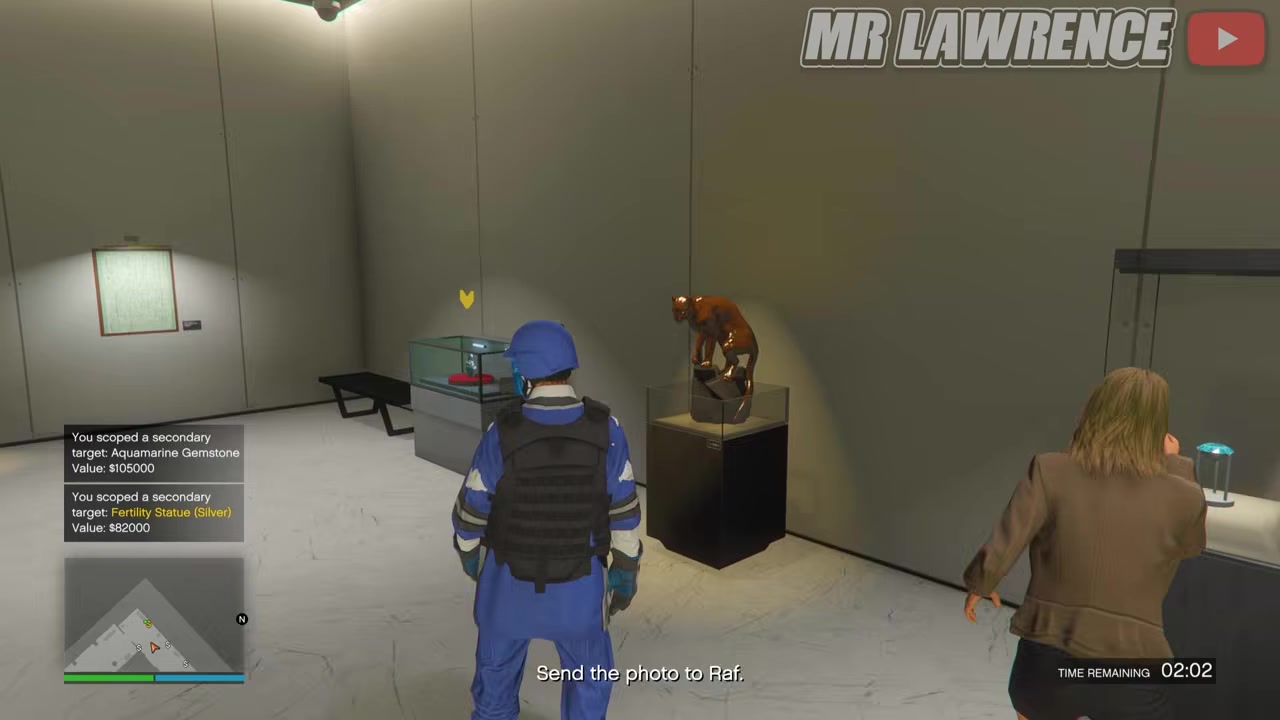
STEP 28/29
Watch the scope timer
You have about 30 minutes for the scope-out before the mission sends you back to the mansion.
STEP 29/29
Return later if needed
If you miss targets, continue scoping the Kortz Center in a later run.
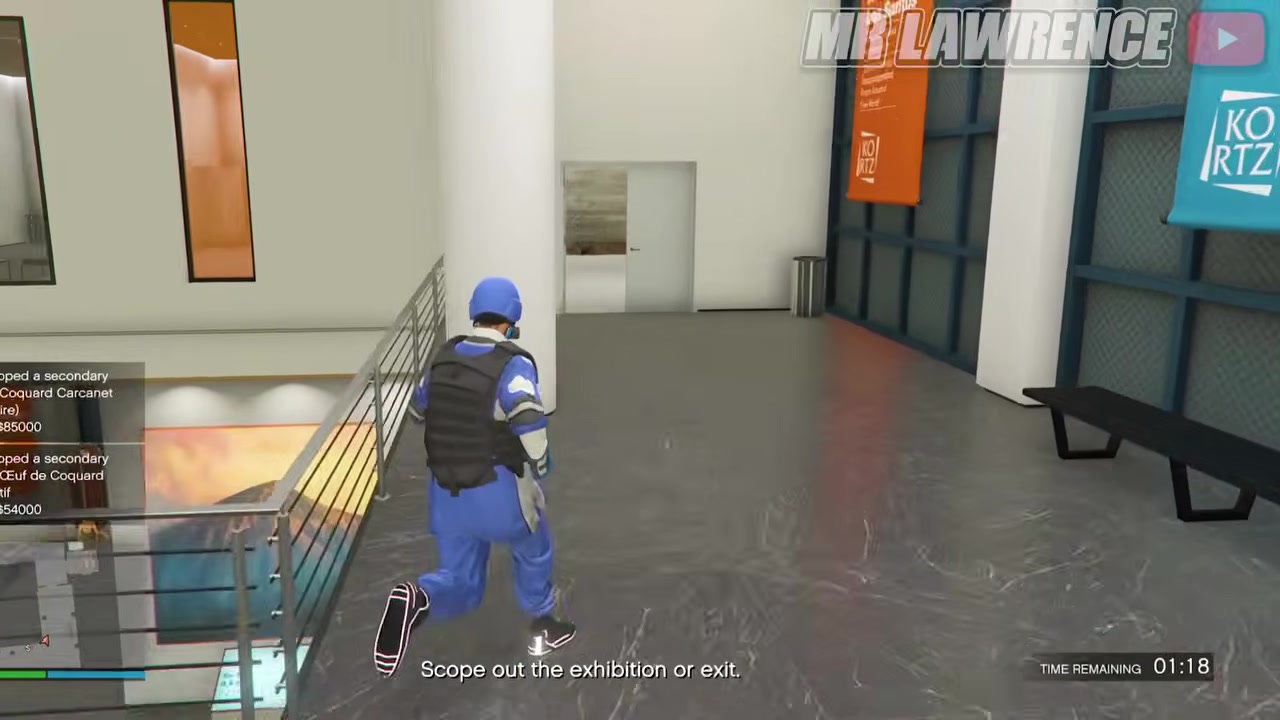
Video help
Vault secondary paintings
| Target | Location |
|---|---|
| Swingset Study No. LXiX | Inside the Kortz Center vault secondary painting pool. |
| With Friends Like These | Inside the Kortz Center vault secondary painting pool. |
| Het Gouden Hondje | Inside the Kortz Center vault secondary painting pool. |
| The Hunter Becomes The Hunted | Inside the Kortz Center vault secondary painting pool. |
The vault targets are the easiest to miss because you do not photograph them in person. They must be scoped through the CCTV camera feeds after uploading Heavy Land and opening the security cameras.
Inside the vault, pan and cycle carefully until you have marked the four secondary paintings. The primary vault painting is shown in the same area, but it is a separate target and should not be counted as one of these secondary paintings.
Those names are the known vault secondary painting pool, with early values sitting around the high six figures per painting. Values can vary slightly, so use the planning board total for your own run before deciding what to prioritize in the finale.
Exhibit Level 2 CCTV painting
Do not back out of the camera feeds as soon as the vault looks done. The last CCTV-only secondary target is a small painting on Exhibit Level 2.
This target is easy to skip because the rest of the scope-out immediately shifts to Snapmatic on the main floor. Clear the vault, check Exhibit Level 2, then leave CCTV.
Main floor paintings and glass cases
| Spot | What to photograph |
|---|---|
| Main floor painting walls | Each small painting that registers as loot. |
| First side glass cases | Every reinforced case with rings, statues, or other valuables. |
| Behind the wall | The matching glass cases on the opposite side of the wall. |
| End of main-floor route | The last glass case on this floor before heading downstairs. |
Once you return to the main floor, every remaining target shown on this route is scoped with Snapmatic. Open the phone camera, frame one target at a time, take the photo, and send it to Raf before moving on.
The main floor has both qualifying target types: small paintings and reinforced glass cases. Photograph the cases even when the object inside looks minor, because rings, statues, and similar valuables still count as secondary loot.
Send every Snapmatic photo to Raf before moving on; one wide shot with several cases or paintings can leave targets unmarked.
Lower-level display cases
| Spot | What to photograph |
|---|---|
| Lower-level case 1 | The skull display case. |
| Lower-level case 2 | The special egg display case. |
| Lower-level case 3 | The gold rings display case. |
After the main-floor route, go downstairs and sweep the lower level for three glass cases. This area is short, but it is worth doing cleanly because every case needs its own photo.
Upstairs route and Crisp Gallery targets
| Spot | What to photograph |
|---|---|
| Top of the stairs, right side | The upstairs small paintings along the right-side route. |
| Crisp Gallery entry area | Each visible secondary target as you enter the gallery. |
| Crisp Gallery buyer request | The target marked with a gold dollar sign. |
| Crisp Gallery display | The blue diamond. |
| Far upstairs route | Three more glass cases after you continue walking past the Crisp Gallery section. |
For the upstairs sweep, go back up the stairs, pass through the door, and take the stairs to the top. Turn right first, because there are more small paintings along that side before the route carries you into the Crisp Gallery.
The Crisp Gallery has a dense cluster of secondary targets, including one marked as a buyer request and a blue diamond. Keep taking individual Snapmatic photos until every small painting and glass case in the room has been sent.
Known second-floor gallery paintings include names like The Great Circle Back, Sod Off, Cooked, and Don’t Forgo These Blueprints, but your route matters more than memorizing names. If it is a small painting or a reinforced case in this upstairs sweep, give it its own photo.
Buyer-request targets and gold dollar signs
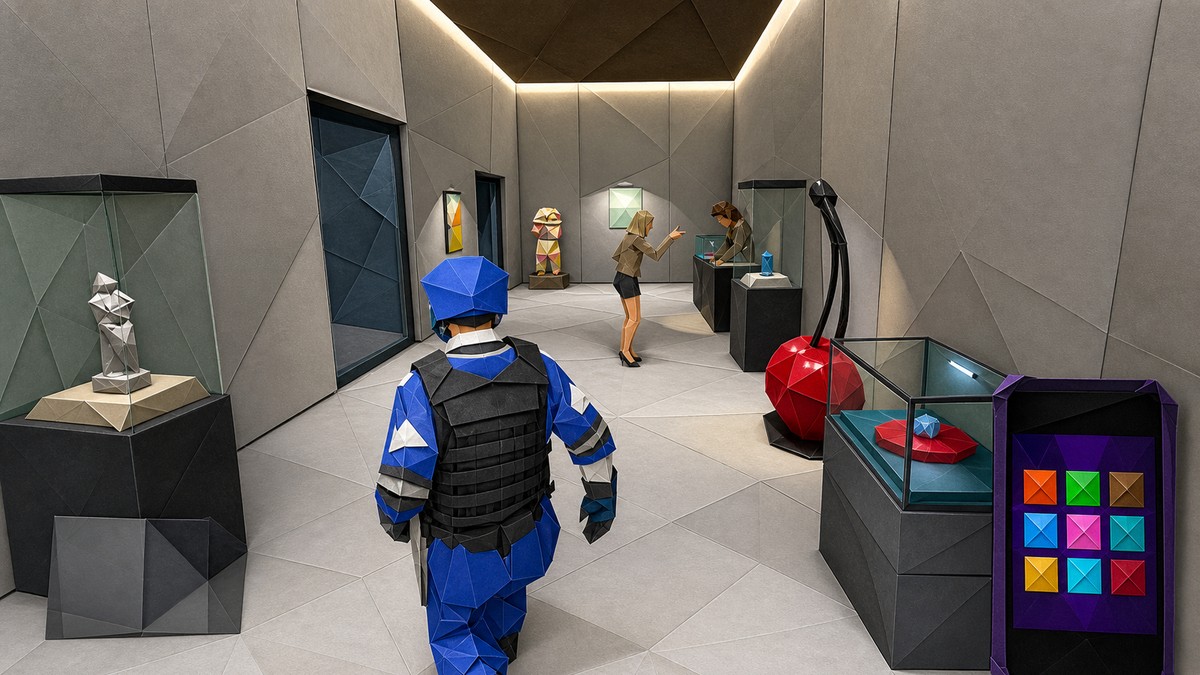
Some scoped secondary targets appear with gold dollar signs on the minimap. These are buyer-request targets, and stealing the requested set during the finale gives an additional cash reward.
The Crisp Gallery route includes one of these high-priority targets, so do not rush through that room just because you already photographed the blue diamond. Check the minimap marker after scoping and plan your finale path around the gold-dollar loot if the bonus is worth the detour.
Scope-out mistakes that waste time
The most common mistake is photographing the wrong kind of art. Large paintings and statues do not register as secondary targets, so stick to small paintings and reinforced glass cases.
Another easy mistake is trying to catch multiple targets in one Snapmatic image. The game can mark only part of what you framed, which means you may think an area is finished while the planning board still has gaps.
Do not skip glass cases just because they look less valuable than paintings. Jewelry, statues, eggs, skulls, and the blue diamond all live in cases, and case loot is a major part of the secondary route.
Finally, keep the 30-minute timer in mind without panicking. If you are running short, finish the area you are already in and come back later for anything missed.
When the timer ends or targets are missing
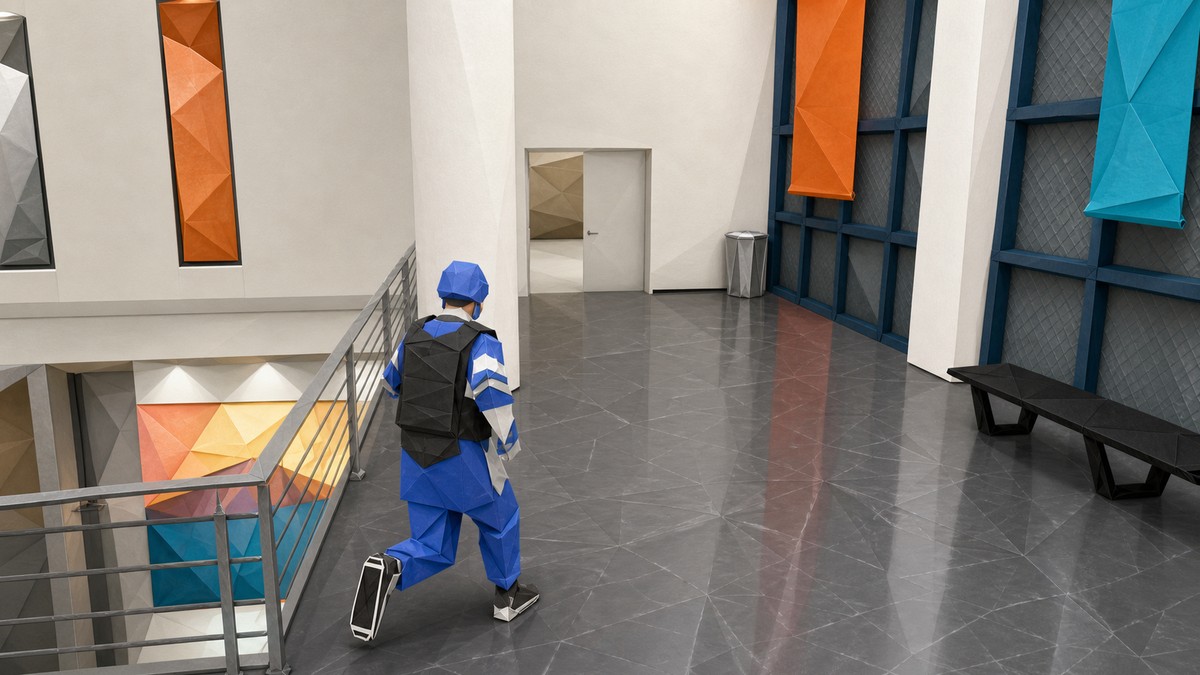
The Kortz Center scope-out gives you about 30 minutes. When the timer runs out, the mission completes and you spawn back at your mansion.
A missed target is not lost forever. You can return to the Kortz Center later and continue scoping remaining targets, so use the first run to clear the main route and clean up leftovers afterward.
Frequently Asked Questions
Do you need to photograph every secondary target separately?
Yes. Each small painting or glass case should get its own Snapmatic photo and its own send prompt, because grouped photos can fail to mark everything in the frame.
Can you steal the large paintings in the Kortz Center?
No. The large paintings are not part of the secondary loot route; the stealable art targets are the smaller paintings that register when scoped.
What do gold dollar signs mean on the minimap?
A gold dollar sign marks a buyer-request target. Prioritize those during the finale when you are chasing the extra request payout.
Can you continue scoping after the timer runs out?
Yes. The timeout ends that scope-out attempt and returns you to the mansion, but you can launch another scope-out to mark anything you missed.
Are secondary target spawns and values the same every run?
No. Treat names and payout numbers as a rotating pool, then use your own planning board to judge the exact targets and values in the current run.
More questions⤵
Can solo players take every secondary target in one finale?
No. The building can contain more secondary loot than one solo player can carry, and some upper-floor loot routes are built around crew coordination, so solo runs should prioritize the primary target, buyer requests, and the best nearby secondary loot.






Leave a Reply