
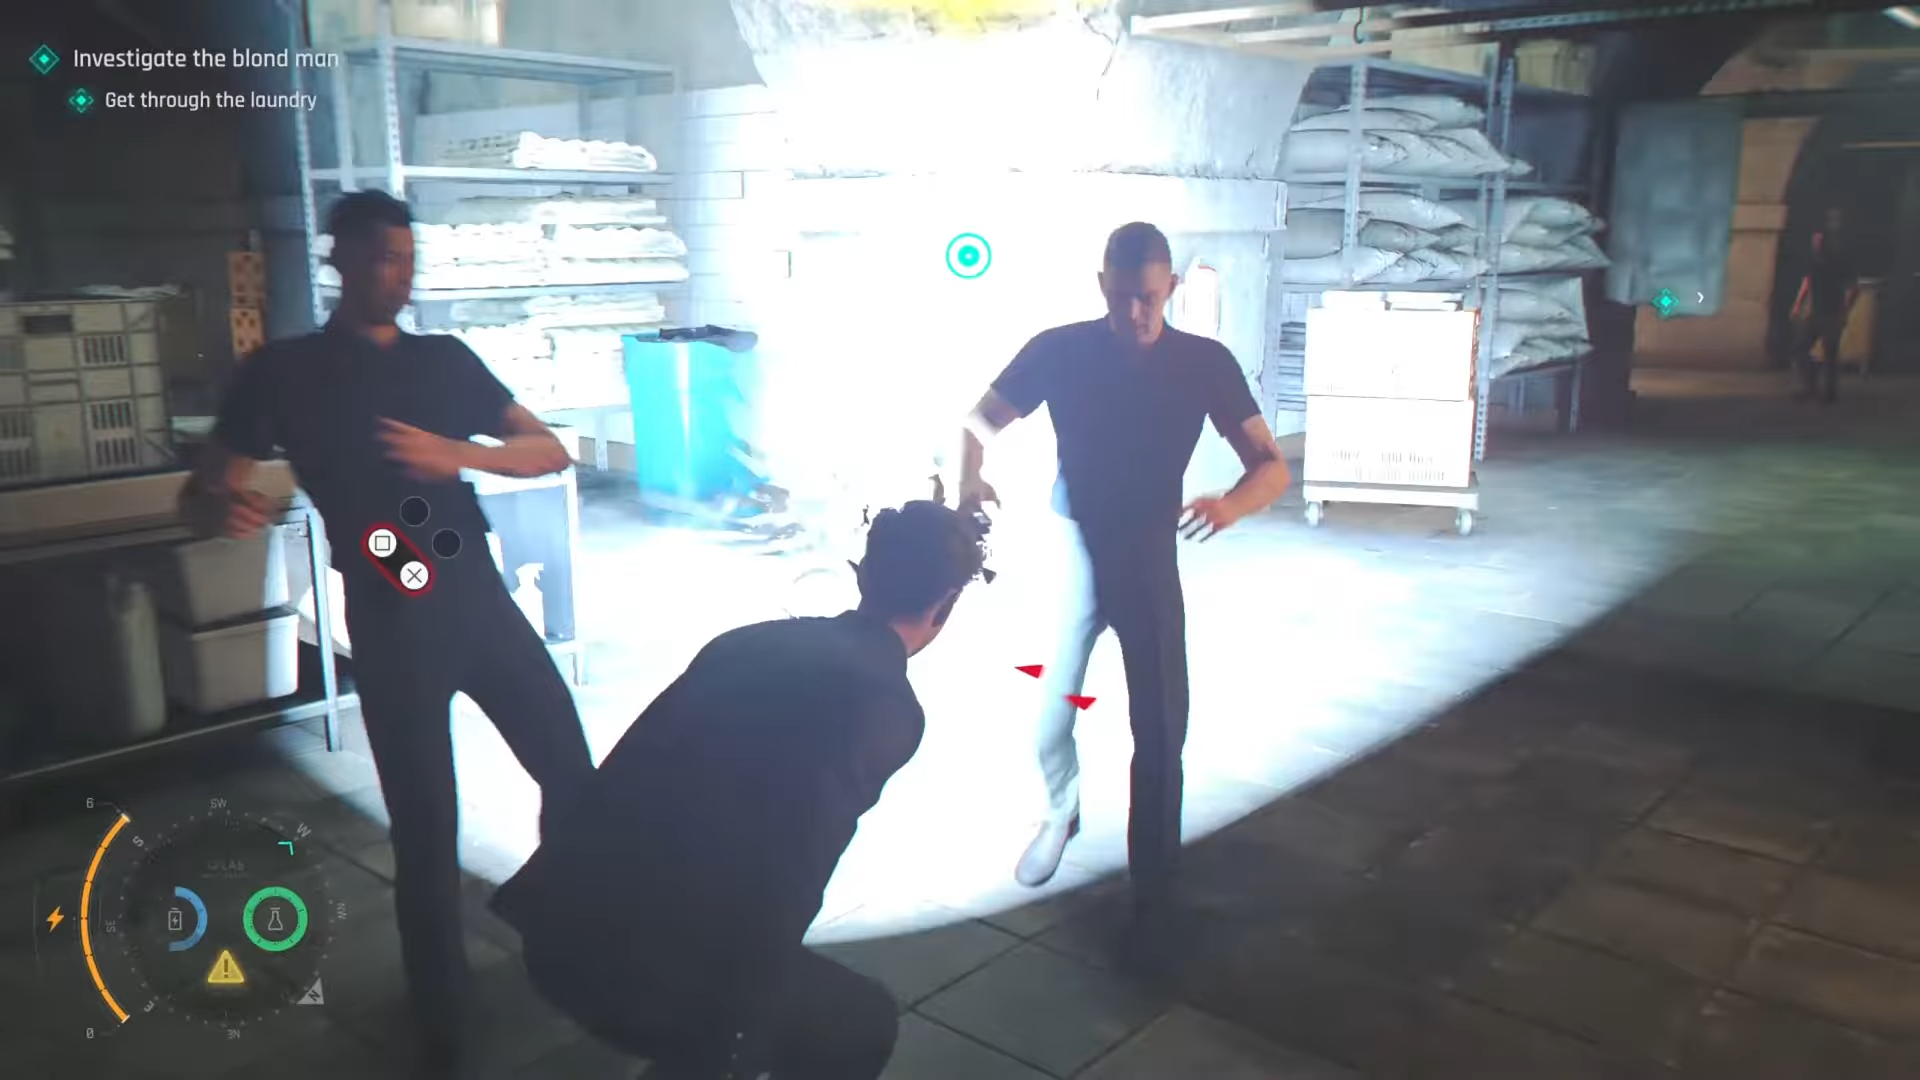
To use Shockwave in 007 First Light, equip the Shockwave Camera from your gadget wheel, aim at enemies or environmental hazards, then fire to unleash a wide-radius concussive blast that staggers, disarms, and knocks targets down without killing them.
What Shockwave actually does in 007 First Light
Shockwave is essentially Bond’s crowd control gadget: a directional blast that knocks enemies off balance, breaks their aim, and leaves them open to finishers without counting as a loud lethal tool. When you hit a group, guards will be staggered or dropped, giving a 2–3 second window for stealth takedowns, melee chains, or Focus shots.
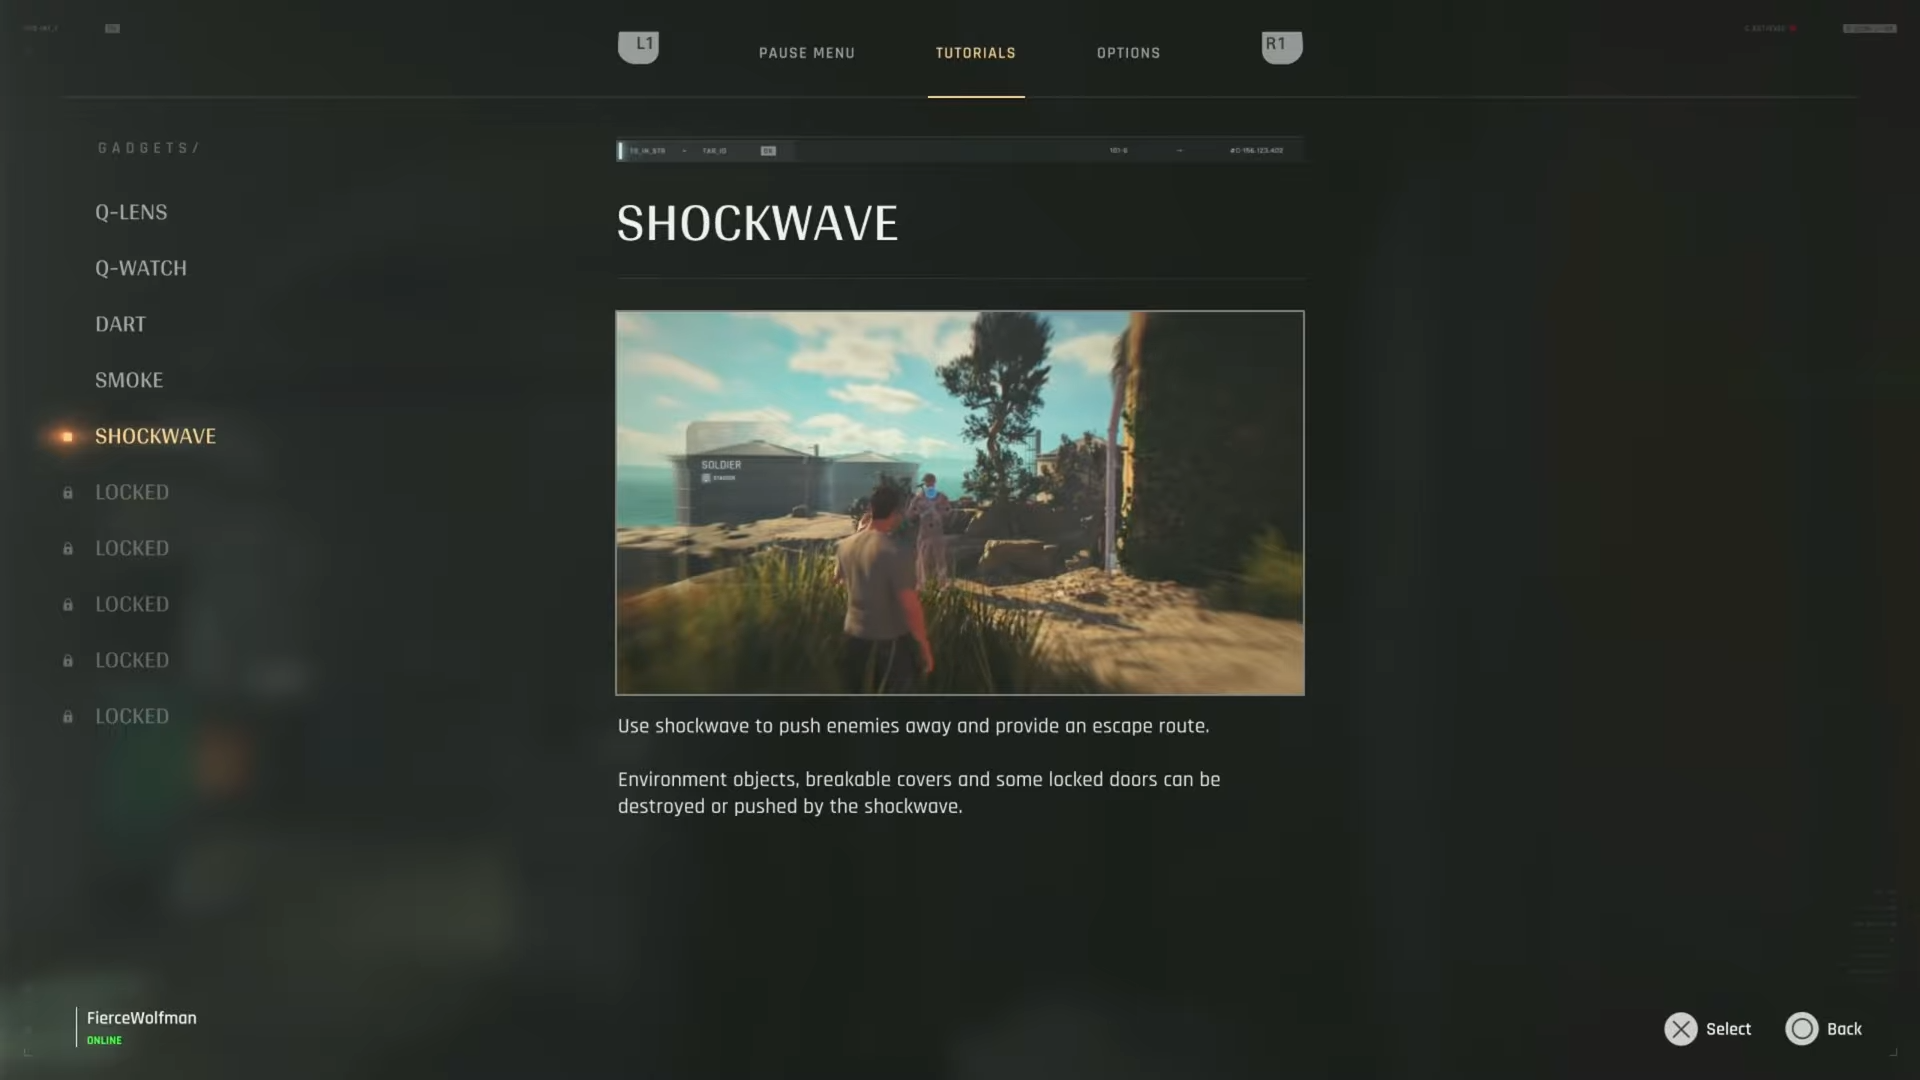
Because it is treated as a non-lethal Q gadget, using Shockwave doesn’t hard-shift you into loud “license to kill” gunplay the way spraying bullets does, making it ideal for stealth-leaning players or Purist runs.
How to use Shockwave Camera in combat and stealth
Step 1: Equip Shockwave from your gadget wheel
Open your gadget menu and scroll until you highlight the Shockwave Camera icon, usually slotted alongside gadgets like Dart Phone and Smoke Pod after the Q lab test. Hold the gadget wheel button, tilt toward Shockwave Camera, then release to equip it as your active gadget.
Step 2: Line up clusters, not single targets
Shockwave shines when multiple enemies are grouped on a corridor, staircase, or doorway.
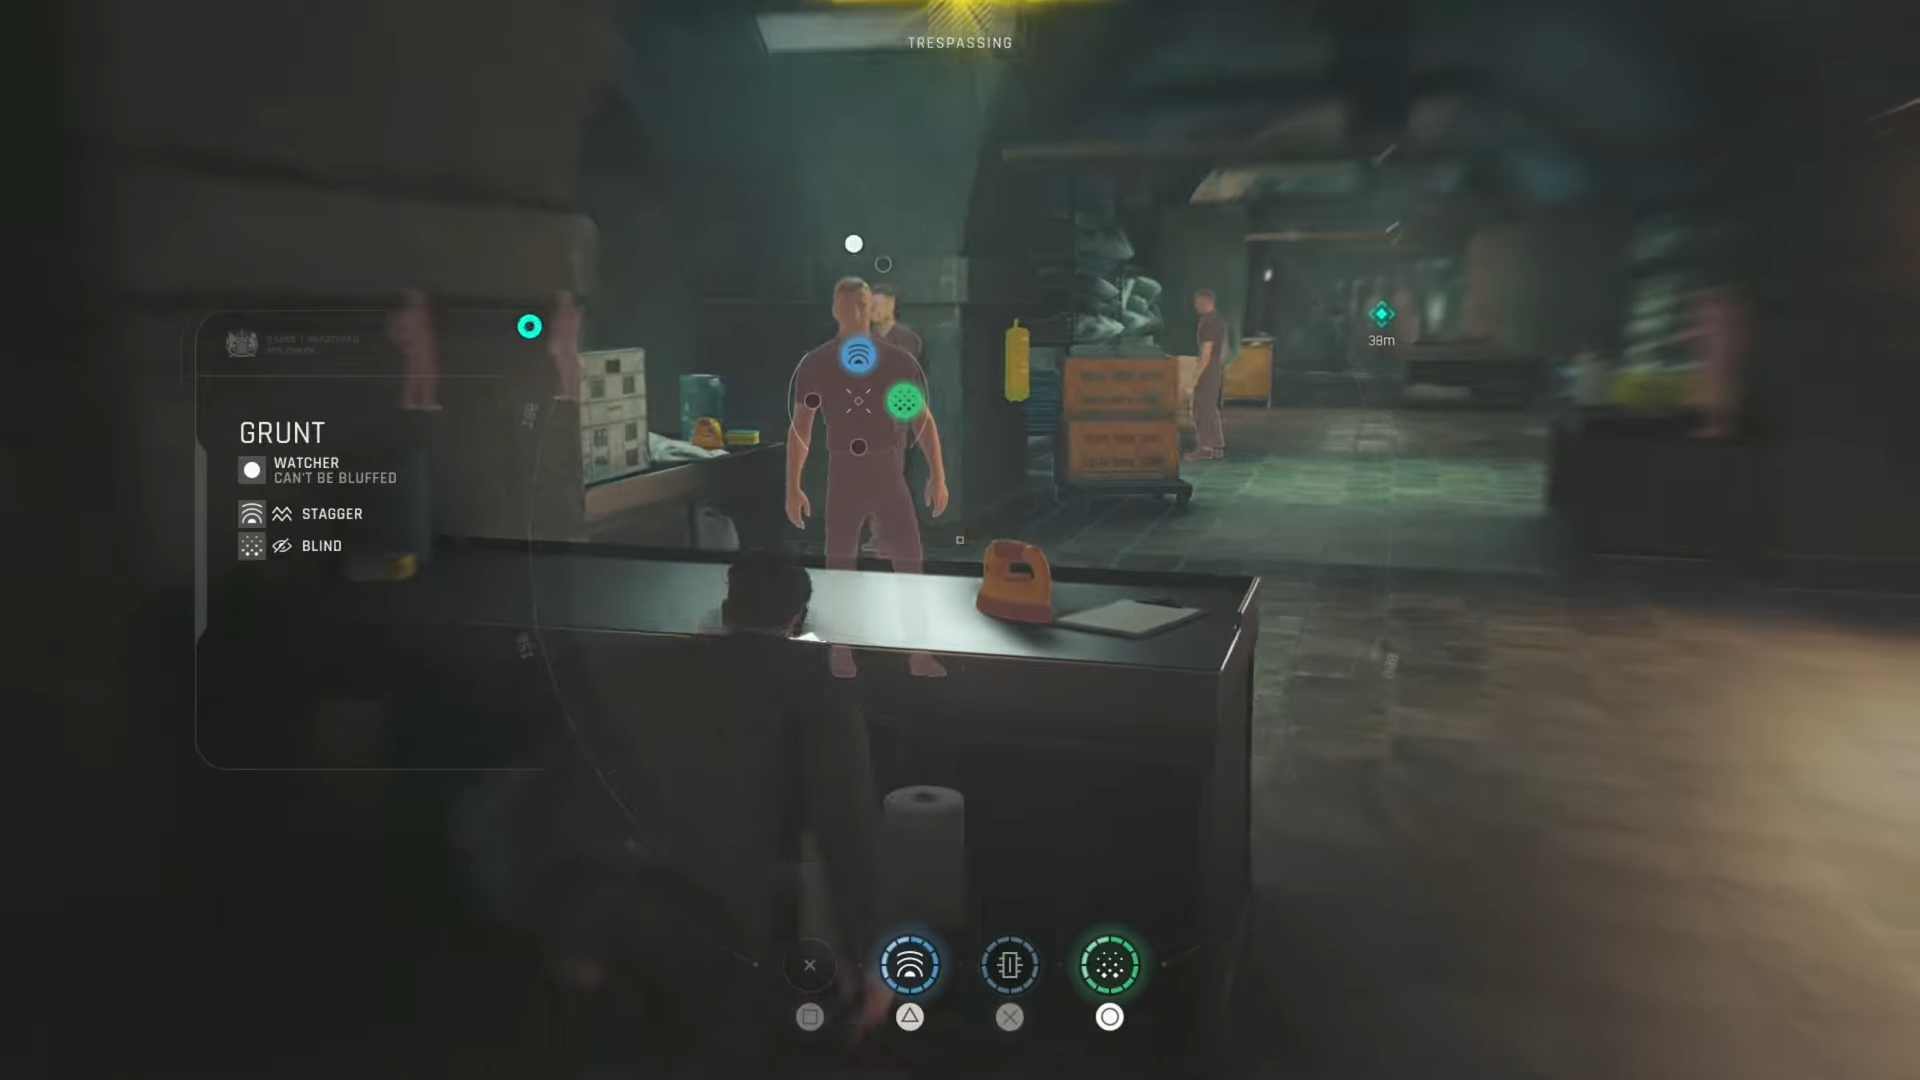
Use Bond’s watch scan to tag incoming patrols and wait for them to align, then angle your camera so the blast origin hits the center of the pack.
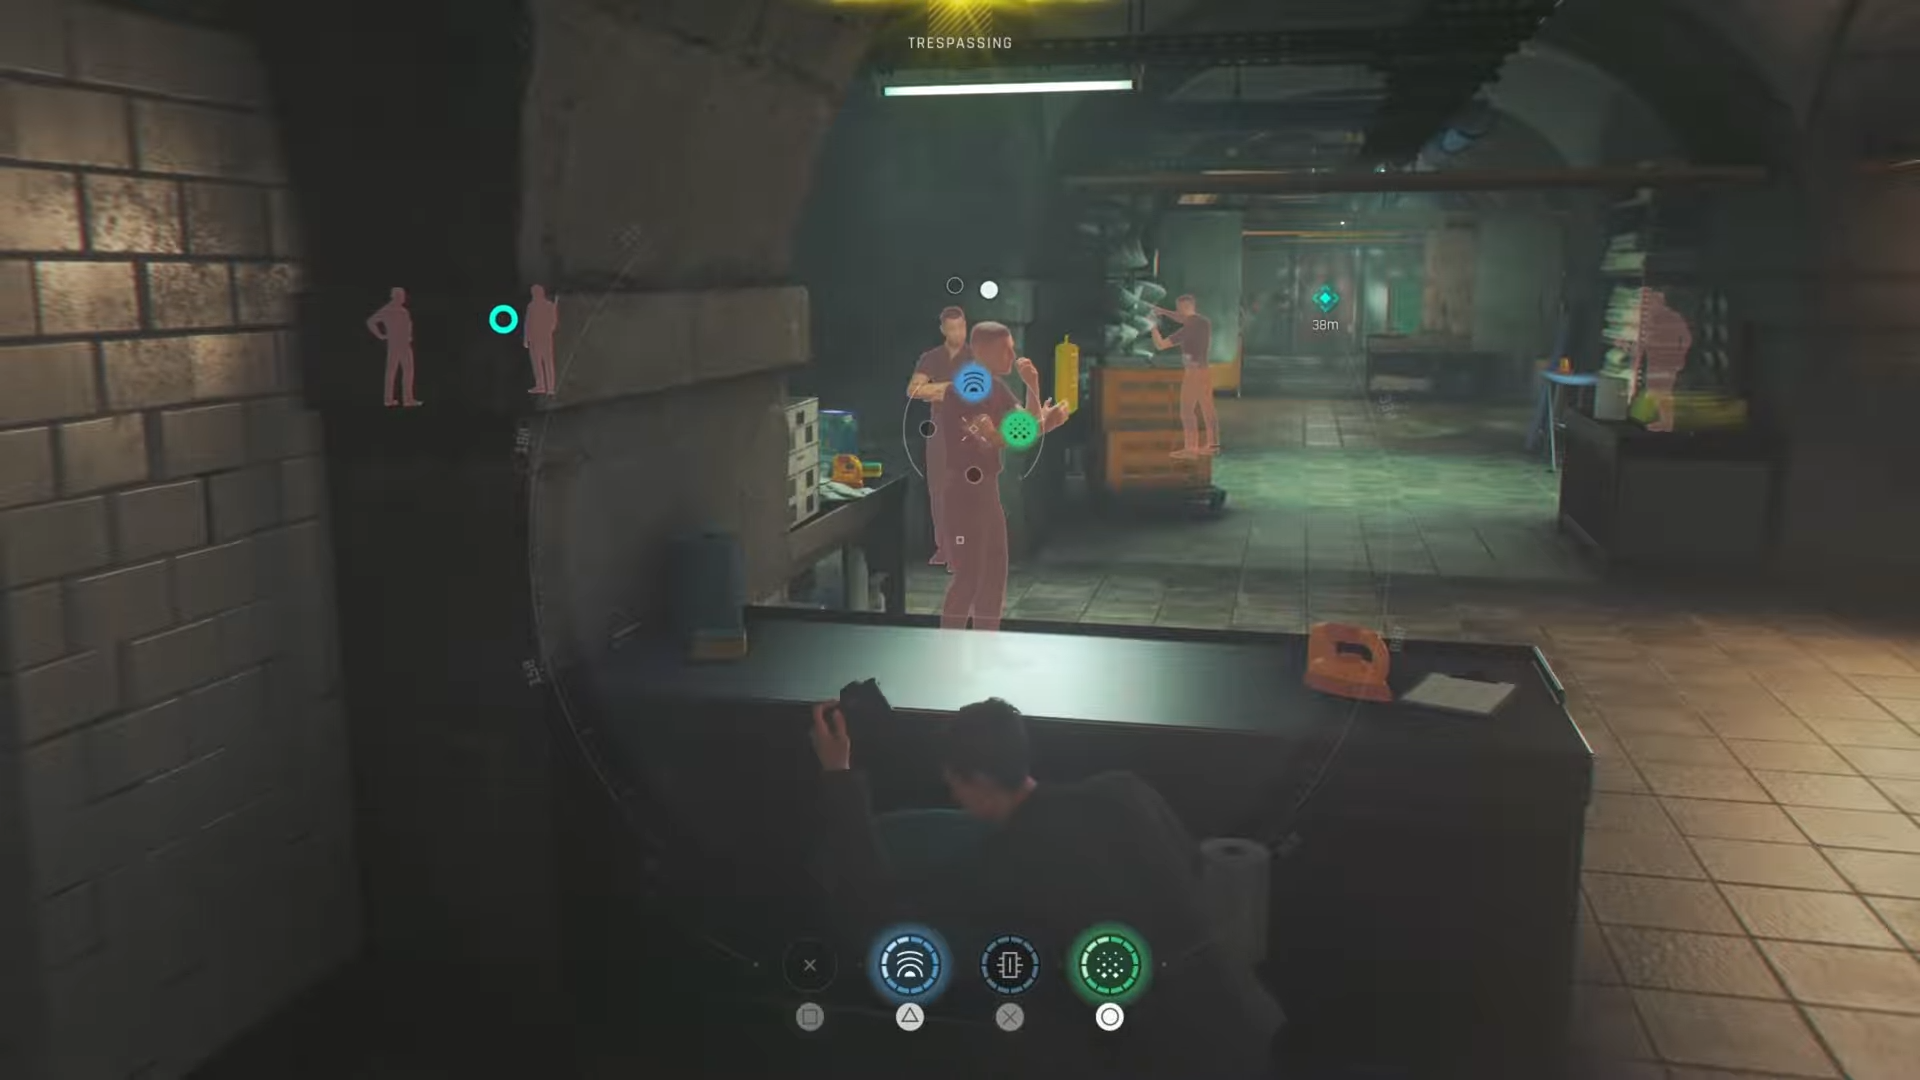
Aim at the ground or chest level in the middle of the group to maximize stagger coverage.
Step 3: Fire Shockwave to initiate or reset fights
When enemies are about to breach your cover or you are about to be overrun, fire Shockwave to instantly interrupt their aim, cancel grenade throws, and knock aggressive melee units on their backs.
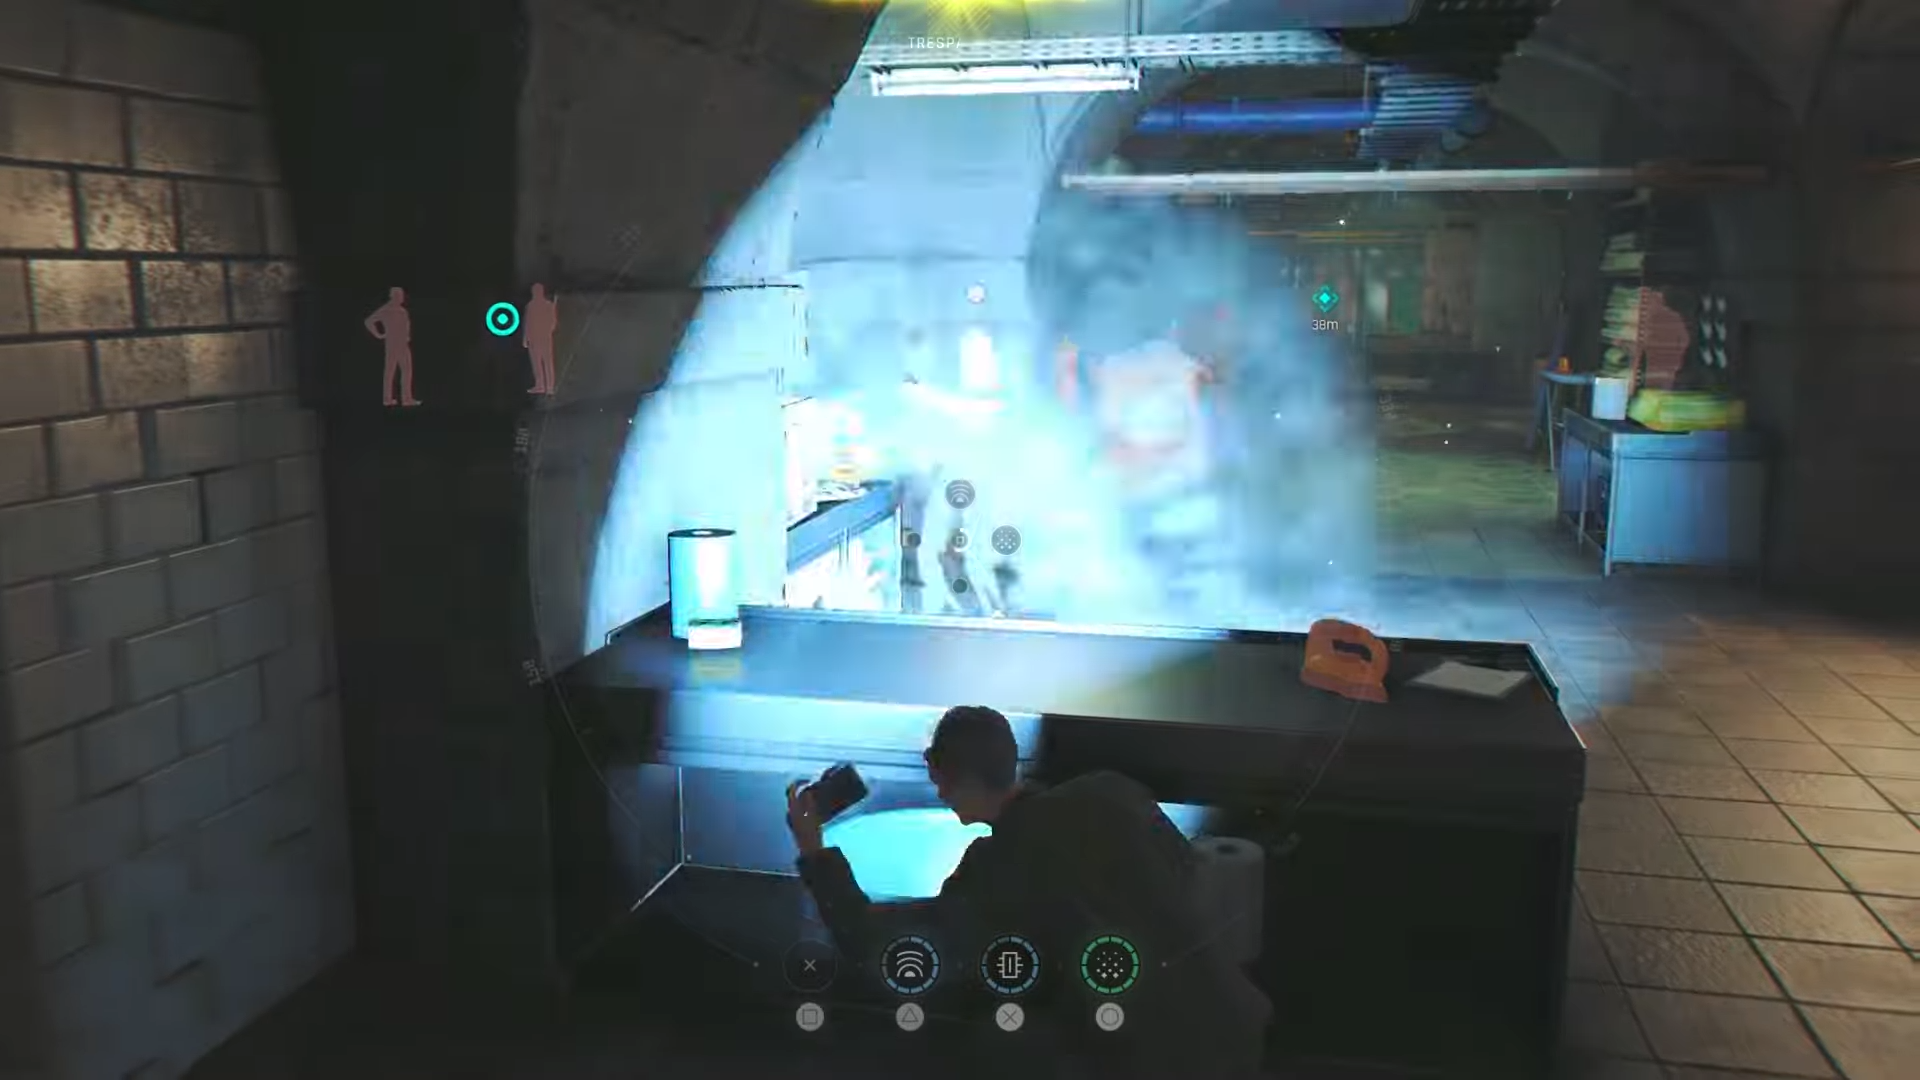
This lets you pivot the fight: either push with melee/stealth finishers or retreat and reposition while they recover.
Step 4: Chain Shockwave with stealth takedowns and melee
After a successful Shockwave blast, prioritize the nearest threat with a fast takedown, then bounce to the next staggered target. On higher difficulties, combine it with:
-
Focus mode: pop Focus, land quick headshots on the most dangerous enemies while everyone is stunned.
-
Environmental kills: shove shocked enemies into ledges, through windows, or into explosive hazards flagged by your watch scan.
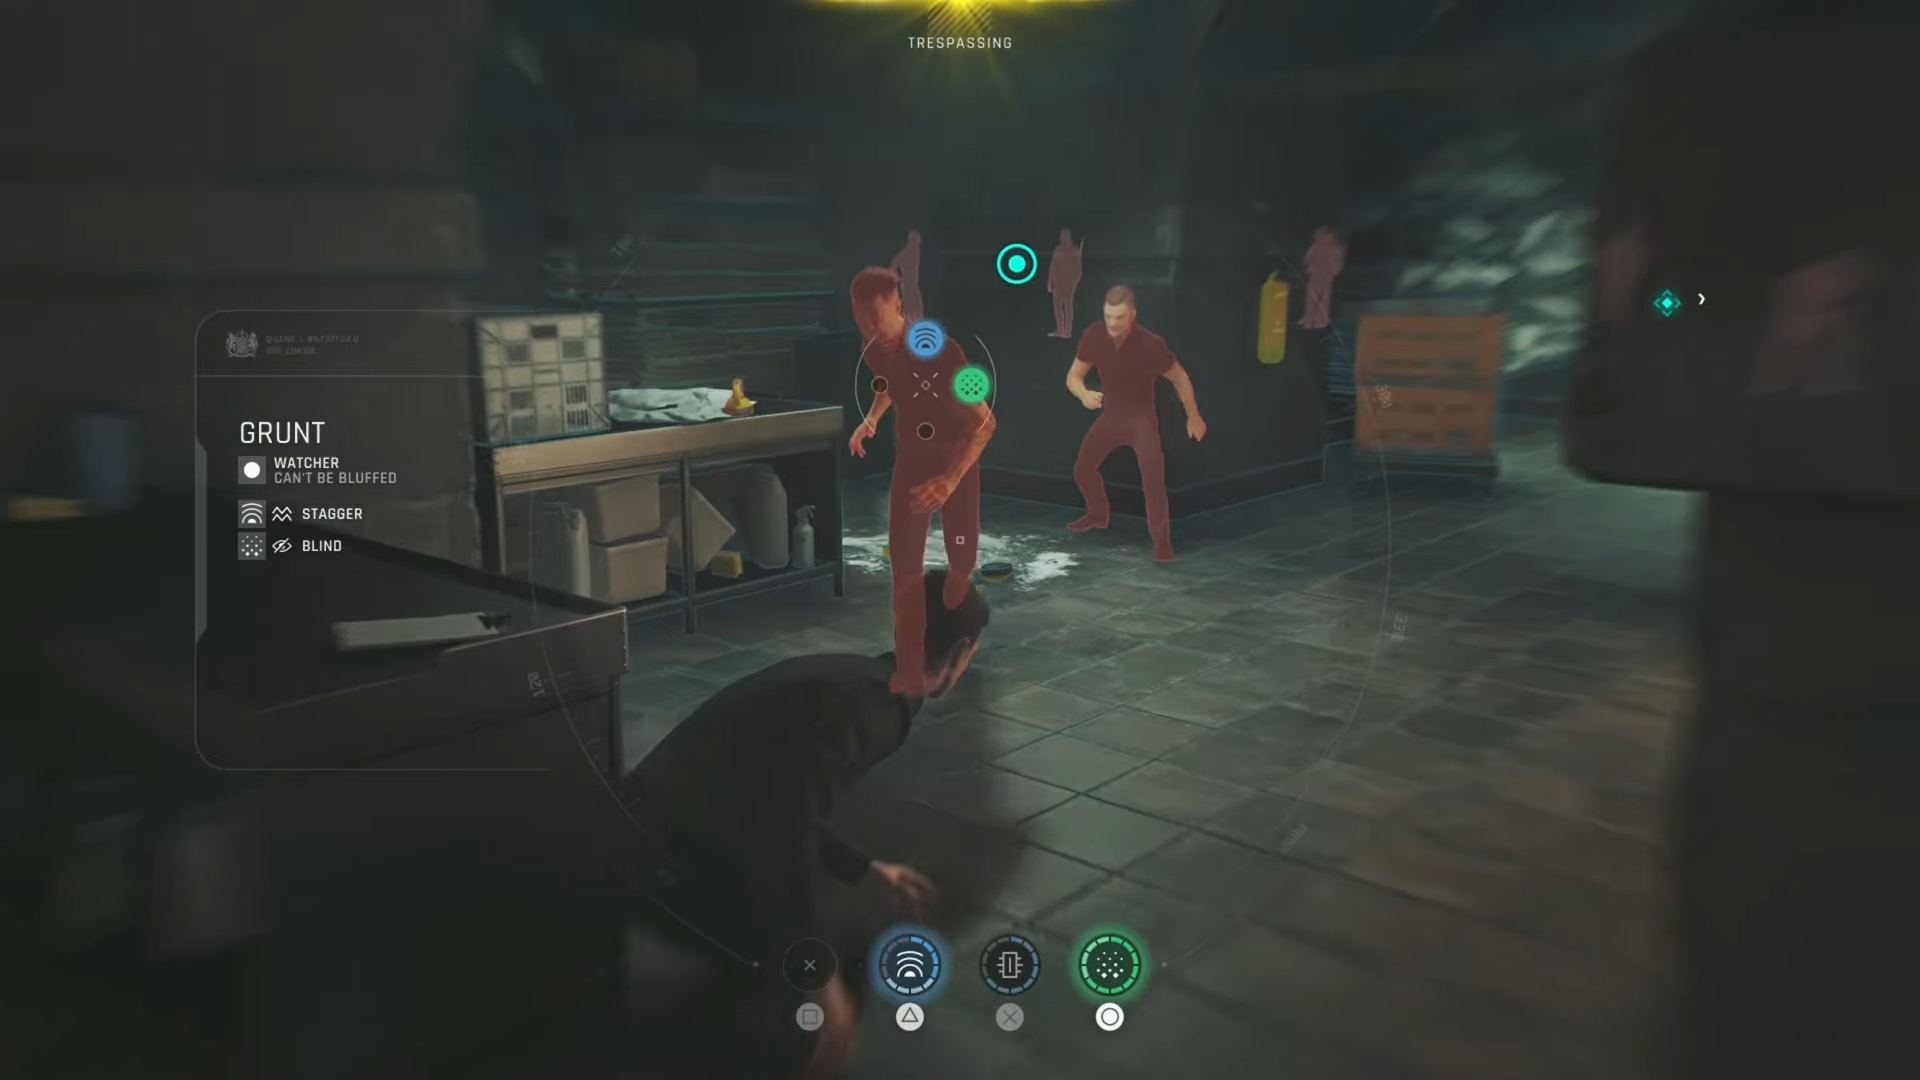
Step 5: Use Shockwave as a non-lethal escape tool
If you are about to fail a stealth section, Shockwave becomes a panic button. Blast the response team, slide into cover, throw a Smoke Pod, and break line-of-sight to re-enter stealth or reach the nearest exit marker. This is especially useful on missions with strict detection or alarm-based challenges.
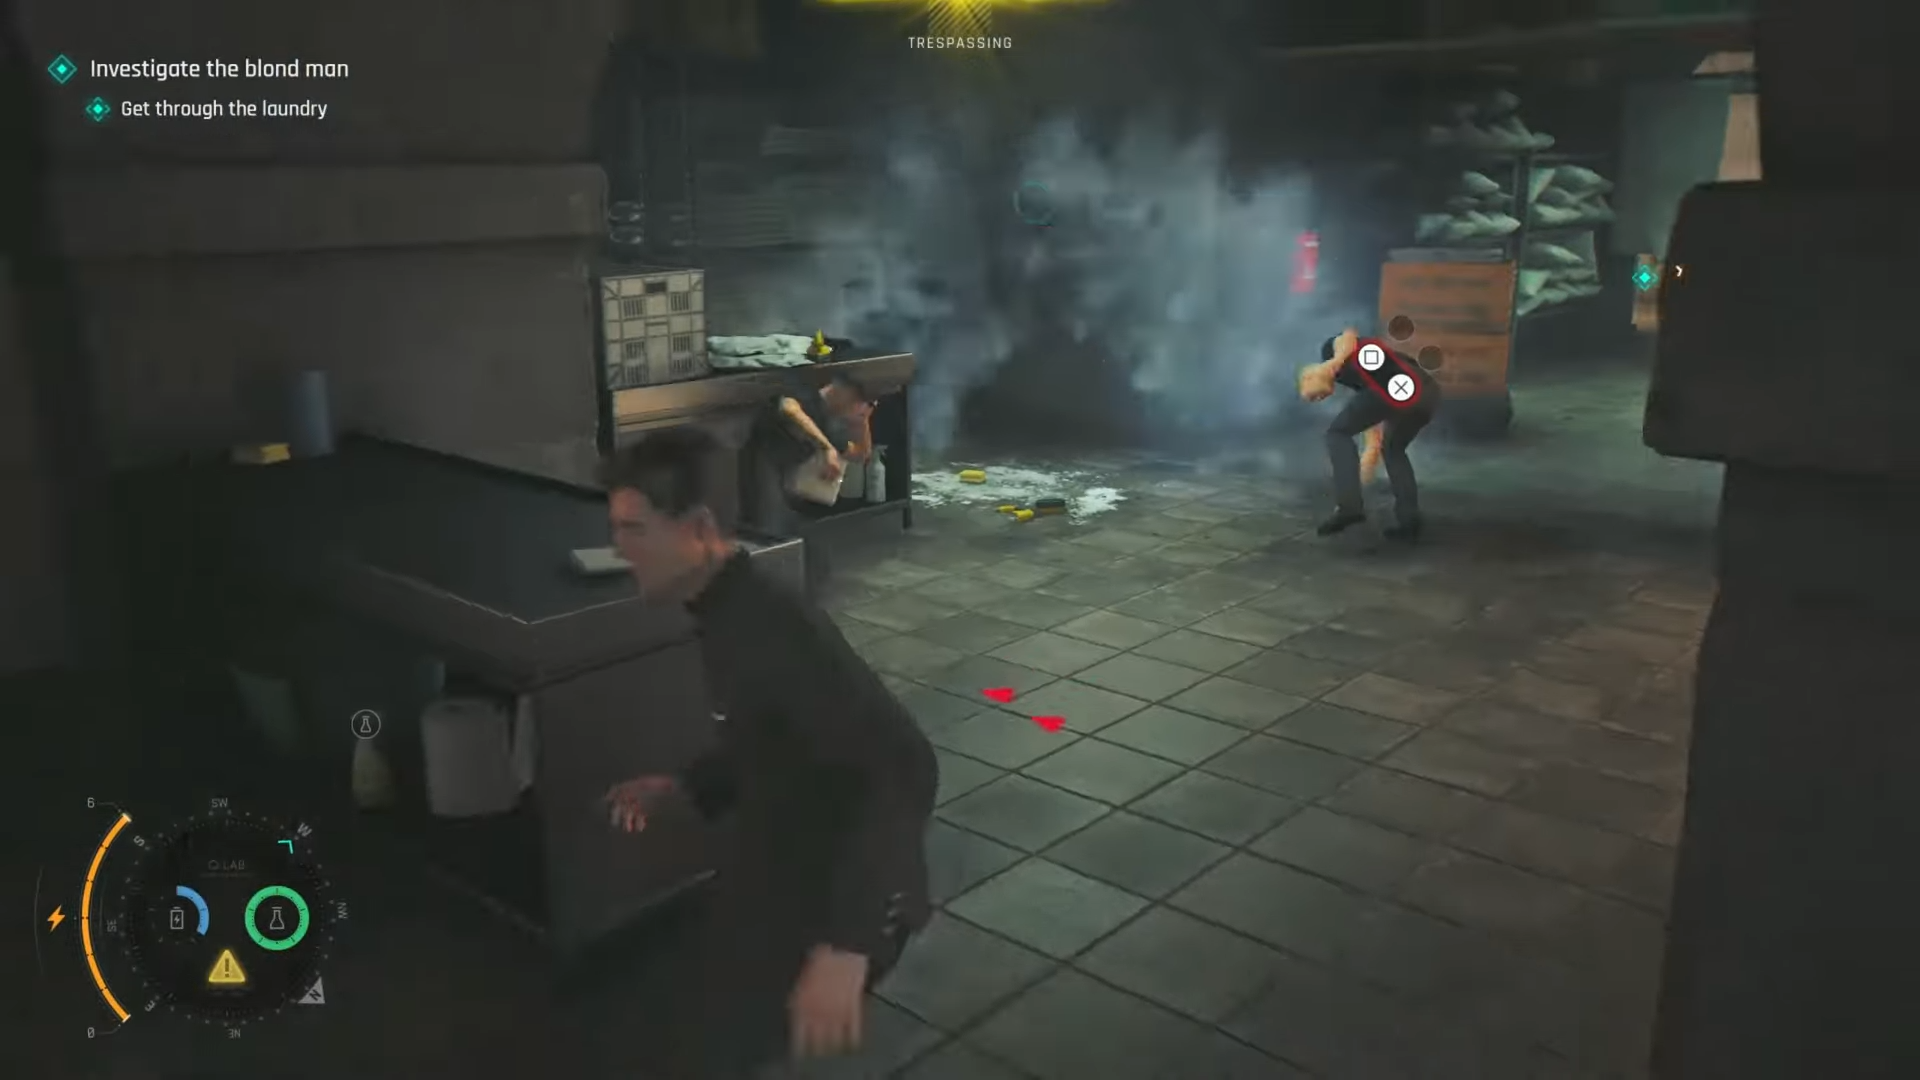
Step 6: Manage charges and reloads via Q carts and TacSim
Most missions limit how many uses you get, with extra refills available at Gadget Carts in Q’s lab or safe-room staging points. Swap Shockwave into your two-gadget loadout (plus the Q‑Watch) whenever you expect close-quarters or escort segments, and top up during TacSim challenge runs to practice with no real risk.
Critical mistakes to avoid with Shockwave
-
Wasting Shockwave on single guards
Shockwave’s real value is hitting two or more enemies at once; use single targets for silent melee or Dart Phone instead to save charges. -
Blasting armored heavies head‑on
Some armored foes resist the full knockdown and recover faster. Stun them with Shockwave, then immediately reposition or use Focus for precision shots at weak points, rather than standing in front of them. -
Using Shockwave next to explosives without a plan
The concussive effect can interact with barrels or environmental hazards, sometimes triggering chaotic chain reactions. If you Shockwave near explosives, commit to backing off or using that explosion to your advantage. -
Spamming it early in long firefights
On higher difficulties and late-game missions, blowing all Shockwave charges in the first wave leaves you exposed later. Treat it like a clutch gadget reserved for ambushes. -
Forgetting stealth implications in tight areas
While Shockwave is less loud than gunfire, guards in adjacent rooms can still be alerted by the commotion on some layouts. Check enemy routes with your watch scan before detonating it in small interiors.
Shockwave synergy and advanced tech
-
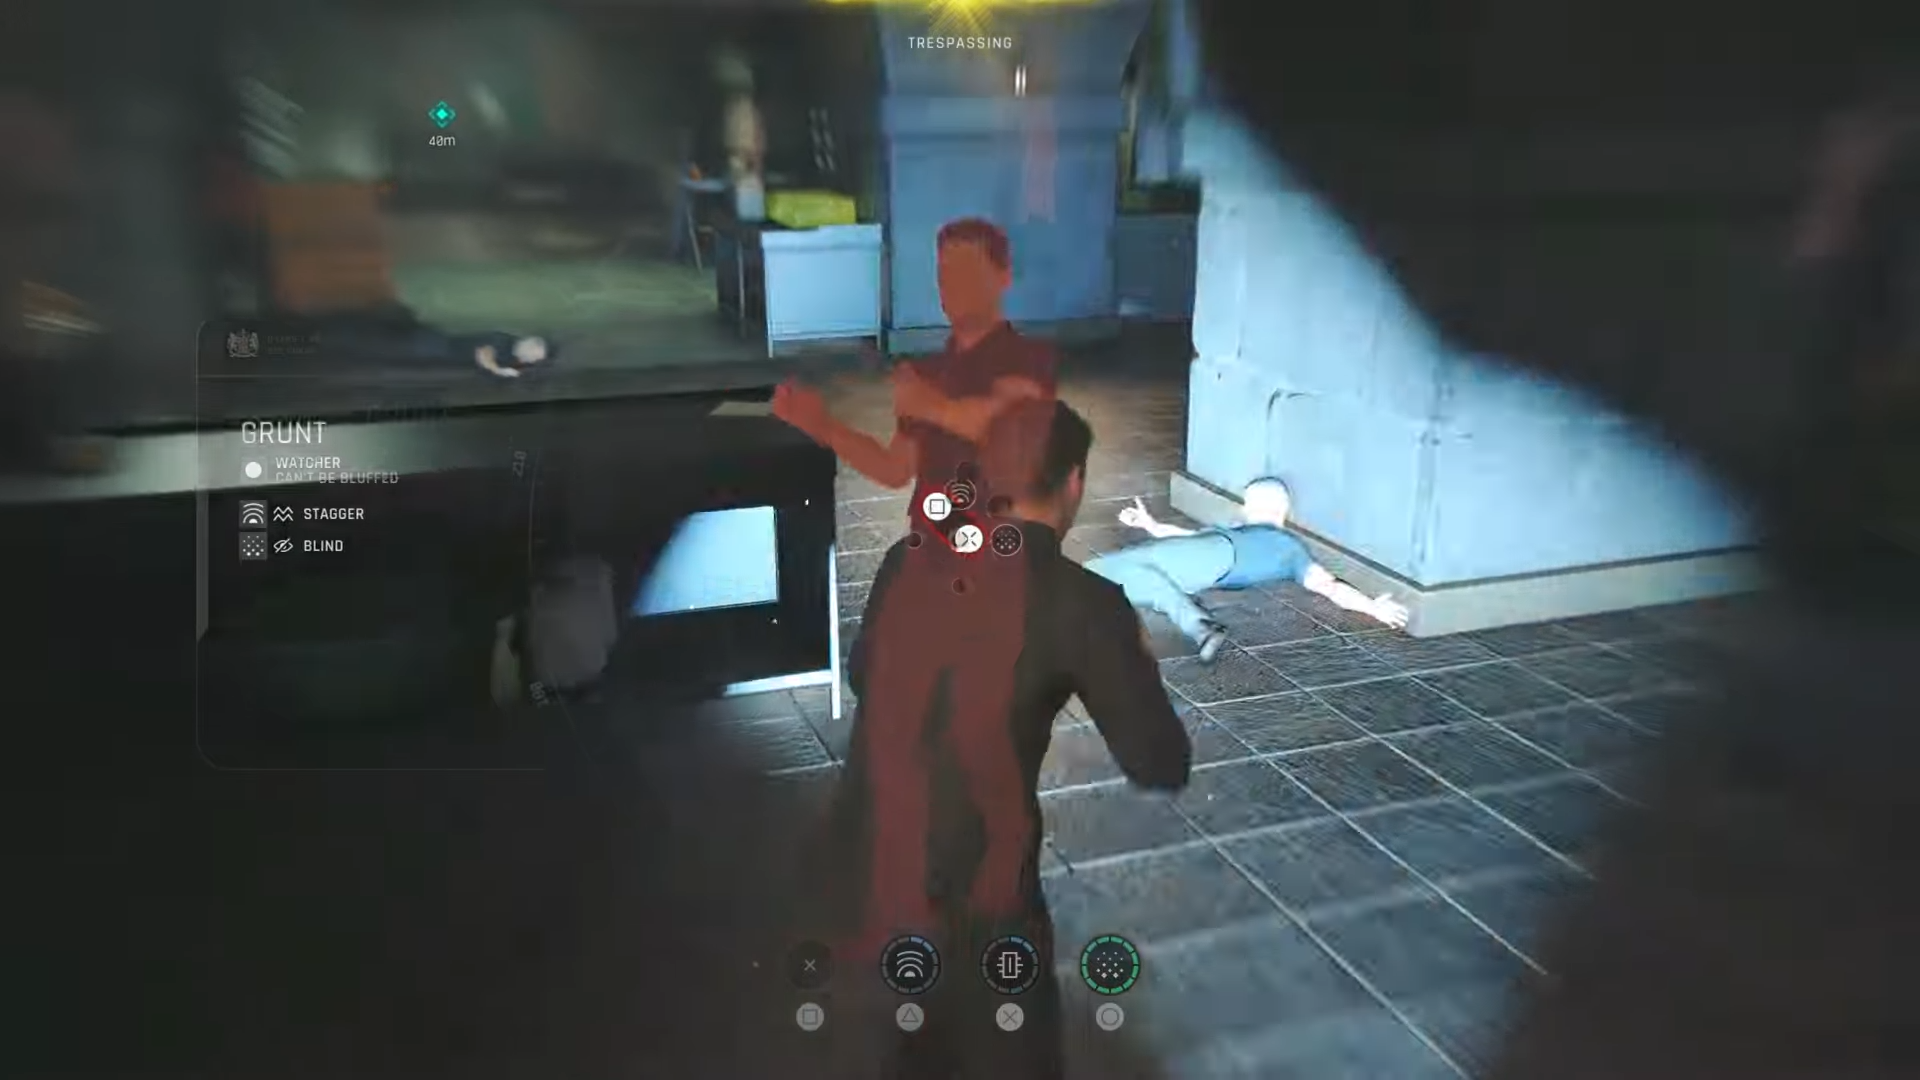
Shockwave + Focus
Use Shockwave first, then toggle Focus (hold aim + click left stick, on controller) to slow time and land quick disarms and headshots on staggered enemies, rapidly refilling Focus in the process. -
Shockwave into melee chains
The moment enemies are knocked back, close the distance with sprint melee, throws, and environmental takedowns. Against groups, move laterally through them, not straight forward, to avoid getting surrounded when they recover. -
Bluff and conversation setups
Some encounters let you bluff or charm your way through after disabling armed threats non-lethally, and Shockwave is a clean way to neutralize them without turning the scene into a bloodbath.



Leave a Reply