
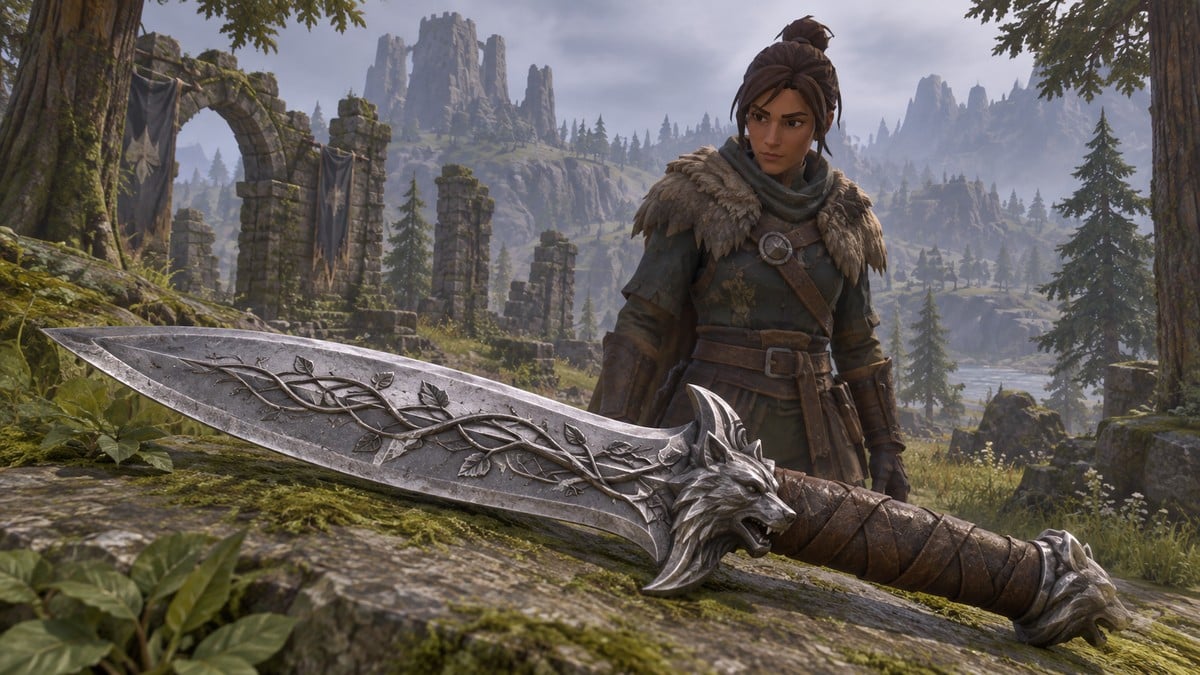
Commune with the Dragonkin Effigy in Vekchenven Kara, central Fellhollow, to unlock the Wolfbane Dagger recipe, then craft it at a Blacksmith’s Bench.
The route takes you from the Lake of Lost Souls through a vault with corruption pools, spectral crossings and suspended platforms. The vault is particular about when you’re Withered.
Find the vault near Lake of Lost Souls
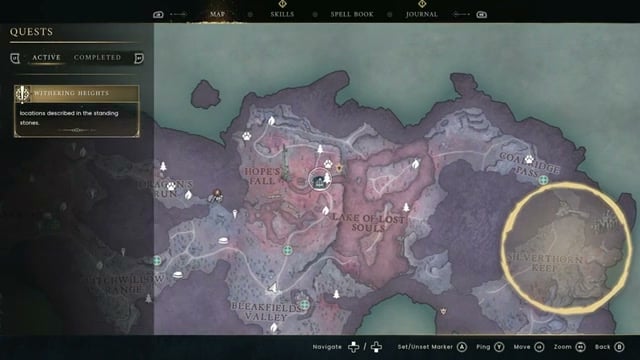
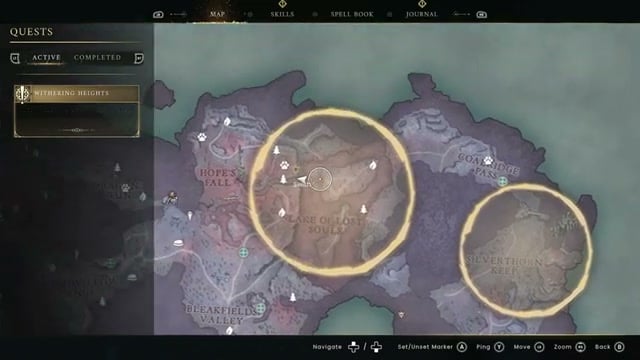
Use Lake of Lost Souls on the map to line up your approach. The Hope’s Fall label appears when you activate the interactable station.
Use a lighting spell if you have one, or bring a torch for the dark cave and vault passages.
Cross Vekchenven Kara and unlock the recipe
Inside the vault, the route drops to a corruption pool before climbing back through enemy chambers and across an abyss. Watch for the green Soul Wells after the spectral crossings.
How to reach the Dragonkin Effigy and unlock the Wolfbane Dagger recipe
Follow the route from Lake of Lost Souls to the effigy at the end of the vault.
STEP 1/30
3%
Reach the vault near Lake of Lost Souls
Travel into Fellhollow and head up around Lake of Lost Souls.
STEP 2/30
7%
Cross the rock islands
Cross the islands in the red-water area, crossing the red ground toward the glowing light.
STEP 3/30
10%
Enter the red cave
At the end of the island route, go through the small red opening behind the waterfall.
STEP 4/30
13%
Check your position near the lake
Reopen the map to locate your position near Lake of Lost Souls.
STEP 5/30
17%
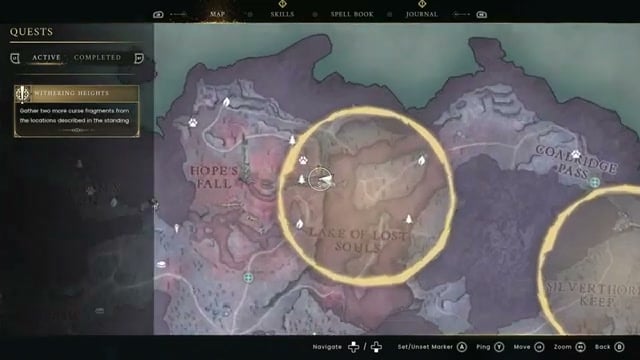
Climb toward the vault
Ascend the stone steps inside Hope’s Fall until you reach the triangular entrance to Vekchenven Kara. Defeat the undead enemy on the staircase.
STEP 6/30
20%
Enter Vekchenven Kara
Interact with the triangular gold door and go through the vault entrance.
STEP 7/30
23%
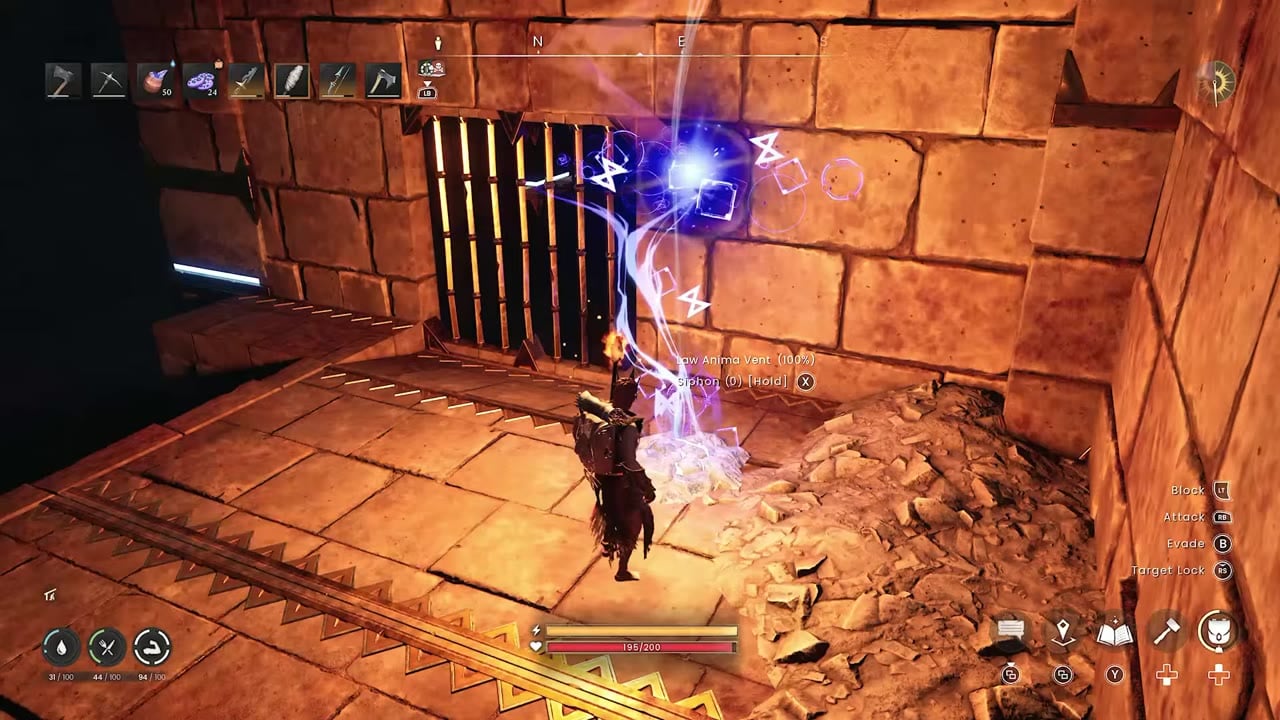
Activate the travel node
Interact with the nearby glowing blue Anima Well node inside the vault to attune to it and add its fast-travel point.
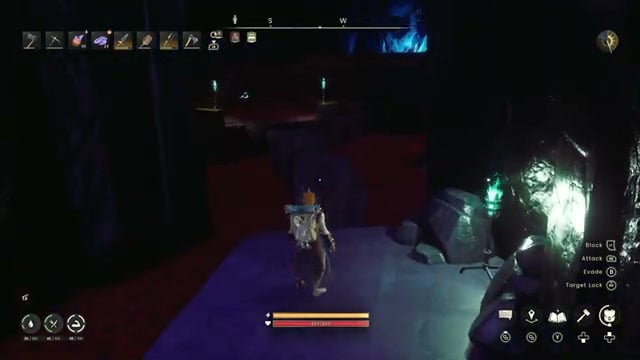
STEP 8/30
27%
Descend to the lower chambers
From the entrance well, follow the dark rocky passages and ledges down through the chambers.
STEP 9/30
30%
Enter the first corruption pool
Continue to the lowest area and stand in the pool to become Withered.
STEP 10/30
33%
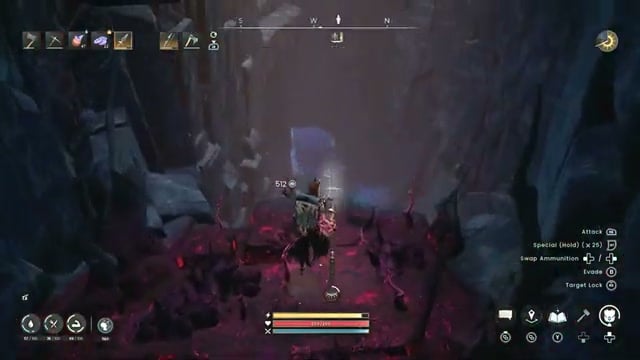
Cross the cyan bridge
Walk across the spectral bridge over the chasm to its far end.
STEP 11/30
37%
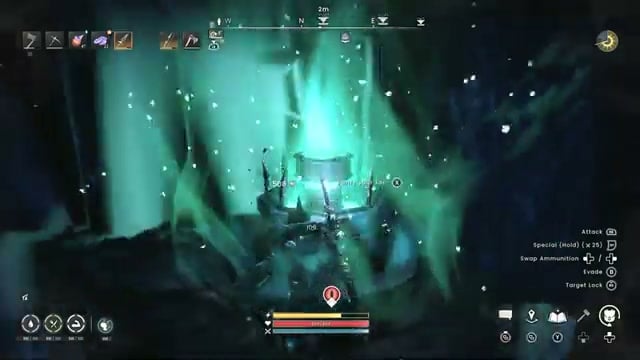
Cleanse at the Soul Well
Use the green Soul Well beyond the bridge to remove Withered.
STEP 12/30
40%
Follow the upward tunnels
Take the torchlit route up and around toward the enemy chamber.
STEP 13/30
43%
Defeat the necromancer
Kill the necromancer and its skeletons; it keeps summoning more while it lives.
STEP 14/30
47%
Pass through the stone archway
Continue through the small archway after the fight.
STEP 15/30
50%
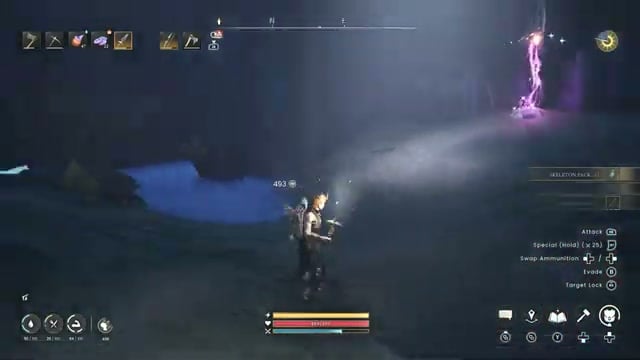
Turn left past the flame traps
Take the left route and avoid the flames that burst from the floor.
STEP 16/30
53%
Collect the optional chest
Pick up the chest near this section if you want it, then return to the route.
STEP 17/30
57%
Take the downward branch
Where the paths split, descend to the bottom area.
STEP 18/30
60%
Become Withered again
Stand in the next corruption pool before approaching the spectral entrance.
STEP 19/30
63%
Pass through the first spectral door
Go through the doorway into the blue-lit chamber.
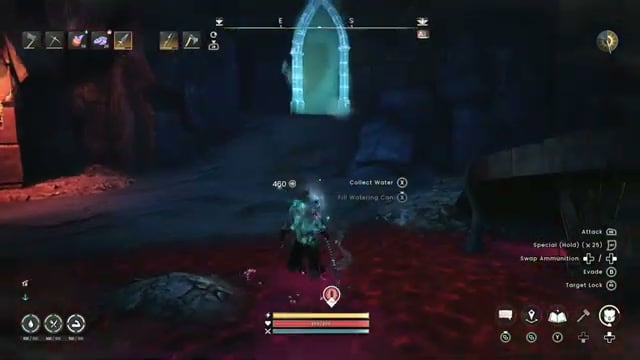
STEP 20/30
67%
Mine for optional soul fragments
Mine in this chamber if you want soul fragments.
STEP 21/30
70%
Exit through the matching door
Cross the chamber and pass through the other spectral doorway.
STEP 22/30
73%
Purify your soul
Use the green Soul Well outside the door and select Purify your soul.
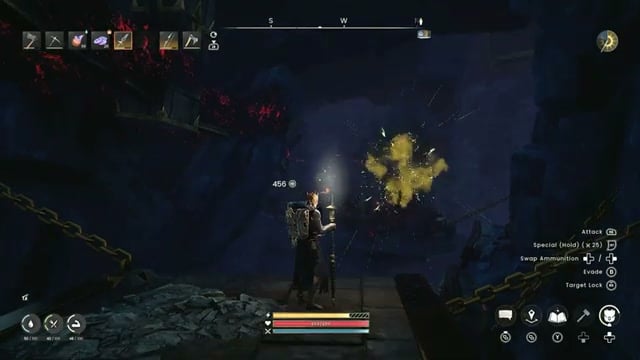
STEP 23/30
77%
Clear the explosive hazards
Detonate the hazards near the suspended platforms with ranged attacks when possible.
STEP 24/30
80%
Cross the hanging platforms
Jump between the moving wooden platforms suspended by chains.
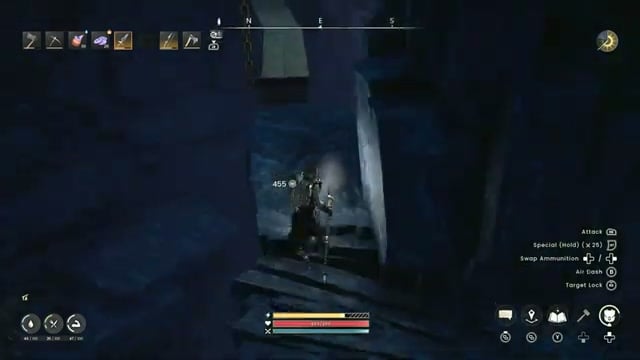
STEP 25/30
83%
Follow the outer route
Keep moving around the outside of the abyss until you reach its far side.
STEP 26/30
87%
Avoid the red pools
On the far side, jump over the barriers and circle around the red pools to avoid becoming Withered again.
STEP 27/30
90%
Climb along the wall
Follow the rock ledges and wooden scaffolding upward along the cavern wall.
STEP 28/30
93%
Cross the long plank
Walk along the long wooden plank toward the upper platform.
STEP 29/30
97%
Jump to the next platform
At the plank’s end, jump up to the next plank or balcony.
STEP 30/30
100%
Commune with the Dragonkin Effigy
Interact with the effigy holding a blue orb. The Wolfbane Dagger recipe-unlock notification marks completion.
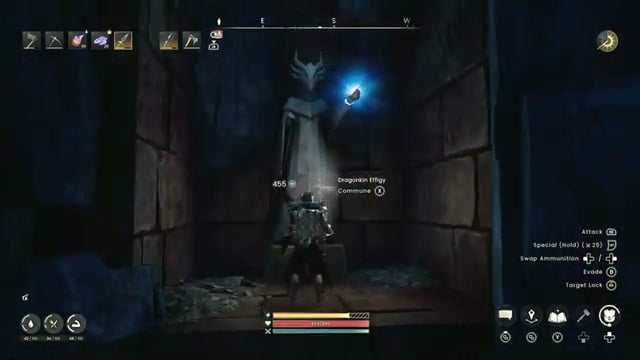
Where to look
Craft the unlocked Wolfbane Dagger
Once back at your base, open the Blacksmith’s Bench, then go to One Handed Weapons / Daggers and choose Wolfbane Dagger. You can also view the weapon’s stats and crafting components in the unlocked recipe journal.
Wolfbane Dagger crafting materials
| Material | Quantity |
|---|---|
| Steel Bar | 2 |
| Silver Bar | 2 |
| Draconic Leather | 2 |
| Vault Shard | 4 |
With the materials in place, complete the craft at the bench. The completion popup shows Wolfbane Dagger x1.
Wolfbane Dagger wolf bonus and weapon stats
The Wolfbane Dagger attacks quickly and deals increased damage to wolves. That gives the wolves a rather specific problem.
Wolfbane Dagger displayed stats
| Attribute | Value |
|---|---|
| Weapon type | One-handed melee |
| Power level | 5 |
| Stab damage | 18–50 |
| Attack combo | 7 |
| Block | 42 |
| Special action | Lacerate (×25) |
Related RuneScape: Dragonwilds guides




Leave a Reply