
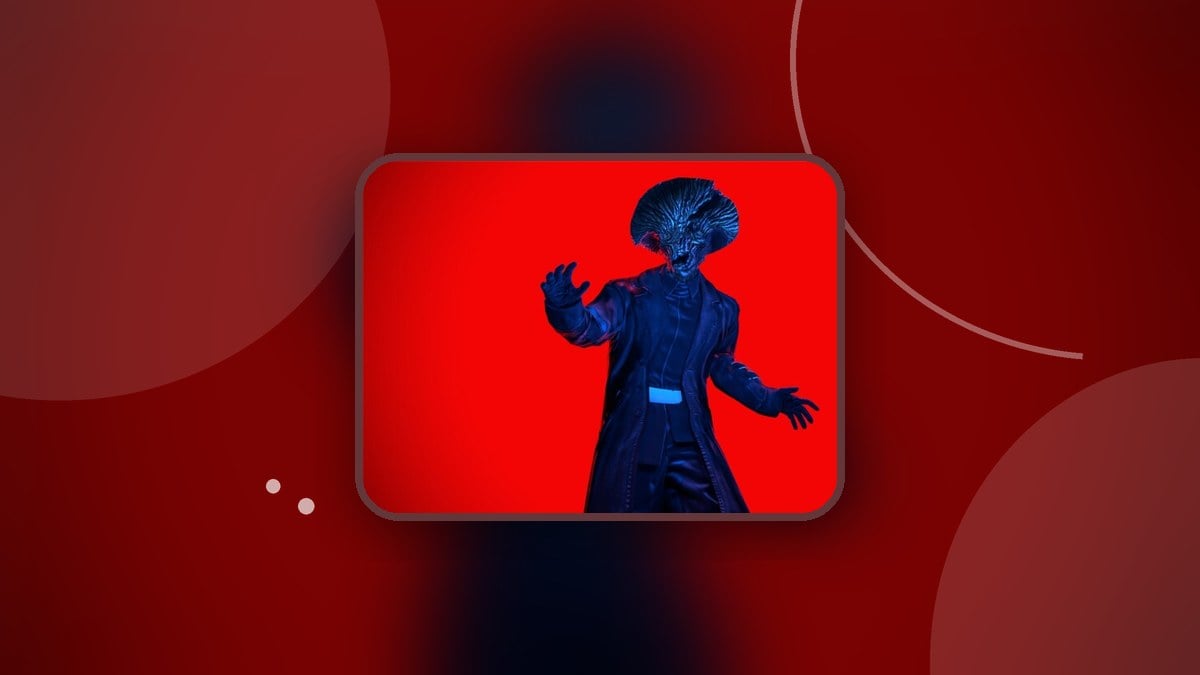
Use the Floor 8 console to enter PETAPETA, complete its Floor 3 Hollow mission, then return to claim the Ofuda Survival Kit.
The Ofuda Survival Kit is a mission reward in Roblox’s The Hollow. Earning it takes you through PETAPETA’s opening levels to a wall-hole encounter on Floor 3. This guide covers the starting console, both Ofuda puzzles, the peephole mission, and the reward claim.
- How to get the Ofuda Survival Kit in The Hollow
- Part 1 – Enter PETAPETA and join matchmaking
- Part 2 – Find the key and activate the Level 1 Ofuda
- Part 3 – Solve the Level 2 safe and reach Level 3
- Part 4 – Complete the peephole mission and claim the kit
- Which badges are associated with the Ofuda Survival Kit route?
How to get the Ofuda Survival Kit in The Hollow
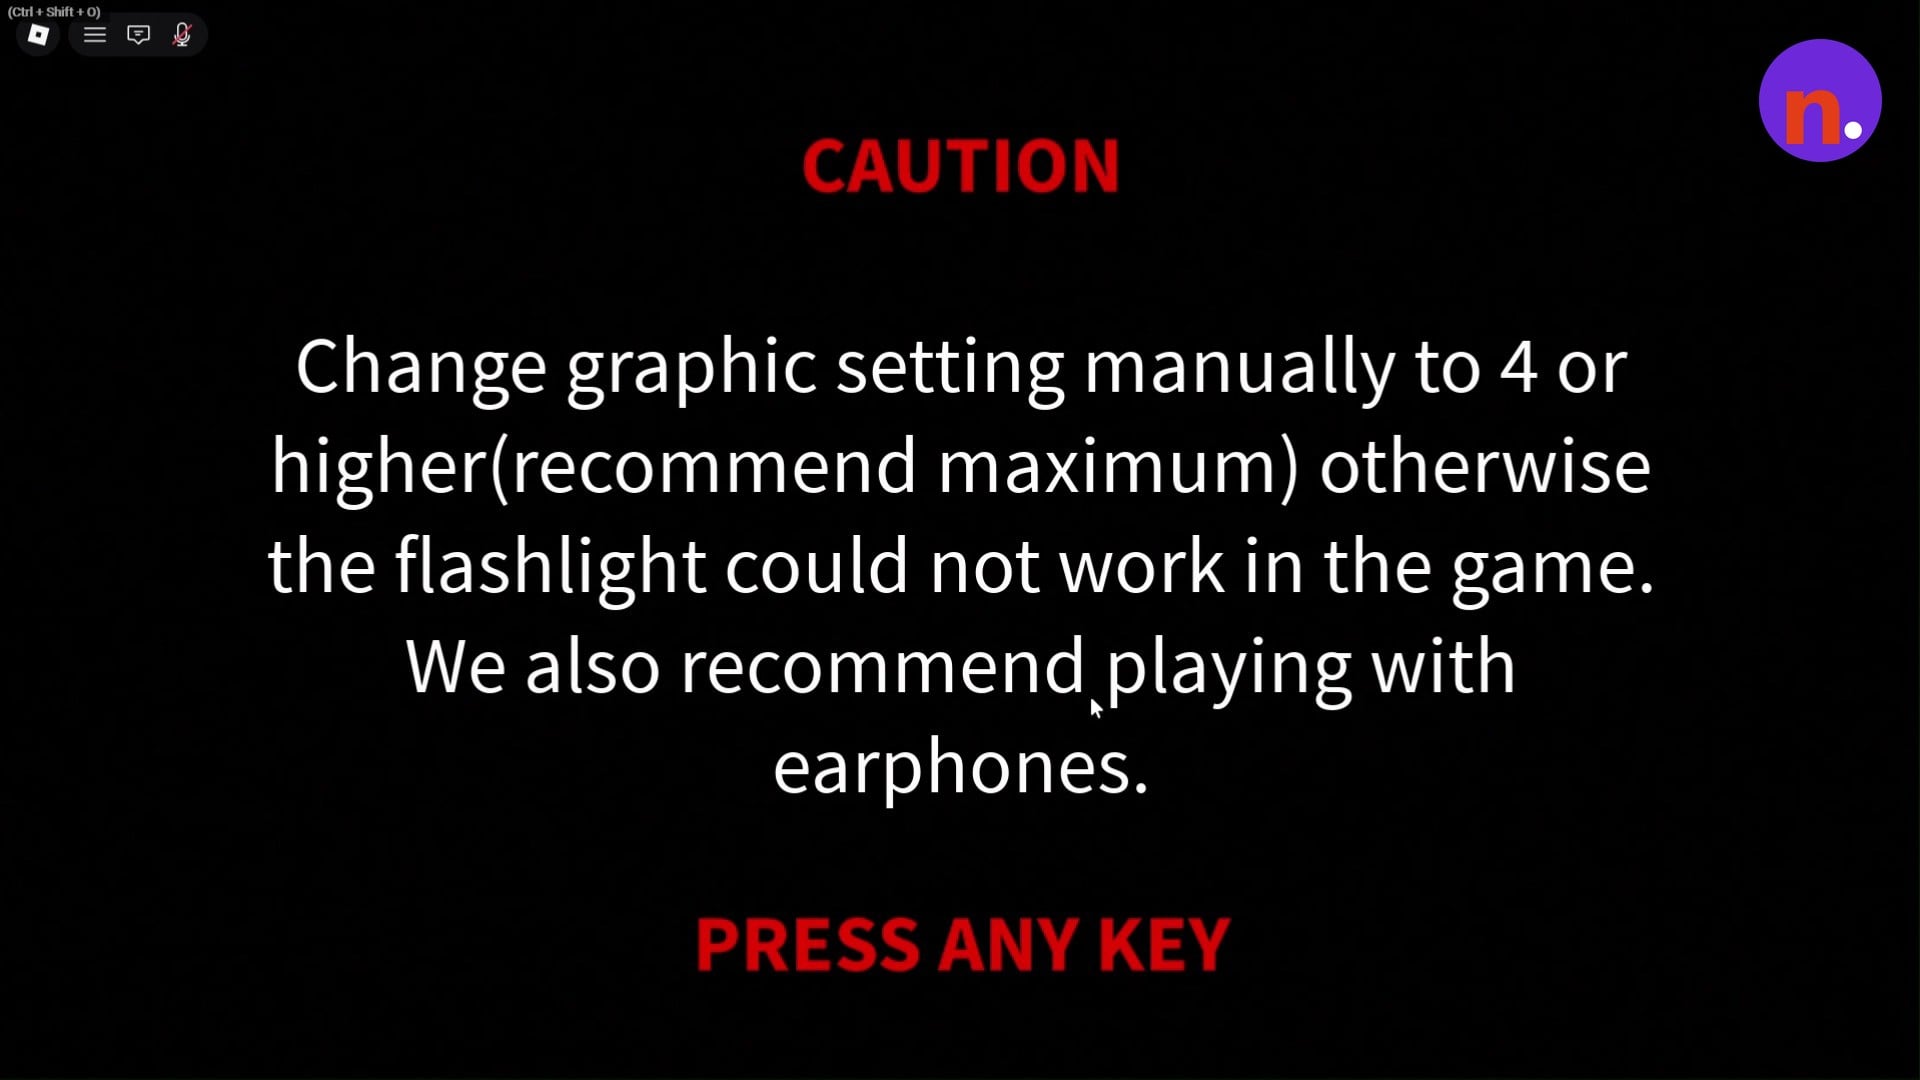
PETAPETA’s caution screen recommends maximum graphics and earphones. Its flashlight also has a graphics requirement to address before you start searching the dark corridor.
Enter PETAPETA, complete the Level 1 and Level 2 Ofuda stages, then finish the peephole mission and collect your kit.
Part 1 – Enter PETAPETA and join matchmaking
Start at the PETAPETA pedestal in The Hollow’s Floor 8 hallway.
Interact with the Floor 8 console
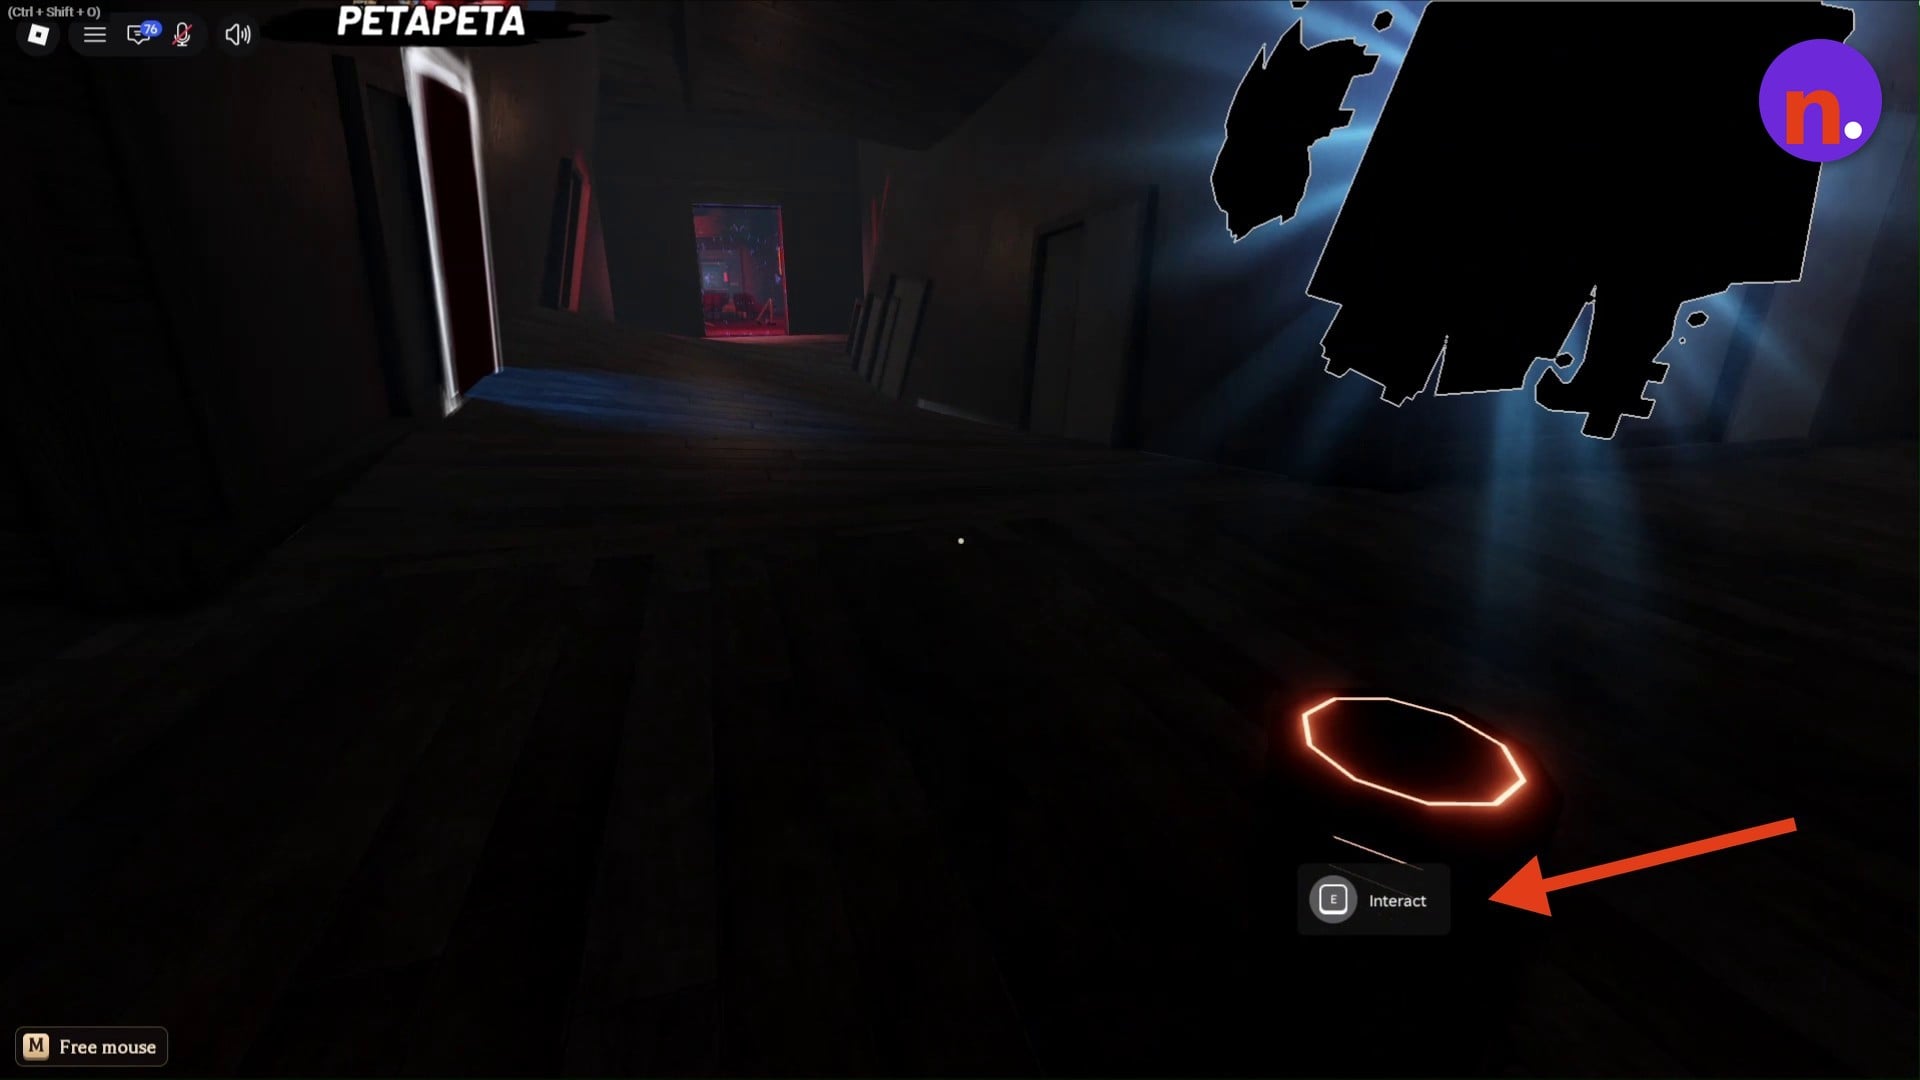
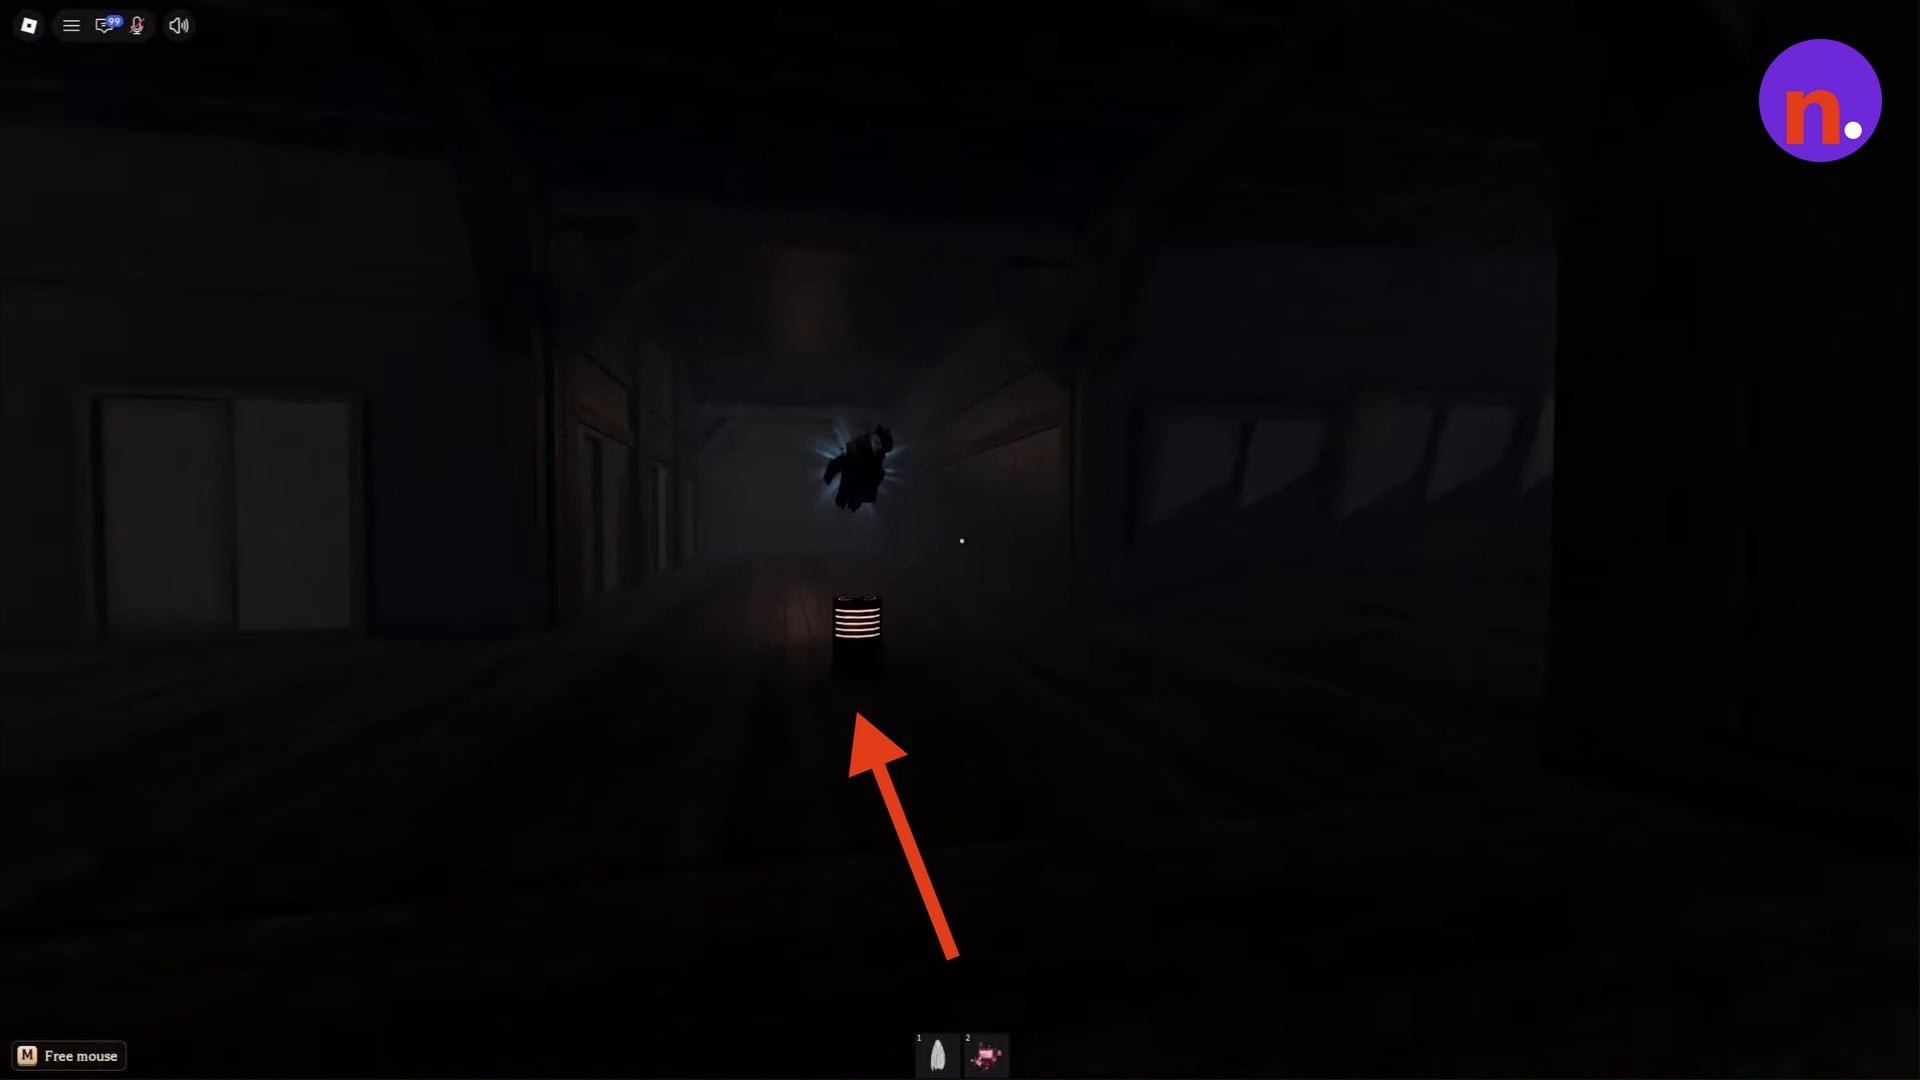
Begin at the puzzle room’s interaction area on Floor 8. Find the glowing pedestal console in the dark hallway on Floor 8. Press E at Interact to enable the portal guide.
Follow the portal guide
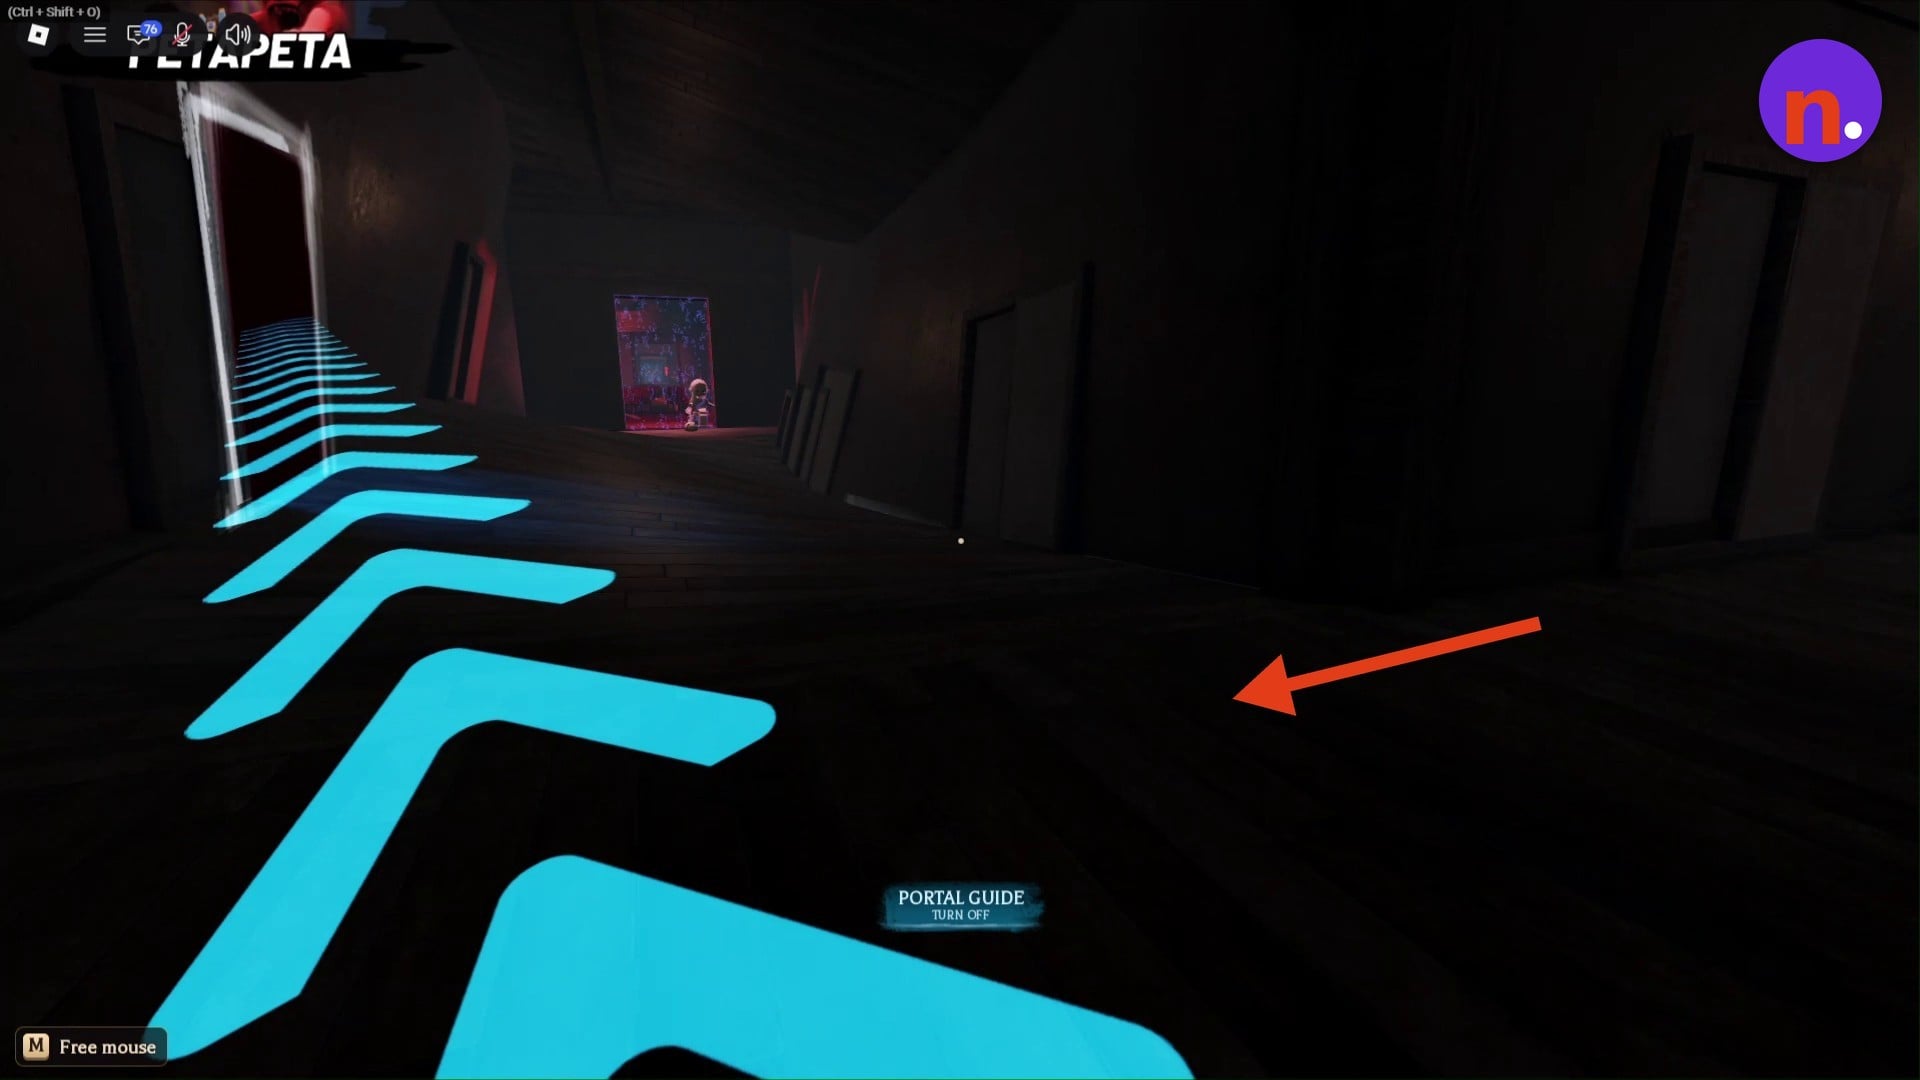
Follow the cyan chevrons along the hallway floor until you reach the illuminated portal doorway.
Teleport into PETAPETA
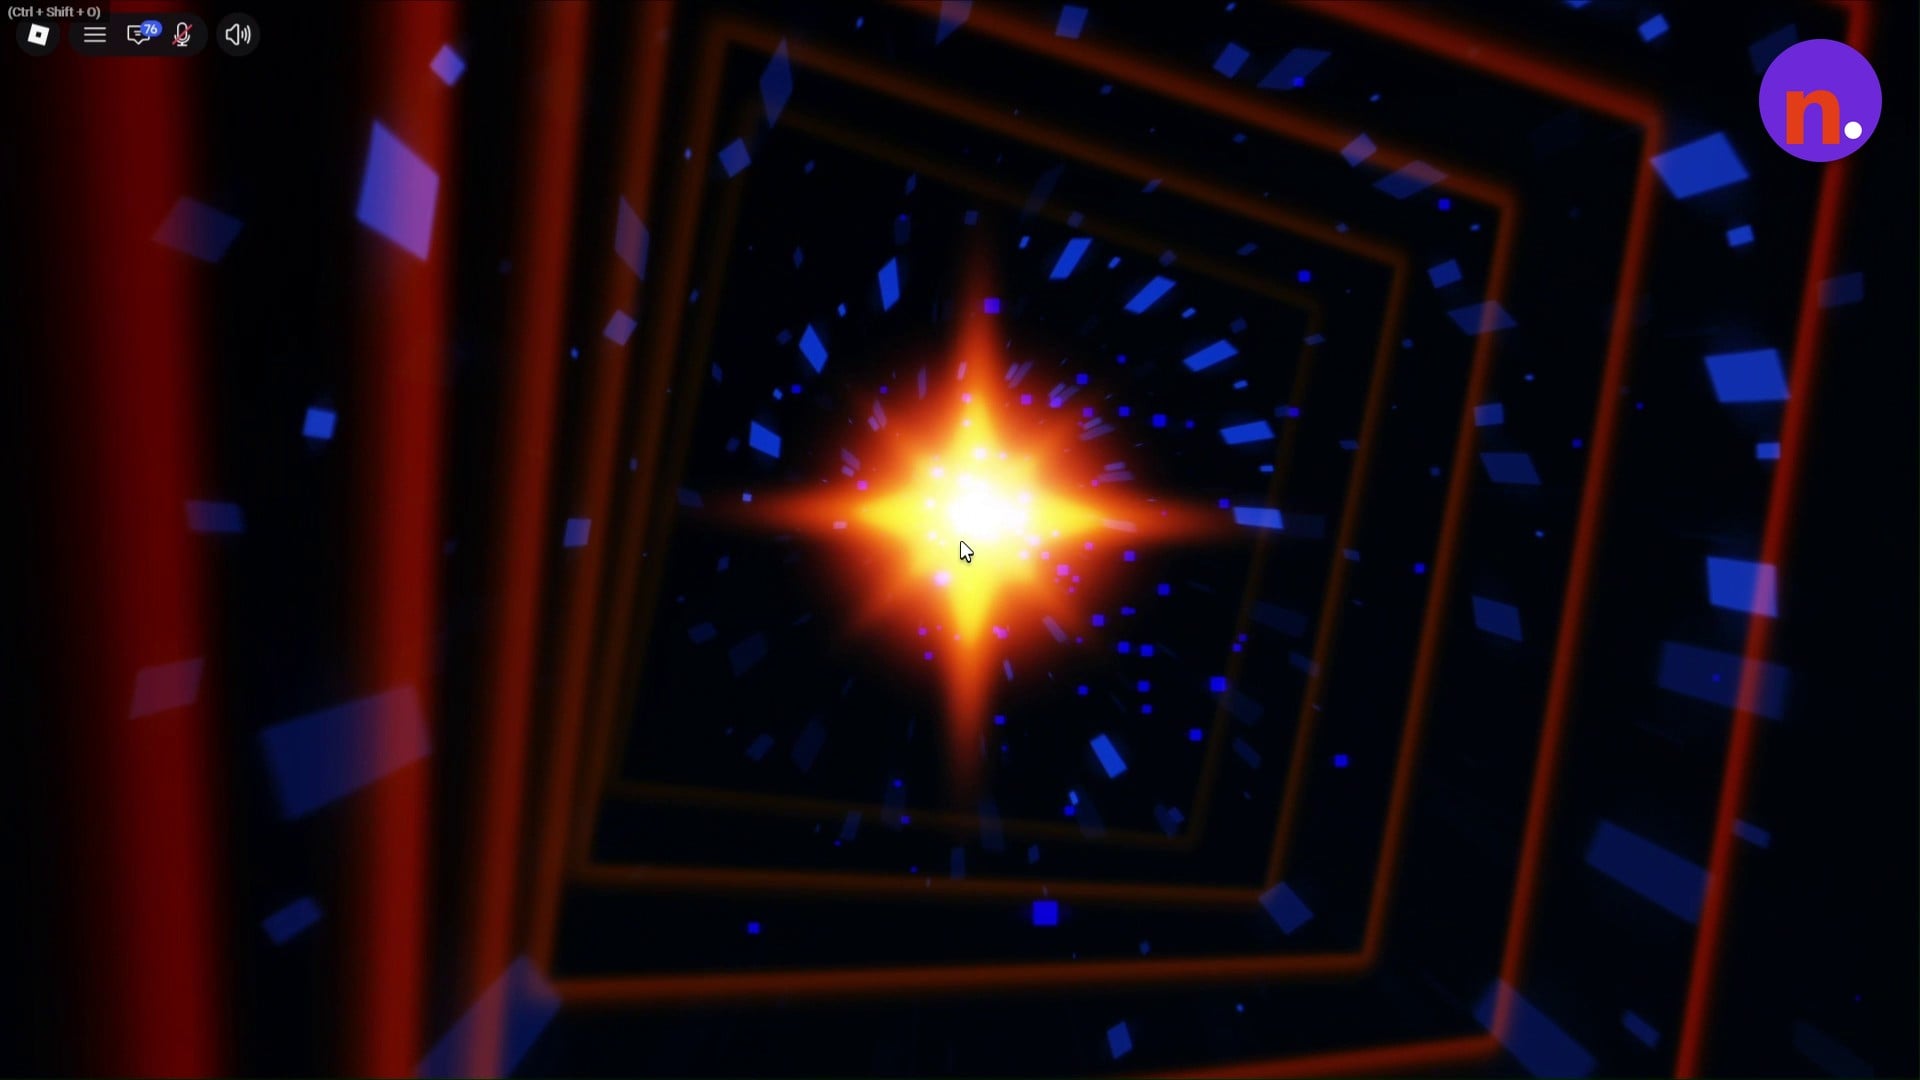
Enter the portal frame and choose Let's go! in the Teleport dialog to travel to PETAPETA.
Dismiss the caution screen and offer
Press any key to dismiss the caution screen. When the separate Transfiguration Ofuda offer appears with its 39 Robux price, close the pop-up to continue.
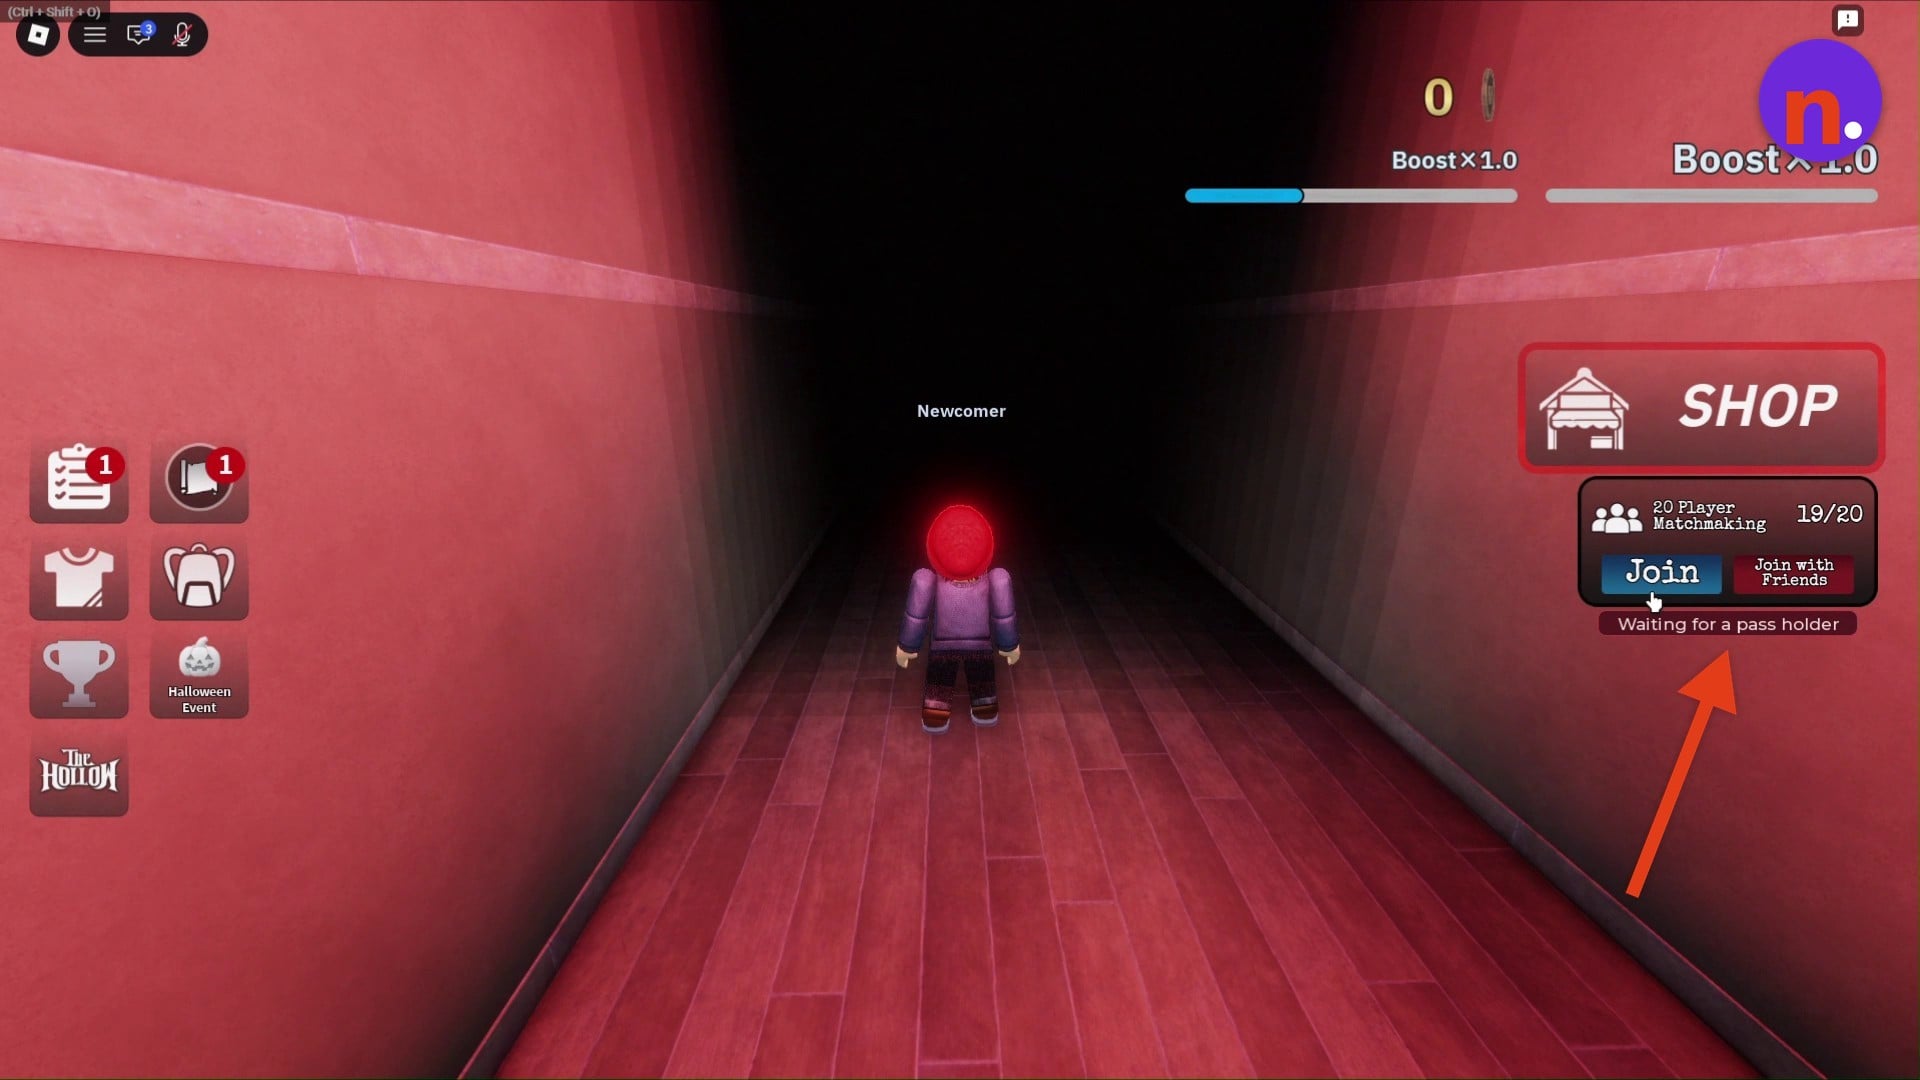
Join matchmaking
Follow the green arrows down the lobby corridor and select Join under 20 Player Matchmaking. The lobby has a capacity of 20 players; its panel also includes Join with Friends.
Part 2 – Find the key and activate the Level 1 Ofuda
The opening clues ask you to find a box and get its key.
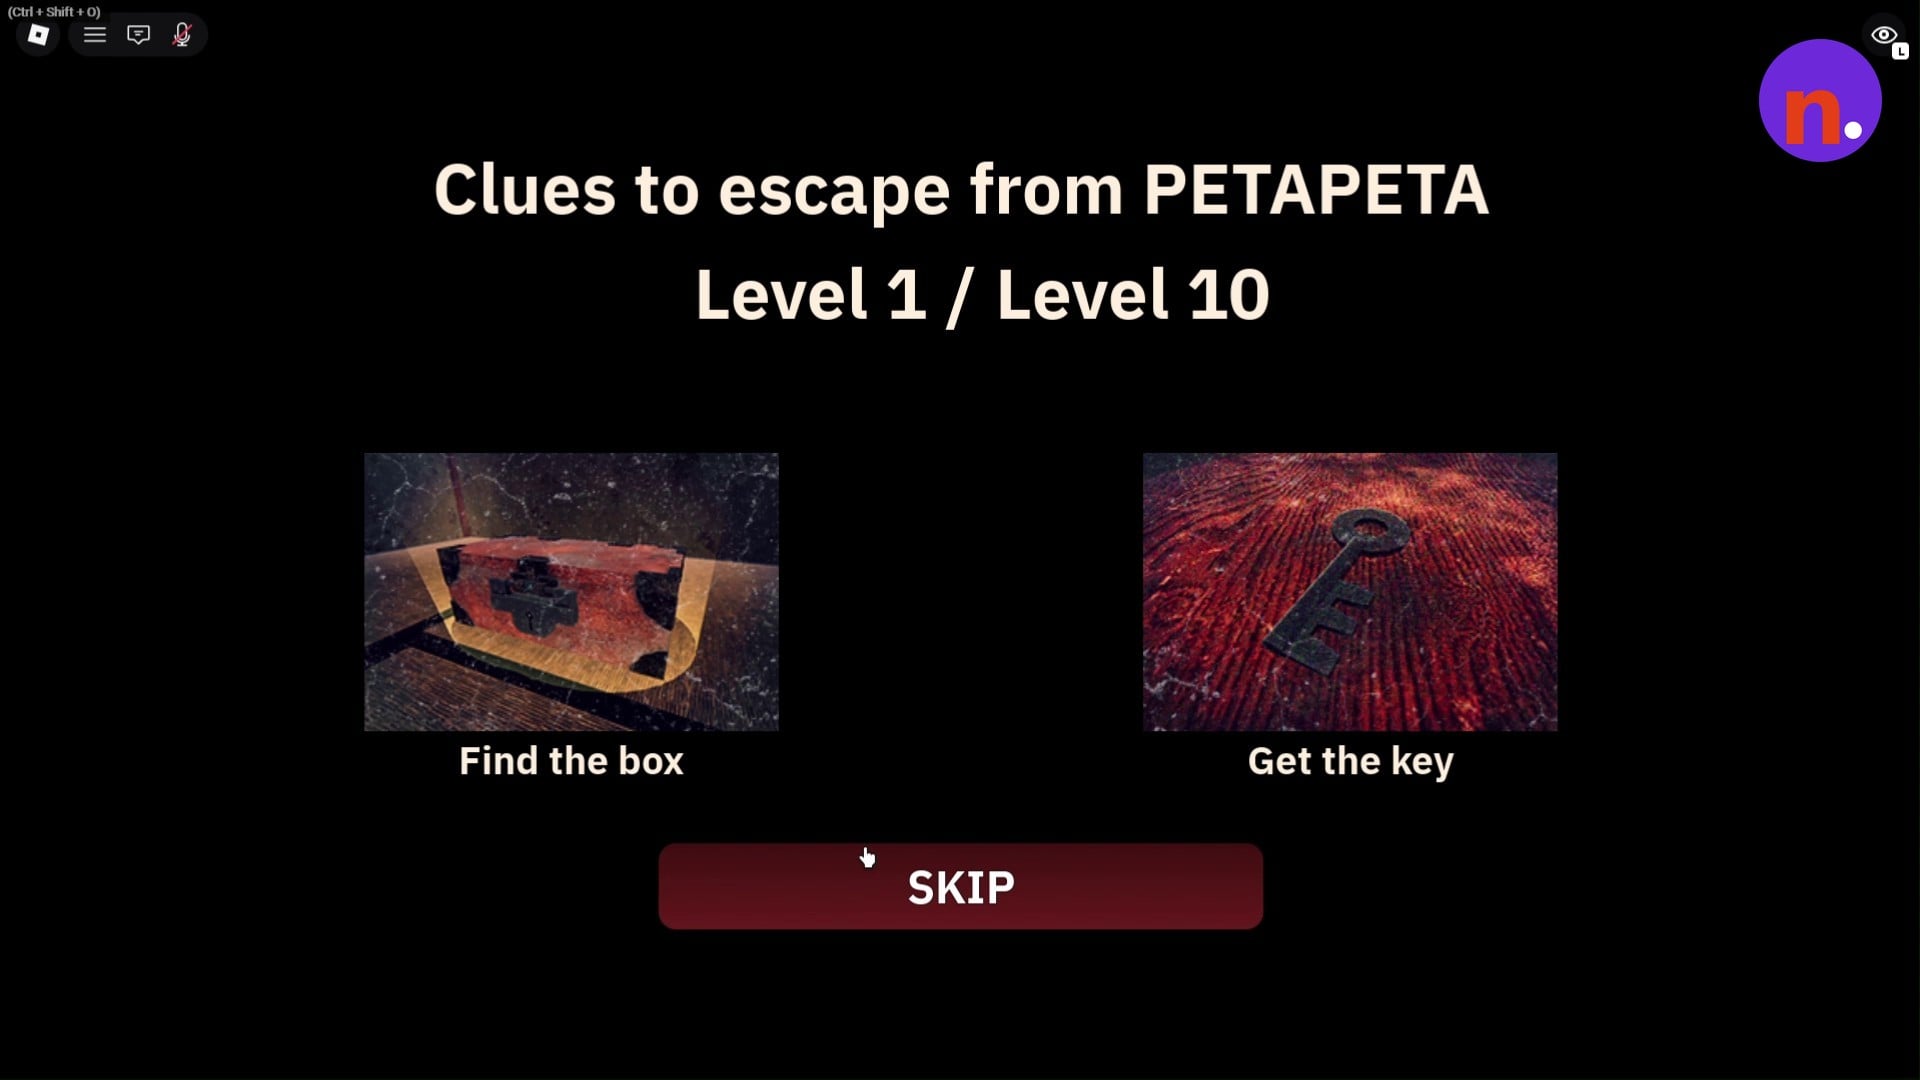
Read the Level 1 objectives
Read the Level 1 / Level 10 briefing. Your opening objectives are Find the box and Get the key.
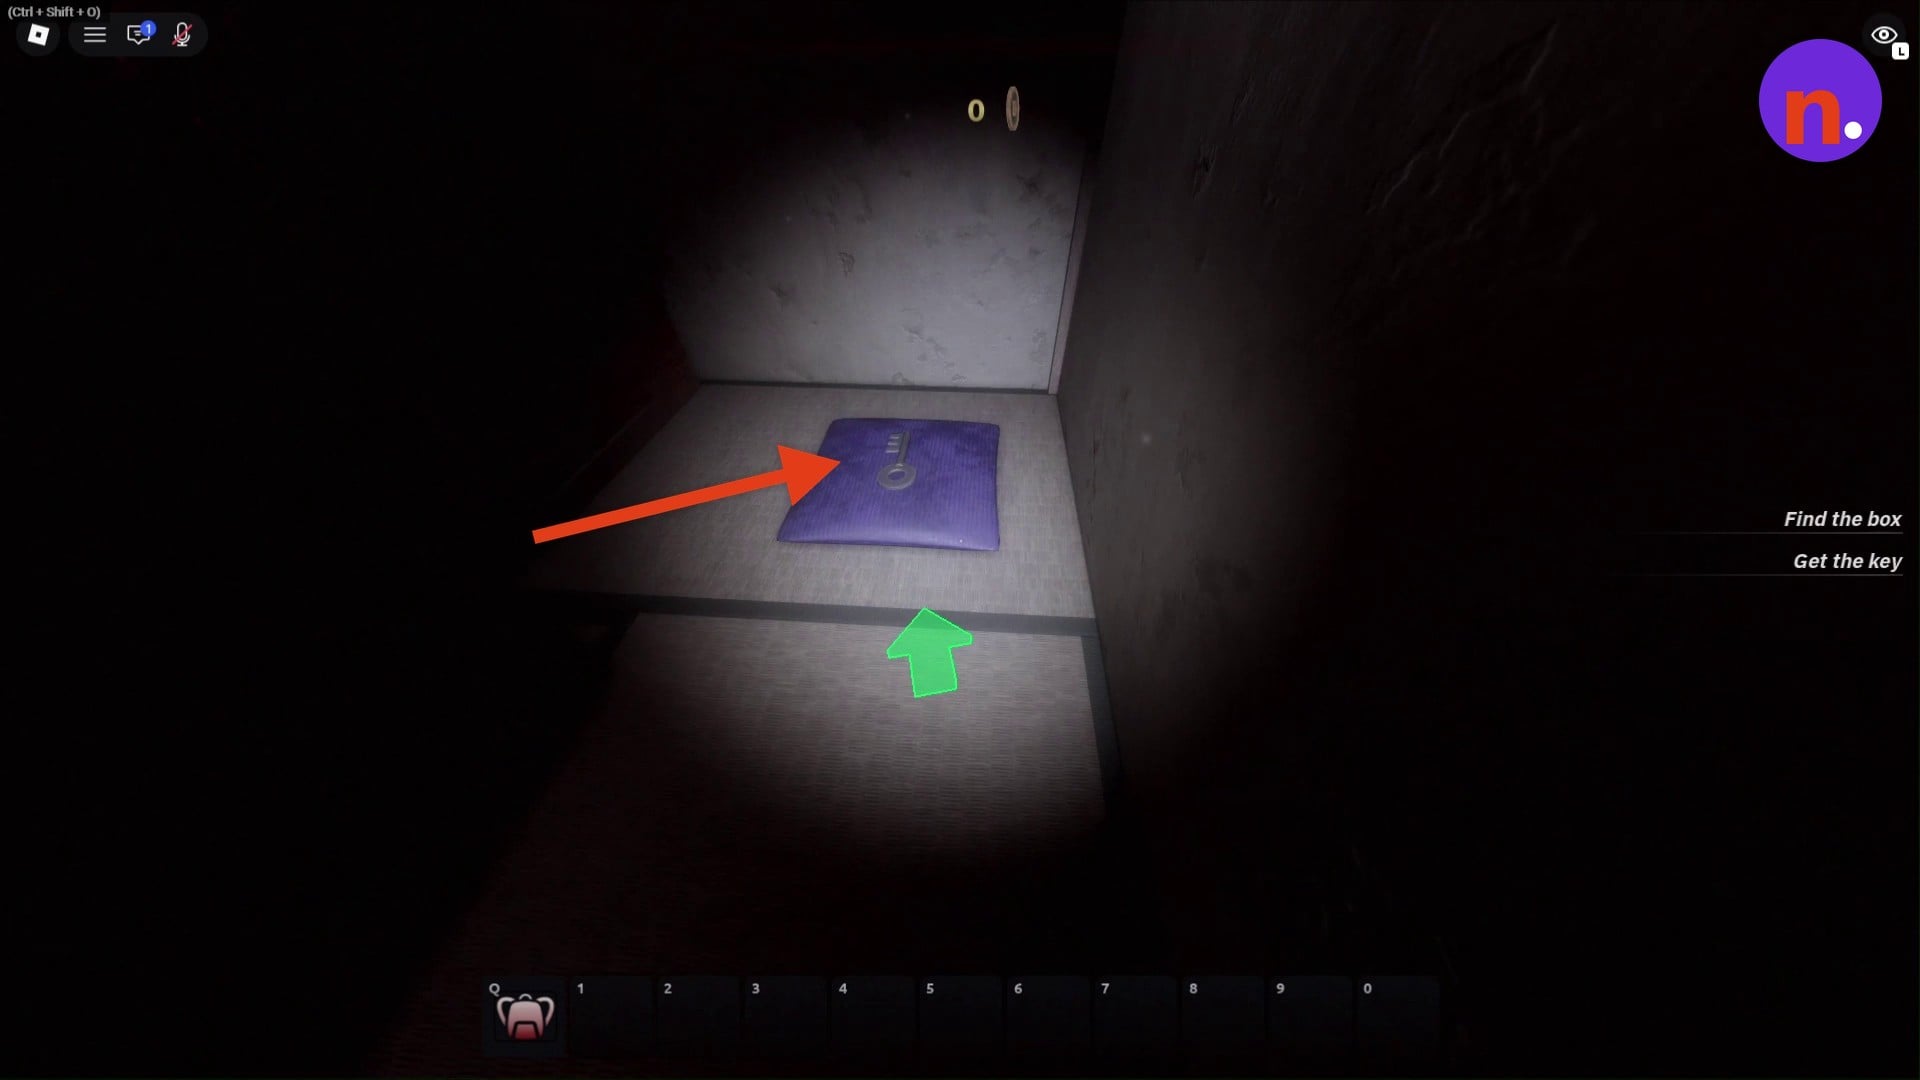
Collect the silver key
Follow the green arrows through the hallway into the back room. Collect the silver key resting on a purple cushion inside the dark alcove.
Unlock the glowing box
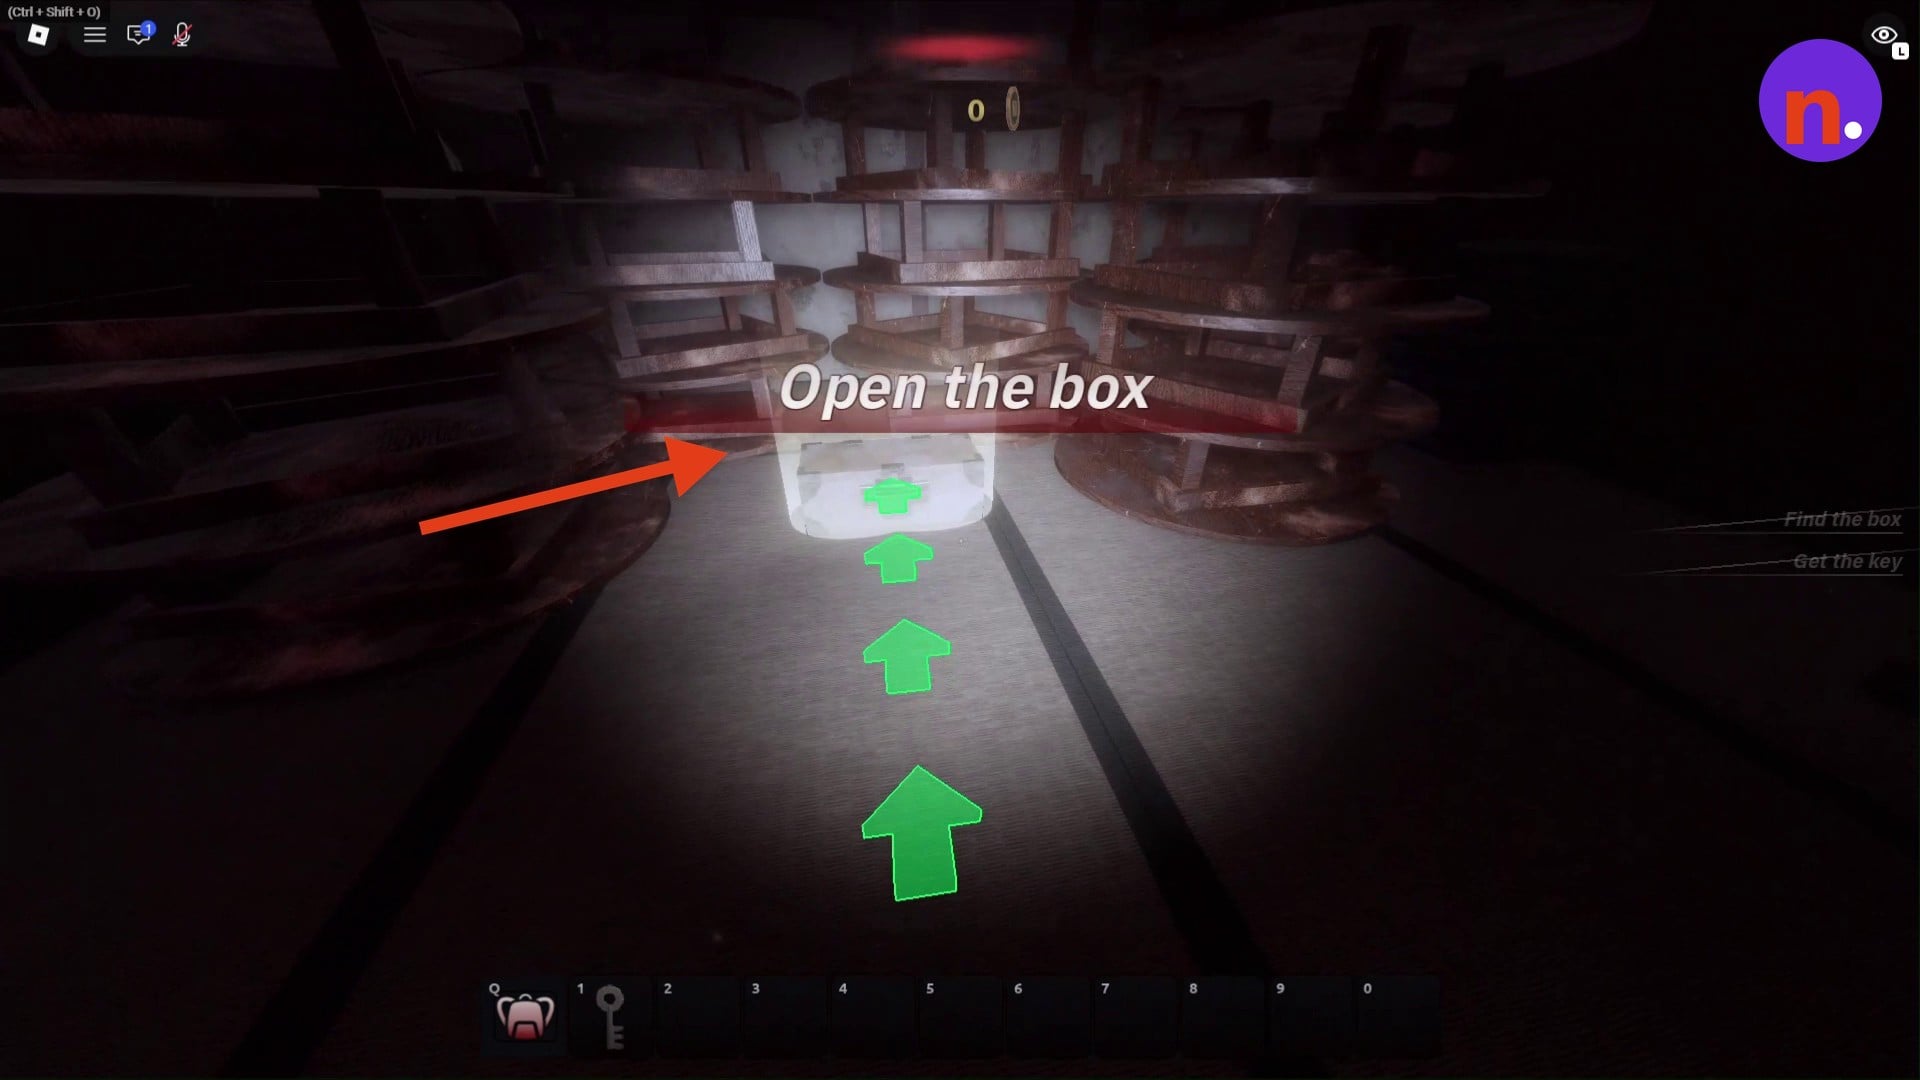
Follow the guide arrows back to the storage room with wooden racks. Use your key to unlock and open the glowing wooden box.
Place the first Ofuda
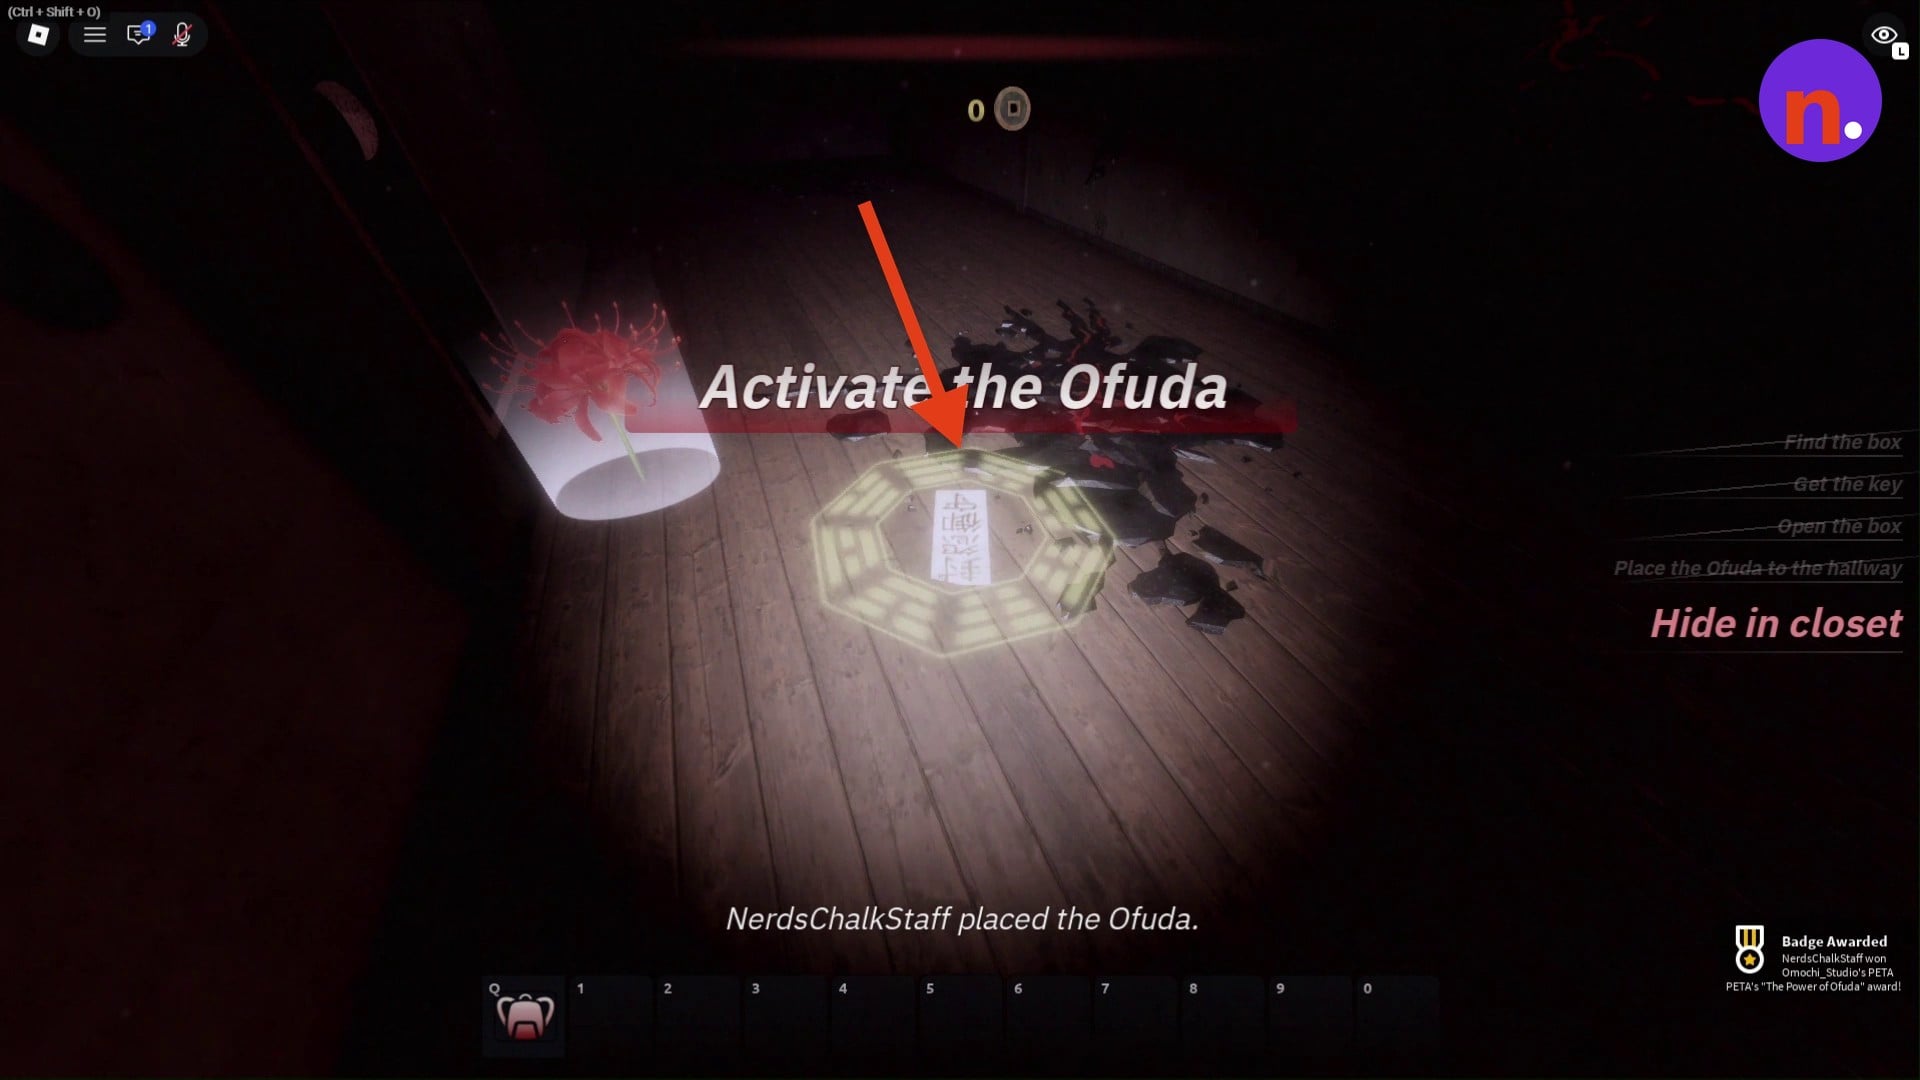
Take the Ofuda from the open box and place it on the marked hallway floor outside. The talisman glows after placement, and Activate the Ofuda becomes your objective.
Wait for the Level 2 clues
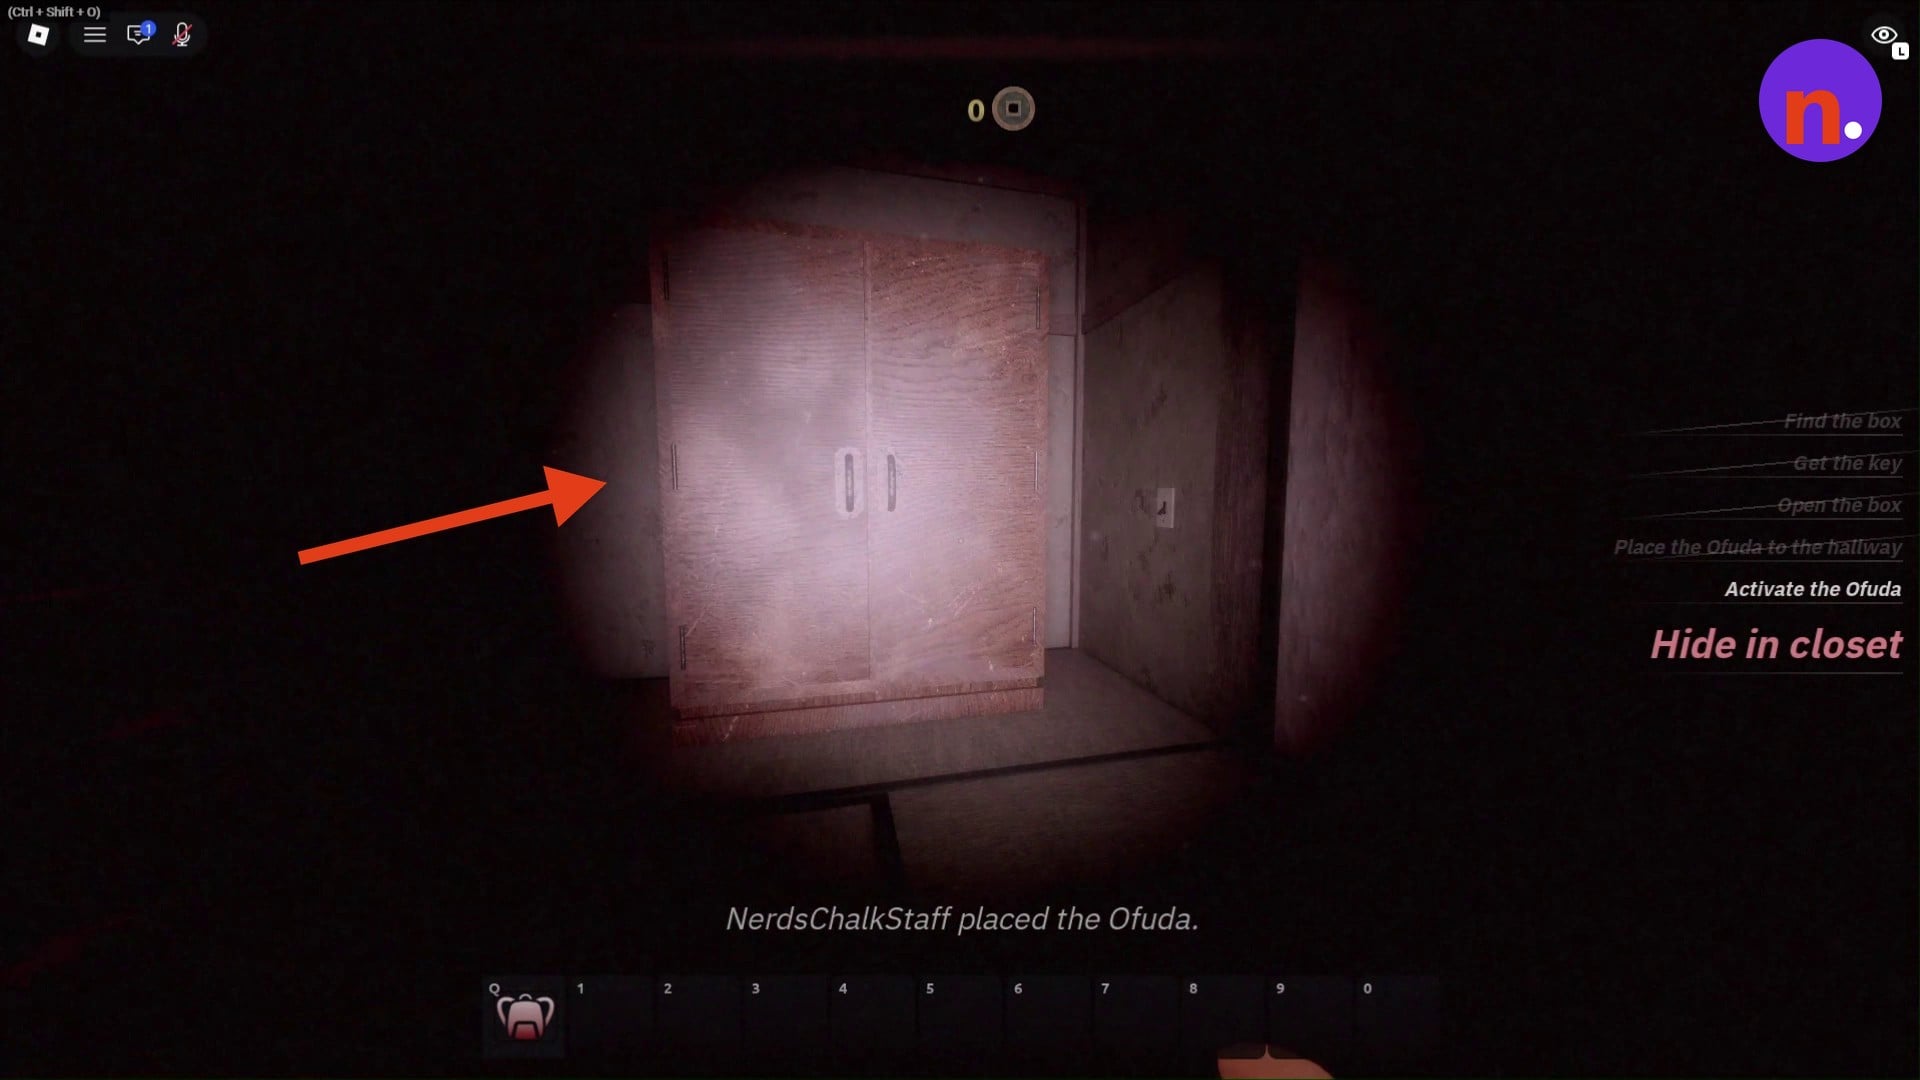
After the first Ofuda activates, the next escape-clue screen introduces Level 2.
Part 3 – Solve the Level 2 safe and reach Level 3
The next briefing adds a safe and code paper to the box objective.
Complete the Level 2 Ofuda puzzle
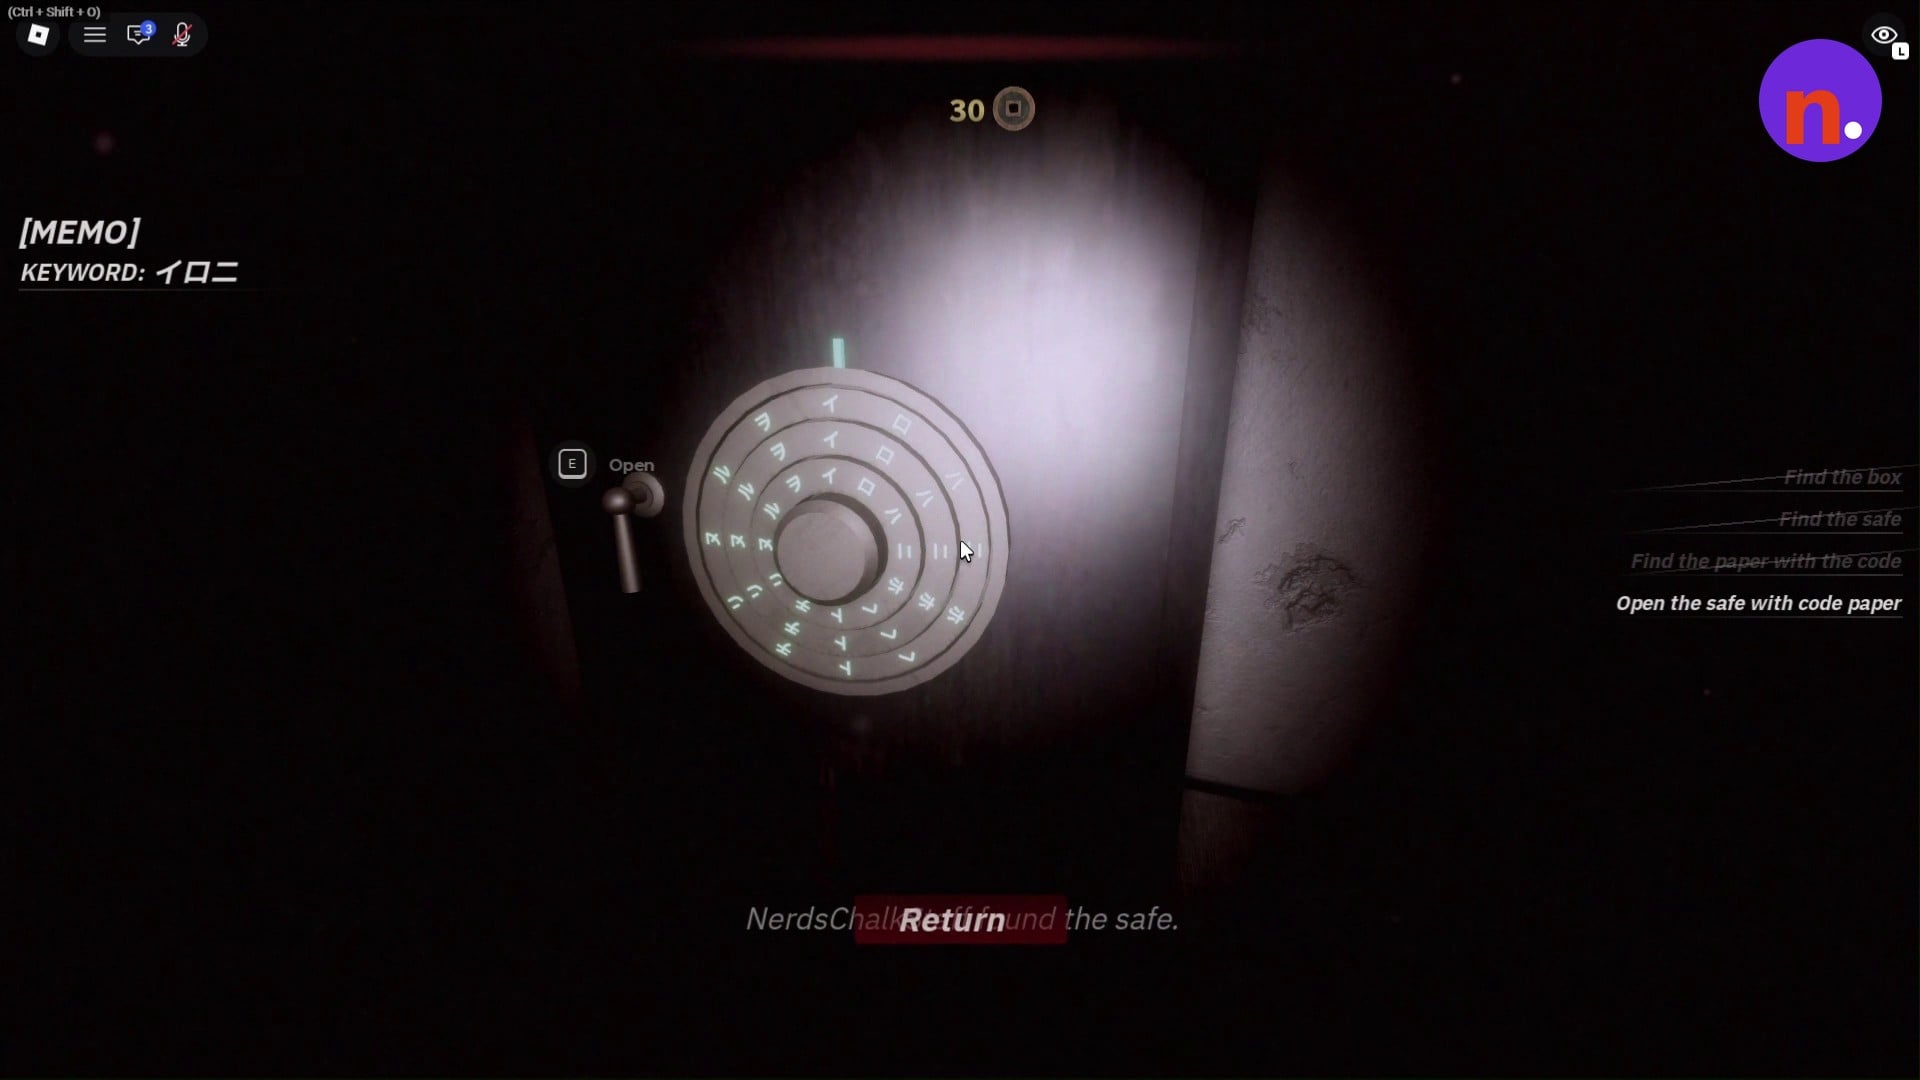
Read the objectives: Find the box, Find the safe, and Find the paper with the code. Find the memo on the tatami floor and press E at Pick up. Locate the wall safe with concentric katakana rings, then match its dial to the keyword on your collected memo. The displayed memo reads イロニ. For that keyword, enter イロニ on the safe dial. Press E at Open; once the safe opens, the objective changes to Get the key. Retrieve that key, unlock the wooden box, and take the second Ofuda. Place it on the hallway markings and activate it to advance to Level 3.
Part 4 – Complete the peephole mission and claim the kit
Floor 3 introduces The Hollow’s evil-room objectives.
Find the evil room
Search the Floor 3 hallways for the room with reddish light. Follow Find the room with the evil, then locate the wall hole surrounded by bloody handprints.
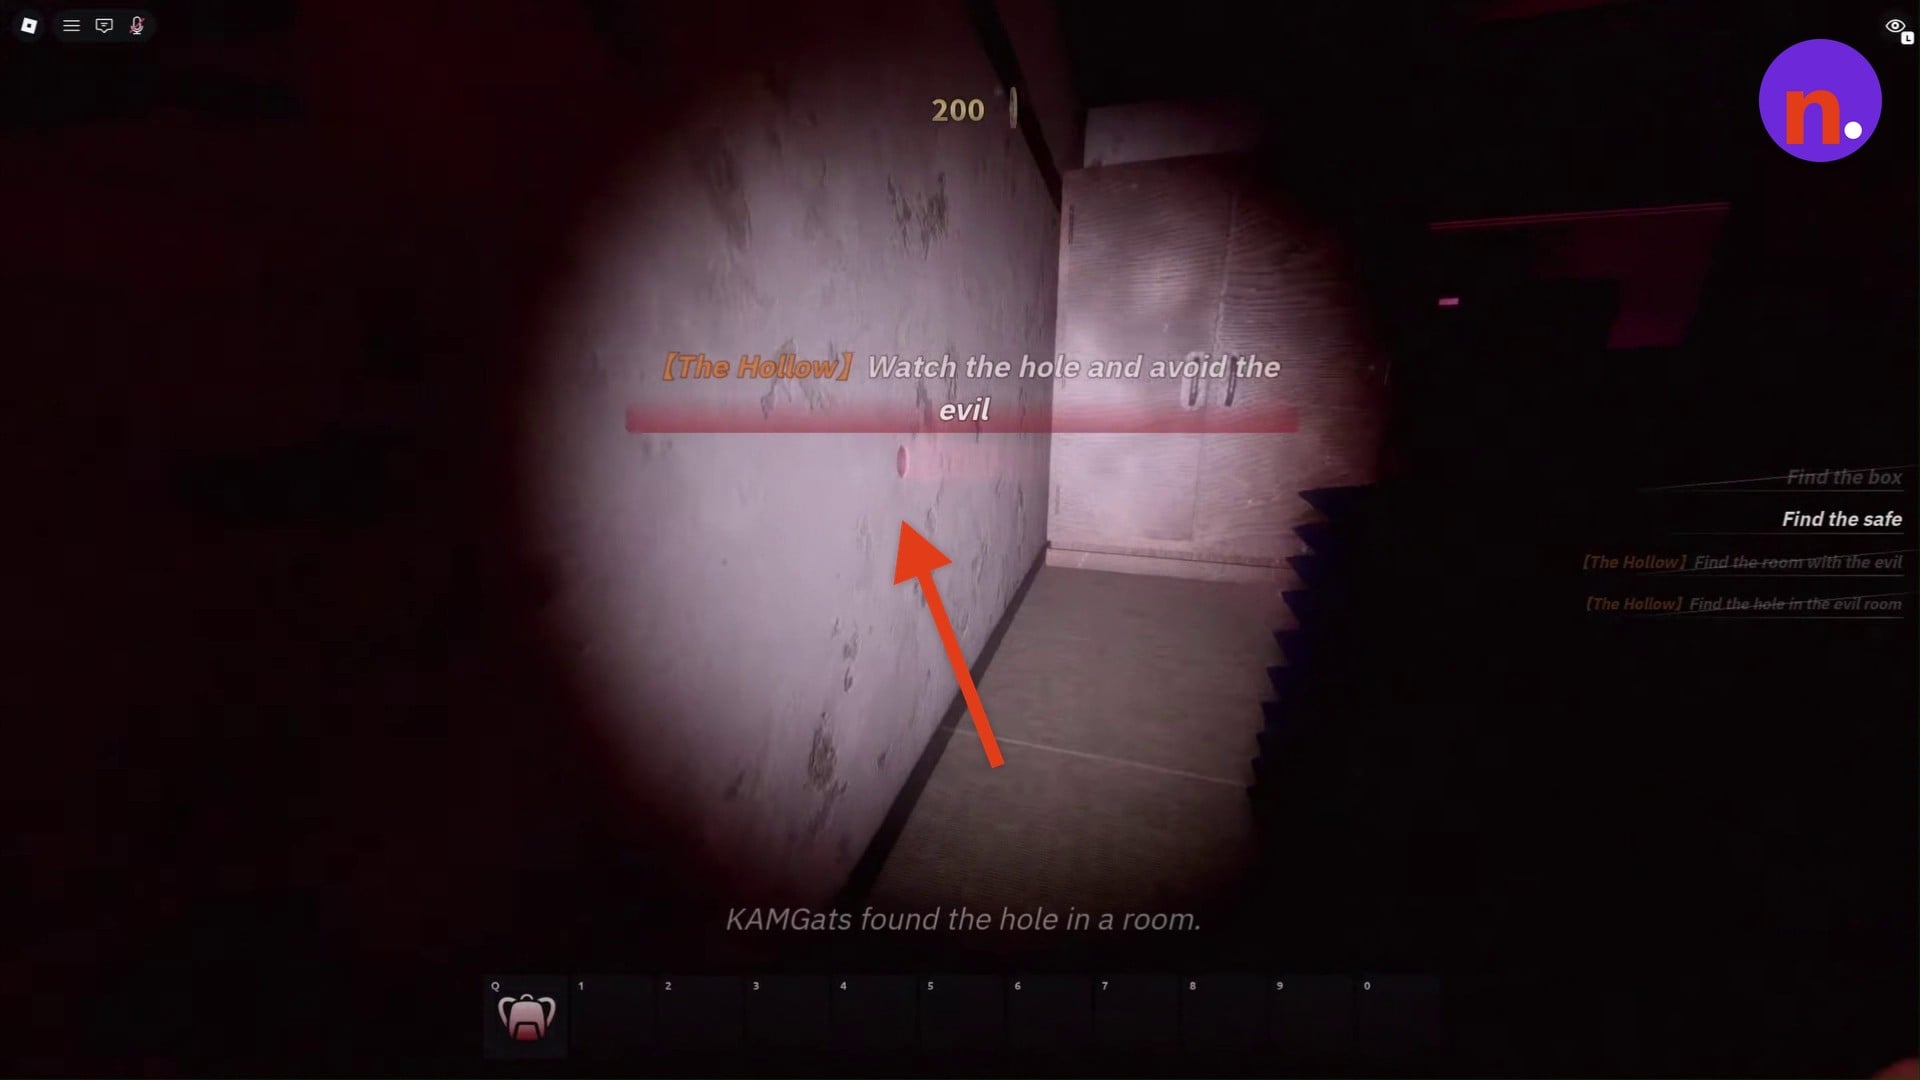
Watch the hole and avoid the entity
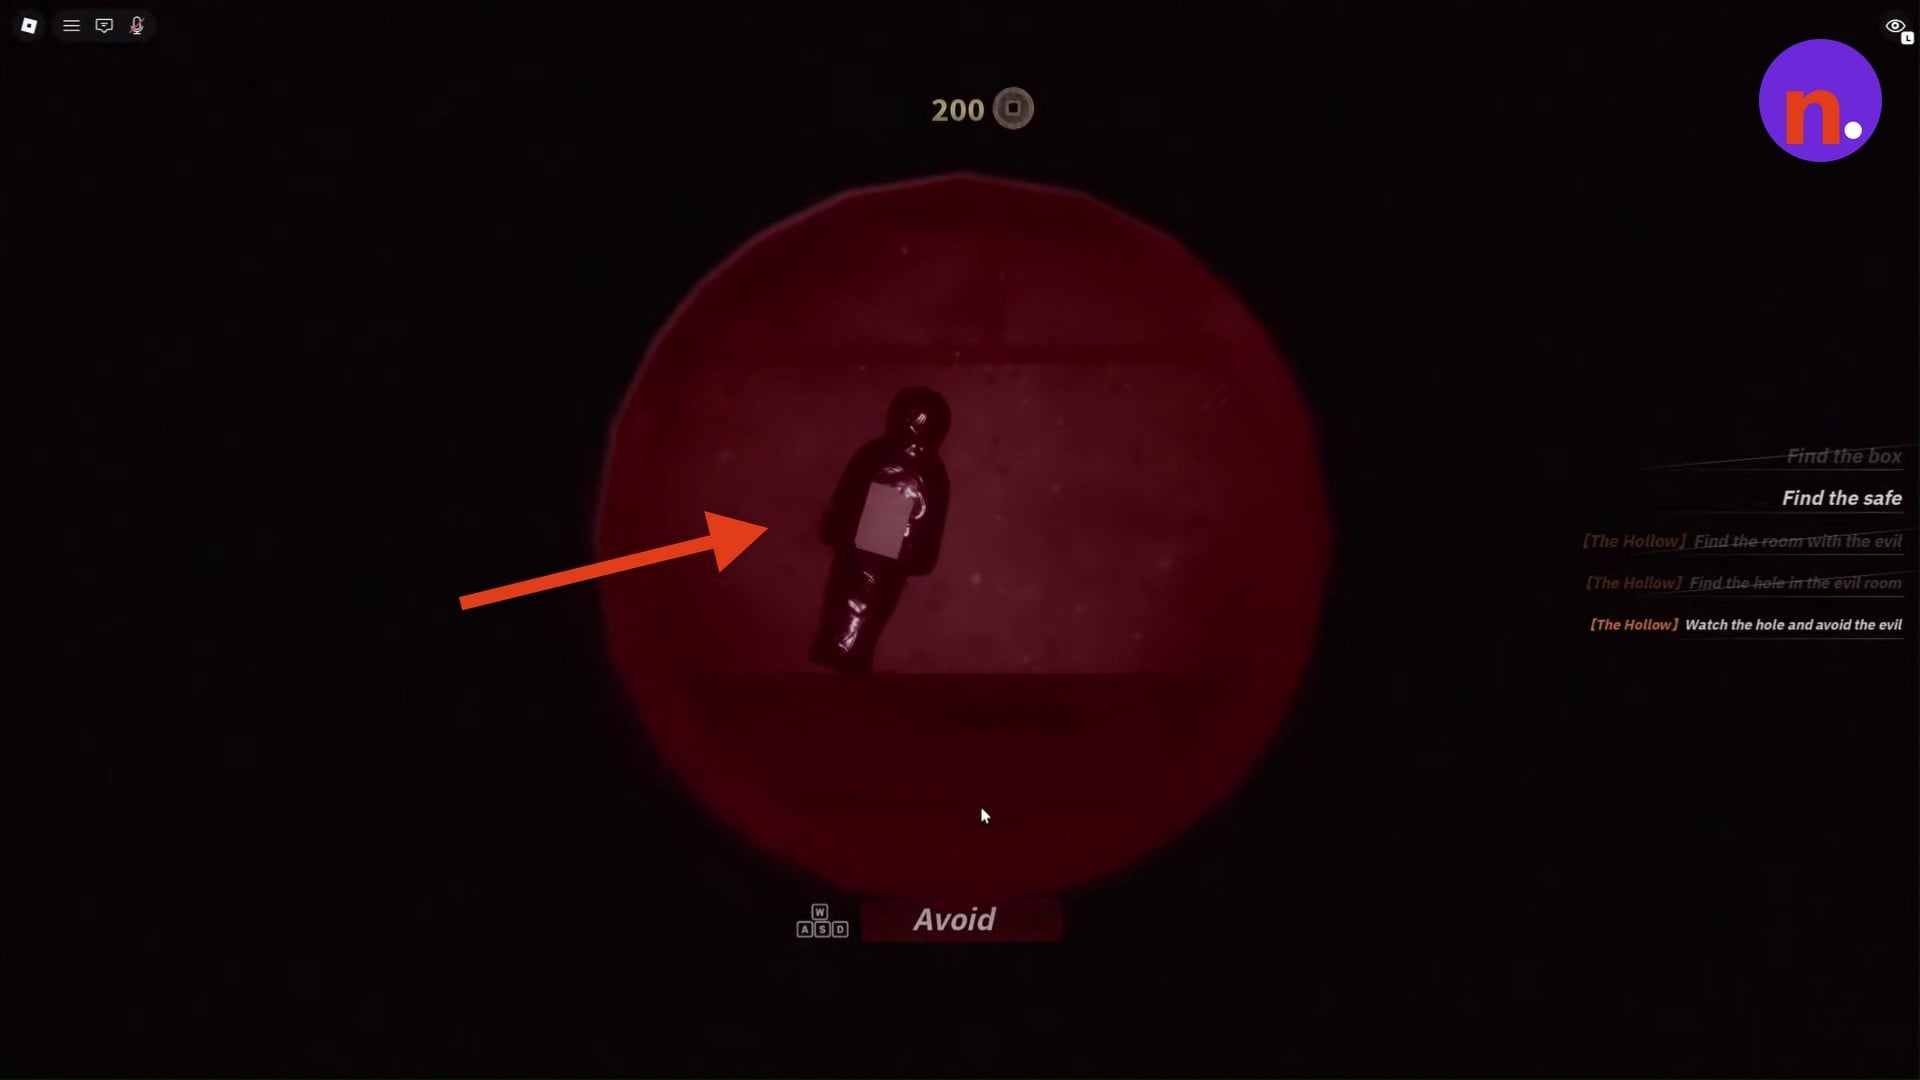
Interact with the peephole and watch the figure inside. Respond to Avoid as its face approaches; the interface displays W and ASD beside the prompt. Avoiding the entity completes The Hollow event.
Return to the console and claim the kit
Teleport back to The Hollow’s main hub and revisit the glowing pedestal console in the Floor 8 hallway. Claim the Ofuda Survival Kit there.
Which badges are associated with the Ofuda Survival Kit route?
| Badge | Associated objective |
|---|---|
| Key Searcher | Find the Level 1 key. |
| The Power of Ofuda | Open the Level 1 box. |
| Explorer | Enter Level 2. |
| Safe Unlocker | Open the Level 2 safe. |
| Navigator | Advance past Level 2. |
| The Hollow 2024 PETAPETA | Complete The Hollow event mission. |
| Look into the abyss | Look through the wall hole. |
| Ofuda Survival Kit | Claim the hub reward. |
The peephole encounter completes the mission, but the Ofuda Survival Kit is collected back at the hub console. Make that final stop to finish with the reward claimed.
Related The Hollow guides


Leave a Reply