
Big Walk has seven purple end-game puzzles after Big Goodbye. They reward purple pieces for the true-ending route, not the first Drawbridge key. Gourds are not the first Drawbridge key requirement.
Use the landmark-and-mechanic labels below to match your missing purple marker, then jump to the matching section for the route, timing, or co-op communication method.
- When the purple route opens
- Seven purple puzzles at a glance
- Golf-course arrow heavy-object return
- Thirty-minute button timer
- Light-wall communication rooms
- Music box glass-tap room
- Nine-object alignment room
- Number and role matching room
- Purple flagpole course
- After collecting all seven purple pieces
When the purple route opens
The purple set opens only after the first ending path: finish the main towers, clear the Black Tower, go through the large black sphere route, and reach Big Goodbye. Before that point, you are still working through the normal island puzzle chain.
Keep the wording straight: Gourds are not the first Drawbridge key requirement. The rewards from these seven post-ending challenges are purple pieces, and they belong to the true-ending route.
Seven purple puzzles at a glance
| Puzzle | Where and solution |
|---|---|
| Golf-course arrow heavy-object return | On the golf course, follow the arrow back to the original puzzle object, then bring it back with the train, Drawbridge, and careful carrying. |
| Thirty-minute button timer | In the button timer room, press the timer button, leave it for 30 minutes, then collect the revealed purple piece. |
| Light-wall communication rooms | One player reads the wall lights while the other enters the answers using agreed count signals. |
| Music box glass-tap room | Number the music boxes, have the inside player listen, then tap the glass to call which box goes into each slot. |
| Nine-object alignment room | Pull down all nine objects, number the lineup, and tap through the target order until the display matches. |
| Number and role matching room | Compare the fixed reference side, remove mismatched extras, then solve with only matching numbers or roles left. |
| Purple flagpole course | Move the item up the purple flagpole course in a steady rhythm until the gate opens. |
KEY!
Route by the nearby puzzle setup instead of hunting for exact coordinates. Several of these are sealed-room communication puzzles, so decide your numbering system before anyone starts moving pieces around.
Number every shared option before solving, then use taps or clicks as counts so both players are talking about the same light, music box, or object.
Golf-course arrow heavy-object return
Find the golf-course arrow
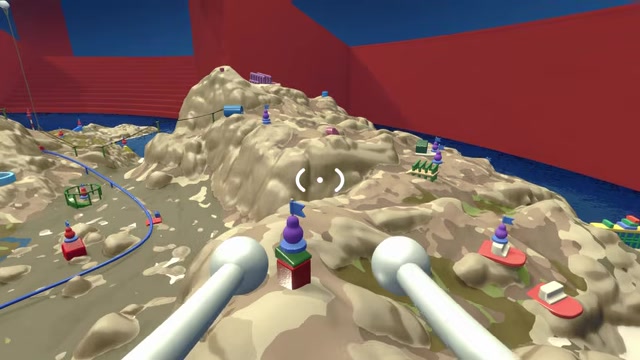
Start at the golf course purple puzzle marker and look for the arrow pointing away from the reward area.
Follow the arrow back
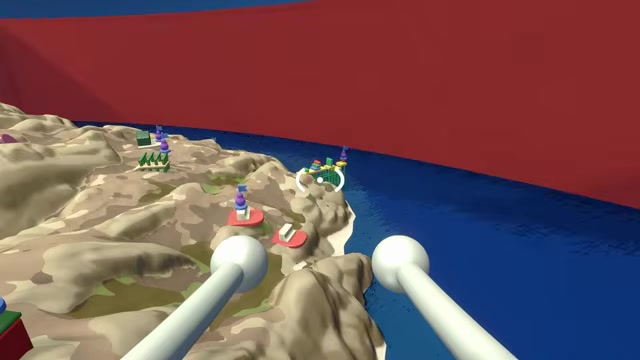
Walk in the arrow’s direction until you reach the original puzzle spot where the heavy object is waiting.
Pick up the original object
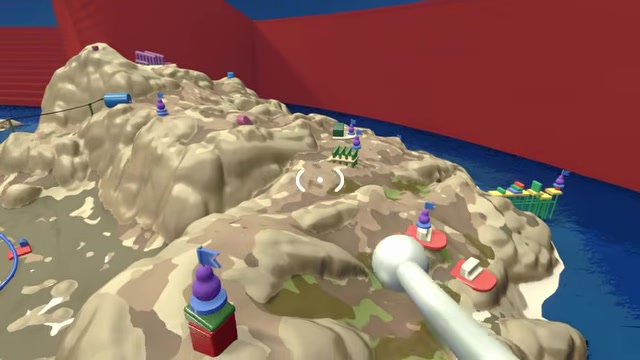
Get the object under control before moving it; this carry is awkward enough that two players can take about an hour.
Use the train route
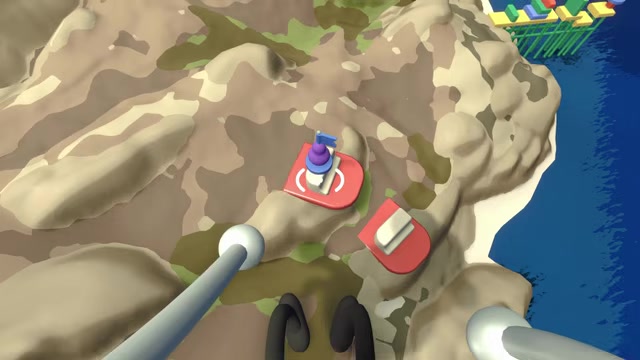
Work the object toward the return path using the train wherever it helps cover distance.
Cross through the Drawbridge path
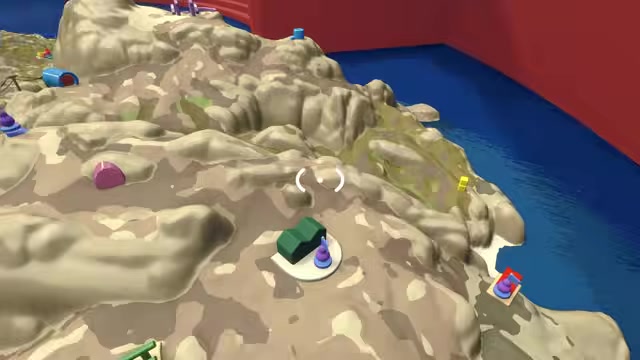
Use the Drawbridge route to keep moving the object back toward the golf-course arrow location.
Move in short handoffs
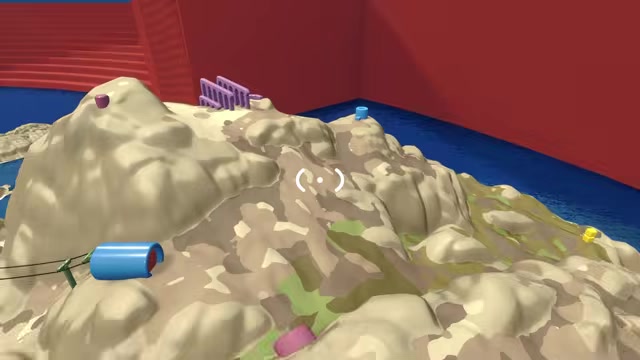
Carry, kick, and reposition the object in small bursts so it does not roll away or get wedged.
Protect the edges
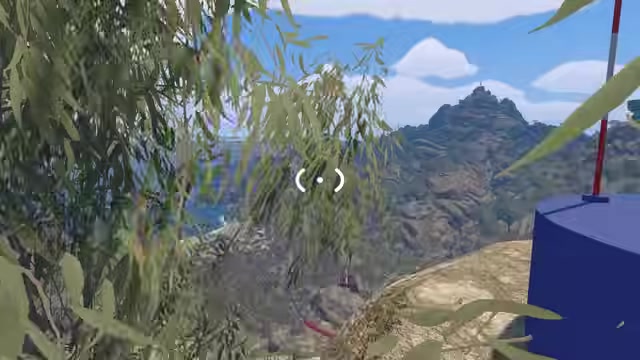
Do not drop the object or lose it over the side, because recovering it can waste more time than the puzzle itself.
Bring more players if possible
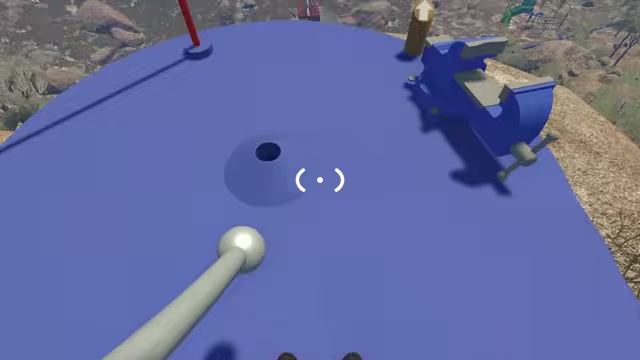
More players make the handoffs easier, especially when the object needs to be stabilized on slopes, bridges, or moving sections.
Return it to the arrow area
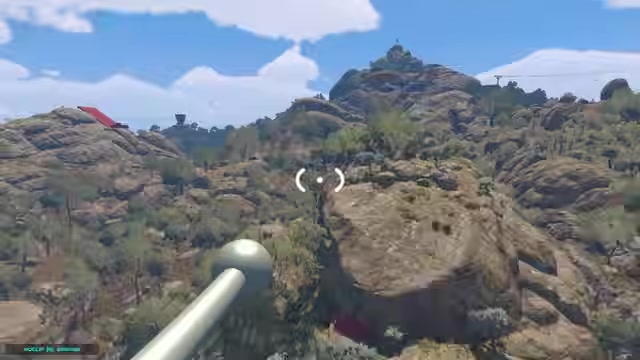
Once the object is back at the golf-course purple puzzle, place it where the puzzle expects it to finish the challenge.
Enter the timer room
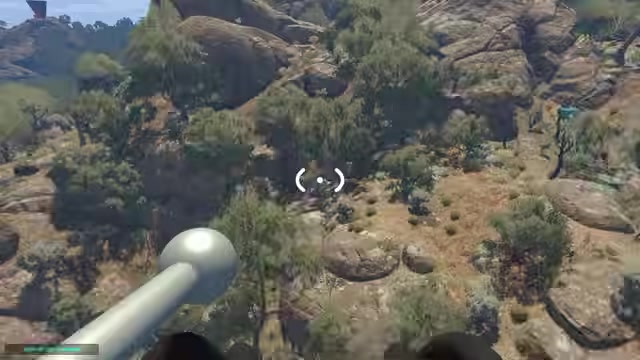
Find the purple room with the timer buttons.
Start the timer
Press the timer button to begin the 30-minute wait.
Leave it running
Go do something else on the island while the timer counts down.
Return for the reward
Come back after the full timer finishes and take the revealed purple piece.
Light-wall communication rooms
Split between the two rooms
Put one player on the side that can see the wall lights and the other on the side that can only receive the signal.
Number the light positions
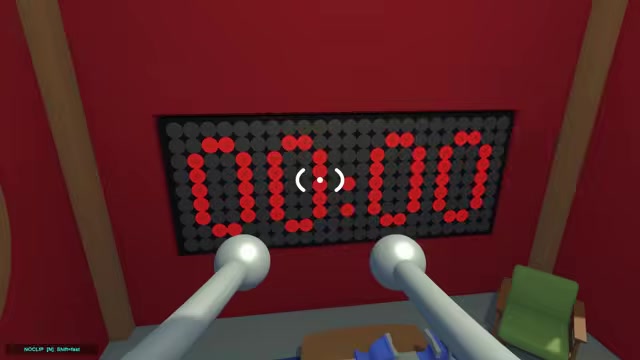
Assign the visible light positions from left to right, including lower lights and floor lights if they are part of your layout.
Use clock-style counts for shapes
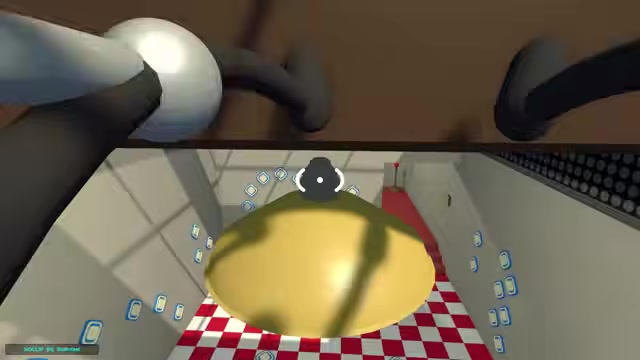
For clock-face style lights, count around the face in order so both players can name the same position without speaking freely.
Send the first count

The player reading the lights clicks the signal the same number of times as the chosen numbered position.
Confirm before entering
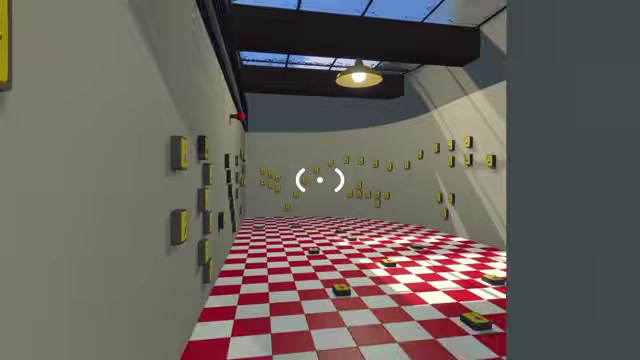
The receiving player repeats or checks the count; use two taps for yes and one tap for no to keep corrections quick.
Enter the matched answer
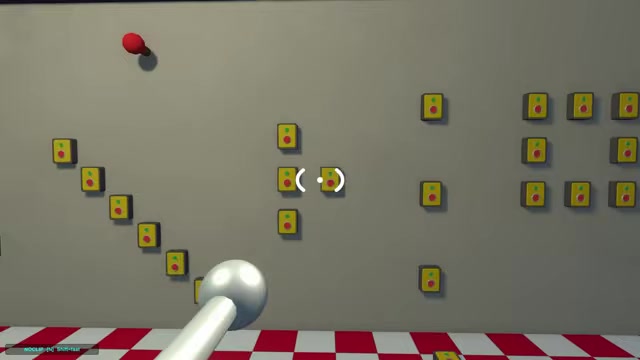
Once both players agree on the number, the receiving player selects the matching light answer.
Repeat the system

Keep using the same left-to-right numbering for each light until the puzzle accepts the full sequence.
Music box glass-tap room
Spread out the music boxes
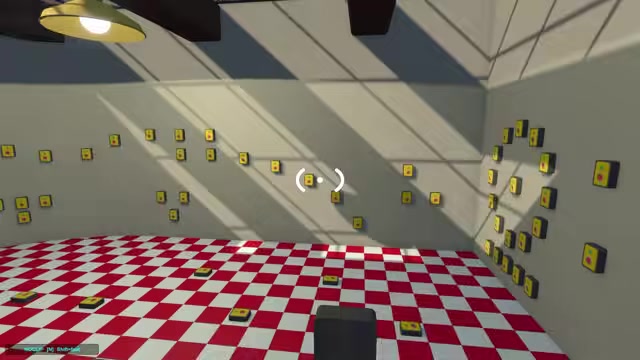
Place the boxes around the room with enough space between them that each one is easy to identify.
Number every box
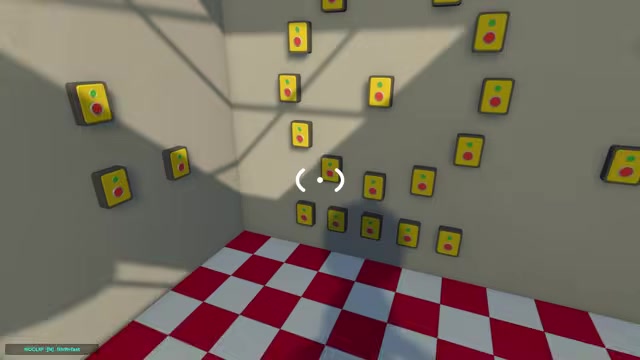
Give each music box a number before anyone starts listening or placing boxes.
Listen from inside
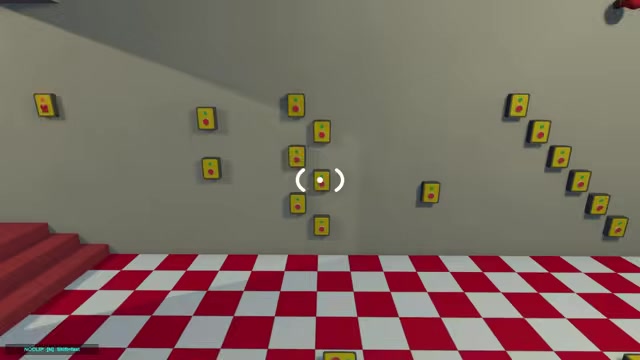
Have the inside player trigger or hear the required sequence for the slots.
Tap the glass for the box number
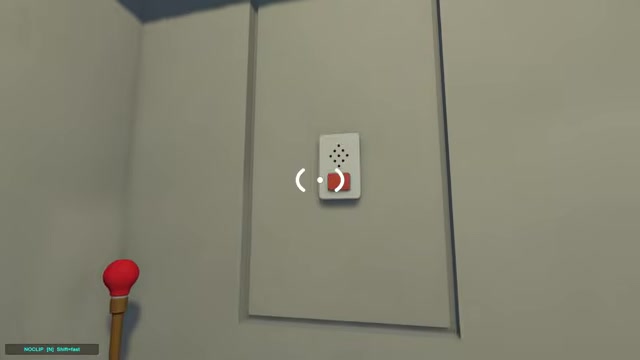
If the needed box is number three, tap the glass three times so the outside player knows which one to use.
Place the called box
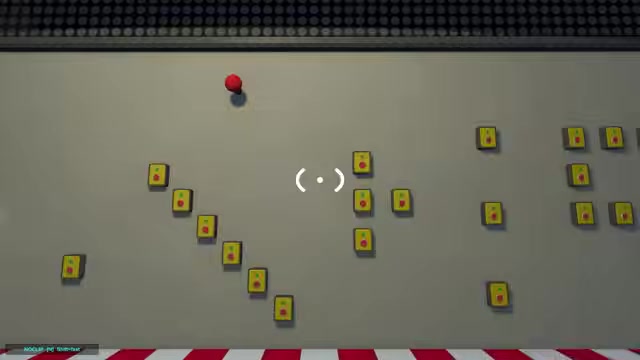
The outside player picks up that numbered music box and puts it into the current slot.
Work through each slot
Repeat the tap-count callout for every slot until the music sequence is accepted.
Nine-object alignment room
Pull all nine objects down

Get every object off its starting position and onto the floor.
Line them up together

Put the nine objects in a clear row so both players can refer to the same order.
Assign numbers to the lineup
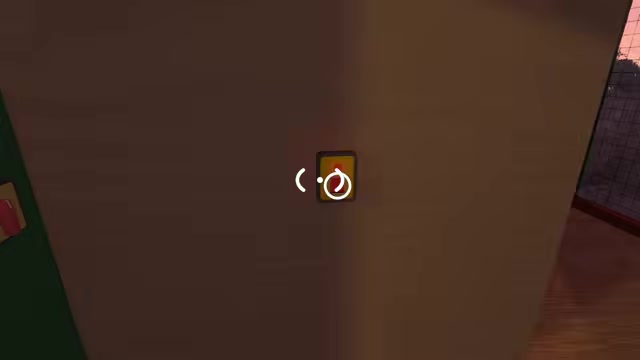
Number the row from one end to the other before trying to match the target display.
Read the displayed targets
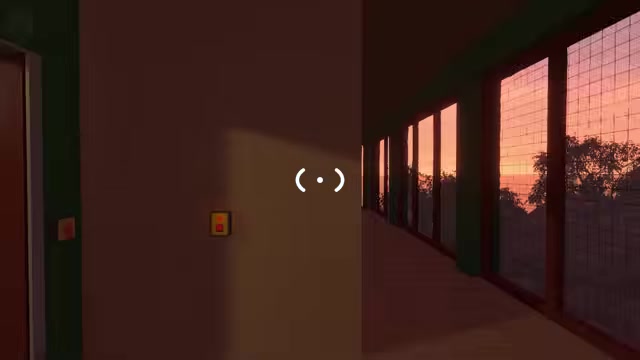
The player who can see the targets identifies which numbered object is needed next.
Tap the glass for each item
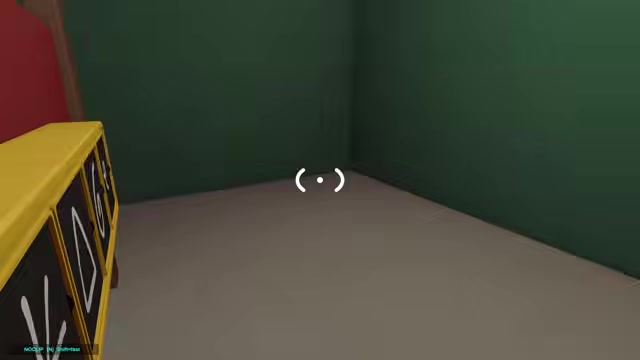
Use tap counts to call the object number, such as four taps for the fourth object in the row.
Place and align the objects
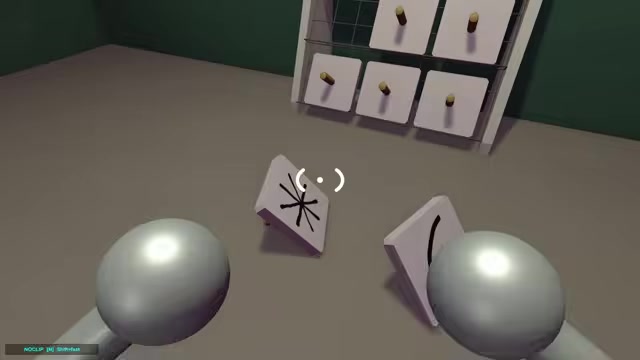
Move the called objects into position until the nine-object setup matches the displayed targets.
Number and role matching room
Inspect the fixed reference side
Have both players look at the side where the matching numbers or roles stay the same.
Identify useful matches
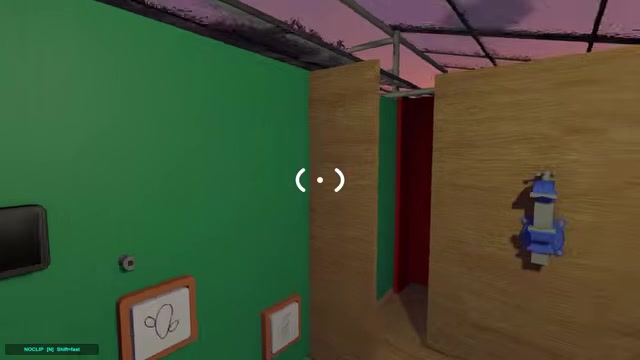
Compare the reference side against the loose options and mark the pieces that actually correspond.
Kick away extras
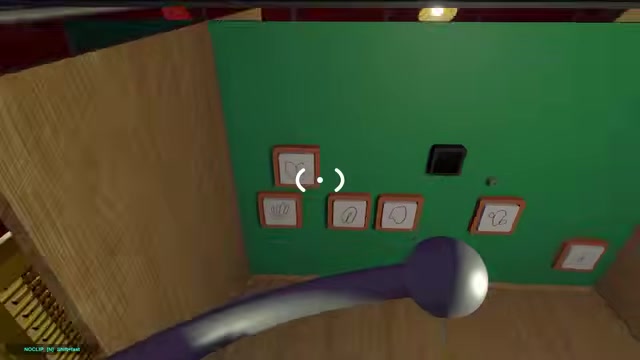
Remove the numbers or role pieces that do not match so they stop cluttering the solve area.
Keep only relevant pieces
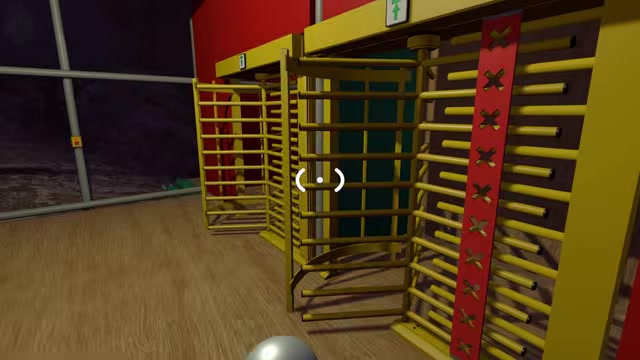
Once the junk is gone, the remaining choices are the set you need to arrange.
Solve from the reduced set
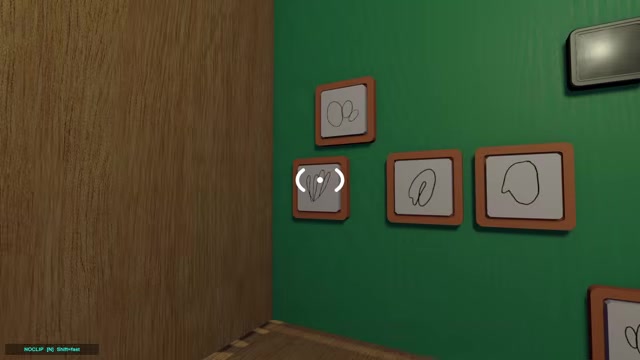
Match the remaining numbers or roles to the reference side and finish the puzzle patiently.
Purple flagpole course
Start the purple flagpole course
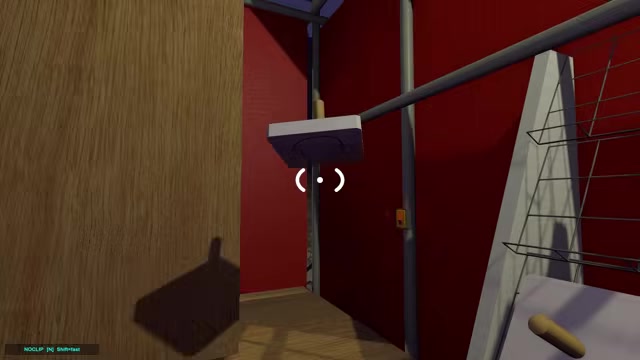
Find the course with the purple flagpole setup and the movable item.
Remove backpacks first
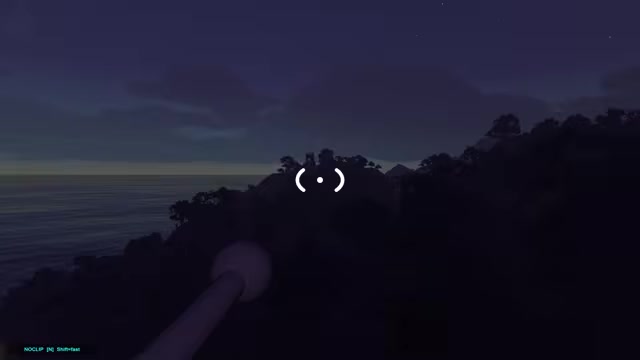
Take off backpacks before pushing through the course, because they can catch and get you stuck.
Move the item upward
Kick or carry the item farther up the course in controlled bursts.
Keep a steady rhythm
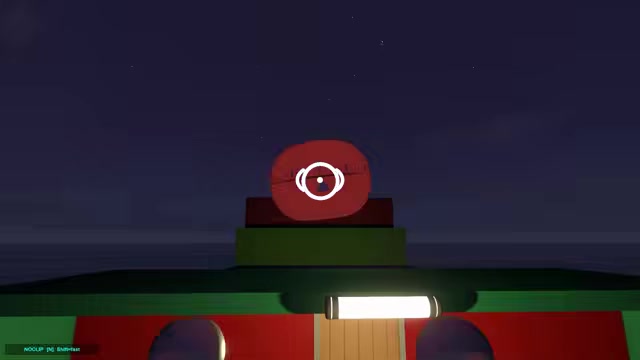
Stay patient and keep the object moving in the same direction instead of overcorrecting every bounce.
Reach the gate
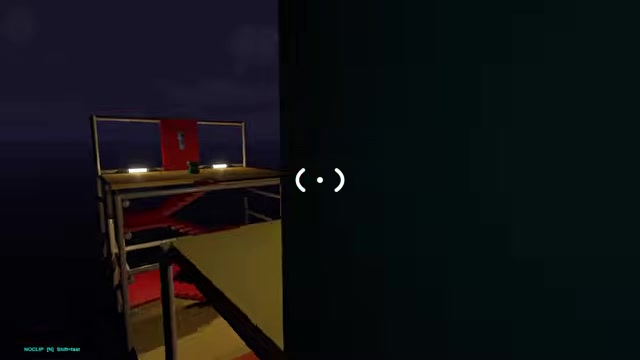
Continue up the course until the item opens the gate and the purple puzzle completes.
After collecting all seven purple pieces
Take the seven purple pieces and the remaining red tower pieces to the 15-slot green structure near the Map Room. That structure uses seven purple slots and eight red-piece slots.
Do not put the purple pieces into the Black Tower. They are for the green completion structure, and using them there leads to the final white key.
Once you have that white key, use it at the cracked black sphere route or the secret entrance near the starting tutorial wall. That sends you into the true ending path and unlocks the Big Game achievement.
Video help
Related Big Walk guides




Leave a Reply