

iPhones have a Safety Check feature that helps people dealing with abuse or harassment at home, take control of what information they share with others. The tool allows users to instantly revoke access to their location and other information from other people.
In this post, we’ll explain what Safety Check is, why and when you should use it, and how to utilize it when you find yourself in a dangerous situation.
What is Safety Check on an iPhone?
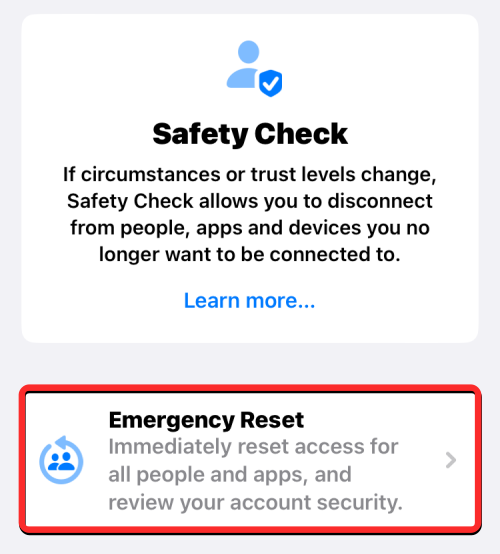
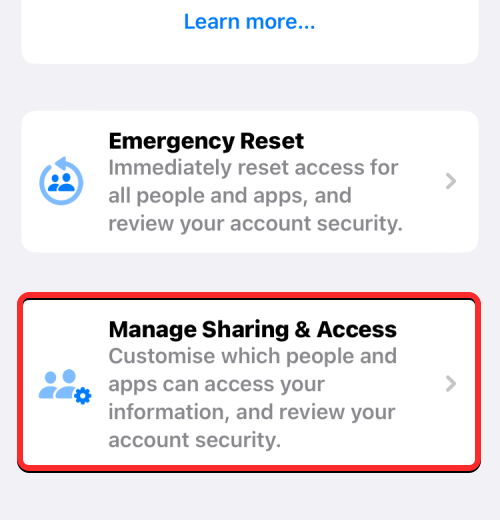
The Safety Check feature is designed for people who may be in an abusive relationship or are victims of domestic and intimate partner violence so that they can safeguard their privacy when faced with a dangerous situation. Safety Check comes in the form of two options – Emergency Reset and Manage Sharing and Access.
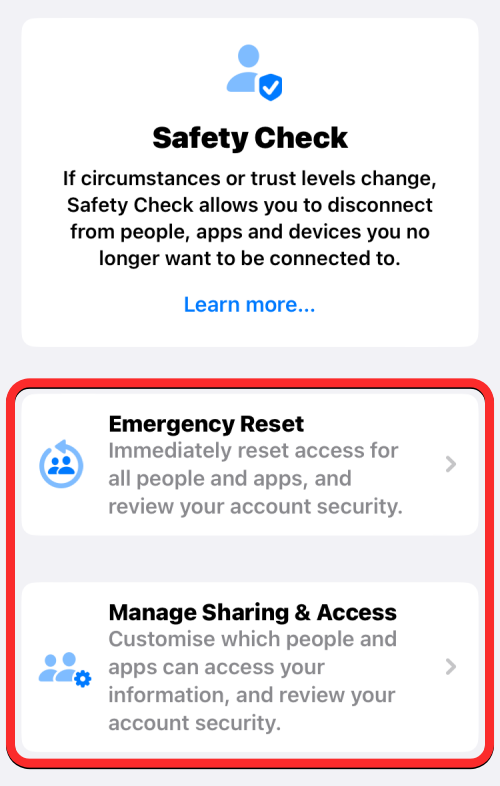
Emergency Reset works as an instant trigger for when you want to cut off access to your phone’s location and other info from people or apps you’ve shared them with in the past.
Manage Sharing and Access lets you review the different types of information you share with people and apps on your iPhone. You can then customize each of these access points by only enabling apps and people you trust the most and revoking access from those you consider as potential risks to your privacy and security.
Related: How to Make Stickers from Photos on iPhone
How to use Safety Check on iPhone
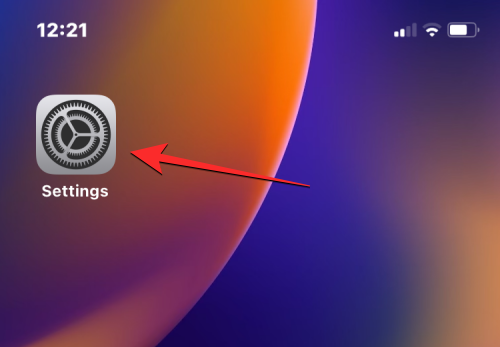
- To use Safety Check, open the Settings app on the iPhone.
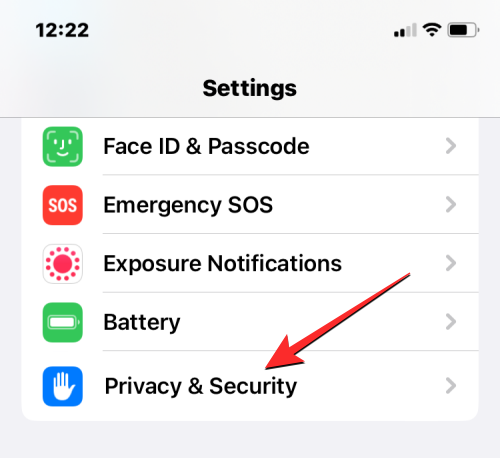
- Inside Settings, select Privacy & Security.
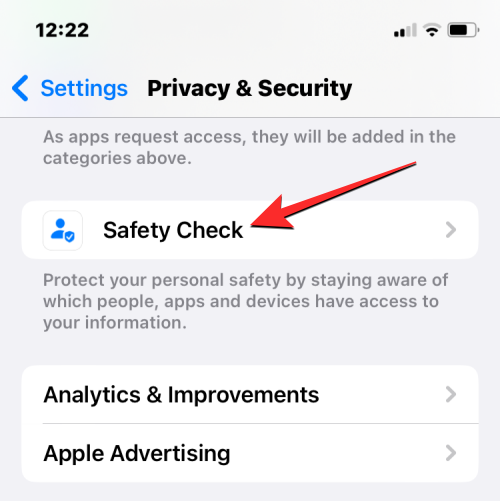
- On the next screen, scroll down and tap on Safety Check.
- On this screen, you’ll get two options – Emergency Reset and Manage Sharing and Access, which you can use by following the instructions below.
1. Start Emergency Reset with Safety Check
As the name suggests, Emergency Reset is meant to be used when you find yourself in an emergency at which point you want to disconnect your location and other data from anything you’ve shared with. This tool is developed to cut off permissions immediately without alerting anyone else.
- If you’re in such a situation, you can revoke access to everything from all the people and apps by tapping on Emergency Reset.
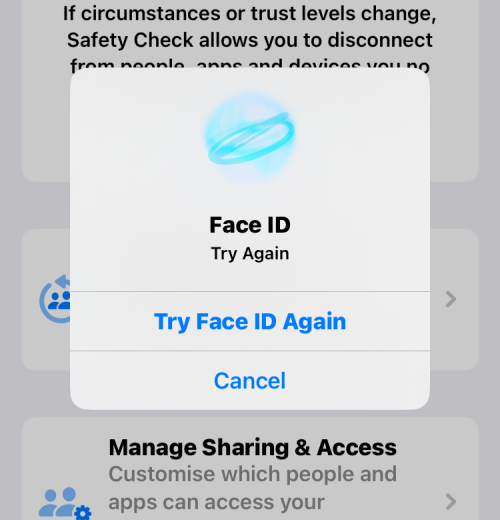
- Apple will now authenticate your identity using Face ID, Touch ID, or your device passcode.
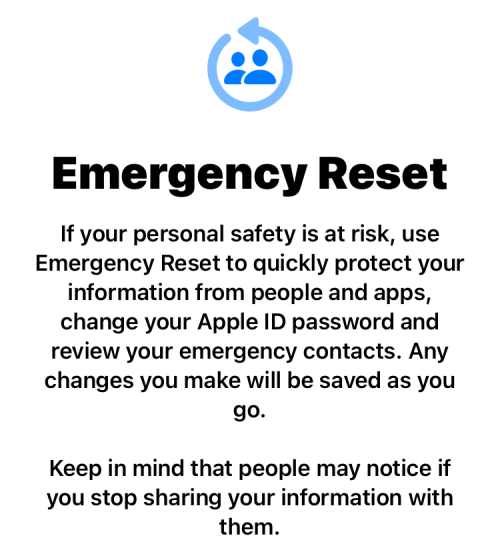
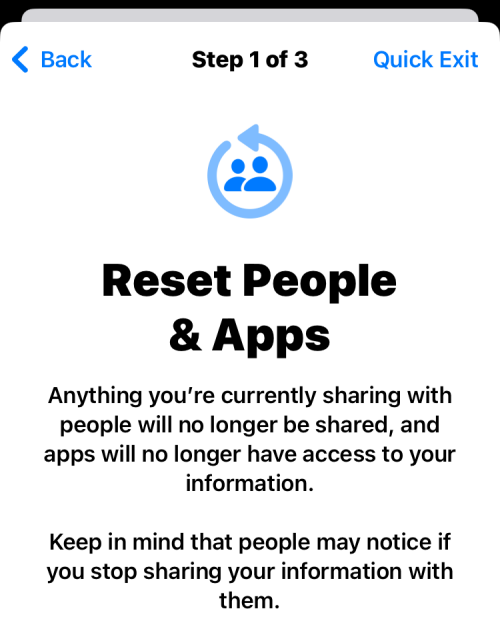
- When you use this option, you will see the Emergency Reset screen that explains the consequences of the action.
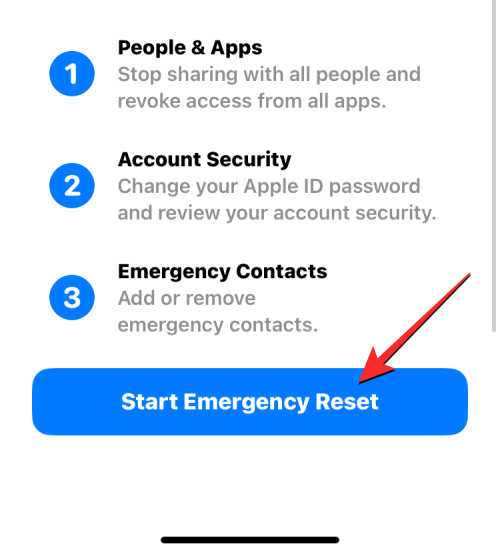
- If you’re ready to stop sharing your data with everyone, tap on Start Emergency Reset.
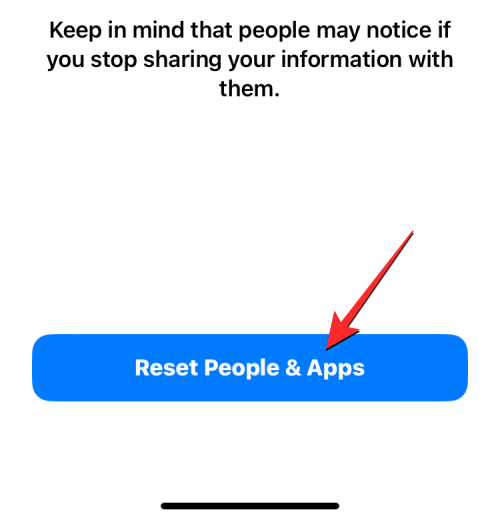
- You’ll now arrive at the Reset People & Apps screen.
- Here, select Reset People & Apps at the bottom to revoke access to your information from people and apps you’ve added to your iPhone.
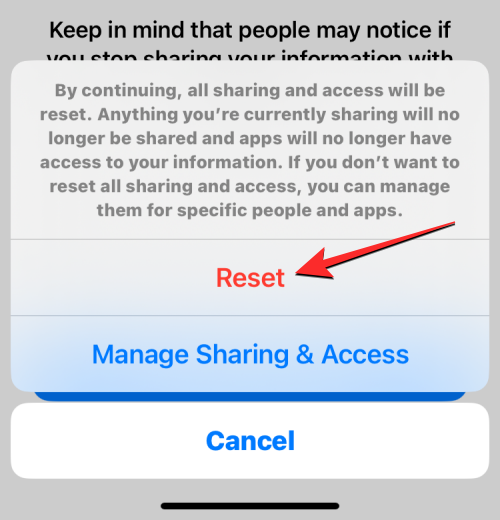
- A prompt will appear on the screen asking you to confirm your action. To go ahead and revoke access entirely, tap on Reset.
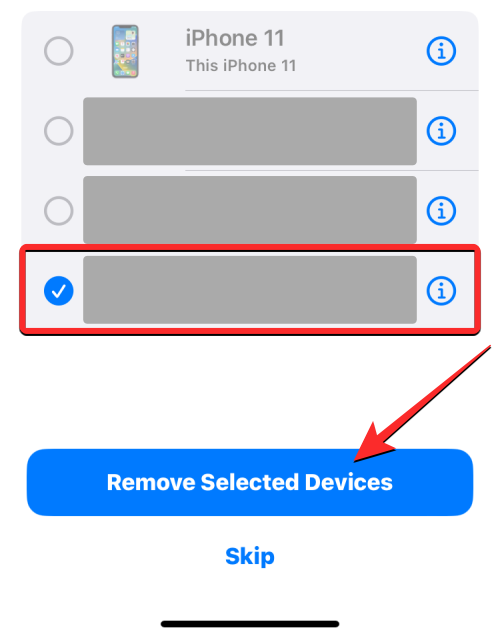
- This will take you to the Devices screen which shows a list of devices that are signed into your Apple ID. On this screen, tap on the devices you want to remove from your Apple account. Once selected, tap on Remove Selected Devices.
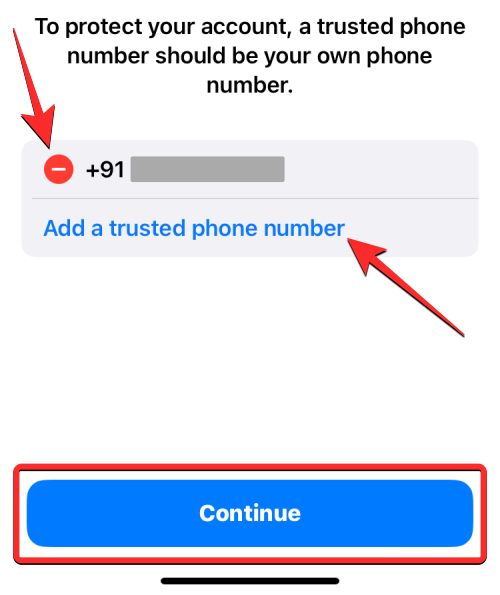
- In the next step, you’ll arrive at the Trusted Phone Numbers screen which displays the phone numbers you use to verify your identity with Apple. On this screen, you can remove a phone number you no longer want to use by tapping on the red minus (-) icon on its left-hand side. You can also add a new number to this list by tapping on Add a trusted phone number. When you’re done setting this up, tap on Continue to proceed.
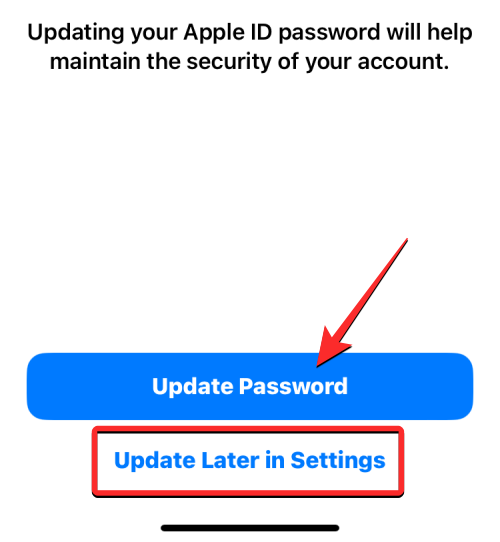
- Next, Apple will ask you whether you wish to change your Apple ID password during the reset. If you’ve previously shared the password with someone you want to escape from, choose Update Password. If not, tap on Update Later in Settings to go ahead.
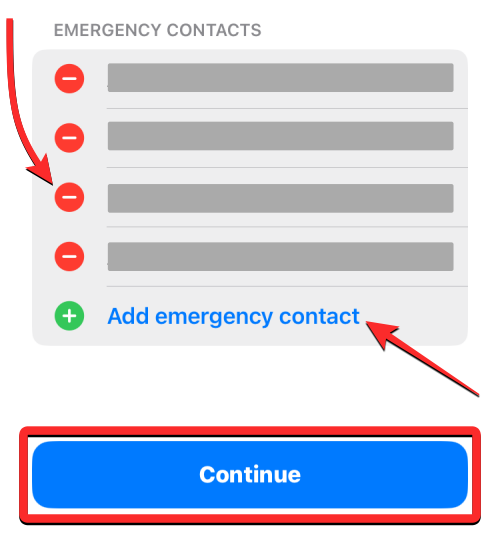
- You’ll now arrive at the Emergency SOS screen. Here, you can tap on Add emergency contact to add someone you trust to be added to the list of people you may want to call when you’re in an emergency. Adding people here will also share your location after the emergency call ends, so make sure you only add someone who may help you. You can also remove unwanted people from this list by tapping on the red minus (-) icon on the left-hand side of the number you want to remove. Once you’ve configured your emergency contact, tap on Continue at the bottom.
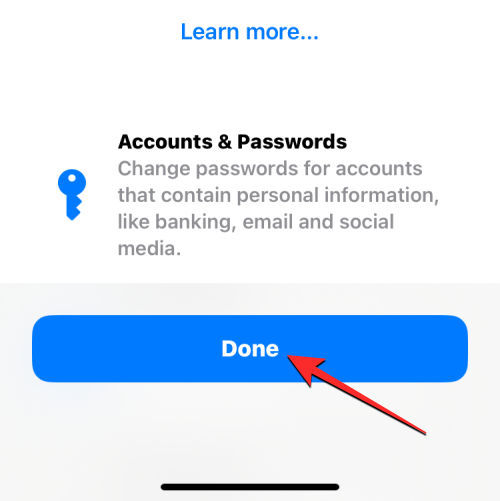
- Safety Check will now notify you that the process is complete with more suggestions that may help protect your privacy. Here, you can tap on Done at the bottom to finish the process.
2. Manage what you share with people and apps
While Emergency Reset is supposed to be used when faced with a critical situation, Safety Check lets you take control of all permissions you may have shared with others in the past using the Manage Sharing and Access feature. This option can be used to revoke access for scenarios that don’t qualify as emergencies. The feature gives you an overview of what you’ve been sharing with someone or an app so that you can remove those people whom you consider a risk to your privacy.
- To use this feature, tap on Manage Sharing & Access inside the Safety Check screen.
- Apple will now authenticate your identity using Face ID, Touch ID, or your device passcode.
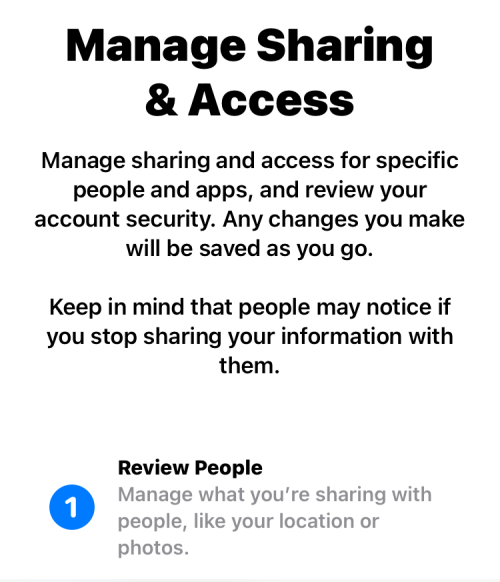
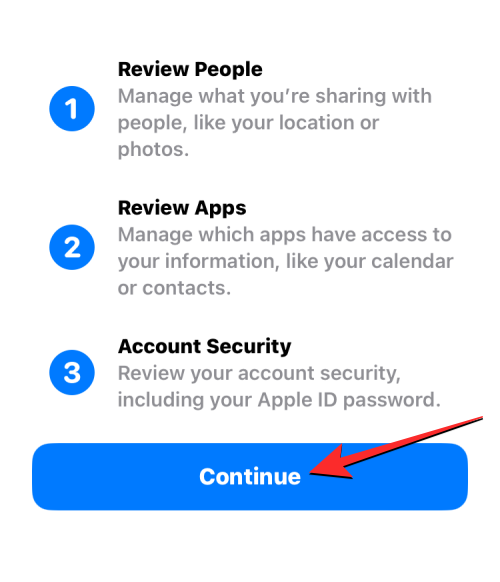
- In the Manage Sharing & Access, Apple will explain what this feature does, so make sure you go through it before you proceed.
- To go ahead, tap on Continue at the bottom.
- You’ll now see the Sharing with People screen with the People tab at the top showing you a list of people with whom you share data and features.

- If you wish to remove someone from this list, select their name and then tap on Review Sharing to stop sharing with them immediately. If you want to stop sharing with everyone on this list, tap Select All & Stop Sharing.
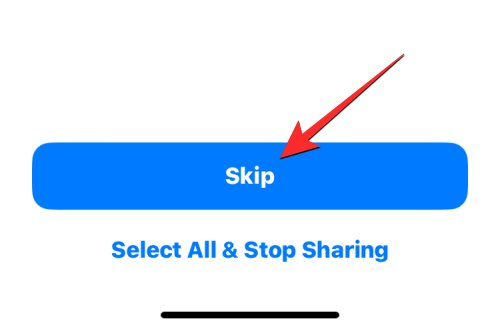
- If you don’t want to remove access for any of these people, tap on Skip at the bottom.
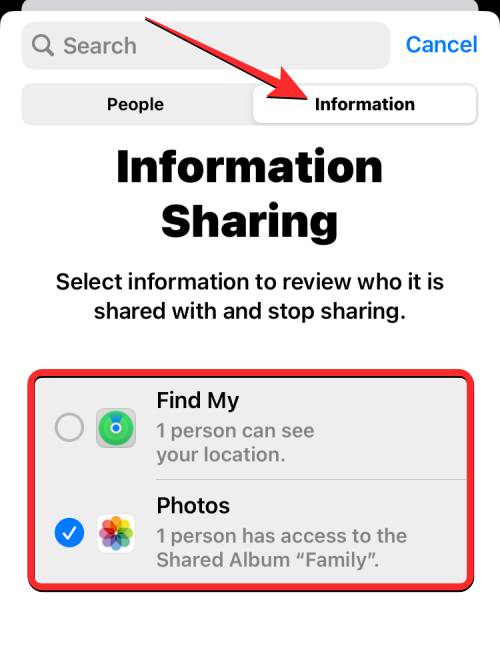
- You can also tap on the Information tab at the top to see what kind of data you share with users listed inside the People tab. Here, you will see all the different data access points that share your information with others. You can also use the same options as above to review what you want to share, stop sharing all the information, or skip it to proceed to the next step.
- In case you haven’t shared anything with someone, you won’t be able to see anyone on the screen. If that’s the case, tap Continue to go to the next screen.

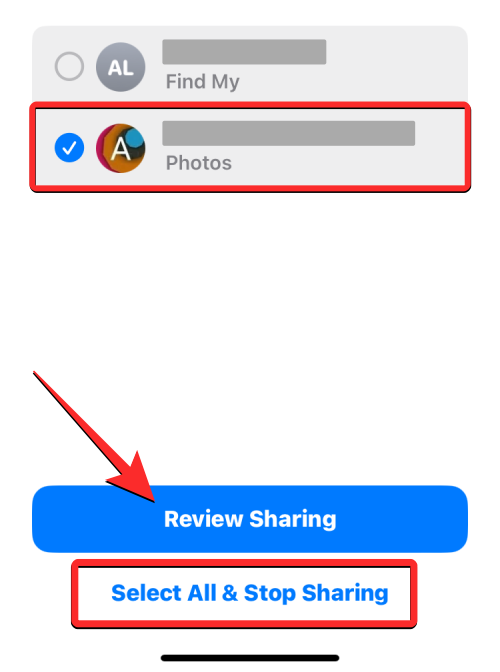
- If you’ve selected any of your data for review from the above step, you may see a review screen for every different data type where you can manually select and stop sharing with someone. For instance, we chose Photos for review, so if you’ve shared photos with someone in the past, you may see them on the next screen.
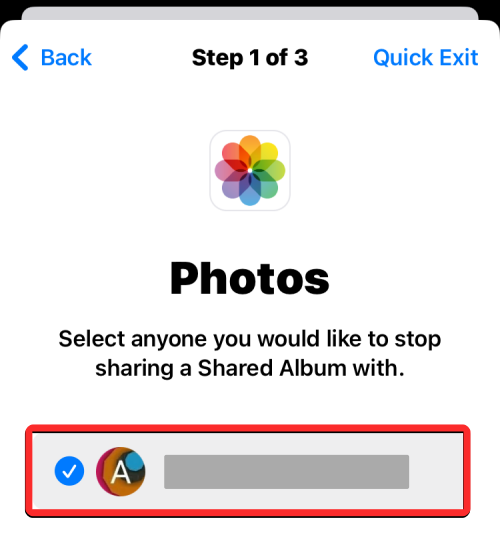
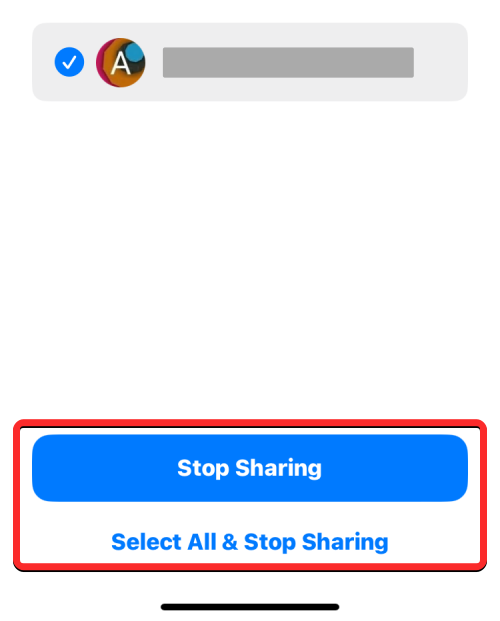
- You can revoke access to every photo or video you may have shared by tapping on Select All & Stop Sharing at the bottom. Or you can simply select the people you want to remove individually and then tap on Stop Sharing.
- You may see many such screens as above depending on the data type or people you selected for review. Once you’ve revoked access for people, you will reach the end of step 1/3 of the Safety Check process. To go ahead, tap on Continue at the bottom.
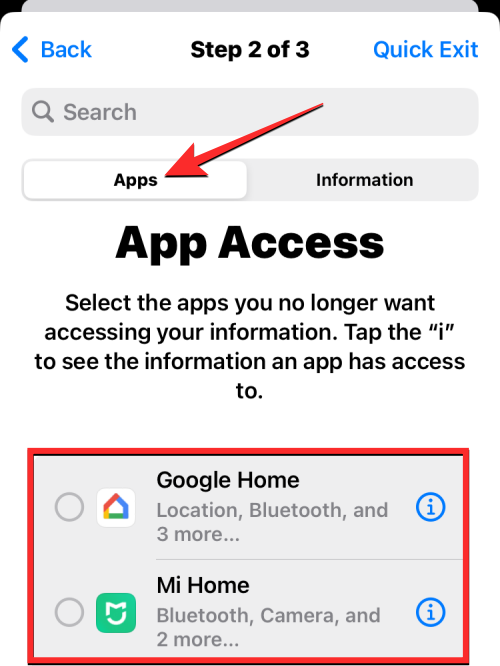
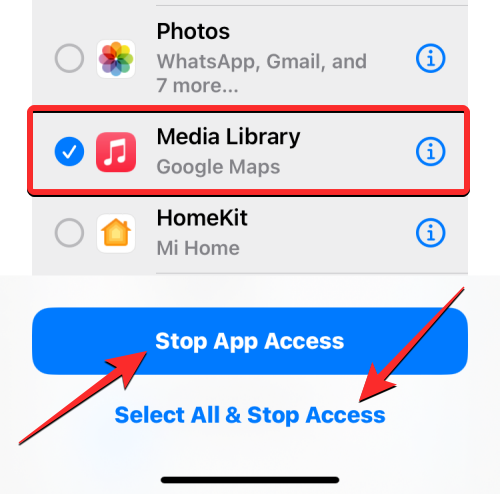
- Besides people, apps installed on your iPhone also have access to some of your information like Contacts, Bluetooth, and Location which could be used by others harmfully. When you arrive at the App Access screen with the Apps tab selected, you can thus select the apps from where you want to remove access from them.
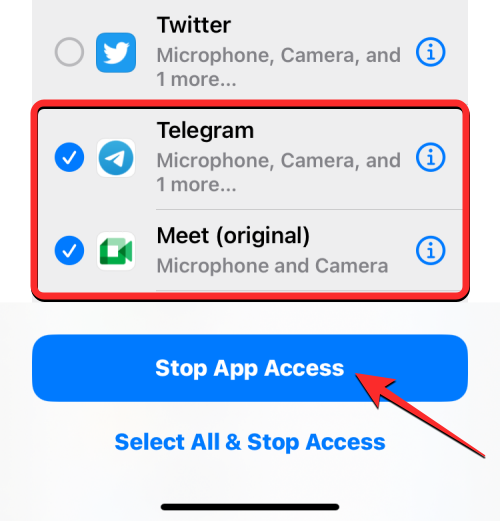
- Once you select the apps to remove access from, tap on Stop App Access to remove permissions from the selected apps. If you want to disable such permissions entirely for all apps, select Select All & Stop Access at the bottom.
- You can also view what kind of information apps can access on your iPhone by tapping on the Information tab at the top. If you wish to completely revoke access for a certain data type, you can use this tab to remove permissions from all apps that access a particular data.
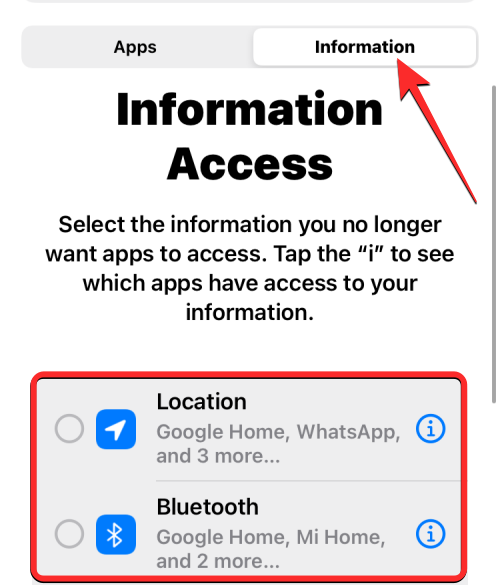
- You can remove access by selecting the data type from this screen and tapping on Stop App Access to revoke the selected data access from all apps that access them. If you want to disable permissions for all data types, tap on Select All & Stop Access at the bottom.
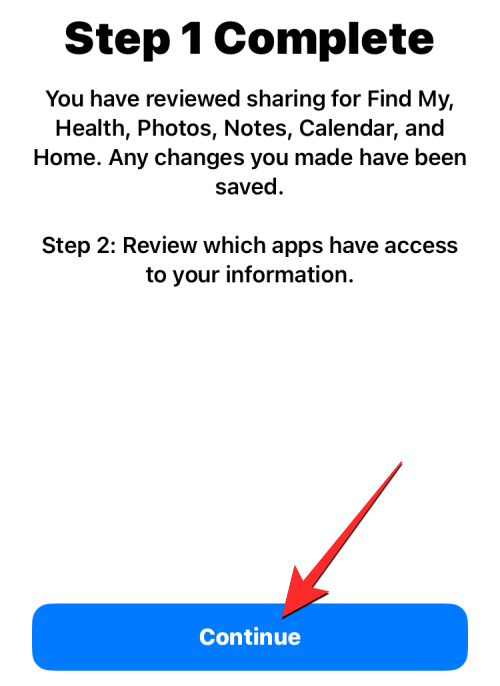
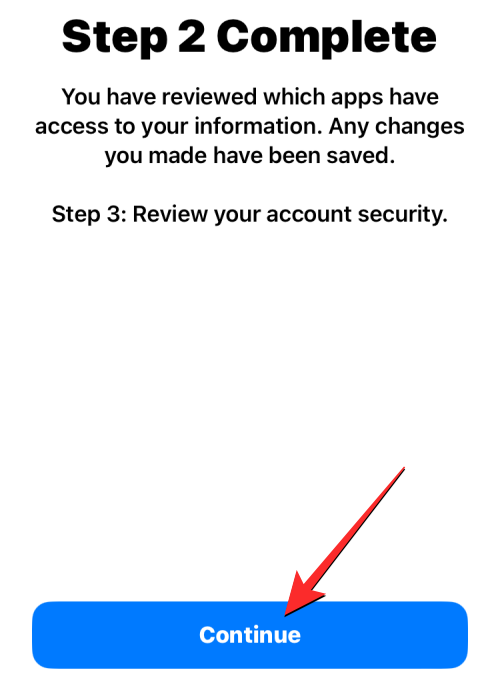
- You will now reach the Step 2 Complete screen. To go ahead, tap on Continue at the bottom.
- When you do that, you’ll arrive at the Devices screen, which shows a list of devices that are signed into your Apple ID.
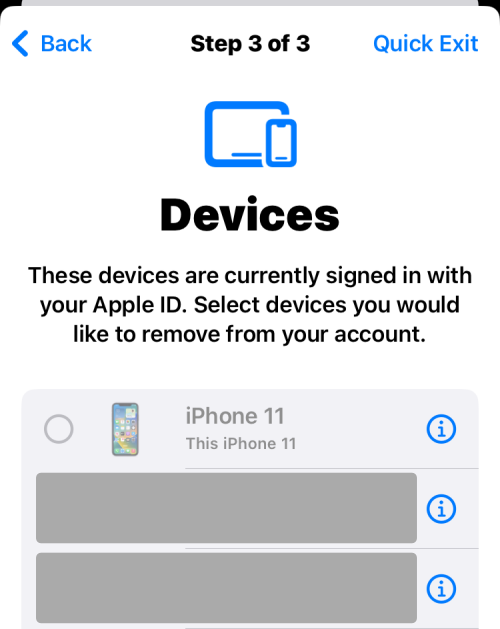
- On this screen, tap on the devices you want to remove from your Apple account. Once selected, tap on Remove Selected Devices.
- In the next step, you’ll arrive at the Trusted Phone Numbers screen which displays the phone numbers you use to verify your identity with Apple.
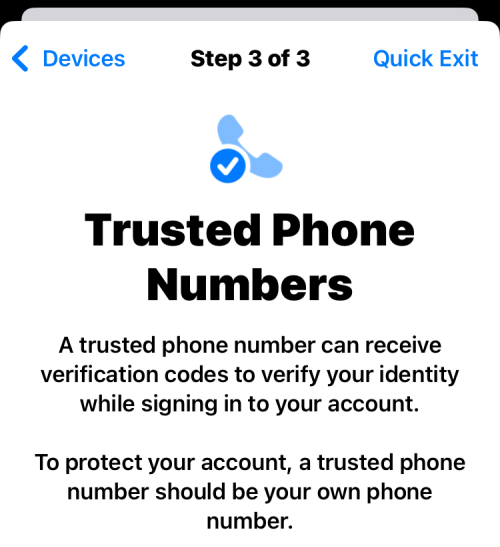
- On this screen, you can remove a phone number you no longer want to use by tapping on the red minus (-) icon on its left-hand side. You can also add a new number to this list by tapping on Add a trusted phone number. When you’re done setting this up, tap on Continue to proceed.
- Next, Apple will ask you whether you wish to change your Apple ID password during the reset.
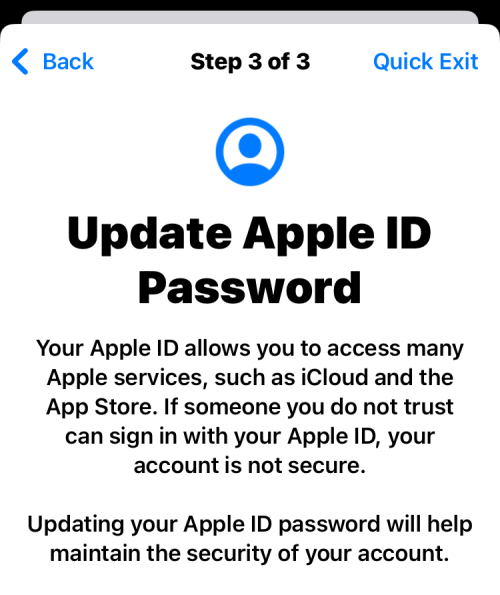
- If you’ve previously shared the password with someone you want to escape from, choose Update Password. If not, tap on Update Later in Settings to go ahead.
- You’ll now arrive at the Emergency SOS screen.
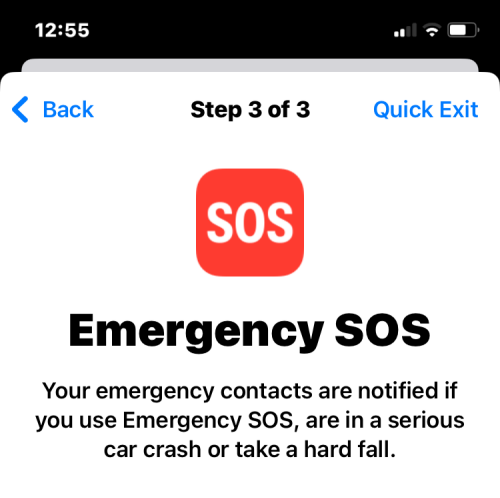
- Here, you can tap on Add emergency contact to add someone you trust to be added to the list of people you may want to call when you’re in an emergency. Adding people here will also share your location after the emergency call ends, so make sure you only add someone who may help you. You can also remove unwanted people from this list by tapping on the red minus (-) icon on the left-hand side of the number you want to remove. Once you’ve configured your emergency contact, tap on Continue at the bottom.
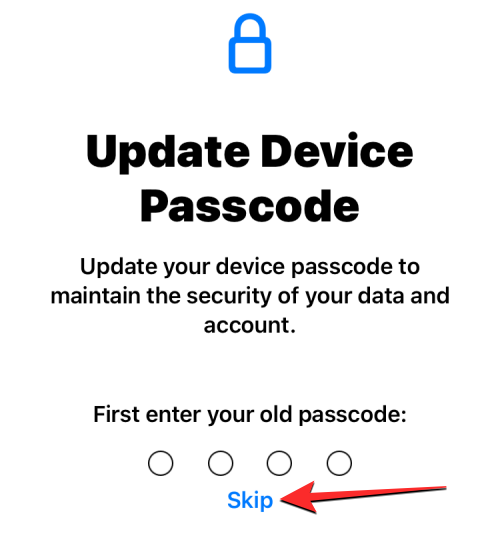
- Apple will now request you update your device passcode. If you wish to change to a new passcode, enter your old passcode on the screen and then follow the on-screen instructions to create a new device passcode. If you don’t want to create a new passcode, tap on Skip instead.
- Safety Check will now notify you that the process is complete with more suggestions that may help protect your privacy.
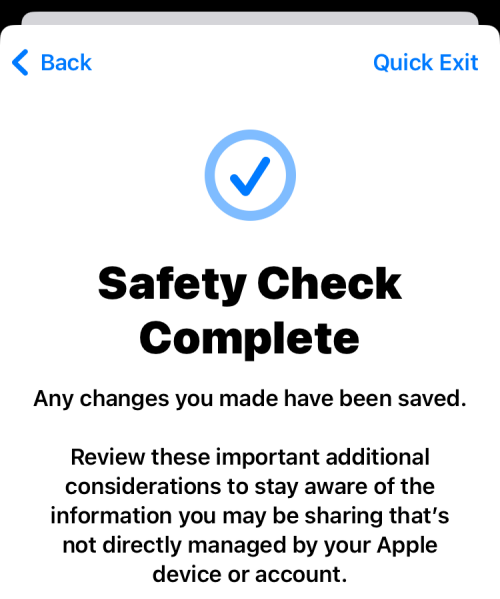
- Here, you can tap on Done at the bottom to finish the process.
3. Use Quick Exit to switch to the iOS home screen
When you’re setting up Safety Check, you can always choose to go to the home screen if you suspect that someone may be watching you. Regardless of which page you’re inside when browsing Safety Check, you will be able to use the Quick Exit option that’s always accessible at the top right corner.
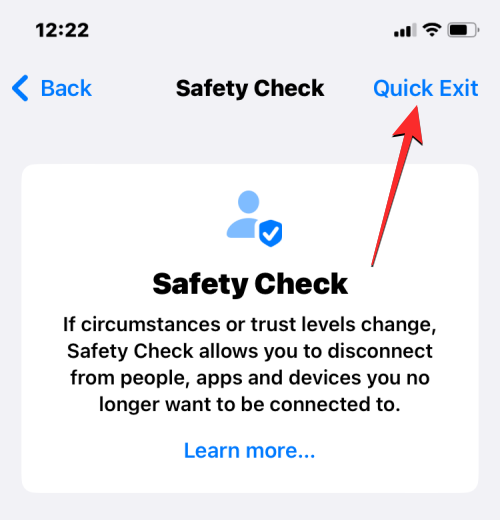
Tapping on Quick Exit will take you to the home screen, so no one else can see what you were doing on your phone. While the Settings app remains in the Recent Apps screen, opening it won’t show the Safety Check screen you were on before you tapped Quick Exit. This can be helpful in case the person you want to revoke access from or someone they know attempts to check what you’re up to.
Related: How to Put Time Behind Wallpaper on Lock Screen on iPhone
FAQs
Why and when should you use Safety Check on an iPhone?
Apple devices are designed in a way that you can use them with other people to share your info. It’s common for partners, couples, and families to share certain features or apps like Photos, Find My, Calendars, and Messages when they’re together. As convenient as these features may be, things can become quickly dangerous if you’re no longer in contact with someone you previously shared things with.
This can come in handy when you and your partner have separated or when you find yourself in an abusive relationship that can sometimes become violent. In such scenarios, Safety Check lets you turn off all active connections you share with someone and keep yourself in control over the things you previously shared with them. The feature allows you to cut off location sharing, photos, message privileges, and your home data as soon as you enable it.
Instead of needing to dive into the Settings app and disable shared data one by one, Apple’s Safety Check provides a one-stop shortcut where you can turn off everything they’ve granted to be shared so that no more of their data is accessible by anyone.
Related: How to copy a picture on picture on iPhone
What happens when you use Emergency Reset?
When you trigger Emergency Reset inside Safety Check, your iPhone will instantly remove all connections you may have shared with someone in the past and revoke all access privileges from the apps you have installed on your device.
When you revoke access from people, they won’t be notified about it but may notice these changes when they open the relevant apps that you previously shared with them. If someone was intentionally using this data to track you, they may notice the changes right away as all permissions will now be denied.
The revoking process applies to your location data as well. After Emergency Reset is enabled, others won’t be able to know your whereabouts and will no longer see your GPS data inside the Find My app even if you had shared it with them intentionally on the app.
Other than that, Emergency Reset also lets you remove connected devices from your Apple ID. For instance, if you share Apple devices with someone and they have physical access to any one of these devices, removing your Apple ID from these devices will ensure that your iCloud account is signed out, thus preventing others from accessing apps that rely on your iCloud account. This way, you can stop others from accessing FaceTime or Messages apps on other Apple devices.
Additionally, when you start Emergency Reset, Apple suggests you change your Apple ID password, so no one can sign back into your Apple account on another device. If you previously shared your account with your partner or friend, this step can help you prevent them from regaining access to your account and its relevant data.
Will others be notified when I revoke access and sharing?
Safety Check makes sure no one is prompted when you change what you share with others from your iPhone. So, no one would receive an alert when you stop sharing your location or revoke access to accounts and other information from them. This way, victims can protect themselves from abusers or violent partners and prevent them from knowing where they are or gaining access to their devices.
Although they’re not notified about the security changes you make, they can know whether or not they still have access to your information when they intentionally check for it on their device. If even find yourself in such a situation, we advise you to ensure your safety first before using Safety Check on your iPhone.
Is Safety Check safe to use?
Safety Check has been designed to keep users safe from abusive people they may have been on close terms with. The feature can thoroughly protect your privacy and location from anyone you no longer trust but it isn’t foolproof. If you and someone else shared the same Apple account previously and there’s now a disagreement between you two, then your partner can revoke access from you across all Apple services.
This way, you will be cut off from all of your Apple devices and any data you previously had on your iPhone or other devices will also be removed. If you’re the victim of an abusive relationship, you may lose any evidence of ill behavior from the other person as any data you previously collected will now be locked out from your possession. This could prove to be a significant disadvantage for you as the abuser can now render your Apple devices unusable without their approval.
That’s all you need to know about using Safety Check on an iPhone.
RELATED


Discussion