
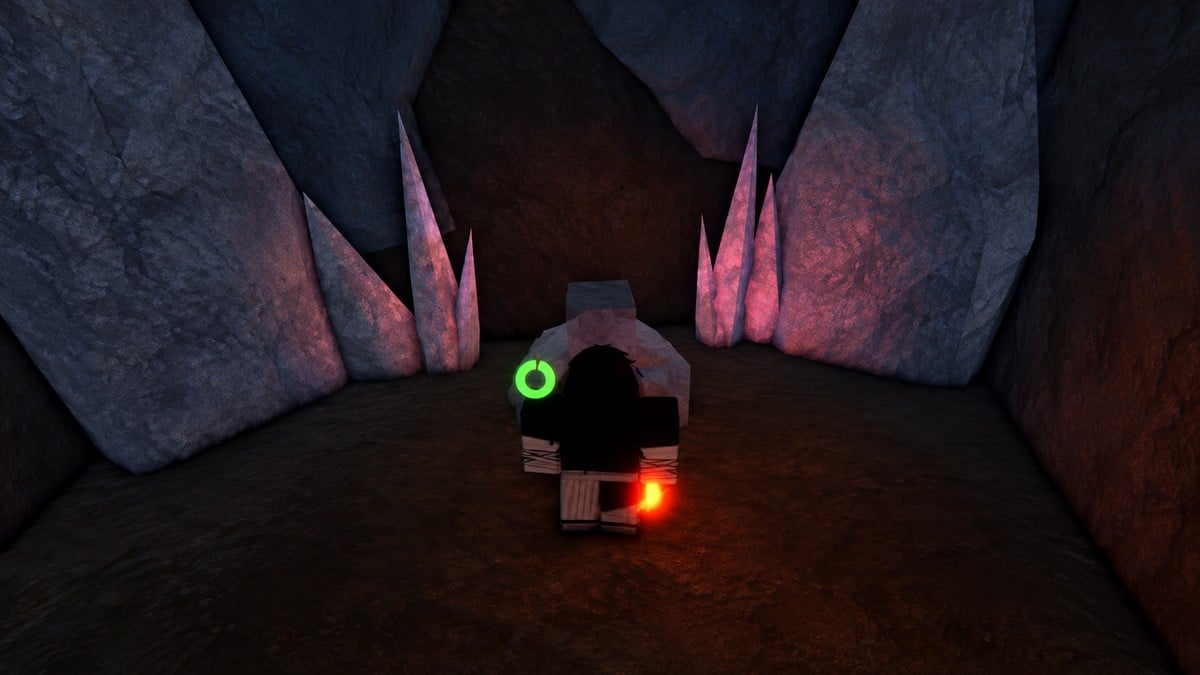
Find Firstlight Spear and Katana schematics in Iceveil Valley’s underwater cave and the Firstlight Mask schematic in the flooded cavern beneath Stone Sanctuary.
The Iceveil cave also holds the Nightfall Scythe schematic, giving you three weapon pickups from one entrance. The Mask takes a separate underwater journey, while the Firstlight Lantern has a quest source listed in Archives.
- Firstlight schematics and listed rarities
- Reach the underwater cave in Iceveil Valley
- Find the Firstlight Spear pedestal
- Cross the raised paths to the Firstlight Katana
- Collect the cave’s Nightfall Scythe schematic
- Reach the Firstlight Mask beneath Stone Sanctuary
- Locate the Lantern’s quest source in Archives
- How to reach the schematic pickups and Archives
Firstlight schematics and listed rarities
Rarities for the named schematics
| Schematic | Rarity |
|---|---|
| Firstlight Spear | Mythic |
| Firstlight Katana | Mythic |
| Nightfall Scythe | — |
| Firstlight Mask | Mythic |
| Firstlight Lantern | Mythic |
These pickups give you schematics. Studying a world schematic adds the blueprint to your inventory’s Schematics list, and each one only needs collecting once.
Reach the underwater cave in Iceveil Valley
A horse makes the approach faster. Along the way, Iceveil Settlement is the spawn point identified by the notification “Spawn was successfully set to [ Iceveil Settlement ]”; that message indicates a successful spawn setting.
Find the Firstlight Spear pedestal
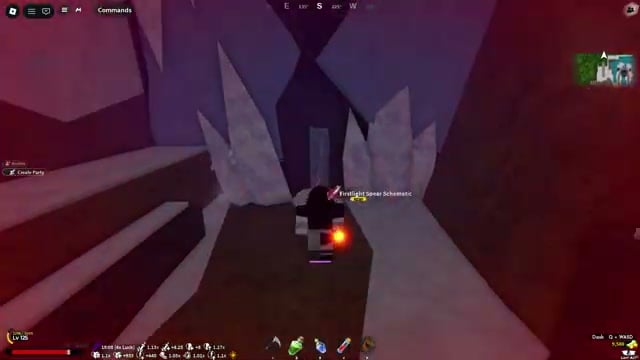
The Spear waits on a stone pedestal in an icy crevice, at the end of the snowy passage. Its interaction label reads Firstlight Spear Schematic, which identifies the blueprint you collect there.
Cross the raised paths to the Firstlight Katana
The Katana approach starts back inside the same cavern, so you don’t need another journey across the map. Dashing is a movement option along its winding walkways.
Collect the cave’s Nightfall Scythe schematic
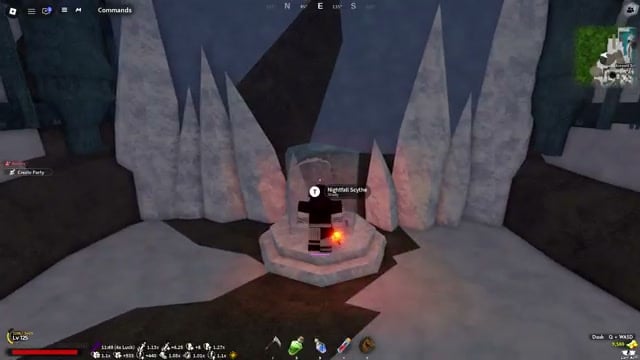
The scythe schematic is named Nightfall Scythe Schematic. Use that name to identify the pickup between the large ice crystals.
Reach the Firstlight Mask beneath Stone Sanctuary
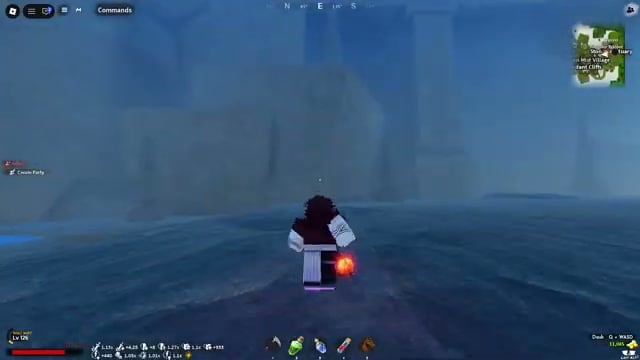
The map labels the Gyomei’s Temple area Stone Sanctuary [35]. Beneath its cliffs, the Mask approach passes through a long, narrow flooded tunnel; the blue bubbles above your character indicate your remaining oxygen.
The upper pool is where you surface and climb out. Get onto the surrounding edge before lining up your direction.
Locate the Lantern’s quest source in Archives
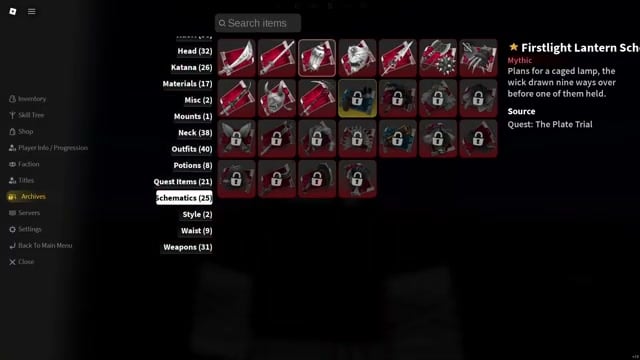
Look in Archives for the Lantern’s source: Quest: The Plate Trial. You’ll find unlocked schematic entries and weapon statistics there.
To collect the Firstlight Lantern schematic in Bamboo Grove, first climb to the upper floor. The floor tiles are a memory puzzle. Complete it to get the schematic.
How to reach the schematic pickups and Archives
The weapon routes start inside the Iceveil cave. Head to Stone Sanctuary for the Mask afterward, then check Archives for the Lantern’s quest listing.
STEP 1/36
3%
Ride toward Iceveil Valley
Ride toward the red torii gate, following the snowy passage uphill into Iceveil Valley.

STEP 2/36
6%
Follow the ravines uphill
The route turns through ice-lined ravines, with ramps taking you up toward the snow-covered village.
STEP 3/36
8%
Pass High Demian
Ride past High Demian beside the purple flowers surrounded by snow.
STEP 4/36
11%
Ride beyond the settlement
Pass Iceveil Guard Shiro and the spawn point at Iceveil Settlement, then ride up the village ramps toward the outer ridge.
STEP 5/36
14%
Reach the cliff edge
Jump across the roof ledge on the snow-covered cliffside building; beyond the torii gate, you’ll reach the snowy cliff edge.

STEP 6/36
17%
Find the small corner
Look for the small corner on the little ledge and open the map to see the ledge’s precise position in the snowy region.
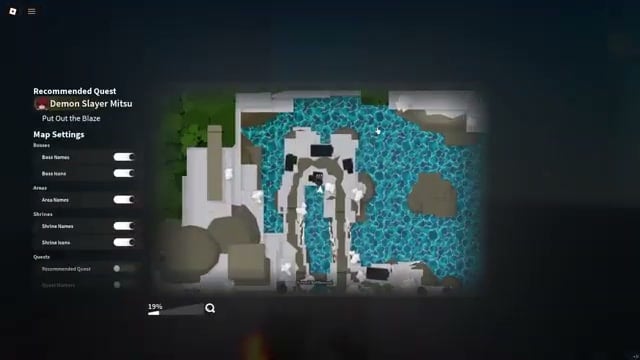
STEP 7/36
19%
Drop straight down
Jump directly down from that corner into the chasm’s deep water.
STEP 8/36
22%
Swim into the cavern
Keep going through the water, diving far down through the blue opening and into the submerged tunnel to reach the cavern checkpoint.

STEP 9/36
25%
Leave the water for the dark stone walkway; this entrance is where you’ll start each weapon route.
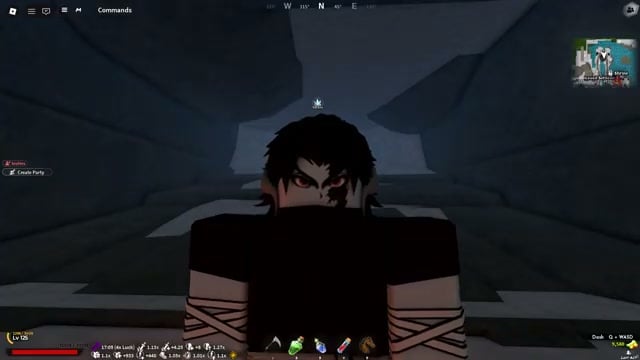
STEP 10/36
28%
Begin the Firstlight Spear route
From the underground cavern’s entrance checkpoint, run forward along the narrow snowy corridor beside the cave’s cliffside.
STEP 11/36
31%
Follow the winding path
The route winds over stone bridges and along walls of ice.
STEP 12/36
33%
Take the right turn
Turn right around the corner into the alcove bordered by crystals.
STEP 13/36
36%
Study the Spear pedestal
Interact with the object around that corner, using the pedestal’s prompt to study and collect the Firstlight Spear Schematic.
STEP 14/36
39%
Begin the Firstlight Katana route
Return to the same checkpoint at the cavern entrance, where the Katana route starts along the right-hand route.
STEP 15/36
42%
Dash along the upper paths
Use dashes to cross the cavern’s winding, snow-covered upper walkways toward the Katana alcove.
STEP 16/36
44%
Round the corner into the crevice
Around the corner, the route enters a rock crevice with a different glowing altar in an ice-lined alcove—the first light katana pickup.
STEP 17/36
47%
Collect the Katana schematic
Use the glowing altar labeled Firstlight Katana to receive the Firstlight Katana Schematic.

STEP 18/36
50%
Begin the Nightfall Scythe route
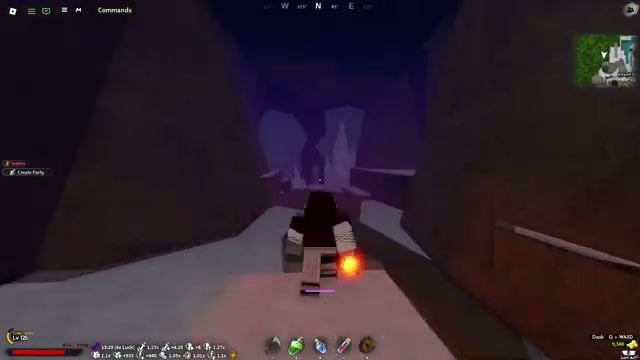
Start again at the entrance checkpoint and cross the cave’s elevated snowy ridges.
STEP 19/36
53%
Stay on the higher route
Follow the cavern’s upper ledges to the distant hill alcove ringed by large ice spikes.
STEP 20/36
56%
Head down to the shrine
Descend the hill to find the Nightfall Scythe Schematic at the shrine between crystals of ice.
STEP 21/36
58%
Collect the Scythe schematic
Use the shrine’s pedestal to receive the Nightfall Scythe Schematic.
STEP 22/36
61%
Begin the Firstlight Mask route
Teleport or travel to Stone Sanctuary (Gyomei’s Temple), starting outside the nearby torii gates.
STEP 23/36
64%
Run toward the tree
From the starting spot at Guiam’s temple, run straight ahead through the gates and across the grass until the large leafy tree at the cliff edge comes into view.
STEP 24/36
67%
Find the corner and long rock
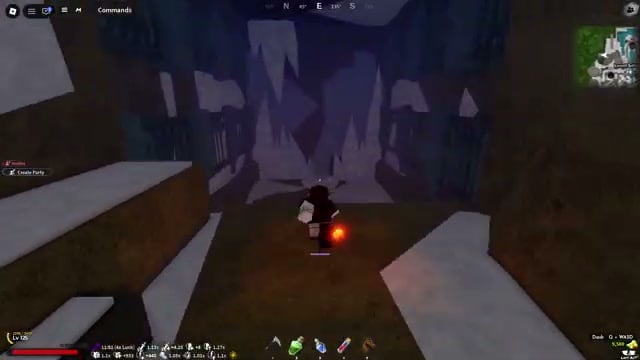
At the tree, move toward the small corner; as you fall down, look for the long rock below.
STEP 25/36
69%
Land on the rock ledge
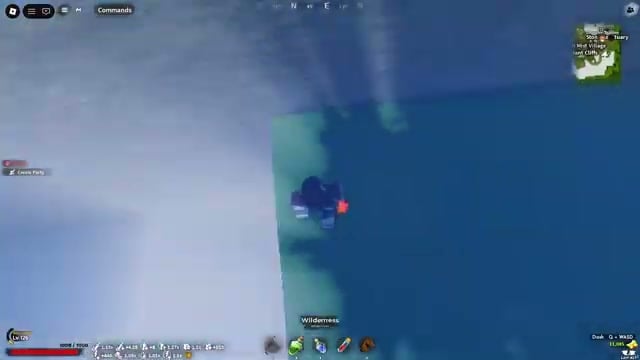
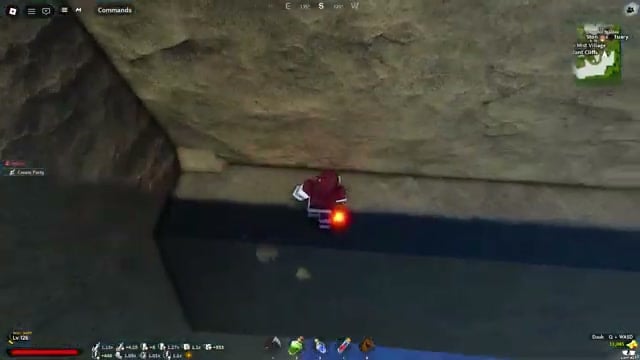
Descend onto the long ledge of rock beneath the cliff, then jump downward toward the pool.
STEP 26/36
72%
Drop into the flooded cave
Leap from the ledge into the deep pool beside the upright stone pillar, continuing into the flooded cave beneath Stone Sanctuary.
STEP 27/36
75%
Swim through the blue tunnel
Follow the underwater cave tunnel through the narrow blue passages.

STEP 28/36
78%
Surface inside the chamber
Rise from the deep submerged trench into the open blue pool, surfacing inside the concealed upper chamber.
STEP 29/36
81%
Climb to the small hole
Scale the rocky structure’s wall on the right and climb onto its ledge to reach the small hole.
STEP 30/36
83%
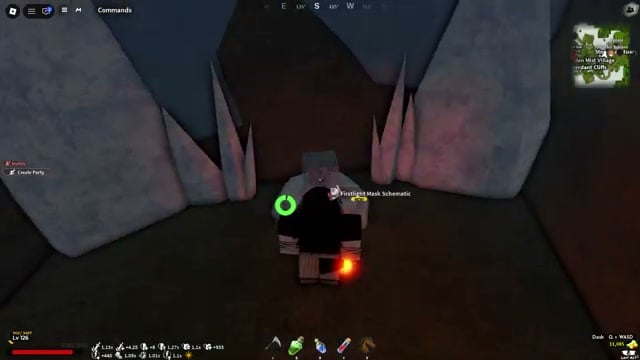
Study the Mask pedestal
The small hole contains the first light mask: study the stone pedestal set into the alcove wall, labeled Firstlight Mask, to receive the Firstlight Mask Schematic.
STEP 31/36
86%
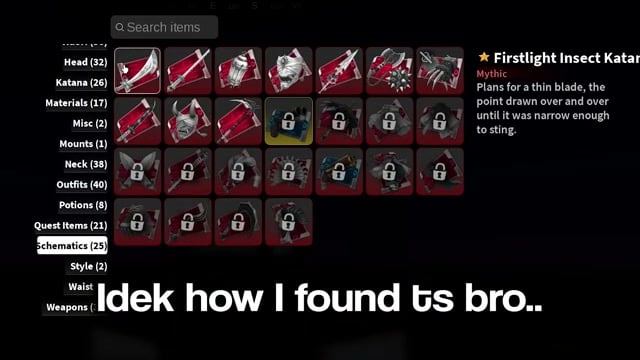
Open Archives
Bring up the game menu and choose Archives to browse your schematics.

STEP 32/36
89%
Switch to Schematics
Within Archives, select the Schematics tab to see the entries.

STEP 33/36
92%
Check the Katana entry
Open the Firstlight Katana schematic entry to check its details.
STEP 34/36
94%
Check the Lantern’s source
Select Firstlight Lantern; its quest-source field lists Quest: The Plate Trial.
STEP 35/36
97%
Check the Mask entry
Open the Firstlight Mask schematic entry to check its details.

STEP 36/36
100%
Check the Spear entry
Select the Firstlight Spear schematic entry to check its details.
Related Project Slayers guides





Leave a Reply