

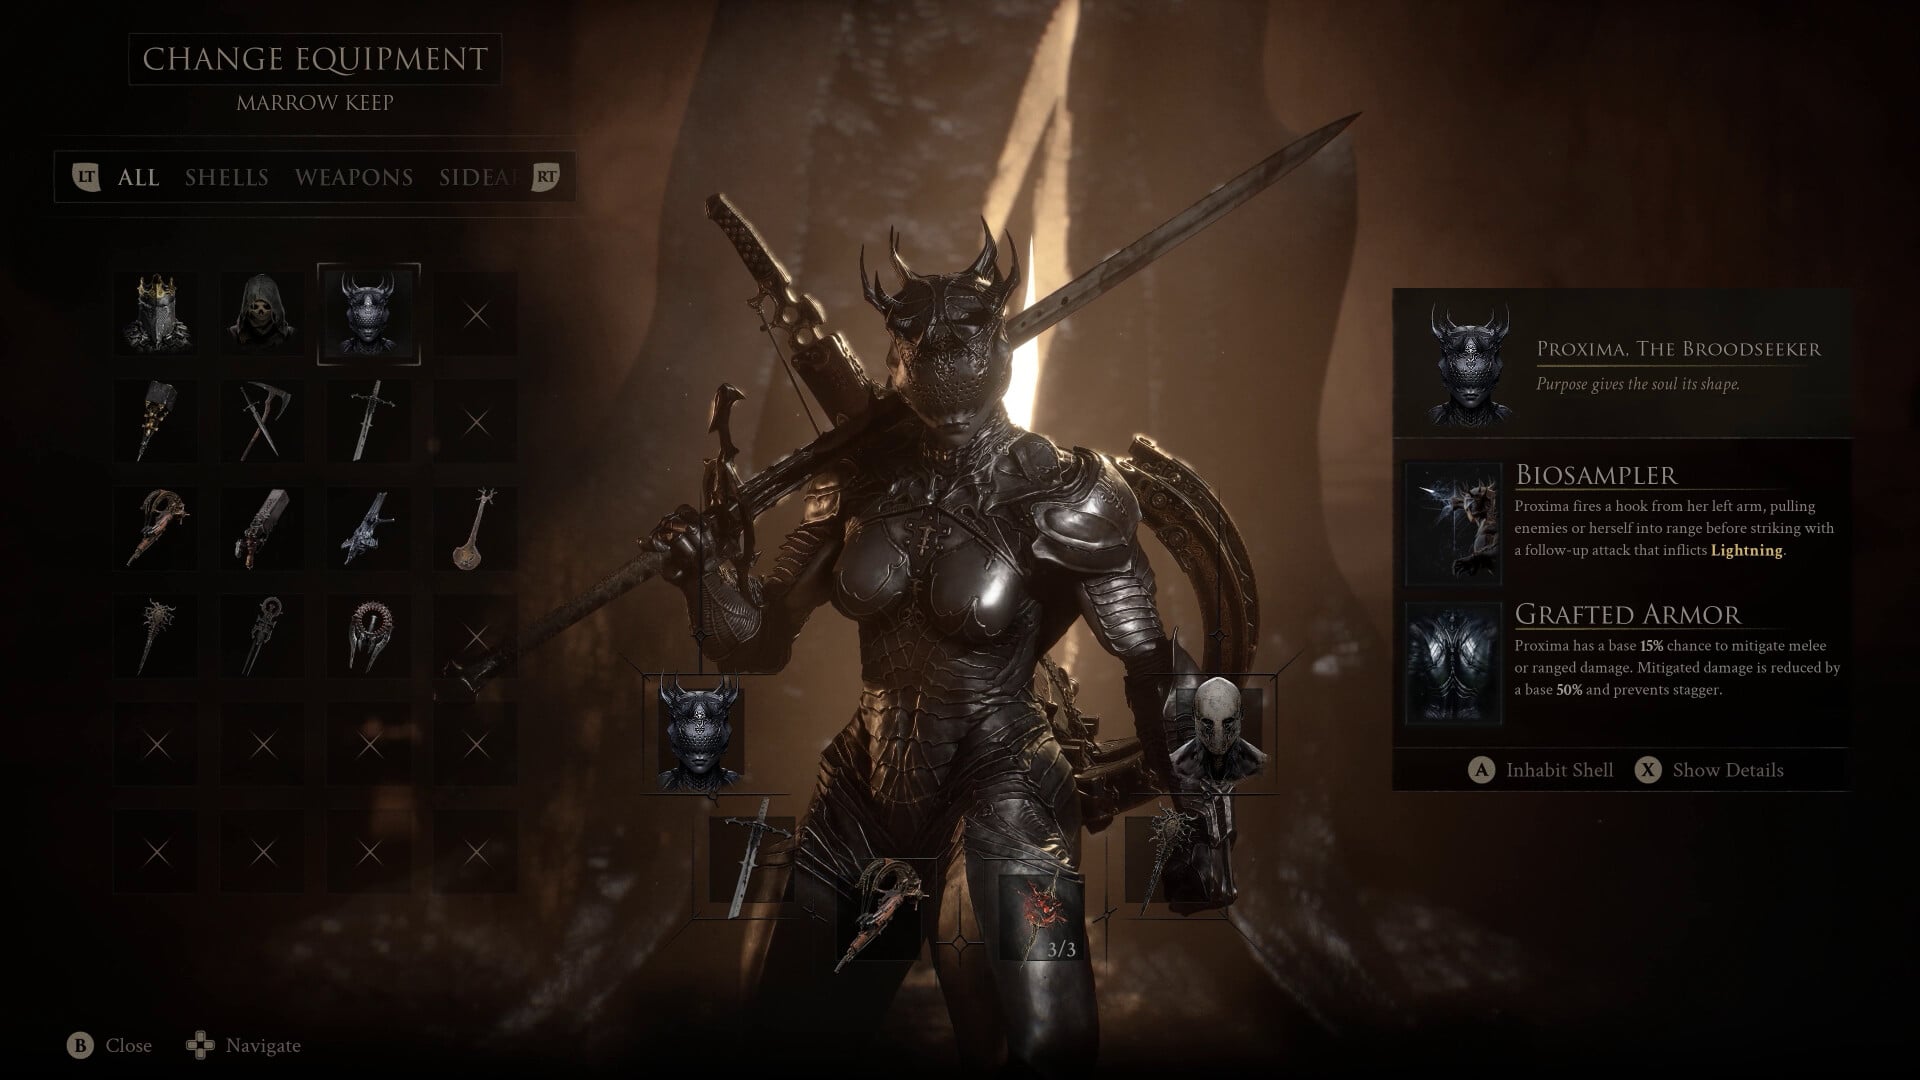
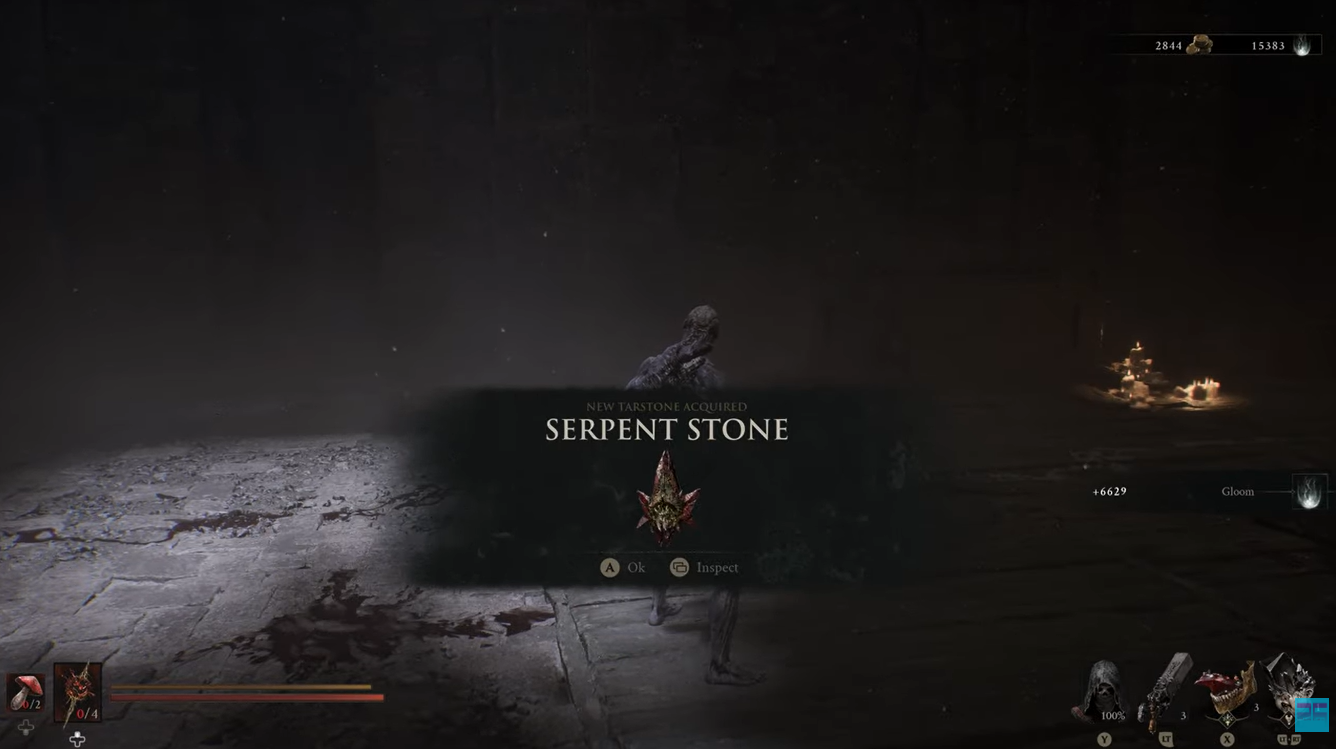
The Serpent Stone is one of the most useful early Infusion Tarstones in Mortal Shell 2 if you want to build around Poison. You can obtain it relatively early by pushing north from Widow’s Overlook and clearing the Stonebled Gate Beacon, where Lucian the Thirsting Knight waits at the end of the route. Lucian drops the Serpent Stone along with a Glimpse and 6,500 Gloom.
The route is particularly worthwhile for Tiel players because Poison works naturally with Tiel’s poison-focused abilities. Current build guides specifically recommend Serpent Stone for Poison Burst setups, where repeated Poison application can be combined with Tiel’s Shadow abilities for stronger burst damage.
| Quick overview | Details |
|---|---|
| Item | Serpent Stone |
| Type | Infusion Tarstone |
| Effect | Poison |
| Starting location | Widow’s Overlook |
| Destination | Stonebled Gate Beacon |
| Boss | Lucian the Thirsting Knight |
| Activation cost | 15 Resolve |
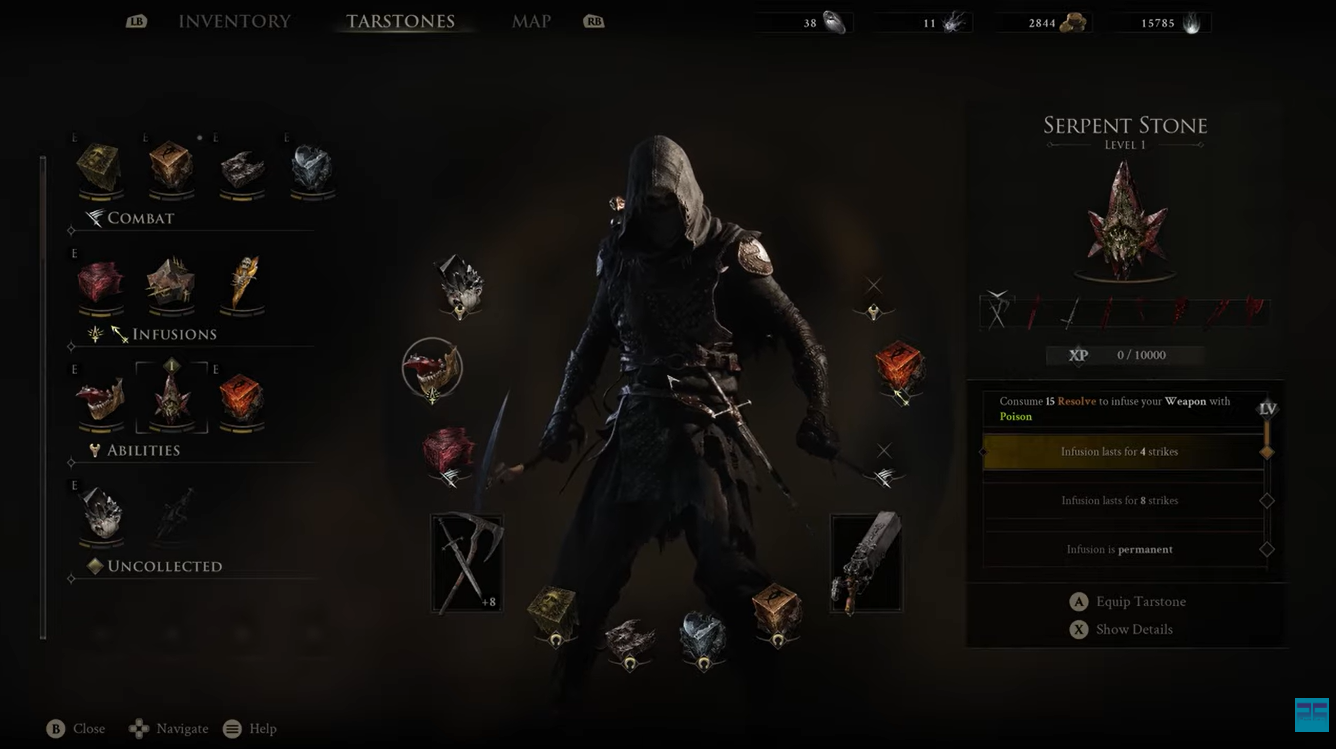
| Level 1 | Poison lasts 4 strikes |
| Level 2 | Poison lasts 8 strikes |
| Level 3 | Permanent Poison |
| Compatible gear | Axe and Dagger, Black Needle |
| Main use | Poison-focused builds |
| Boss rewards | Serpent Stone, 1 Glimpse, 6,500 Gloom |
Where to find the Serpent Stone in Mortal Shell 2
The Serpent Stone is inside the Stonebled Gate Beacon, located toward the northern part of the Fainweald map. The route from Widow’s Overlook takes you through Blackridge Pass and toward the Sanguine Caverns before reaching Stonebled Gate. Current progression guides place Stonebled Gate among the early Fainweald Corrupted Gates, making the Serpent Stone accessible without needing to reach the late-game areas.
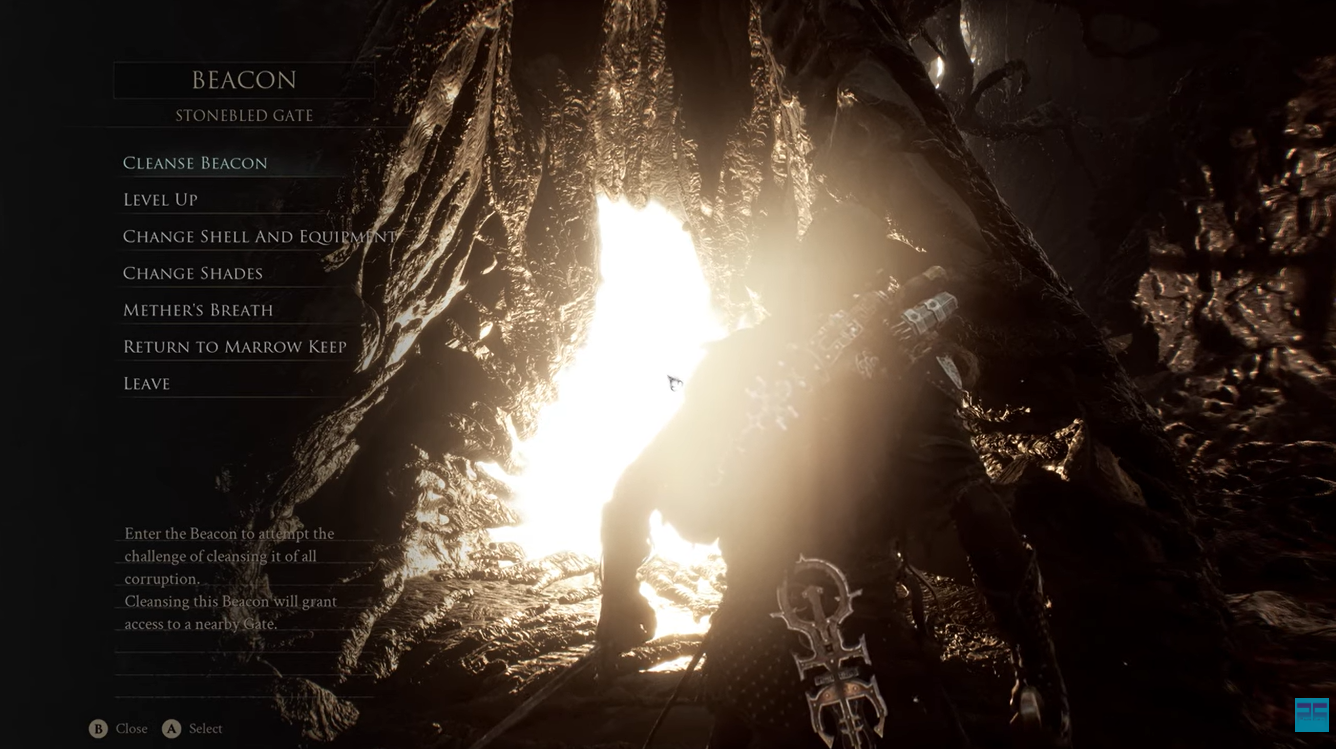
The area also contains several environmental hazards, so rushing directly toward the beacon can be more dangerous than it first appears. Once you reach Stonebled Gate, rest at the beacon before attempting to cleanse it. Cleansing the beacon begins the encounter that ultimately leads to Lucian.
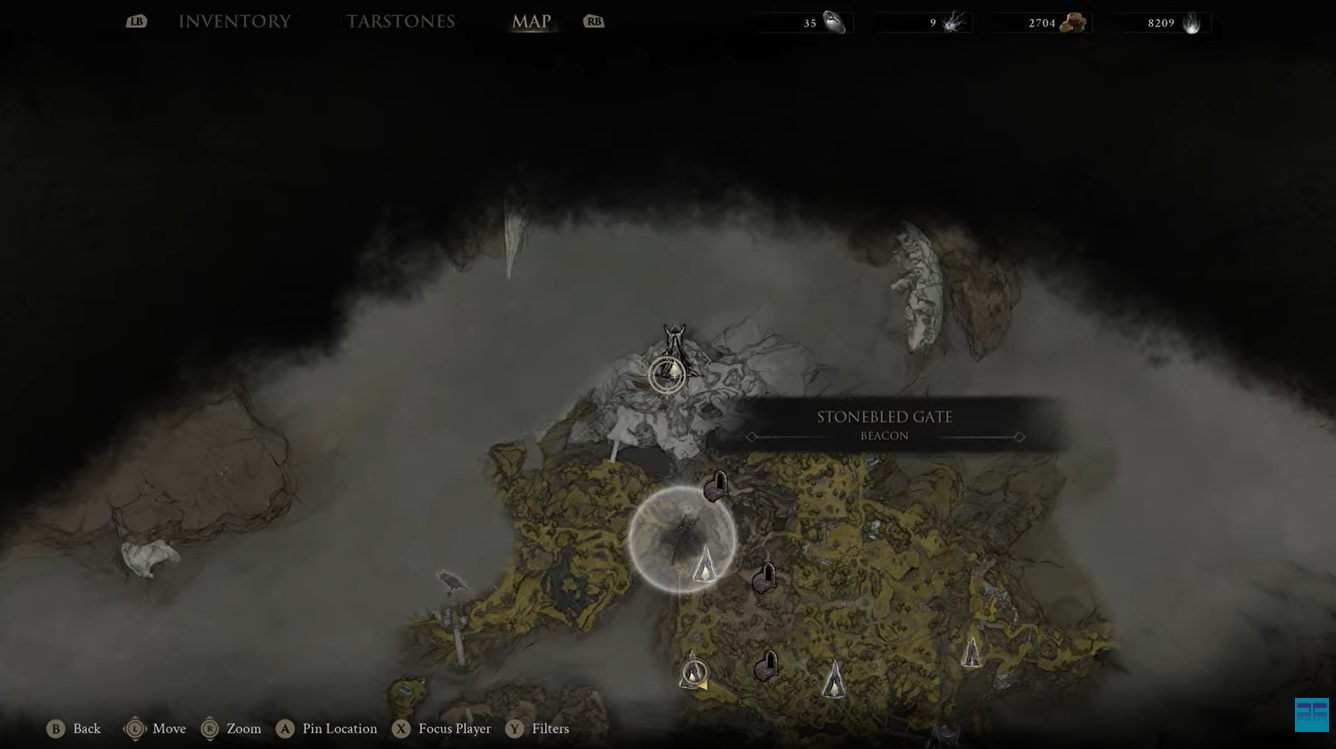
How to get Serpent Stone in Mortal Shell 2
Step 1: Start at Widow’s Overlook
Fast travel to or begin at the Widow’s Overlook Beacon. This is the recommended starting point for the northern route. From here, head north toward Blackridge Pass rather than taking a longer route through other early-game areas. Current route guides also use Widow’s Overlook as the starting point for pushes into the Sanguine Caverns.
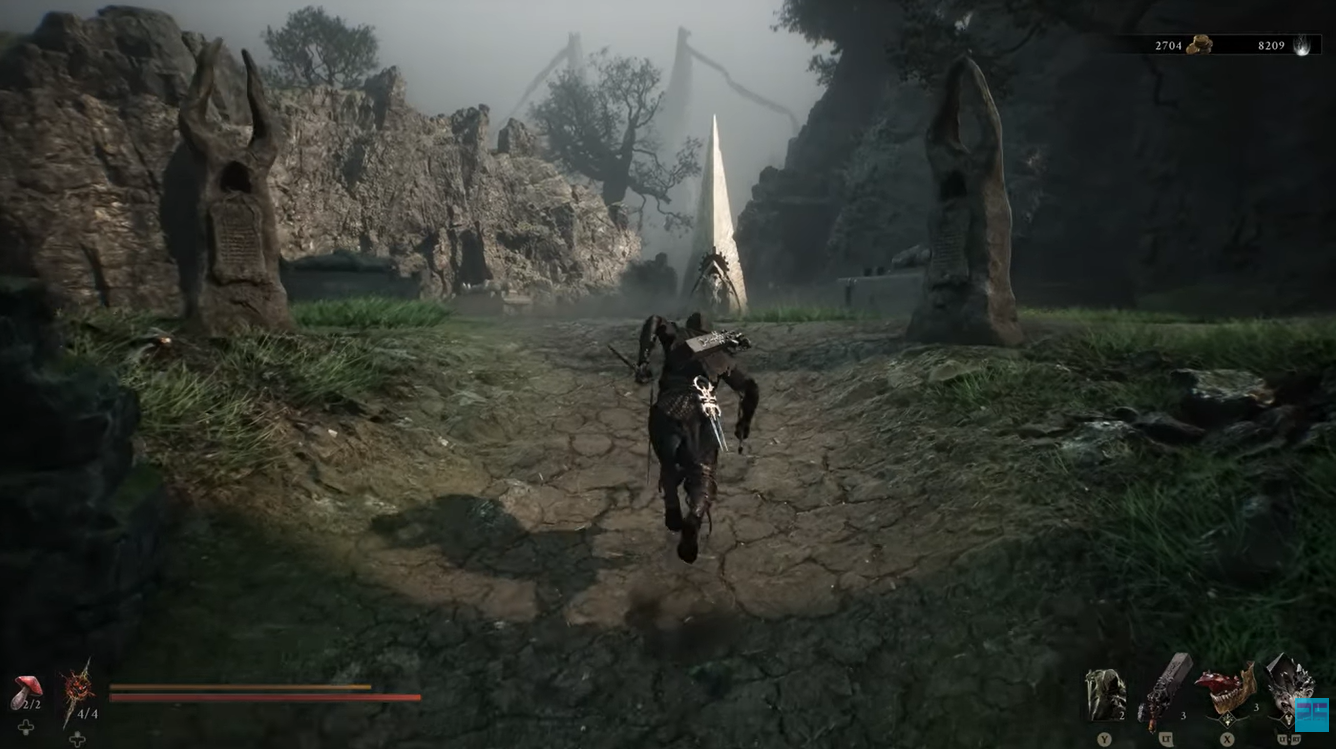
Step 2: Push through Blackridge Pass
Follow the northern route through Blackridge Pass and continue toward Blackridge Cliffs. You can fight the enemies along the way, but if your only goal is the Serpent Stone, running past unnecessary encounters is usually faster.
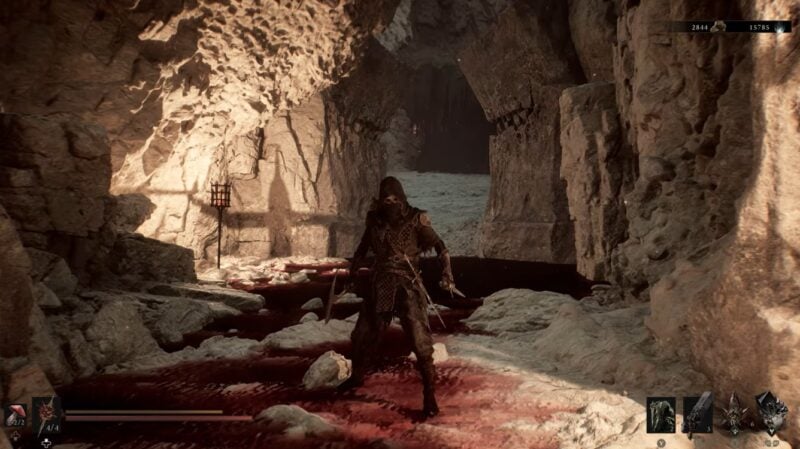
Be particularly careful around environmental traps. Bear traps can interrupt your movement and cause unnecessary damage, so watch the ground and use a dash when you need to cross dangerous sections quickly.
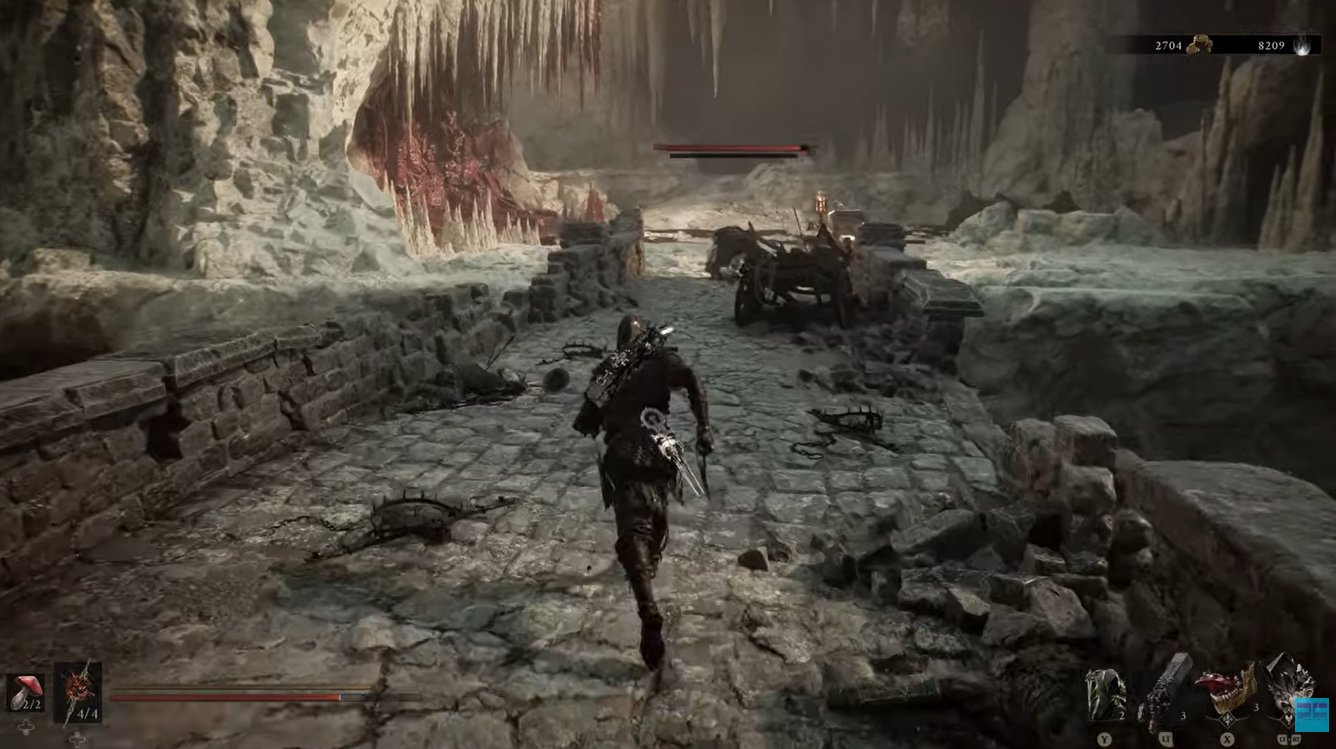
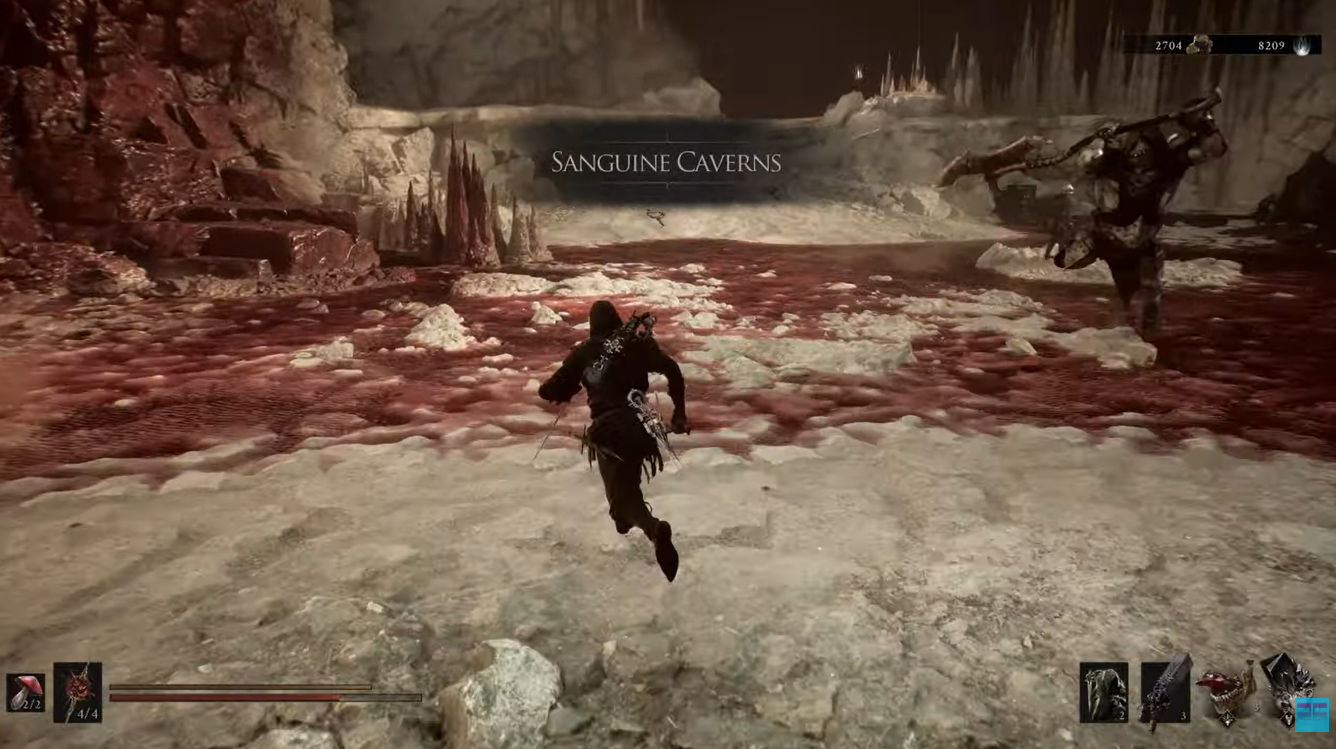
Step 3: Enter the Sanguine Caverns
Continue toward the entrance to the Sanguine Caverns. The route eventually takes you across the cavern’s wooden bridge and deeper into the area. Pick up useful Glimpse or material drops along the way if you need them, but avoid turning the Serpent Stone run into a full exploration session.
The important objective is reaching the Stonebled Gate Beacon.
Step 4: Rest at the Stonebled Gate Beacon
Once you reach Stonebled Gate, activate and rest at the beacon. This gives you a recovery point before the Lucian encounter.
Lucian is classified as a miniboss in current guides and must be defeated to cleanse the Stonebled Gate Beacon. His listed health is 1,400, his poise is 150, and Frost is listed as his weakness.
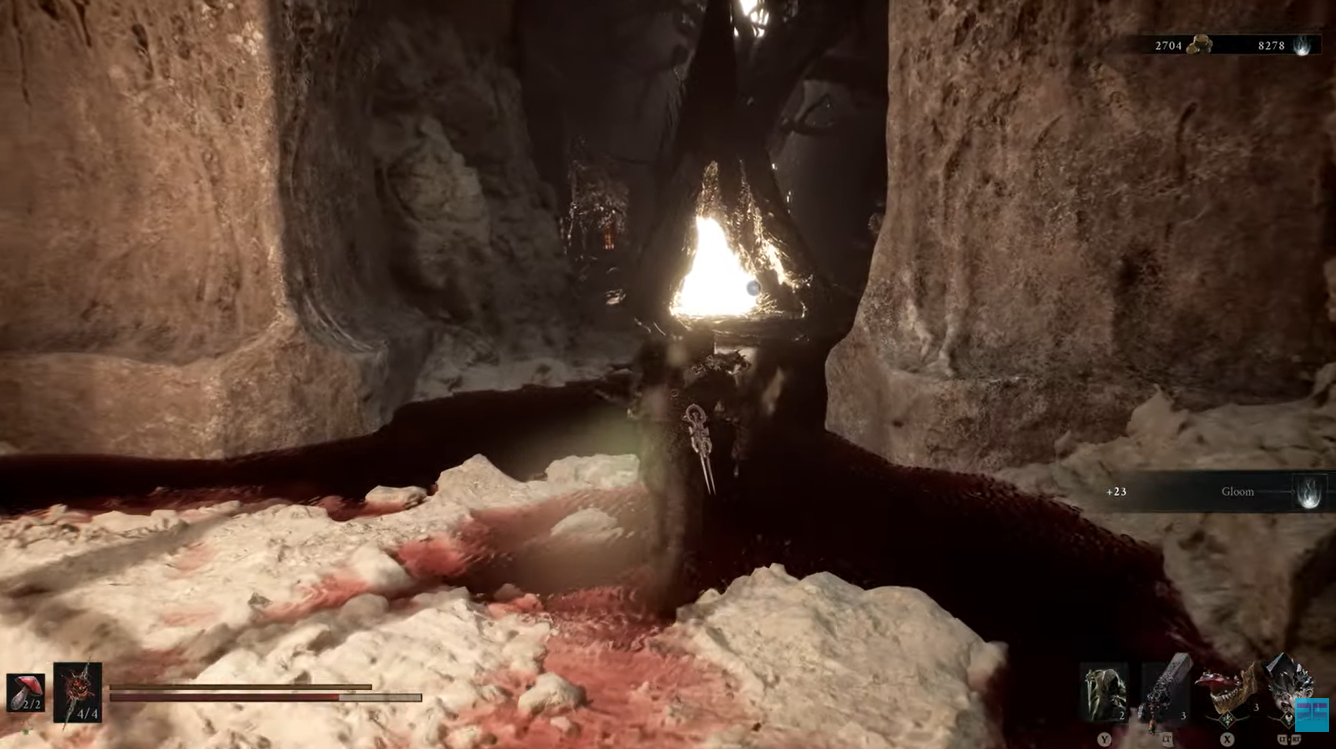
Step 5: Cleanse the beacon
Interact with the beacon to begin the cleansing sequence. Continue through the resulting area toward the Hidden Keep section. Some side rooms contain items guarded by enemies, while the main progression route is blocked by destructible objects.
A highlighted stone opens the hidden passage needed to continue. Current walkthrough coverage also notes that some enemies in this section can fight each other, allowing you to wait at a safe distance and reduce the number of enemies you have to fight yourself.
Step 6: Reach Lucian the Thirsting Knight
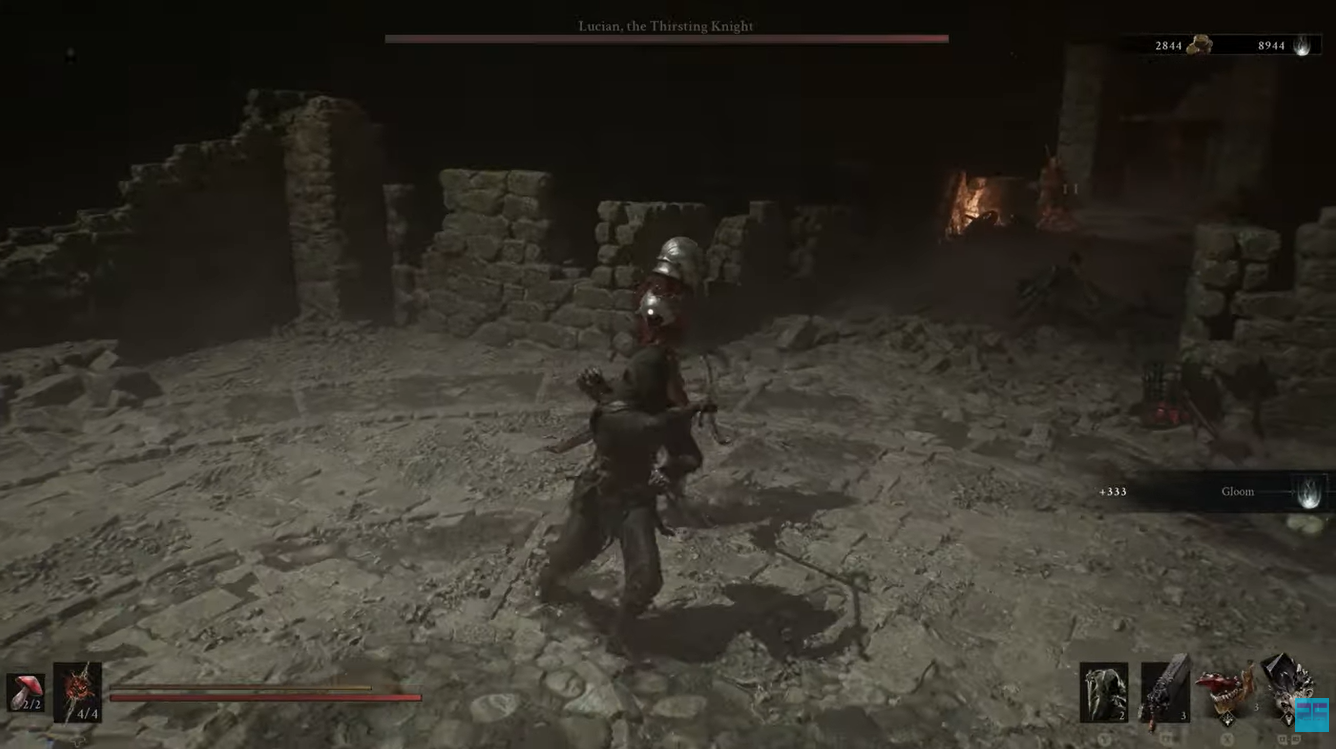
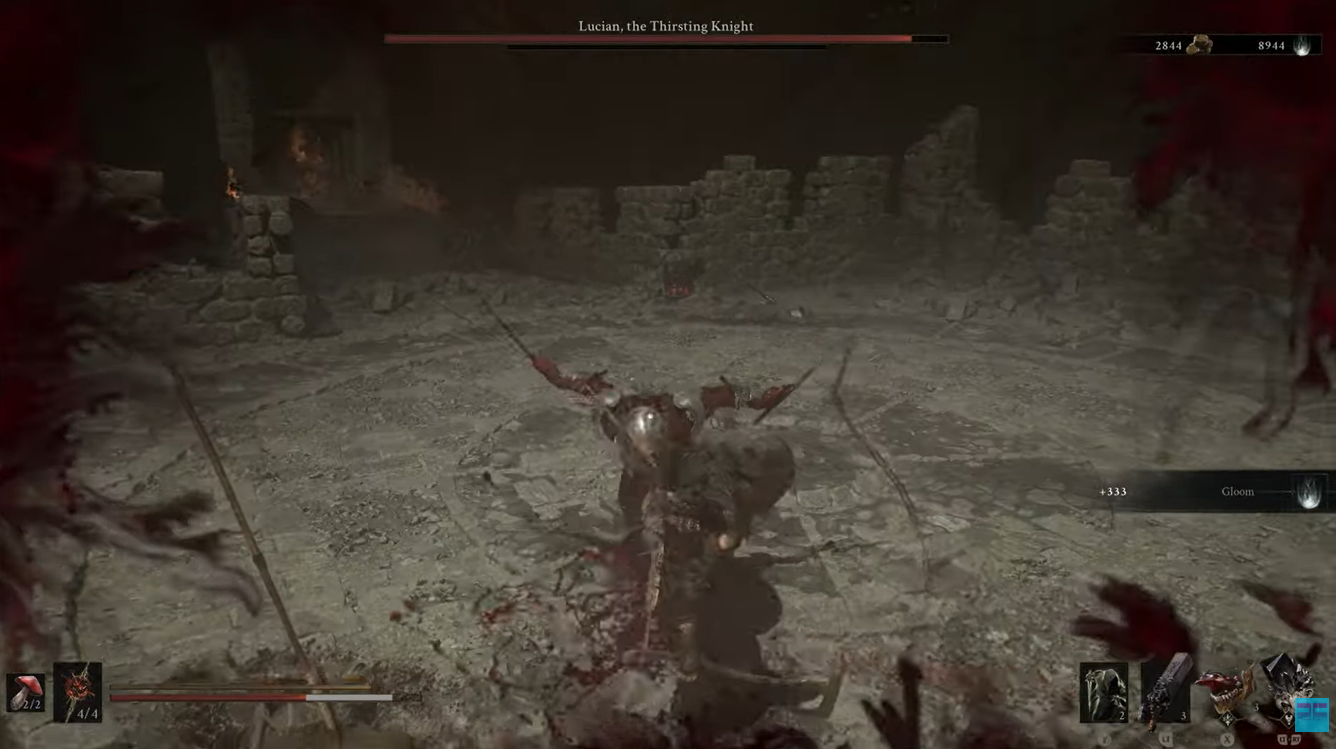
Follow the newly opened route until you reach Lucian. The first phase is primarily about learning his melee patterns. He can use a swing-and-stab combination, an in-and-out double swing, and a leap followed by multiple slashes.
Do not try to trade hits with him constantly. The safer approach is to watch the end of his combinations and attack during the recovery window.
Step 7: Use Frost if you have it
Lucian is currently listed as weak to Frost, so a Frost-based option can make the encounter more manageable. If you do not have a suitable Frost setup, you can still defeat him normally by focusing on his attack patterns and using parries or well-timed defensive responses.
A successful parry can create an opening for a riposte. If you have sidearm ammunition available, you can also use your sidearm while Lucian is vulnerable after being knocked down.
Step 8: Follow Lucian into the second phase
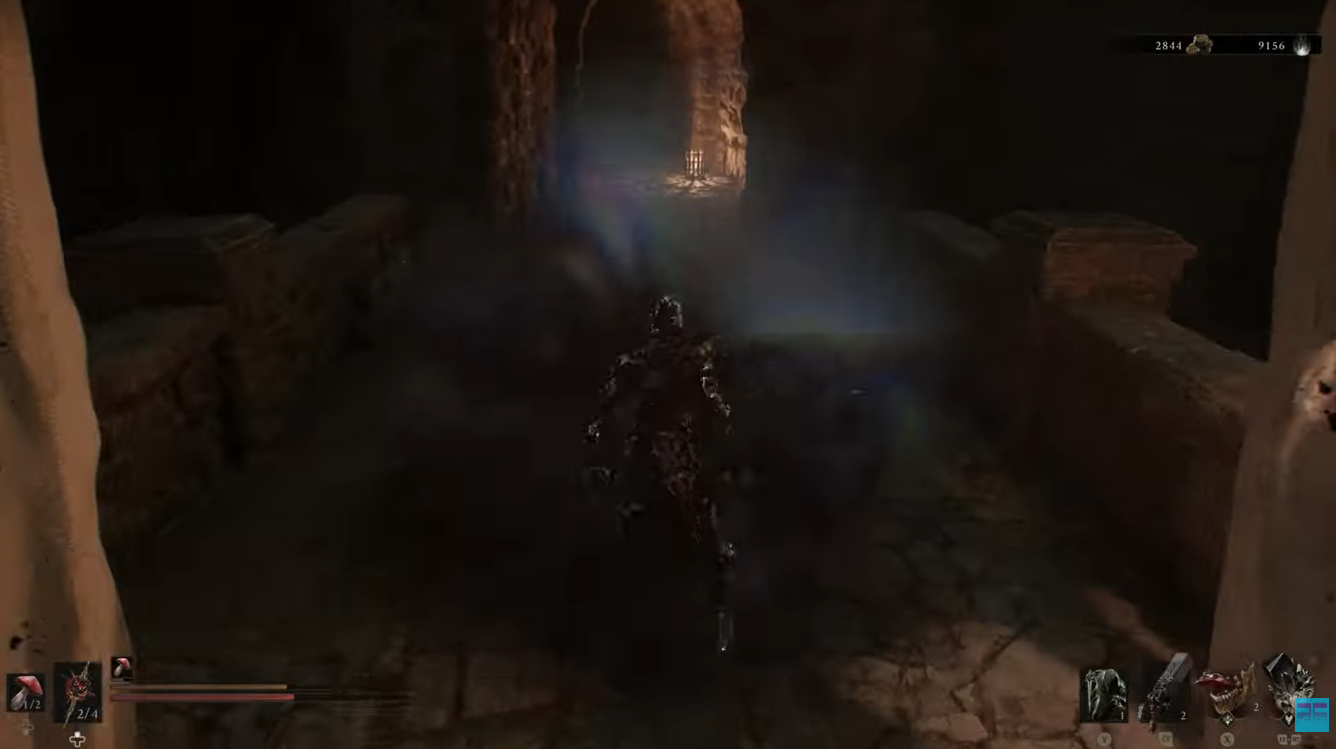
At approximately half health, Lucian leaves the initial arena and moves toward higher ground. Follow him through the route until you find the opening beside a wall torch that leads back into the encounter.
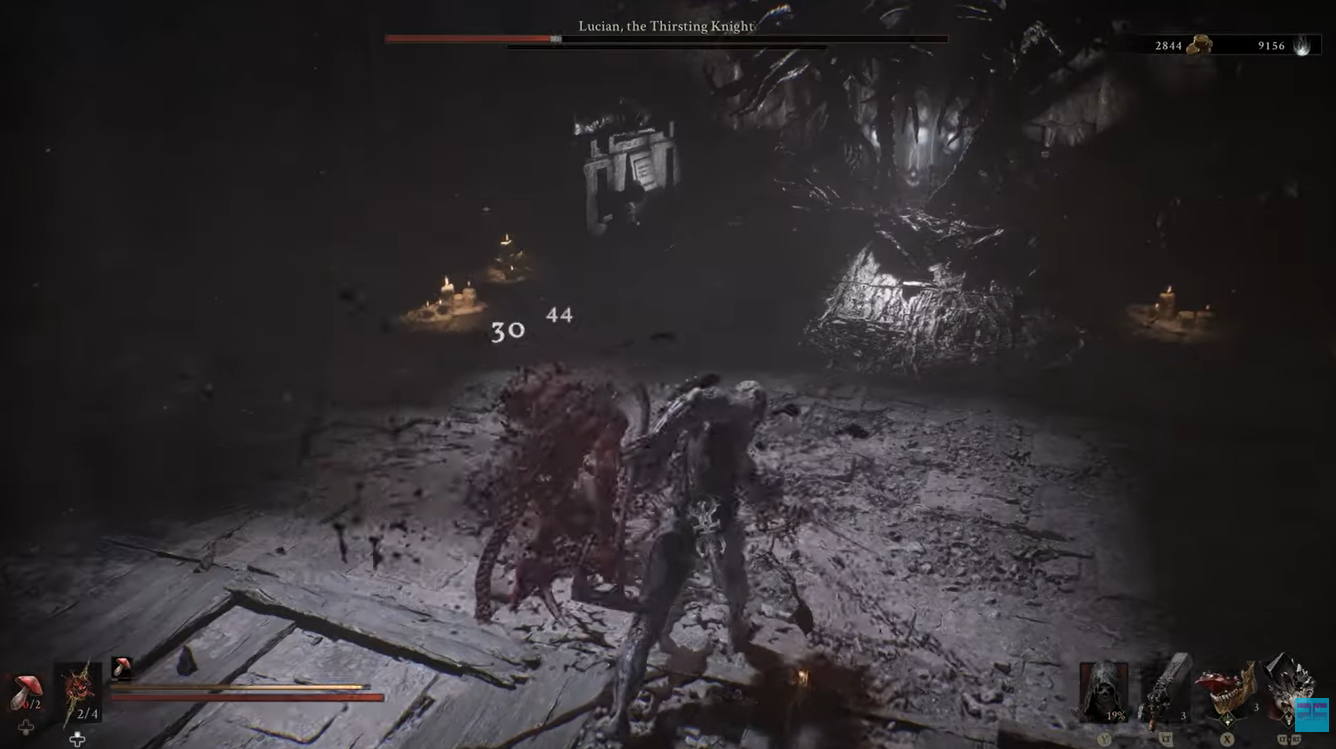
The second phase is more difficult because Lucian can turn invisible. He can still attack while hidden, and you can still damage him even when you cannot clearly see his body.
Step 9: Defend against the invisible attacks
When Lucian disappears, do not panic and blindly chase him. Current boss coverage recommends holding guard and watching your break meter for incoming attacks. His second-phase attacks include invisible swipes, a quick double swipe, and a forward claw swipe.
Defensive play is generally the safer approach here. Area-of-effect abilities can also help because they allow you to damage Lucian without needing to pinpoint his exact location.
Step 10: Defeat Lucian and collect the Serpent Stone
Once Lucian is defeated, collect the rewards from the encounter. The Serpent Stone is a guaranteed reward, so there is no separate chest or random drop you need to search for after the fight. Current guides list the rewards as one Glimpse, one Serpent Stone, and 6,500 Gloom.
Make sure you collect any additional loot in the arena before leaving if you want to make the trip more efficient.
How the Serpent Stone Poison infusion works
The Serpent Stone is an Infusion Tarstone rather than a general-purpose combat Tarstone. Its effect is tied to compatible weapons, meaning you cannot simply equip it and expect every weapon in your inventory to gain Poison. Current launch documentation identifies the Axe and Dagger as compatible weapons, while Black Needle is also listed as compatible with Poison.
Activating the Serpent Stone costs 15 Resolve, which is notably inexpensive compared with several other Infusion Tarstones. Its progression gives you four Poison-infused strikes at the first upgrade stage, eight at the next, and permanent Poison at the final stage.
| Serpent Stone level | Poison effect |
|---|---|
| Level 1 | Infusion lasts for 4 strikes |
| Level 2 | Infusion lasts for 8 strikes |
| Level 3 | Infusion is permanent |
The permanent version is especially valuable because you no longer need to repeatedly spend Resolve just to maintain Poison on the weapon. That makes the fully upgraded stone a strong foundation for a dedicated Poison setup.
How to use Serpent Stone with Tiel
Tiel is one of the clearest reasons to make the trip for Serpent Stone early. His abilities interact directly with Poison, and current build guides recommend using the stone alongside his Shadow-based attacks and Poison Burst.
The basic idea is to build Poison on enemies while using Tiel’s mobility and Shadow abilities to avoid unnecessary damage. Once enough Poison has accumulated, Tiel’s Poison Burst can turn that buildup into additional damage. Serpent Stone therefore does more than add a status effect to your weapon; it helps turn the weapon itself into part of Tiel’s Poison engine.
For a faster early-game setup, the Axe and Dagger are particularly practical because current weapon guides identify them as early weapons that can use Serpent Stone.
| Reward | Amount | Why it matters |
|---|---|---|
| Serpent Stone | 1 | Unlocks Poison weapon infusion |
| Glimpse | 1 | Used for progression and Shell-related systems |
| Gloom | 6,500 | General progression currency |
These rewards are tied directly to defeating Lucian the Thirsting Knight at Stonebled Gate.
How to upgrade the Serpent Stone after getting it
Obtaining the Tarstone is only the beginning if you want the permanent Poison effect. Tarstones can be ranked through the Tarforge system, with Etching Needles required to unlock Tarstone tempering at Franz. Current launch documentation confirms that Infusion Tarstones follow the four-strike, eight-strike, permanent progression for Serpent Stone.
This means you can use Serpent Stone immediately after obtaining it, but the permanent Poison effect requires upgrading the stone. If you’re committed to a Tiel Poison build, investing in the stone becomes considerably more valuable because the final rank removes the need to repeatedly activate the infusion.
Video help:




Leave a Reply