

To complete the Outskirts of Nochte beacon, break the suspicious stone wall near the start of the Infested Den, shoot the white ropes by the tree to drop the bridge, then follow the path down to cleanse the glowing Ovum orb.
The Outskirts of Nochte beacon sits out in the Fainweald swamplands, and reaching it is only half the job — the beacon itself feeds into a short dungeon called the Infested Den, which hides two small puzzles that stop a lot of players cold. This walkthrough takes you from the entrance to the cleanse point at the end so the whole thing clears in one run.
Where to find the Outskirts of Nochte beacon in Mortal Shell 2
Cleansing this beacon means working through the Infested Den and interacting with the Ovum at the very end, which flags the area as complete and opens it up as a fast-travel point. You don’t need to hunt it down early — the beacon lies in the shallow edge of the swamp along the Nochte route, and you’ll pass through it naturally as you push west through Fainweald.
The catch is that the Den looks like a dead end almost as soon as you step inside, and it’s crawling with poisonous, self-detonating enemies that make it easy to assume you’ve hit a wall. You haven’t — there are just two interactions the game never spells out.
Puzzle blockers and solution
| Blocker | Solution |
|---|---|
| Suspicious stone wall near the start | Hit the odd-looking rock on the right with a melee swing to open the passage |
| Raised wooden bridge over the gap | Shoot the white ropes with a side arm to drop it into place |
| Final cleanse orb | Interact with the glowing Ovum to clear the dungeon |
Key Both puzzles are environmental, not combat. One is a breakable wall you can walk straight past, and the other is a bridge you have to drop with a ranged shot rather than a jump. Here’s the fast version before the full route.
How to complete the Outskirts of Nochte beacon in Mortal Shell 2
Follow this route straight through the Infested Den and you’ll hit both puzzles in order before cleansing the Ovum at the end.
STEP 1/10
Activate the beacon and head in
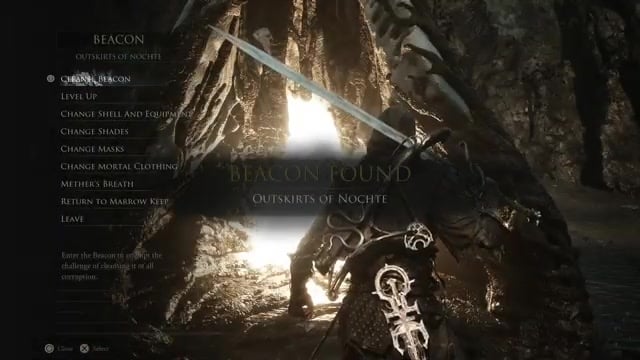
Interact with the Outskirts of Nochte beacon to set the checkpoint, then leave it and move forward into the dungeon.
STEP 2/10
Clear the first poison enemy
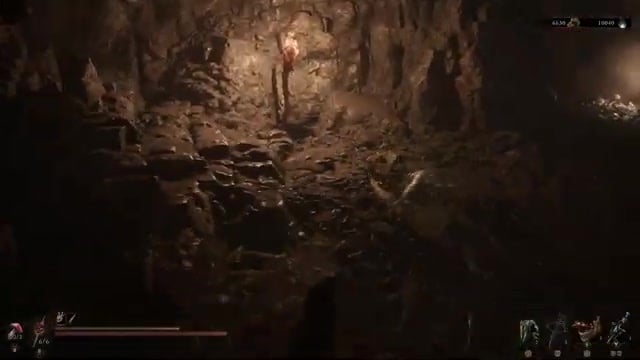
A glowing, explosive poison enemy blocks the opening corridor, so take it out before it detonates near you.
STEP 3/10
Break the odd rock on the right
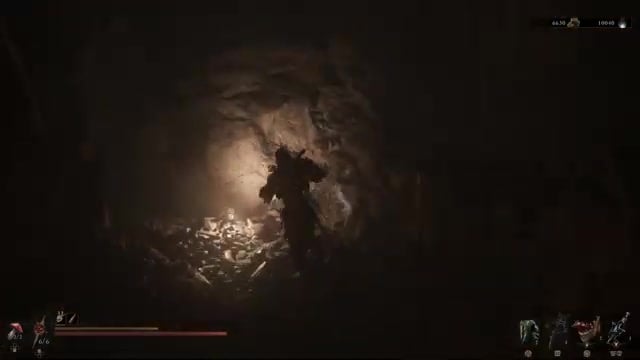
Look for the cracked, out-of-place rock on the right wall and swing your sword at it to smash open the hidden passage.
STEP 4/10
Push through into the Infested Den
You’ll cross into the area titled Infested Den; run past or fight through the cluster of crawling enemies as you climb the wooden walkways.
STEP 5/10
Deal with the exploders up top
On the upper catwalk, clear the exploding enemies first — if you leave them, they’ll blow up mid-aim and make the next step impossible.
STEP 6/10
Shoot the white ropes to drop the bridge
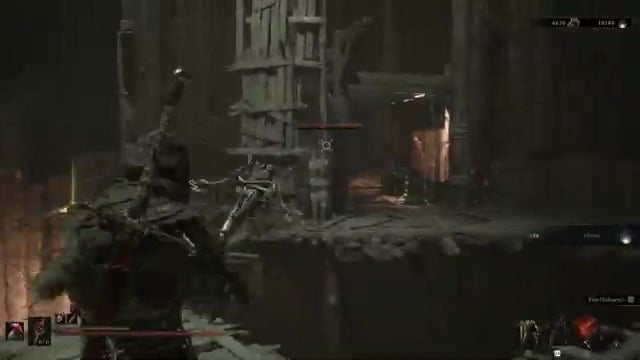
Aim a ranged shot at the white ropes by the tree across the gap; on console you can’t free-aim with enemies nearby, so clearing them first is what lets the shot land and drop the bridge.
STEP 7/10
Cross and take the jump-up path
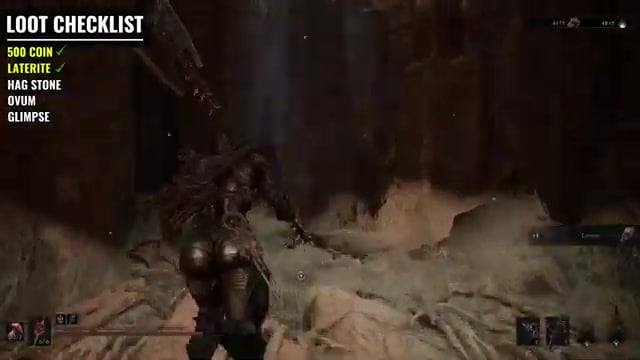
Cross the lowered bridge, thin out any exploders that follow, and use the updraft to launch up to the higher ledge.
STEP 8/10
Open the chest before dropping down
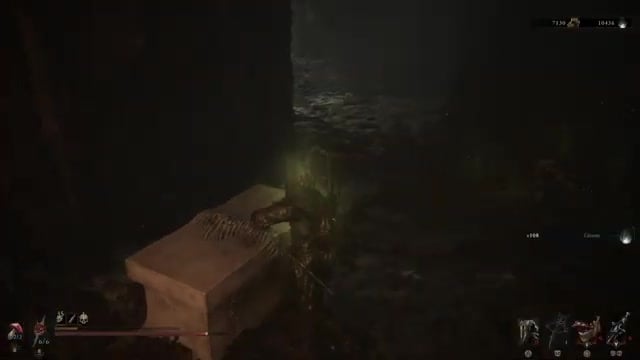
In the upper alcove, open the stone chest — it’s easy to forget and a pain to backtrack for later.
STEP 9/10
Drop down and clear the last enemies
Drop off the ledge into the flooded lower chamber and finish off the enemies waiting around the light source.
STEP 10/10
Cleanse the Ovum
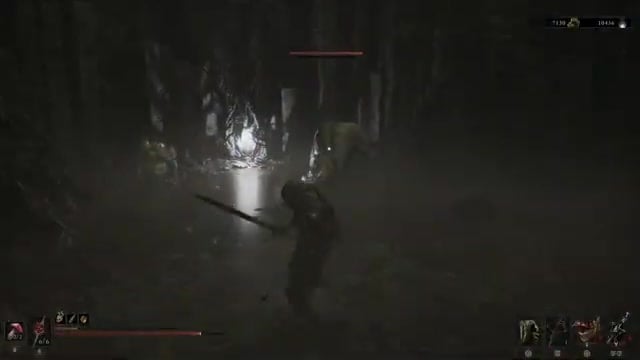
Interact with the glowing orb, accept the New Ovum prompt, and the dungeon clears as you’re returned to the beacon.
If your rope shot won’t line up, kill every exploding enemy on the walkway first — free-aim is locked while they’re nearby, and that lock is the real reason the bridge feels un-droppable.
Video help
Why the beacon looks blocked when it isn’t
Almost every “this beacon is bugged” moment here comes down to one of a few misses. The most common is walking right past the cracked wall near the start and looping the opening room convinced the Den is a dead end — the passage only exists after you break that rock.
The second is the bridge. Plenty of players try to jump the gap, fall short, and assume they’re stuck, when the fix is a ranged shot at the ropes. Tied to that is the aiming problem: if the exploding enemies are still alive, you can’t free-aim to line up the shot, so they need to go first. And finally, it’s genuinely easy to walk away at the end without touching the orb — if you don’t interact with the cleanse point, the beacon stays corrupted and the area never registers as done.
Loot and where to head next
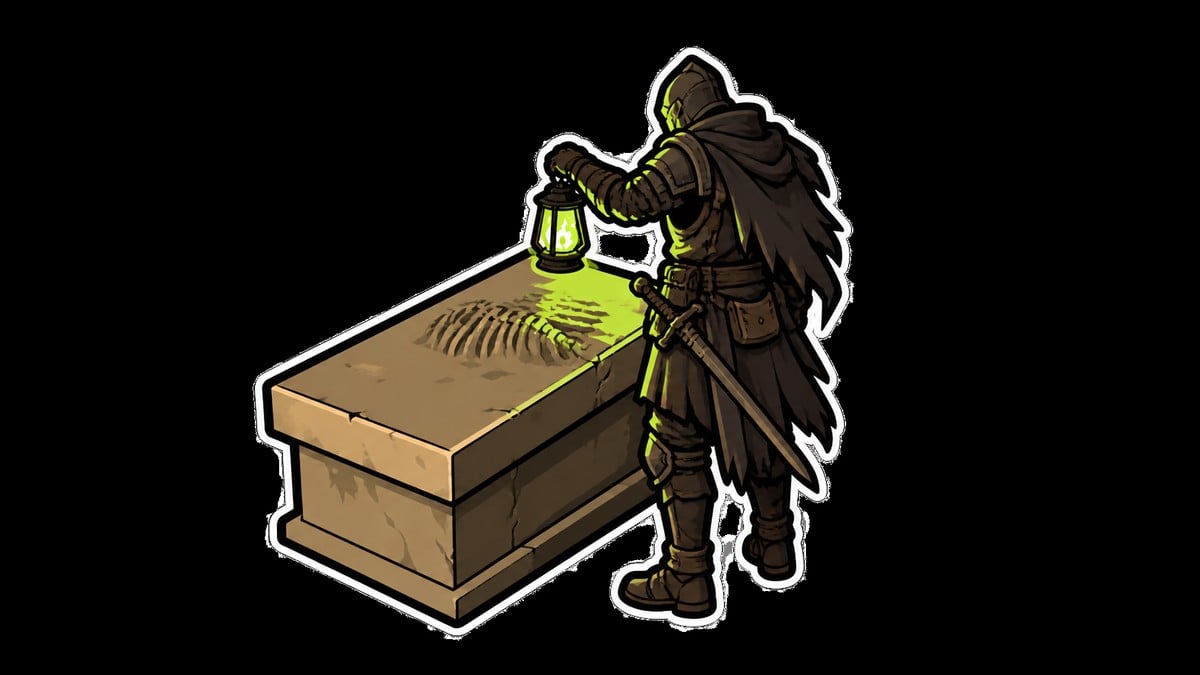
Grab the chest on the upper route before you drop down, since coming back for it later is a hassle. It holds a Plague Stone along with roughly 1,500 gold — nothing run-defining, but not worth skipping either.
Once the beacon is cleansed, the area around it is a natural launch pad for a couple of next steps. Just uphill you can start the Blood Offering ritual toward the Smert Shell, and the wider Nochte route continues on from here as you push deeper through Fainweald.
Related Mortal Shell 2 guides






Leave a Reply