
To unlock more floor deck variants in SAND: Raiders of Sophie, open the Tech Tree from the main lobby, go to Kaiser’s Friends in the orange branch, unlock the wooden deck upgrade, then return to your Trampler build page and check the Deck section.
Floor decks in SAND: Raiders of Sophie can mean two slightly different things. If you want more deck shapes and layout pieces, that comes from the Kaiser’s Friends Tech Tree branch; if you want another walkable level, that is built in the Trampler editor with frames and decks.
Deck variants versus extra floors
| Goal | What |
|---|---|
| Unlock new floor deck variants | Use the Kaiser’s Friends orange Tech Tree branch and unlock deck upgrades. |
| Add more usable floor space | Place support frames or hatch frames, then put standard decks above them. |
The fast answer is that deck variants and usable vertical floor space are not the same upgrade. The Tech Tree gives your Trampler more floor deck options to place, while the builder is where you create height by stacking support structures and walkable decks.
KEY!That distinction matters because searching for a separate “extra floor slot” can send you in circles. For more shapes, go through progression; for an actual second level, use Decks and Frames in the Trampler build screen.
How to get more floor deck variants in SAND: Raiders of Sophie
Use this path when you want more deck pieces to choose from in your Trampler build menu.
STEP 1/8
Open the Tech Tree
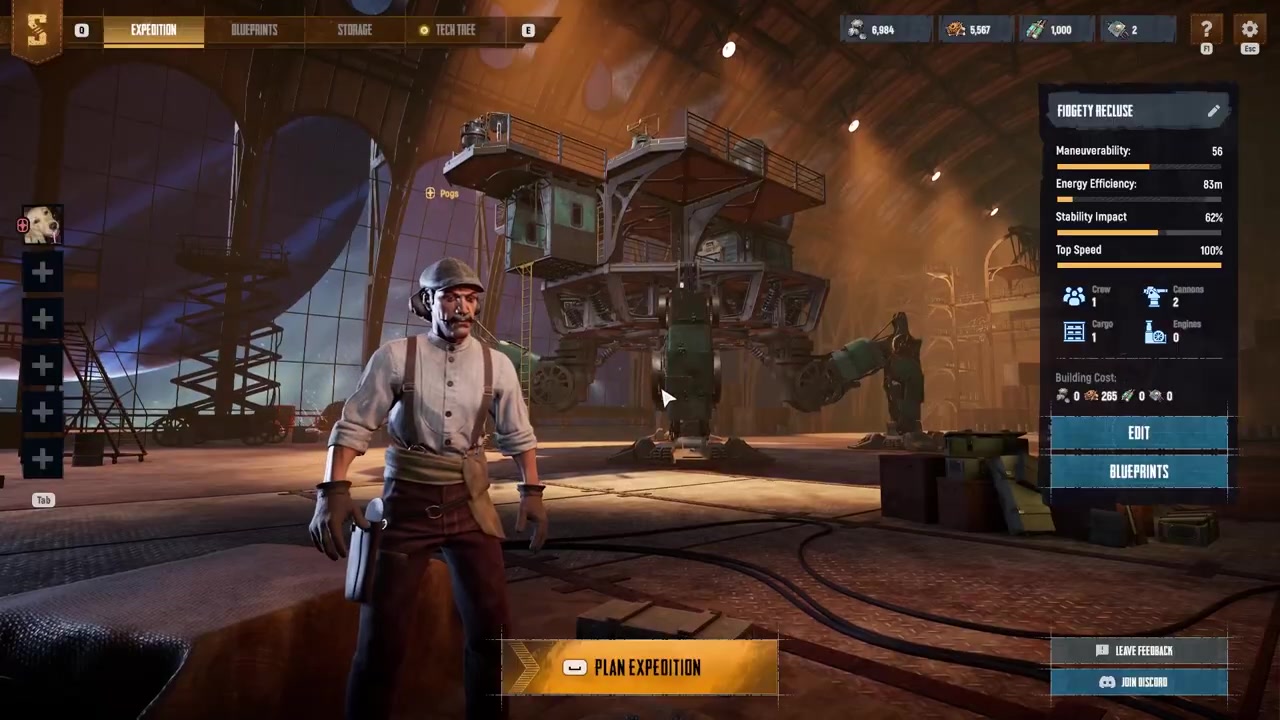
From the main lobby, open the Tech Tree to start working toward new Trampler deck options.
STEP 2/8
Go to Kaiser’s Friends
Select Kaiser’s Friends, the orange upgrade branch that contains the floor deck upgrades.
STEP 3/8
Unlock the wooden deck upgrade
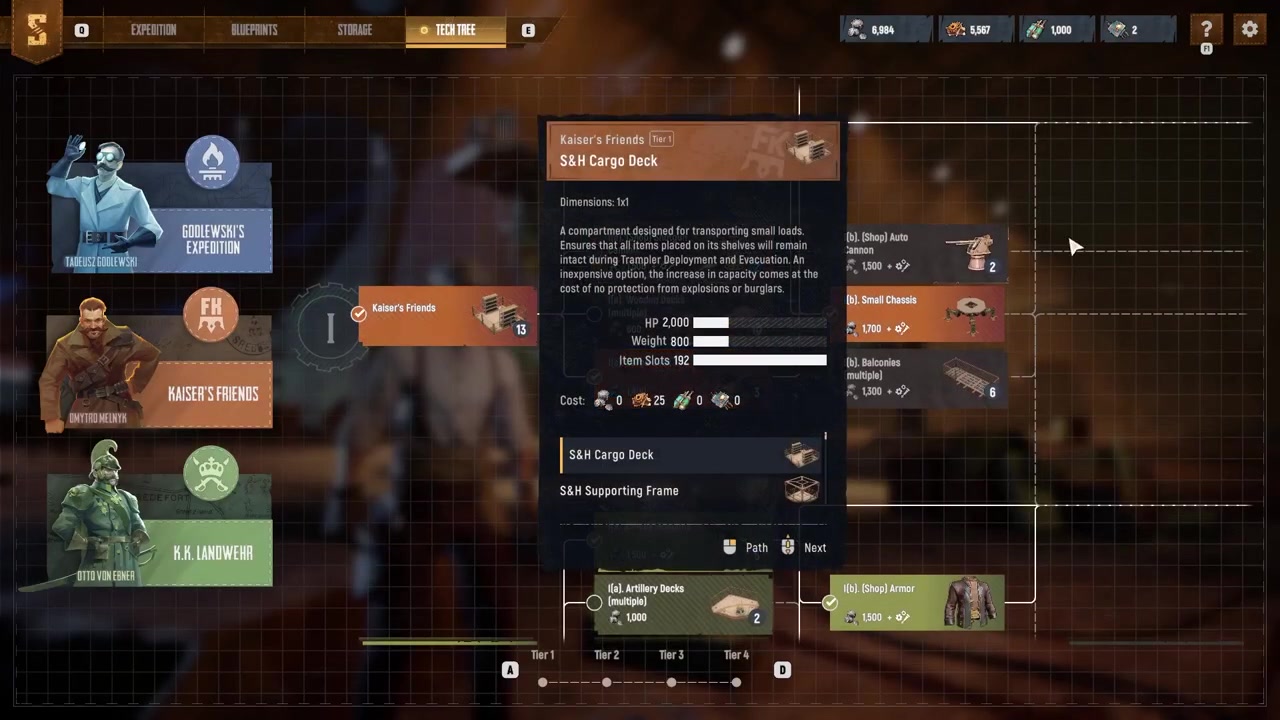
Get the first wooden deck upgrade to add several new deck shapes and layouts for your Trampler.
STEP 4/8
Push farther through the branch
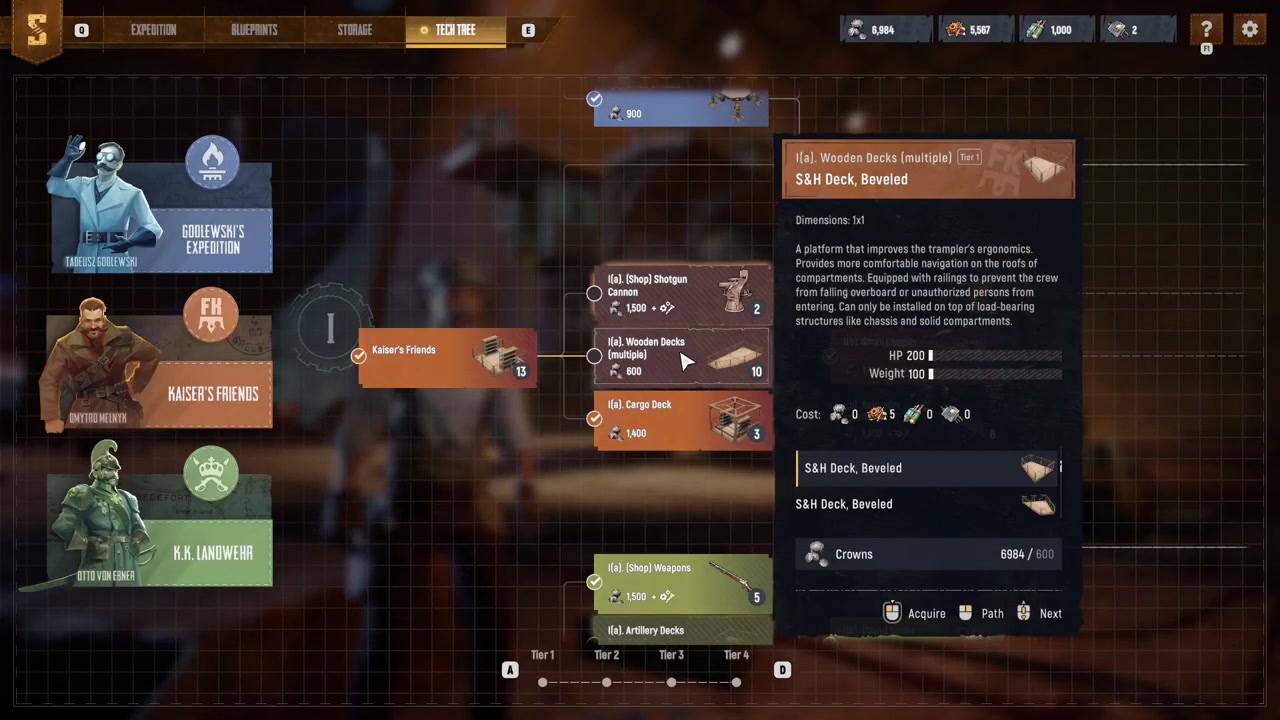
Continue deeper in the Tech Tree to reach stronger floor deck variants, including versions with armored railings.
STEP 5/8
Save crowns and rarer materials
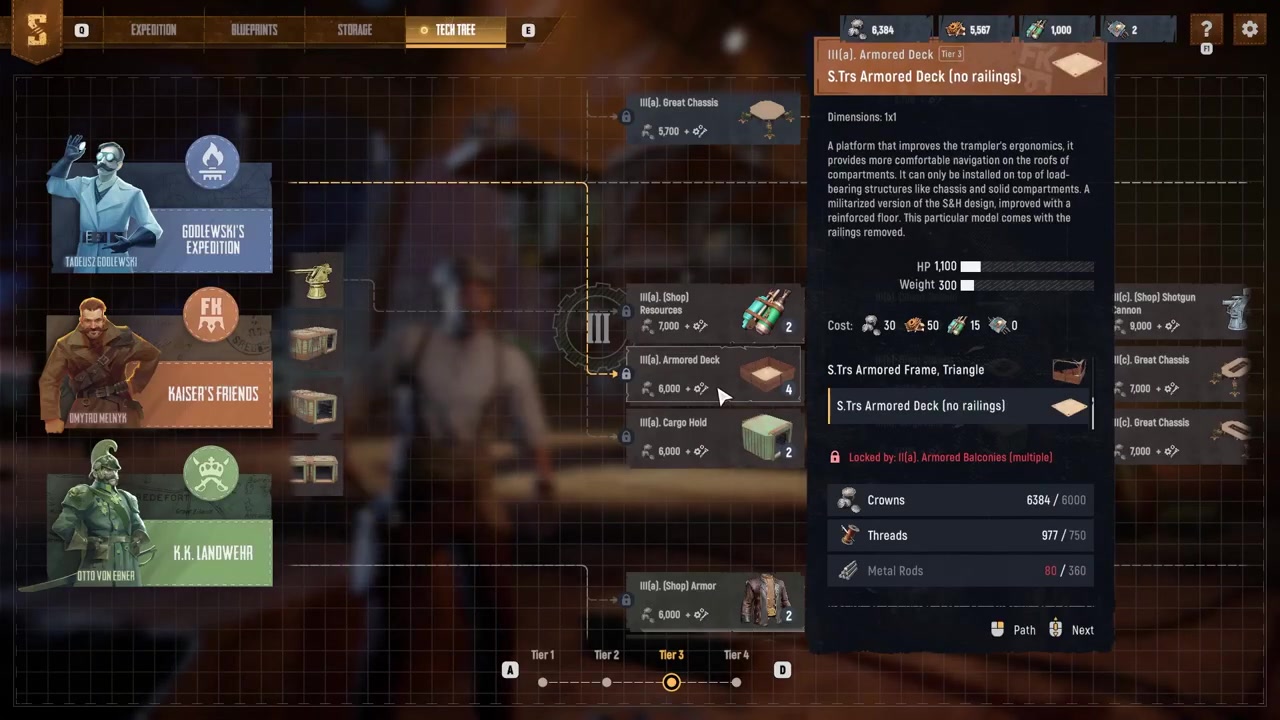
Higher-tier deck upgrades need more crowns and rarer materials, so plan around progression before chasing every variant.
STEP 6/8
Return to the Trampler build page
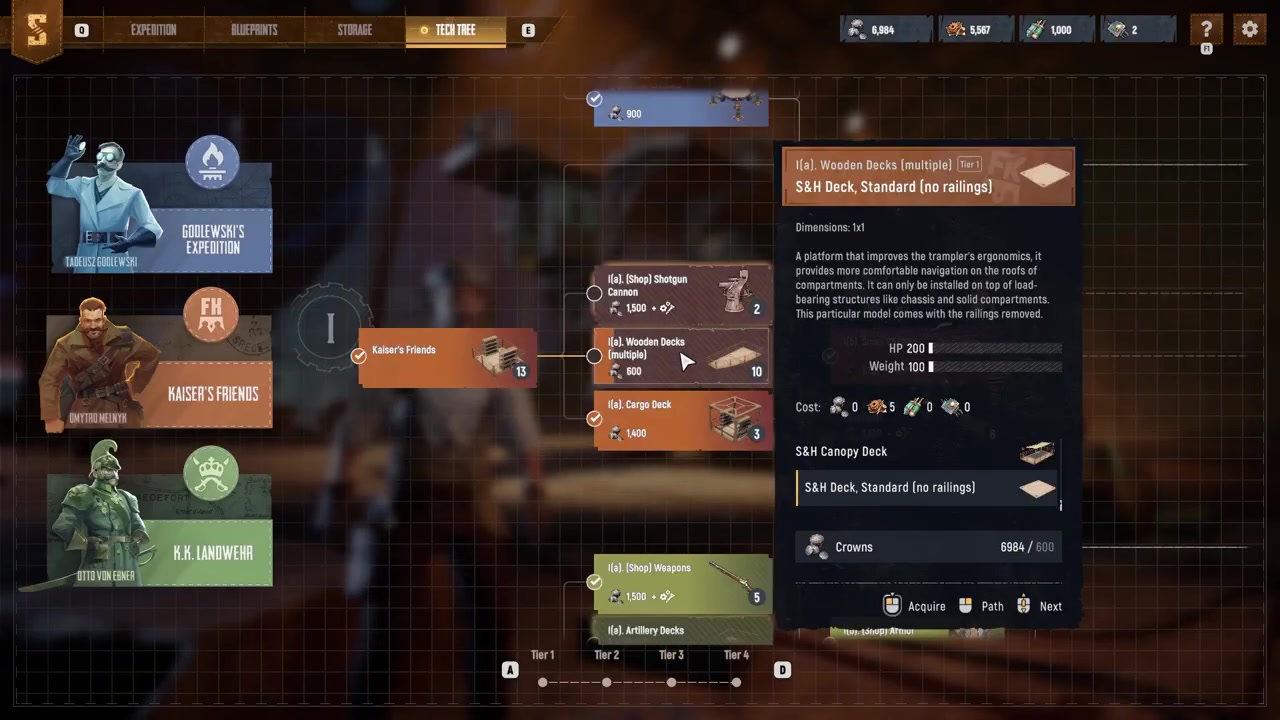
Once the deck upgrades you want are unlocked, go back to your Trampler build page.
STEP 7/8
Open the Deck section
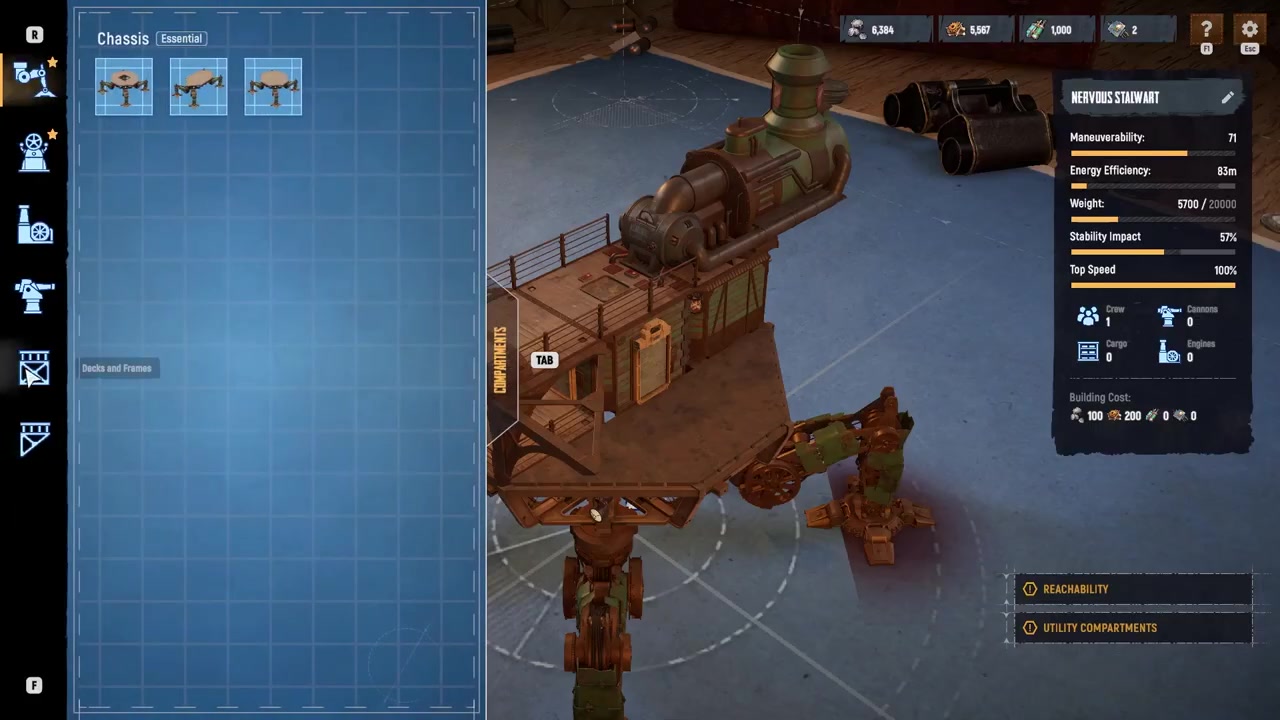
Open Deck and the newly unlocked floor deck variants will be ready to place in your layout.
STEP 8/8
Mix the new deck pieces
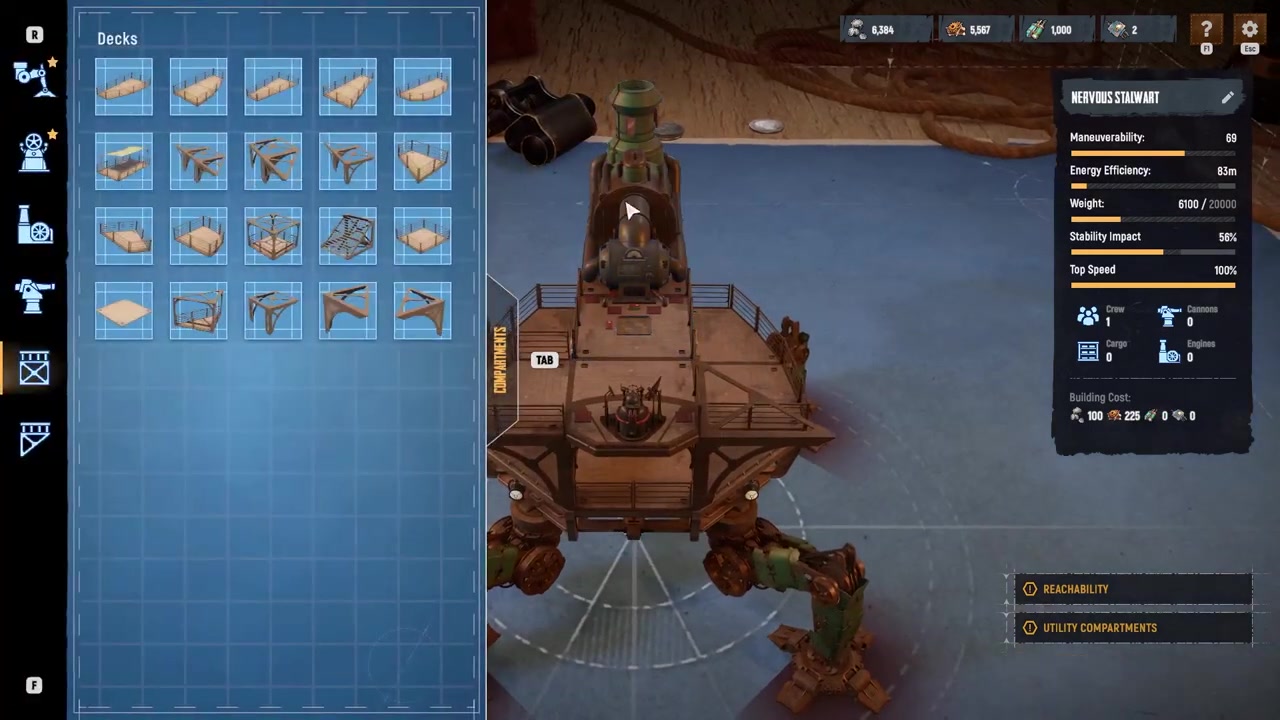
Combine different deck shapes to clean up movement routes and improve access between Trampler compartments.
Video help
What deck upgrades change
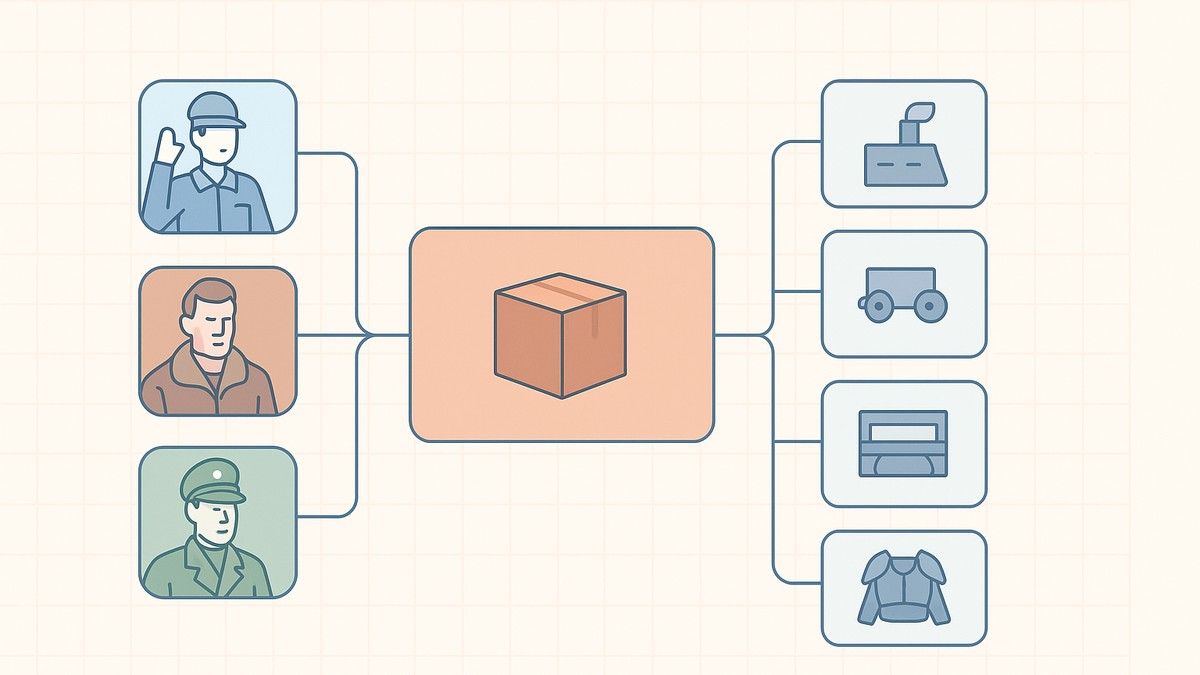
Once the floor deck upgrades are unlocked, your Trampler gets more deck shapes and layouts to work with. That gives you a cleaner build instead of forcing every walkway and compartment connection through the default pieces.
The practical payoff is smoother movement across the Trampler, easier access to important rooms, and more control over how each compartment connects. Later variants with armored railings also help during combat because they add extra cover around exposed deck areas.
Check the Deck section immediately after unlocking the wooden deck upgrade so you can see which new shapes were added before spending crowns and rare materials deeper in the branch.
Making a second usable floor
If by “more floor decks” you mean another walkable level, do that inside the Trampler or Blueprint design screen. You are building upward rather than buying a separate floor slot.
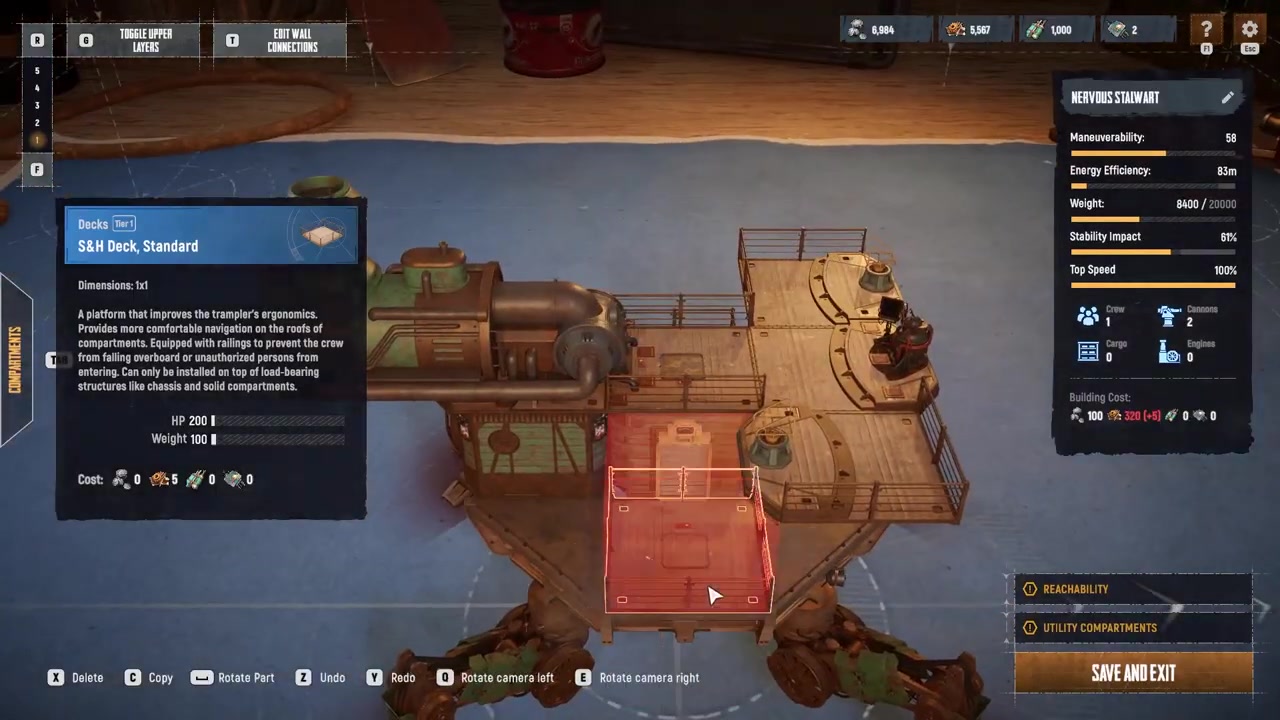
In the design screen, use the Decks and Frames tools. Place a support frame or support frame with hatch where you want the vertical connection, then place standard decks on top to form the next floor.
Keep the core Trampler build connected as you work. The chassis, motor reactor, fly bridge, entrance area, and captain’s compartment need proper deck connections, and construction warnings are the signal that something in the layout still needs attention.
Costs and progression limits
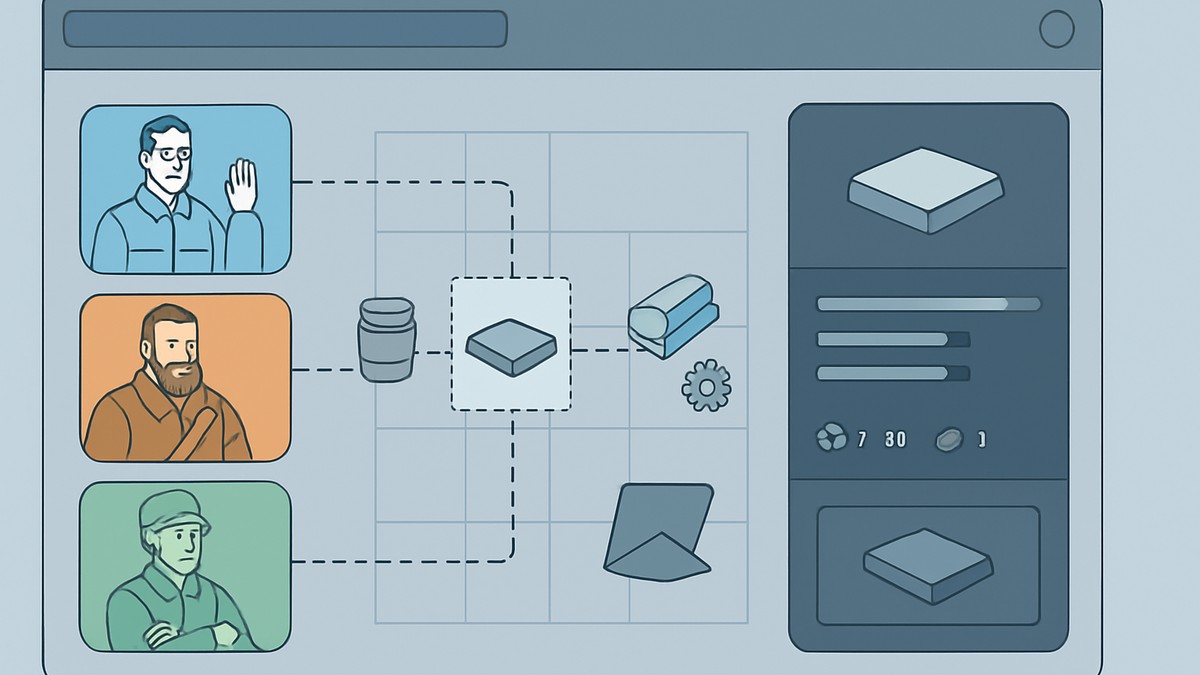
Higher-tier floor deck upgrades ask for more crowns and rarer materials as you move farther through the Tech Tree. The exact crown amounts, item counts, level requirements, and names of every later floor deck upgrade are not listed clearly enough to treat as fixed values.
For building extra vertical space in the editor, the useful limit is your Trampler layout: where support frames can fit, how decks connect, and whether the design clears its construction warnings.
Floor deck mistakes to avoid
The most common mistake is looking for one separate floor-slot unlock. New deck variants come from the Tech Tree, but another physical floor comes from placing support frames and decks in the builder.
Another issue is trying to place decks as if they can float without structure. If the upper floor does not have the right frame or hatch support under it, the layout can stay broken or disconnected.
Do not ignore construction warnings near the core component area. They usually mean your Trampler pieces are not connected correctly, especially around the core modules and the decks linking them together.
Also keep standard decks separate from specialty pieces in your head. Turret decks are for cannon placement, while storage decks are tied to storage use; they are not direct replacements for every normal walkway or floor piece.
Trampler upgrades to check next
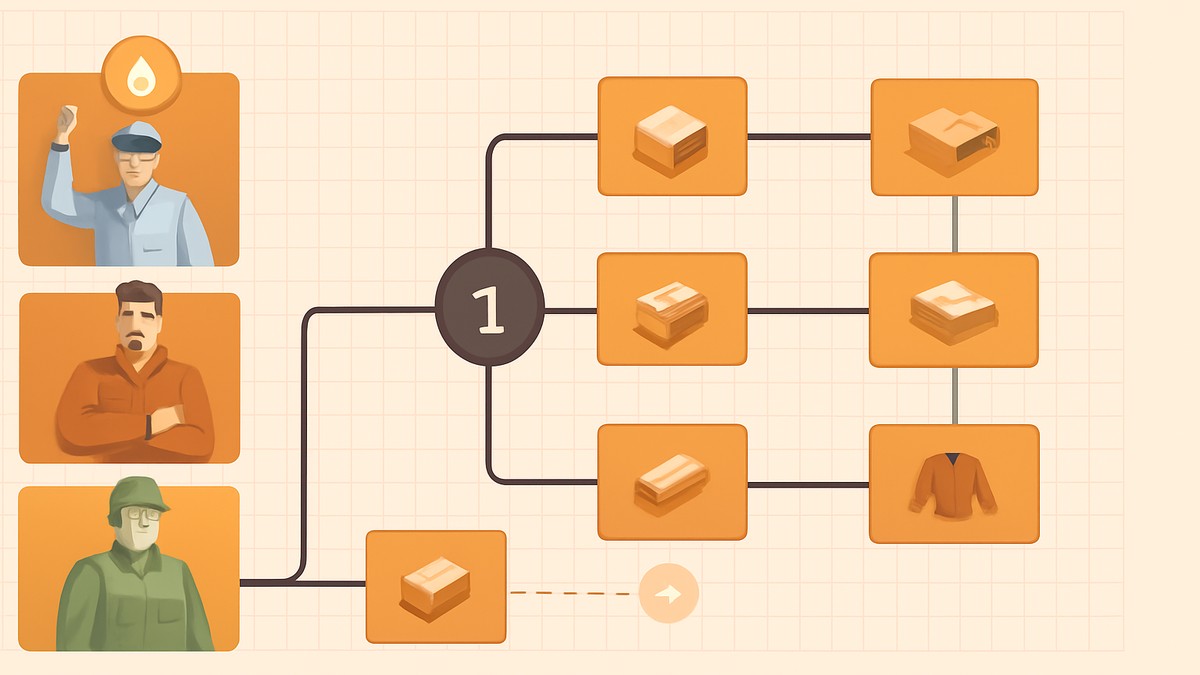
After floor decks, the next useful Trampler upgrades are the ones that affect control, storage, combat, and survivability. Look at steering decks, cargo decks, turret decks, and storage decks if you are trying to make the build better for raids instead of only changing its shape.
The Tech Tree is also worth checking for upgrades that improve how durable or flexible your Trampler loadout feels. Better deck options help the layout, but the surrounding systems decide how well that layout holds up under pressure.
Frequently Asked Questions
Are more floor decks unlocked in the Tech Tree or built in the Trampler editor?
Both, depending on what you mean. New floor deck variants are unlocked through the Kaiser’s Friends orange Tech Tree branch. Extra usable vertical floor space is built in the Trampler editor with support frames, hatch frames, and standard decks.
Where is the first floor deck upgrade found?
The first floor deck upgrade is the wooden deck upgrade in Kaiser’s Friends, the orange branch of the Tech Tree. Unlocking it adds several new deck shapes and layouts for your Trampler.
Do armored railing decks give combat cover?
Yes. Later floor deck variants include decks with armored railings, which provide extra cover during combat and make exposed deck areas safer to use.
Do we know the exact crowns or material costs?
Higher-tier deck upgrades require more crowns and rarer materials, but exact costs, item counts, and level requirements are not fixed here. Check the upgrade node in-game before spending resources.
How do you make a second floor on a Trampler?
Open the Trampler or Blueprint design screen, go to Decks and Frames, place a support frame or support frame with hatch, then place standard decks above it. Clear any construction warnings before saving the build.



Leave a Reply