The release of iOS 15 is being met with both applause and criticism. Many users are excited by new features that arrive with iOS 15, but many others have found iOS 15 to be nothing but an update full of bugs and issues.
Ever since its release, user complaints about problems with the Mail app’s notifications have only grown. This is a huge problem, not least because of all the important emails that a user misses out on if the notifications don’t do what they’re supposed to.
But it isn’t just Mail Notifications that’s riddled with problems; the Mail app itself is acting out of whack, causing many to seek out potential fixes for this. If you’re experiencing problems with your Mail app on iOS 15, here’s what you can do to get around it.
- How to solve the Mail Notifications not working problem on iOS 15
- Method #01: Add Mail as whitelist in Focus mode
- Method #02: Turn Off Focus
- Method #03: Ensure that Notifications are On for Mail
- Method #04: Turn on Alerts, Sounds, and Badges from Mail notifications
- Method #05: Edit Mailbox and Thread Notifications (and delete duplicates)
- Method #06: Restart Mail
- Method #07: Reboot your Device
- Method #08: Uninstall and reinstall Mail
- What’s causing problems with Mail on iOS 15?
How to solve the Mail Notifications not working problem on iOS 15
If you’ve made sure that all the settings to receive Mail Notifications are in place and you still don’t get any notifications for it, here are a few fixes that you can try out.
Method #01: Add Mail as whitelist in Focus mode
If you’re using Focus Mode, you may want to set it up in a way that the notifications from the Mail app are not silenced. This can be done easily by whitelisting the app in Focus. Here’s how:
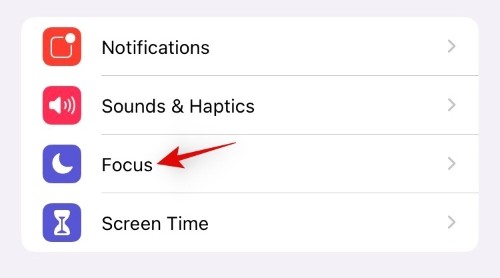
Open the Settings app on your device and tap on ‘Focus’.
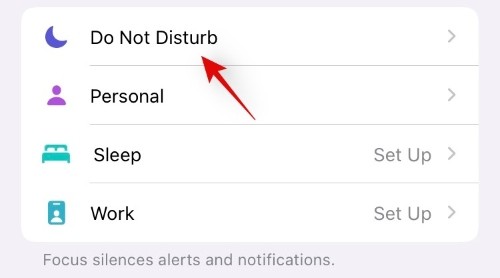
Now tap on the Focus mode where you wish to whitelist an app.
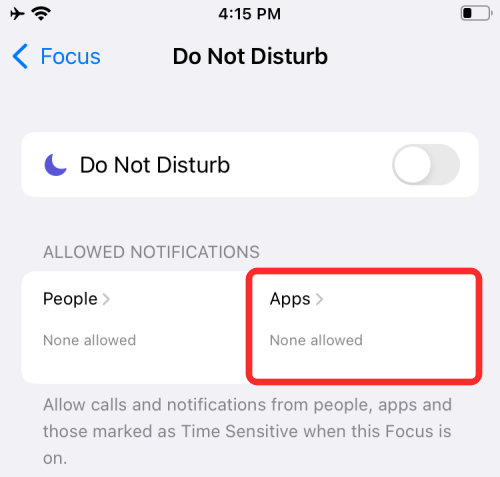
Tap on the ‘Apps’ section under ‘Allowed Notifications’ at the top of the screen.
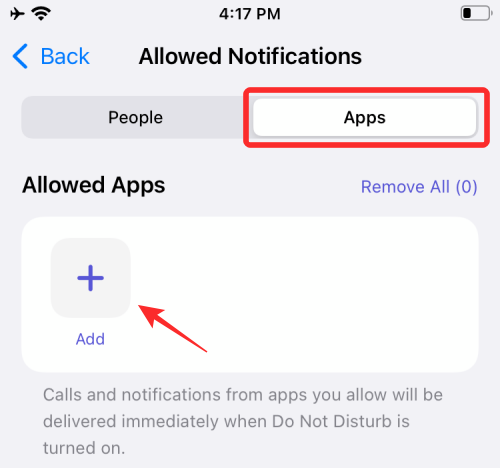
On the next screen, select the ‘Apps’ tab at the top and then tap on the ‘+ Add’ button under the ‘Allowed Apps’ section.
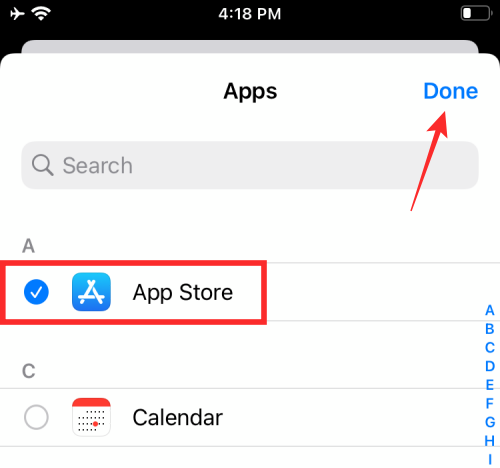
Tap and select the app you wish to whitelist for the selected Focus mode. After you’ve selected the apps you want to whitelist, tap on ‘Done’ at the top right corner of your screen.
And that’s it! The selected app will now be visible inside the ‘Allowed Apps’ section and will be whitelisted from the concerned Focus mode on iOS 15.

Method #02: Turn Off Focus
Disable Focus mode and then check if you are receiving the notifications from the Mail app now. If it works, then the Focus mode you have set is the problem. Avoid using it if Mail notifications are more important to you.
2.1: Turn Off Focus using Control Center
The easiest way to turn off Focus is using iPhone’s Control Center. For this, you need to first access the Control Center by swiping downwards from the top right (for iPhone X or newer) or upwards from the button portion (for iPhones with a Home button) of your iPhone’s screen.
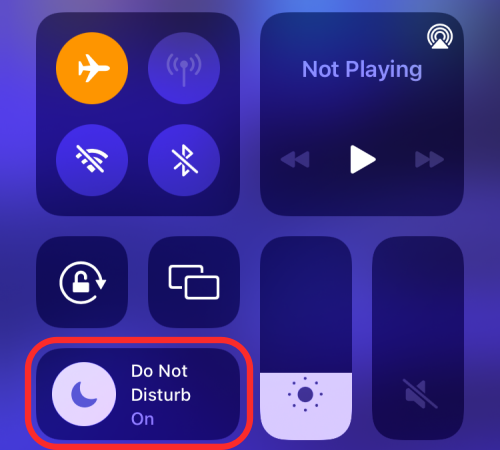
When the Control Center appears, tap on the ‘Focus’ control center module. If you don’t see the Focus label, it should appear as the name of the focus mode you have enabled, for eg. “Do Not Disturb”.
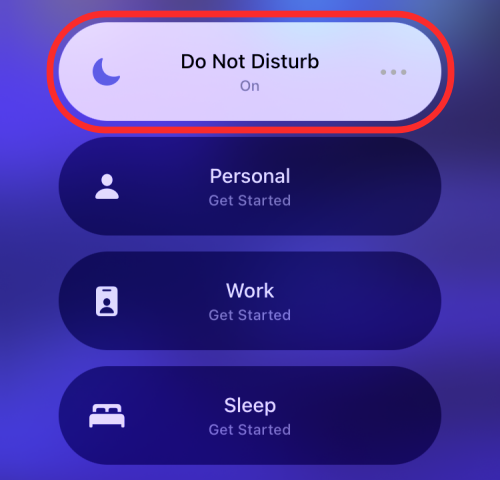
Now tap the currently active Focus routine to disable it.
The selected routine will now be disabled on your device.
2.2 Turn Off Focus using Settings
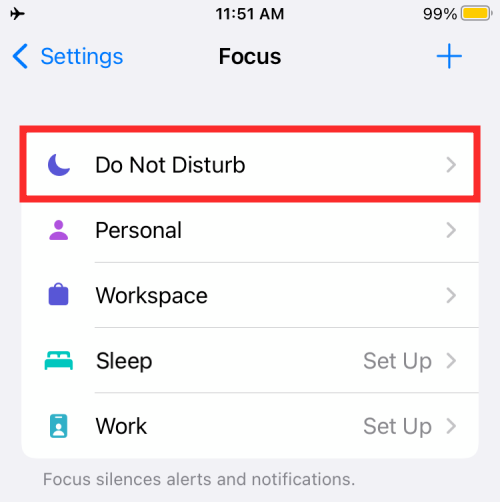
An alternative way to turn off Focus on your device is through your iPhone’s Settings app. For this, open the Settings app on iOS and select the ‘Focus’ section.

Inside the Focus screen, select the Focus you want to disable.
On the next screen, tap on the (green) toggle adjacent to the Focus’ name to disable it. If the toggle is already greyed-out, leave it as it is.
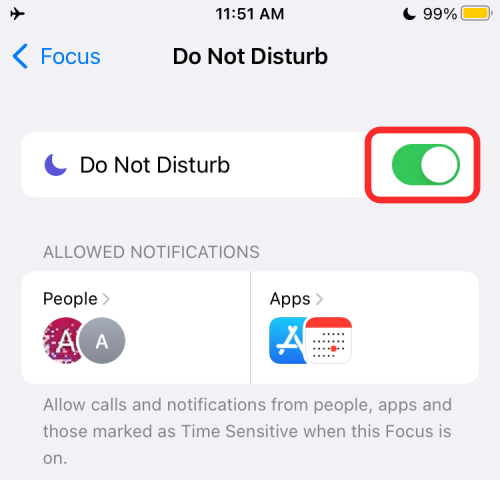
The selected Focus has now been disabled.
Method #03: Ensure that Notifications are On for Mail
Another thing to ensure is that Notifications are on for Mail. This can be done from the Settings page itself.
Go to the Settings app. Tap on Notifications.

Tap on Mail.

Make sure Allow notifications is toggled on.

Method #04: Turn on Alerts, Sounds, and Badges from Mail notifications
One way to fix the problem of mail notifications not appearing in the notification center is to toggle on a different notification option.
Go to the Settings app. Scroll down and tap on Mail.

Tap on Notifications.

Tap on ‘Sounds’ and set your desired tone.

Then Customize Notifications.

Tap on iCloud.

Now turn on Alerts and Badges.

Repeat the steps for other email accounts in case you have multiple setup on your device.
For some users, this enabled them to receive notifications for Mail again.
Method #05: Edit Mailbox and Thread Notifications (and delete duplicates)
The iOS 15 update is far from perfect, and this is quite evident on the Mail app. It’s quite possible that even if you have ensured that the notifications are turned on for Mail, you may not get any.
However, one user managed to find the reason for this and the fix as well. The new iOS update can end up creating dummy duplicates for Inboxes and Threads that do not work. If these dummy duplicates are selected instead of your main Inboxes and Threads, you may never receive Mail notifications. Here’s how to check if this is the issue and fix it:
Open the Mail app and go to the Mailboxes screen. Make sure that you’re on the ‘Mailboxes’ screen (it should say so at the top) and not the Inbox screen. Now tap on Edit on the top right.

If you see more than one inbox here and one of them is checked, uncheck it and check the other one. Make sure the check is blue, not grey.

Now do the same for the Thread Notifications options. If there are two Thread Notifications, uncheck the one that’s currently selected, and check the other one. This one, too, should have the blue check, not grey.

Now tap on Done towards the top right.

Send yourself a test mail to check if you get any notification sounds. If you don’t, go back to the Edit screen and check how many Inboxes and Thread Notifications options there are. Try checking the other options this time (a little trial and error may be required here) to see if you’ve got the right one. Again, you’re aiming to get the Blue checkmark.
Once you’ve found the main inbox and thread notification options and selected them, you should start getting notification sounds again, and the dummy duplicates should disappear.
Method #06: Restart Mail
It’s possible that the problem with Mail notifications on your device has nothing to do with the recent update, and is only a minor bug that can be fixed by restarting the app. Simply killing the app and restarting it will force it to load its elements again, possibly getting rid of the problem that caused notifications from coming through.
To restart an app, first, close the app. For that, get to the app switcher screen by swiping up from the bottom of your screen (or double-pressing the Home button quickly). Now, find the Mail app’s thumbnail and do a ‘swipe up’ gesture to move its thumbnail from the screen. The app is now closed. To restart the app, simply open it by tapping on its icon on the home screen or app library.
Method #07: Reboot your Device
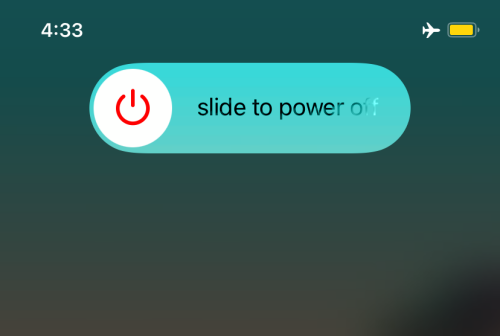
Rebooting the device has been known to fix this issue as well. This allows the OS and the apps to refresh and potentially ironing out the issues that there might have been with Mail data and notifications.
Method #08: Uninstall and reinstall Mail
iPhone users have found uninstalling and reinstalling Mail to be a quick fix for their notification problems. Reinstalling Mail will not only update the app (if it wasn’t updated already) but will also restore the default settings (untouched by iOS 15). Find the Mail app on the App Store here.
What’s causing problems with Mail on iOS 15?
Updating to iOS 15 has been the root cause of problems with Mail notifications. These issues were not evident during beta testing and have cropped up only with the final release. It’s hard to say exactly what about iOS 15 has led Mail notifications to malfunction as such. It’s possible that it’s an amalgamation of a few things, with the new Focus mode possibly being one of the causes.
Some users have even reported that they’re not able to see their email tiles in the list, due to an issue with the UI. Although restarting the Mail resolves the issue, it keeps coming back which is indicative of the fact that the bug is present in the update itself.
Whatever the case may be, not having Mail work properly can be quite problematic for those who rely on it to notify them about incoming emails.
We hope one of these fixes worked for you. Otherwise, you’d have to wait until Apple brings out a final solution for this and open Mail every few hours to check if you’ve got any.


8 responses to “iOS 15 Mail Notifications Not Working: How to Fix”
If you have multiple email accounts the you should check the ‘customize notifications’ section under the mail notifications area.
Each of my accounts had the sound setting turned off even though it was on previously so the geniuses messed this up when they added this customization area.
It’s actually nice to be able to change settings per account but how about making the defaults correct in the first place.
Ended up trying Method 8. After re-downloading Mail, it wouldn’t allow me to add my iCloud account back in. Had to log out of iCloud and back in, then wait an hour for all my mail to sync. After all that. Thread Notifications still doesn’t show up under Settings/Notifications/Mail/Customize Notifications. Weird that (a) that setting exists on my iPad and (b) enabling the Thread Notifications mailbox when the Notifications settings are still hosed seems unfinished.
Thank you! Trick 4 worked for me
Yikes! Uninstalling the Mail app and reinstalling from App Store did it. What a mess! Thanks!
Well… nothing of the above helps in my case… on ipad, opening mac-email simply gives a blank screen with the mailbox-icons lined up along bottom screen.. then after a few seconds the app simply quits… nothing is active no options nothing responds on/in/with the e-mail app – just keeps quitting without loading anything – deleted/re-installed/ re-booted/ etc etc… nothing … basically just dead everytime after a few seconds of opening the app and nothing loads – – as of 2021 Nov 28 –
Delete the Apple email account that comes with iOS 15, delete from home screen also.
Then from the App Store download the email app for the email account you want, Microsoft Outlook, Google Mail, etc. Open email app and sign in, set up notifications in new mail app, add app to your home screen.
Method #5 worked for me. Thanks for this!
If you have multiple email accounts, go to Mailboxes, then select Edit. A blue check mark will appear next to each mail account, as well as All Inboxes. Uncheck each individual account, but not All Inboxes. In other words, a blue check mark should still appear next to All Inboxes. Then select Done. Depending upon your set-up, it is possible that iCloud and Gmail accounts will still need to be individually activated.