Windows 11 22H2 has been the talk of the town lately and rightly so, the new Windows update comes with improved features such as improved UI, Start menu customization, Voice Access, Live Captions, and much more. But did you know that there are a few hidden in-built features that did not make the final release? One of these features is the ability to add stickers to your desktop. Here’s how you can enable and use it on your PC.
How to enable and use desktop stickers in Windows 11
You will need Windows 11 22H2 to utilize this feature on your PC. If you do not have the update yet, you can use this guide to install Windows 11 22H2 on your PC. You can then continue with the guide below as usual.
Step 1: Enable Stickers on Windows 11 (build 22H2) using the Registry Editor
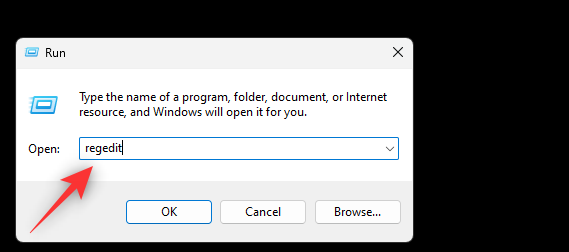
Press Windows + R to launch Run.
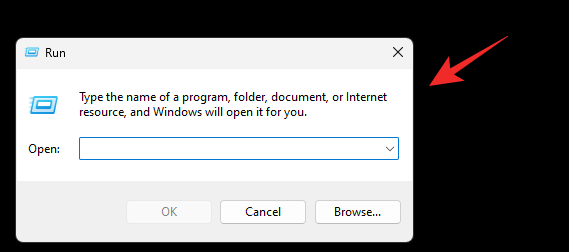
Type in the following and press Enter.
regedit
Now navigate to the following path. You can also copy-paste the same in the address bar at the top of your screen.
Computer\HKEY_LOCAL_MACHINE\SOFTWARE\Microsoft\PolicyManager\current\device

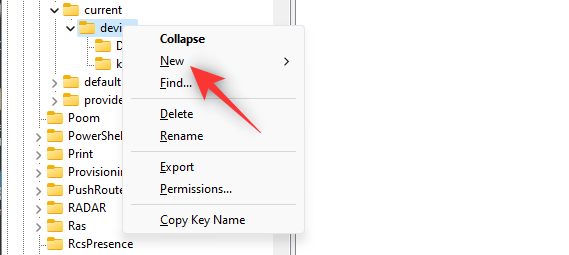
Now right-click the device on your right.

Select New.
Click Key.
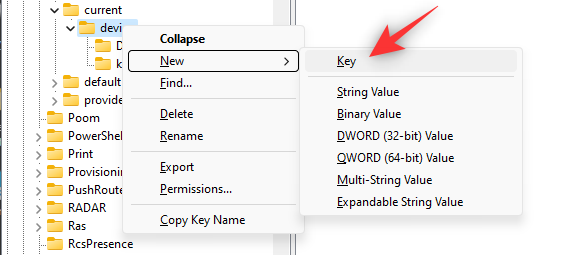
Name the new key Stickers and press Enter on your keyboard.

Right-click on your right and select New again.
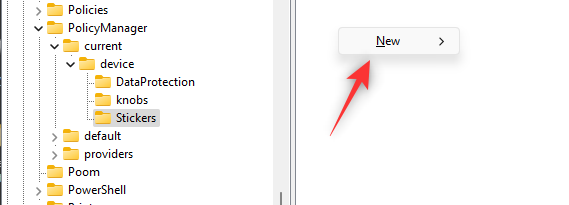
Click DWORD (32-bit) Value.

Name the new value EnableStickers.

Double click the same once created.

Set its Value data: as 1.

Click OK.
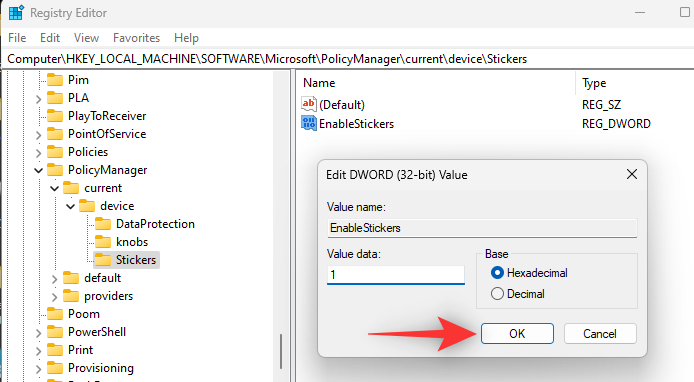
Now restart your PC.
You can now follow the guide below to use stickers on your desktop.
Related: 4 Easy Ways to Customize and Change Icons in Windows 11
Step 2: How to use Stickers on Windows 11
Once your PC restarts, press Windows + i on your keyboard and click Personalization.

Click Background.
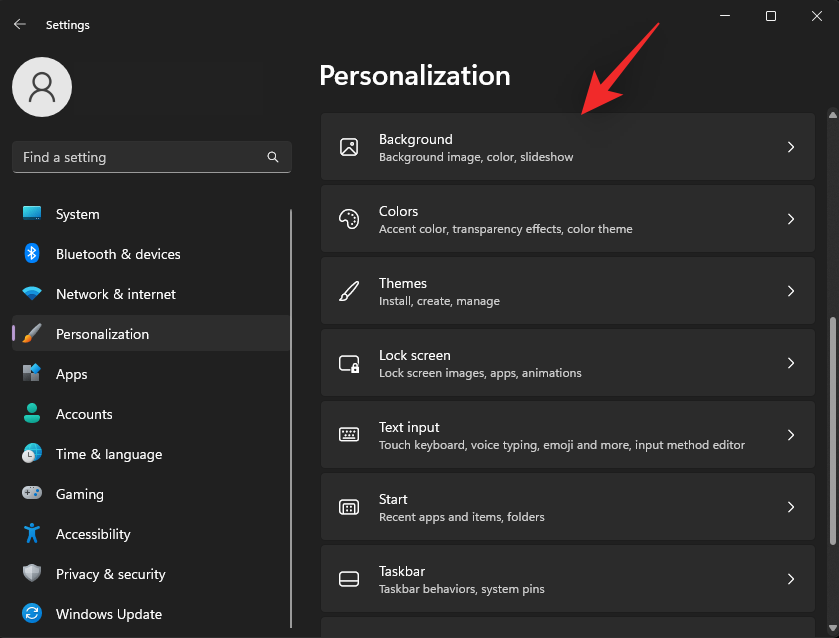
Click the first drop-down menu and set a Picture as your background. Stickers only work on Picture backgrounds.

Click Add stickers once you’re done.

I am looking to complete my desktop with a Pizza eating cat. You can search for your desired sticker by using the Search bar at the top.

Scroll the results to find a sticker you like. Once found, click on the same to add it to your desktop.
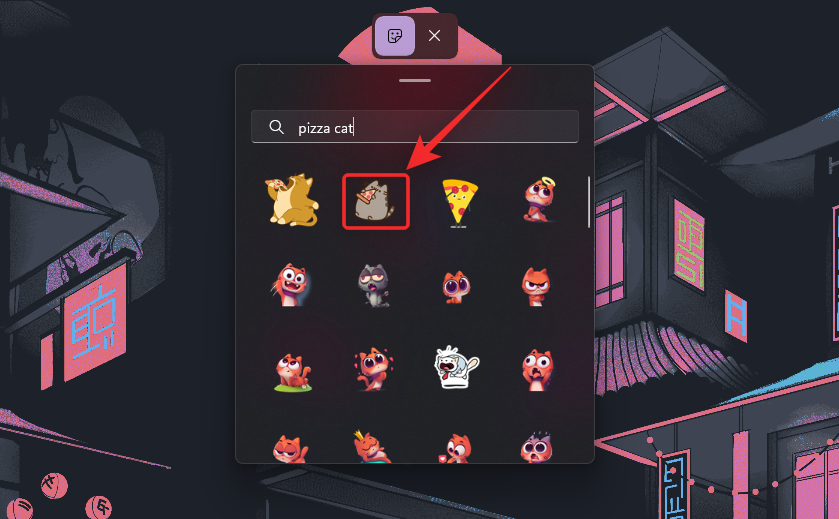
Now click and move it around to reposition it on your desktop.
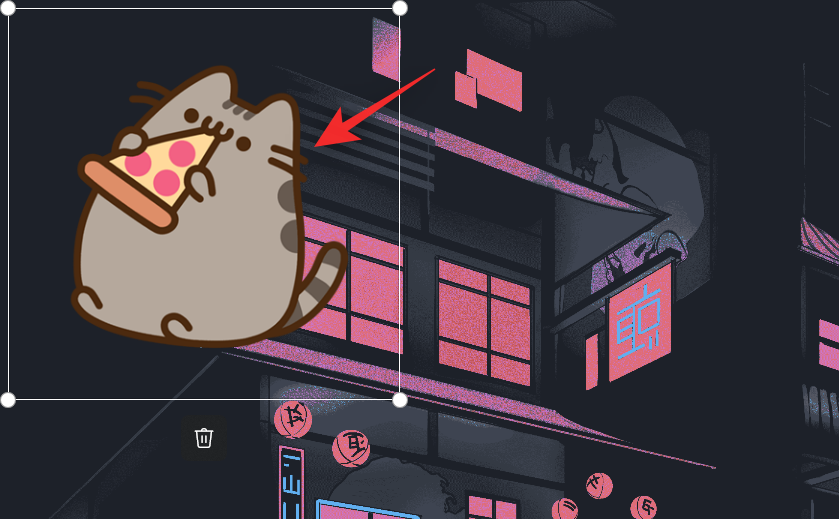
Click and drag one of the corners to resize your sticker.
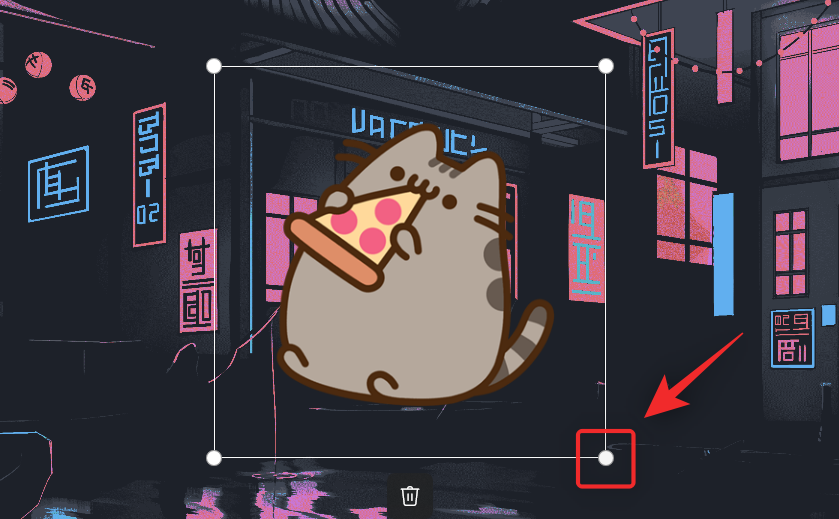
Use the Bin icon if you’ve changed your mind to remove the sticker.

Once you’re happy with the sticker, continue adding more using the Sticker icon at the top.
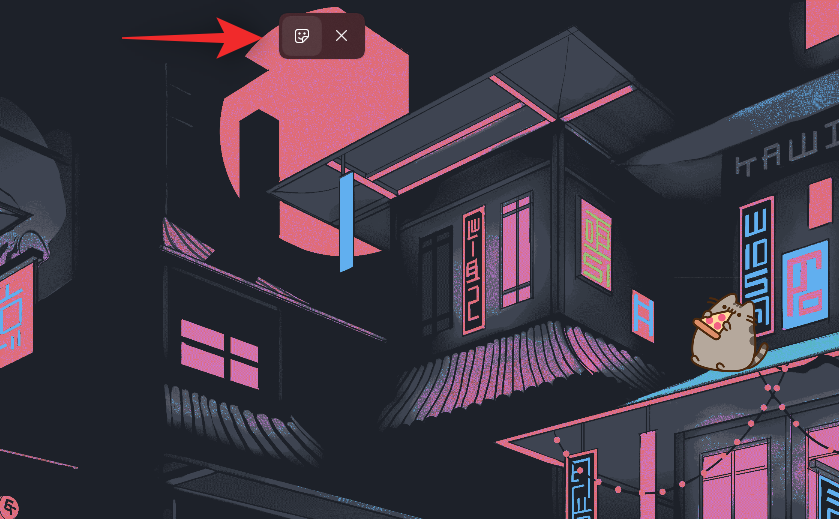
Click the X once you’re done adding stickers.

And that’s it! That’s how you can add stickers to your Windows 11 desktop.
Note: Once you add a sticker using the Settings app the option should also be available in the right-click context menu on your desktop.

We hope this post helped you easily add stickers to your desktop on Windows 11 22H2. If you face any issues or have any more questions, feel free to reach out using the comments section below.
RELATED:

