
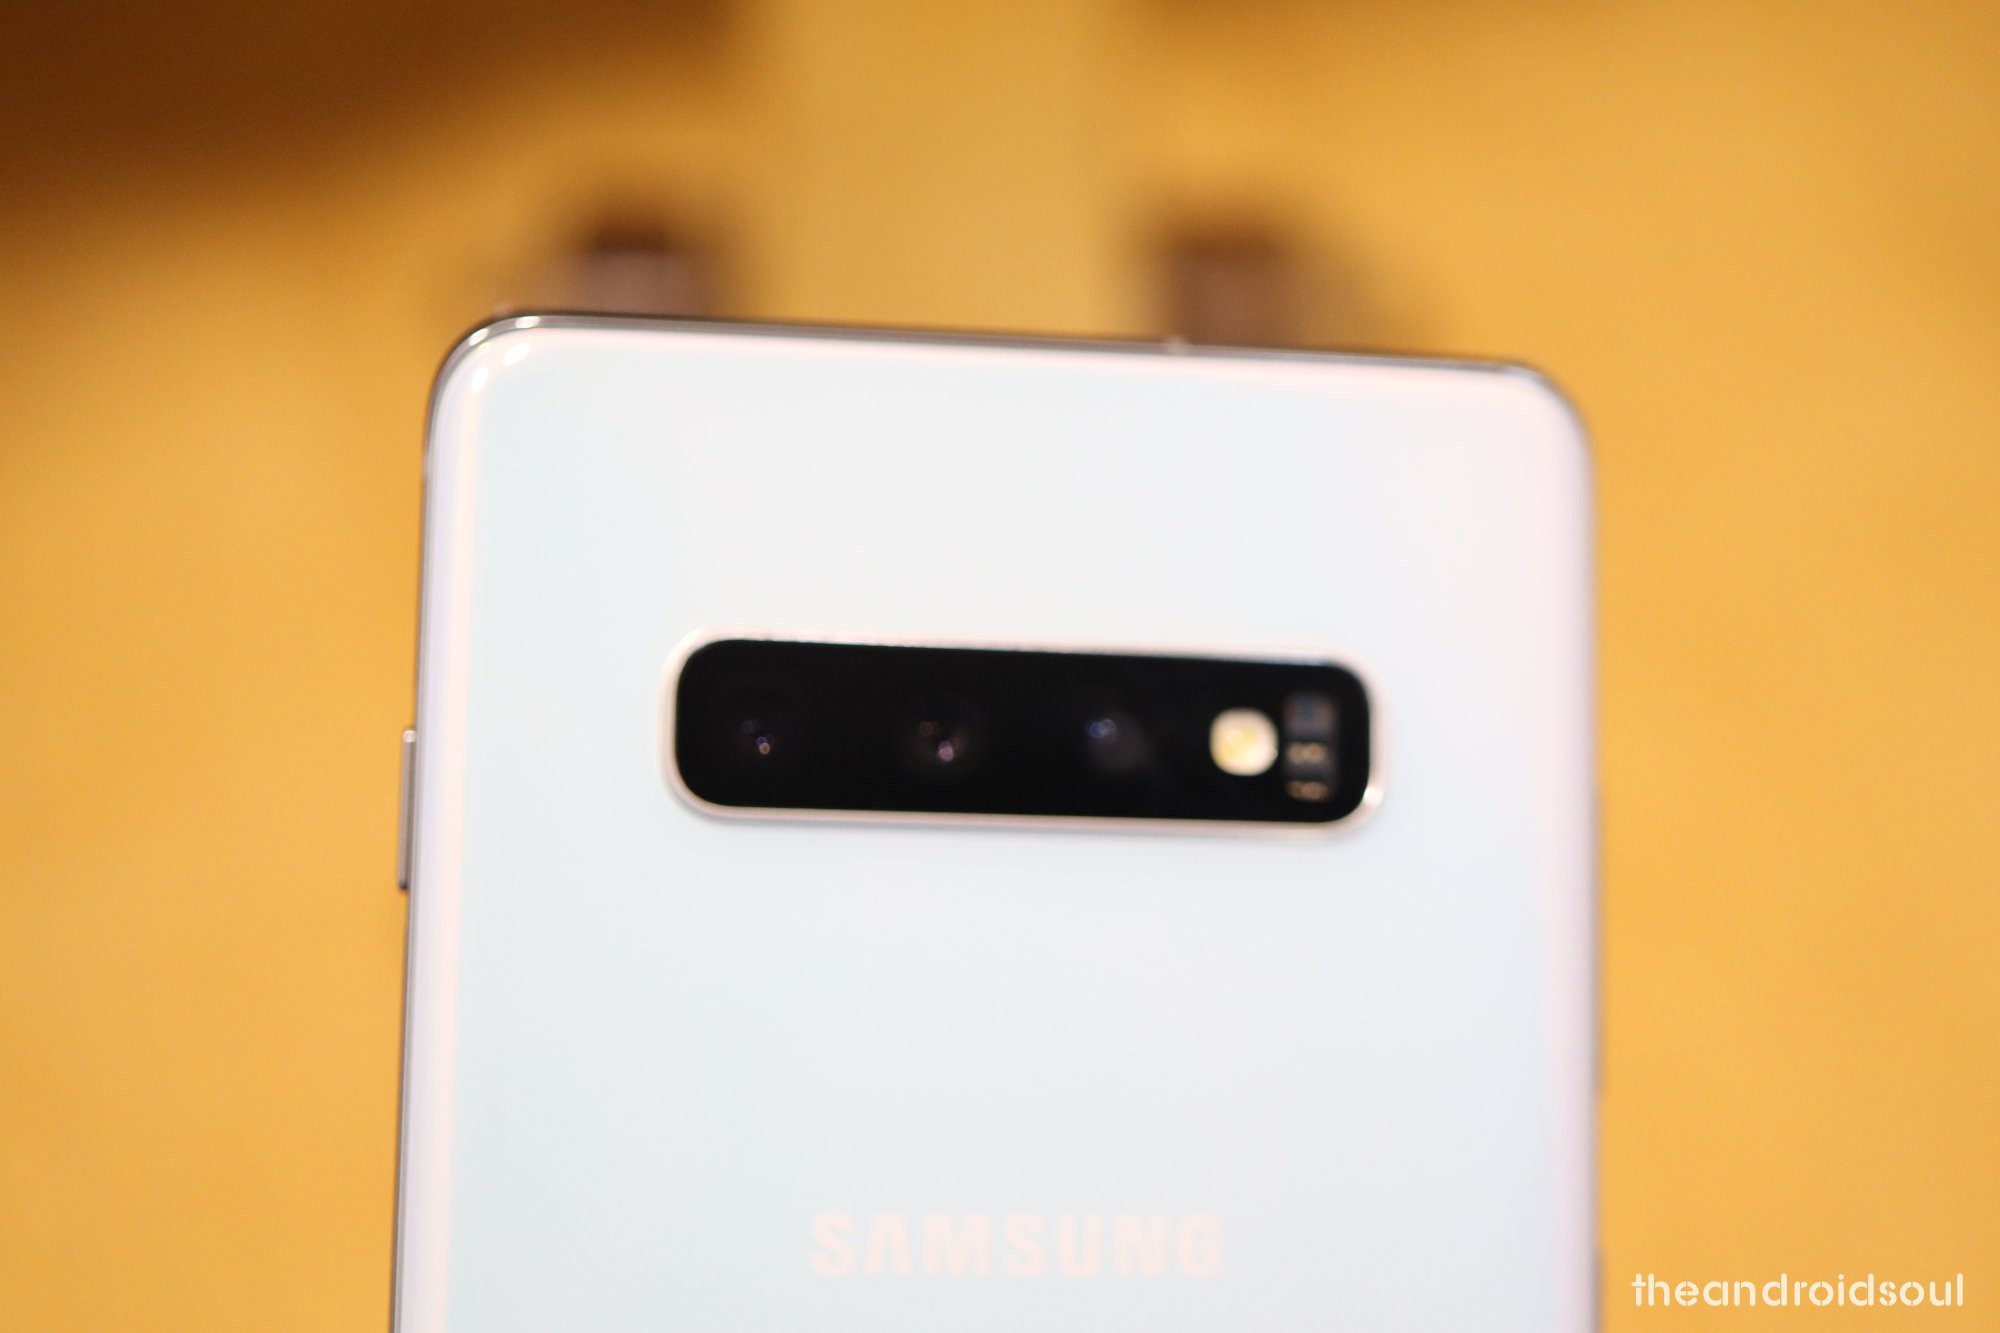
Samsung announced the Galaxy S10 lineup along with a bunch of other products at this year’s Unpacked event such as the Galaxy Buds, Galaxy Watch Active, Galaxy Fit, and the much awaited Galaxy Fold which is quite interesting, to say the least.
The Samsung Galaxy S10 lineup of devices come with Android 9 Pie along with Samsungs new skin over Android called One UI. With a new device often comes a slightly new learning curve; however, if you’ve used any Samsung Galaxy flagship recently, then you wouldn’t have to worry about figuring out small things like taking a screenshot.
If you’re switching over from any other Android/iOS device, then the most basic thing to learn first is how to take a screenshot on the device. So without wasting much time, let’s check out how to take a screenshot on the Galaxy S10.
Galaxy S10 screenshot tricks
Method 1: Hardware keys
Using the hardware keys to take a screenshot is one of the most common ways to capture the screen in almost each and every smartphone.
Here’s how to take a screenshot using the hardware keys on the Galaxy S10:
- Open the application or be on the screen you want to capture.
- Press and hold the Power and Volume Down buttons simultaneously, until you hear the shutter sound along with a short vibration.
Related:
- Difference between Galaxy S10, Galaxy S10 Plus and Galaxy S10e
- What offers are available on Galaxy S10 [BOGO]
- How to pre-order the Galaxy S10
- Galaxy S10: Size dimensions | Box content
Method 2: Using Palm swipe to capture

Samsung has added a pretty neat way to capture a screenshot on their smartphones called ‘Palm swipe to capture’. The feature is on by default; however, in case it isn’t, you could turn it on by following these steps:
- Go to Settings > Advanced features > Motions and gestures > Toggle on ‘Palm swipe to capture’.
Once the feature is enabled, here’s how to take a screenshot using Palm swipe to capture:
- Launch the application/screen you want to take a screenshot of.
- Simply hold your palm out sideways and swipe it across the screen at a moderate pace.
That’s it! The screenshot would be captured.
Related:
Method 3: Ask Bixby
While Bixby isn’t the most exciting assistant, you could always use Bixby to capture a screenshot especially if you’re in a situation where you simply cannot take a screenshot using the hardware keys or by swiping your palm.
Here’s how to use Bixby to take a screenshot:
- Open the application/screen of which you want to take a screenshot.
- Tap and hold the Bixby button and say; “take a screenshot“.
If you have the Bixby on always listening, then you could simply say “Hey Bixby” to activate Bixby and then proceed to say “take a screenshot“.
Method 4: Ask Google Assistant
Google Assistant is viewed as the best smartphone assistant which is actually true in most usage scenarios.
Here’s how to take a screenshot using Google Assistant:
- Simply open the app/screen you want to capture.
- Launch Google Assistant by pressing and holding the home key or by performing a swipe up and hold if you’re using Full-screen gestures.
- Once Google Assistant is brought up, say “take a screenshot“.
Similarly to Bixby, if always listening is enabled for Google Assistant, you could simply shout out “Ok Google” to bring up Google Assistant.
Method 5: Using the Bixby Key
With the launch of the Galaxy S10, Samsung is finally allowing users to remap the Bixby Key which opens up a host of new possibilities.
This means you could now use the Bixby Key to take a screenshot as well and here’s how to do so.
- Firstly, go to Settings > Advanced features > Bixby key.
- Select Double press to open Bixby and then toggle on Use single press.
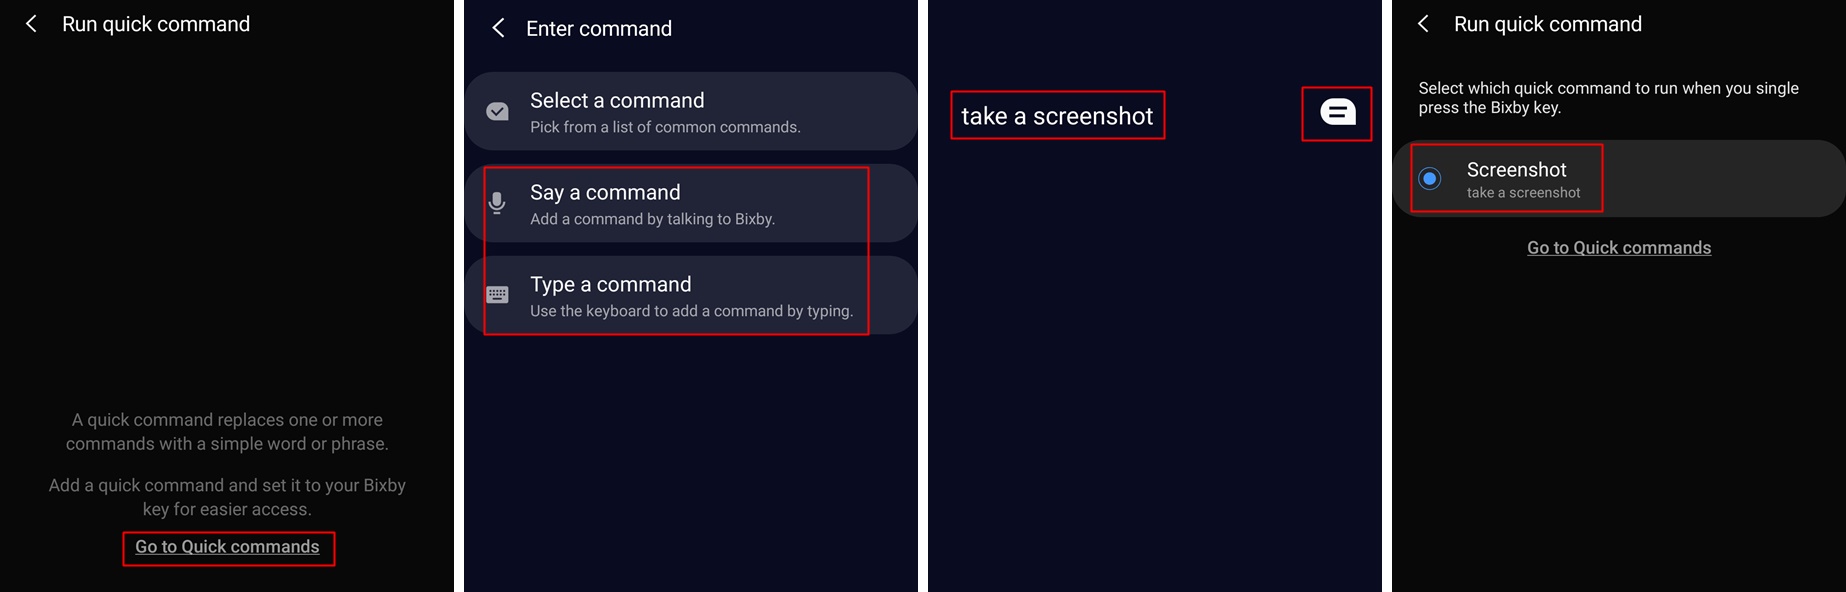
- Select Run quick command and tap on the Settings icon.
- Now tap on Go to Quick commands and then tap on the + icon at the top right of the screen.
- You could simply title the command as ‘Screenshot’ and then tap on ‘+ add a command’.
- Now either tap on Say a command or Type a command and then speak the words “Take a screenshot” or type in — take a screenshot.
- Tap on Save and head back to the Run quick command page and then select the Screenshot command or whatever title you used for the command.
- Simply tap the Bixby Key once to take a screenshot.
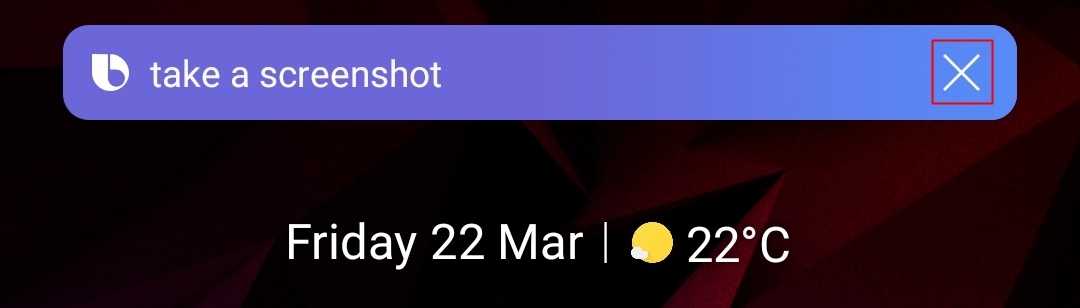
Useful tip: To avoid the Bixby command animation from being captured with the screenshot, after you press the Bixby Key, wait for about a second and then try to quickly tap on the close icon. This would remove the Bixby command animation; however, the screenshot would still be taken.
Method 6: Using Smart select
Samsung’s Edge panels can be pretty useful and some Samsung users absolutely love the Edge panels feature on their device. There’s a lot one could do with the Edge panels such as using the Smart select feature to quickly capture a screenshot.
Here’s how to enable and use the Smart select feature to capture a screenshot on your Galaxy S10.

- Head over to Settings > Display > Edge screen > Edge panels.
- Make sure Smart select has been selected.
- When you’re ready to capture a screenshot, simply swipe in from the right side of the screen to bring up the Edge panel.
- Swipe to the left or right until you see the Smart select options.
- Tap on Rectangle or Oval depending on what you want to take a screenshot of.
- Adjust the grid to the area which you want to take a screenshot of and then simply tap on Done.
What is Smart capture and how to use it?

Smart capture is another great feature which lets users quickly edit a screenshot or scroll to capture more of the screen or even share the screenshot without having to open up the Gallery application.
You could also quickly draw on the captured screenshot if Smart capture is enabled.
Enabling Smart capture
Smart capture should be enabled by default; however, if you’ve disabled the feature and can’t remember how you did so, then here’s how to enable the feature once again.
⇒ Settings > Advanced features > Toggle on Smart capture.
Using Smart capture
The Smart capture pop up shows up right after you capture a screenshot on your device. These are the options you would be able to use with the Smart Capture feature.
- Scroll to capture more: This feature lets you capture a longer screenshot in case you want to capture an entire list or page in a single screenshot.
- Draw: As the name suggests, you would be able to quickly doodle on your screenshot if you tap on the Draw icon.
- Crop: This is super useful in case you do not want to save the entire screen in the screenshot. Once you’ve taken a screenshot, simply tap on the Crop icon to crop the screenshot.
- Share: Lastly, you’ve also got the option to quickly share the screenshot.
Disabling Smart capture
While Smart capture can be pretty useful, it might also be slightly intrusive since it keeps popping up every time you take a screenshot. Fortunately, you could disable Smart capture if the feature is of no use to you.
⇒ Settings > Advanced features > Toggle off Smart capture.
Related


2 responses to “How to take a screenshot on Galaxy S10, Galaxy S10e, Galaxy S10P Plus”
very informative Thank you
Thanks Dwayne, Very helpful article.