Android phones of this age have a generous amount of inbuilt storage but if you’ve come to own your device for an extended period of time, you might have ended up accumulating a pile of junk on it. These files aren’t dumped inside a particular folder so that you can easily delete them but are the result of installing and uninstalling a ton of apps, browsing through the web, and downloading files.
In order to speed up your sluggish phone and free up its storage, you’ll need to find a service that actually does the job, unlike the thousands of cleaner apps that are present on Google Play. Enter – SD Maid. The app, unlike its popular counterparts, can find and delete leftover files from uninstalled apps, duplicate files, superfluous files from the system, and optimize databases.
How to sort and remove junk files from your Android phone
In this guide, we’ll help you search and find junk files on your Android device and remove them so that you may retain some additional storage and also speed up your phone at the same time.
Step 1: Download and install the SD Maid and SD Maid Pro – Unlocker apps from Google Play. The latter of the two is a paid app but for the price you pay, you get all additional features present on SD Maid.
Step 2: Open the SD Maid Pro – Unlocker app and tap on Launch SD Maid at the bottom.
This will activate all the Pro features of SD Maid and also open the SD Maid app on your screen.
Step 3: Tap on the Scan button at the bottom to start checking for redundant files.
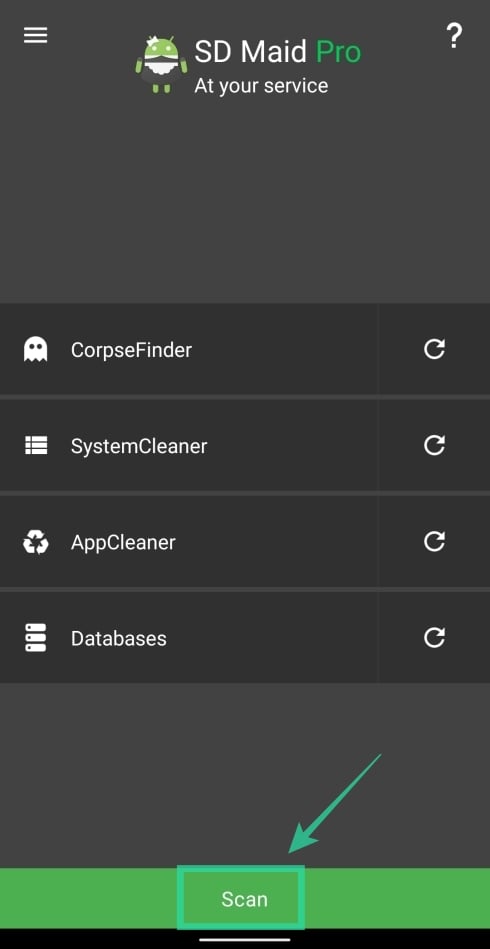
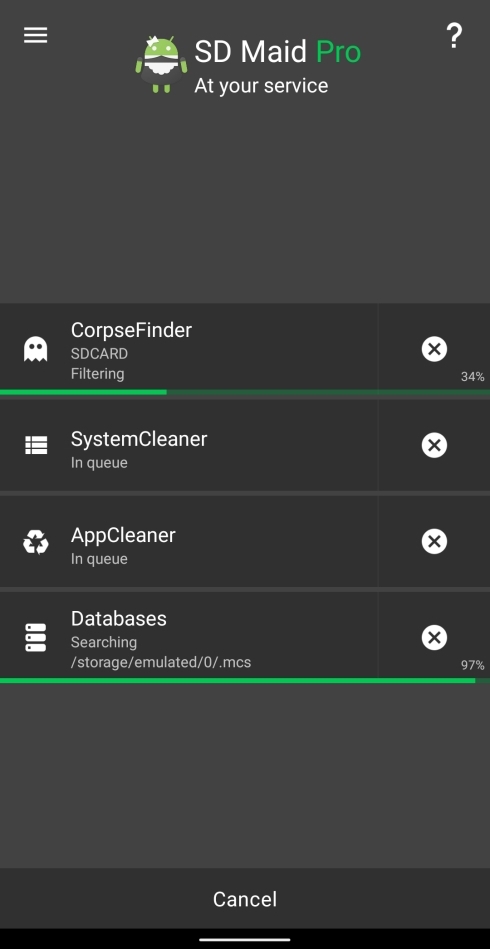
SD Maid will now check for files from uninstalled apps, duplicate files, databases and expendable files.
Step 4: After the scan is complete, tap on the Run now button. This button will also display the size of the junk files that will be cleared up during the process.
Step 5: Confirm the deletion process by tapping Run.
SD Maid will now start deleting the detected junk files from your internal storage.
Finding and deleting duplicate files
On many occasions, the space on your phone gets crowded simply because of your media files and how often you share them. Sometimes, your phone and the apps you use create a duplicate of files that you’re sharing to others and sometimes, you yourself might have created one for a particular use.
Related: How to remove duplicate contacts easily
In addition to removing junk files, you can also sort through other folders in your storage and find duplicates through SD Maid. SD Maid will only display the fiches that are exactly the same by comparing sizes and checksums without keeping in mind the date of creation and names of files. In order to find and delete duplicate files on SD Maid follow these steps:
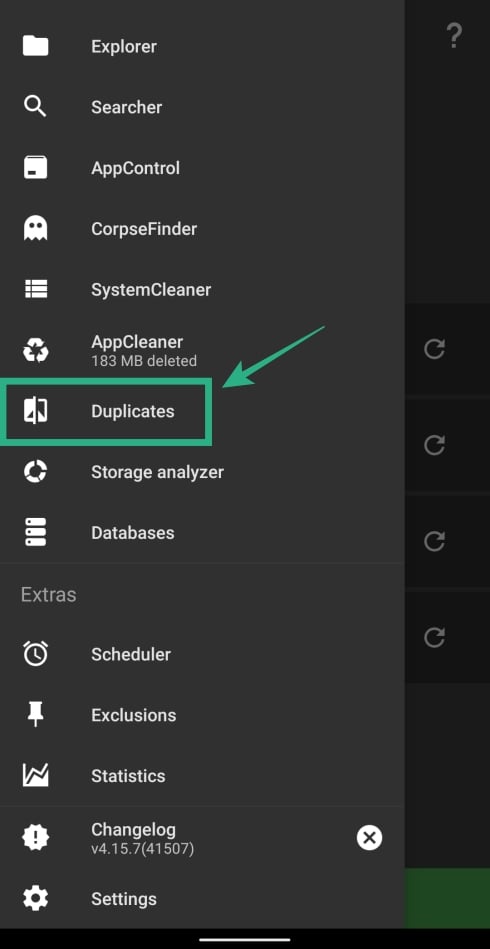
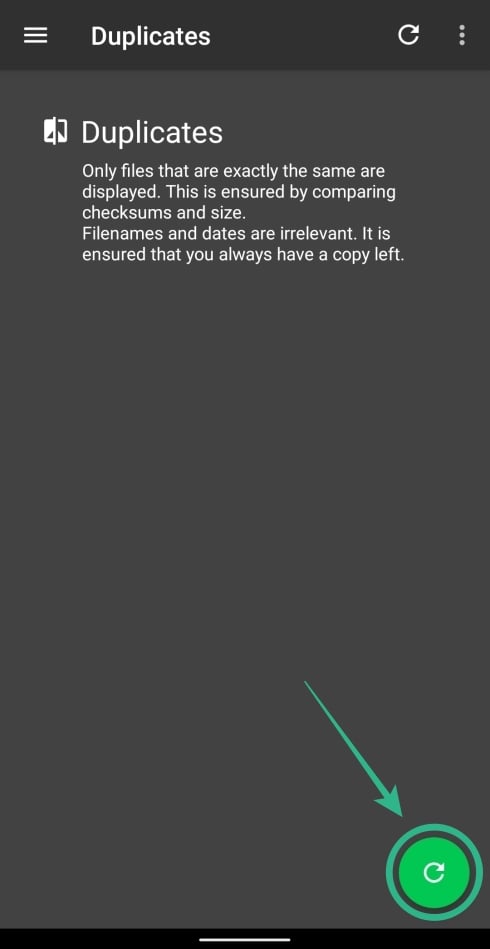
Step 1: Tap on the hamburger menu at the top left and select Duplicates.

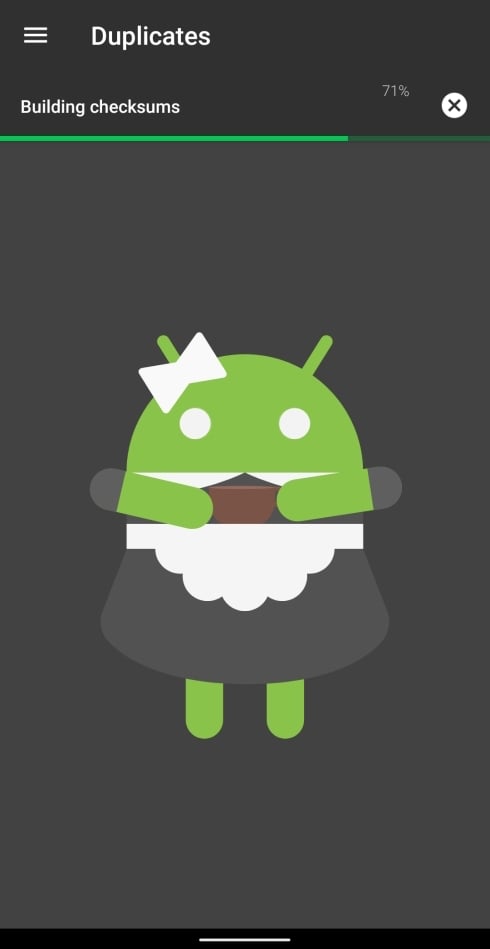
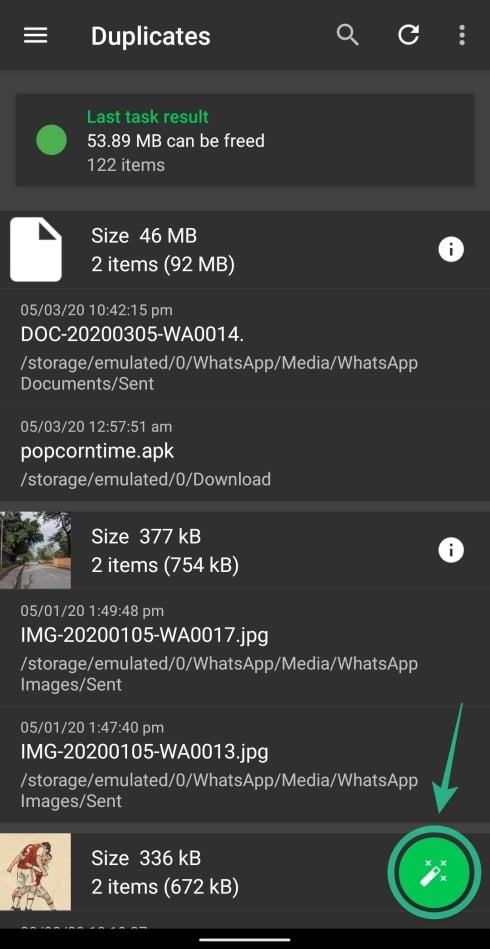
Step 2: Inside this page, tap on the circle arrow icon at the bottom right to start searching for duplicate files on your storage.
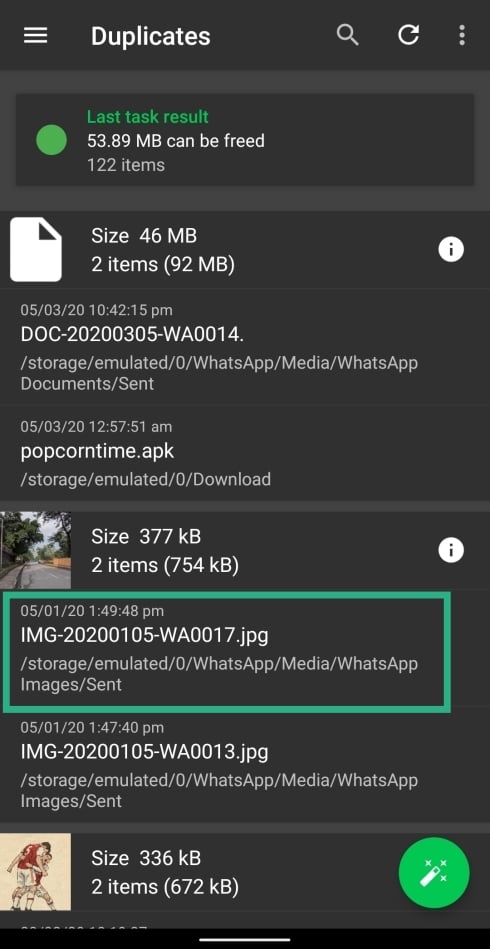
You will be shown a list of duplicate files that are present and can be cleared up. A bunch of duplicate files will be clubbed inside a single box displaying their file sizes, the location they’re saved to and their date of creation. This will help you sort which files you need to delete and which one you might need to keep.
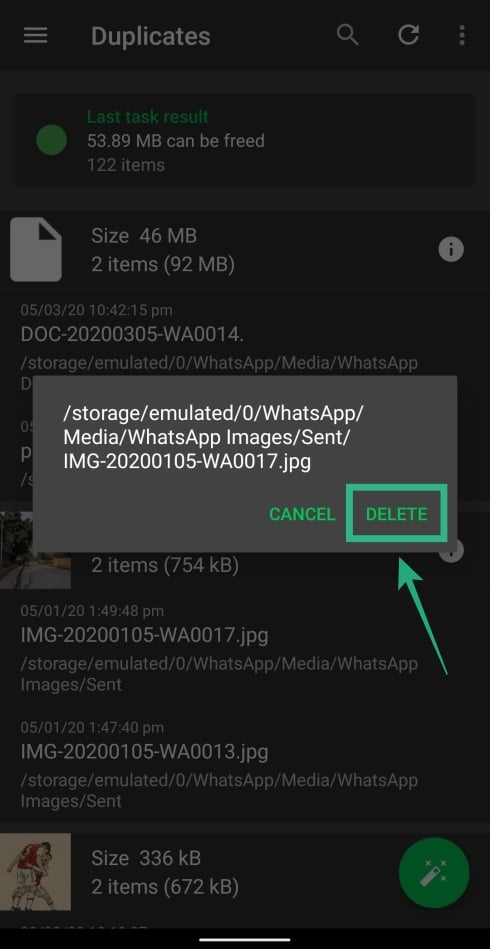
Step 3: To manually delete a duplicate file, tap on any of the two or more files and hit Delete.
Step 4: If you wish to mass-delete your duplicate files, tap on the wand bubble at the bottom right, and let SD Maid select your duplicate based on location data. After that, tap on the trash icon at the bottom right and confirm by tapping Delete.


Scheduling automatic removal of junk files
When it comes to cleaning up your device, you might find yourself forgetting about it and often, delaying it for a later time, only to realize that the storage on your phone is full and needs to be cleared ASAP. SD Maid doesn’t only clear your storage when you’re using the app but you can also schedule it to do the clean up for you after regular intervals.
In order to set up automatic cleaning through SD Maid, follow the instructions:
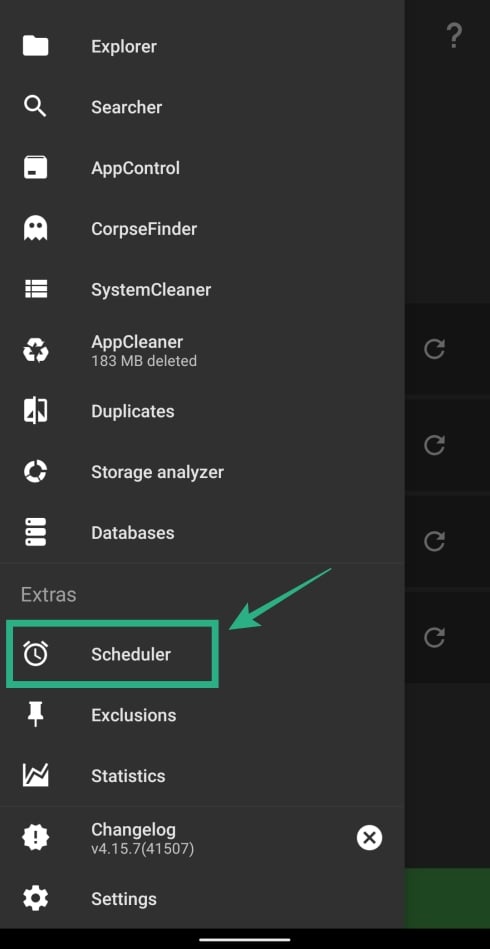
Step 1: Tap the hamburger icon at the top left corner of the SD Maid home screen and select Scheduler.
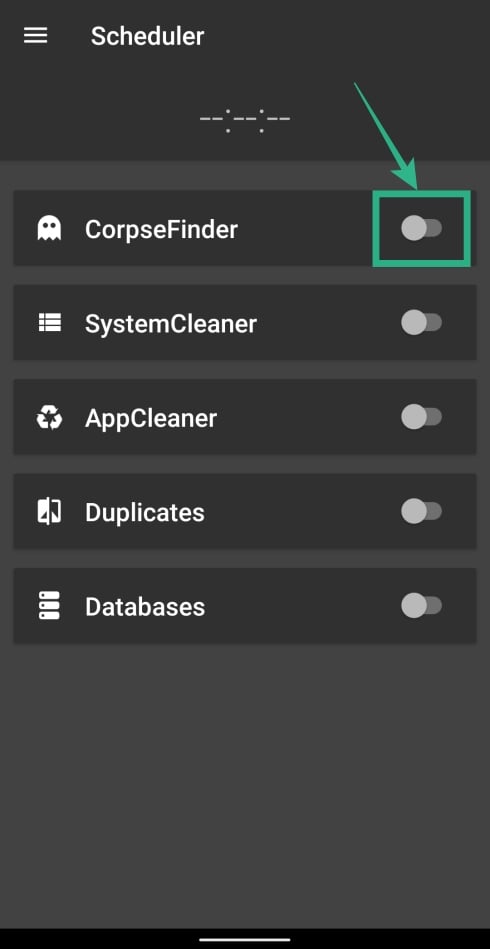
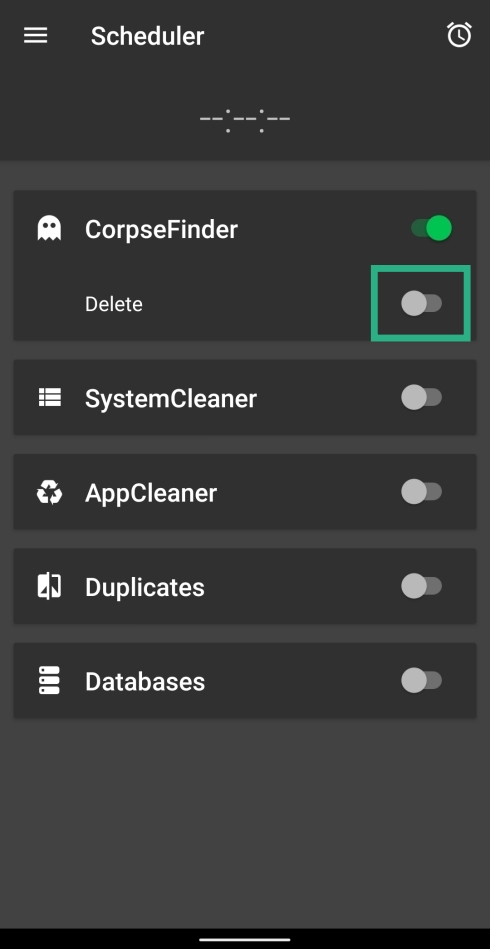
Step 2: On the next page, tap on the toggle adjacent to the type of cleaner you want to enable for scheduling. You can choose from CorpseFinder, SystemCleaner, AppCleaner, Duplicates, and Databases. When you enable a particular section, a sub-section labeled Delete will pop up, tapping which will allow SD Maid to not only look out for unnecessary files but also give them the permission to delete them on its own.
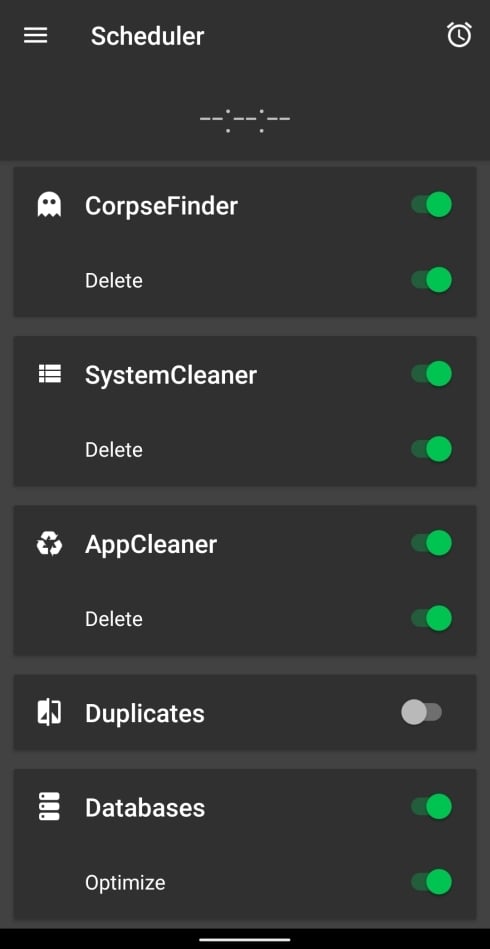
For best results, you can enable all of SD Maid’s cleaners with the Delete option except for Duplicates since the latter might sometimes include important files that you wouldn’t want to remove.
Step 3: In this step, you will be setting a schedule that the SD maid app should follow to automatically search for junk files and remove them. You can do so by tapping the clock icon at the top right, setting the time for the cleaning process and then sliding through the bar below the clock for adjusting the schedule interval. You can wish to schedule SD Maid’s auto-cleaning between once in a day to once every 31 days.


Step 4: Tap Set to confirm scheduling the automatic removal of junk files.
Clearing system files
The SystemCleaner inside SD Maid scans for file types and folders that can be deleted safely. These files include log files, empty directories, thumbnail files, Linux trash files, LOST.DIR inside folders, temporary files in the system, advertisements and obsolete APKs. The app can then be used to scan and remove these files from your storage.
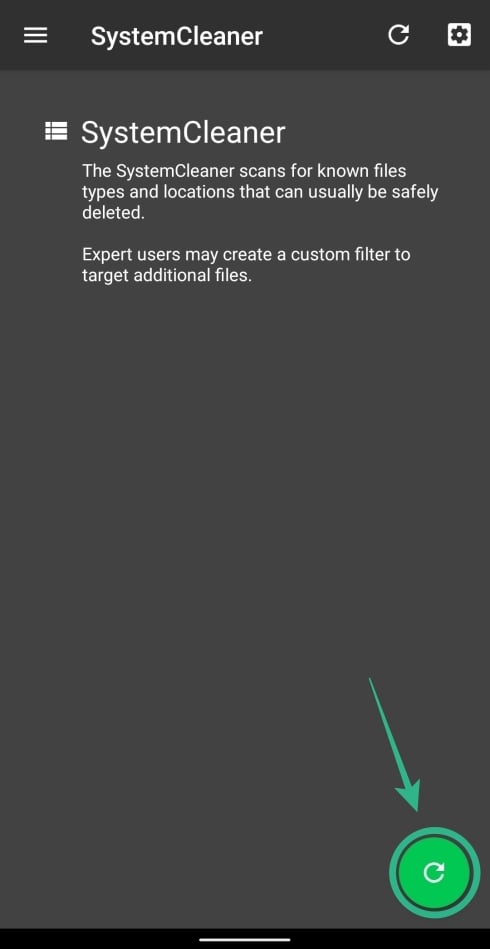
Step 1: Tap the hamburger icon at the top left corner of the SD Maid home screen and select SystemCleaner.

Step 2: Tap on the circle arrow icon at the bottom right to start searching for unnecessary files from your system.
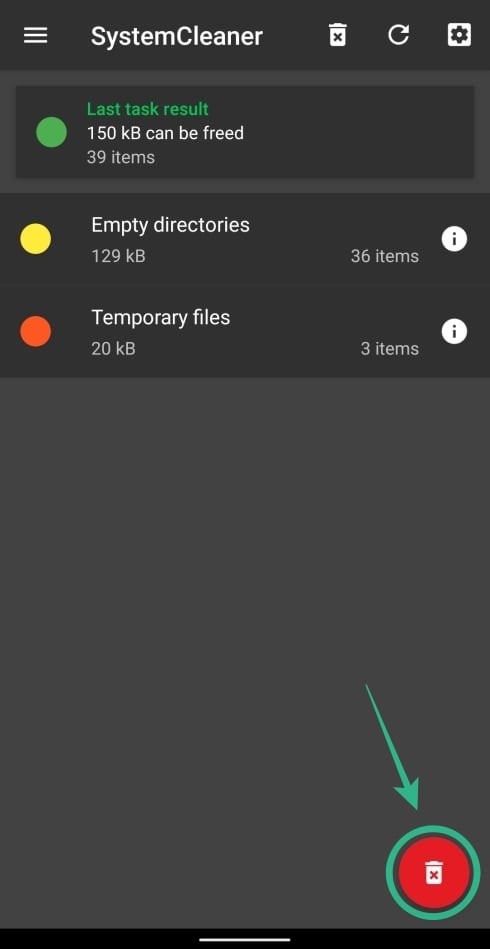
Step 3: SD Maid will show you a list of cleanups that needs to be done. In order to clear up your storage by deleting unnecessary files from your system, tap on the trash icon at the bottom right and then tap Delete.

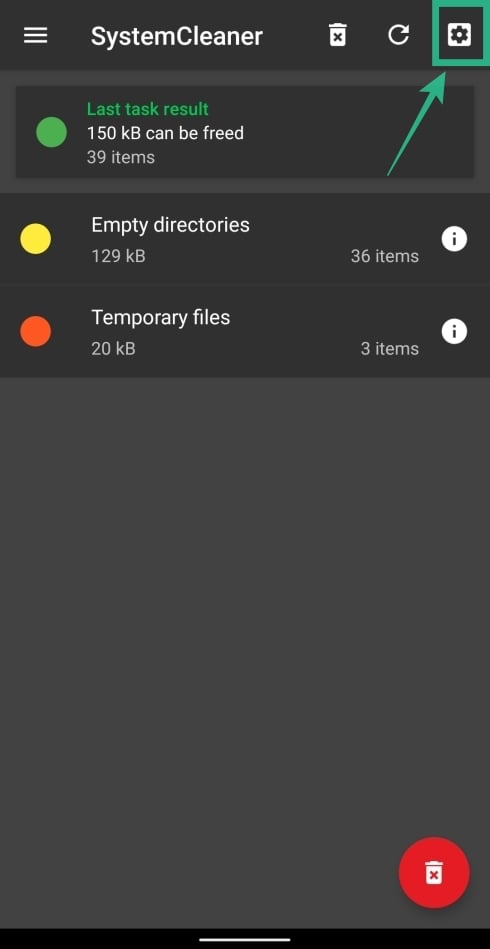
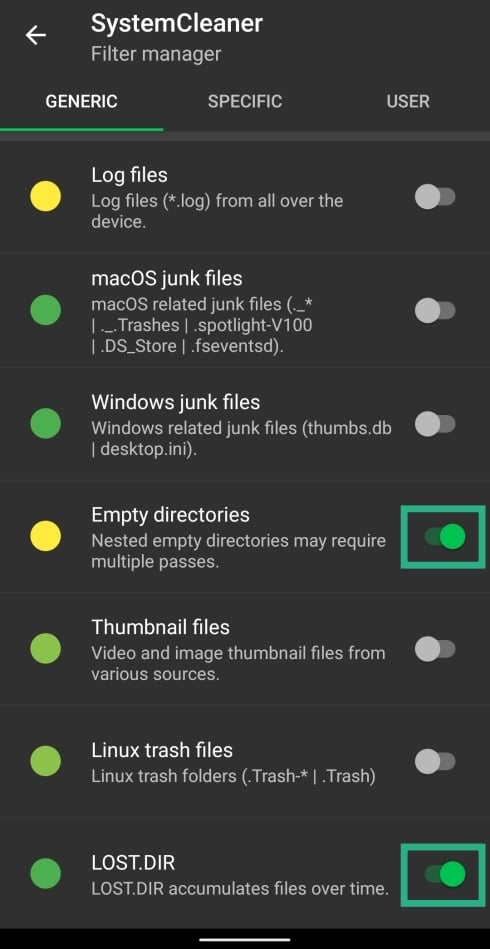
Step 4 (optional): You can filter the kind of system files you want to remove by tapping on the cogwheel icon at the top right and selecting the toggles adjacent to the options you want to enable for SystemCleaner.
Removing unnecessary application files
SD Maid removes files that are no more essential to running an application on your phone or can be easily retained. For instance, a music app will save album covers on your device as thumbnails and sometimes these images could occupy hundreds of megabytes on your storage. The same goes for other applications present in your phone.
SD Maid will help users regain back some memory by finding these unnecessary application files and removing them from their respective folders. You can do so by following the steps given below:
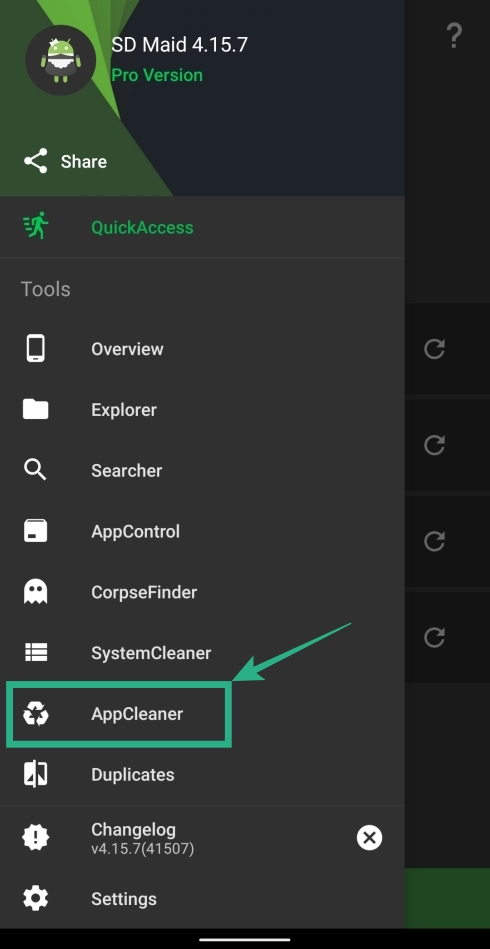
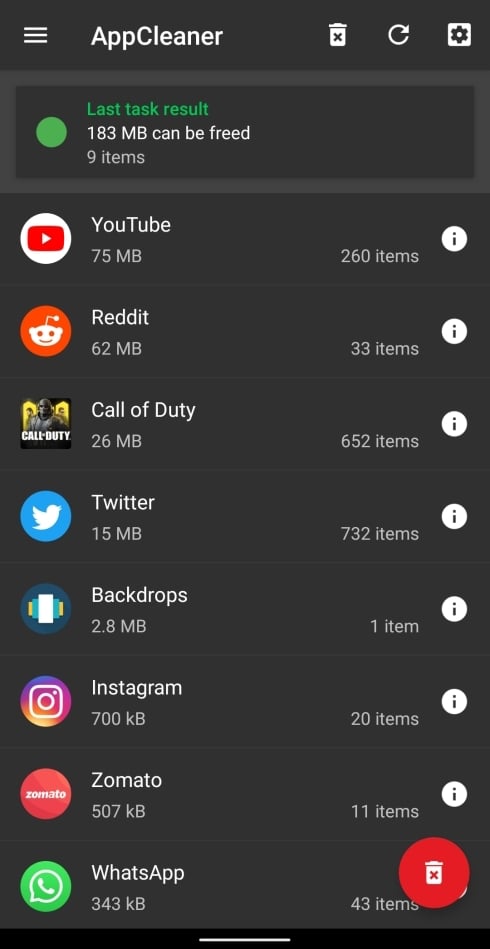
Step 1: Tap the hamburger menu at the top left and select AppCleaner.
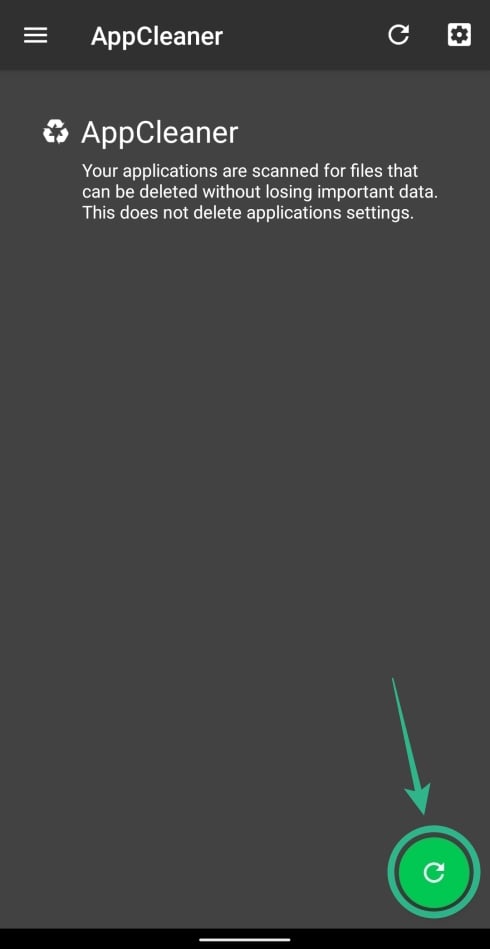
Step 2: Inside this page, tap on the circle arrow icon at the bottom right to start searching for unnecessary files from your apps. Once the search is complete, you will be shown a list of apps that no longer require some files. The number of unnecessary files and the expected storage to be cleared will be displayed for each app in their respective boxes.
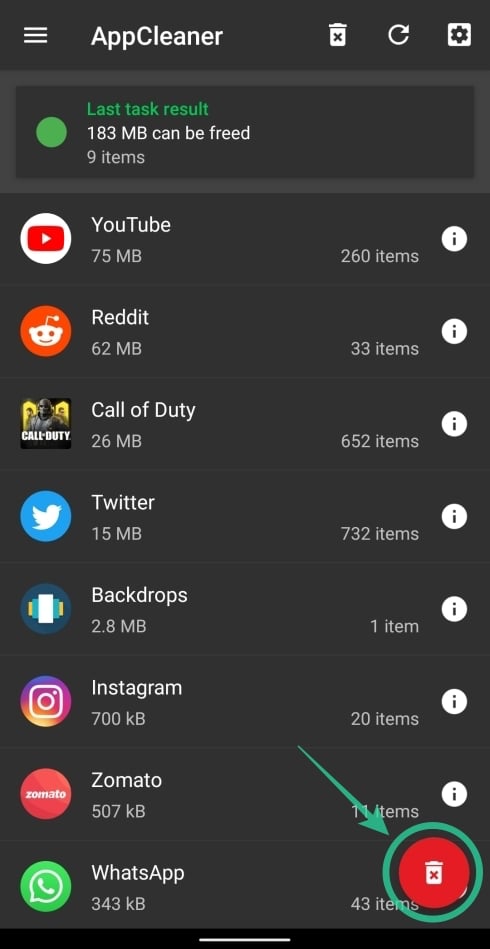
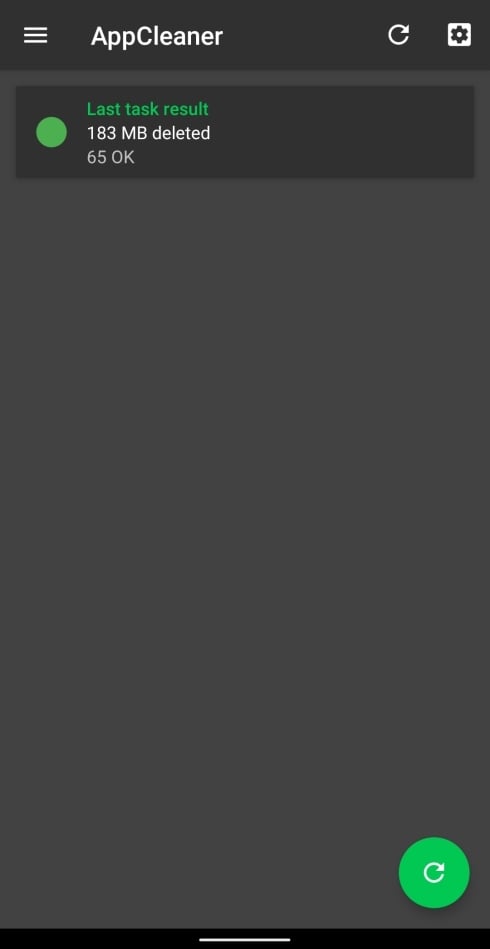
Step 3: Clear the unnecessary application files by tapping on the red trash icon at the bottom right and confirm by tapping Delete.

Analyzing folders by size
While SD Maid is primarily used for cleaning purposes, the app can also help you search and find which folder takes up most of your space. The inbuilt Storage analyzer tool can be used to show files and folders sorted by size and will continue to show up inside every folder you open through it.
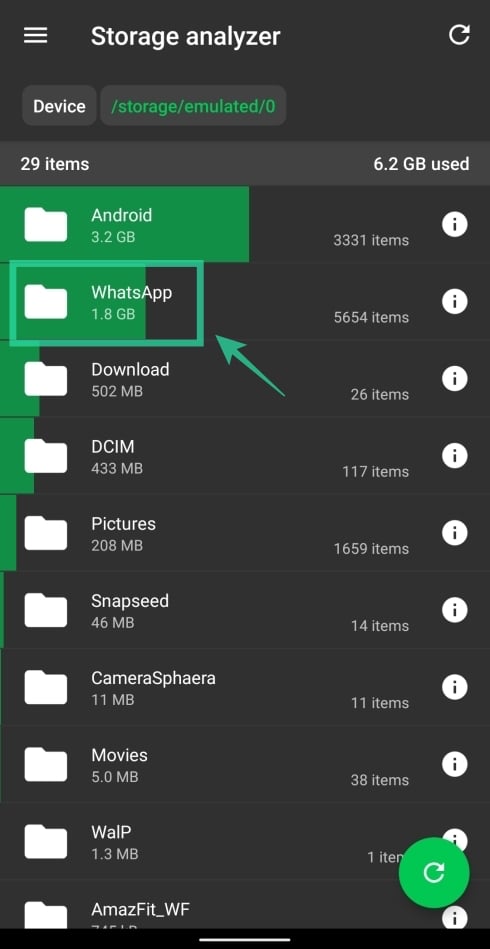
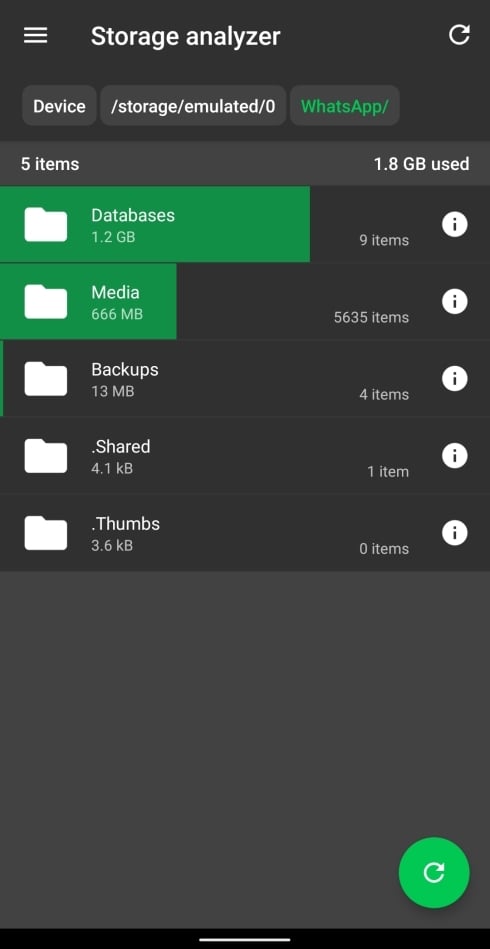
Step 1: Tap the hamburger menu at the top left and select ‘Storage analyzer’.
Step 2: Tap on the circle arrow icon at the bottom right to start scanning your storage. 
Step 3: Once the app has analyzed the space, tap on the main directory and subdirectories to check which of your files and folders are taking up the most space. For example, tapping on the WhatsApp folder showed us different folders with a graphical representation of how much space a particular folder takes up.

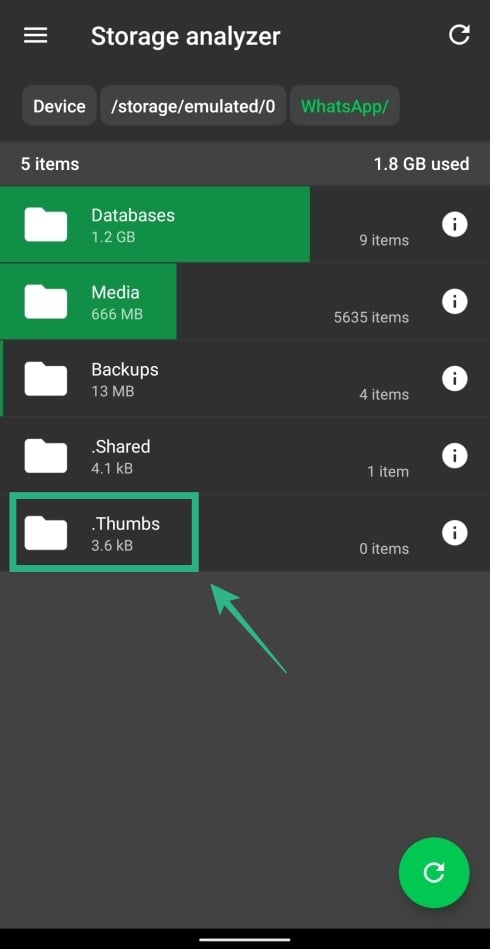
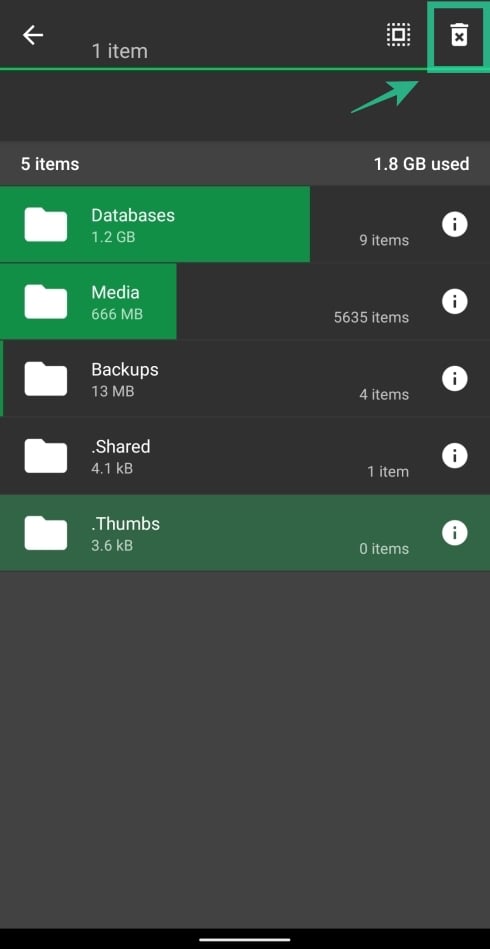
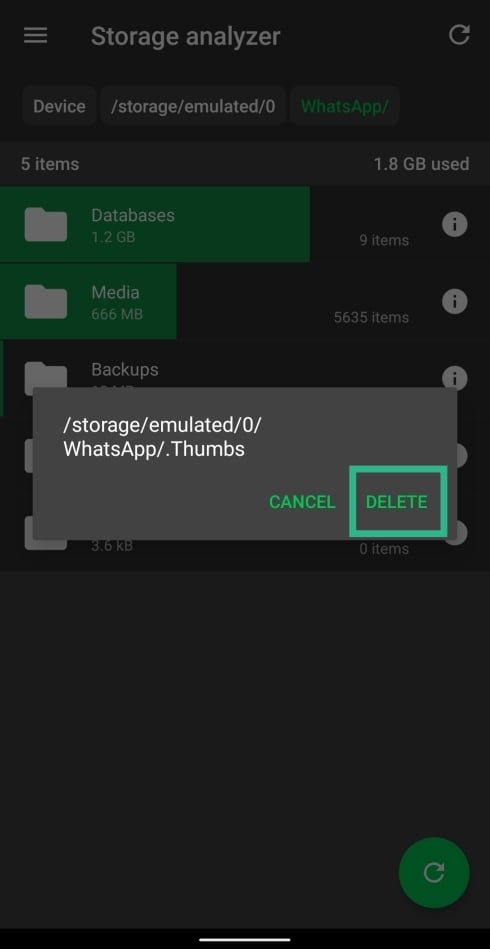
Step 4: If there’s a file or folder you want to delete, long-press on it, tap on the trash icon at the top right and confirm by tapping ‘Delete’.
How do you like this method of removing junk files from your Android device? Do you have some other app to do that for you? Let us know in the comments below.
RELATED:
One response to “How to sort and remove junk files from your Android phone”
I totally wish I could find information like this on any topic I’m researching this was so simple so clear and I appreciate the time that was taken. Thank you