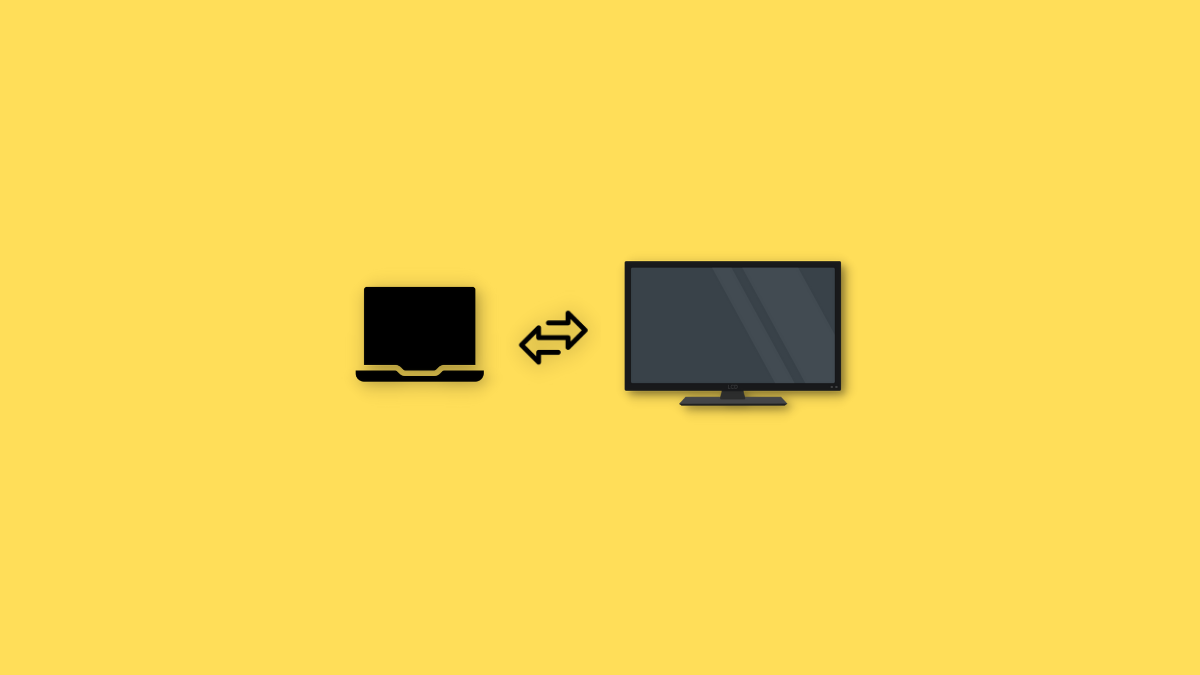
Wirelessly projecting your display can be a boon especially if you are trying to share content with a larger group of people. Most modern-day TVs support some kind of wireless projection and so do laptops. But how do you get started? Let’s find out!
- Does Windows 11 support projecting screen natively?
- How to project laptop to TV
- Before you start: Check the compatibility of devices
- 3 Ways to project laptop screen to TV
- Method 1: Using Miracast
- Method 2: Using Miracast from Control Panel
- Method 3: Using Chromecast
- Unable to connect to your TV? Try these fixes!
- FAQs
Does Windows 11 support projecting screen natively?
Yes and no, Windows 11 uses Miracast for wireless display projection natively while supporting Chromecast via Chromium browsers.
TVs on the other hand come bundled either with Miracast or Chromecast. This makes it a difficult dance to find the right compatibility and get everything working across your devices. Thankfully most TV manufacturers tend to label their products right on the box while Microsoft allows you to check your device compatibility using the DirectX Diagnostic Tool.
Related: How to Change Font in Windows 11
How to project laptop to TV
Here’s how you can project your laptop screen to a TV. Let’s start by checking your TV and laptop compatibility.
Before you start: Check the compatibility of devices
Here’s how you can check the compatibility of your devices. Follow either of the sections below depending on your preference.
On PC
Press Windows + R to launch the Run dialog box.

Use the following command to launch the diagnostic tool. Press Enter or click OK once done.
dxdiag

Click Save all information.

Choose the desired location on your laptop to save the information and click Save.

Open the file in your preferred text editor. Press Ctrl + F to launch the document search.

Search for Miracast.

If your system supports Miracast, it should read Miracast: Available, with HDCP. If your laptop does not support Miracast then it will read Not Available instead.

If your laptop supports Miracast then you can use Option 1 in the guide below to connect your laptop to your TV. Granted, in this case, your TV should also support Miracast which you can check using the next section.
If your laptop does not support Miracast then you can use Chromecast instead which can be accessed from your browser. Your TV should also support Chromecast in this case and you can use Option 3 for the same in the guide below.
On TV
Finding your TV’s compatibility can sometimes be a tedious task depending on when you bought your device. If you own a Smart TV manufactured in the past 4 years, then you likely have a TV that supports Miracast or Chromecast. To check for compatibility, we recommend you check the following places depending on your particular TV model.
1. Check your OEM support site: We recommend you check your OEM’s website for a listing be it a sale or advertising for your particular TV model. You will find wireless casting ability usually listed under features in such listings. You can also check the support page to download manuals particular to your device. These are usually guaranteed to contain all the specs particular to your model.
- Samsung support site
- LG support site
- Sony support site
- TCL support site
- Vizio support site
- Hisense support site
- Panasonic support site
2. Check your TV package box: We recommend you check the package your TV arrived in. The outer box usually lists most features which should include wireless display compatibility to your particular model of TV.
3. Check your TV manual: Most TVs come with documents that include manuals and maintenance guides. These also include all the technical specifications of your TV with instructions on how to set up and use its features. We recommend you check the same for more information on whether your TV supports Miracast or Chromecast.
Once you’ve identified your TV’s compatibility, you can use the appropriate section below to help connect your laptop to the same.
3 Ways to project laptop screen to TV
Here’s how you can connect your laptop to your TV depending on your device’s compatibility. Let’s get started.
Method 1: Using Miracast
We will first add the Wireless Display Feature to Windows 11 and then connect our device accordingly.
Step 1: Add the Wireless Display feature
Here’s how you can add Wireless Display to your laptop running Windows 11.
1.1 – Using the Settings app
Press Windows + i and click Apps.

Click Optional features.

Click View features at the top.

Search for Wireless Display.

Check the box for the same once it shows up in your search results.

Click Next.

Now click Install.

Wait for the feature to install, and once done, press Windows + K to test the same.

If you get a Cast dialog box on your right then you are good to go.
1.2 – Using Command prompt (CMD)
You can also add the Wireless Display feature using the CMD. Follow the guide below to get you started.
Press Windows + R to launch the Run dialog box.

Type in the following command and press Ctrl + Shift + Enter on your keyboard.
cmd

Type in the following command and press Enter.
DISM/Online/Add-Capability/CapabilityName:App.WirelessDisplay.Connect~~~~0.0 1.0

Wait for the process to finish and Wireless Display should be added to your PC. Once done, press Windows + K to test the same on your PC.

You can now use the next step to connect your laptop to your TV.
Step 2: Connect your laptop to the TV
Start by enabling casting on your smart TV. Most TVs will require you to turn on the same from your Settings app. The option could simply be named Cast or Miracast. Once enabled, switch over to your laptop and press Windows + K on your keyboard to launch the Cast dialog box.
Click on your TV once it shows up under Available displays.

Windows will now initiate a Wireless Display connection to your TV. Verify the PIN or prompt on your PC when prompted and your laptop screen should soon appear on your TV.
Method 2: Using Miracast from Control Panel
You can also enable network discovery in the Control Panel and use the same to cast media and other files to your TV natively. Follow the guide below to help you along with the same.
Step 1: Turn on Network Discovery
Let’s start by turning on Network Discovery in the Control Panel. Follow the guide below to help you along with the process.
Press the Windows key on your keyboard and type in Control Panel. Click and launch the same from your search results.

Click the drop-down menu in the top right and select Large icons.

Click Network and Sharing Center.

Select Change advanced sharing settings on your left.

Click and expand Private.

Select Turn on network discovery. Check the box for Turn on automatic setup of network-connected devices once done.

Click Save changes at the bottom.

Network Discovery is now turned on your device. You can now use the next step to cast media to your TV.
Step 2: Cast your media to the TV
Find the media file you wish to share and Shift + Right-click the same. Hover over Cast to device and select your TV from the list.

The file will now be sent to your device and you should now be able to view the same on your TV.
Method 3: Using Chromecast
While the name might be confusing at first, Chromecast is both, a physical device as well as a protocol. Most chromium browsers come bundled with this protocol while Chromecast helps provide the same functionality to incompatible devices like unsupported TVs and more.
We can use Chromecast to view our laptop screen on a Chromecast-compatible TV. Follow the guide below to help you along with this process.
Launch your preferred chromium-browser. We will be using Edge for this guide. Once done, click the icon in the top right corner.

Select More tools.

Click Cast media to device.

Your browser will now look for nearby devices. Click and select your TV once it shows up in the list.

And that’s it! You should now be able to project your laptop screen to your TV using Chromecast.
Unable to connect to your TV? Try these fixes!
Casting or projecting to a TV can be a convoluted process based on compatibility and your TV manufacturer. If you are facing issues, then here are some common fixes that you can try to try and troubleshoot your issue. Let’s get started.
Fix 1: Check your compatibility
We recommend you ensure that your PC is compatible with your TV and vice versa. You might be using a different method or protocol incompatible with one of your devices which in turn is preventing you from projecting your laptop screen to your TV. We recommend you refer to the section at the top and re-verify your devices’ compatibility to ensure that everything is as intended in your setup.
Fix 2: Update your Miracast drivers
If you’ve been trying to connect to a TV that was recently released then it is likely that your Miracast drivers are outdated on your PC. Casting protocols keep changing to accommodate for security vulnerabilities and it could be that your laptop is using outdated drivers. Here’s how you can get started.
- Snappy driver installer | Download Link
Download the app linked above and extract the archive to a convenient location. Launch the relevant .exe based on your CPU architecture once extracted. Click Accept to accept the TOC and privacy policy.

Now click and select Download Indexes only.

Wait for the indexes to update. Once updated, you will be shown all the available drivers for your PC. Select Click here to select updates at the top.

Check the box for Miracast drivers from the list.

Click OK.

Proceed to install the selected drivers and restart your system. Once restarted, your Miracast drivers will be updated and you should now be able to connect to your TV without any issues.
Fix 3: Use an HDMI cable
At this point, we recommend you try using an HDMI cable. One of your devices is likely facing major issues with this functionality which will require more troubleshooting. An HDMI cable will help you project your display to your screen without the need for any third-party apps or any other features.
Once plugged in, your laptop screen should automatically show up on your TV.
Fix 4: Use an external device
If your TV does not have wireless display functionality then you can add the same by adding an external device to the same. You can opt for a simple USB/HDMI Miracast receiver or choose a more comprehensive option like Chromecast, FireTV Stick, and more.
If using a simple USB/HDMI receiver, it will simply add Miracast functionality to your device. We recommend you keep an eye on your receiver’s protocol when purchasing one. Some receivers on the market use outdated protocols that might be incompatible with modern-day laptops.
If you’ve opted for a device like Chromecast, Amazon FireTV Stick, or Roku Stick then you will be able to enjoy native streaming and browsing directly from your peripheral. It will also allow you to project your laptop screen to the device whenever you like.
FAQs
Here are some commonly asked questions about projecting to your TV that should help answer some burning questions. Let’s get started.
What is the difference between Miracast and Chromecast?
Miracast and Chromecast are both proprietary wireless display protocols. These aren’t cross-compatible which makes it a bit difficult to find compatible devices. These protocols help you project your screen to compatible devices over a wireless network.
Should I invest in a new device?
We don’t recommend investing in a new device if you’re looking to project to a larger screen temporarily. An HDMI cable will help you achieve the same with better visual quality and resolution.
However, if you’re stuck with an incompatible device and would like to keep projecting to a larger screen, we recommend you invest in a new device.
If your TV lacks this functionality then you can opt for a simple USB/HDMI receiver or opt for something like a Chromecast or Roku stick.
However, if your PC lacks compatibility with Miracast then fret not, you do not need to buy a new device. Simply use a chromium browser to project to a compatible Chromecast device.
Can anyone connect to my TV?
Yes, in case your TV has connections and discovery enabled then virtually any compatible device can connect with your PC.
However, depending on the security settings on your TV, you might be required to approve a prompt or password to confirm the connection. This should help prevent any unauthorized connections to your TV.
We hope this post helped you easily project your laptop screen to your TV. If you face any issues or have any questions, feel free to reach out using the comments section below.
RELATED:
- How to Disable Speech to Text on Windows 11 in 2022
- How to Find Computer Model on Windows 11 PC in 10 Easy Ways
- Switch Out of S Mode Not Working? How to Fix
- 6 Ways to Shutdown Windows 11 Without Updating [Works 100%]
- How To Delete iTunes Backup On Windows 11
- How to Download and Install Official Windows 11 ISO


