
While speech to text has an unquestionable utility in the field of dictation, it can also be a clumsy experience if you want to enjoy uninterrupted tactical feedback from your keyboard while creating a document.
On the bright side of things, the Voice typing tool in Windows 11 can be both summoned and turned off only manually at your will. It’s just a matter of knowing how you can do it. So, without further ado, let’s get familiar with the Voice typing tool, its features, and how you can turn it off on Windows 11.
- Can you turn off Voice Typing in Windows 11?
- How to turn off Voice Typing in Windows 11 in 2 ways
- How to disable the Voice Typing Launcher in Windows 11 in 2 ways
- How to disable Auto Punctuation in Voice Typing
- How to prevent Voice Typing from accessing your microphone
- How to use Voice Typing in Windows 11
- FAQs
Can you turn off Voice Typing in Windows 11?
Yes, you can easily turn off Voice Typing in Windows 11 by turning off Online Speech Recognition for your PC. This will turn off all related services including Voice Typing, Cortana voice search, and more on your PC. Follow either of the guides below to help you turn off Voice Typing on Windows 11.
How to turn off Voice Typing in Windows 11 in 2 ways
Here’s how you can turn off Voice Typing on Windows 11 depending on your current version of Windows 11. If you are using a Pro version then you can use the Group Policy Editor in Windows 11, or if you have a Windows 11 Home Edition PC, then you can use the Registry Editor instead.
Method 1: Using Group Policy Editor
Press Windows + R on your keyboard, type in the following and press Enter on your keyboard.
gpedit.msc

Now navigate to the following path using the left sidebar.
Computer Configuration > Administrative Templates > Control Panel > Regional and Language Options

You will now have a list of Regional and Language Options on your right. Double click on Allow users to enable online speech recognition services.

Click and select Disabled.

Now click on OK.

Close the Group Policy Editor and restart your PC. Once restarted, Voice Typing and all other speech-related services should now have been disabled on your PC.
Method 2: Using the Registry Editor
If you’re using a Windows 11 Home PC then this is the recommended method for you, follow the steps below to help you along with the process.
Press Windows + R on your keyboard, type in the following and press Enter on your keyboard.
regedit

Now navigate to the following path using the folders in the left sidebar. You can also copy-paste the address below into the address bar at the top of your screen.
HKEY_CURRENT_USER\Software\Microsoft\Speech_OneCore\Settings\OnlineSpeechPrivacy

With OnlineSpeechPrivacy selected on your left, right-click on an empty area on your right and select New.

Click DWORD (32-bit) value.

Name the value HasAccepted and double click on the same once created.

Set the Value data as 0 and click on OK once you are done.

Close the Registry Editor and restart your PC for good measure. Once restarted, Voice Typing should now be disabled on your Windows 11 PC.
How to disable the Voice Typing Launcher in Windows 11 in 2 ways
Voice Typing is now a standalone utility with its launcher to manage the tool. You can disable this launcher as well in Windows 11. Follow one of the guides below to help you along with the process depending on your preferences.
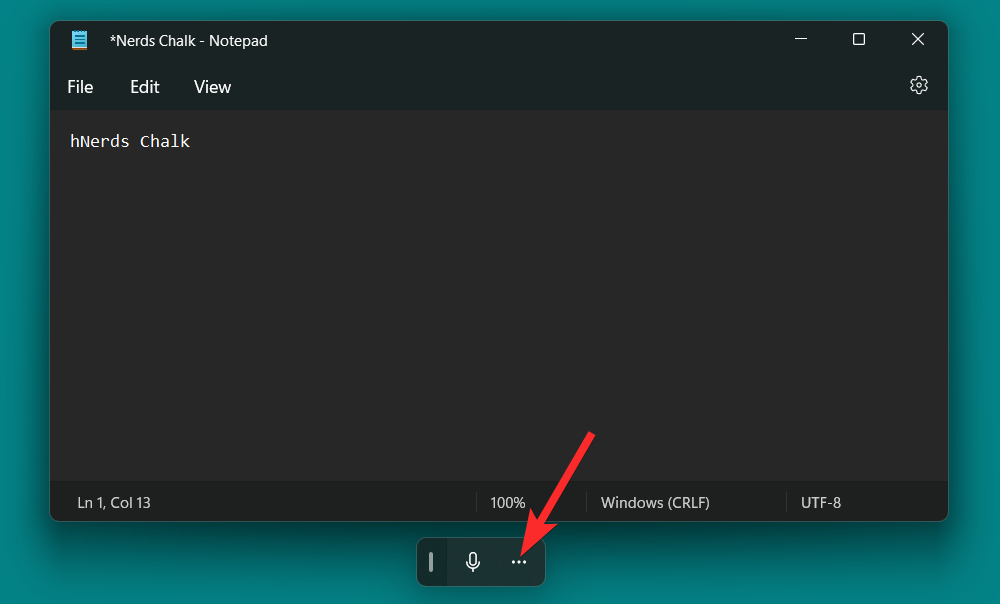
Method 1: Using the Voice Typing Launcher
In the Voice typing launcher, click on the 3-dot icon.
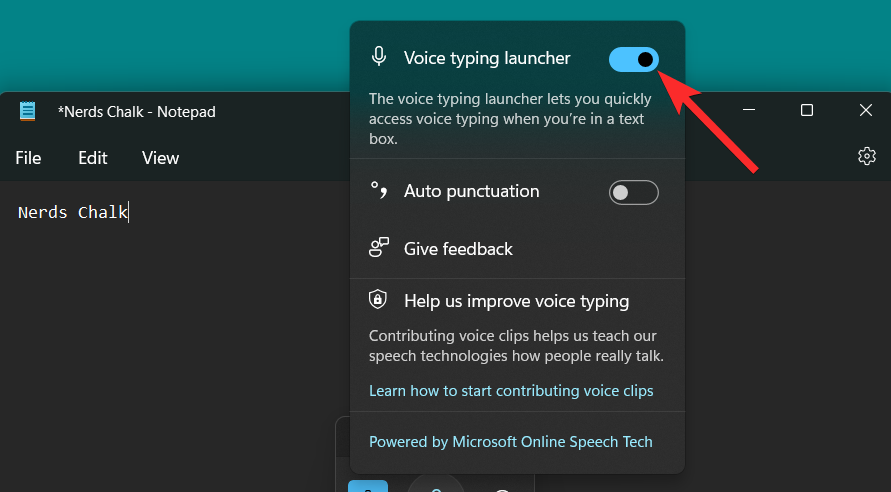
Click on the Voice typing launcher toggle to turn it off.

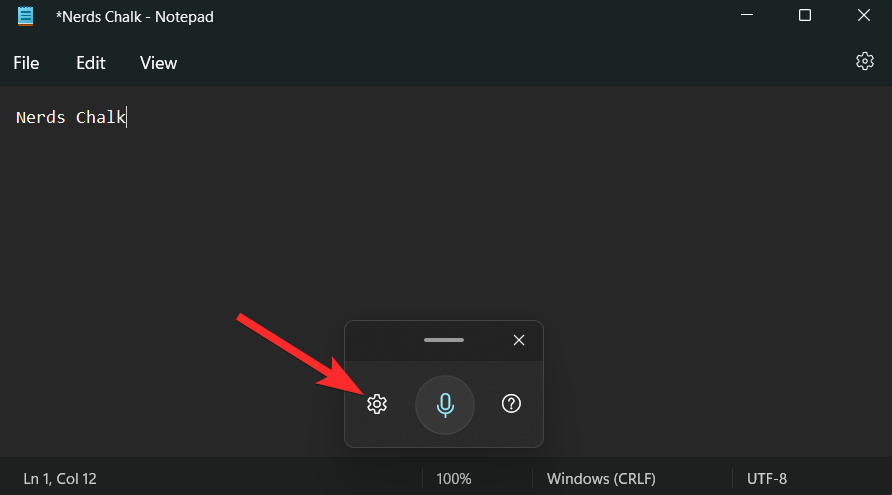
Method 2: Using the Voice Typing utility
In the Voice typing tool, click on the Settings icon.
Click on the Voice typing launcher toggle to turn it off.
Note: The toggle will turn grey once the option is disabled. The blue-colored toggle, on the other hand, means the option is enabled.
How to disable Auto Punctuation in Voice Typing
Auto-Punctuation is an in-built utility that aims to enhance your Voice Typing experience by inserting punctuations in the text based on your diction. However, if you are someone who likes to use their punctuations, then here’s how you can disable this feature on your PC. Follow the steps below to help you along with the process.
Press Windows + H from your keyboard to summon the Voice typing tool.

In the Voice typing tool, click on the Settings icon.

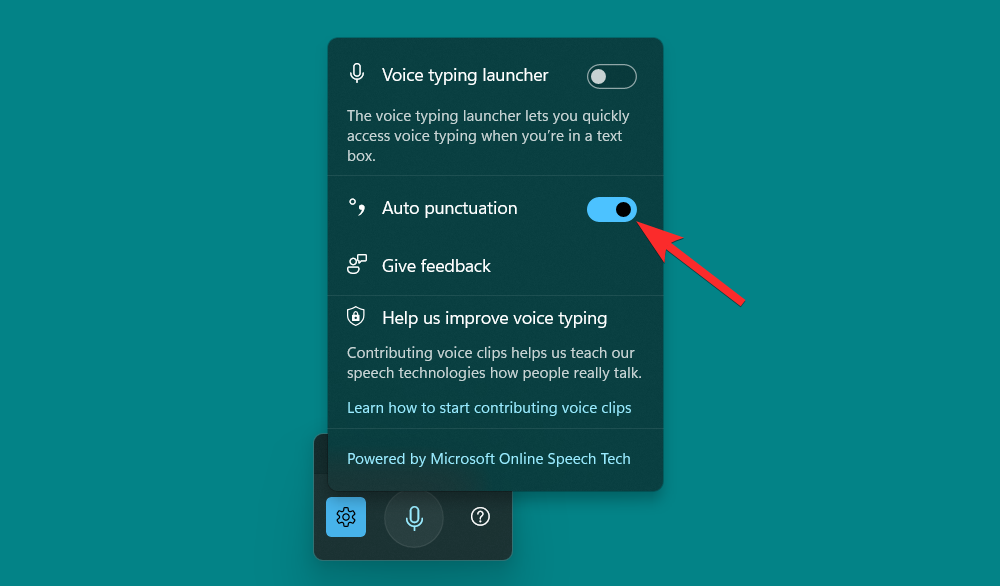
Finally, click on the Auto punctuation toggle to disable it.
Note: The toggle will turn grey once the option is disabled. The blue-colored toggle, on the other hand, means the option is enabled.
How to prevent Voice Typing from accessing your microphone
Windows 11 also allow you to completely shut off microphone access to various apps, thus restricting a significant part of their functionality. For utilities like the Voice typing tool, disabling microphone access will, in a way, render the Voice typing tool futile.
Note: This will disable microphone access from all other apps on your PC as well.
Let’s see how you can do it.
Press the Windows key on your keyboard to open the start menu.
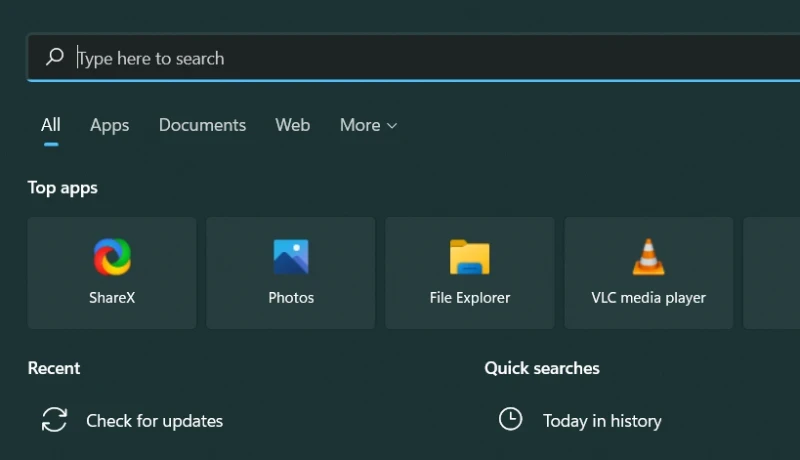
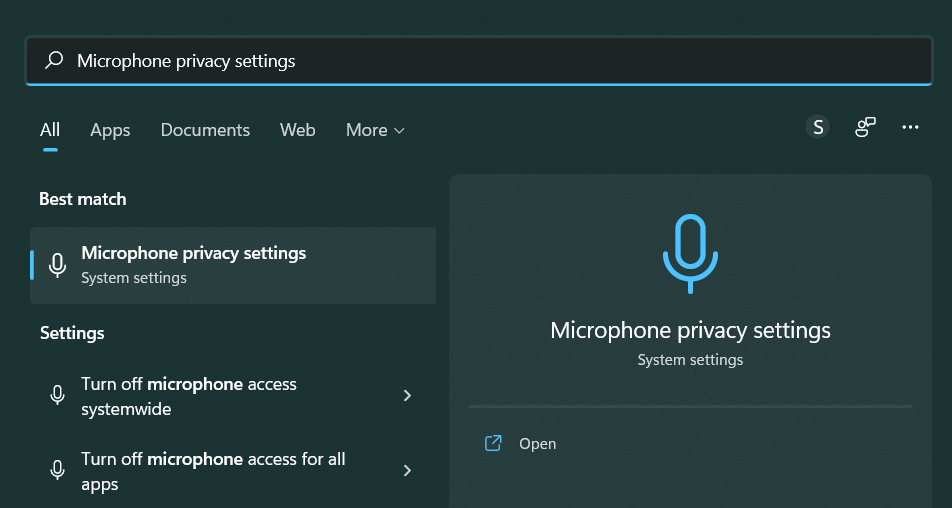
In the start menu, search for Microphone privacy settings and click on the same from your search results.
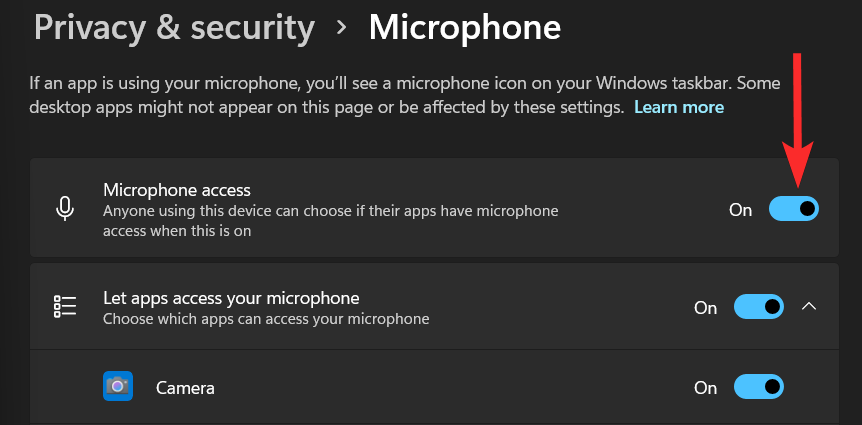
Click on the Microphone access toggle to disable it.
Note: The toggle will turn grey once the option is disabled. The blue-colored toggle, on the other hand, means the option is enabled.
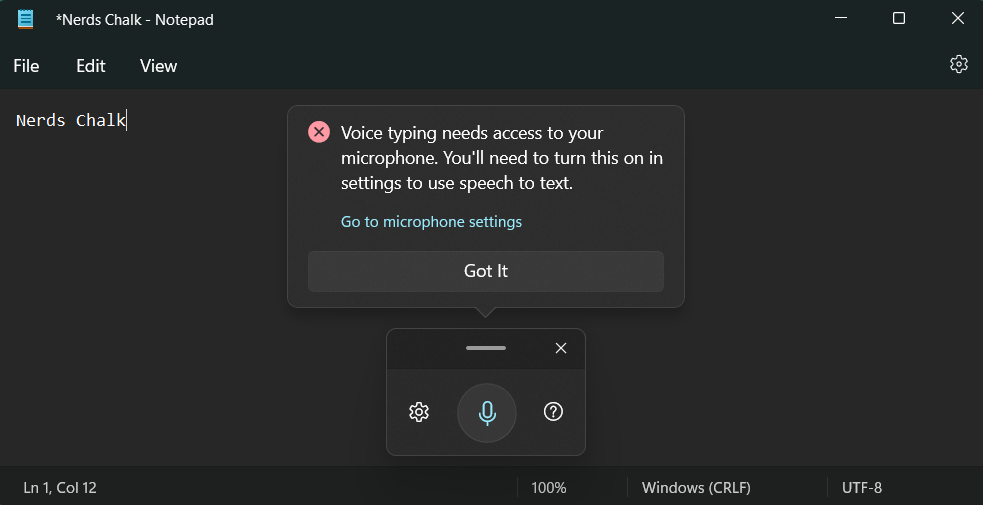
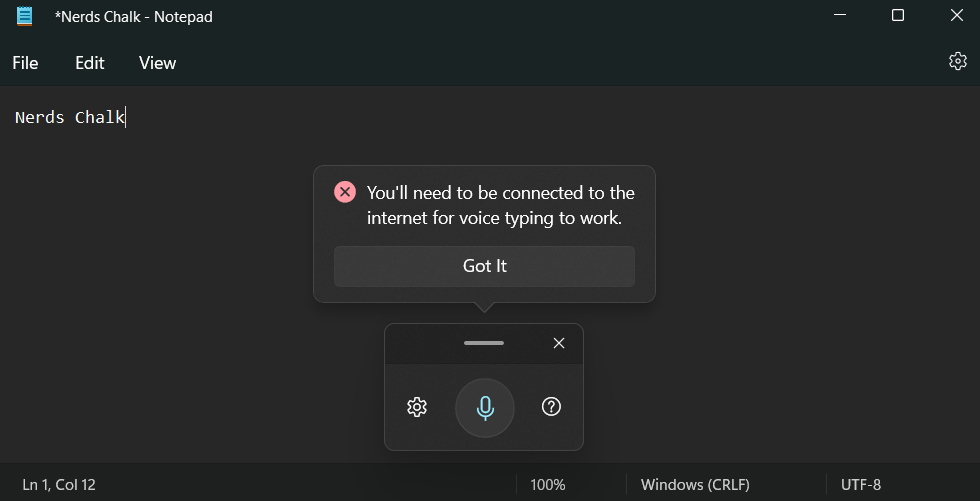
Now, every time the Voice typing tool is summoned, you will see the following error restricting your access to the tool.
How to use Voice Typing in Windows 11
The Voice Typing tool is quite comprehensive and an essential utility for users with accessibility needs. Here’s how you can make the most of it on Windows 11 in case you change your mind in the future.
How to type using Voice Typing
To type using Voice Typing, place your cursor in a compatible text box and hit Windows + H on your keyboard to activate the Voice Typing tool. We will be using a temporary text file in Notepad for this guide.
Note: Once the Voice typing tool is in the listening mode, the microphone icon will appear to be of the same color as your Windows theme.
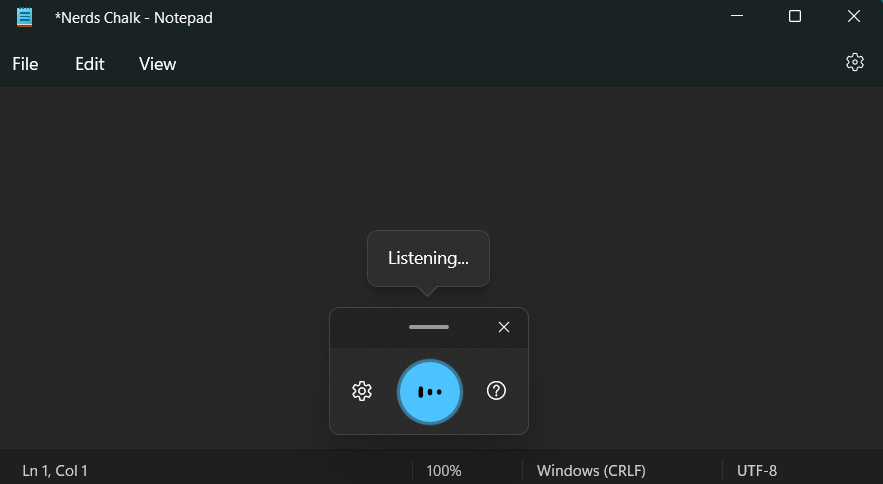
With the Voice typing tool now active and listening, speak the text you want to write into the Notepad.
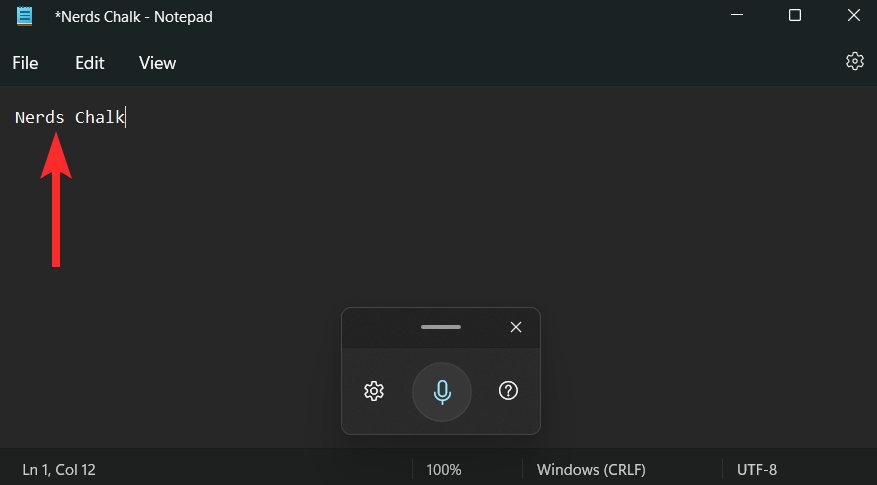
The spoken text has now been entered into the Notepad. Continue on your piece as needed and click on the X to close the Voice Typing tool once you are done.
How to pause Voice Typing
Let’s say you misspelled a particular word or even a sentence and you want to make changes to this text before proceeding further. Stopping or pausing the Voice typing tool to edit your text manually is a fairly easy way of doing it.
You can then resume the speech-to-text action by clicking on the microphone icon in the Voice typing tool again.
Follow either of the methods below to help you along with the process.
Method 1: Using a voice command
You need to use the Stop listening command to stop Voice Typing on your PC when the tool is active and listening to you.

Once stopped, the microphone icon will look similar to the one depicted in the picture below.

Method 2: Using the launcher
You can also pause or stop voice typing directly from the launcher using your mouse.
When in the listening mode, the microphone icon will look similar to the one depicted in the picture below. From here, click on the microphone button to stop the listening session.
Once stopped, the microphone icon will look similar to the one depicted in the picture below.
Method 3: Use the keyboard shortcut
You can also use the following keyboard shortcut to pause the voice typing utility on your Windows 11 PC.
Windows + H
Using the keyboard shortcut is recommended if you regularly switch between regular and voice typing.
How to exit the Voice Typing Tool
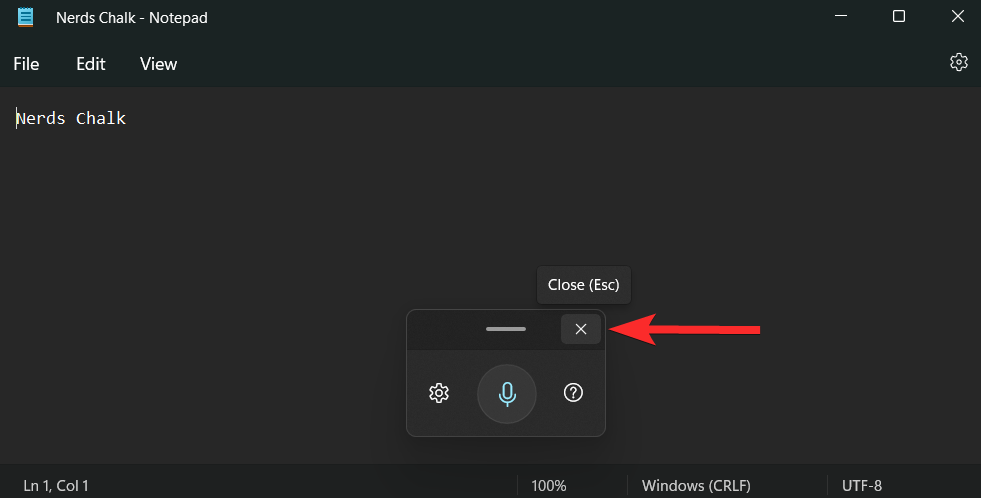
Once you’re done with your speech-to-text session, exiting the Voice typing tool is the natural next step. To close the Voice typing tool and quit your listening session, simply click on the X icon on the Voice typing tool.
Note: You can also press the ESC key from your keyboard to close the Voice typing tool.
FAQs
Here are a few commonly asked questions about Voice Typing in Windows 11 that should help you get up to date with the latest information.
Can I use the Voice typing tool offline?
No. You cannot use the Voice typing tool on Windows 11 offline. While you can still summon the Voice typing tool, you can use it only when your PC is connected to the internet.
Are the Voice typing tool and speech recognition the same?
No. The Voice typing tool and speech recognition on Windows 11 are two entirely different things. While both use your microphone to take your sound as an input, the fundamental functions they form differ significantly.
Windows speech recognition can be used to control your device, open applications, perform mouse actions, open or close folders, etc. The Voice typing tool, however, can only be used to dictate text in a particular text box.
Is the Voice typing tool enabled by default on Windows 11?
Yes. Unlike Windows speech recognition, the Voice typing tool on Windows 11 is enabled by default. You won’t even see an option that allows you to toggle this feature on or off.
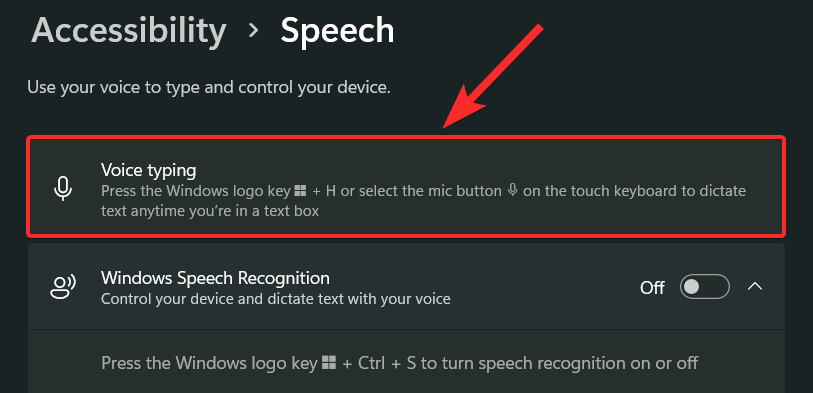
The shortcut Windows + H dedicated to opening the Voice typing tool is the only way of accessing this tool on your Windows 11 PC, i.e. of course, unless you have a touch keyboard. In that case, simply press the ‘mic’ button to do the same.
Is it mandatory to turn on speech recognition to use the voice typing tool?
No. You can use the Voice typing tool without having to toggle on or even set up Windows speech recognition on your PC. These two features work independently of each other.
Can I use both the Windows 11 and Google’s Voice typing tool in a Google Doc?
Yes. You can use both tools to convert speech to text in your Google Doc. However, the reverse logic does not hold, i.e. Google’s Voice typing tool can only be used inside a Google Doc and not anywhere else.
We hope this post helped you easily turn off Voice Typing on Windows 11. If you face any issues or have any more questions for us, feel free to drop them in the comments section below.


