One of the biggest players in the video conferencing segment, Zoom, is known for its easy-to-use interface, loads of features, and generosity. Irrespective of whether you’re a paid user or not, Zoom allows you to personalize your experience on the app — including the way you appear to others.
Your name is the most well-known identifier of your Zoom account. So, it has to be the first thing for you to change when you’re handing the reins over to someone else or looking to improve privacy. Changing your name before joining a meeting is fine, but it isn’t a permanent solution. Thankfully, Zoom understands this concern and allows its users to change their names permanently, without a hitch. Below, we’ll check out how you could do so on all three clients.
Related: Zoom Immersive View Scenes Download
How to change Zoom name permanently
Zoom offers a web client alongside dedicated applications for Windows, Mac, iOS, and Android. All of them allow you to change your Zoom information including name, phone number, name of the organization, and more.
Web
First, go to Zoom’s sign-in page and log in with your username and password. Now, on the left-hand panel of your screen, locate and click on ‘Profile.’

This segment will show your registered name, email ID, phone number, and more. Alternatively, you could click on this link to go straight to your Zoom profile. You will, of course, need to sign in with your username and password before accessing the page.
At the top of the profile page, you’ll see two sections: full name — ‘First Name,’ ‘Last Name’ — and ‘Display Name.’ They are usually one and the same unless you deliberately change the display name. To change your full or display name, hit the ‘Edit’ button on the right-hand side of the section.

Now, make the necessary changes to the sections.

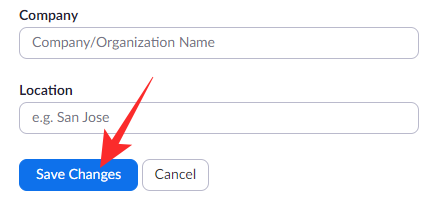
And finally, hit ‘Save Changes.’
Desktop
Launch the Zoom application and click on the profile picture thumbnail at the top-right corner of the screen. Now, go to ‘Settings.’
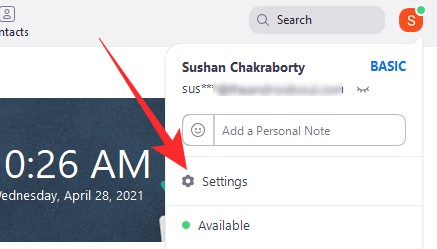
Doing so would take you to the backend of the Zoom application. Now, click on the ‘Profile’ tab on your left.

Then, hit ‘Edit My Profile.’

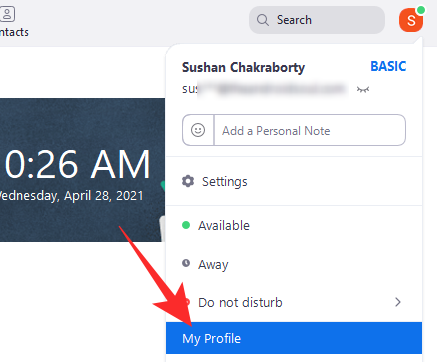
Alternatively, you could click on ‘My Profile’ to go straight to the profile section.
Irrespective of which path you choose, you’d be taken to the Zoom web portal — directly to the ‘Profile’ section. At the top of your screen, you’ll see your full name and ‘Display Name.’ Hit the ‘Edit’ button on the right-hand side of the section.

Finally, make the necessary changes and click on ‘Save Changes.’

It is to be noted that it might take a while for the desktop client to reflect the changes.
Mobile
On mobile, you won’t find the option to change your full name — first name and last name — alongside your Display Name. However, changing the ‘Display Name’ alone is enough as far as the mobile client is concerned. So, first, launch the Zoom mobile app and log in with your username and password. Now, tap on the ‘Settings’ tab at the bottom-right corner of your screen.

Then, tap on your name at the top of the screen.
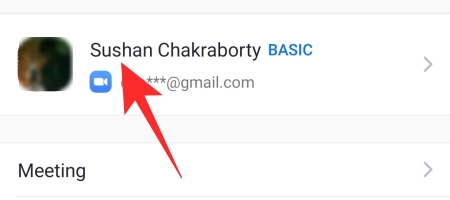
On this screen, you’ll get access to all the necessary profile information Zoom has taken off of you. Next, tap on ‘Display Name,’ which denotes your public name on Zoom.

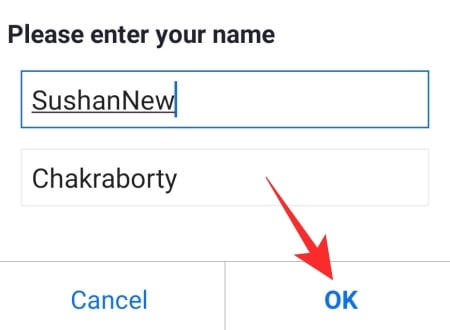
Change it to whatever name you wish and hit the ‘Ok’ button. Your display name would be changed.
Related: Immersive View in Zoom — Everything You Need To Know
How to permanently change name on Zoom without an account
As you may already know, Zoom doesn’t force you to create an account to join a video call. All you need is an invite or link to the meeting. Click on it and you’re good to go.
After you get to the penultimate meeting page, Zoom grants you the option to change your audio/video preferences as well as pick a name for the meeting. Since you don’t have an account, there’s no way for Zoom to log your name. Still, if you wish to keep using the same name for all meetings through the particular browser, you could tick the ‘Remember my name for future meetings’ options.

That way, Zoom would remember your name — in addition to audio/video settings.
How to permanently change name on Zoom Chromebook
If you have a Chromebook, you could either use the Zoom Chrome app or visit Zoom’s official website. On the Chrome app, you’ll have to go to the ‘Profile’ section and click on ‘Edit my profile.’

This would take you to the Zoom web page where you can change your name by hitting the edit icon right next to your name. Click on ‘Save’ when done.
Going through the browser is simpler. Just click on this link and hit ‘Edit’ next to your name to edit your full name and display name.

Then, click on ‘Save Changes’ when you’re done.

The changes you make would start to reflect almost immediately.
Old name displaying even after changing? How to solve
Have followed every little step and still can’t get rid of your old name? There are a couple of things to consider before you connect to Zoom’s customer service.
Wait for a bit
Since Zoom updates its database quite frequently, your issue is likely to get resolved right after the next update cycle. So, before trying anything else, give it a couple of hours and wait for it to play out.
Logout/Login
Restarting the Zoom client is a good way of forcing the system to check for updates. And no, we’re not talking about an OTA app update. When you restart, you’re basically forcing the Zoom application to look for changes and apply them immediately.
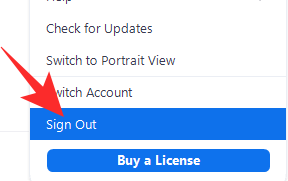
Simply closing the app and opening again could do the trick. However, we recommend you to log out of the client, close it, and then log back in with your username and password once you restart it.
Any new changes should get imported and be reflected.
Delete cookies
Your name, profile picture, and some other identifiers are stored in cookies for easier access. These cookies are refreshed periodically, of course, but not always immediately. So, chances are, the changes you make may not reflect right away.
To remedy that, you have to force Zoom to refresh the cookies. And the best way to that is by deleting the cookies at once. The method of deleting cookies changes isn’t constant, meaning that it depends primarily on the browser you’re using.
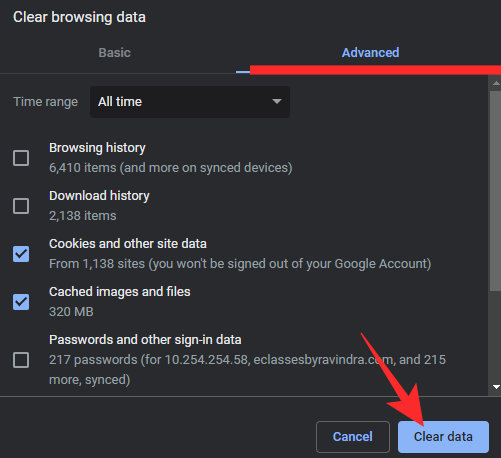
On Chrome — the most popular browser on the planet — Go to ‘Settings,’ click on ‘Clear browsing data,’ head over to the ‘Advanced’ tab, select ‘Cookies and other site data,’ and hit ‘Clear data.’
That’s it!
RELATED
- Zoom Cat Filter — How To Get It, Turn On And Turn Off
- How To Leave Zoom Meeting
- How To See Multiple Screens on Zoom
- Best Zoom Games to Play During Holidays, Christmas, and New Year
- How to Stop Zoom From Popping up Window When Someone Starts Sharing Their Screen
- How to Do Voice-Over in a Zoom Meeting


