Here’s how to sideload an APK file to install the Android app on your Windows 11 PC using Windows Subsystem for Android. You can install Windows Subsystem for Android manually on your Windows 11 PC using its Msixbundle file from our guide here.
Step 1: Enable Developer mode in Windows Subsystem
Install Windows Subsystem for Android first. When done, open the ‘Windows Subsystem for Android’ app on your PC. For this, press the Windows key and search for Windows Subsystem for Android.
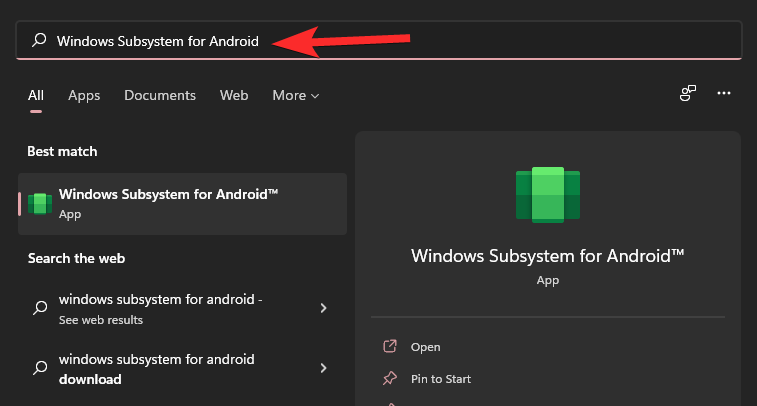
Click Windows Subsystem for Android. Or click Open.

In the Windows Subsystem for Android, toggle on Developer mode.

Step 2: Install SDK Platform Tools
Visit Google’s SDK Platform Tools page here.
Click Download SDK Platform-Tools for Windows.

Scroll down all the way and select the checkbox to agree with the terms and conditions. Then click the green button to download the Platform Tools.

A zip file called platform-tools_r31.0.3-windows (version might change) will be downloaded to your PC.

For your ease, create a new separate folder called folder-for-apps in Windows Explorer. Now, transfer the platform-tools file to this folder.
Right-click the platform-tools file and select Extract all.

Click Extract.

The file will be extracted. Open the folder called platform tools.

You will have the adb.exe and some other files here.
Related: How to Restart Windows Explorer on Windows 11 and What Happens When You Do It
Step 3: Install Android app
Double-click the platform-tools folder open it.
Here, click the address bar and type cmd, and then hit the enter key.

A command window will open up with its location set to the platform-tools folder. This is important.

Now, we have the command prompt window in the folder where we have the adb.exe file. That is, our platform-tools folder.

Now, download the APK file of the Android app you want to install. For example, if you want to install Snapchat, search Snapchat APK on Google and download its APK file from any reliable website that you trust. Next, rename the file to something simpler like snapchat.apk. Now, transfer snapchat.apk to the platform-tools folder.

We can now install the Snapchat Android app using snapchat.apk and adb on your PC.
Open the Windows Subsystem for Android, and find the IP where it can connect with ADB under the Developer mode option.

In your command prompt window, type the command below and hit Enter:
adb.exe connect (ip-address-here)
Example: adb.exe connect 127.0.0.1:12345

Now, type the install command given below and then hit Enter:
adb.exe install (apk-file-name-here.apk)
Example: adb.exe install Snapchat.apk

The Android app will now be installed on your PC using ADB and the APK file you provided.

When done, you will see the Success message.

You can close the CMD window now.
You can now open the Android app on your PC.
Press the Windows key and then type the name of your app. In our case, it is Snapchat.

Here is how Snapchat looks on Windows 11.

That’s all.
Sideload APK automatically using a double-click
We know using an adb command is not the easiest way to install an Android app on your PC. Thankfully, you can now double-click an APK file to install it. Check the link below to learn how to set this up.
Read: How to Sideload APK on Windows 11 Automatically With a Double-click
Let us know what is your favorite method to sideload APK files on PC.
RELATED
- How to Disable VBS on Windows 11 and Does it Help?
- First 10 Things to Do on Windows 11
- Windows 11: How to Create Live Tiles and Widgets Yourself
- How to Extend Volume Windows 11 or Windows 10
- How to Facetime to Windows | Android
- How to Calibrate Monitor on Windows 11 PC
- How to Run Old Games on Windows 11


