
What to know
- Temporarily disable the keyboard from Device Manager > Keyboards > select keyboard > Uninstall device.
- To permanently disable the keyboard, right-click your keyboard in Device Manager, select Properties > Details > Hardware Ids and copy the values. Then open Group Policy Editor, go to Computer Config > Admin Templates > System Device Installation > Device Installation Restrictions and enable “Prevent installation of devices that match any of these device IDs“. Click on “Show” and paste the copied Hardware Ids. Return to Device Manager and uninstall the keyboard.
- After uninstallation of keyboard drivers, you can prevent automatic keyboard update by opening sysdm.cpl (in RUN), then going to Hardware > Device Installation Settings > No.
- To keep things simple, you can also use third-party apps like Keyboard Locker, BlueLife KeyFreeze, and KeyboardLock as well.
The keyboard is one of the primary peripherals of a PC and it needs to work properly if you’re going to have any meaningful interaction with your computer. But if a few keys are malfunctioning, you may have no choice but to disable the keyboard.
Keeping your keyboard disabled is also a good security measure if you’re going to go AFK, be it at work, school, or at home. Knowing how to do this is even more important if you have kids or pets at home, so you don’t accidentally get a blur of nonsense when the keys are accidentally pressed.
Here we take a look at a number of ways to disable your keyboard, be it an integrated laptop keyboard or an external one, and gain more control over your keyboard.
Related: How To Change Keyboard on Android
How to temporarily disable keyboard with Device Manager
You can disable your keyboard for your current session from the Device Manager. Here’s how to:
Disable built-in keyboard of your laptop
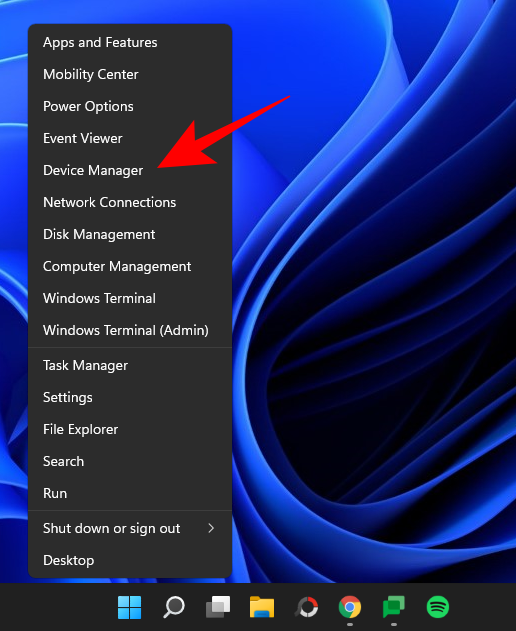
- Right-click on the Start Menu and select Device Manager.
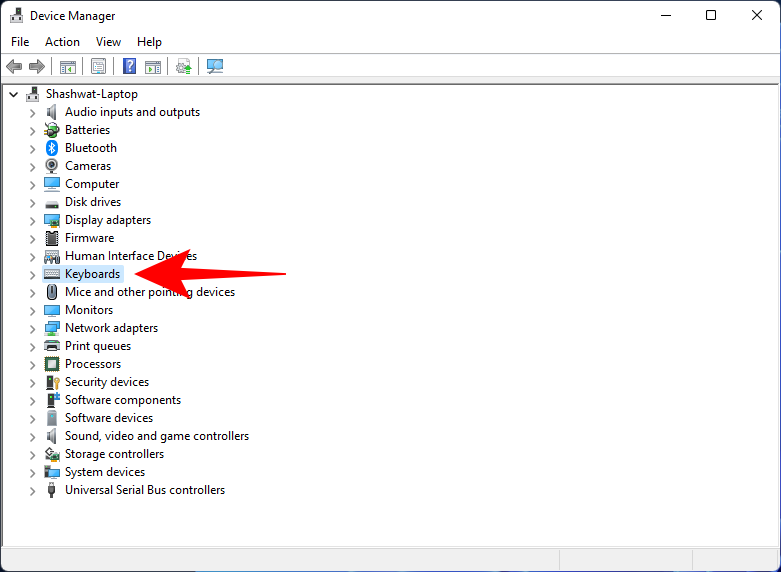
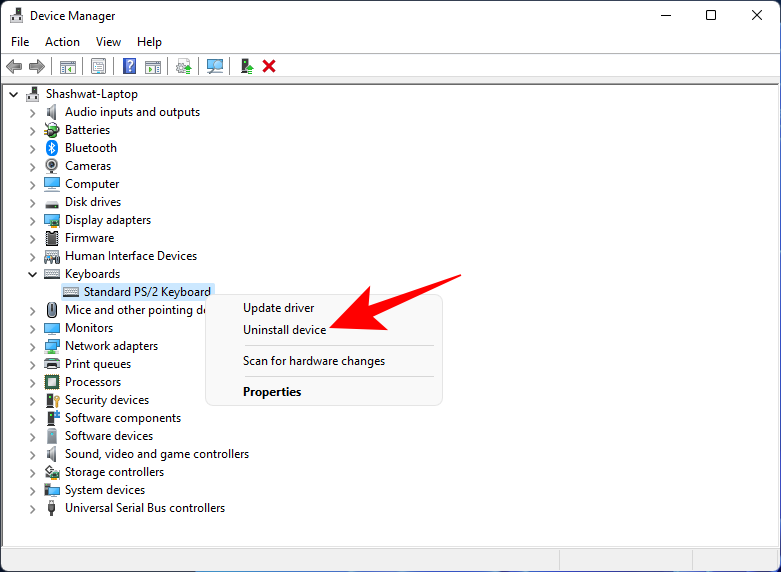
- Then click on the arrow before Keyboards to expand it.

- Right-click on your PS/2 keyboard (built-in keyboard), and select Uninstall Device.

- When prompted, click on Uninstall again.

Your keyboard now stands disabled, until the next reboot that is.
Disable external keyboard
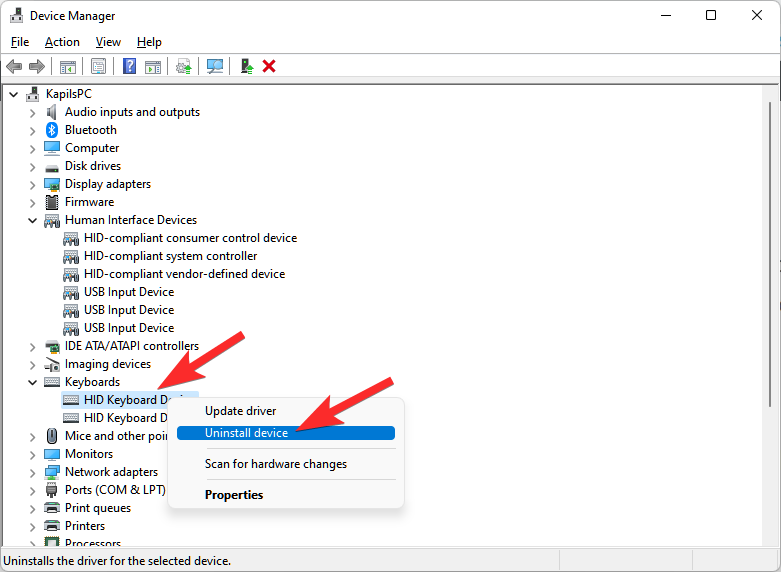
- If you have an external keyboard connected and you want to disable that, go to the same Keyboards branch in ‘Device Manager’ as before and select your USB keyboard. It will most probably be named HID Keyboard Device.

- Right-click on it and select Uninstall Device.
Your external keyboard is now disabled for the time being. Once you restart your system, Windows will detect that the device drivers are missing and automatically install them so that the keyboard is enabled again. So, for a more permanent solution, see below.
How to permanently disable your keyboard
There are a few ways that you can permanently disable your keyboard, mainly by preventing Windows from installing keyboard drivers. Let’s take a look at all the ways in which the keyboard can remain disabled even after a restart.
Related: 6 Best Keyboard apps for Android that every texting addict needs
Method 1: Prevent Windows from installing keyboard drivers using the Group Policy Editor
To prevent Windows from installing keyboard drivers after reboot, we’re going to turn on a device installation restriction using the Group Policy Editor. Here’s how:
- First up, open Device Manager (select it after right-clicking Start). Expand the Keyboards branch.
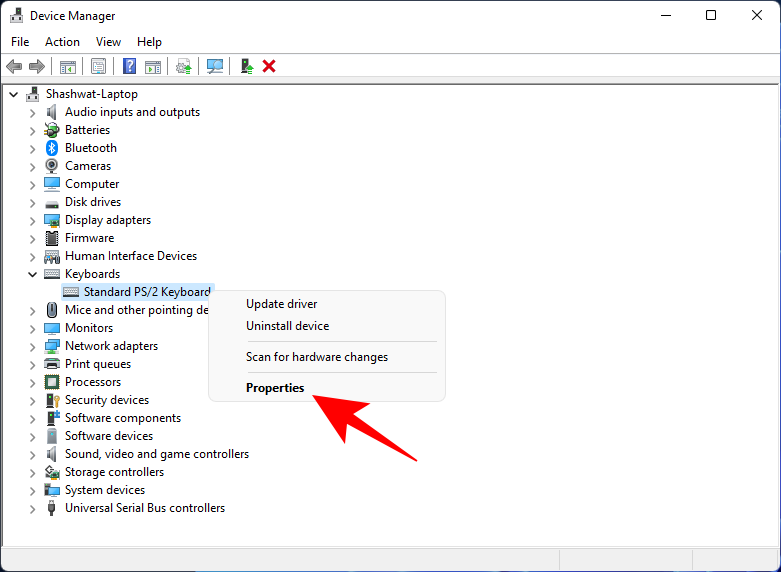
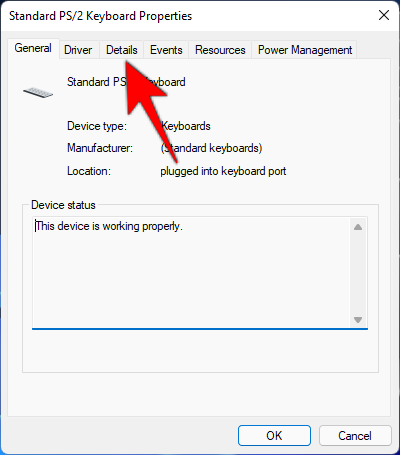
- Right-click on your keyboard and select Properties.
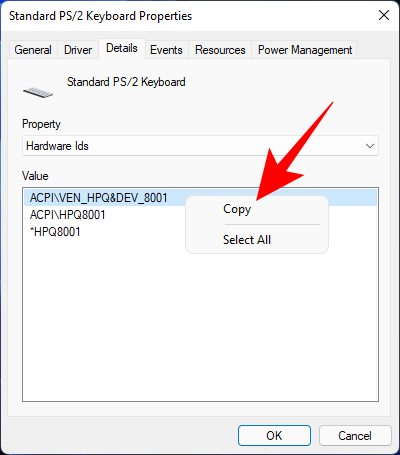
- Switch to the Details tab.
- Under ‘Property’, click on the drop-down menu and select Hardware Ids.
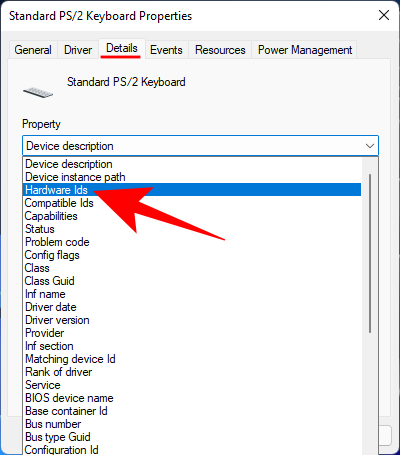
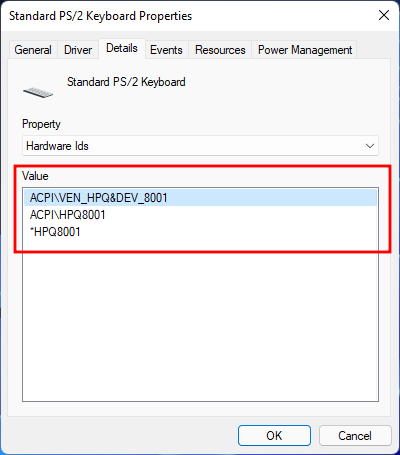
- You will see three hardware values under it.
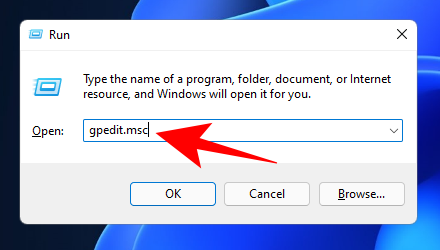
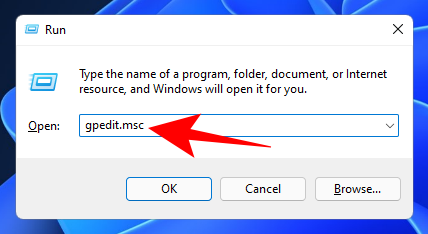
- Keep this window open. Now open the RUN dialog box by pressing
Win+R, type gpedit.msc, and hit Enter.
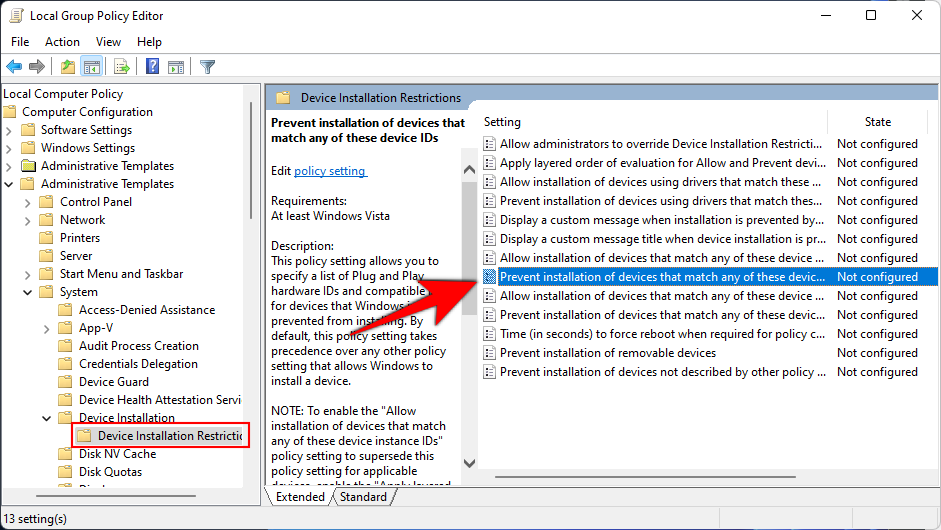
- Now, navigate to Computer configuration > Administrative Templates > System > Device Installation > Device Installation Restrictions.

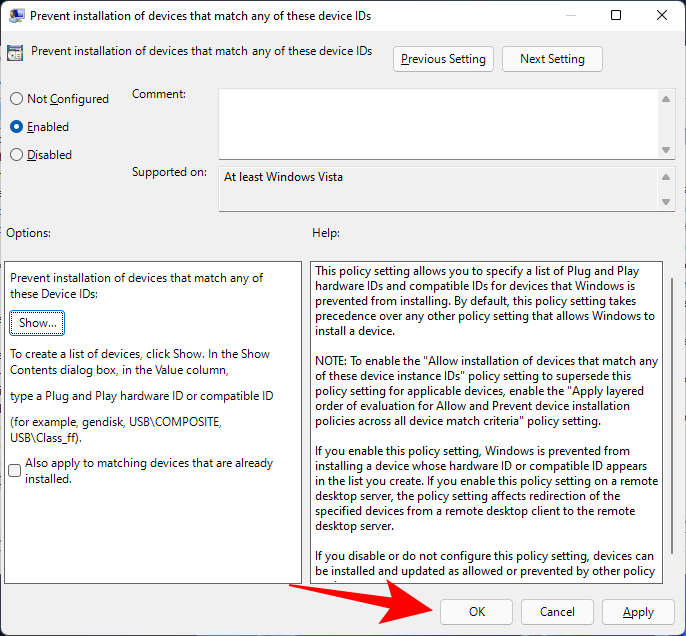
- On the right, double-click Prevent installation of devices that match any of these device IDs.
- Select Enabled.
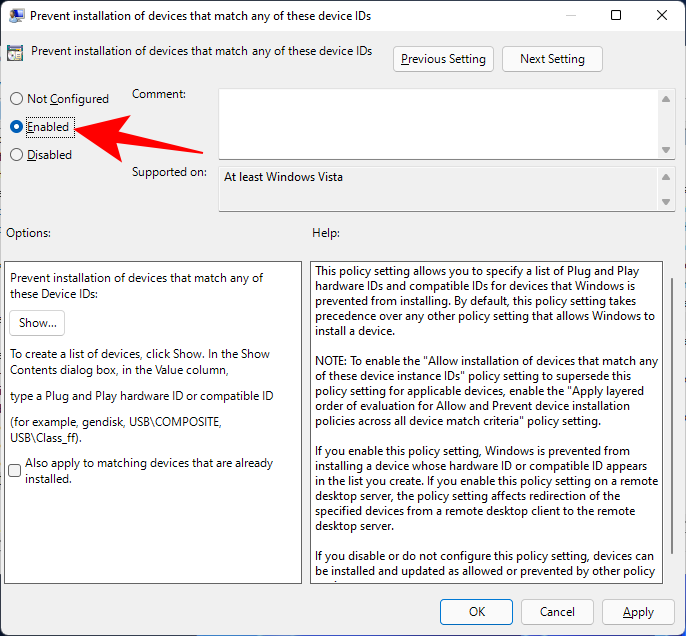
- Then, under ‘Options’, click on Show.

- This will open up a ‘Show Contents’ window.
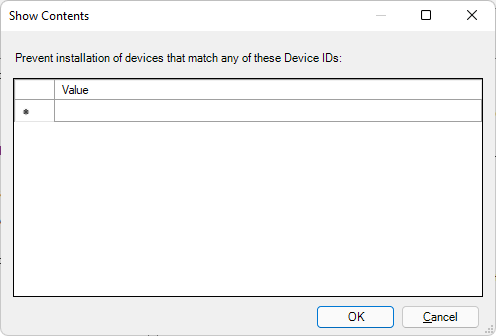
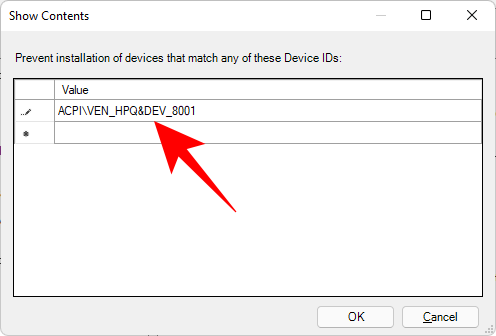
- Now go back to the Keyboard properties window that you opened from the Device Manager before, right-click on the first value in the list and select Copy.
- Then return to the ‘Show Contents’ window and click under ‘Value’. Then paste the hardware ID in that box (
Ctrl+V).
- Click OK.
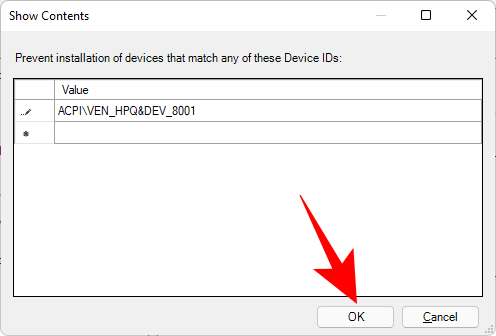
- Click OK again.
- Now, go back to the Keyboards branch in Device Manager, right-click your keyboard and select Uninstall device.
This will disable the keyboard, and this time when your restart your PC, your keyboard device won’t install automatically, thereby permanently disabling your keyboard.
If your keyboard still works after reboot, try copy-pasting other available hardware IDs for the device installation restriction policy.
Method 2: Stop automatic keyboard update with System Properties
Windows has a separate feature that automatically updates hardware drivers when they are missing. But if you want to disable your keyboard for good, you don’t want this to happen. So, in order to disable this feature, we’re going to take the help of System Properties. Here’s how:
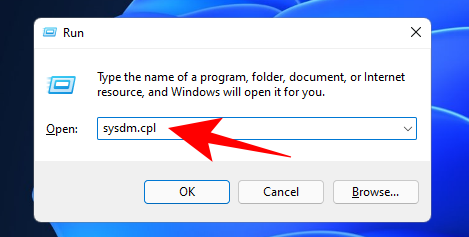
- Press
Win+Rto open the RUN dialog box, type sysdm.cpl, and hit Enter.
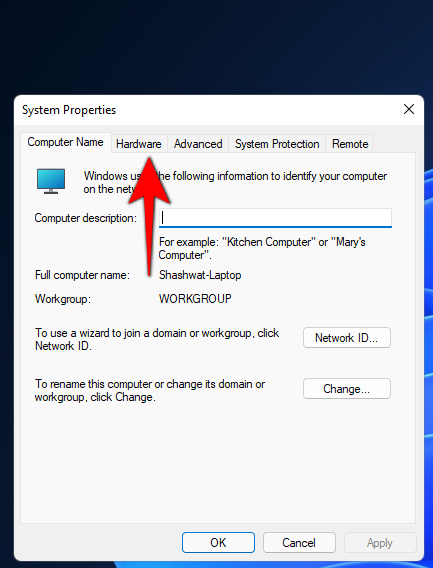
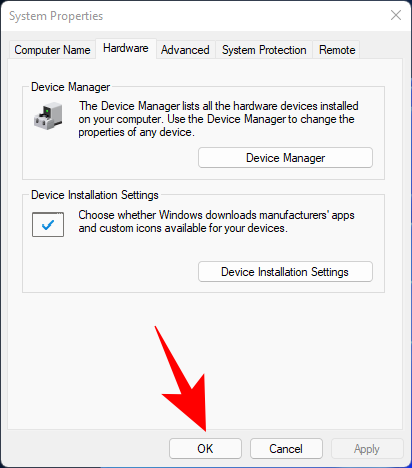
- Switch to the Hardware tab.
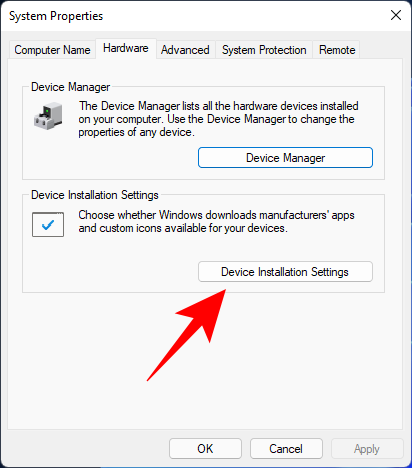
- Click on Device Installation Settings.
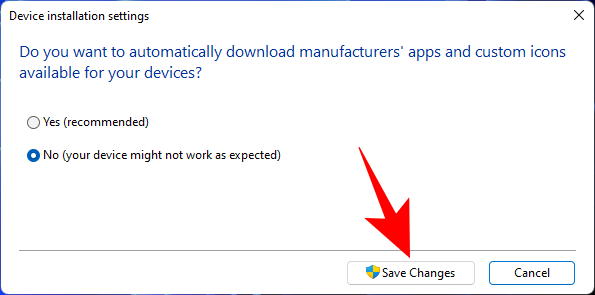
- Choose No.
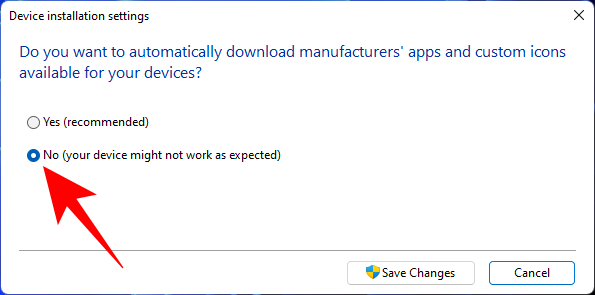
- Then click Save Changes.
- Click OK on the ‘System Properties’ window.
Now, whenever you restart your PC after disabling your keyboard drivers from Device Manager, it will stay disabled.
Method 3: Use the wrong driver for your keyboard (so it doesn’t work)
This rather ingenious workaround to keep your keyboard permanently disabled is not really advisable, especially if your touchpad and keyboard use the same driver. It is also known to cause BSOD on Windows, so take this route only if all other methods have failed and you absolutely need to disable your keyboard.
Here’s how to install incompatible drivers for your keyboard so it loses functionality and is permanently disabled:
- Open Device Manager as shown before (right-click Start and choose Device Manager). Expand the Keyboards branch, right-click on your keyboard driver, and select Update Driver.

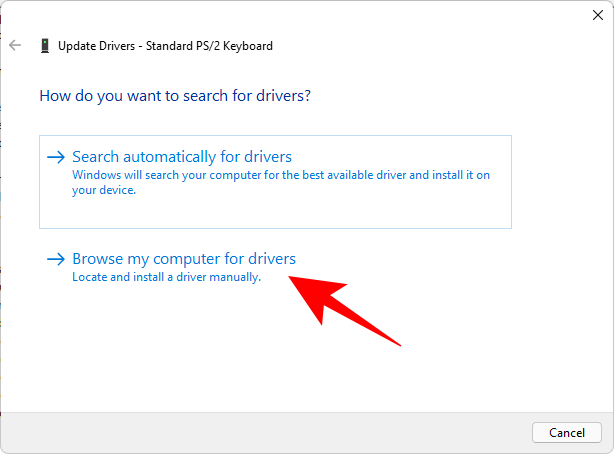
- Select Browse my computer for driver software.
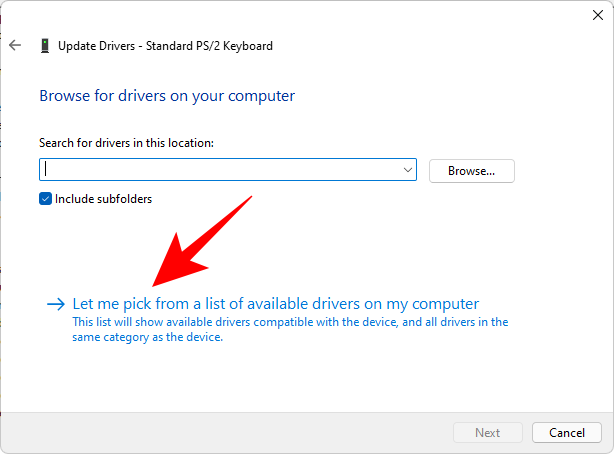
- Select Let me pick from a list of available drivers on my computer.
- Make sure there’s no check before Show compatible hardware.

- Now, scroll through the list of manufacturers on the left and select any manufacturer other than your own. For example, we have an HP computer, but we’re selecting Compaq as the manufacturer.
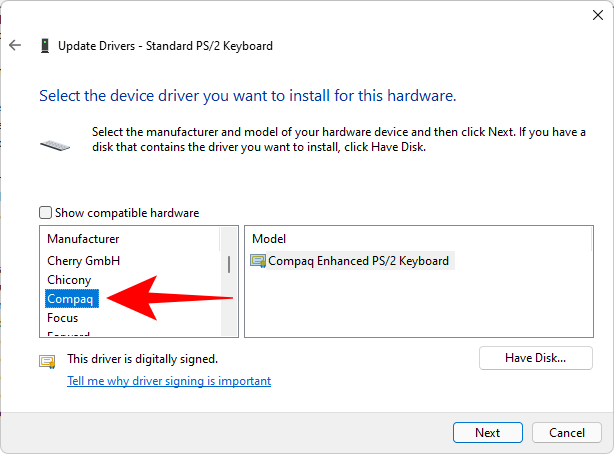
- Then select a model on the right.
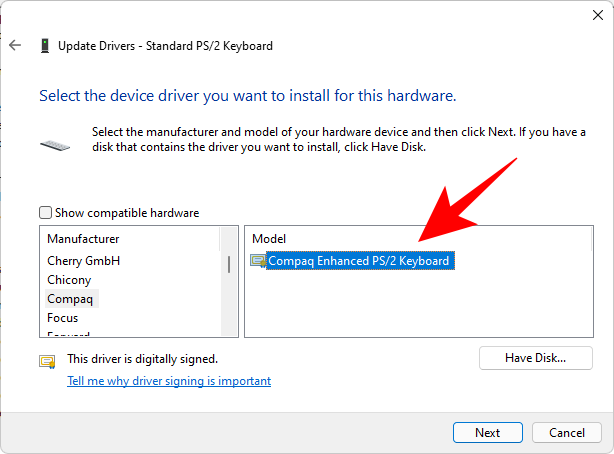
- Click Next.

- When prompted, click Yes.
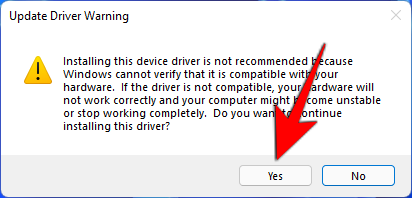
- Restart your computer.
Your keyboard will now stop working. If you ever want to start using it again, simply go to Update drivers and select Search automatically for drivers.
Method 4: Disable PS/2 port service from the Command Prompt
As most laptops are internally connected through the PS/2 ports, you can also disable the service that controls this port and effectively disable the keyboard. Here’s how you can do so:
- Press Start, type cmd, and click on Run as administrator.
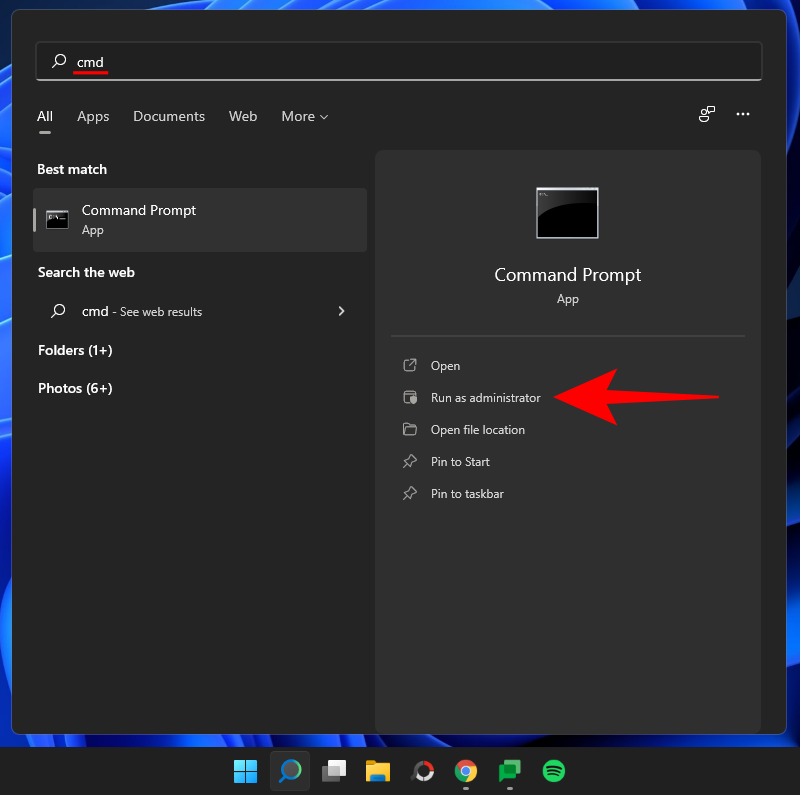
- Type in the following command to disable the PS/2 port service:
sc config i8042prt start= disabled
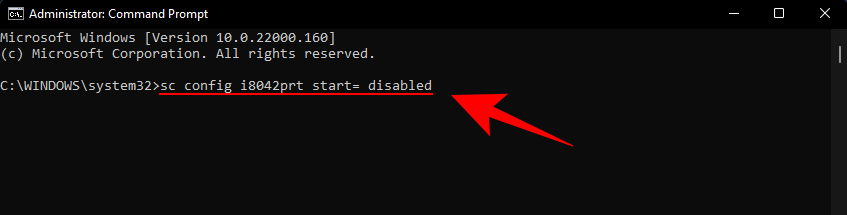
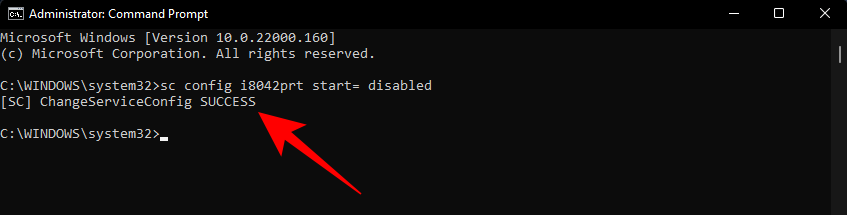
- Press Enter. Once you get the “ChangeServiceConfig SUCCESS” message, you can be sure that your PS/2 port service is now disabled and your keyboard won’t work the next time you reboot your system.
- If you want to re-enable the PS/2 port service, type the following command:
sc config i8042prt start= auto

- Then press Enter.
Use third-party applications to disable keyboard
Disabling the keyboard, either temporarily or permanently, does have its issues, especially if you’re on a laptop and do not have an external keyboard connected. Besides, disabling the entire keyboard because a few keys are causing you trouble can seem like overkill. That is where third-party applications come in to solve the problem. Let’s take a look at some of them.
Keyboard Locker
Though this is an old application, Keyboard Locker still gets the job done easily as locking the keyboard is its sole purpose.
Download: Keyboard Locker
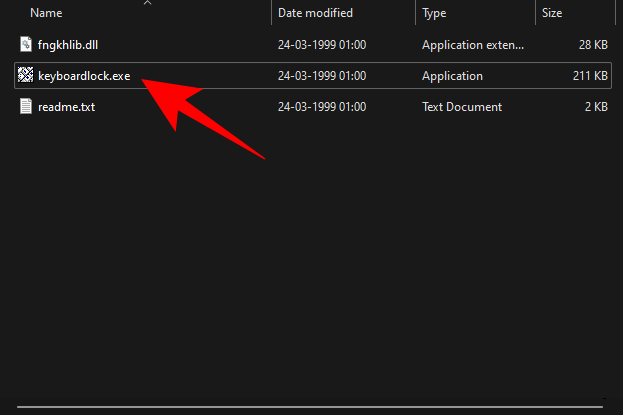
- Download the application from the above link and extract its contents with an archive tool. Then double-click keyboardlock.exe to start it.
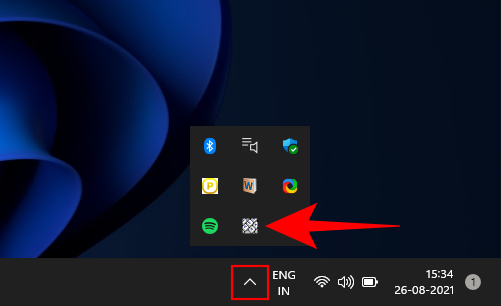
- By default, the application runs and minimizes in the system tray. You can find Keyboard Locker in the system tray.
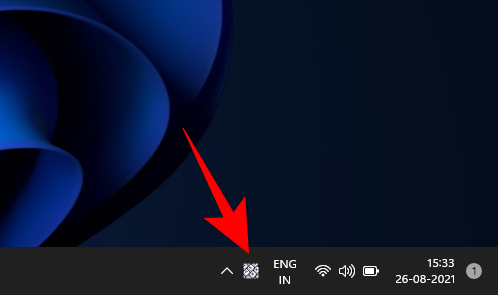
- If you don’t find it there, click on the upward arrow towards the right of the taskbar to find it.
- Right-click on it and select Lock to lock your keyboard.
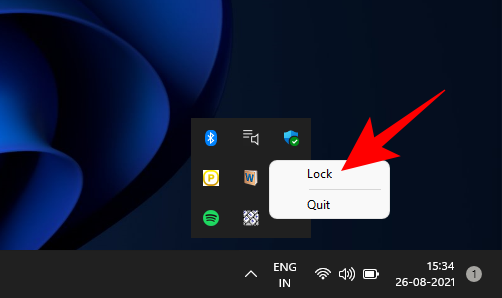
- When you want to unlock it, right-click on it again and select Unlock.

BlueLife KeyFreeze
BlueLife KeyFreeze is another application that simplifies disabling your keyboard when you’re AFK.
Download: BlueLife KeyFreeze
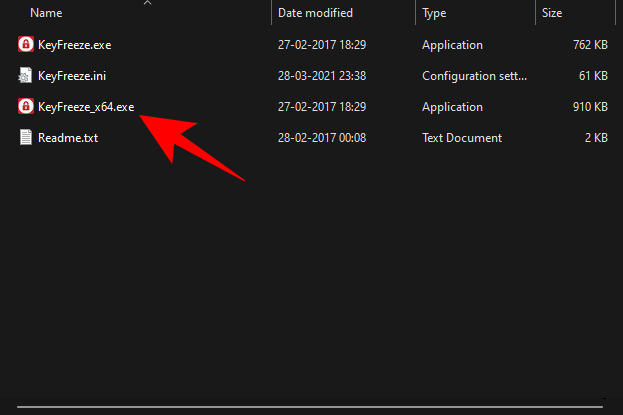
- Unzip the contents of the downloaded file with an archive tool. Then, to disable the keyboard, double-click on KeyFreeze.exe (KeyFreeze_x64.exe for 64-bit architecture).
- You will have 5 seconds to cancel the lock command.

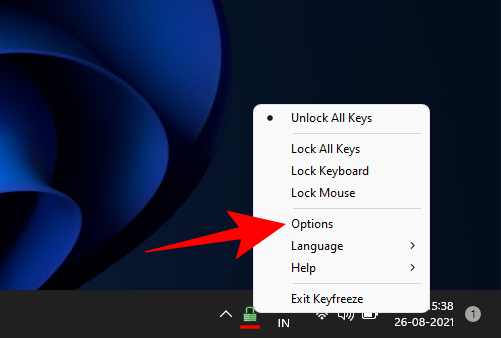
- After this, the application will lock the keyboard. By default, it will also lock the mouse. Use the default hotkey
Ctrl + Alt + Fto disable the lock. - Now, to configure KeyFreeze so that only the keyboard gets locked, firstly, right-click on the padlock towards the right of the taskbar and select Options.
- Uncheck Lock mouse keys.
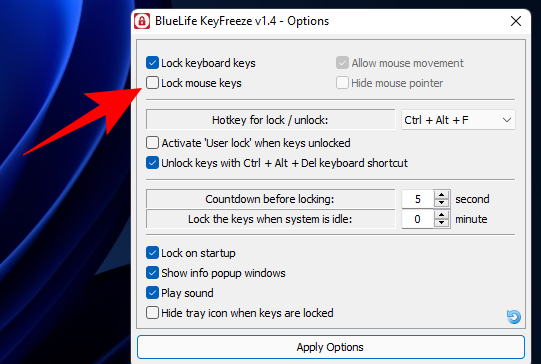
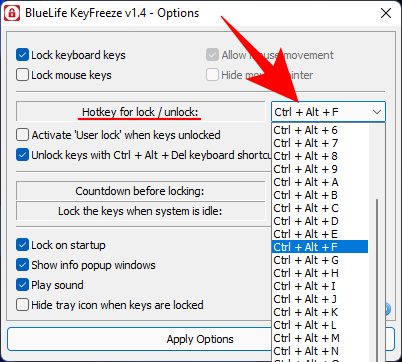
- You can also change the hotkey for lock/unlock here.
- When you’re satisfied with your selected configuration, click on Apply options.

- This will ensure that only the keyboard will lock the next time you press the KeyFreeze hotkey.
KeyboardLock
This is another keyboard locker that lets you disable the keyboard, and even lets you password protect the function.
Download: KeyboardLock
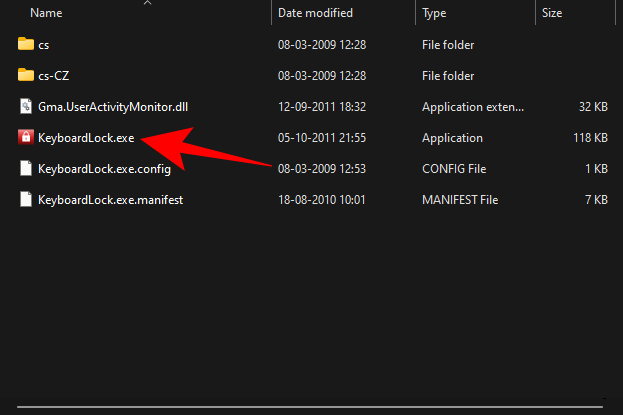
- Download the application from the above link and extract its contents. Then double-click the KeyboardLock.exe file.
- In the application, you will see the password that you have to type to lock/unlock your keyboard and mouse. Press Start to go ahead with it.
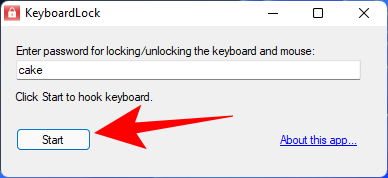
- Then type the given password to lock it.
Now, whenever you need to unlock, simply type the password again and the keyboard and mouse will be unlocked. The only problem with this application is that it doesn’t give you an option to not lock the mouse.
Frequently Asked Questions (FAQs)
Let’s go through a few common questions that people tend to ask when looking to disable their keyboards.
How to disable Keyboard shortcuts or hotkeys?
- To disable Keyboard hotkeys on Windows 11, press
Win + Rto open the RUN window, type gpedit.msc, and hit Enter.
- Then navigate to Computer Configuration > User Configuration > Administrative Templates > Windows Components > File Explorer.

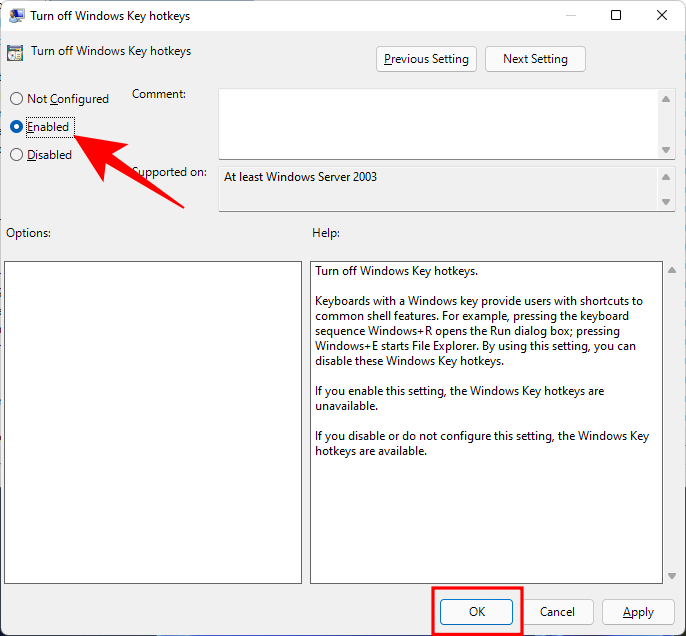
- On the right, scroll down to find Turn off Windows Key hotkeys and double-click it.

- Select Enabled and hit OK.
How to enable laptop keyboard after disabling?
Enabling your laptop keyboard after disabling will mostly depend on how it was disabled in the first place. If you’ve installed an incompatible driver, you will have to update drivers and install a compatible driver. If you have turned off a service, turn it back on. If you’ve specified the hardware ID in the Group Policy Editor to not install drivers upon startup, delete its value from the same. Finally, if you’ve only temporarily disabled it from the Device Manager, simply reboot. All these ways are mentioned in our guide above so make sure to undo the changes if you’ve disabled the keyboard from those methods.
So these were all the ways that you can disable your keyboard both temporarily and permanently. Doing so becomes necessary if you have two keyboards and you want one not to interrupt with the other, or if you have a problematic keyboard that registers random keys when none have been made. Whatever the case may be, we hope you found this article useful in solving your keyboard problems on Windows 11.
RELATED
- How To Change your Keyboard on Wear OS Android Smartwatches
- How to resize your Android phone’s keyboard
- Best Wireless Keyboards for MacBook Pro in 2021
- How To Right-Click With Keyboard Windows 10
- Microphone Icon Missing on Your Keyboard? Here’s How to Get It
- How to Type Accents on Windows 11 [6 Ways]
- How to use Gboard’s Clipboard


One response to “How to Disable Keyboard on Windows 11: Permanently, Temporarily, Using Settings, Using 3rd-party Apps, and More”
Not only is this guide not for windows 11, but is also a guide that stopped working in 2020 for a lot of laptops.