All videos worth watching have a few things in common, and a good transition is definitely one of them. Without them, your video will move from one footage to another like a wild horse, and your viewers will simply switch over to something more refined and a little less jarring.
For those using Clipchamp, adding transitions is a cinch. In this guide, we take a look at how you can add transitions to your video in Clipchamp and ensure seamless changeovers from one clip to another.
What are transitions?
When it comes to video editing, transitions are effects that are applied to connect one clip to another. Transitions help induce continuity in videos naturally and, depending on the transition effect you’ve chosen, can also give your video a certain artistic vibe.
Regardless of whether you’ve split your video clip or have two (or more) different video clips in the timeline, unless you want to deliberately move from one shot to the next immediately, you should try to tie the clips together with transitions.
Related: How to add text in Clipchamp
How to add transitions in Clipchamp
Even though it has a variety of tools and tricks up its sleeve, Clipchamp is one of the simpler editing tools to work with. Here is how you can use Clipchamp to add transitions to your videos:
1. Add and arrange your video clips
You will need two or more clips in the timeline before you can add transitions between them.
But first, open Clipchamp.
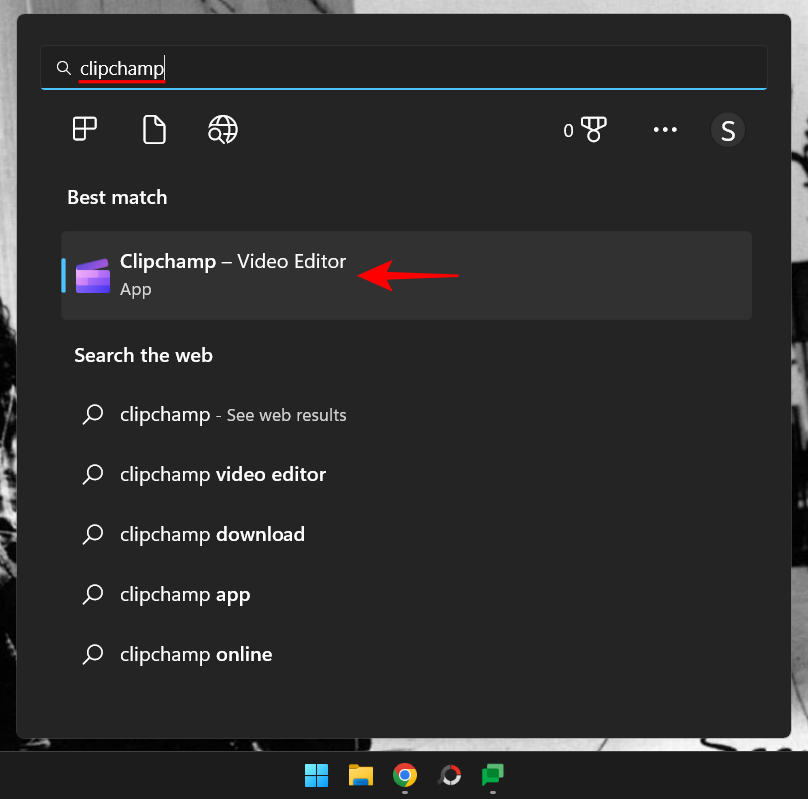
Then select Create a new video.

Then select Import media.

Find and select the video(s) you want to work with, then click Open.
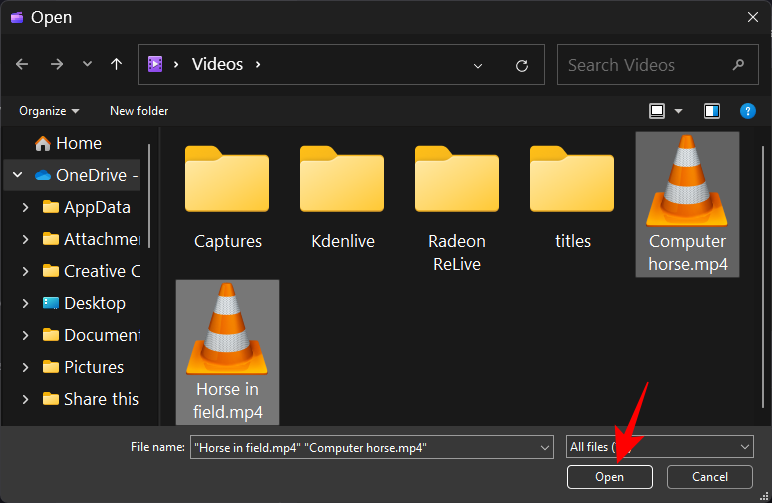
Once the video files are imported, drag and drop them into the timeline one after another and make sure they’re joined to the hip.

Quick tip: If you’re only working with a single video, make sure to split it first where you want to insert your transition.
Related: How to freeze a frame in Clipchamp
2. Choose your transition
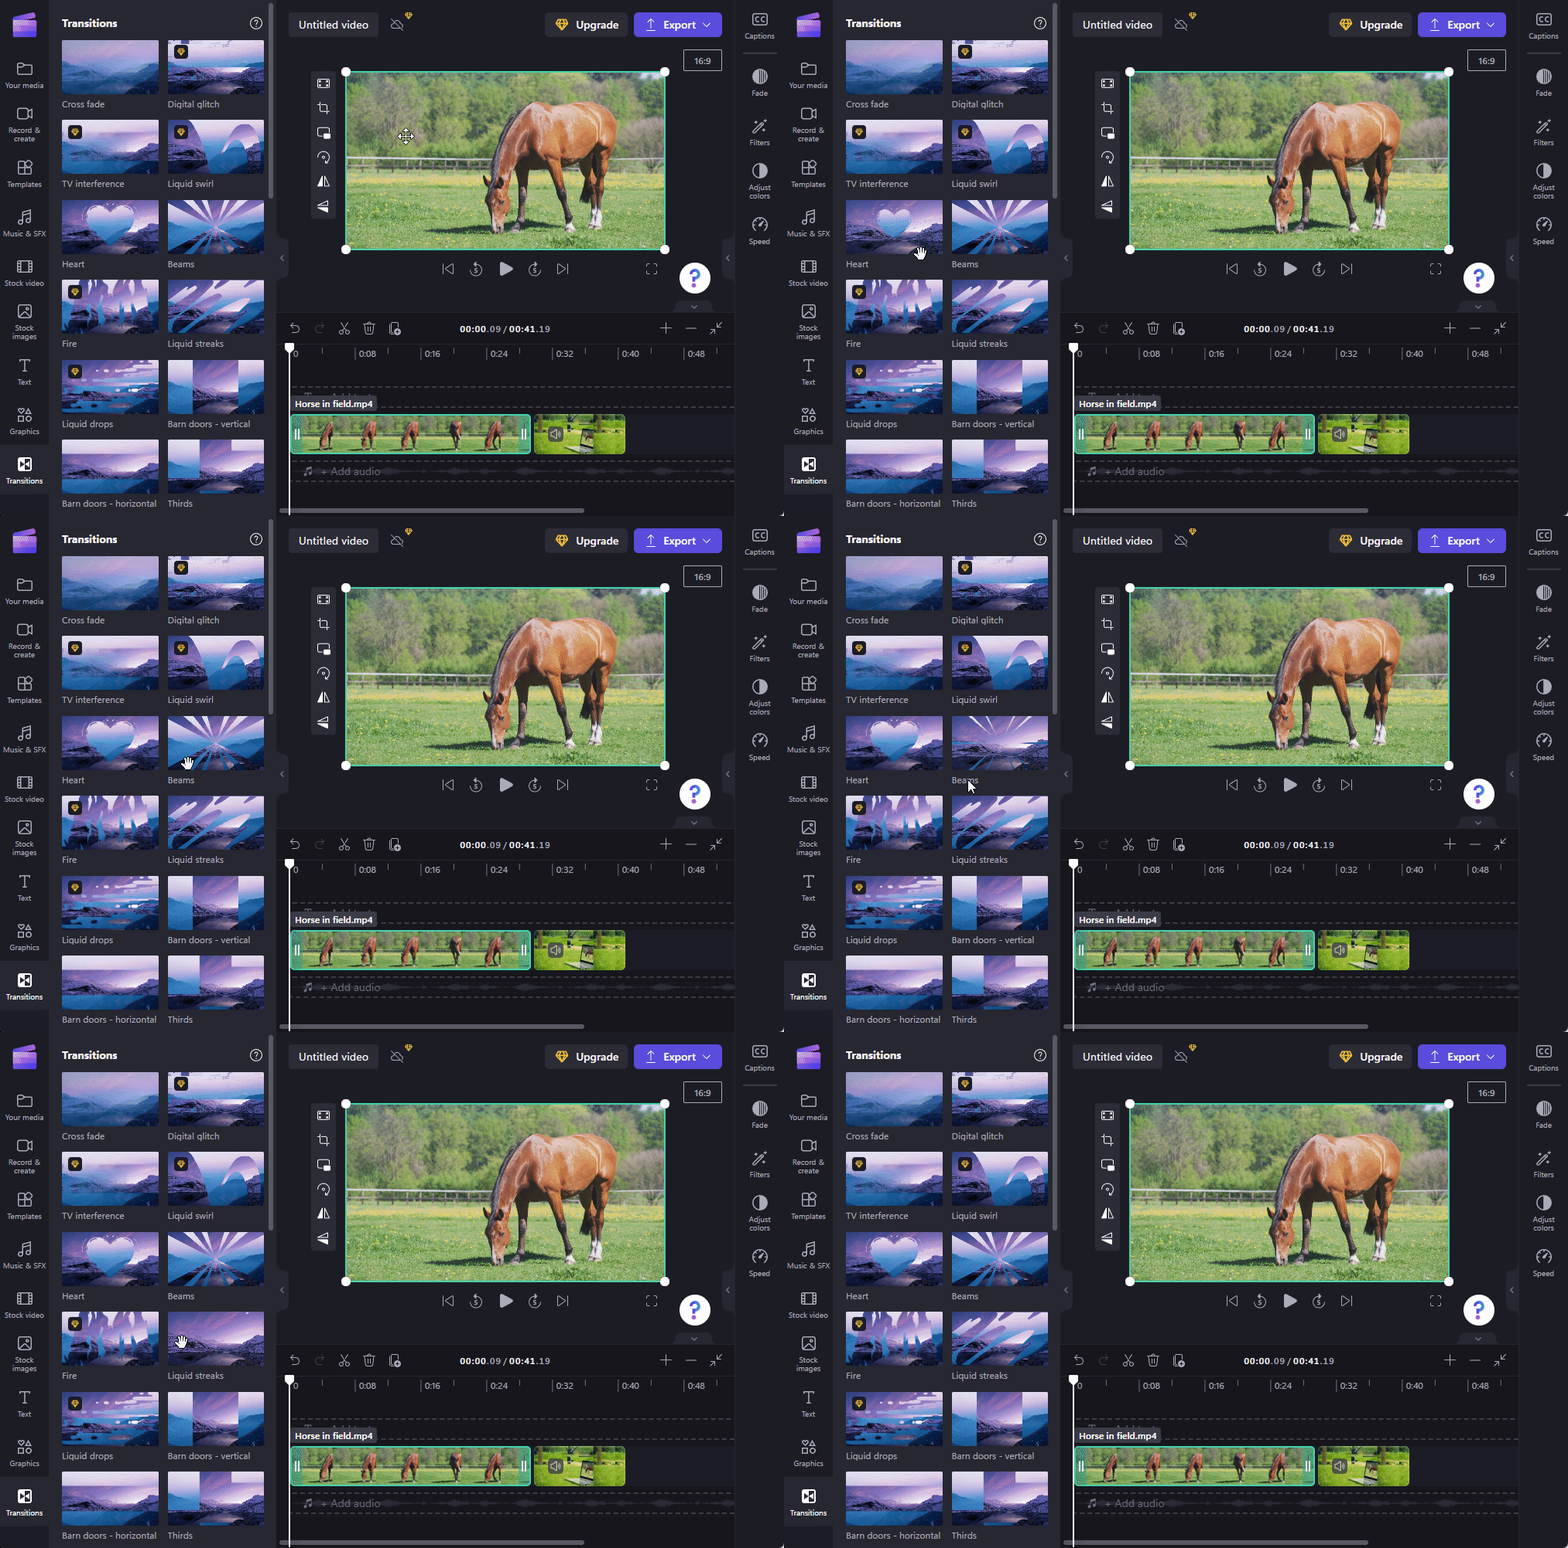
Now, let’s choose a transition to work with. From the toolbar to the left, click on Transitions.

You will see a list of transitions that you can choose from. The ones that have a diamond badge on them are only accessible by users with a Clipchamp subscription. But there are a number of options that you can use for free as well.
To see what a transition looks like, simply hover over it and watch the animation.
3. Add a transition between the clips
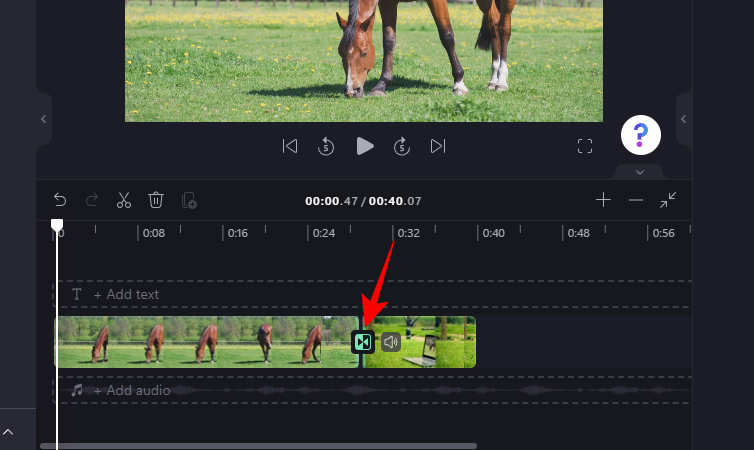
Once you find something to your liking, start dragging it to the timeline between the two video clips. You will see a green + icon appear where one clip ends and another begins and the words “Add transition”. Drop the transition effect here to add it.

And just like that, you have added a transition to your video. Preview the video to see how it looks in action.
Related: How to do green screen on Clipchamp
4. Edit transition
If you’re not satisfied with the transition, you can change it or edit its duration to make the transition stay for a longer or shorter period.
Click on the transition added in the previous step.
Then click on Transitions in the right pane.

Now scroll down to the transition you’re working with and use the slider to change its duration.
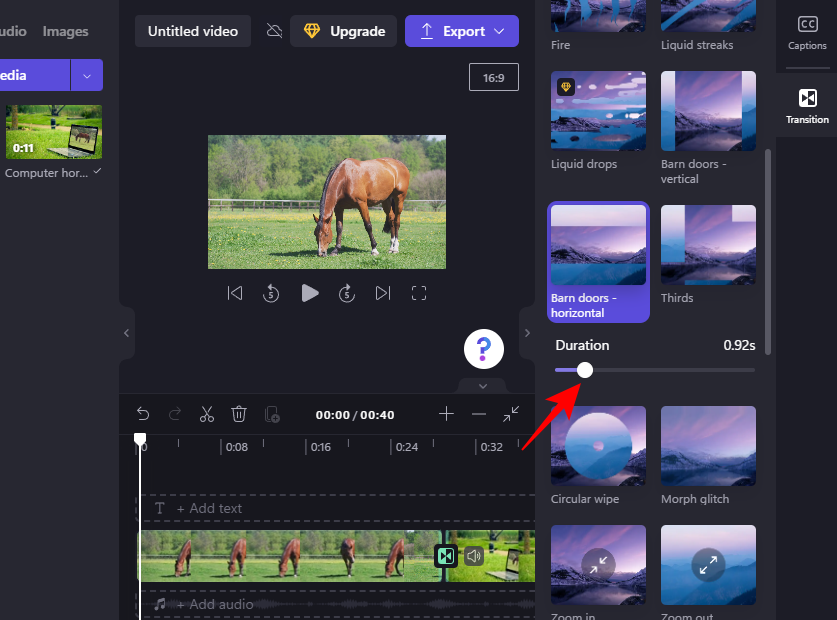
Once done, preview the video again to see how it looks.
If you want to change the transition effect, there’s no need to delete the previous transition to add another one. All you need to do is to click on a different transition and it will replace the current transition effect.
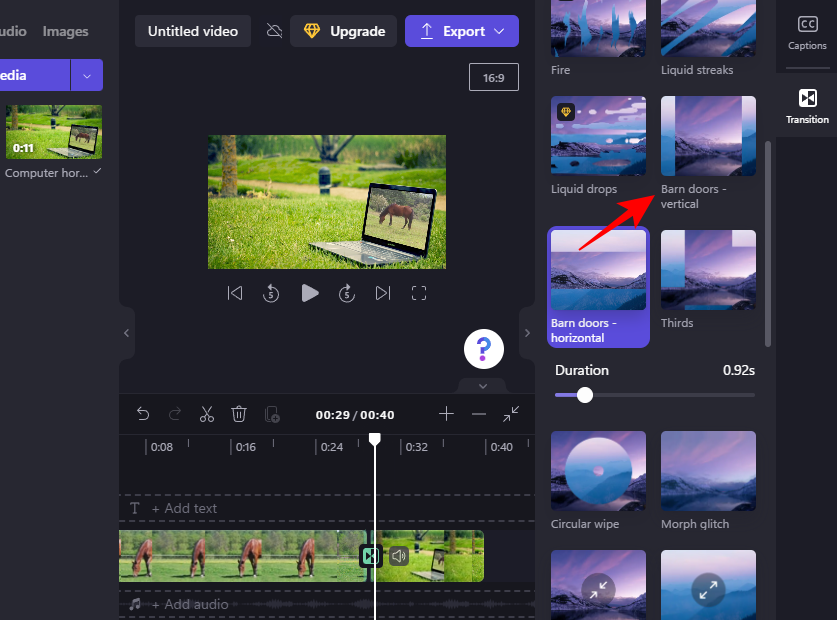
Related: How to add audio to Clipchamp
How to add text to transition effect in Clipchamp
Clipchamp’s transition editing is limited, and you won’t find a way to add text to the transition itself. However, if you add a text clip to the video where the transition takes place and edit it accordingly, you can easily make it appear as though the two go together.
Here’s how to add text to the transition effect in Clipchamp:
1. Add Text
Click on Text in the left side pane.
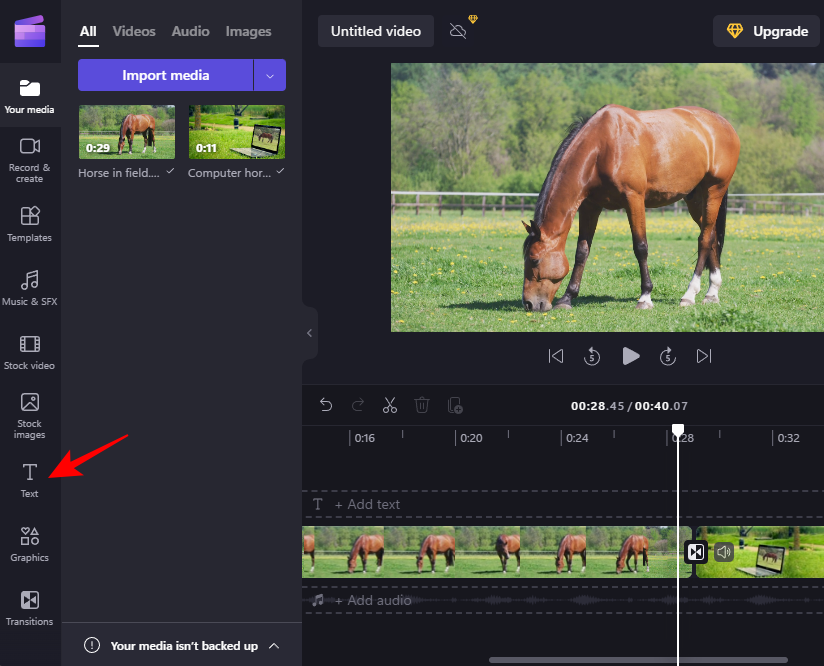
Find the text type you want to work with (hover over it to see its preview). Then drag and drop a text type right above the transition in the timeline.

2. Edit Text
Select the added text type and then click on Text in the right side pane.

Type your text in the “Text” field.

Choose a font from the drop-down menu.
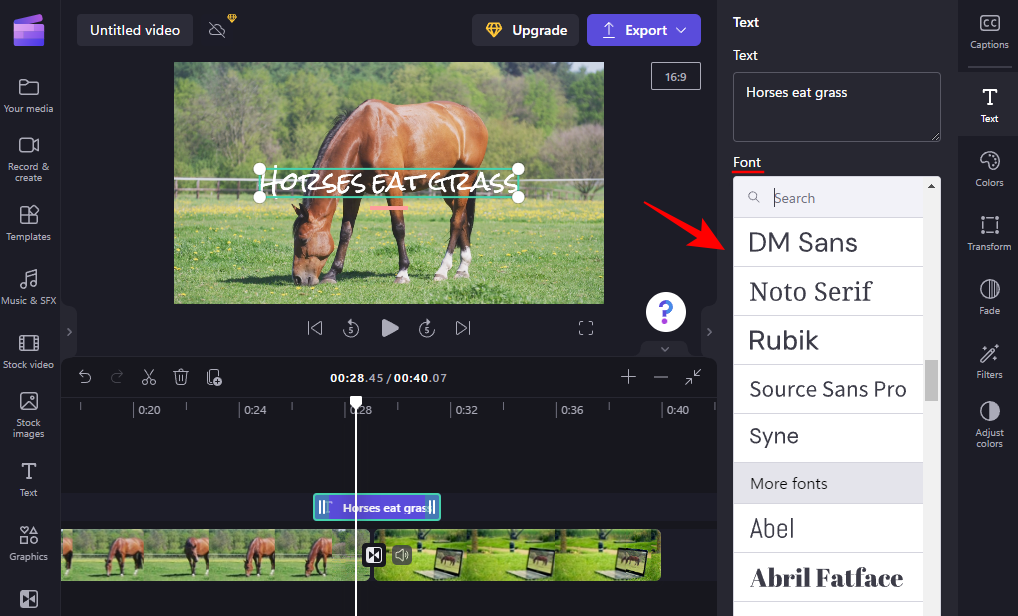
Adjust the size of the text by dragging its edges, and change its position in the video by dragging the text box.

Alternatively, click on Transform in the right pane and select the size and position.

3. Adjust the text to align with the transition
On the right, you will find additional text options such as “Colors”, “Filters”, Adjust Colors”, and “Fade”. Of these, Fade is worth looking into specifically for customizing text transitions. Click on it to select it.

Then adjust the Fade in and Fade out sliders and let your text come in and go out naturally.
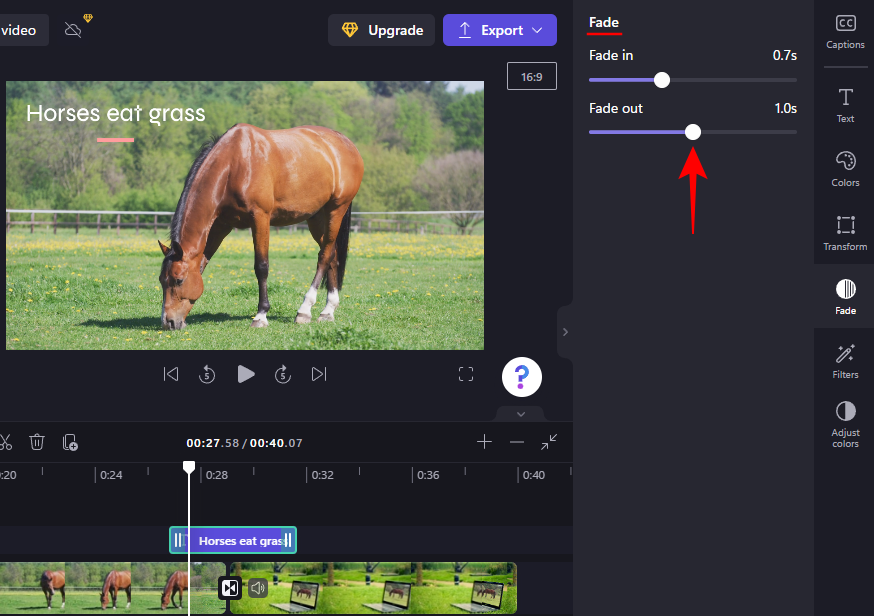
Check your preview to see how it looks. For best results, we recommend trimming the text in the timeline to roughly match the duration of the transition.
You can easily find the duration of the transition by clicking on it in the timeline. The transition tab on the right will show you the exact duration, and a light green marker in the timeline will also indicate the same.

Check the preview and make further adjustments to get the text transition to your liking.
How do I add transitions to a video already made?
Adding transitions to a video that is already made is the same thing as using a single video file, splitting it in two, and then adding the transition between the two split sections. For detailed visual instruction, follow the steps given below:
Import your video to Clipchamp as shown before and then drag and drop it into the timeline. Then, click on the spot where you want to add your transition and then select the Split tool (scissors icon) in the toolbar.

You will now end up with two clips of the video. Now, simply select your transition effect from the sidebar and add it between the clips as shown before.
FAQs
In this section, we take a look at a few commonly asked queries about adding transitions in Clipchamp.
Can you add transitions in clips?
Yes, you can easily add transitions between two clips in Clipchamp. Simply select your transition effect from the left side pane, then drag and drop it between the clips. To get step-by-step instructions on how to add and edit transitions in Clipchamp, refer to the guide above.
Does Clipchamp have effects?
Yes, Clipchamp has a number of effects to play around with. You will find everything from transitions to graphics in the left sidebar.
How do I add overlays to Clipchamp?
Adding overlays to Clipchamp is a fairly easy process. Briefly, you will need two video files in different video tracks in the timeline. The video that is below will be used as the background on which the upper video will be overlaid.
Select the video on top and use the green handlebars in the preview window to resize it (or the PIP button in the preview toolbar). Then edit the length of the two videos and mute any additional audio. And that’s how you add overlays to Clipchamp.
We hope you found this guide useful in adding transitions and other similar effects on Clipchamp.
Related: Top 6 ways to crop a video on Windows 11


Can you add the same transition to all clips at one time?