What to know
- Add text watermarks in Google Docs from Insert > Watermark > Text.
- To format existing watermark, right-click the watermark > Select watermark > Edit watermark > Formatting.
- To remove existing watermark, go to Insert > Watermark > Remove watermark.
Google Docs has been the go-to web app to edit and store your documents online for many people. If you are someone using Docs to manage sensitive documents then adding watermarks to them is one way to ensure confidentiality. Here’s everything you need to know about adding text watermarks to your documents.
Related: How To Do Hanging Indent in Google Docs
How to add text watermarks to Google Docs
Here’s how you can add text watermarks to Google Docs when editing a document in Google Docs. Follow the steps below to help you along with the process.
- Visit Google Docs, open the concerned document, and click Insert at the top.

- Select Watermark.

- Now click Text.
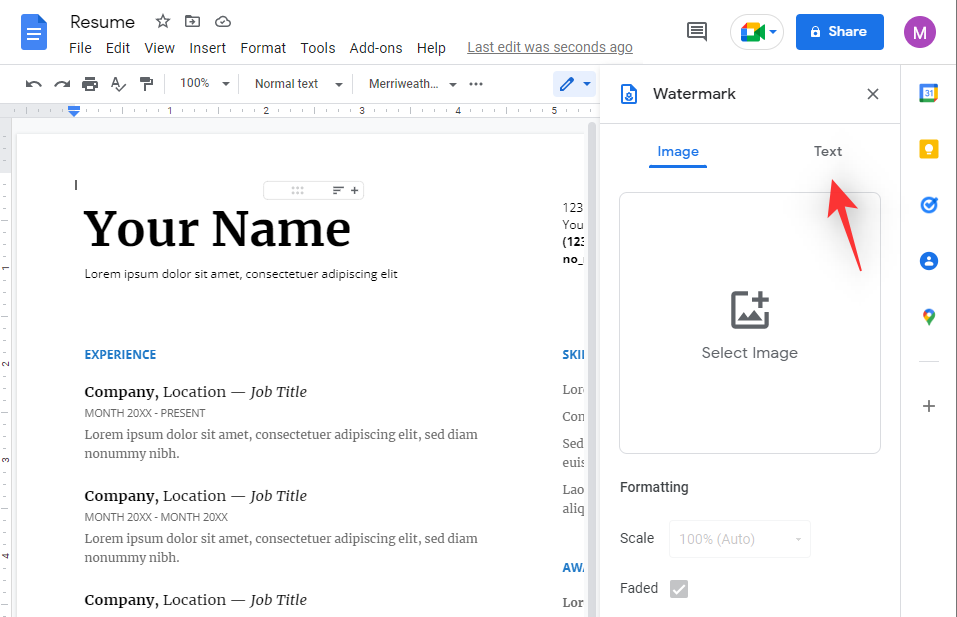
- Enter the text you wish to add as a watermark. We will use Confidential in the example below.

- Once typed in, format your text if needed.

- Adjust the transparency based on your preference using the slider at the bottom.

- You should be able to view a preview of the watermark on your document in real-time. Finally, choose the desired direction and choose between the ‘Horizontal’ and ‘Diagonal’ layouts for your watermark.

- Click Done.
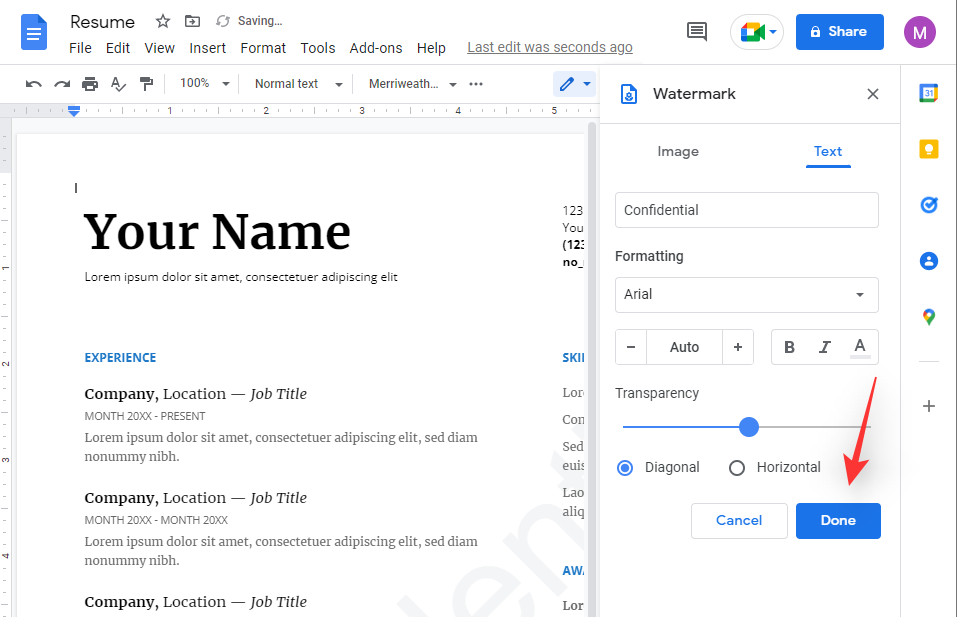
And that’s it! You will now have added a text watermark to your document.
How to format your text watermark
Google gives you basic formatting and style options for the text watermark at your disposal. This allows you to streamline the look of your watermark to match the overall document. This can come in handy when producing professional papers and text documents that might be shared with a lot of users who do not belong to your organization. Google Docs offers the following formatting options at your disposal.
- Text size
- Font style
- Bold, Italics
- Font Color
You can format your watermark when adding it to your document or format an existing watermark. Follow either of the sections below that best fits your current scenario.
Method 1: Format a new watermark
Here’s how you can use these options to your advantage when adding a text watermark in Google Docs.
- Open the concerned document in Google Docs and click Insert.

- Select Watermark.

- Click Text.

- Now enter the text you wish to use as your watermark.

- Click the next drop-down menu and select the desired font for your watermark.

- Click on + to increase your font size or click – to decrease your font size.

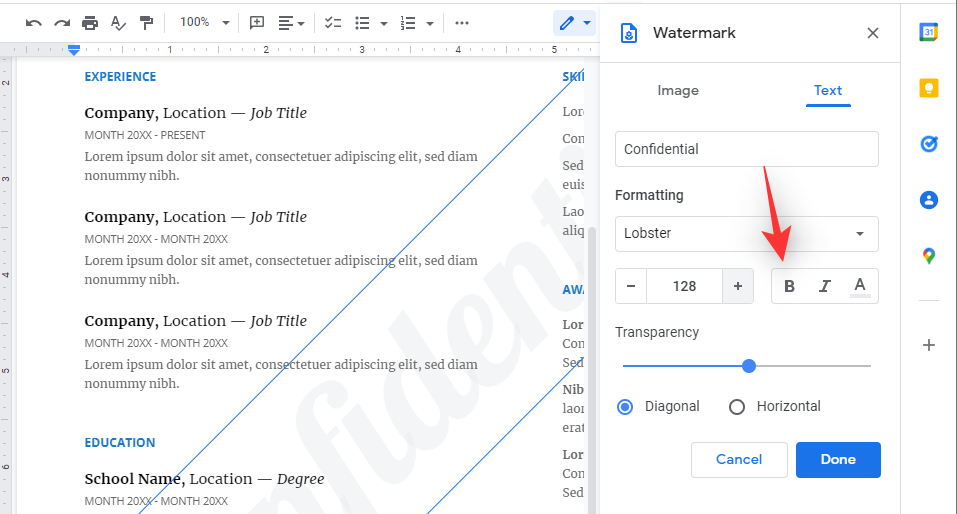
- Click B to bold your watermark.
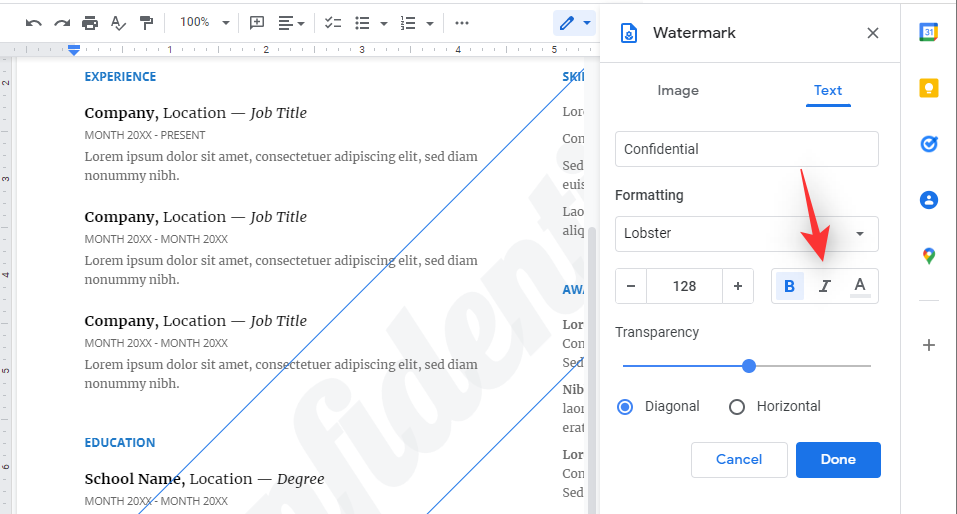
- Click the next icon to italicize your text.
- Now click the A icon to change the color of your watermark.
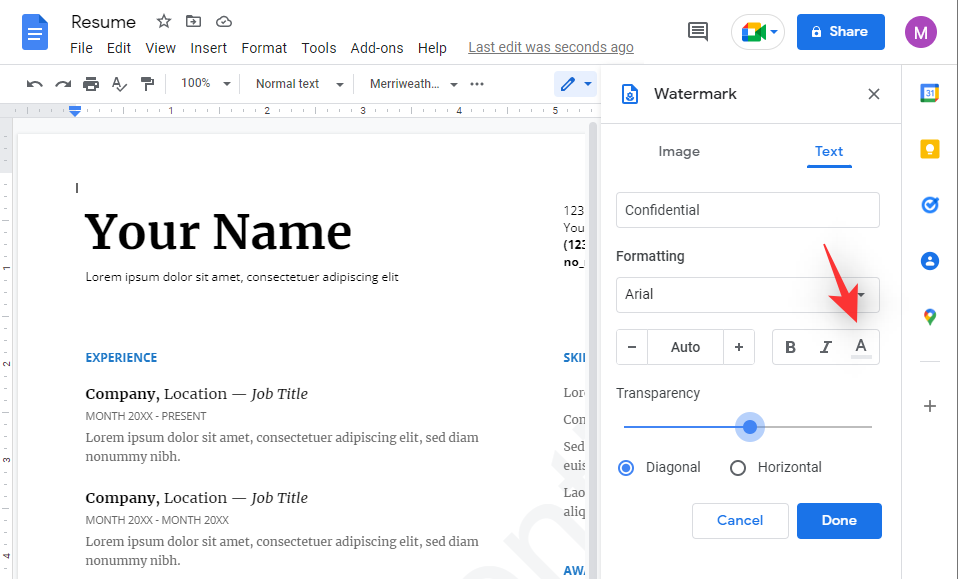
- Adjust the transparency and layout of your watermark as needed and click Done.

Your watermark will now be formatted based on your preferences.
Method 2: Format an existing watermark
Here’s how you can format an existing watermark in Google Docs.
- Open the document with the watermark and right-click on the same in the background.
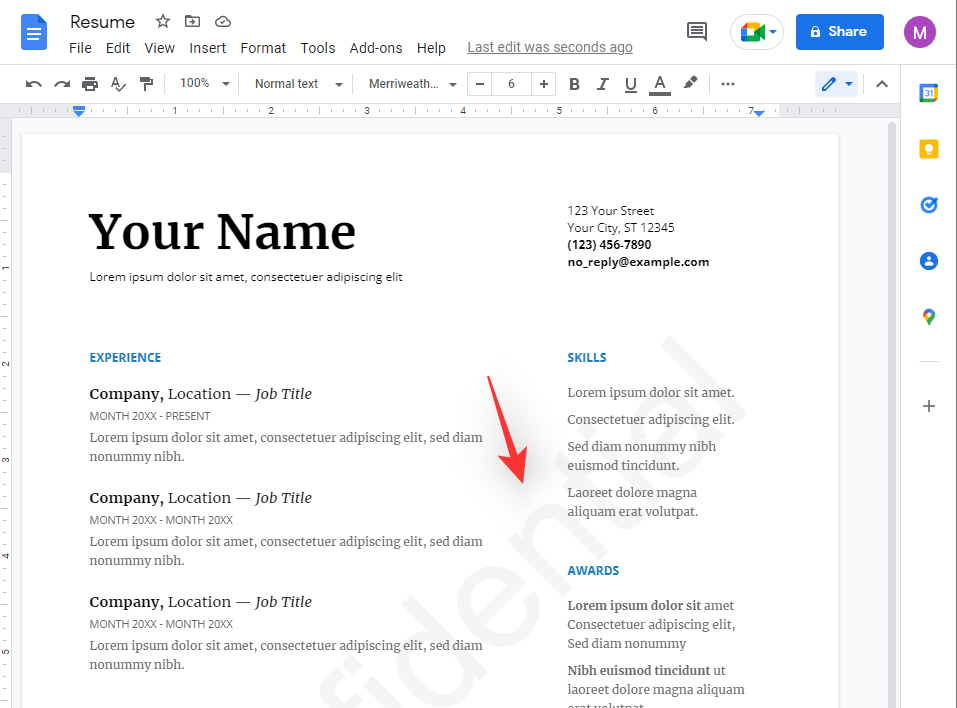
- Click Select Watermark.

- Now click Edit watermark.

- Use the drop-down menu under Formatting to change your Font Style.

- Use the + to increase your font size in the next section or use – to decrease your font size.

- Use B to bold your text.

- Use the next icon to italicize your text.

- The A icon will help color your text as needed.

- Modify the transparency or placement of your watermark if needed and subsequently its position.

- Once you are done, click the same at the bottom.

And that’s it! You will now have formatted an already existing watermark in Google Docs.
How to remove a text watermark from Google Docs
There are two ways to delete the added watermark in Google Docs. Follow one of the sections below that best fits your current needs and requirements.
Method 1: Using the toolbar
- Visit Google Docs, open the concerned document, and click Insert.

- Click on Watermark.
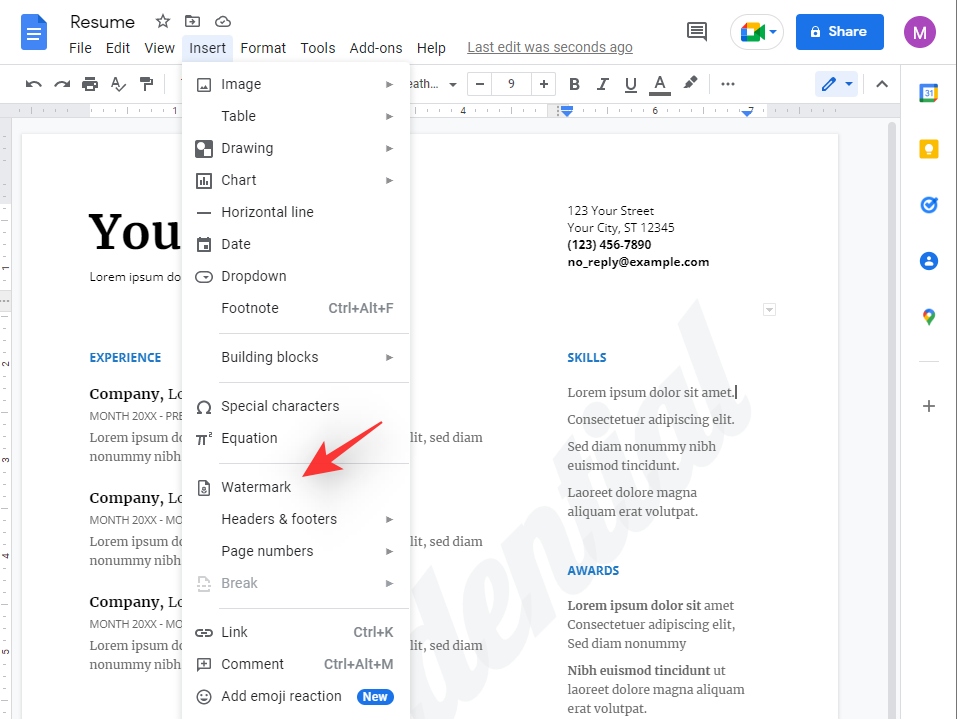
- Finally, click on Remove watermark at the bottom.

The watermark should now have been removed from your document.
Method 2: Using right-click context menu
- Open the concerned document and right-click the watermark. Click Select watermark.

- Now click Edit Watermark.

- Finally, click Remove watermark at the bottom.

And that’s it! The watermark should now be removed from your document.
What happens to word documents imported into Google Docs?
Word documents are also now supported by Google Docs when it comes to watermarks. Whether you import a word document or export a document as a Word file, your Watermark be it text or image, will be preserved by Google Docs. Google has meticulously introduced this feature so that Microsoft Word users do not have any issues when switching over to Google Docs temporarily or permanently.
FAQs
As text watermarks are a fairly new feature in Google Docs, here are a few commonly asked questions that should help you get up to speed. Let’s get started.
What happens when you add a text watermark?
When you add a text watermark, a large image of your chosen word is added to every page of your document as the background. This can then be used to denote drafts or confidential documents that are meant to be circulated to a large number of people but are not final yet or might need edits in the future. Watermarks can also be used to denote private documents that are meant to be shared with only a certain number of users.
Watermarks are added to every page and if you choose an image, you can choose to display the same above or below your text. You can even adjust the transparency of your watermark and format its font and more as well in case of a text watermark.
Will other users be able to remove the watermark?
Yes, if they have editing rights and decide to open the document in Google Docs, then they can indeed remove the watermark added to your document. You should keep this in mind when sharing documents and providing editing rights to users.
Is watermark safe to share private documents?
Watermark is not a failsafe to fully protect private documents and it is something that you should keep in mind. They still allow someone to plagiarize content and there are tools out there dedicated to simply removing watermarks from documents. Hence you should use Watermarks in conjunction with other privacy retaining features to help protect your documents as intended.
We hope this post helped you easily add text and image watermarks to Google documents. If you face any issues or have any more questions, feel free to reach out to us using the comments section below.
RELATED:
- How To Enable Chat on Google Docs
- How to Make a Brochure on Google Docs
- How to Track Changes in Google Docs
- How to Make a Folder in Google Docs


When I pull up Google Docs and follow these instructions, I still only have Select Image as a choice for watermark no “Text” option. Is there an update I need? Using Windows10 on a Lenovo Legion Laptop.