Google Docs has a lot of built-in tools to help you create the perfect word documents for professional use. Released back in 2006, Google’s online office apps have since then expanded into various territories and they can now do a lot more.
You can create articles, research papers, letters, resumes, and a lot more in Google Docs, but what about brochures? Let’s find out!
- Can you make a brochure on Google Docs?
- Is a brochure the same as a leaflet or pamphlet?
- How to make a brochure on PC
- Can I create a double-sided tri-fold brochure?
- How to create a tri-fold brochure in Google Docs
- How to create a portrait or landscape two-page brochure
- How to create bi-fold and tri-fold brochures using columns in landscape orientation
- How to make a brochure on Mobile (iPhone or Android phone)
- Tips to help improve your brochure in Google Docs
- Google Docs add-ons to enhance your brochure making experience
- Disadvantages of using Google Docs for Brochures
- Alternatives to Google Docs for creating brochures
- FAQs
Can you make a brochure on Google Docs?
Yes, you can create brochures in Google Docs but you will have a limited set of customizations available at your disposal. If you’re looking to create initial drafts that can then be forwarded to designers then it is the perfect tool for you.
However, if you’re looking to solely use Docs to create brochures then you might have to make a few compromises. Either way, we’re here to help you along with the process and you can use some nifty tricks to your advantage to get the brochure that you had envisioned.
Related: How to count words on Google Docs
Is a brochure the same as a leaflet or pamphlet?
A leaflet is usually a single sheet of A6 paper that is used to promote small or midsize businesses. They are a little more presentable than a flyer but aren’t nearly as decorative as a brochure.
A brochure or pamphlet is a collection of pages, which is created primarily to let prospective buyers and investors know more about the vision of the company and crucial information about the concerned products. A brochure is a lot tougher to create, so some renowned brands and organizations offer their services for the same.
Related: How to Flip Images in Google Docs on Mobile and PC
How to make a brochure on PC
We will cover the two most common types of brochures in this guide. In case you wish to make a more specialized brochure then you can use a combination of the two guides below to help you out with the process.
If you’re on a PC or mac then here’s how you can create various kinds of brochure in Google Docs depending on your requirements. Follow one of the guides below that best fits your current needs.
Can I create a double-sided tri-fold brochure?
Yes, you can create a double-sided trifold brochure. This will take a few tries though depending on your printer. Once you have created your main brochure using the guide below, you can take the printed paper, turn it upside down and insert it at the bottom of your printer pile so that it is the next page picked up by your printer.
Doing so will print the second page on the backside of the first page. You can then cut and fold the same to create a double-sided trifold brochure. We recommend you keep your margins and text aligned for both pages to ensure that everything is printed as needed.
Having inconsistent margins or indents can result in misaligned pages that can not be folded without overlapping or cutting of the text on the other side.
How to create a tri-fold brochure in Google Docs
Here’s how you can create a tri-fold brochure in Google Docs and customize it according to your liking.
Step #01: Tune in your page sizes
Let’s get your Page Setup to print a tri-fold brochure. Follow the steps below to help you along with the process.
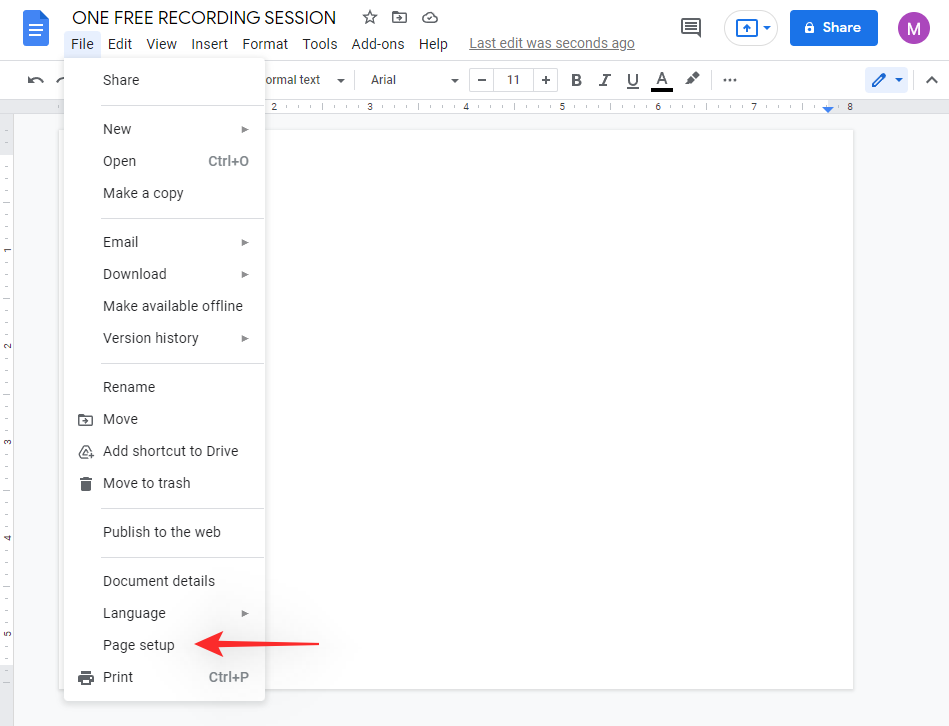
Open Google Docs in your desktop browser and click on ‘File’ in the top left corner.

Click and select ‘Page Setup’ at the bottom.
Ensure that ‘Whole document’ is selected at the top. If not, click on the drop-down menu and select the same.
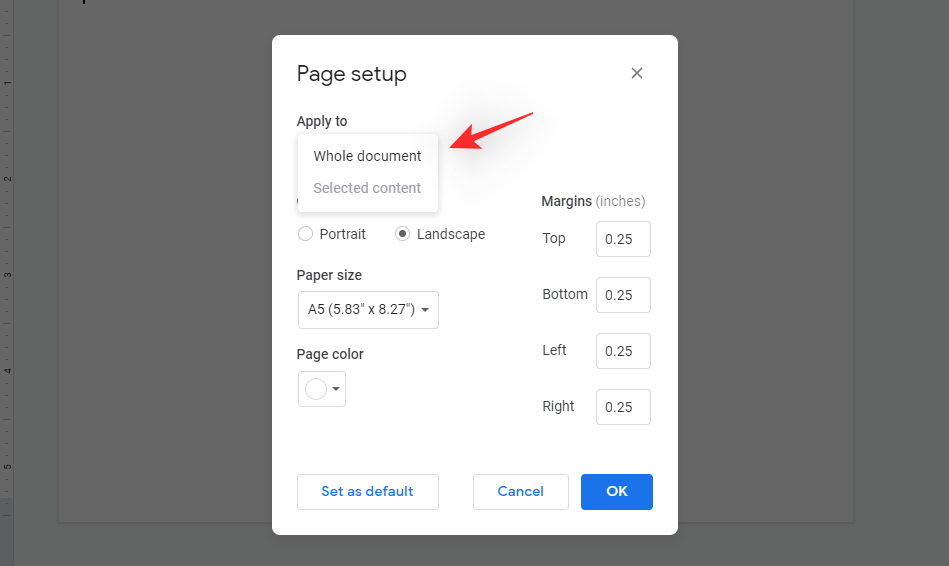
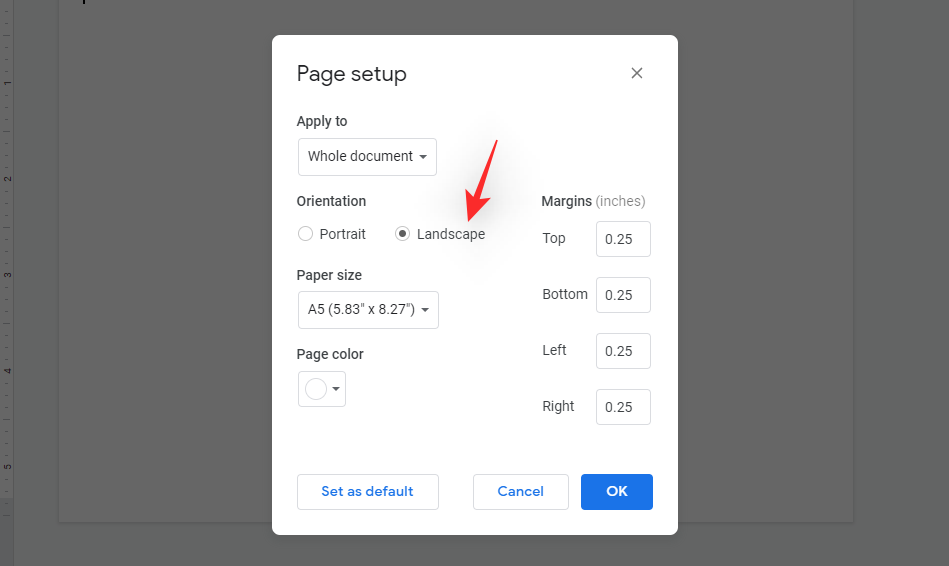
Set your orientation as ‘Landscape’ by clicking on the same.
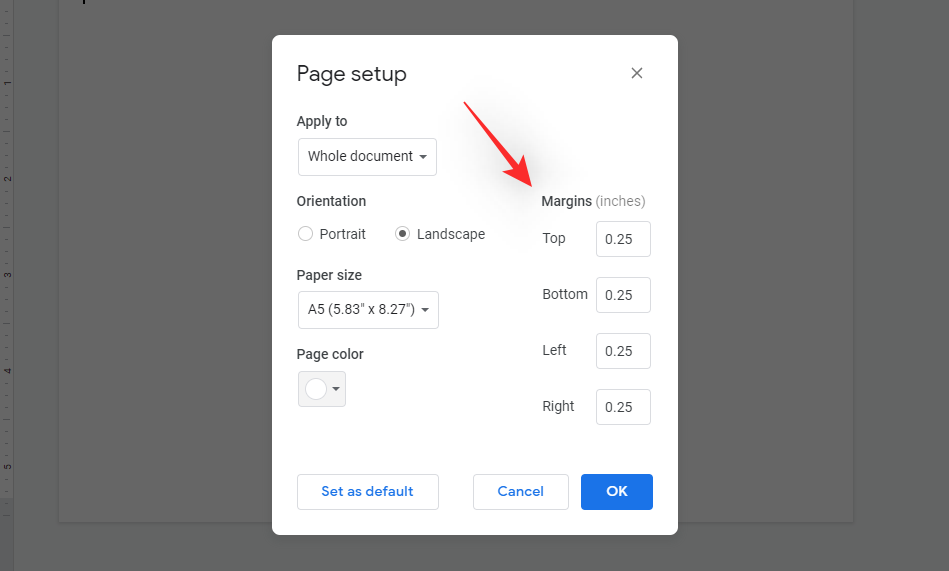
We will now set your margins to 0.25, this will give us the maximum amount of space on the page.
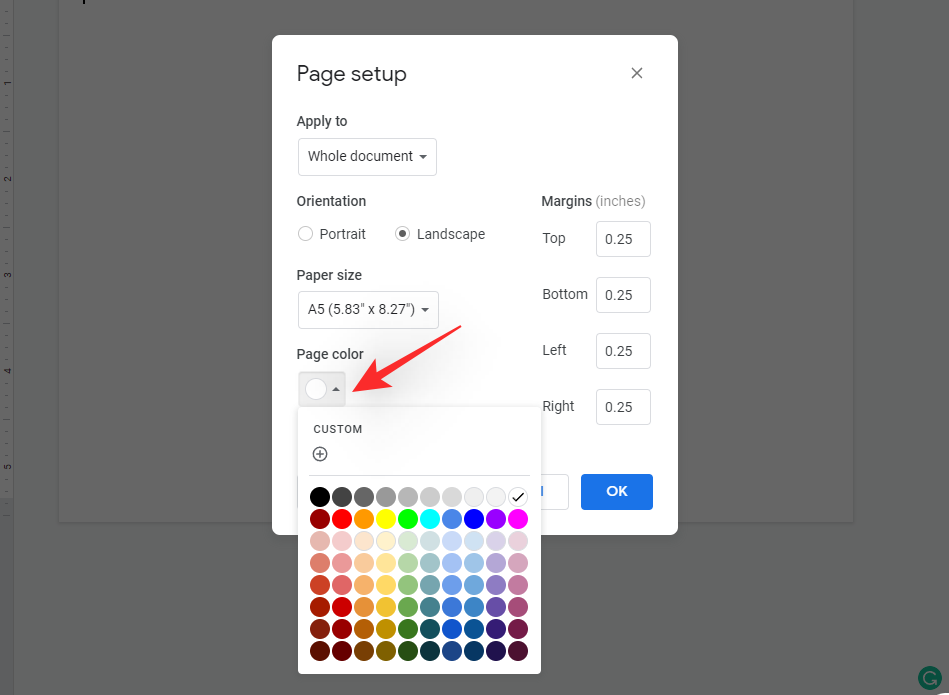
Click on the drop-down menu for ‘Page color’ and change the color of the page if needed.
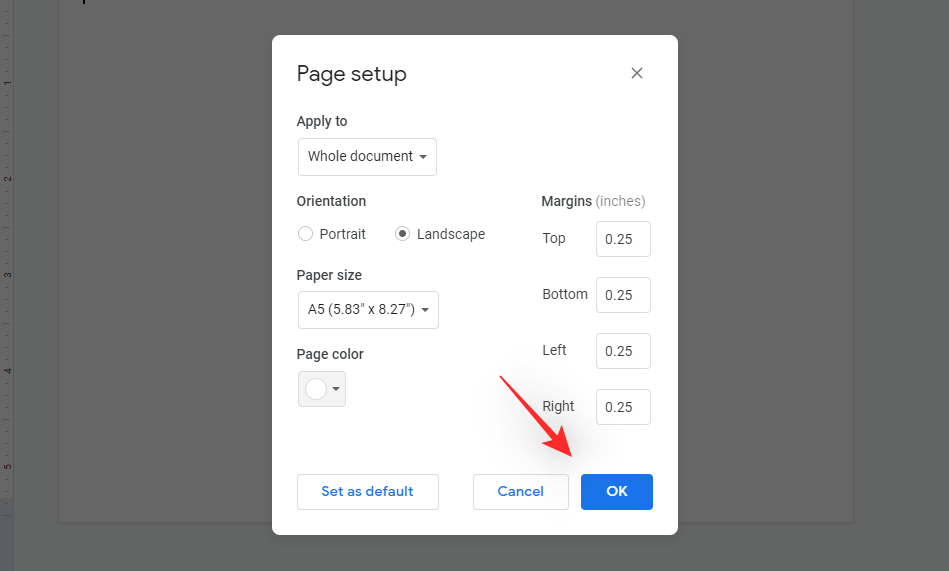
Click on ‘Ok’ once you are done.
You should now have a page setup as shown below. Place the cursor in the first line as shown below. Double click on the empty space above the line.
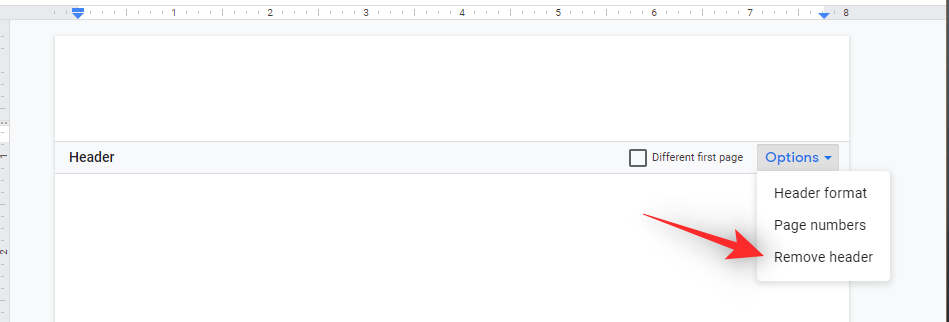
Now click on ‘Options’ and then select ‘Remove header’.
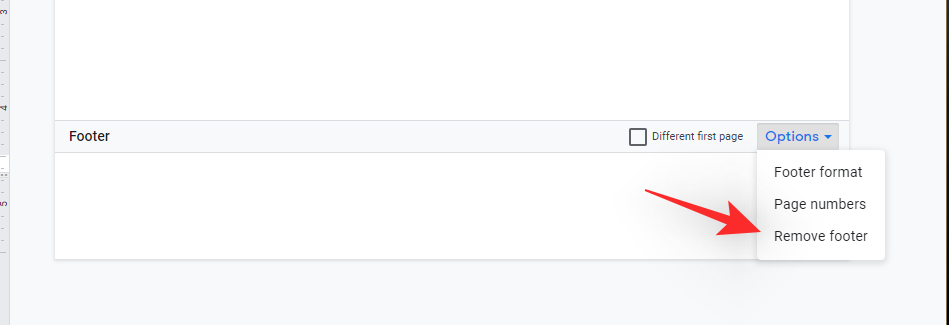
Similarly double click on the bottom of your document. Select ‘Options’ again and this time click on ‘Remove footer’.
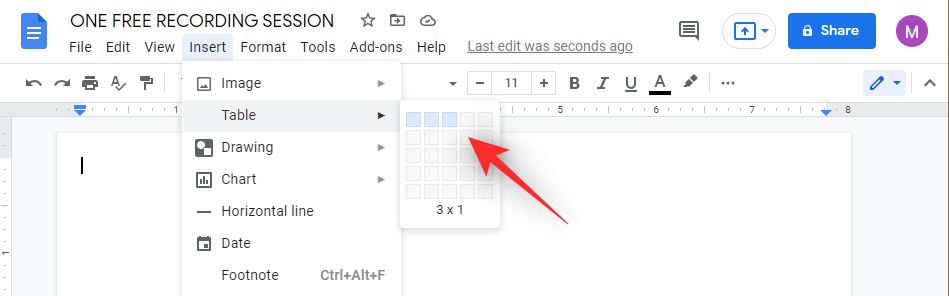
Click on ‘Insert’ at the top and select ‘Table’.
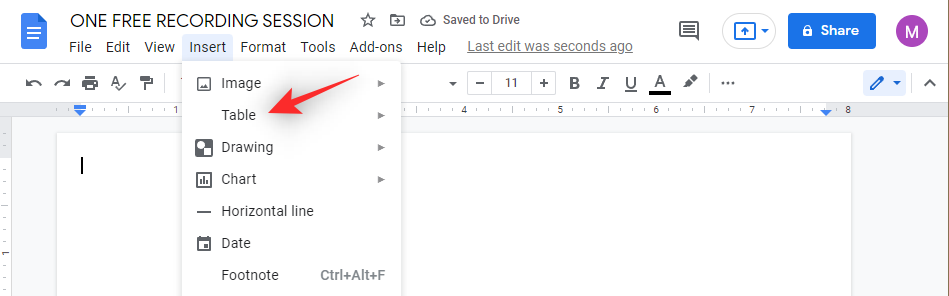
Add a 3×1 table by selecting the columns as shown below.
Highlight the bottom line of your ‘Table’ and drag it to the bottom of the page.
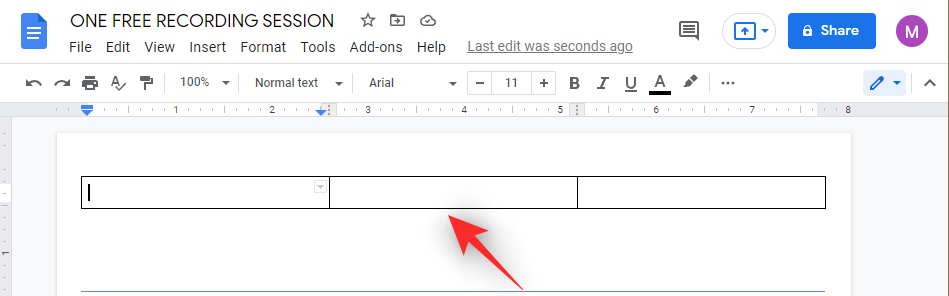
We now have an outline for your trifold brochure. The first column will be the first page, the middle column will be the page for your body and the 3rd column will be your last page of the brochure.
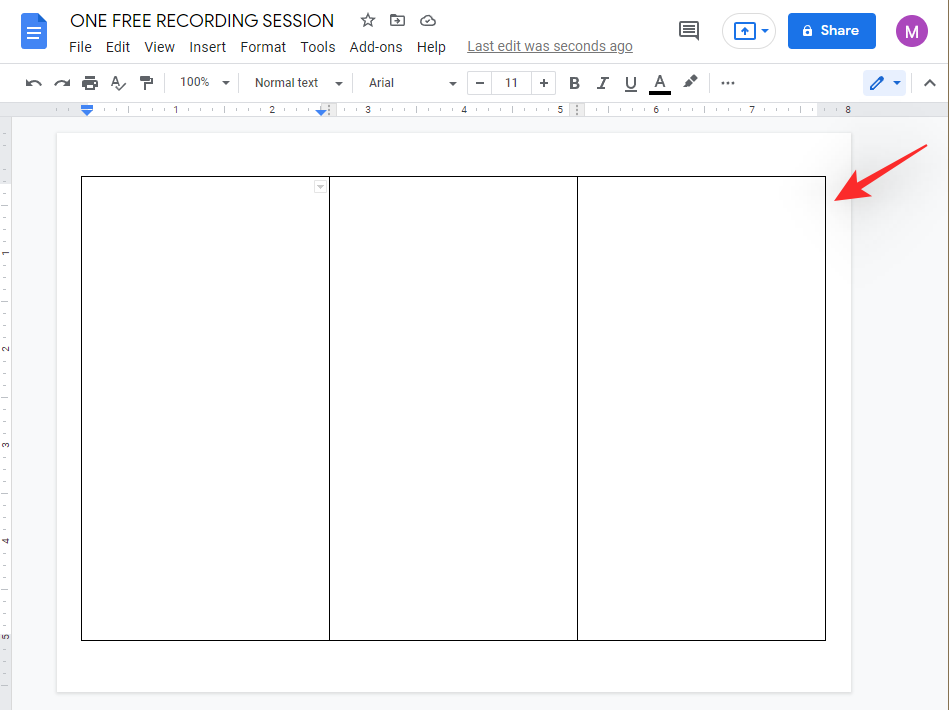
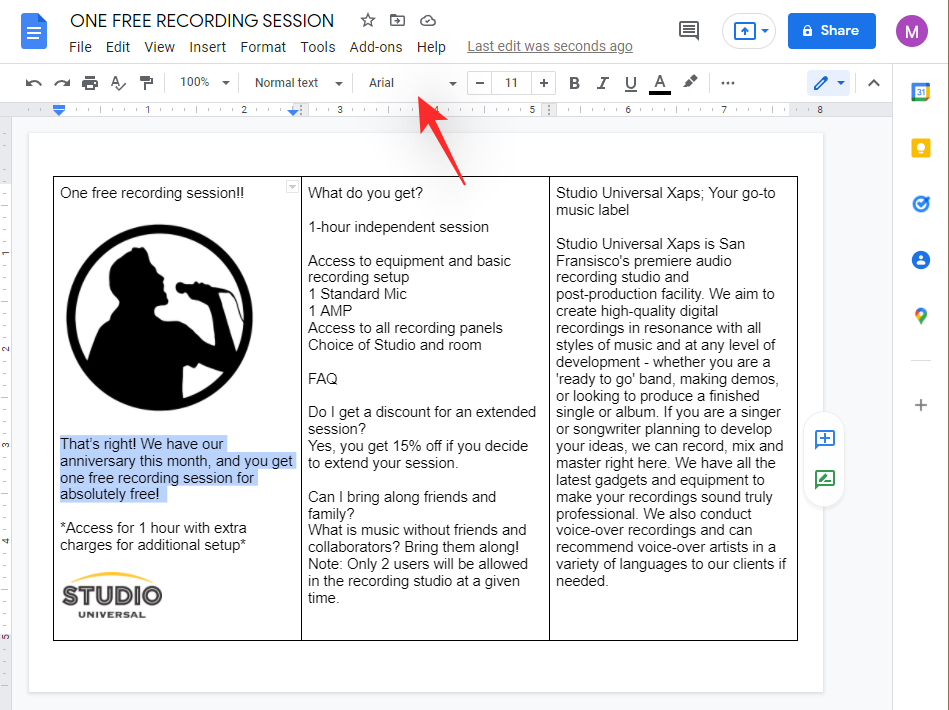
Add text and images to your brochure as needed.

You can then use the next section to format your text and table depending on your final vision for the brochure.
Step #02: Format your text and table
You have the following options at your disposal when formatting your text and table in Google Docs.
Use either of the steps below depending on the formatting you wish to apply to your text and table.
2.1 Change Font
You can change the Font on a per-text basis. This allows you to use different fonts for your body, title, lists, and more. Simply select the text you need to change the font for, and click on the drop-down menu for Fonts as shown below.
Now find and click on the font you wish to use.
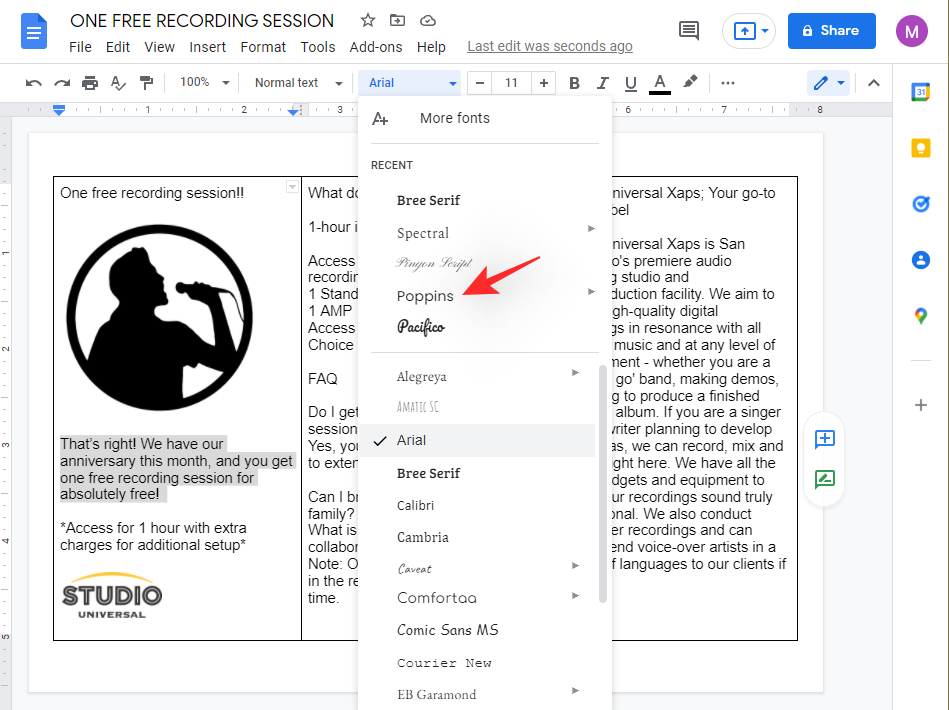
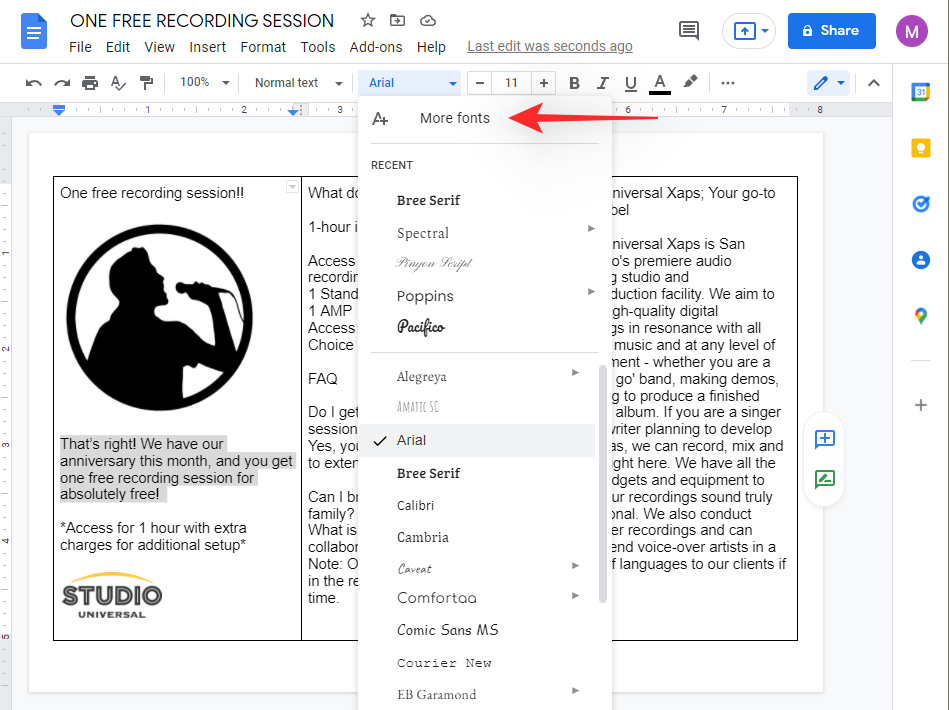
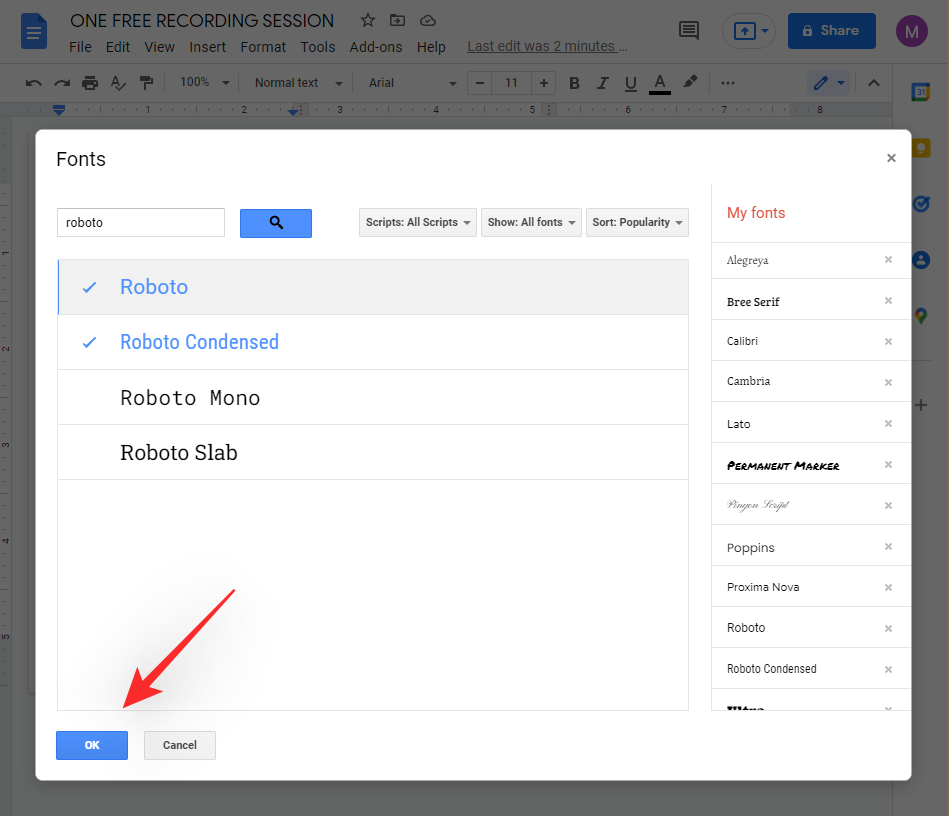
If you are unable to find a font to your liking, then click on ‘More fonts’ at the top.
Use the search bar at the top to search for your font.
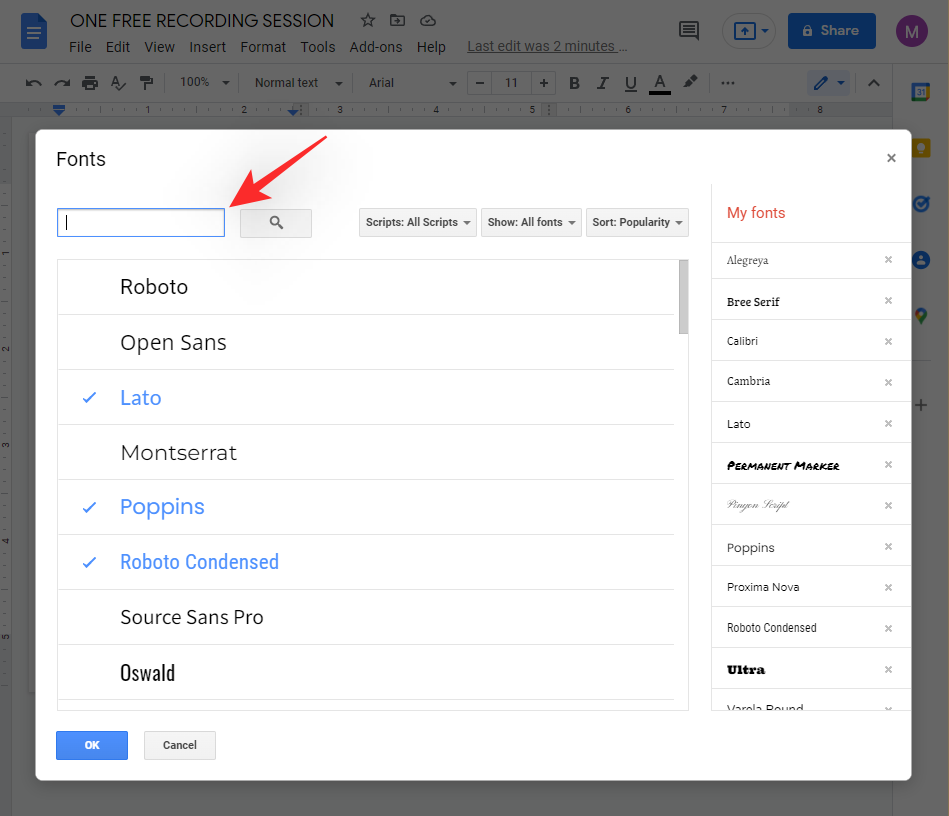
Once found, click on it and it will be automatically added to your account.
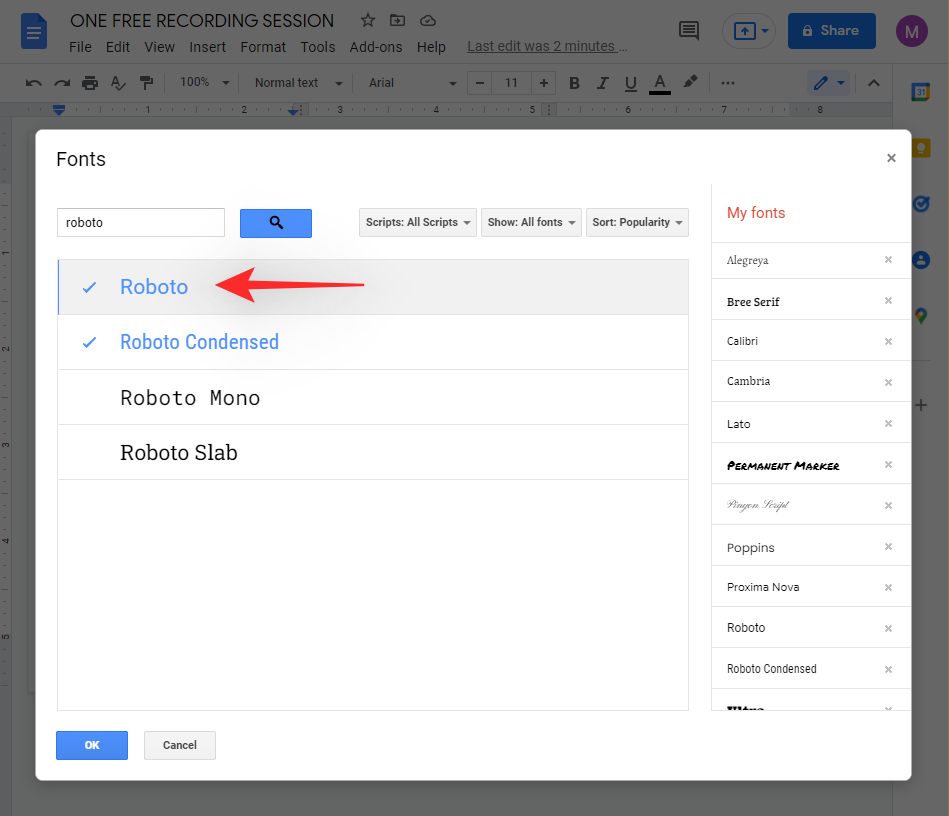
Click on ‘OK’.
You can now continue formatting all other text in your brochure based on your requirements.
2.2 Change Alignment
You can change the alignment of your text to create a more symmetrical design for your brochure. You can also use it to create space for images that we can add later to the brochure.
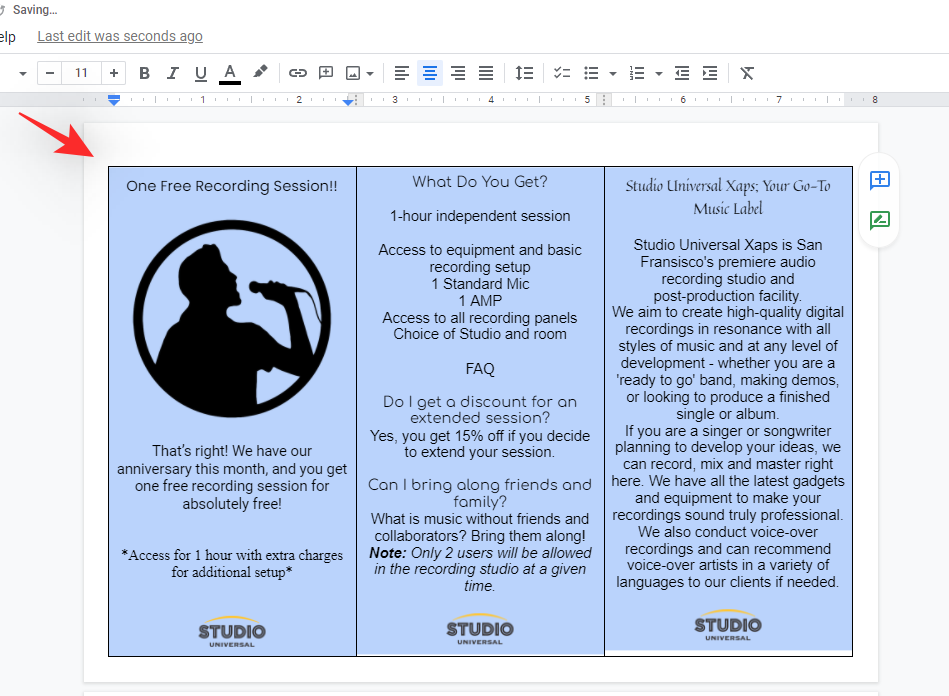
Select the desired text and click on either of the icons shown below to change the alignment.
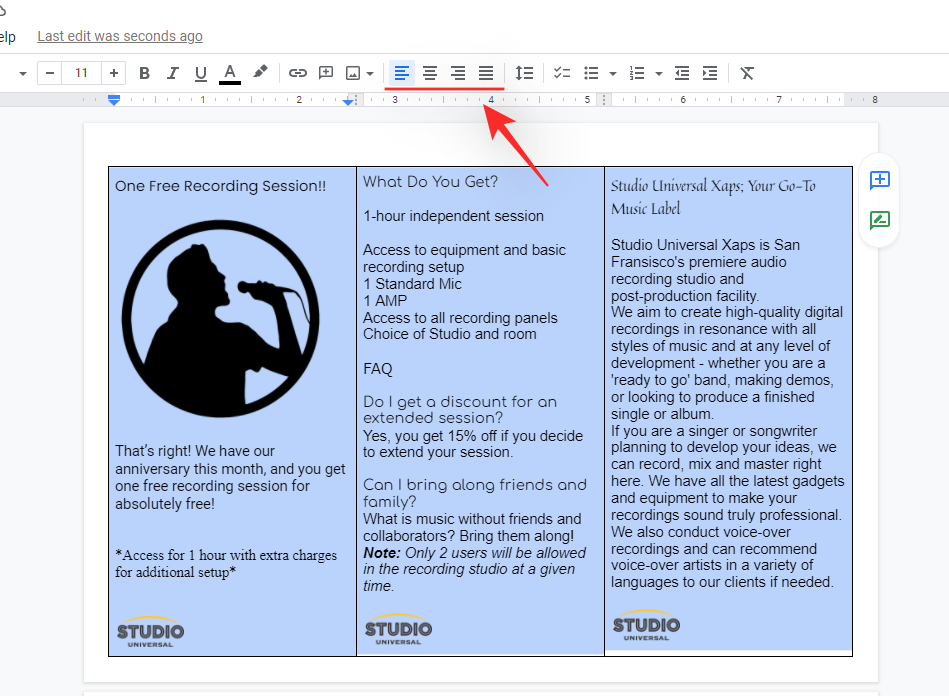
The icons are for the following alignments when counting them from the left.
- Left Alignment
- Center Alignment
- Right Alignment
- Justified
2.3 Change Text style
Text styles can help you apply font-weight and spacing preset to your text. While mostly intended for blog posts and digital publications, you can use it to your advantage to apply 1 click styles to different parts of your text. Use the steps below to get you started.
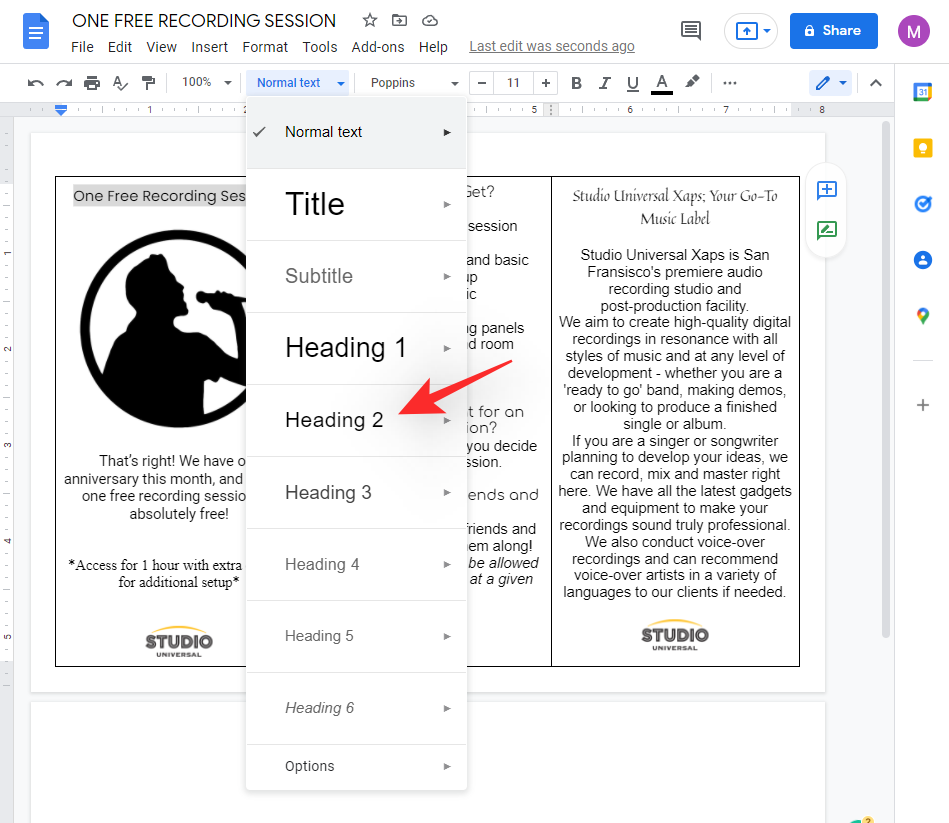
Select the desired text and then click on the drop-down menu for text style beside the font.
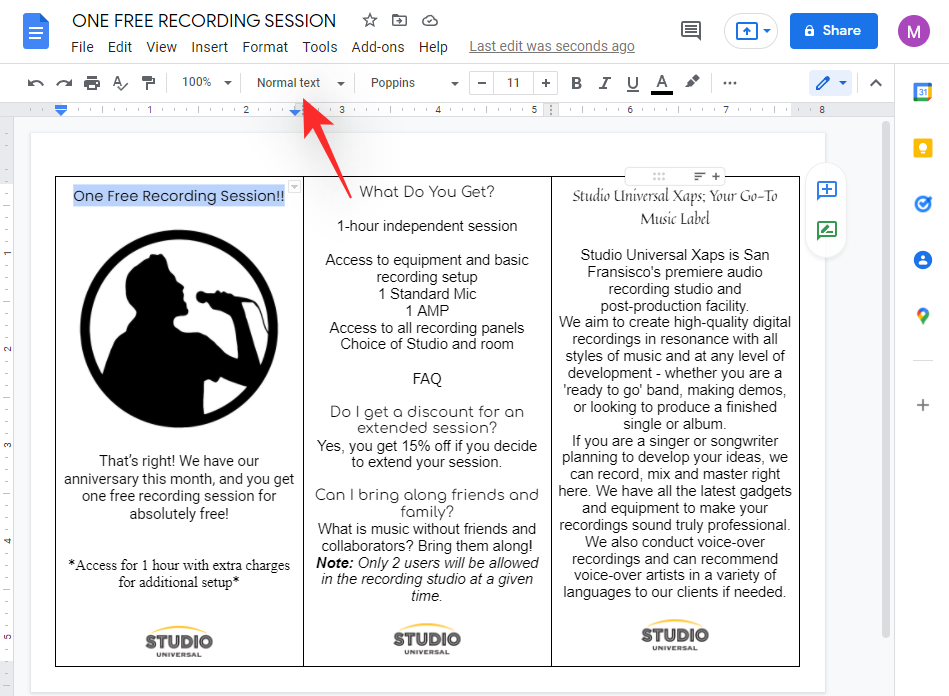
Now choose the desired style. Their listings are indicative of the styles that will be applied to your text.
Repeat the steps above to apply text styles to other parts of your brochure as well.
2.4 Change font color and highlight
We can now apply color or highlight the text depending on your needs. We recommend you do this with the background color of your brochure in mind. If you would like to set the background color first then skip to the section below and then change your font color using the steps below.
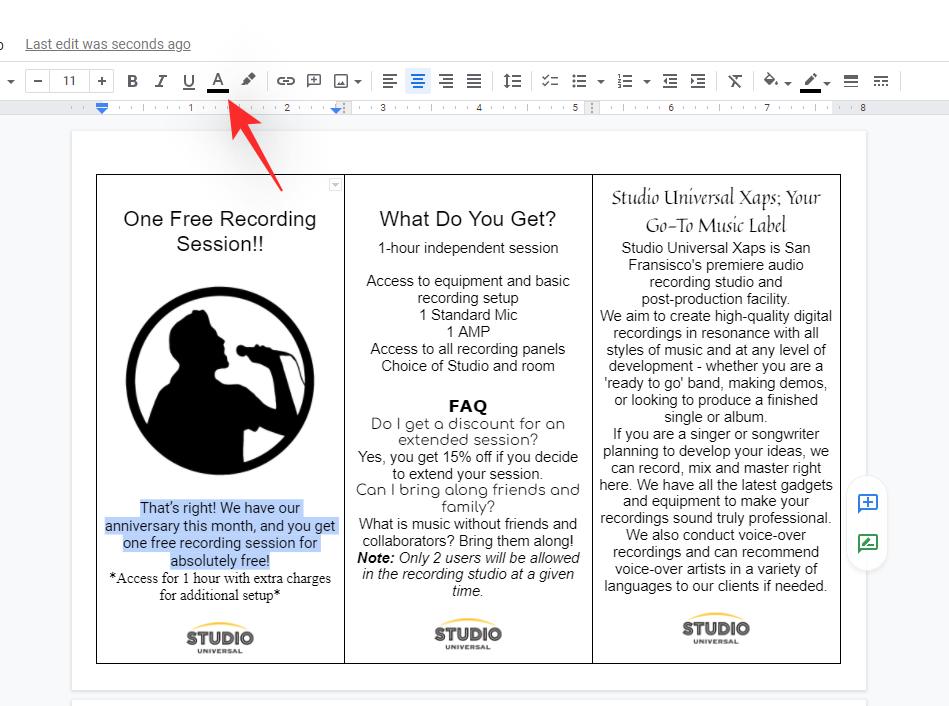
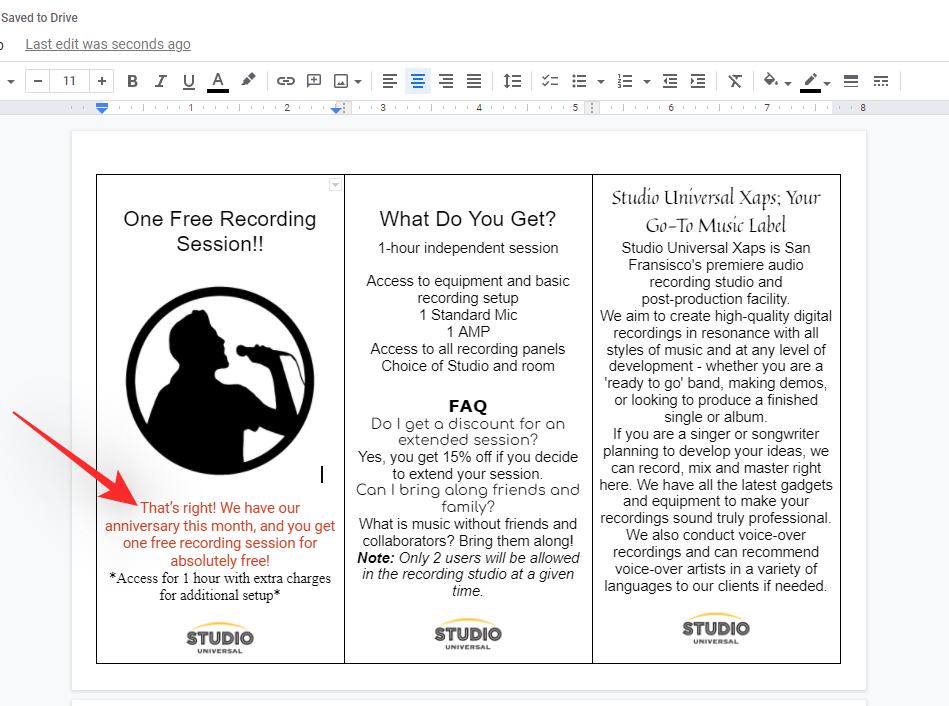
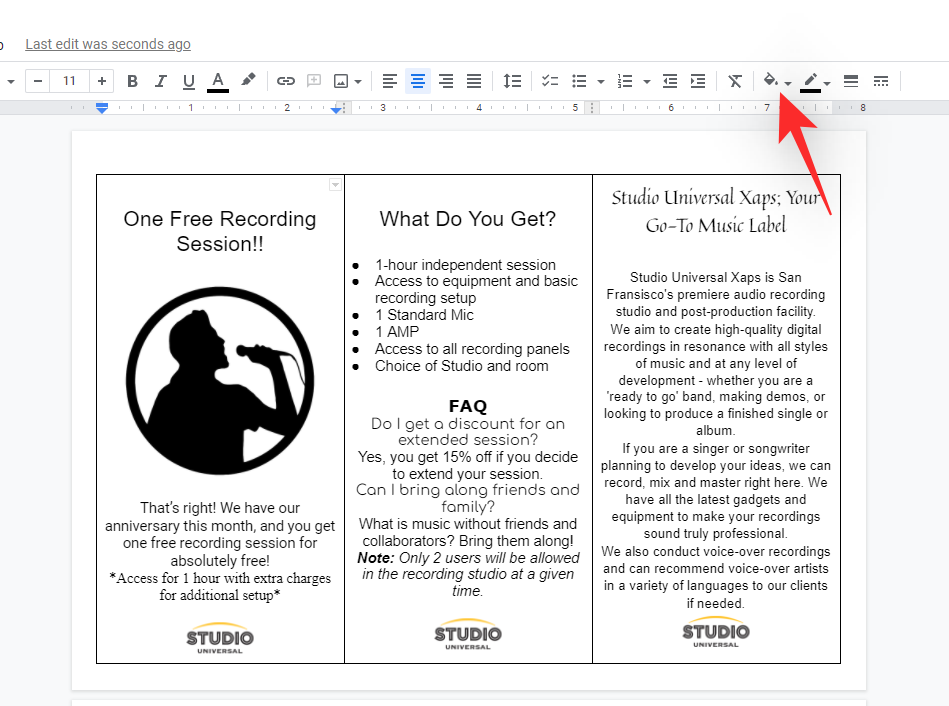
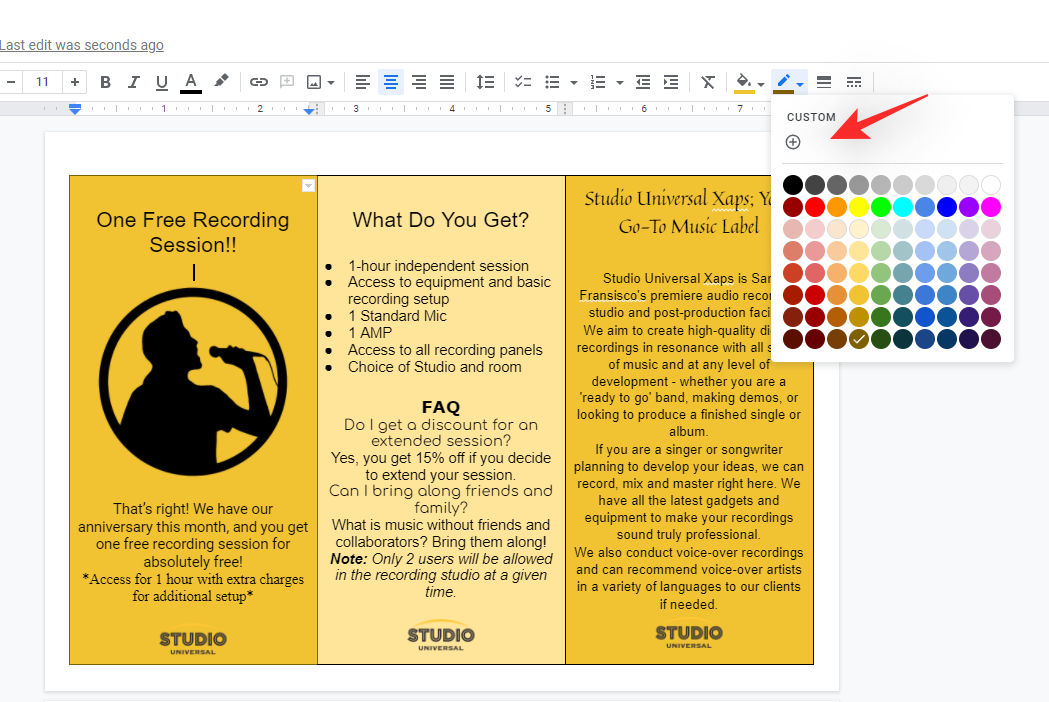
Select the text you wish to color or highlight. Once selected, click on either of the icons shown below. The first one from the left is for font color and the next one is for your highlight color.
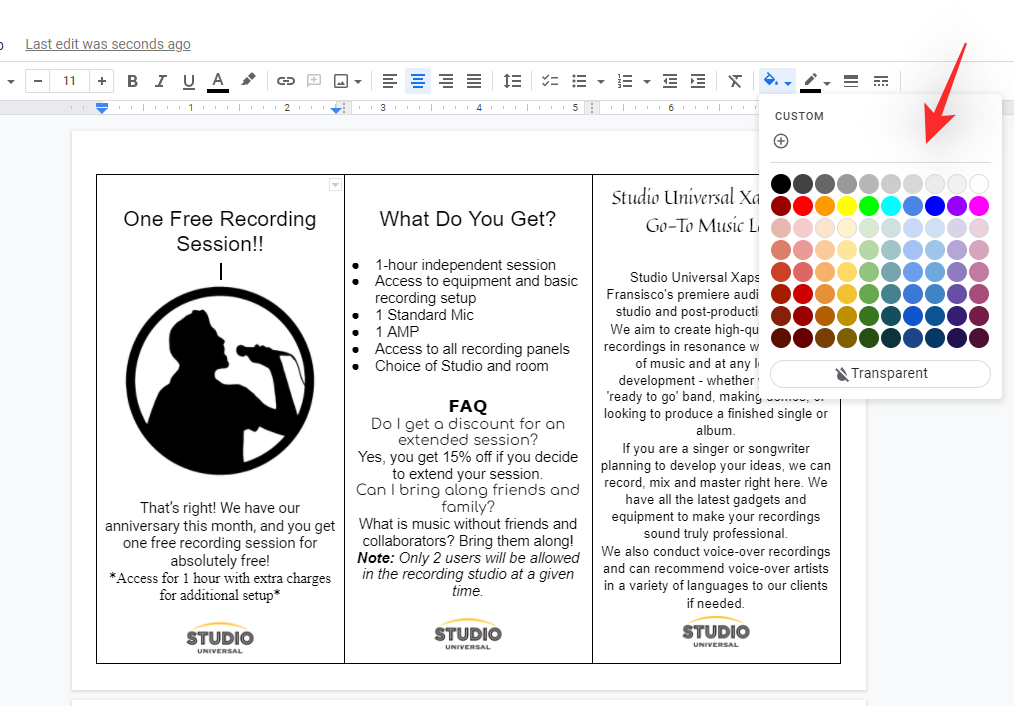
Click and select the color you wish to apply to your text.
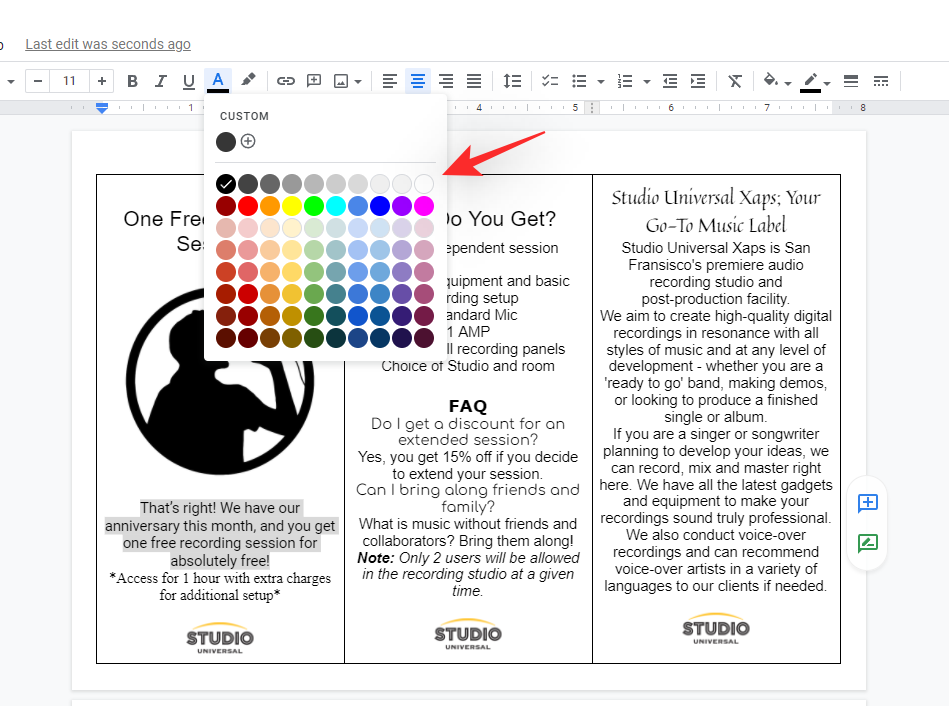
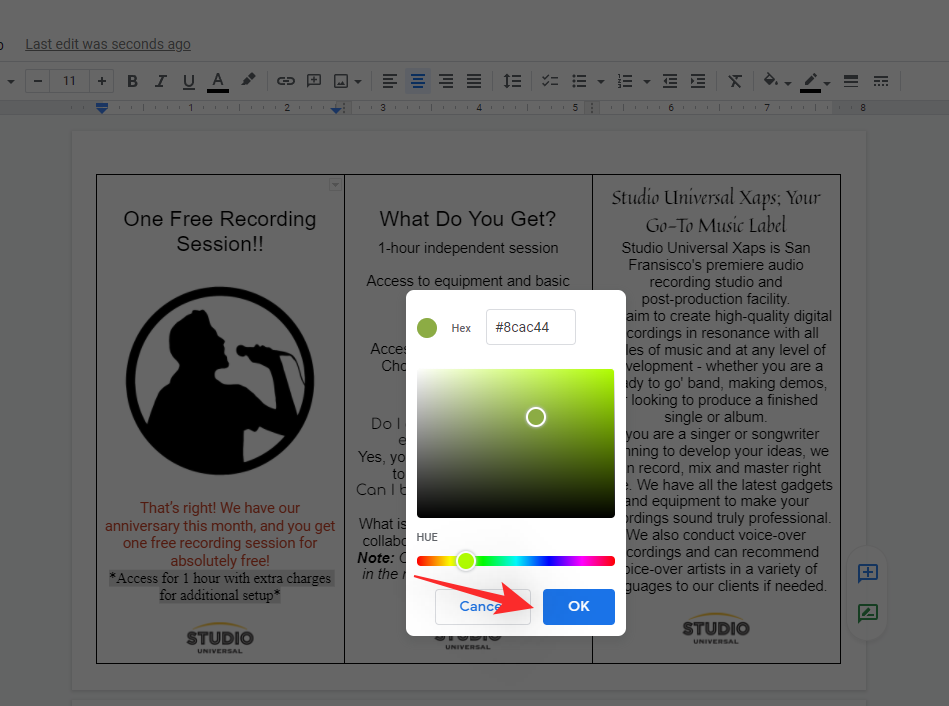
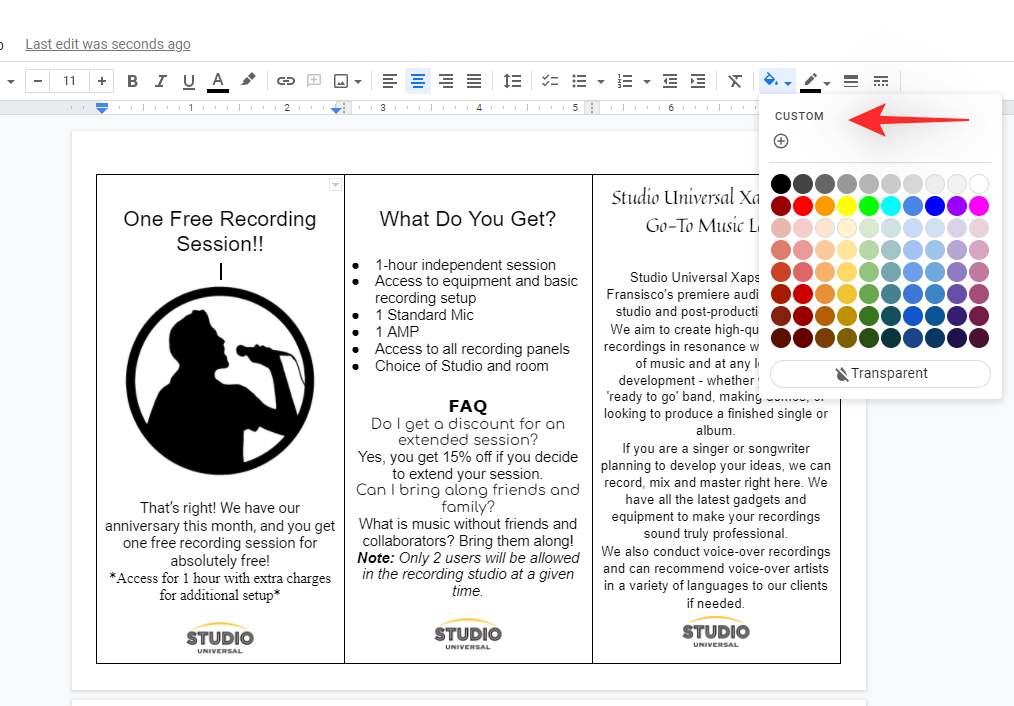
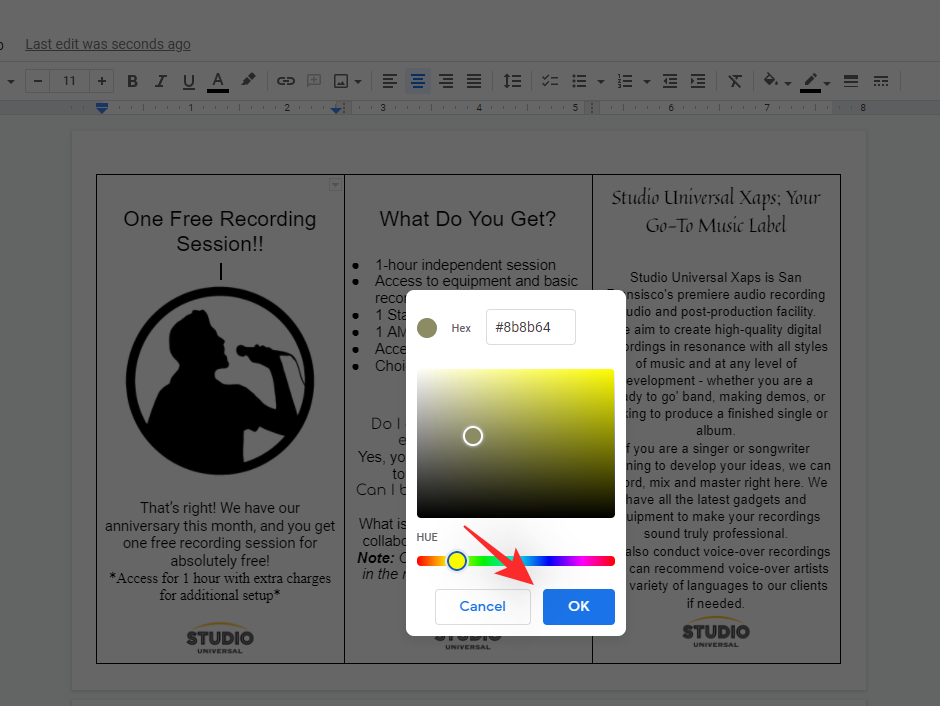
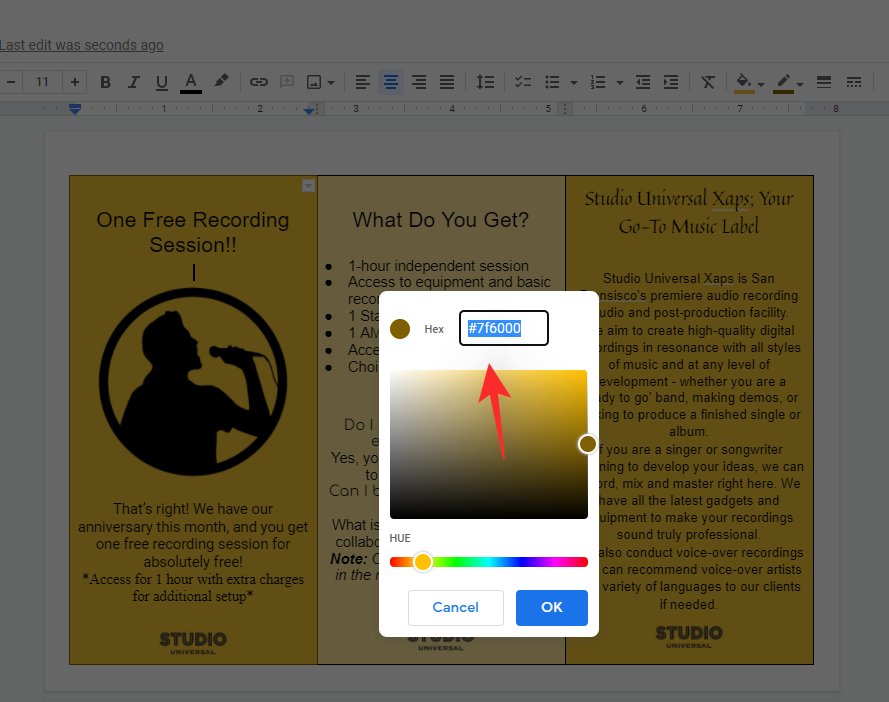
If however, you wish to apply a custom color then click on the same at the top when choosing the color.

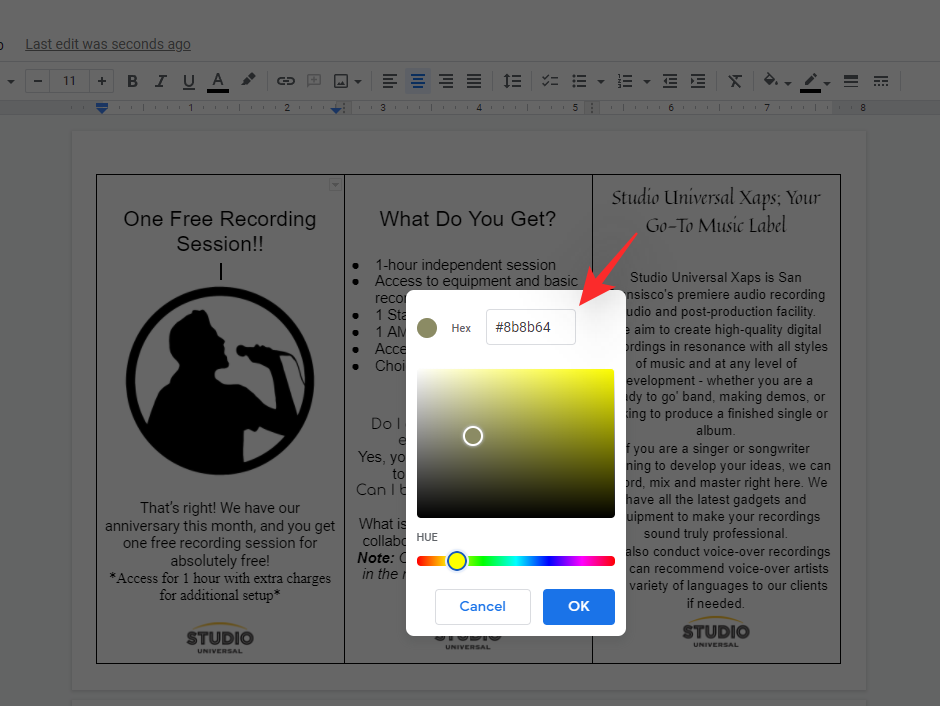
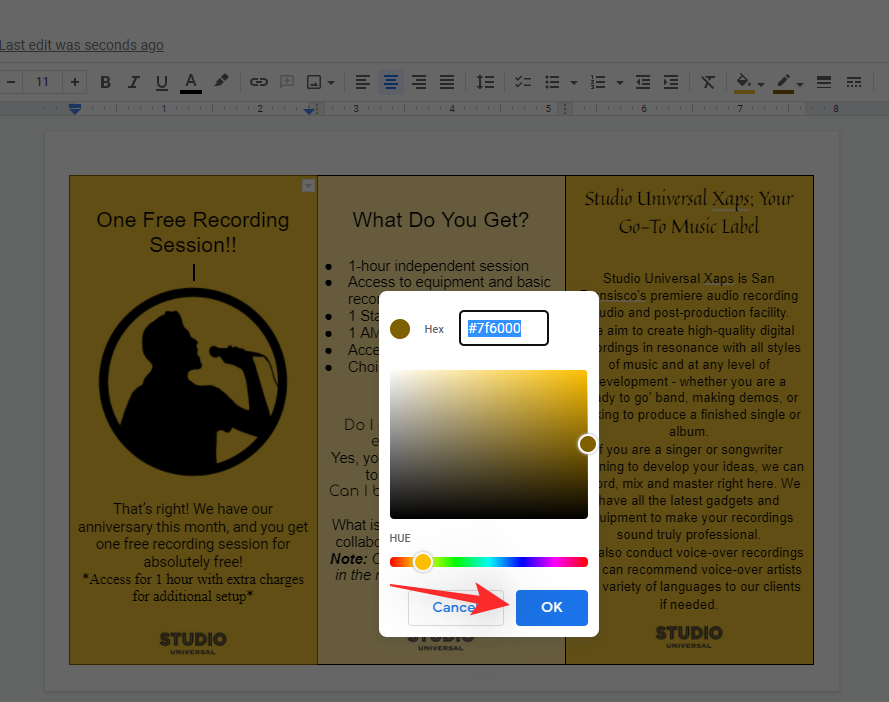
Enter the Hex code for your custom color at the top if you have one. If not, use the slider at the bottom and the palette selector at the top to select your custom color.
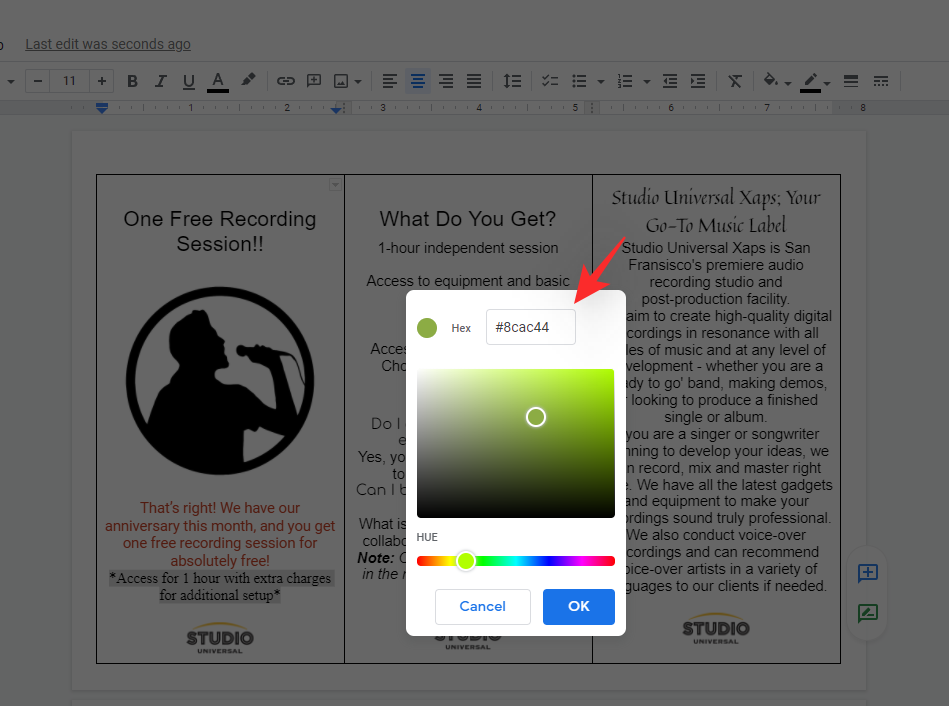
Click on ‘OK’ once you are done.
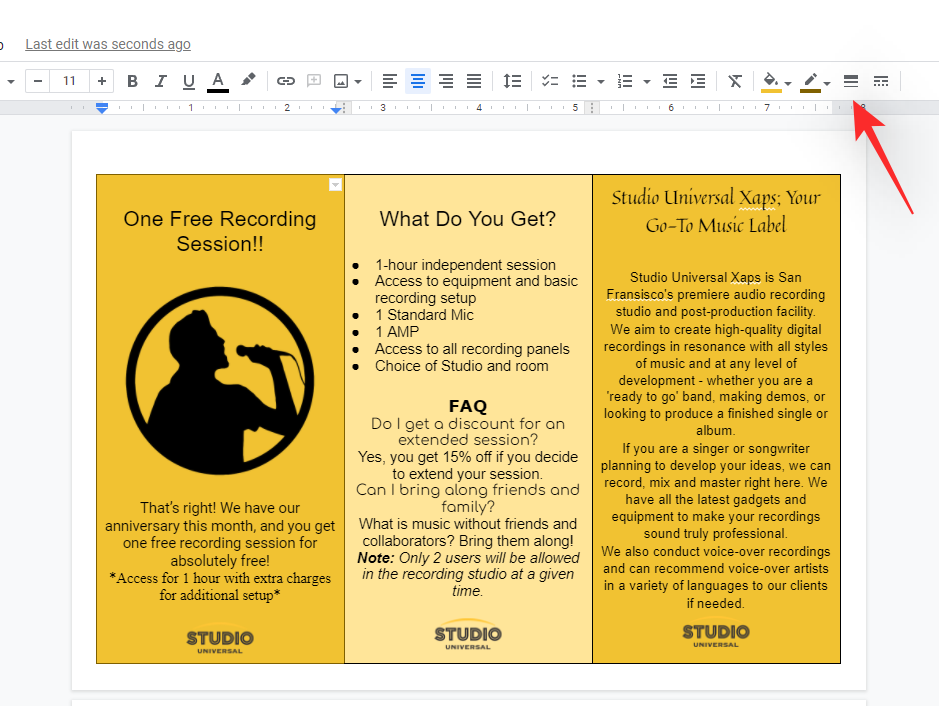
And that’s it! You will now have changed the color or highlight of your text.
Repeat the steps above to customize other parts of your text body.
2.5 Change line and paragraph spacing
We can now change your line and paragraph spacing depending on your needs. If you’re looking to fit large amounts of text in your brochure then reducing these will help you fit more text in the same space.
On the other hand, having letters too cramped up together can highly reduce the readability of your brochures. Hence, you can use the line and paragraph spacing options to space apart from your lines and letters. This will make them more legible and increase the readability of your brochure. Follow the steps below to help you along with the process.
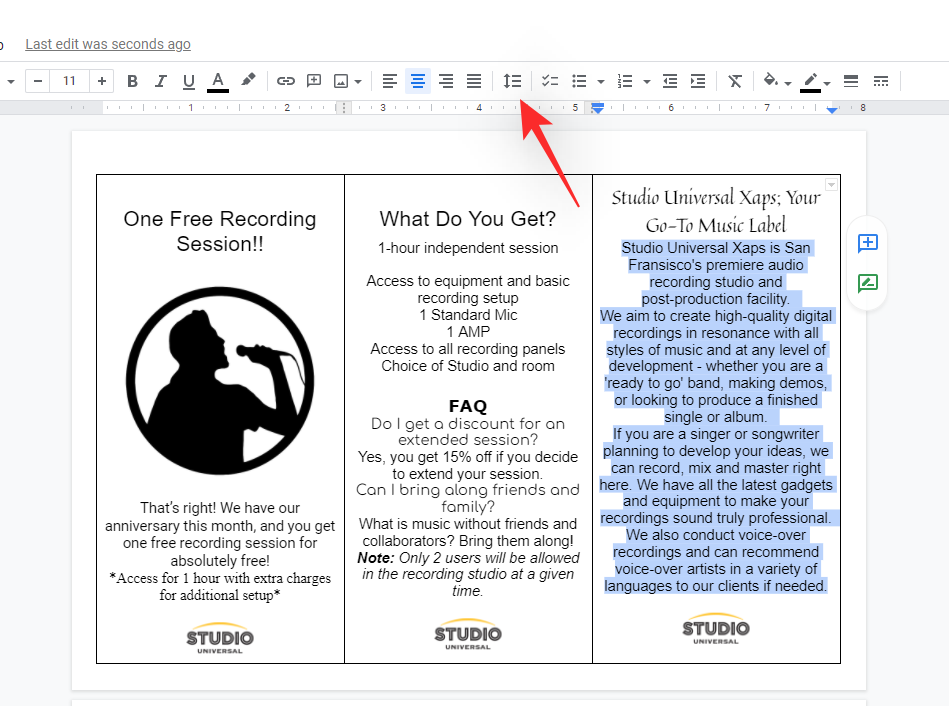
Select the desired text and then click on the Line and paragraph spacing icon as shown below. You will find it beside the text alignment icons.
Click on ‘Custom spacing’.
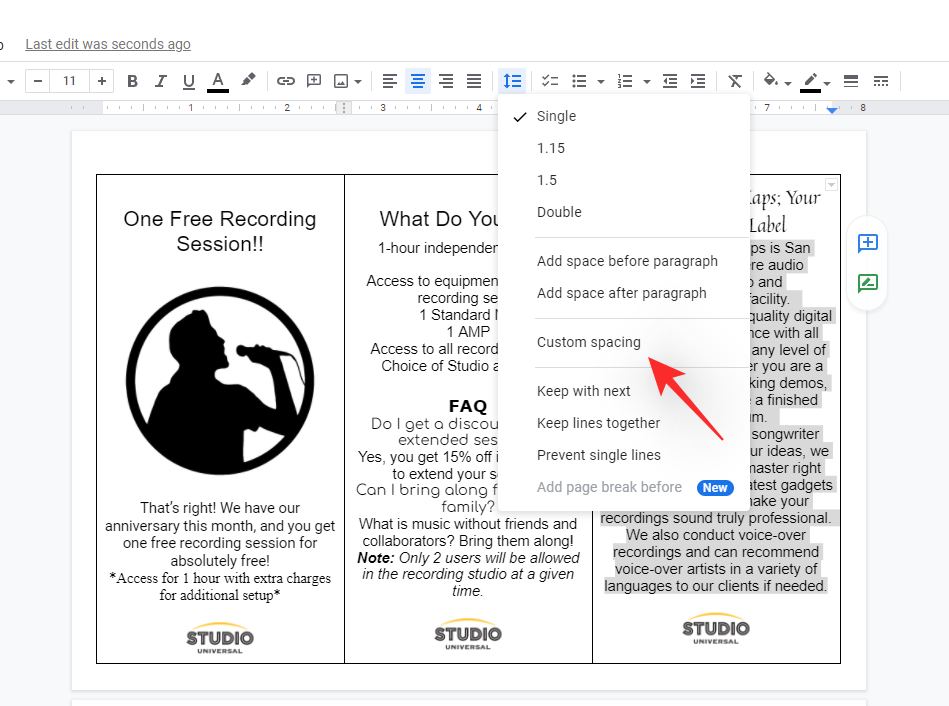
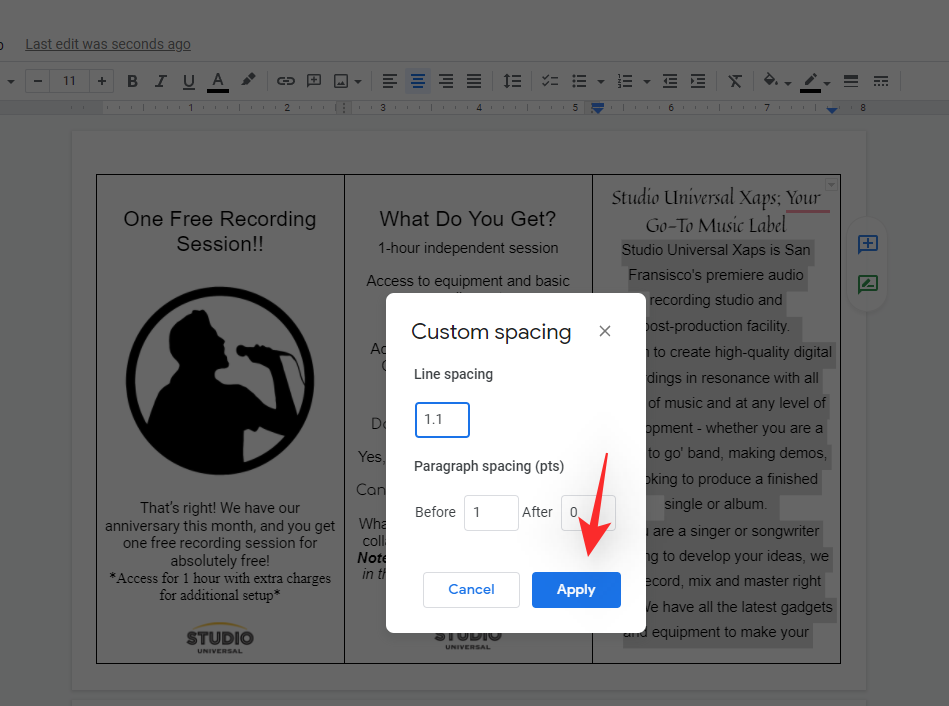
Choose your line spacing by entering the same in the first box. By default, the line spacing value will be set as 1. Line spacing will dictate the space between lines in each paragraph.

Now choose your paragraph spacing. This will dictate the default space in the document, before and after each paragraph.
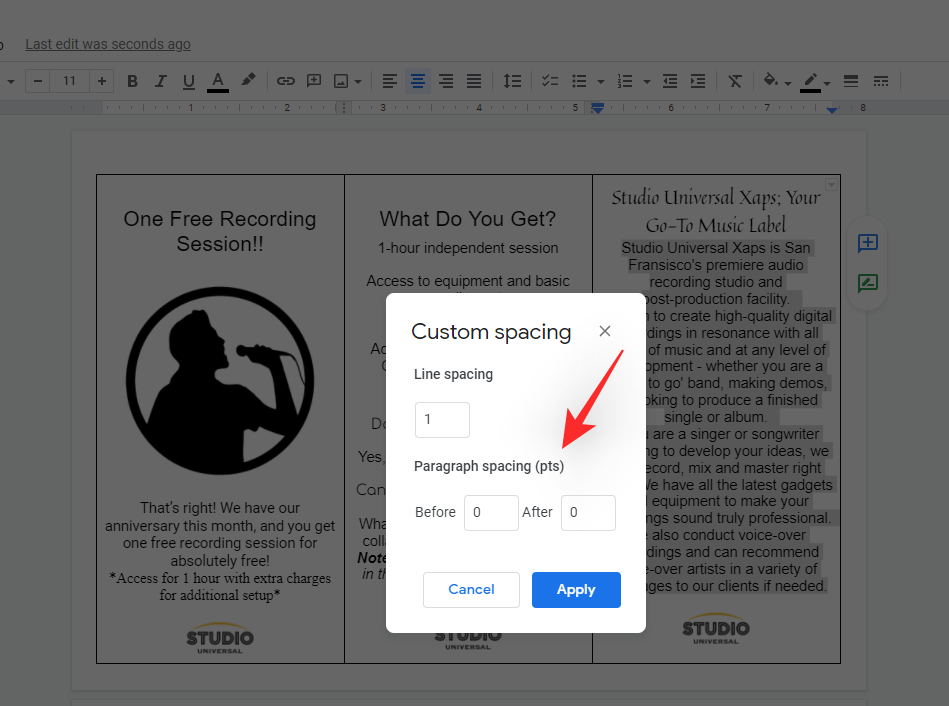
Tip: For a more cohesive and symmetrical aesthetic, we recommend keeping your paragraph spacing for ‘Before’ and ‘After’ the same amount.
Click on ‘Apply’ once you are done.
And that’s it! You can now repeat the steps above for other parts of your text to format and space them in the brochure according to your requirements.
2.6 Change add lists
You can add lists to your brochure as well. This can come in handy if you are listing products, features, services, or anything else offered by your company. Follow the steps below to create lists in your brochure.
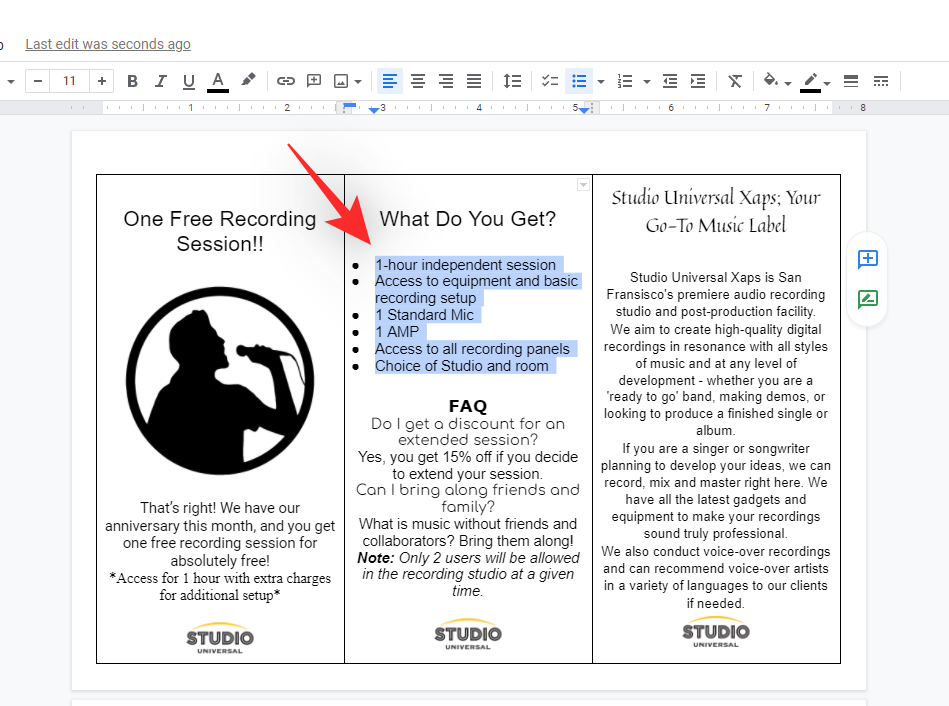
Place your cursor where you wish to add your lists. Your lists will be indented automatically so you won’t need to pre-indent the location of the cursor. You can also select already included text to convert it into lists.
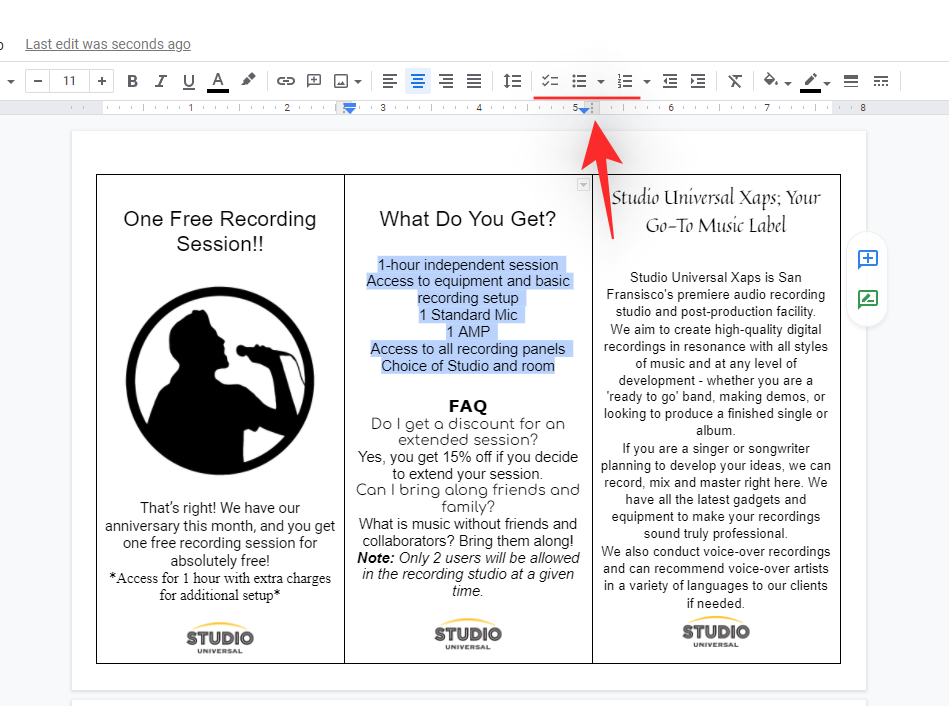
Now follow one of the steps below depending on which list you wish to add to your brochure.
- Checklists: Use the icon to add checklists. Hitting Enter once will allow you to add more items to your checklists.
- Bulleted lists: Click on the icon to add a bulleted list to your brochure instead.
- Numbered lists: You can add numbered lists to your brochure by using the respective icon.
And that’s it! You can now add other lists to your brochure by repeating the steps above if needed.
2.7 Change background color
‘Background color’ is an option applicable to each cell in your table. As we have tricked our way into using a single cell for each of our pages, we can use this option to easily color sections of our brochure. Follow the guide below to get you started.
Select and place your cursor in the cell you wish to color. Now click on the ‘Background color’ icon on the extreme right in the toolbar at the top.
Select a color that you like by clicking on it.
If you wish to use a custom color, then click on the same at the top of your screen.
Enter the Hex code or use the sliders at the bottom to dial in your desired color.
Click on ‘OK’ once you are done.
The selected color will now be applied to the selected cell.
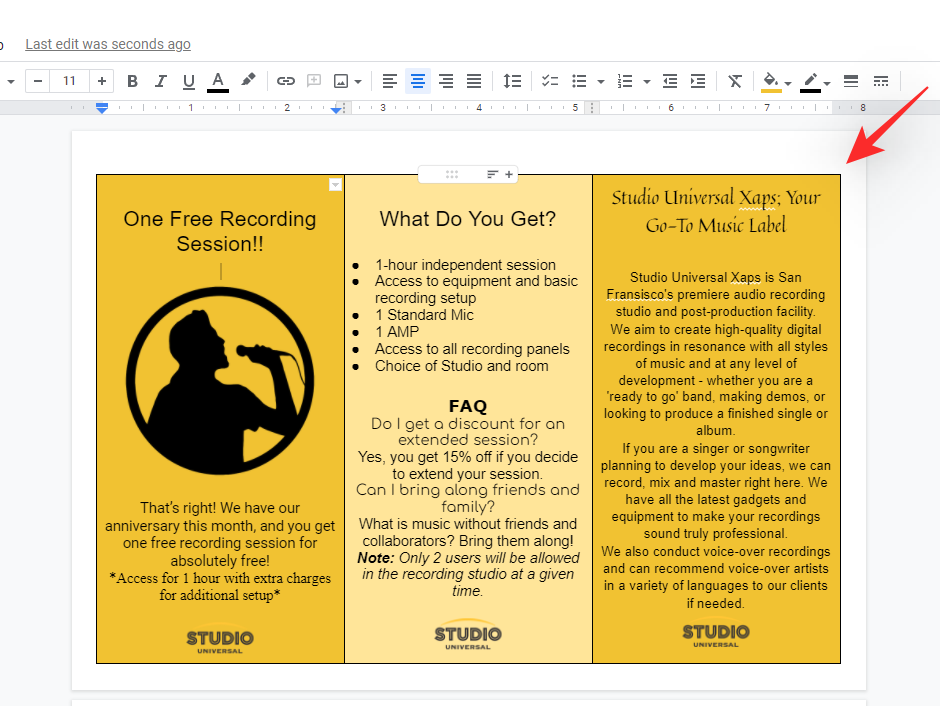
You can continue coloring other pages of your brochure as needed.
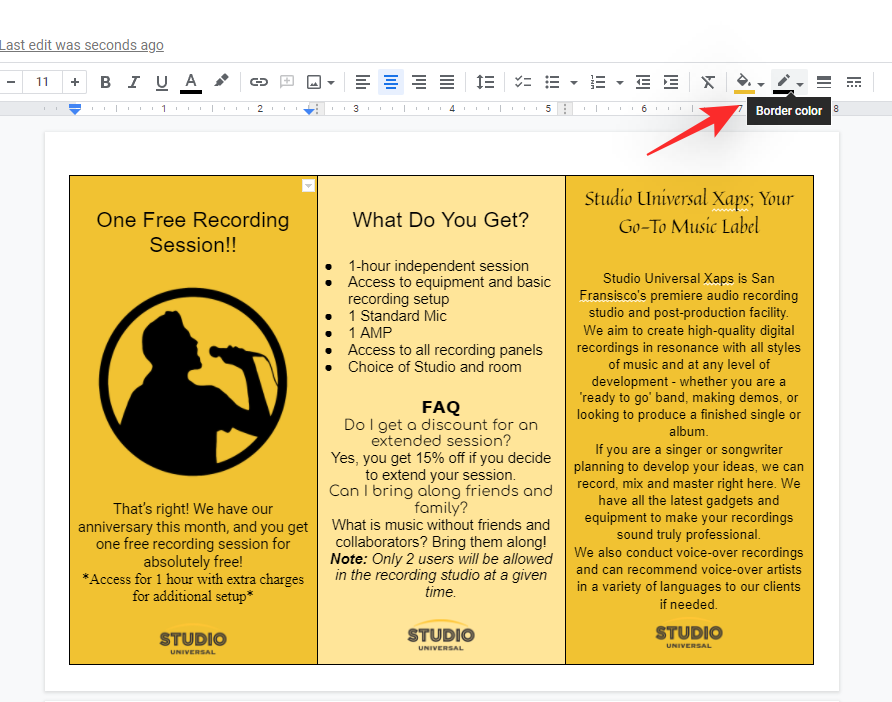
2.8 Change table border-color
Click and place your cursor in the desired cell you wish to change the border color for, and click on the ‘Border color’ icon as shown below.
Select the desired color from the samples on your screen by clicking on the same.
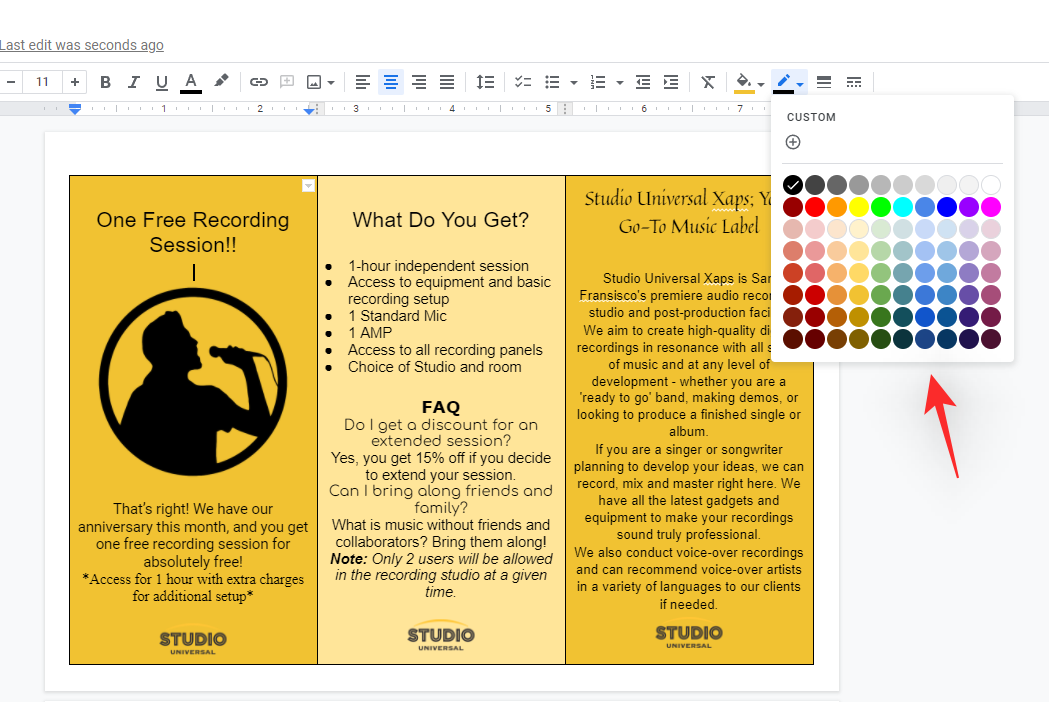
Click on ‘CUSTOM’ if you wish to use a custom color.
Enter the desired Hex code or use the sliders at the bottom to enter your custom color.
Click on ‘OK’ once you are done.
You can similarly change the border color for other cells as well.
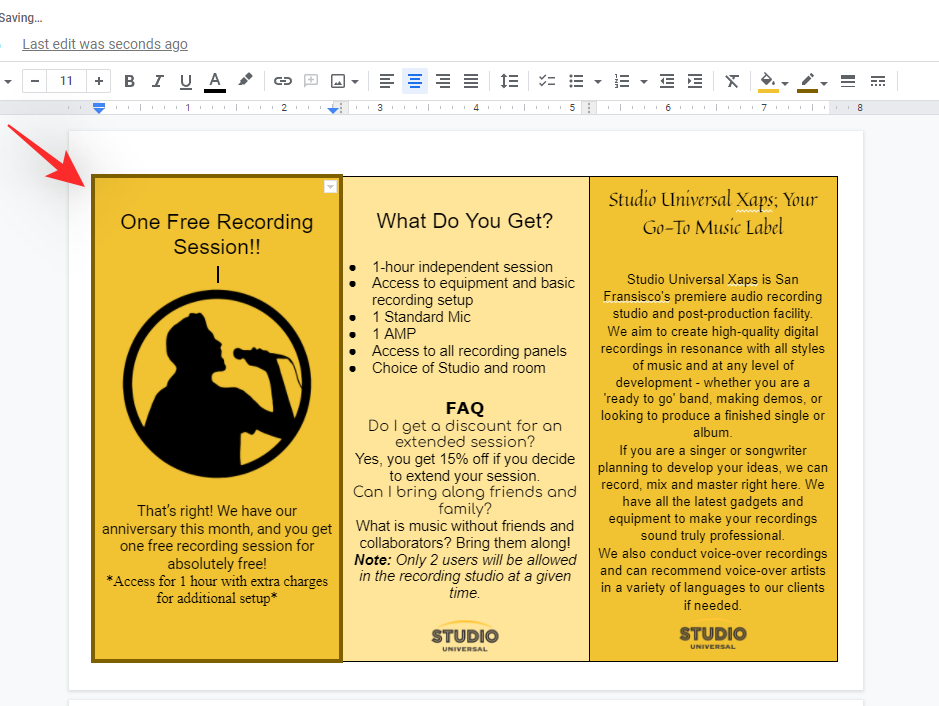
2.9 Change table border size and style
You can also adjust the width and style of your border. Use the steps below to help you along with the process.
Place your cursor in the cell for which you wish to change the border’s width. Click on the ‘Border width’ icon in your toolbar.
Now select the desired width by clicking on it.

You can now view the changes to your border’s width in real-time.
Now click on the ‘Border dash’ icon in the extreme right of the toolbar.
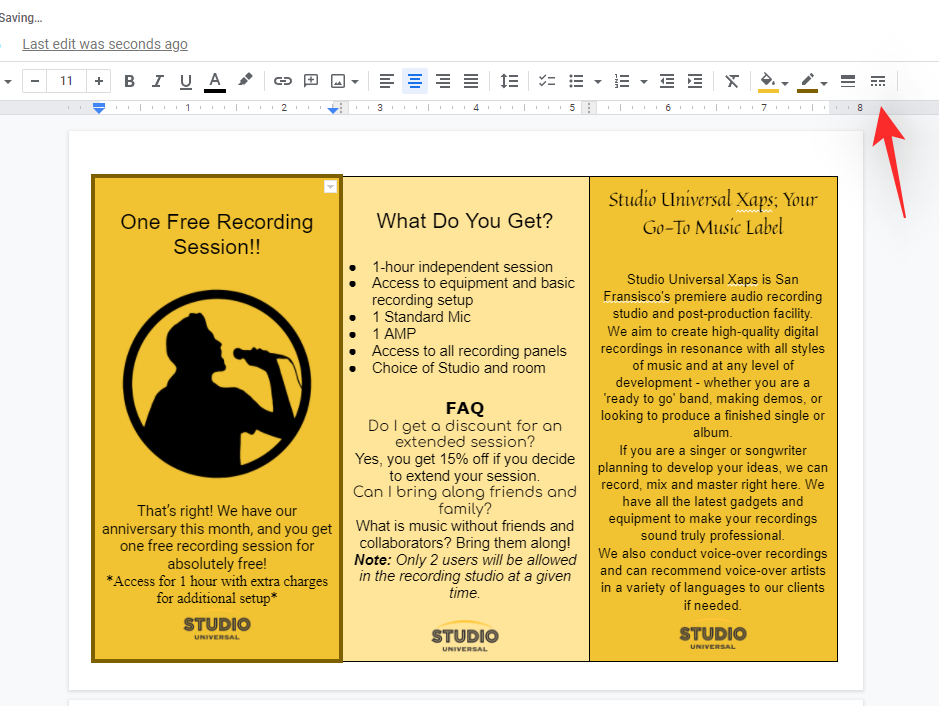
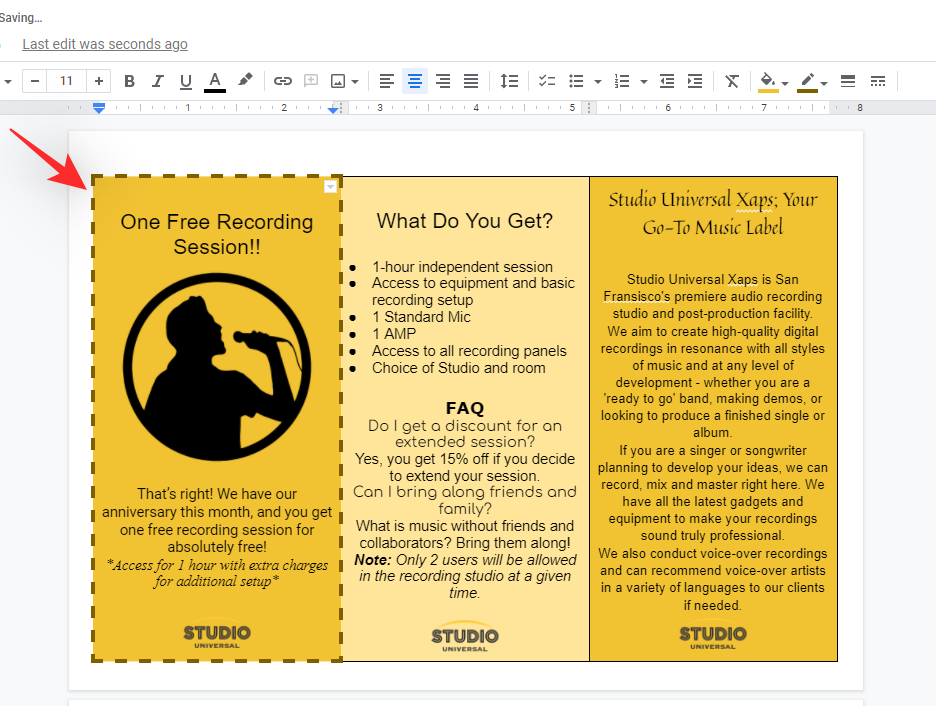
Click and select a pattern you wish to use for the cell.
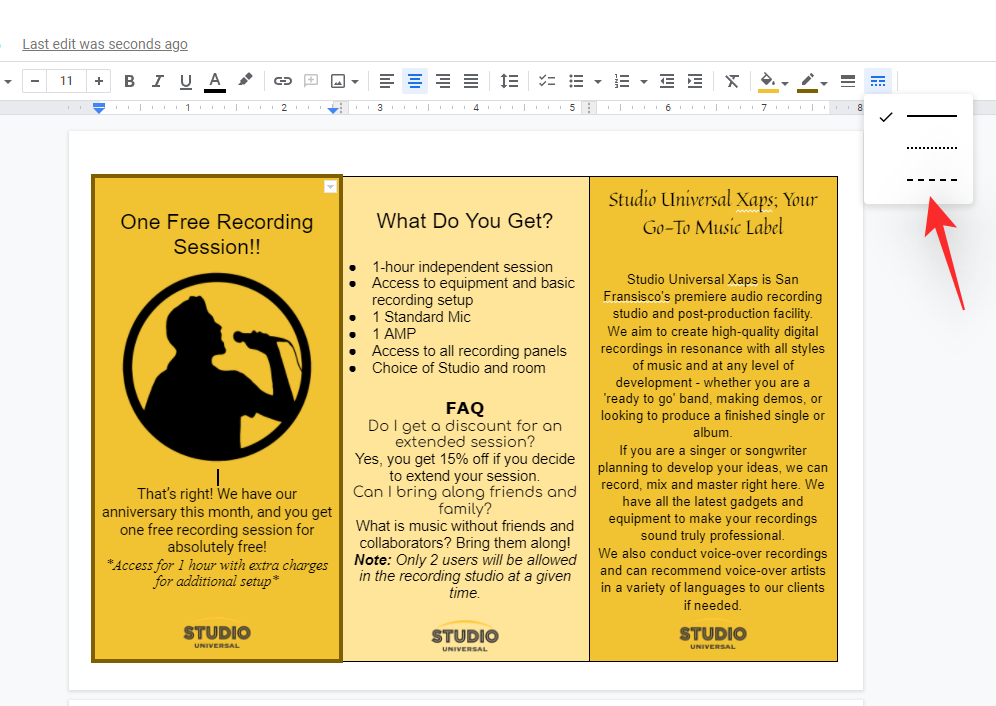
And that’s how you can customize the border size and style for each page of your brochure.
Step #03: Add Images and Graphics
Adding graphics and images to your documents is fairly easy in Google Docs. Follow either of the guides below to help you add images and graphics to your brochure.
3.1 Add an image
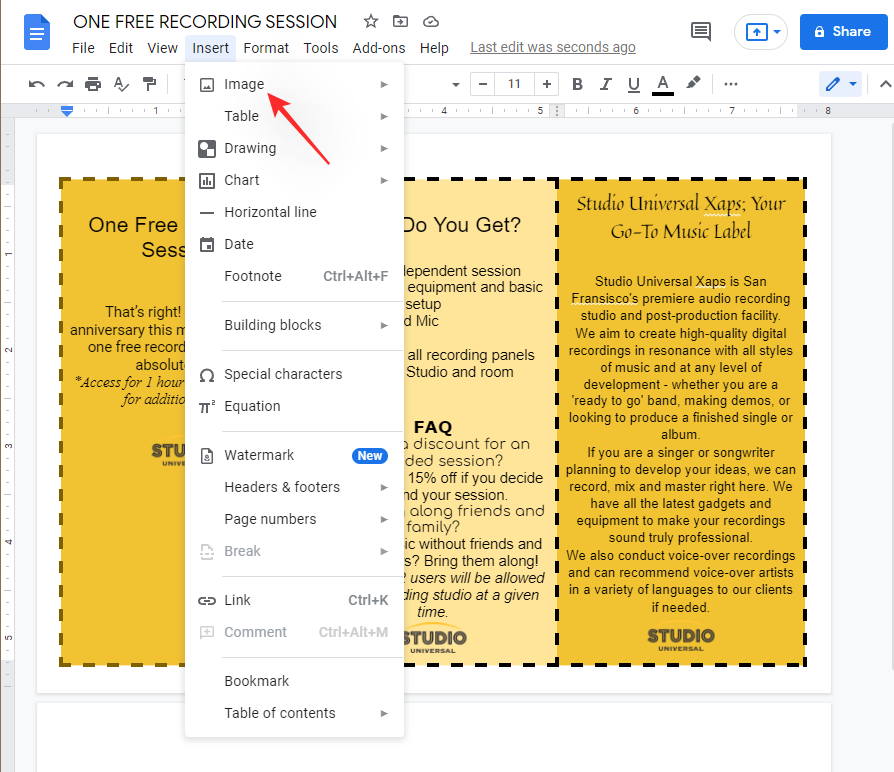
Place your cursor in the desired place where you wish to add an image. Click on ‘Insert’ at the top once done.
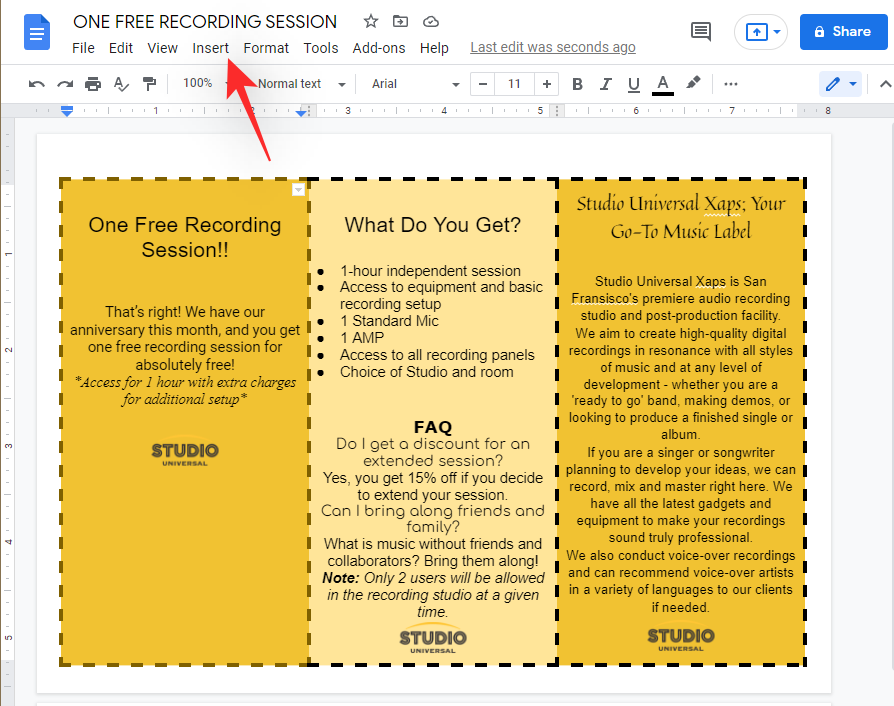
Select ‘Image’, then select your source and finally select and open the desired image in your browser.
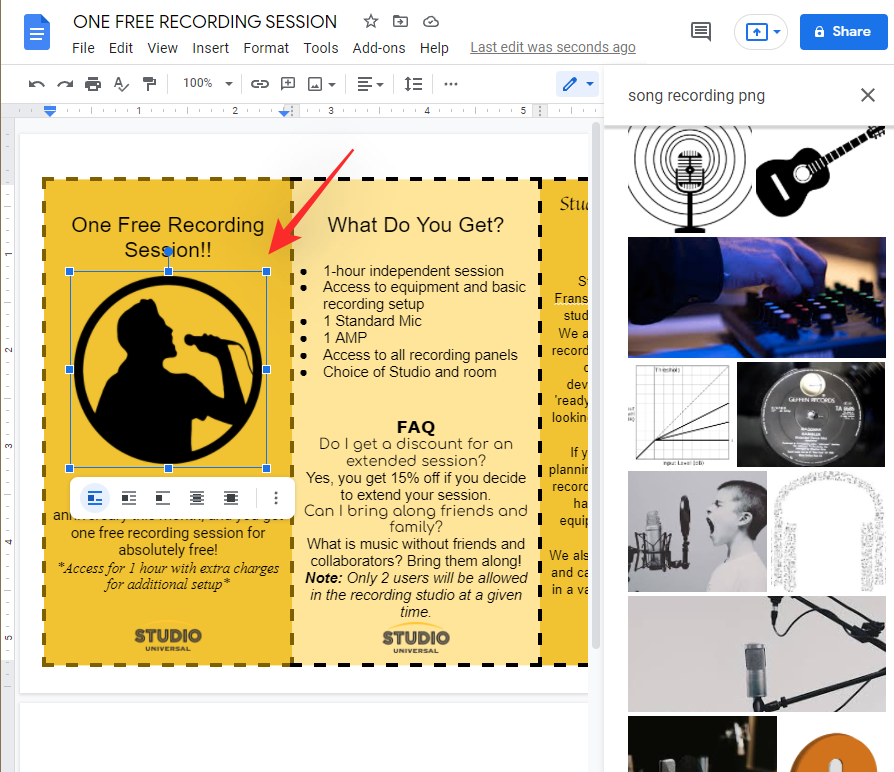
- If you’re using ‘Search the web’ then enter the search term on your right and hit Enter. Once you find the desired image, double click on it or click on ‘Insert’ at the bottom to add it to your brochure.
- If you’re using ‘By URL’ then you will need to ensure that the URL directly links to the image and not a thumbnail preview. Additionally, images from some online resources might not be supported by Google Docs.
Once your image has been added, hit the ‘Spacebar’ to move your image linearly. You can also click and drag the image around to your desired position or use the alignment options to automatically align it.
3.2 Add a drawing
Drawings can also be easily added to Google Docs. Start by placing your cursor where you wish to place your Drawing and click on ‘Insert’ at the top.
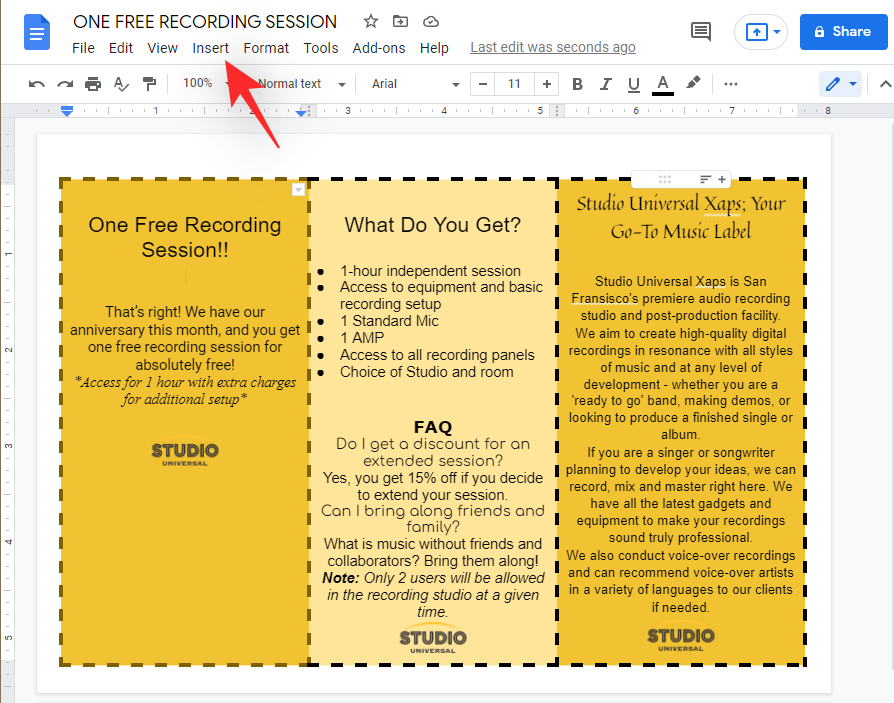
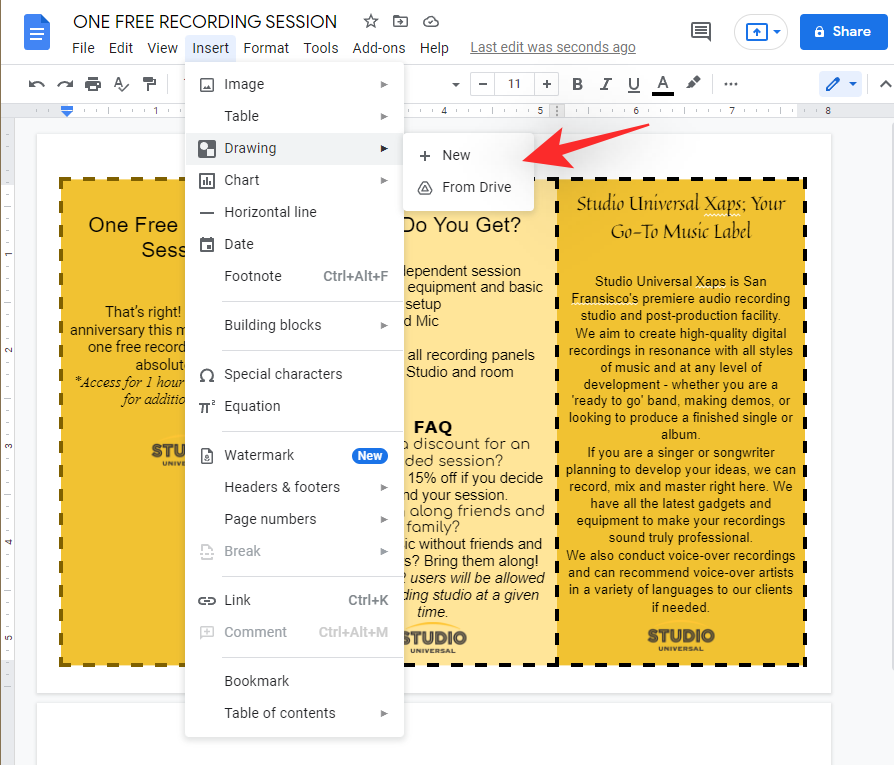
Select ‘Drawing’ and select a source for your drawing. Follow one of the sections below depending on your choice.
3.2.1 New
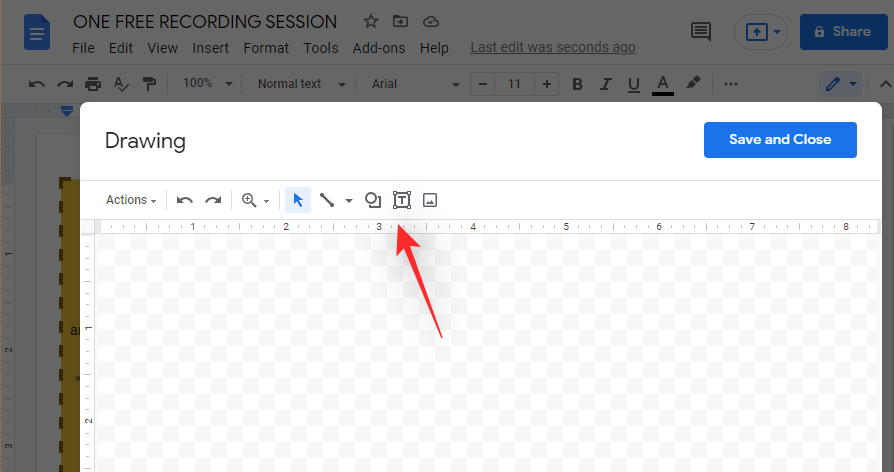
If you selected ‘New’ then you will now have a blank canvas where you can create your custom drawing. Click and use the tools in the toolbar to create the drawing you need.
You will have the following tools at your disposal.
- Shapes
- Arrows
- Callouts
- Equations
- Lines
- Arrows
- Elbow connectors
- Curved connectors
- Curves
- Polylines
- Scribble
If you need any help, you can use this comprehensive guide from us to help you along with the process.
3.2.2 From Drive
Once you click and select ‘From Drive’ a new pop-up will open displaying all the contents of your Google Drive. Click and select the drawing you wish to add and then click on ‘Select’.
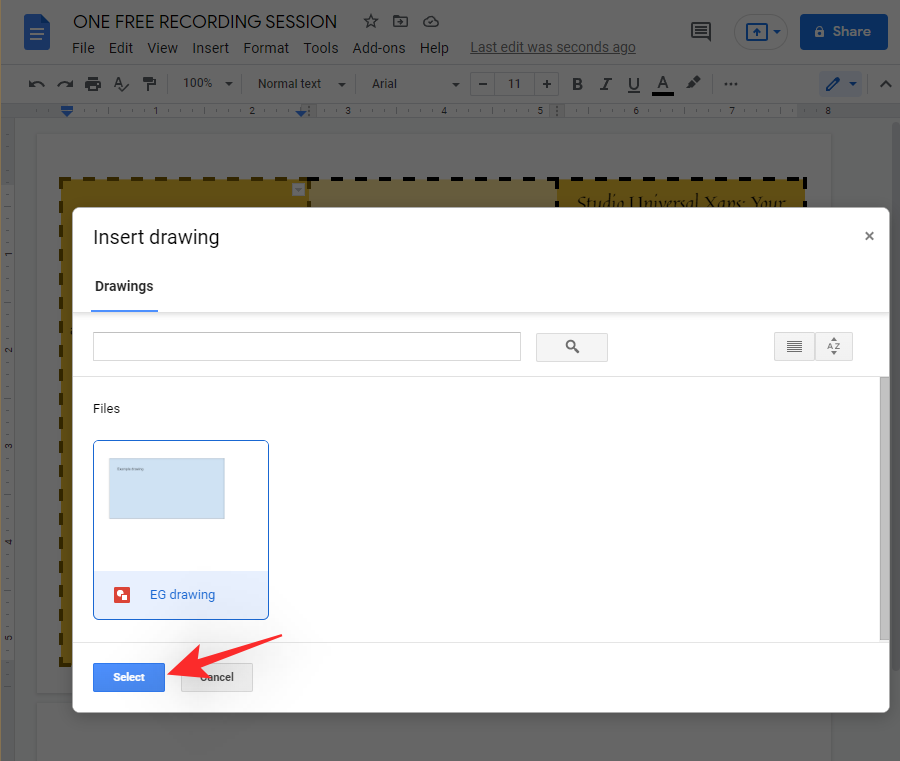
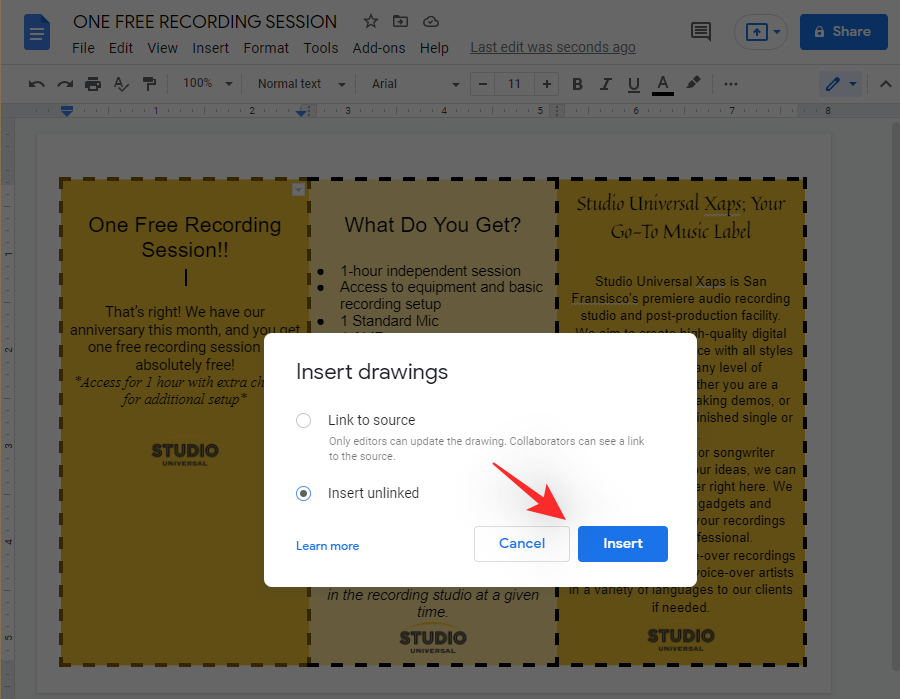
Now choose ‘Link to source’ if this is a collaborative project that doesn’t need to be printed immediately. If you wish to print the document and want the original drawing in the document then select ‘Insert unlinked’. Keep in mind that adding an unlinked drawing will allow collaborators to make edits to your drawings as well.
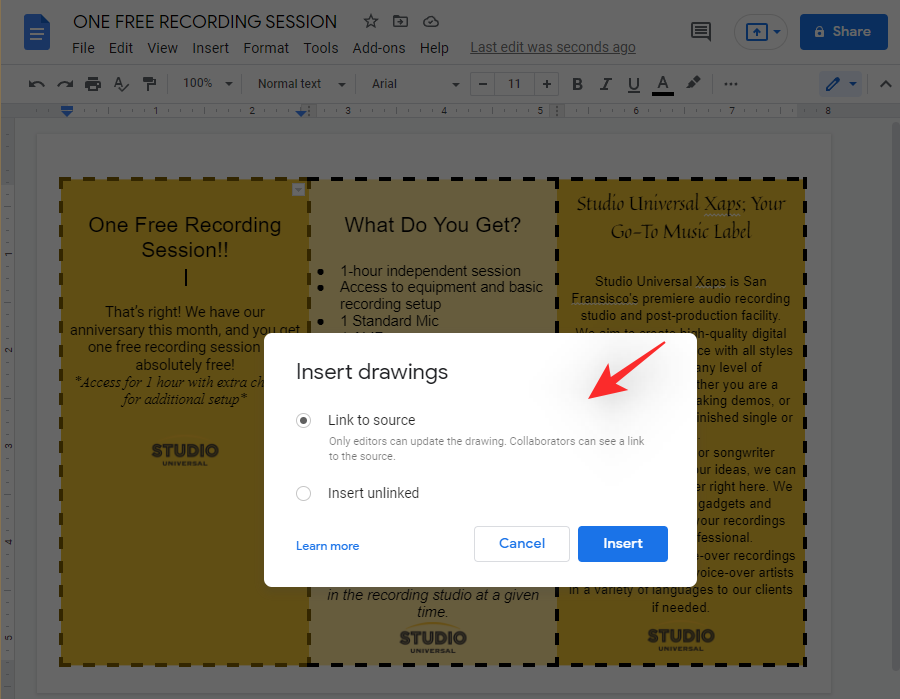
Click on ‘Insert’ once you are done.
The drawing will now be added to your brochure. You can resize it to fit the dimensions of your brochure.
3.3 Add a Chart
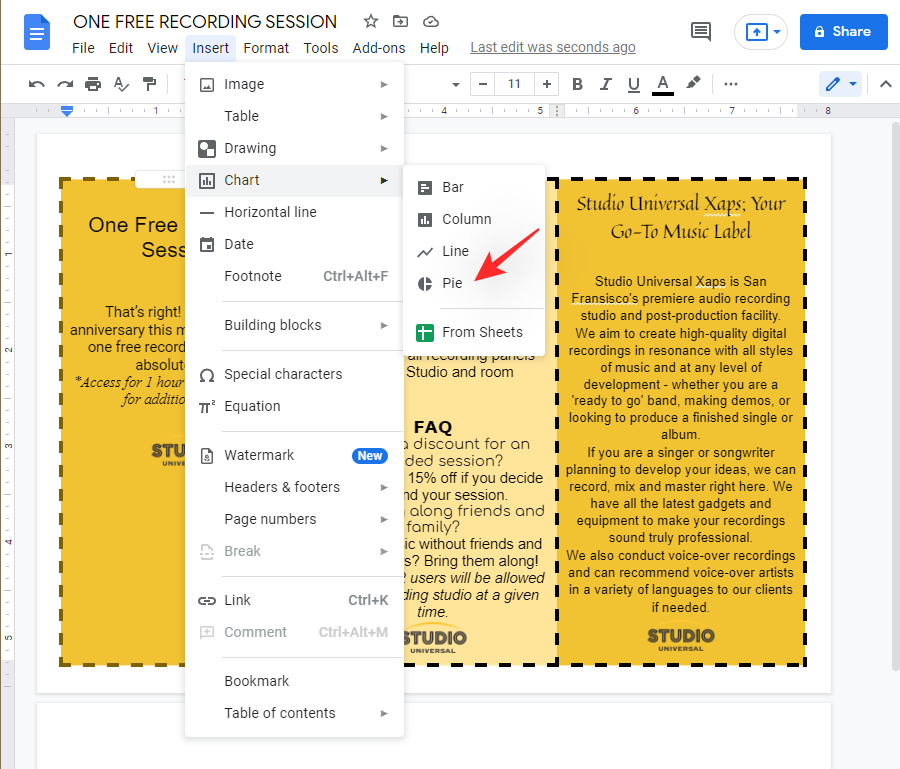
You can also add charts to your brochure. Place your cursor in the desired location and click on ‘Insert’ at the top.
Now click on ‘Chart’ and select the kind of chart you wish to add to your brochure. You can also add a chart from an excel spreadsheet stored in Google Sheets.
Once you choose your source, the graph will be automatically added to your brochure. Click and resize the graph using the corners to fit your brochure.
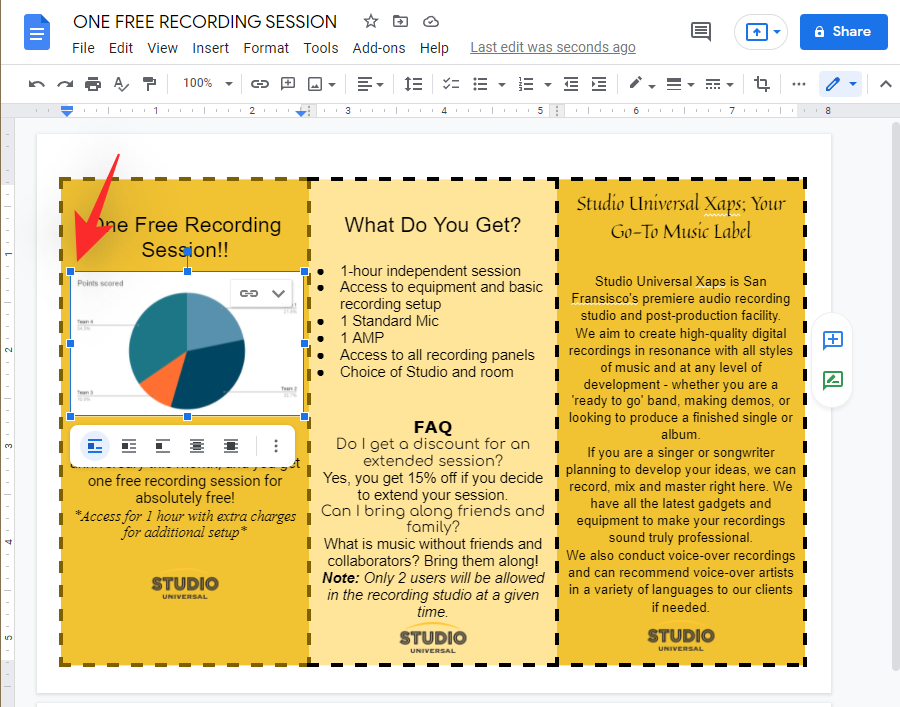
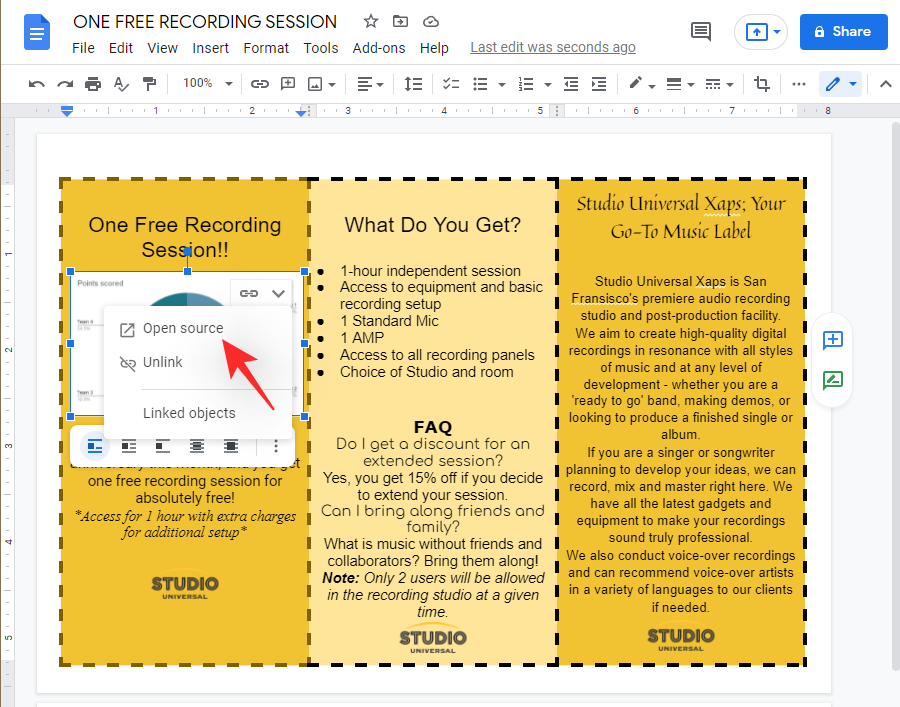
Now click on the drop-down arrow in the top right corner.
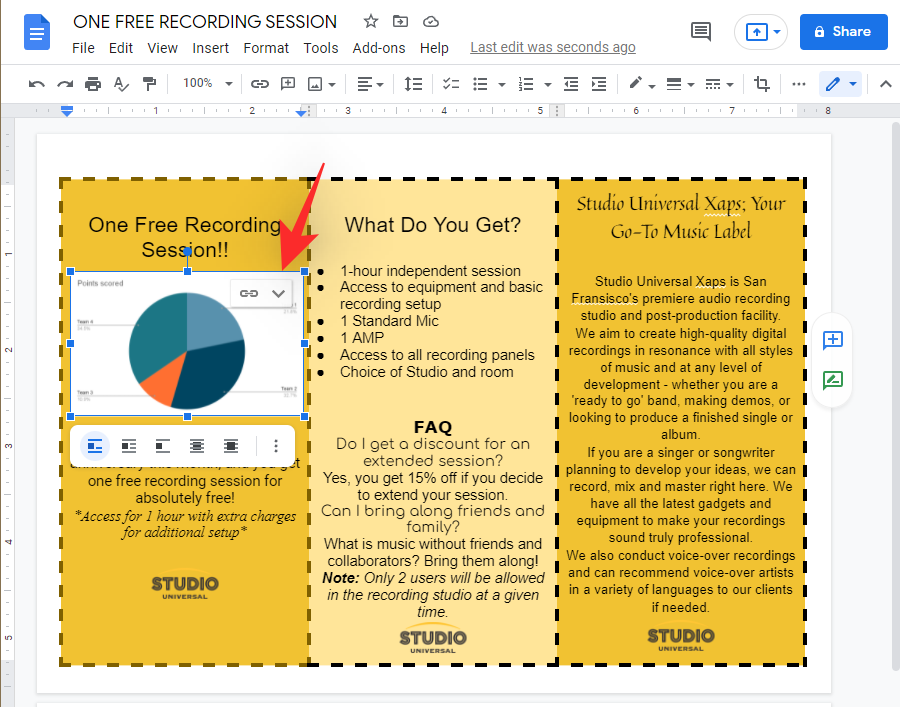
Select ‘Open source’.
You will now be taken to a spreadsheet. You can now enter your desired data and make changes to the graph as needed.
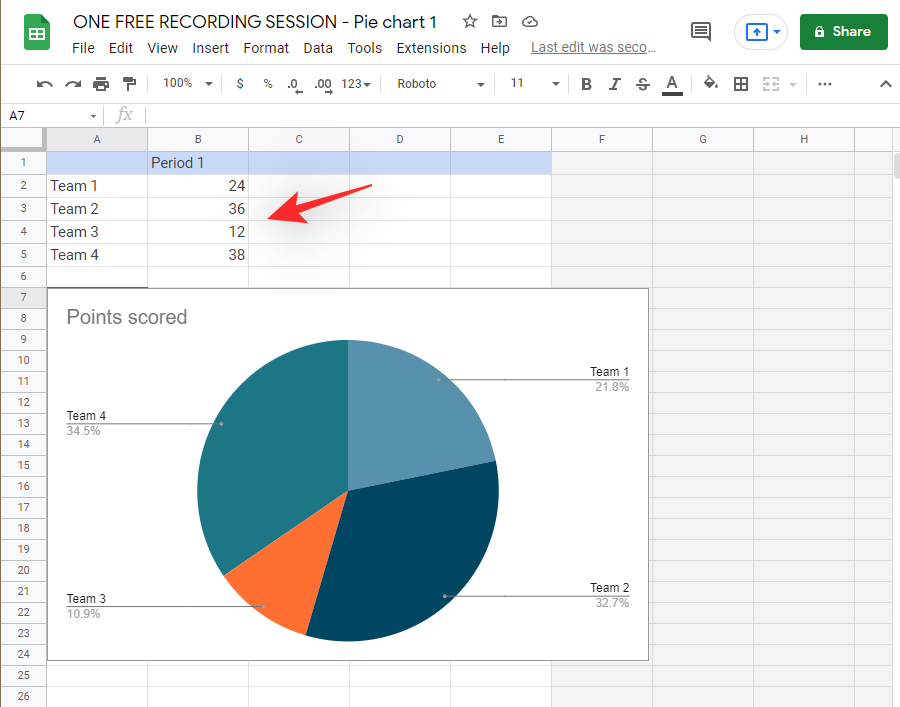
Changes will be reflected in real-time in the graph on your screen.
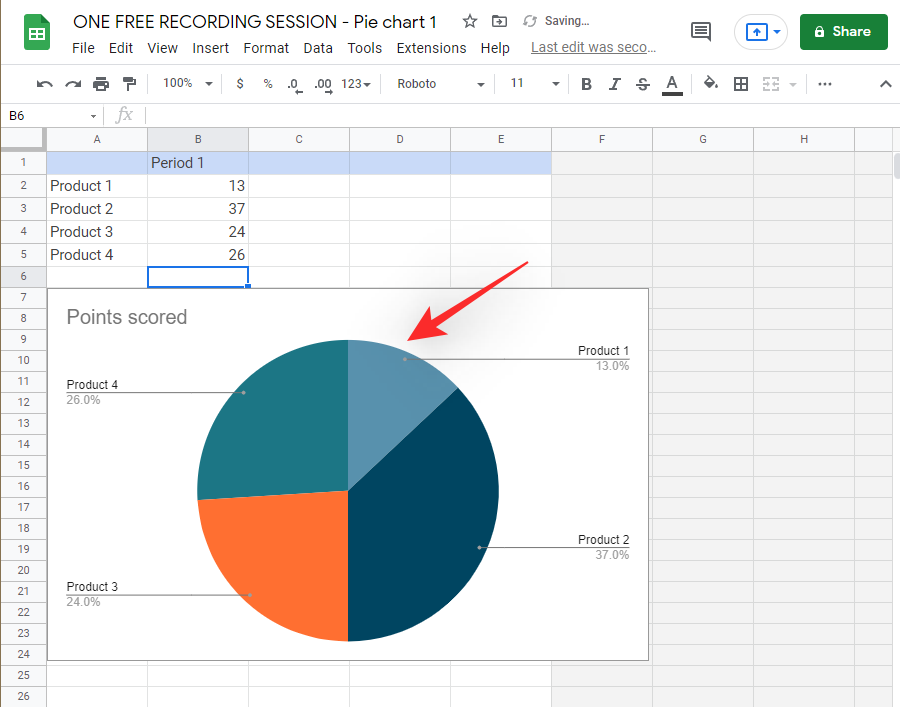
Once you have finalized your graph, switch back to Docs and click on ‘UPDATE’.
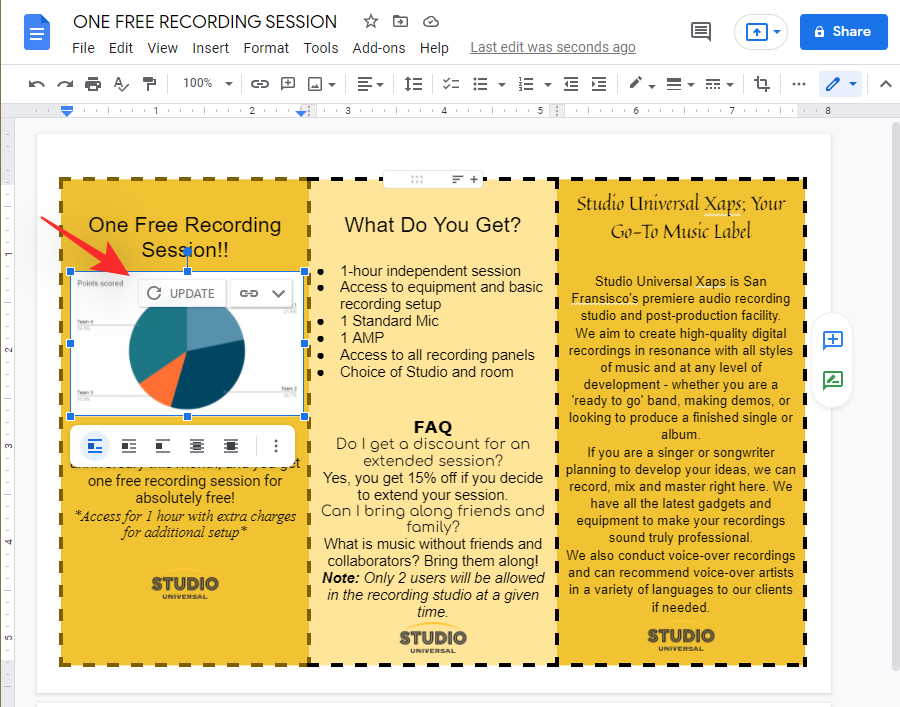
And that’s it! The graph will now be updated and you should now be able to view the updated graph in your brochure.
3.4 Add a separator
A separator can help you streamline and make your brochure more readable. It can also help you divide sections and text body based on your liking. To add a separator to your brochure, follow the steps below to get you started.
Click on ‘Insert’ at the top.
Now select ‘Horizontal line’.
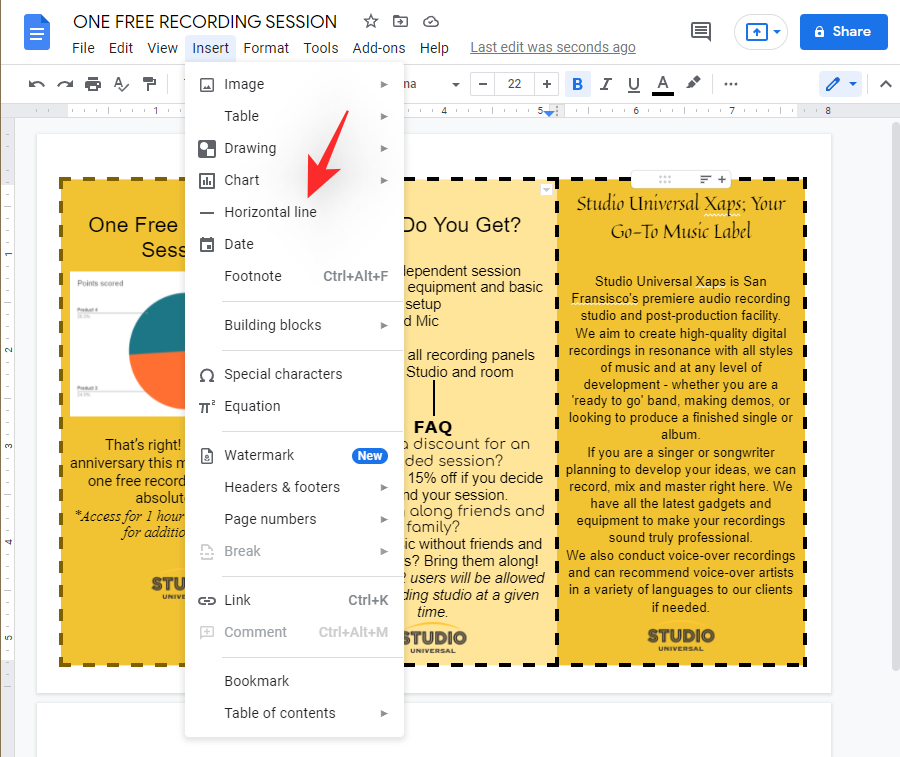
And that’s it!

You will now have a horizontal line separating sections of your brochure.
Step #04: Add Watermark (optional)
Watermarks in general help you prevent copyright infringement while keeping your rights safe. However, when creating a brochure in Google Docs, they can help you add a faded image to the background on your brochure. This can help you get more creative control over your brochure. Needless to say that the functionality will be slightly limited as Google Docs isn’t intended for such tasks. Follow the steps below to make the most of your watermark in Google Docs.
Click on ‘Insert’ in the toolbar at the top and then select ‘Watermark’.

Click on ‘Select Image’.
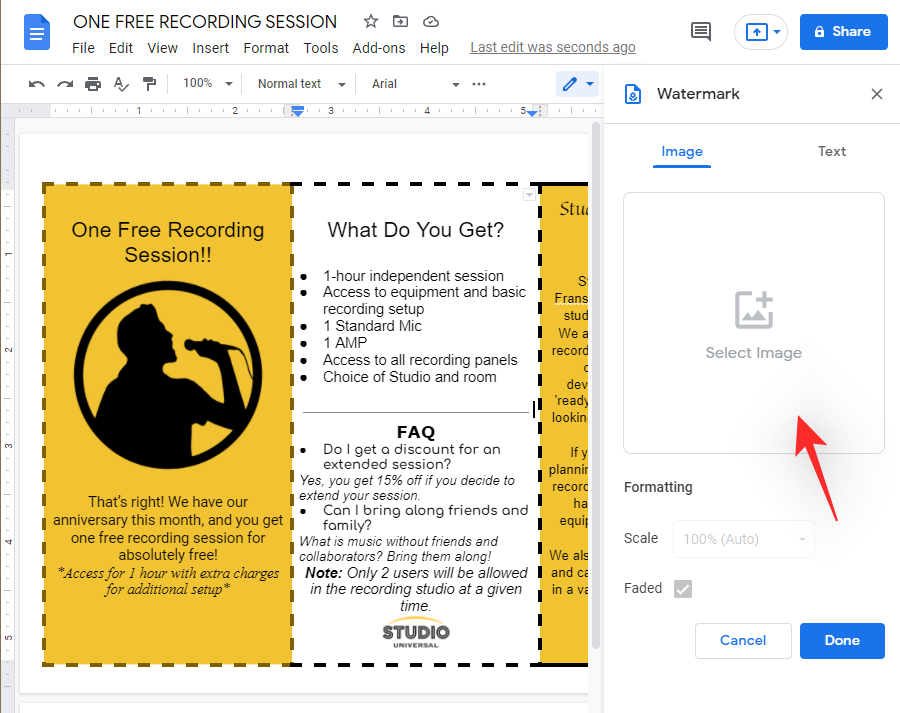
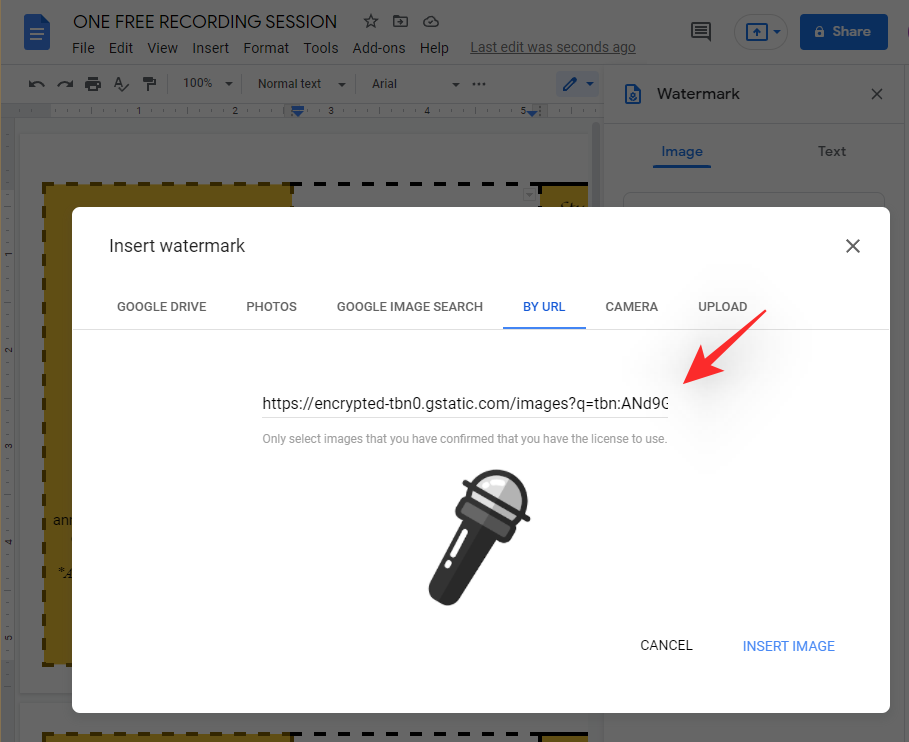
Now choose the desired source for your image by clicking on your choice at the top. We will be using a URL for this guide.
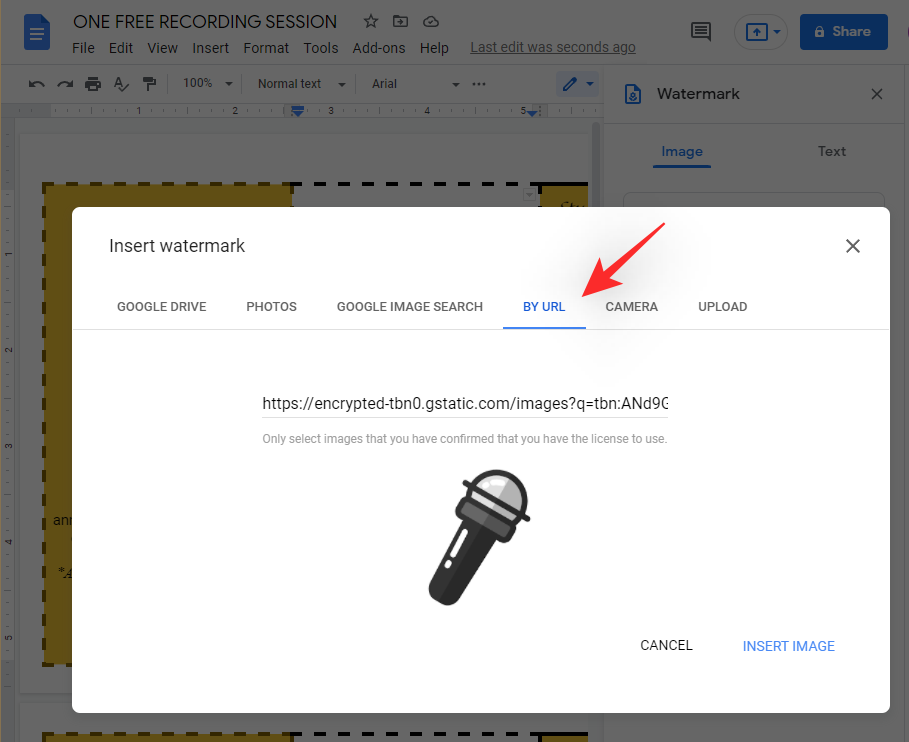
Paste the URL and you should have a preview of the image on your screen.
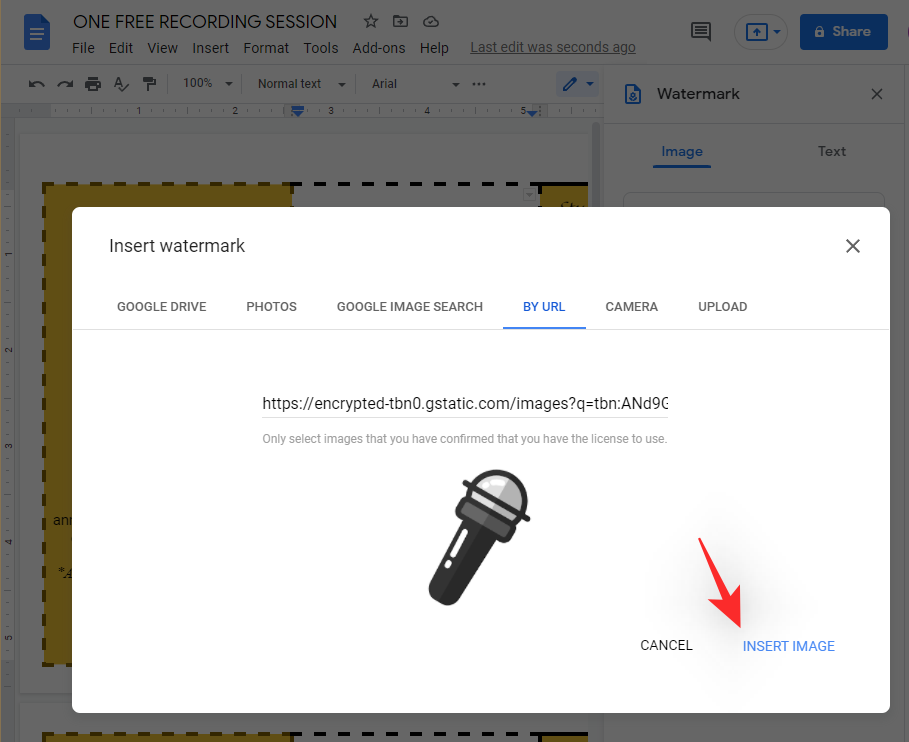
Click on ‘INSERT IMAGE’ in the bottom right corner once you are done.
A 100% scale doesn’t work for trifold brochures in Google Docs. We find the ‘50%’ scale to always give the best experience, even when printing. Click on the drop-down menu for the same and click on ‘50%’.
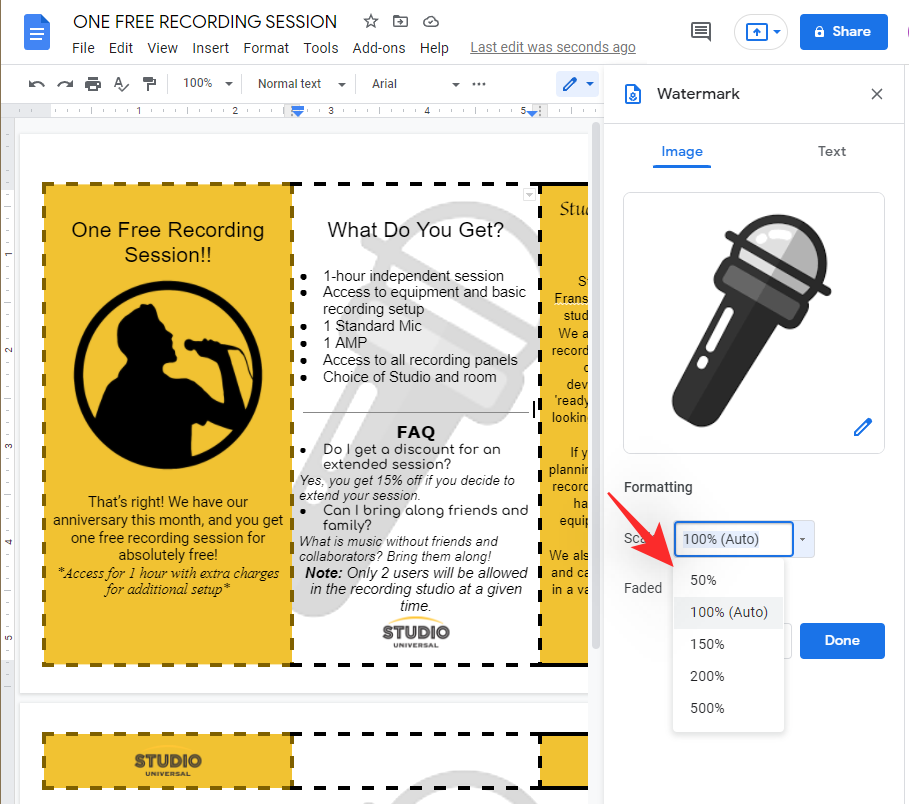
Note: We highly recommend using a high dpi image in case you wish to print this brochure without forwarding it to a design department.
Uncheck the box for ‘Faded’ if you don’t want transparency added to your image.

Click on ‘Done’ once you are done.
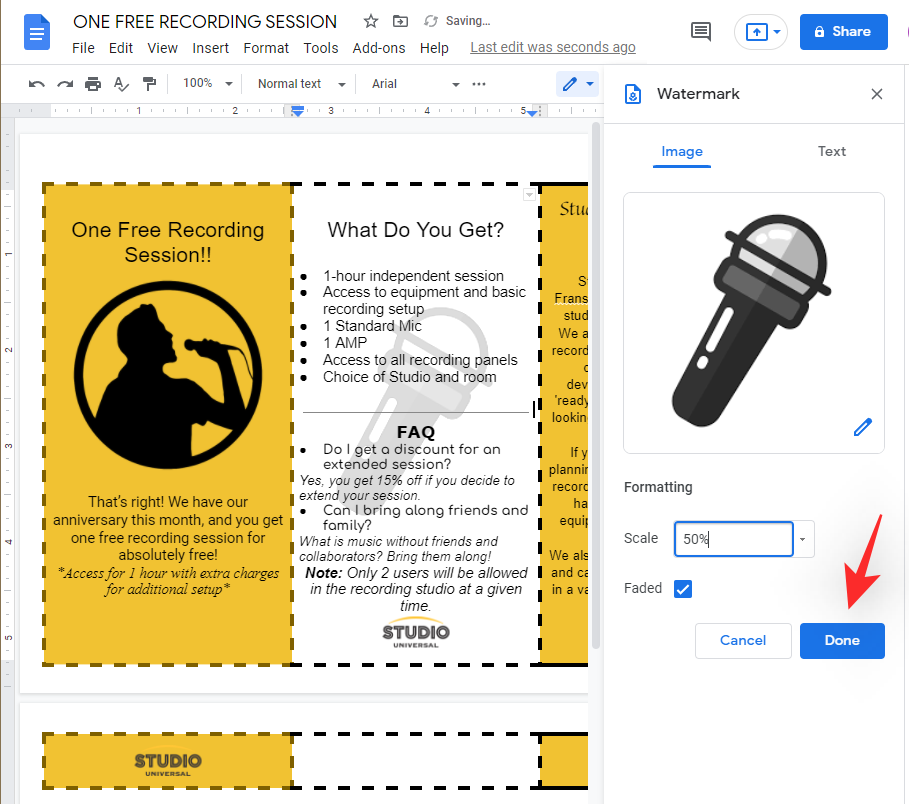
And that’s it! You will now have added a watermark to your brochure which in turn should appear as a faded background for your middle page.
Step #05: Perform final checks
By this point, we have covered most formatting and image tools at our disposal. We now recommend you go ahead and add all the text and images you wish to add to your brochure and format them according to your needs. Once you have your final vision at hand, we recommend you perform the checks below to ensure that everything is in order.
5.1 Check the text
Check your text for spelling errors, ensure that it does not overlap with images, and add paragraph breaks wherever possible. Ensure that your text follows a consistent alignment and ensure that your fonts show up as intended.
5.2 Check your formatting
We now recommend you check your formatting. You can end up missing a few things like the alignment and wrapping of your images, placement of your graphics. We also recommend you look for any negative spaces in your brochure and take care of them accordingly. You can add company looks, or an attractive CTA to cover up excessive negative spaces in your brochure.
5.3 Check page numbers
If you’re making a professional brochure or a B2B tool then we highly recommend including page numbers. You will have to improvise and place them manually on each page to get the perfect look as using the native feature will only add a number to your entire page. You can use the subscript option by going to Format > Text > Subscript. This will allow you to add page numbers easily even in cramped spaces.
5.4 Graphic layout
We now recommend you check your layout and ensure that your page layout matches the printer and paper at hand. Check your margins and ensure that you have everything centered as intended. Additionally, we recommend you ensure that you do not have any page breaks in your brochure. This will mess up your printer and make the printer skip the selected page entirely.
Step #06: Print
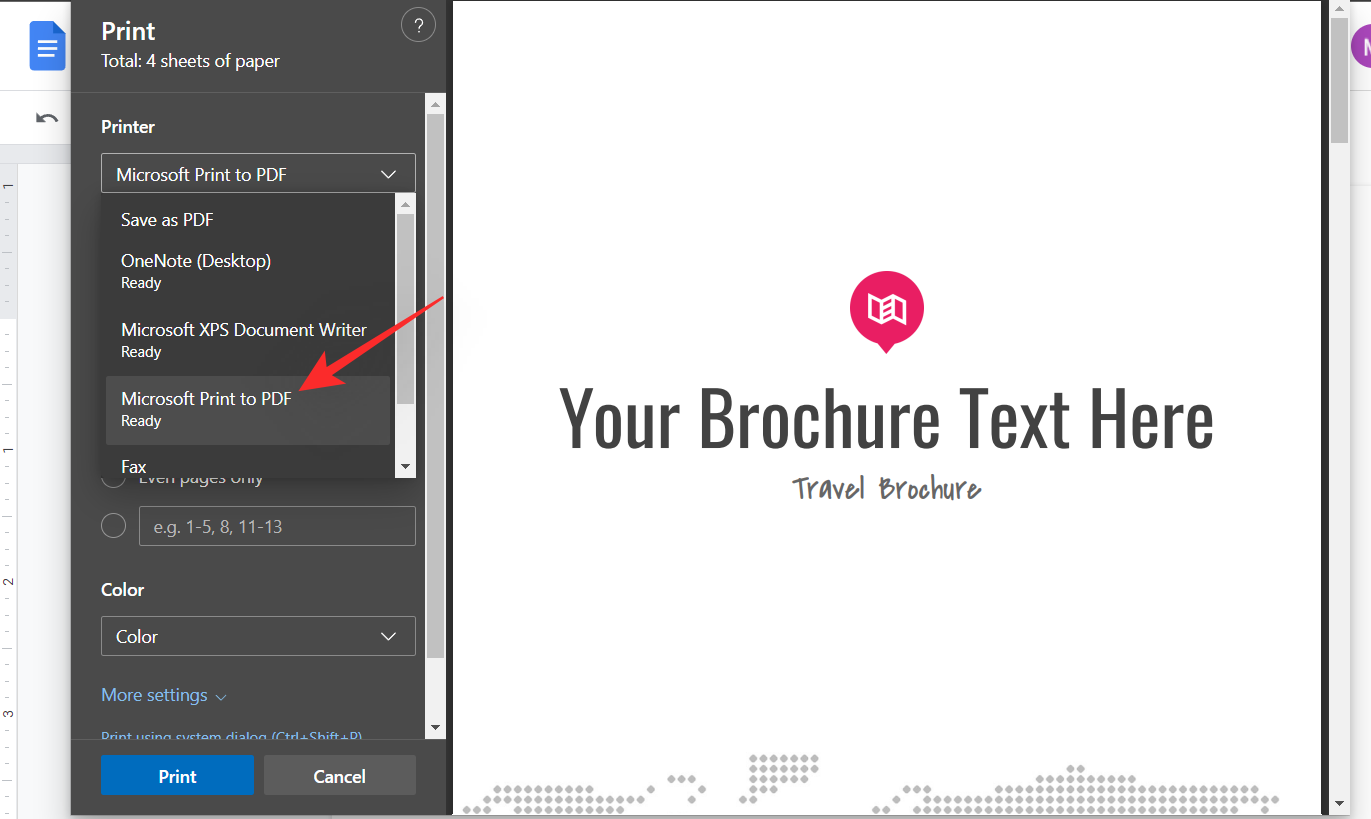
We can now print your brochure. Press Ctrl + P on your keyboard to open the Print window. Click on the drop-down menu on your left and select the desired printer.
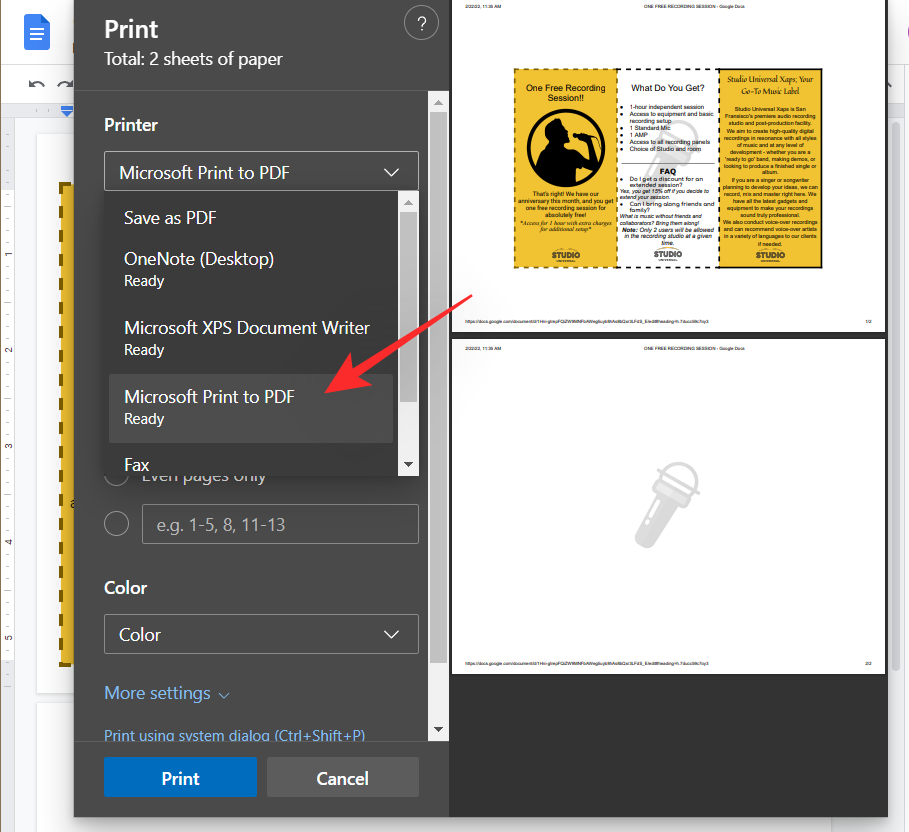
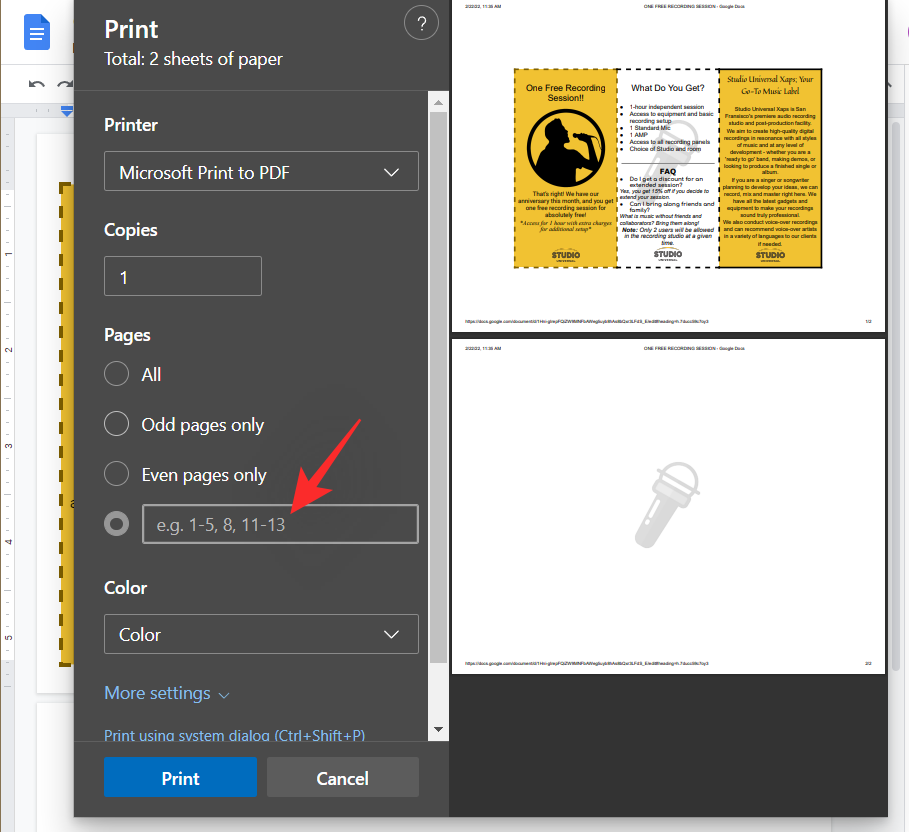
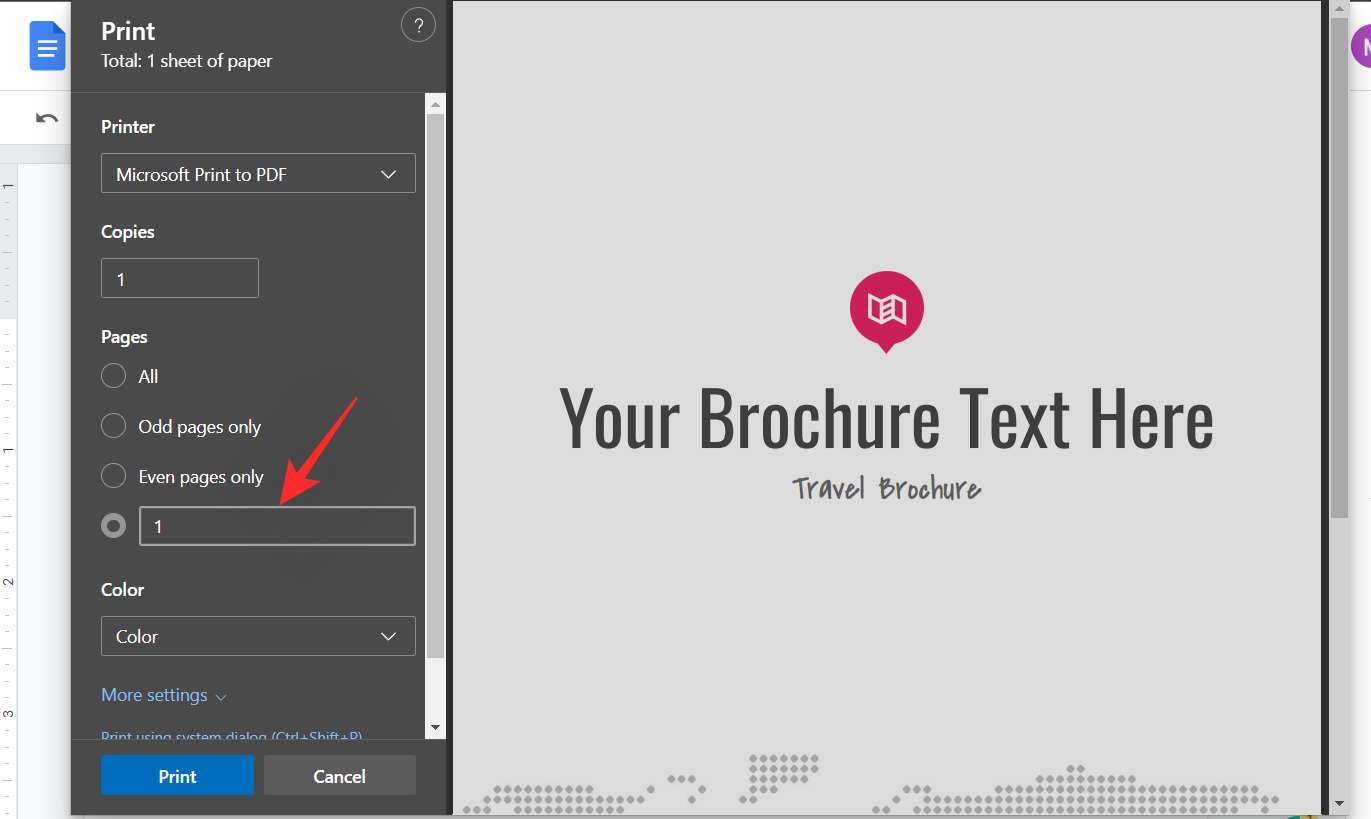
Define the page you wish to print. As I have a messed-up document with a lot of rough elements, I will be defining the page number for the final brochure I wish to print.
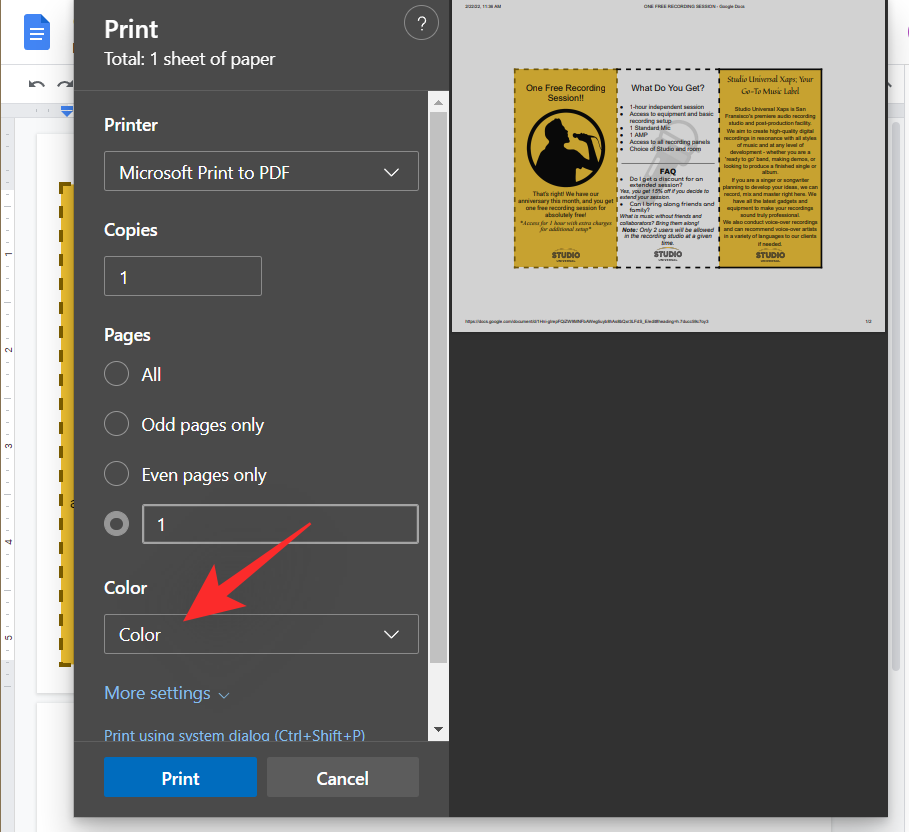
Click and select your print color from the next drop-down menu.
Click on ‘More Settings’.
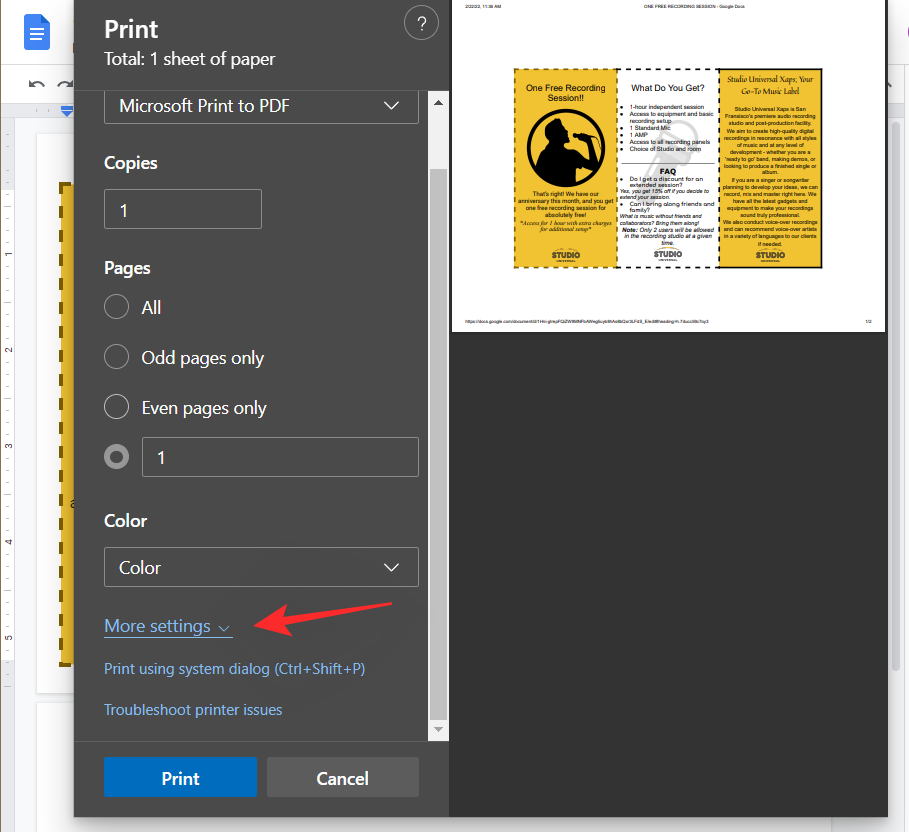
Now select your ‘Paper Size’. This can help you print your brochure on different paper sizes and materials. You can use this to your advantage to print your brochure to larger and thicker landscape-sized papers for a better brochure.

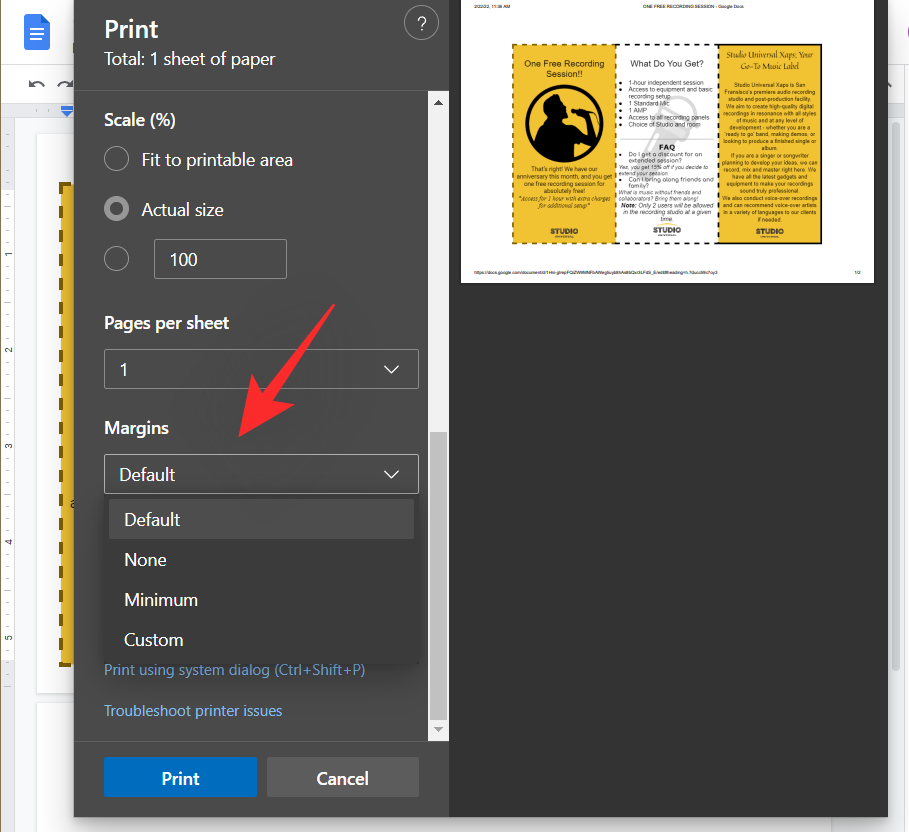
Click on the next drop-down menu and select ‘None’ for margins if you wish to print the biggest possible brochure. You can also define your margins by selecting ‘Custom’.
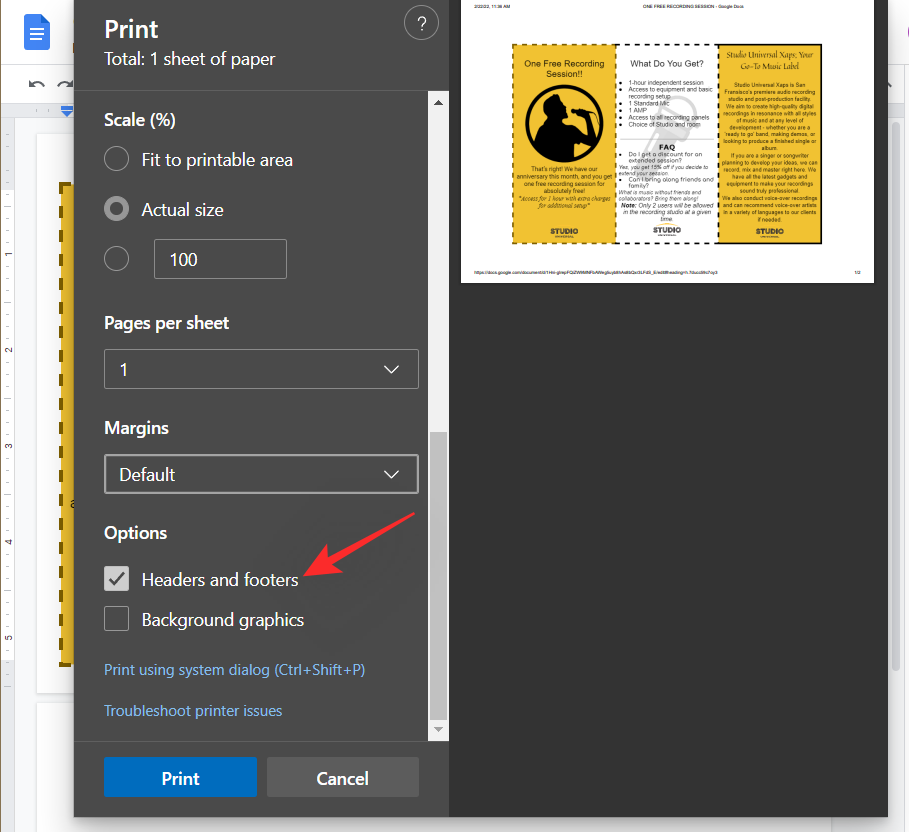
We now recommend you uncheck the box for ‘Headers and Footers’. You can choose to print them if they are a part of your final brochure.
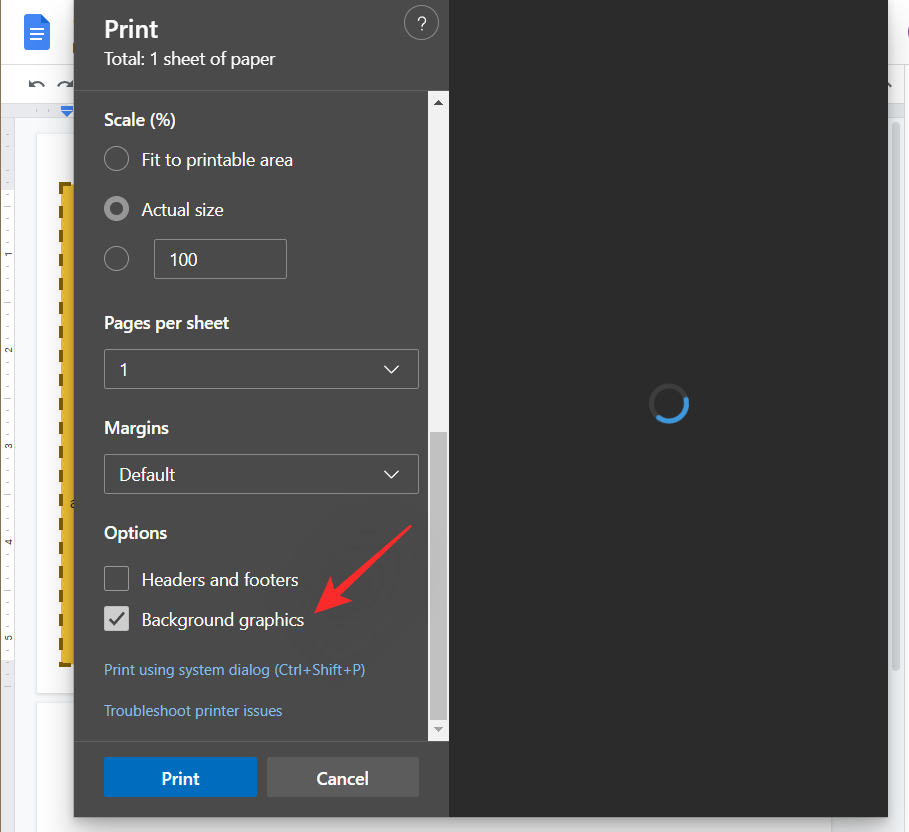
Check the box for ‘Background graphics’.
Now click on ‘Print’.
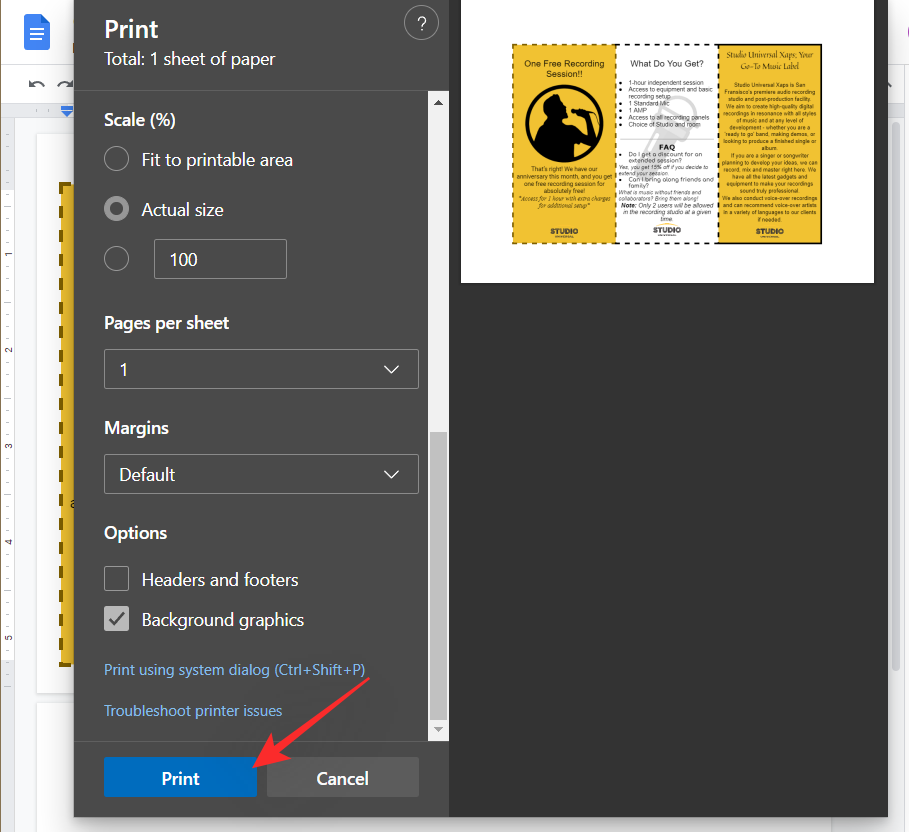
And that’s it! You will now have printed a trifold brochure using Google Docs! If you wish to add a second page, use the trick at the top and print a second page on the back of your brochure.
How to create a portrait or landscape two-page brochure
Two-page brochures are much simpler to create in Google Docs as the service even offers you a pre-made template to help you along with the process. Not only this, you can download third-party templates as well for Google Docs and use them easily without having to worry about incompatibility issues. Follow the steps below to help you easily create a two-page brochure on your PC or Mac.
Step #01: Select and use a template
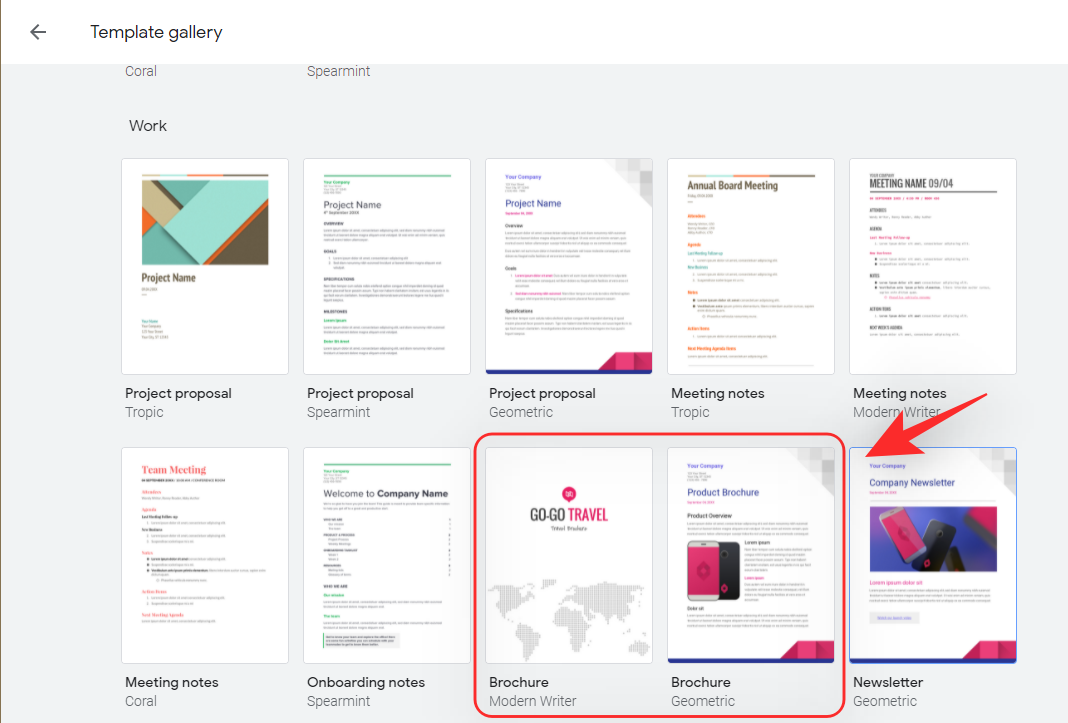
Let’s first select the Google Docs template. Open Google Docs in your preferred desktop browser and click on ‘Template gallery’ at the top.

Scroll down to the ‘Work’ section and you should have two templates for ‘Brochure’. Click and select the one you wish to use.
The template will now be open on your screen. You can now use the next section to tune in your page sizes.
Third-party Brochure templates:
If the default templates seem too bland then here are some third-party brochure templates that should help you spice things up. You can replace and change colors, remove or add images and replace the text with your own for a more formal or casual look depending on your needs. Use the links below to find the best brochure templates depending on your current project.
- Brochure trifold
- Brochure US
- Newsletter_US_letter
- Rent Car Brochure A4
- Brochure_US_letter
- Clever Travel Brochure Template
- Interactive Education Brochure Template
- Music School Programs Brochure Template
- Buying a Home Brochure Template
- Fashion lookbook brochure Template
- Trifold Brochure Church Template
- Pastel Furniture Brochure Template
- Modern Fashion Brochure Template
- Photographer Brochure Template
- Innovate Brochure Template
- Shop Brochure Template
Step #02: Tune in your page sizes
Let’s create a page setup based on the printer currently available to you as well as the sheet size you plan on using. Follow the steps below to help you along with the process.
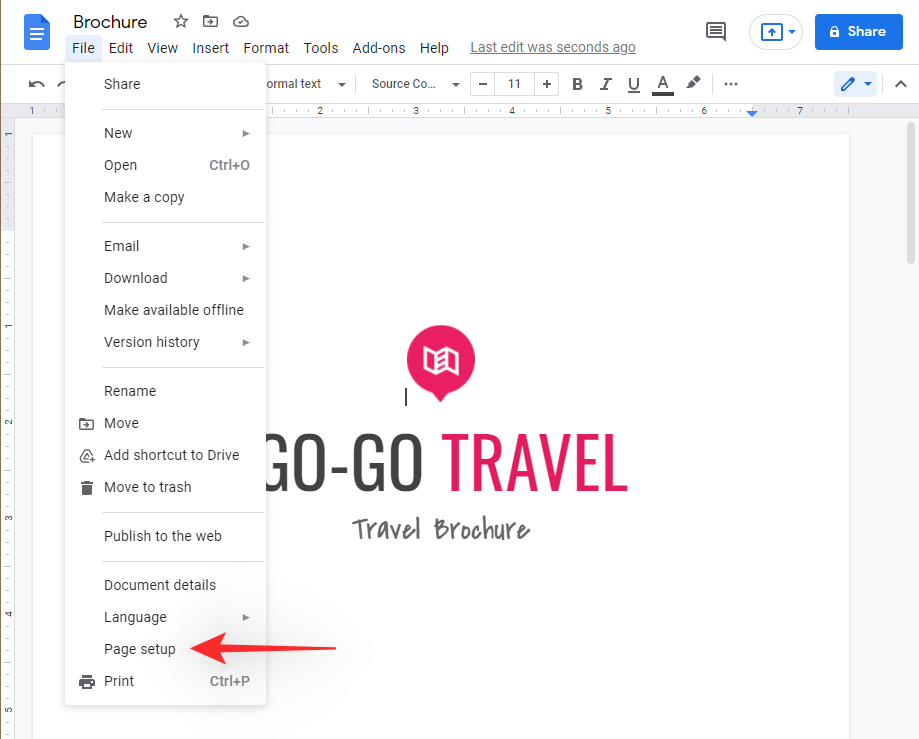
Open the template you selected above and then click on ‘File’ in the top right corner.

Click on ‘Page setup’.
Select your orientation by clicking on the same.
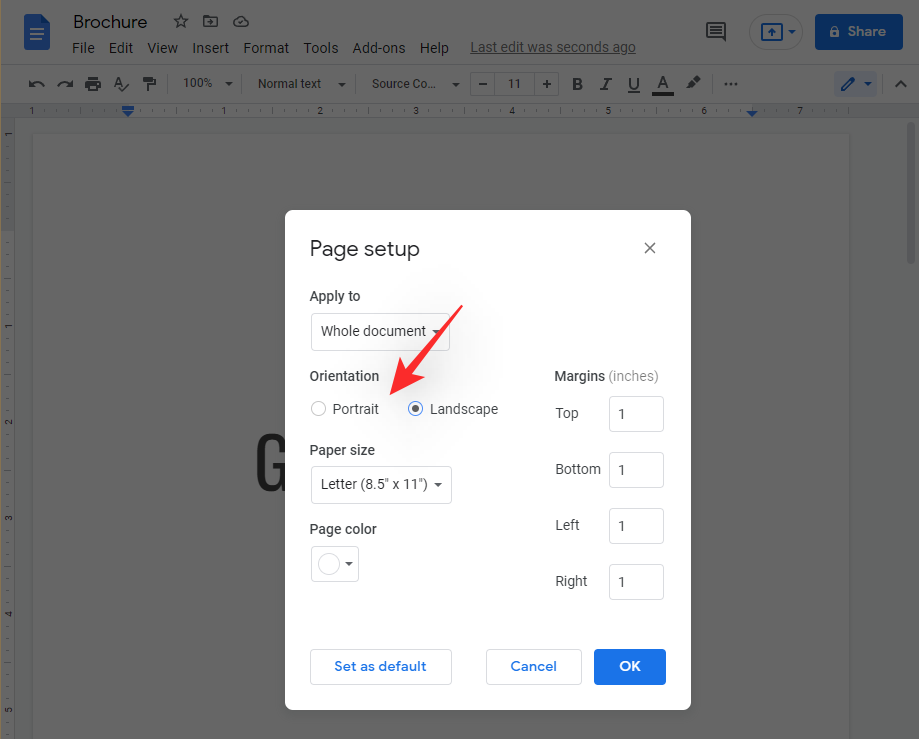
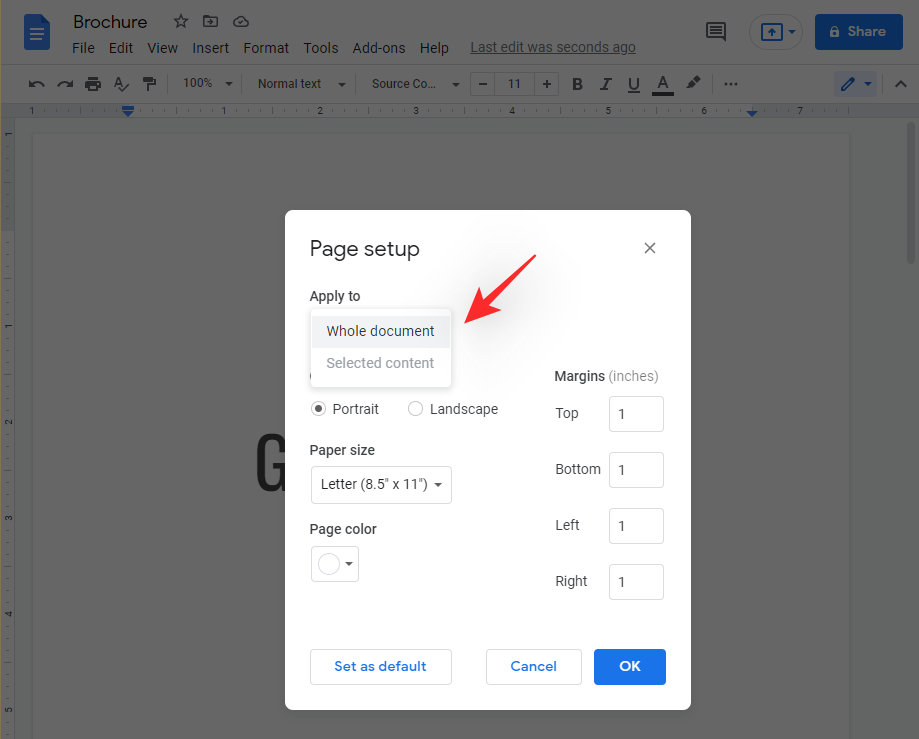
If you wish to apply changes only to the selected page of the document then you can change the same by using the drop-down menu at the top.
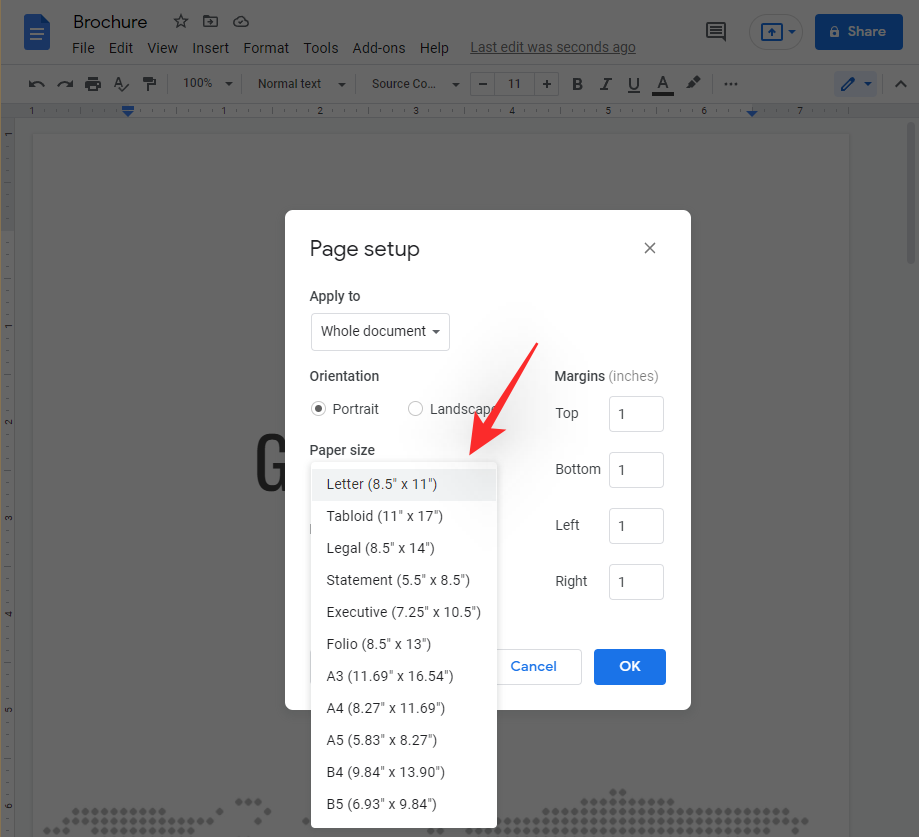
Select your paper size from the next drop-down menu.
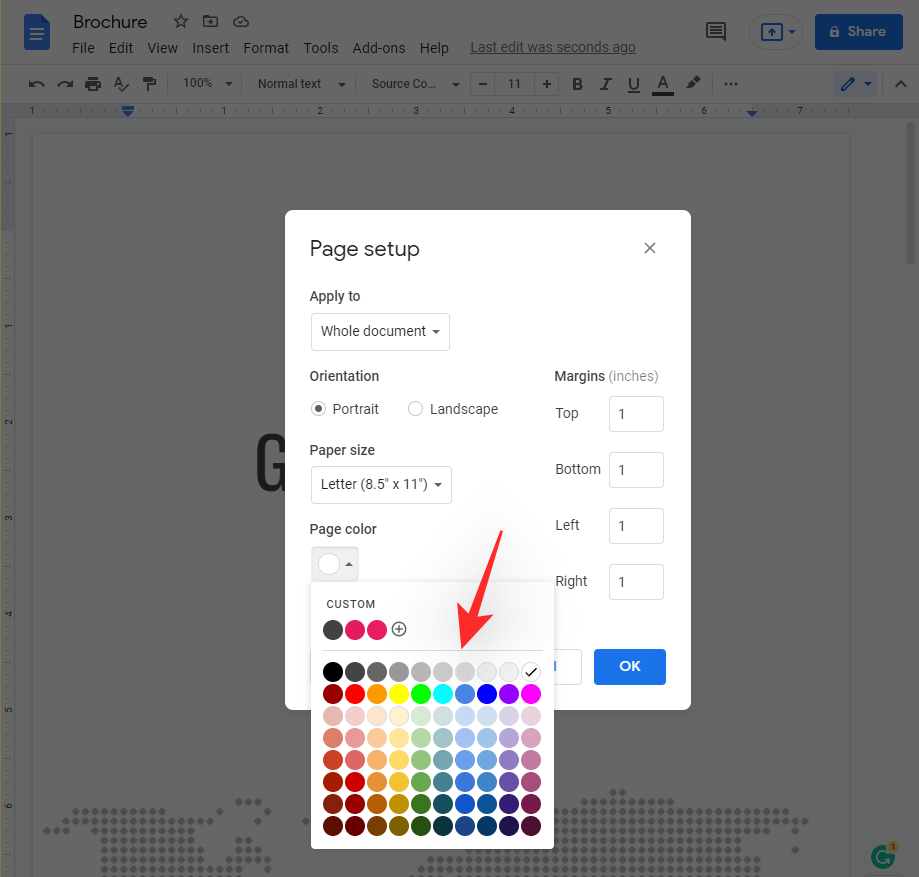
Now choose a page color if you wish to use a custom page color. You can add colors to your brochure later as well, however, this option is recommended if you wish to use a single color throughout your brochure.
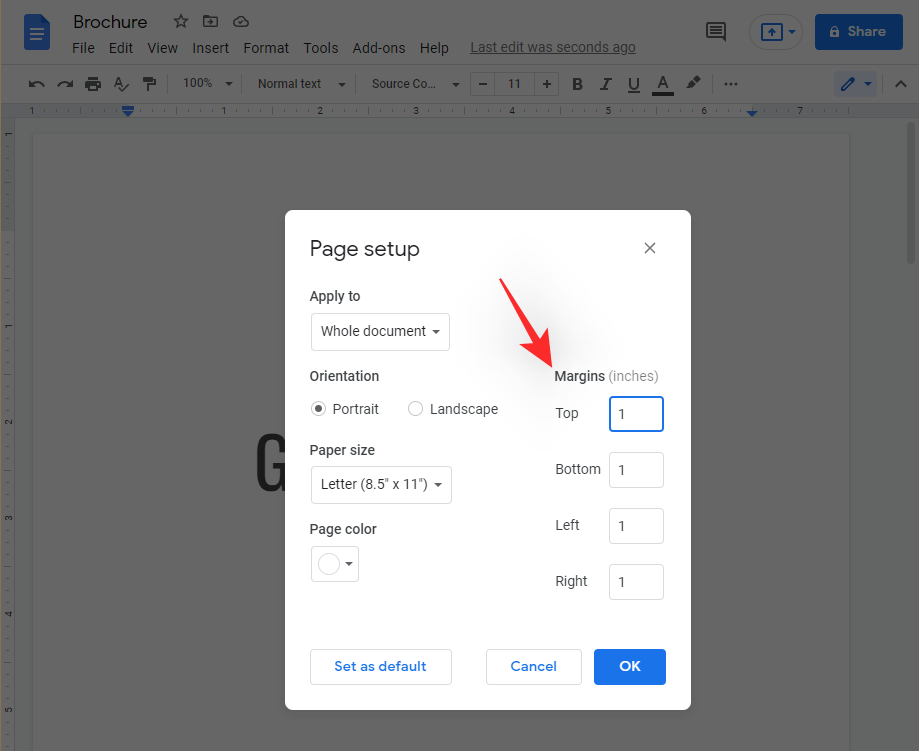
Enter the respective margins you wish to use for your document. If you plan to fold your brochure then we recommend using the lowest margins to obtain the maximum real estate on your paper.
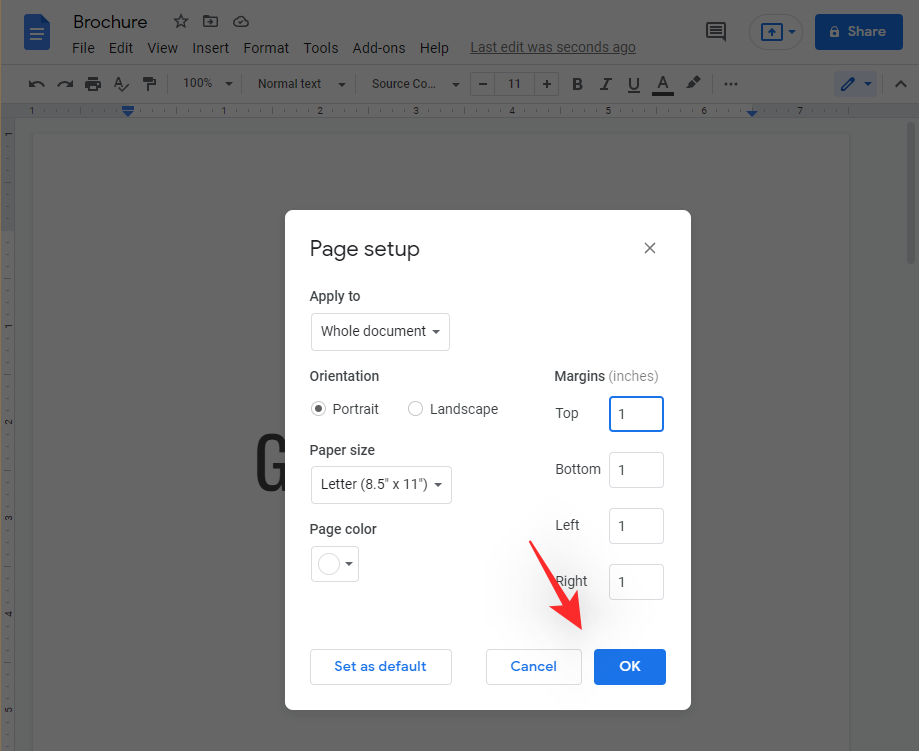
Click on ‘OK’ once you are done.
The changes should now be automatically applied to your document. We can now customize the brochure template according to your needs. Click and replace the elements in the template with your brochure’s text, title, and more.
And that’s it! Once you have replaced all the content, you can use the next section to format the brochure according to your liking.
Step #03: Format your brochure
We have covered in length all the basic options offered by Docs to edit your brochures above. You can use this link to refer to the same. You can change your text color, add highlights, images, watermarks, and even dedicated third-party add-ons. These tools should help you create the perfect brochure based on your needs.
Step #04: Print
We will now print your brochure. Follow the steps below to help you along with the process.
Hit Ctrl + P on your keyboard to print the current document.
Note: We recommend you check your document for any unnecessary pages or misaligned elements at this point. If you only wish to print certain pages from your document, we recommend you remember their page numbers.
Click on the drop-down menu at the top and select the printer you wish to use.
 Click and enter the number of copies you wish to print for the current brochure.
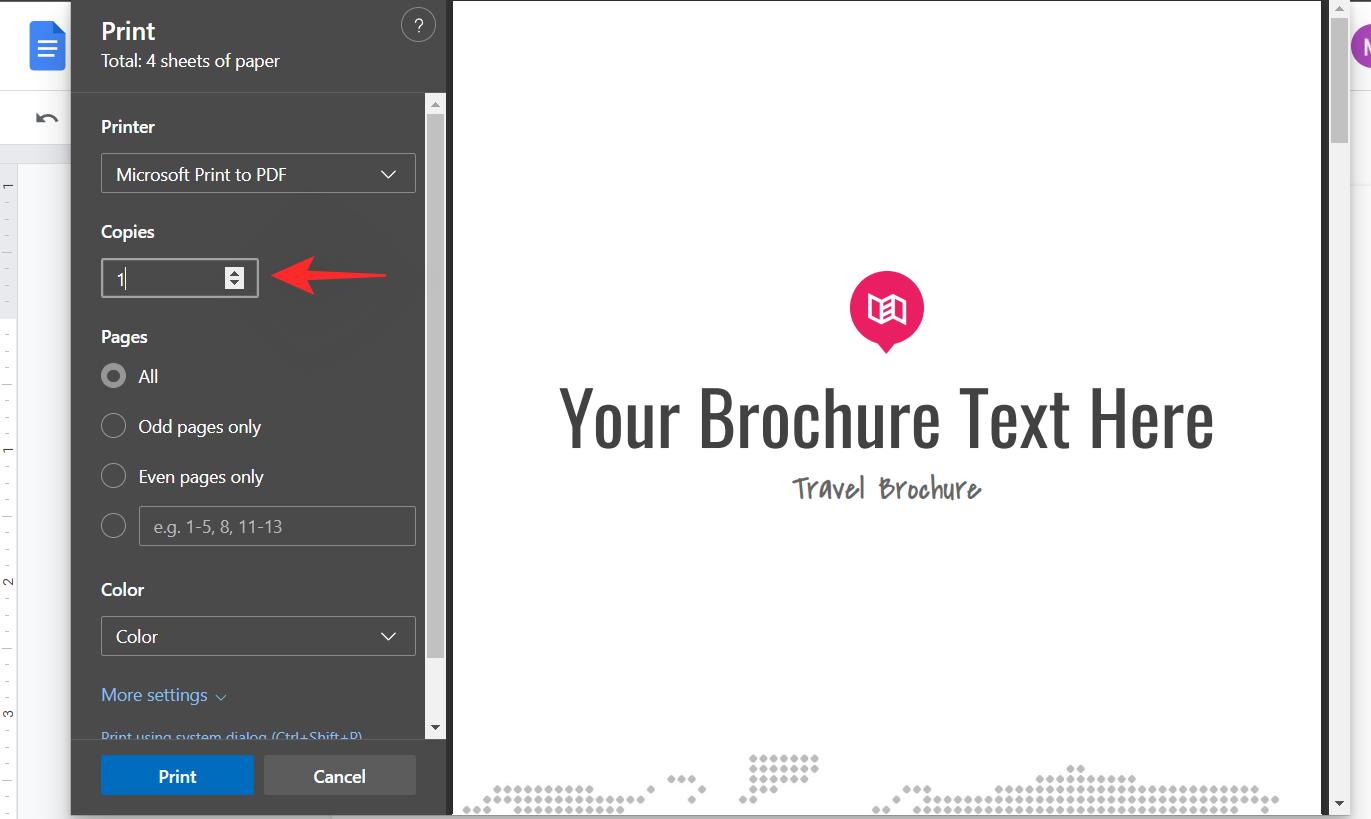
Note: We recommend printing multiple copies after printing a test copy to avoid wasting paper.
Select ‘All’ if you wish to print all the pages from the current document. If you wish to print only particular pages, click on the last option and enter the respective page numbers.
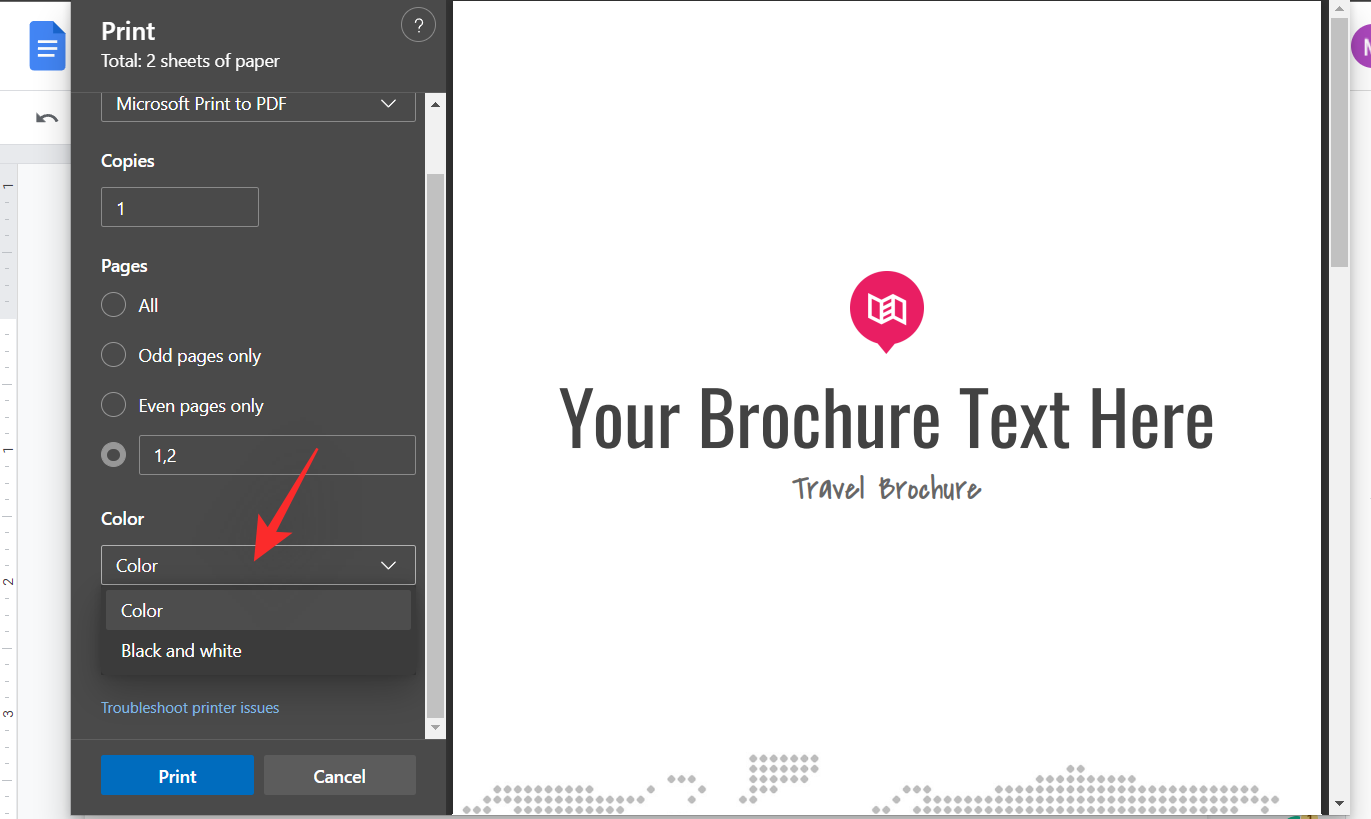
Select if you wish to print in Color or Black and White from the next drop-down menu.
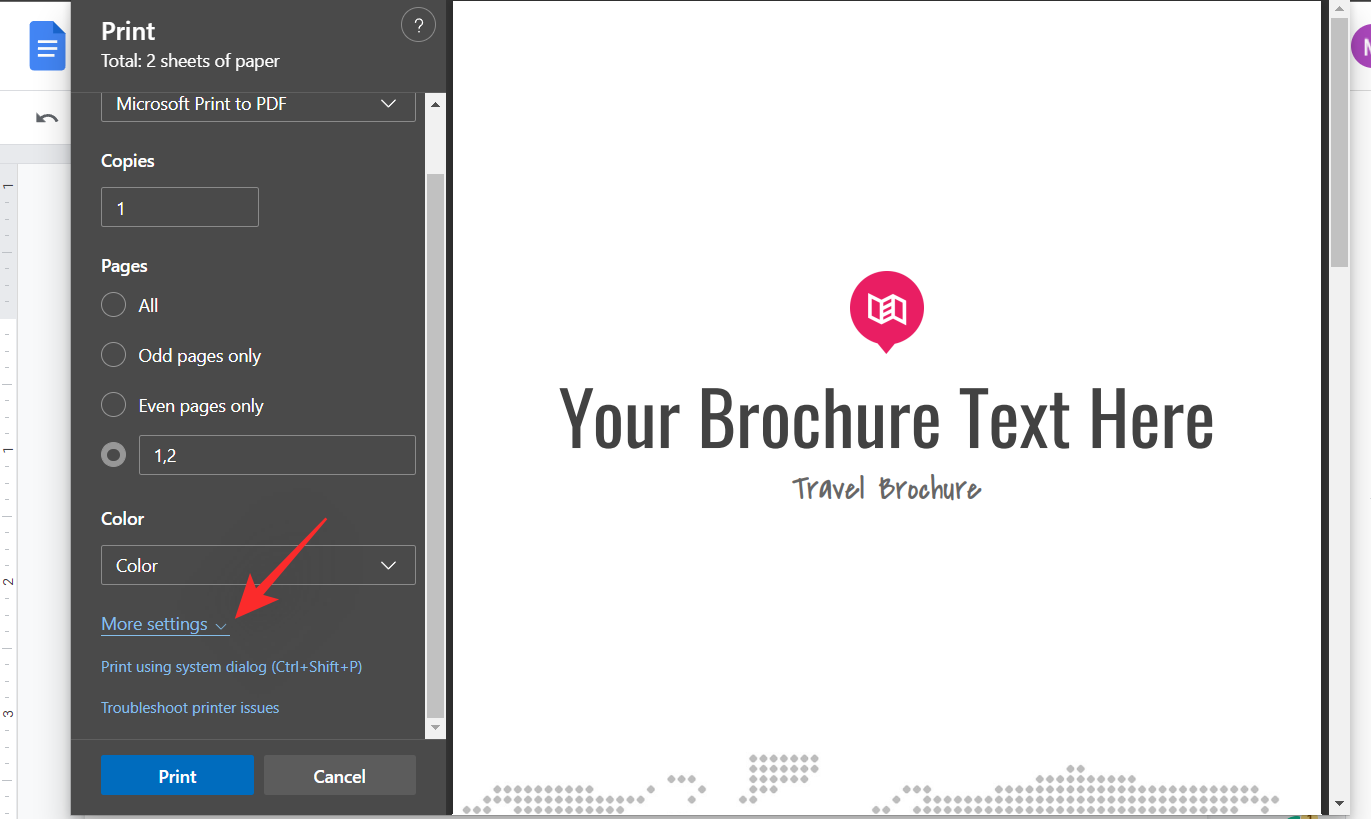
Click on ‘More settings’ next.
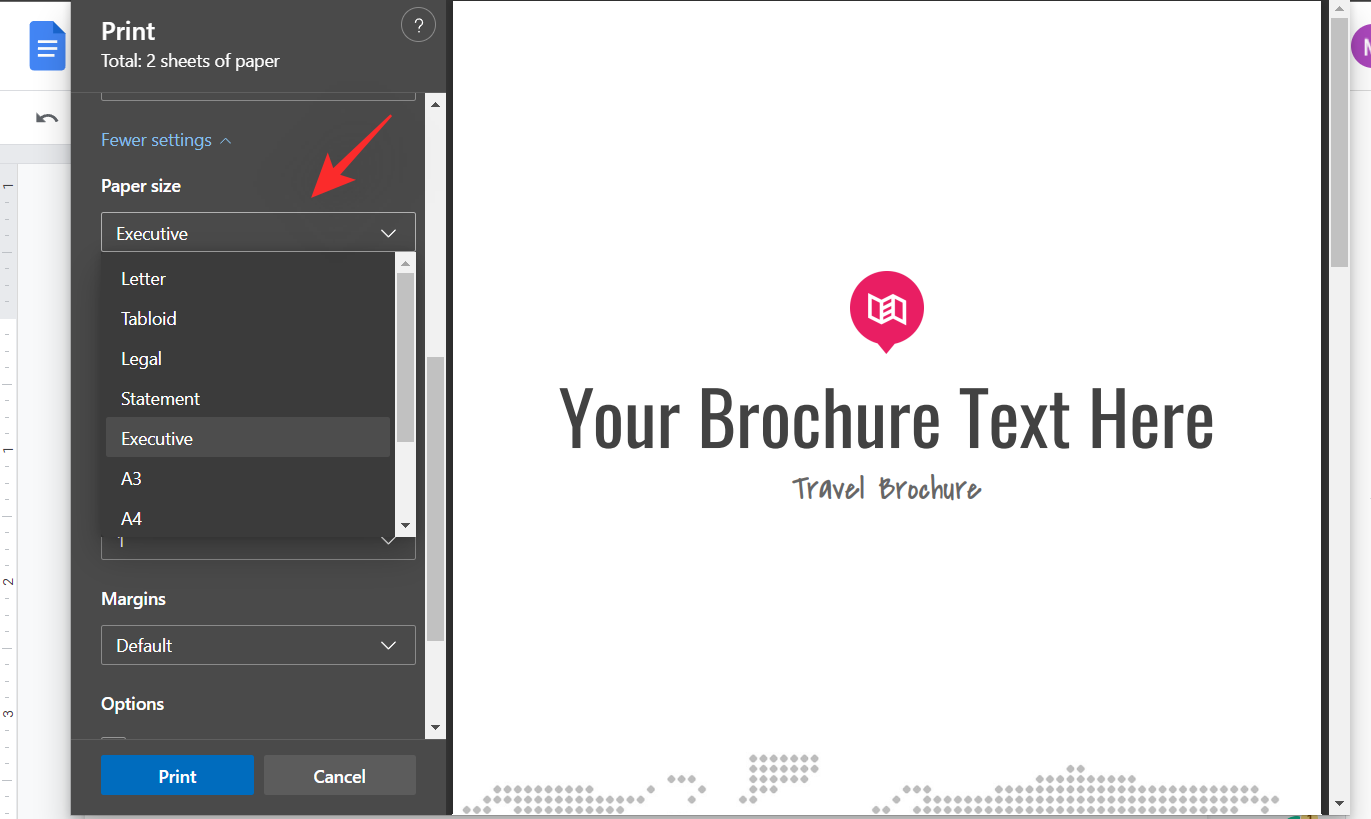
Select the size of the paper you wish to print on from the next drop-down menu.
Ensure ‘Actual size’ has been selected for ‘Scale’.
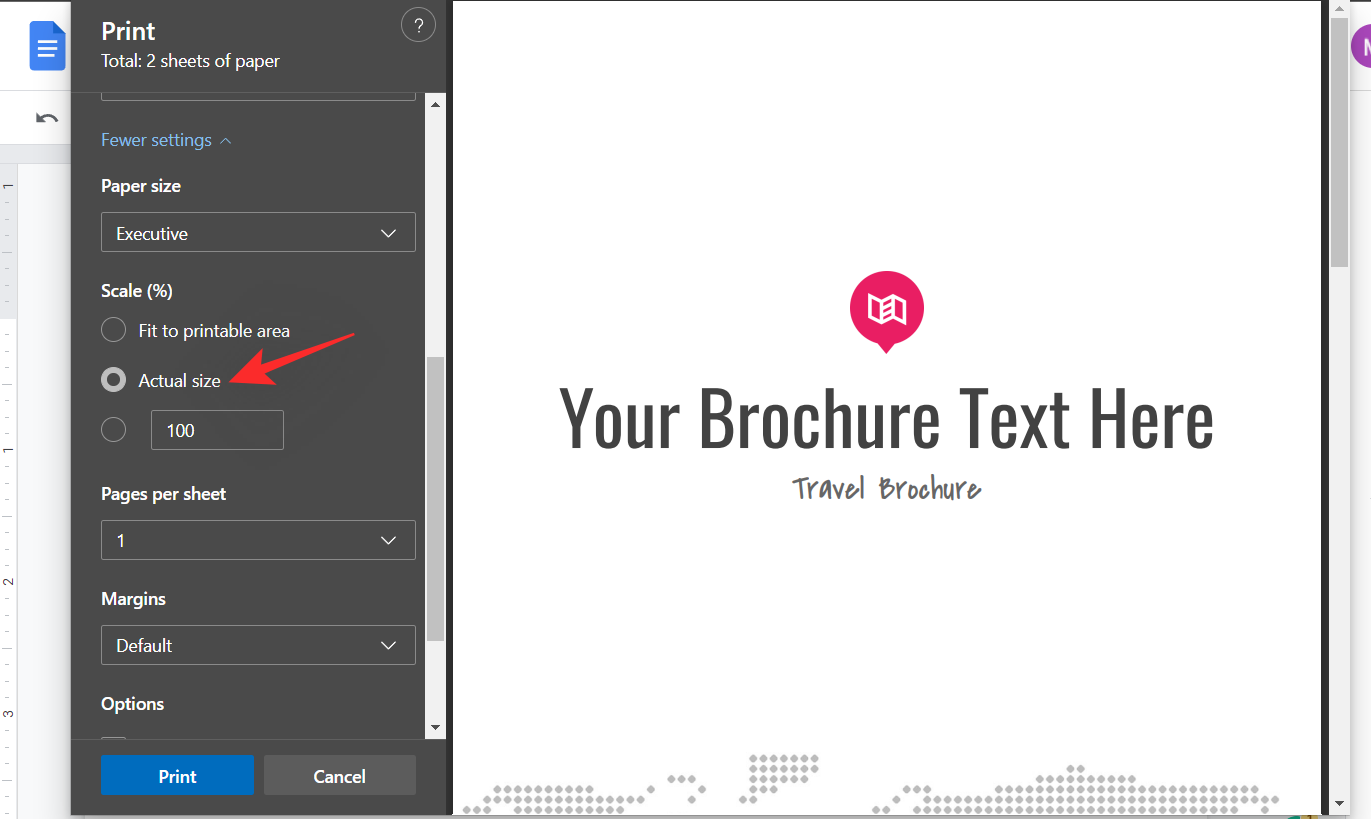
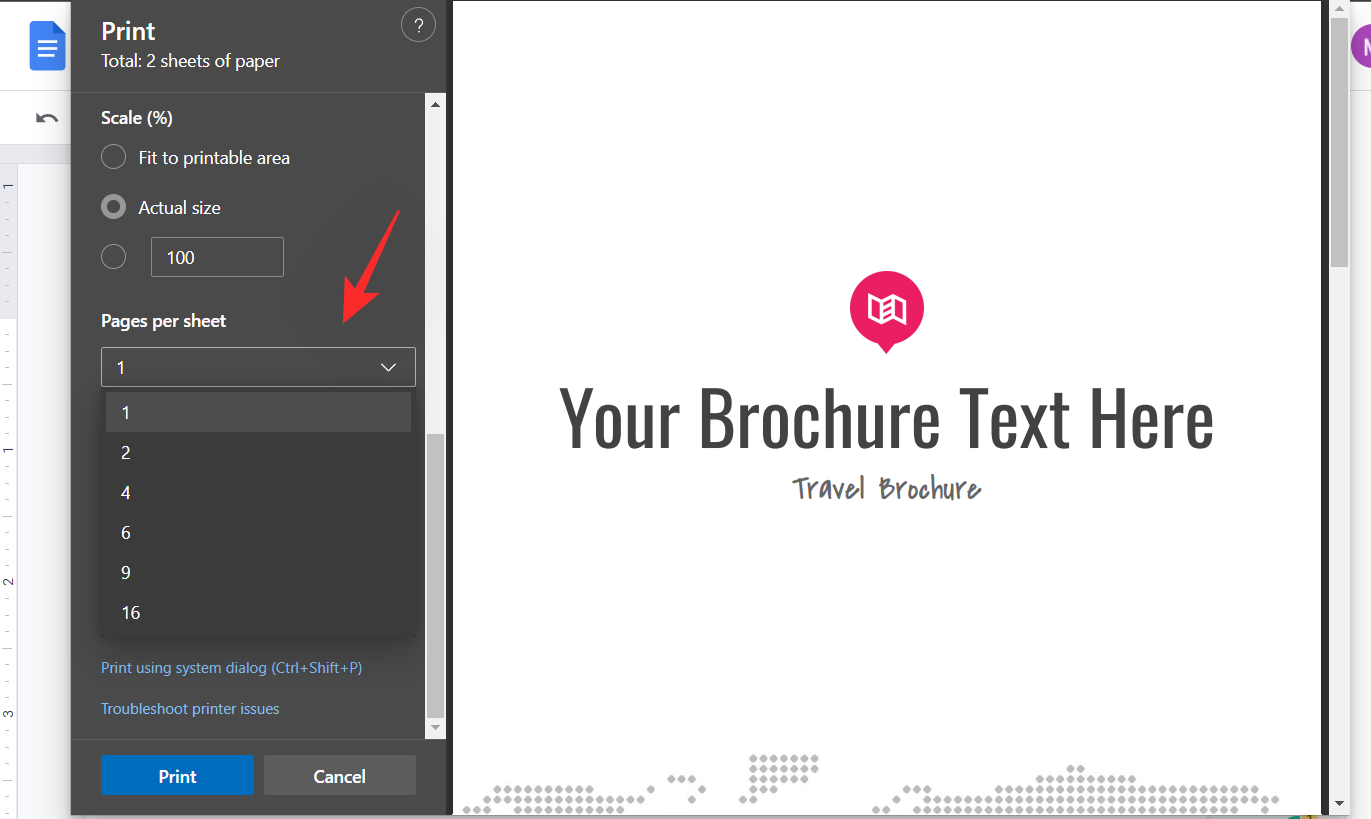
Select the number of pages you wish to print for ‘Pages per sheet’.
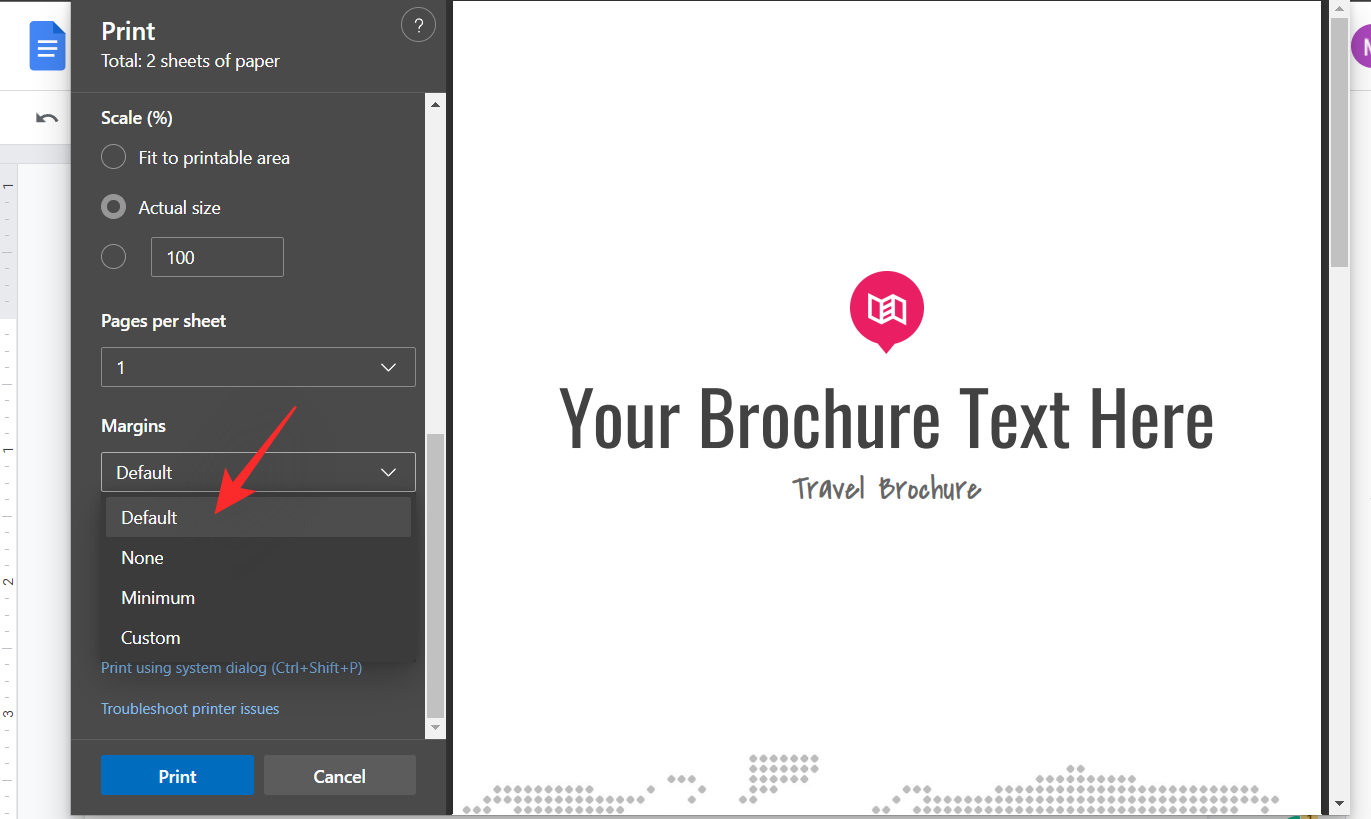
Click on the drop-down menu for ‘Margins’ and ensure ‘Default’ has been selected.
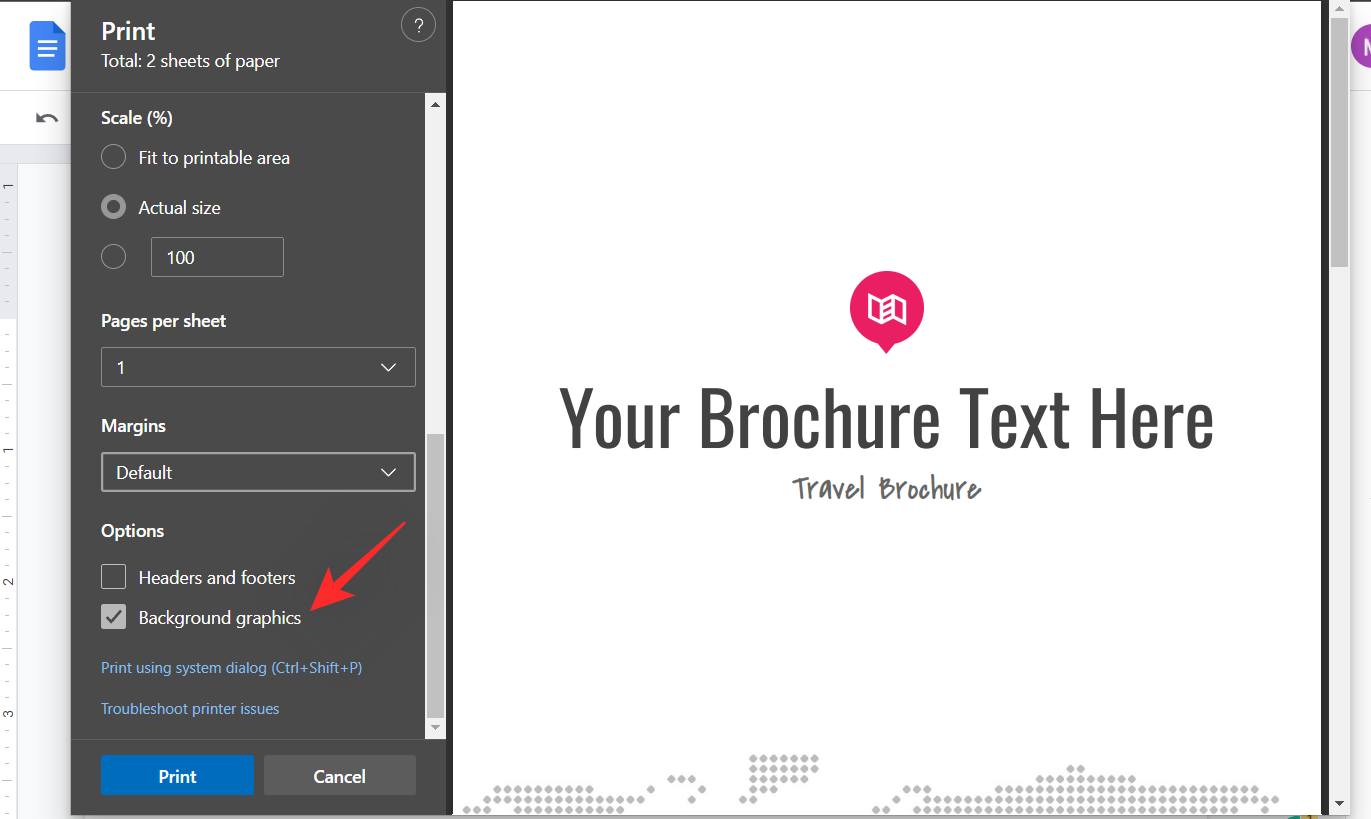
Check the box for ‘Background graphics’.
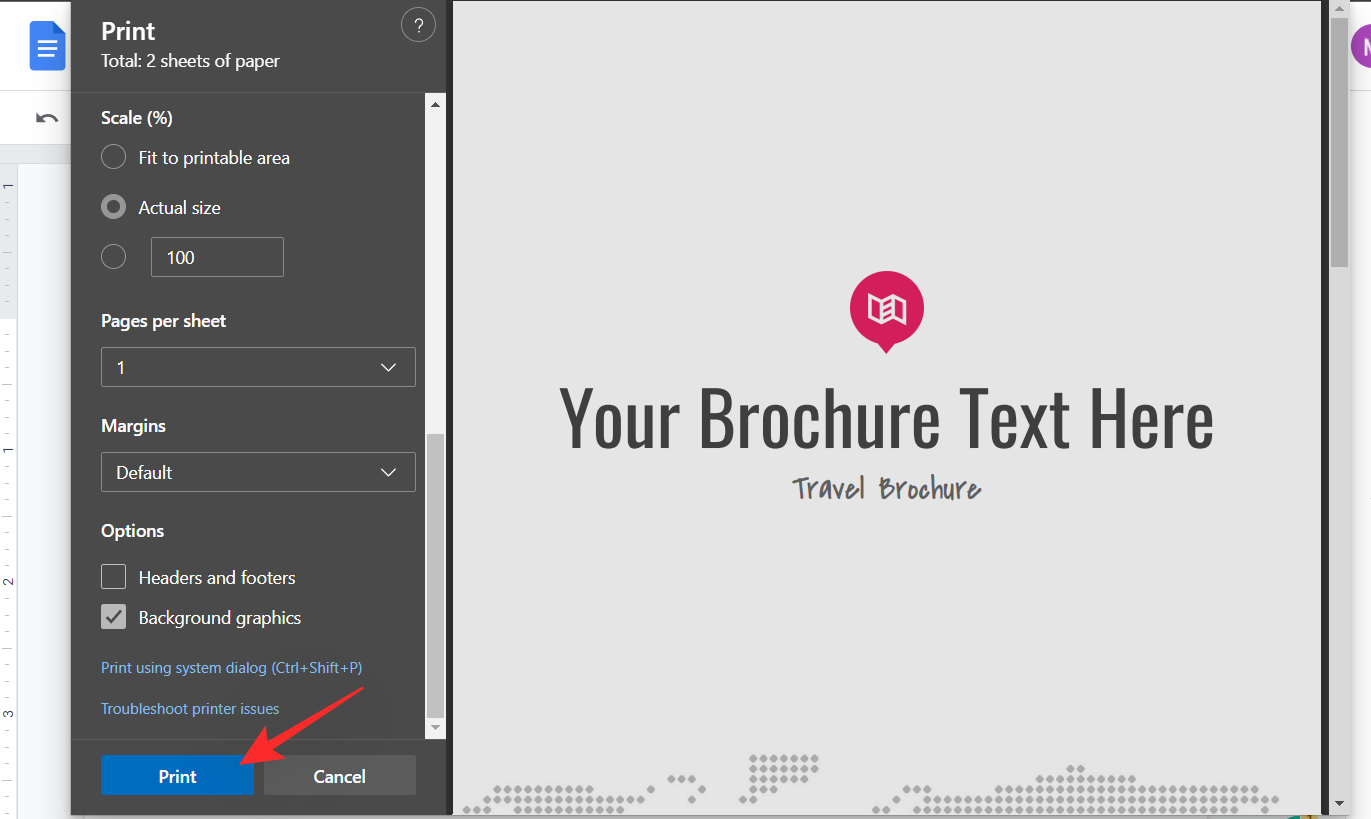
Finally, click on ‘Print’ once you are happy with your settings.
And that’s it! You will now have printed your recently created brochure.
How to create bi-fold and tri-fold brochures using columns in landscape orientation
There are other ways you can create bi-fold and tri-fold brochures in Google Docs and that is by using the Column formatting option in your document. This can come in handy if your brochure is heavily text-based and needs to communicate a lot of information in a smaller area. Use either of the guides below to help you along with the process.
1. Create a bi-fold brochure
First, start by going to docs.google.com and creating a new document. On the top-left of your screen, click on the ‘File’ menu.

When it expands, click on ‘Page setup.’

By default, every Google Docs document is set in ‘Portrait’ mode. Since you’d be folding the document, you need as much space as possible. So, we’ll be changing the orientation of the document as well as the margins. Set the ‘Orientation’ to ‘Landscape’ and reduce the size of all margins.

Now, go back to the document you were editing and click on ‘Format’ on the menu bar.

Then, expand the ‘Columns’ section. Since you are going for a bi-fold, you’ll have to pick the two columns option.

After you set your column format to two, it dictates Google Docs to jump to the second column after exhausting the first — instead of going to the next page.
Now, add appropriate sections and fill them with images and text. Before hitting the ‘Print’ button, make sure to preview it first. Go to ‘File’ > ‘Print preview’ to have a sneak peek.
2. Create a tri-fold brochure
Three-fold pamphlets are even more densely packed than two-folds, which means it’s even more difficult to get the formatting right. However, making them isn’t much of a challenge.
Head over to docs.google.com. Now, open the file you want to turn into a brochure and click on the ‘File menu.’
Then, go to ‘Page setup.’
Change the ‘Orientation’ to ‘Landscape’ and decrease margins. Changing your orientation from portrait to landscape allows you to have more horizontal screen real-estate, although at the expense of some vertical space. Margins, too, are overrated when it comes to brochures, as it’s not just about readability, it’s also about cramming as much information in as little space as possible.
After you’ve changed the orientation and margin settings, explore the formatting options by clicking on ‘Format’ on the menu bar.
Now, go to ‘Columns’ and choose the three-column option.

When you choose to have three columns, your document would take you to the next column when the previous one is exhausted, not go to a new page. When you’re done, populate the columns with images and text and your three-fold brochure would be ready to print. If you wish to pack in more information, do make the print double-sided.
How to make a brochure on Mobile (iPhone or Android phone)
Launch the Google Docs mobile app. Considering you are already signed in to Google, you’d be taken to the Docs dashboard, where all of your current documents would be listed. Unlike the web client, you don’t get the list of presets. So, you’d have to look for a workaround.
Google’s famed browser, Chrome, can serve you well in this scenario. Thanks to its ability to display desktop sites in all their glory, you can use Google Chrome to open Google Docs, just as you do on the web client.
So, first, go to docs.google.com. You’d be asked to open Google Docs using the app, instead of the website. To bypass that, hit the vertical ellipsis button at the top-right corner of the screen and check the option ‘Desktop site.’

Now, reload the page. You should be able to see a mini version of the Docs web client on your mobile screen. Tap on ‘Brochure’ to start working on your document.

Tips to help improve your brochure in Google Docs
Now that you know pretty much all about creating single, double, and even triple-sided brochures, let’s check out how you could make them as impactful as possible.
1. Use crisp headers
When you’re creating a brochure, you can’t afford to make it a slow-burn. You’ll have to make sure that everything you’re trying to convey is pretty much on the surface and can be accessed without reading too much into the document.
For example, if you’re talking about a cellphone, you could offer a little picture of the actual product, tell users about its important features, properties that make it stand apart, and maybe even about the manufacturing company. The headers or titles of the particular sections must be well thought out and not feel like a drag. Readers of your brochure are unlikely to invest their precious time reading long, vague titles.
2. Don’t skimp on image quality
They say an image is worth a thousand words, and it most definitely stands true for brochures or pamphlets. To create intrigue and excitement, you must make your document as eye-catching as possible, and adding high-quality images is the most effective way to do that. While adding images, make sure the formatting is done correctly. The image must work with the next section, not eclipse or contradict it.
3. Don’t make it bland
Brochures have to be engaging and hopefully fun to read. You should try to be up to date with the hottest catchphrases and pop culture references, if possible, which could help you connect to your audience. However, since every brochure is different, there’s no one-size-fits-all philosophy in here. Just keep experimenting with your vocabulary and see what fits.
Google Docs add-ons to enhance your brochure making experience
The native tools offered by Docs might be plenty enough for some users. But in case you are looking to publish or market something, you might need stock photos and more control on your hands.
Thankfully Google Docs has now the ability to install add-ons that can enhance your experience and allow you to create more detailed diagrams, enhance your text and add stock images from popular free stock photo websites.
Here are our top picks for the must-have add-ons in Google Docs.
Disadvantages of using Google Docs for Brochures
There are a few restrictions that you will have to work around when using Google Docs to create your brochure from start to finish. Here’s a list of the most important ones that you should be aware of.
- Limited Placement: Adding graphics is fairly easy and while Docs now support drawings and graphical representations, moving them around to your liking will be tough. We recommend using an image editor once you have created the initial draft in case you have a graphic intensive brochure in mind.
- Page Setup: Docs has a limited set of Page Types and sizes available in case you are looking to create something unique. This might hold you back and force you to make some design changes if Google Docs is your only option.
- Custom fonts: Google has a huge library of Fonts to choose from. However, if you are creating a brand brochure then you likely have your custom Font at hand. Sadly, Google Docs does not have the option to upload and use your custom fonts.
You can still make the most of your experience by using some nifty tricks to your advantage. This will help you circumvent these disadvantages and make the perfect brochure based on your current needs and requirements.
Related: How to Alphabetize on Google Docs
Alternatives to Google Docs for creating brochures
There are many free solutions out there that can help you create brochures with more ease. Some might have better templates, others might have better tools to cater to your creativity.
If you find that Google Docs is not up to the mark then you can try one of the services below. These are free services that offer you online design tools just like Google Docs that will allow you to design the brochure that you have in mind.
FAQs
You might have a few questions when it comes to creating brochures in Google Docs. Here are some frequently asked questions that should help you get up to speed.
Can I overlay Images on my text?
Yes, you can overlay images over your text if you wish. Use the ‘Text Wrapping’ option in ‘Image Options’ and set it to ‘In front of text’. You can even adjust its transparency by clicking on ‘Adjustments’ and adjusting the slider for the same.
And that’s how you can overlay images on your text in Google Docs when creating your brochure.
Can I add icons and other file formats to Google Docs?
Unfortunately Google Docs does not support icon formats including .svg, .ico and .icons. However, you can convert and upload your files in .png format which should, to an extent, preserve your resolution and background transparency.
Will the brochure use .docx format?
Yes, the brochure by default will use the .docx format to support all the latest features offered by Google Docs. However, you also have the option to download it in one of the following formats of your choice.
- .docx
- .odt
- .rtf
- .txt
- .html (zipped)
- .epub
Simply click on ‘File’ and hover over ‘Downloads’ to access these options.
And that’s how you can create a brochure in Google Docs. If you face any issues or have any questions for us, feel free to drop them in the comments below.
RELATED