
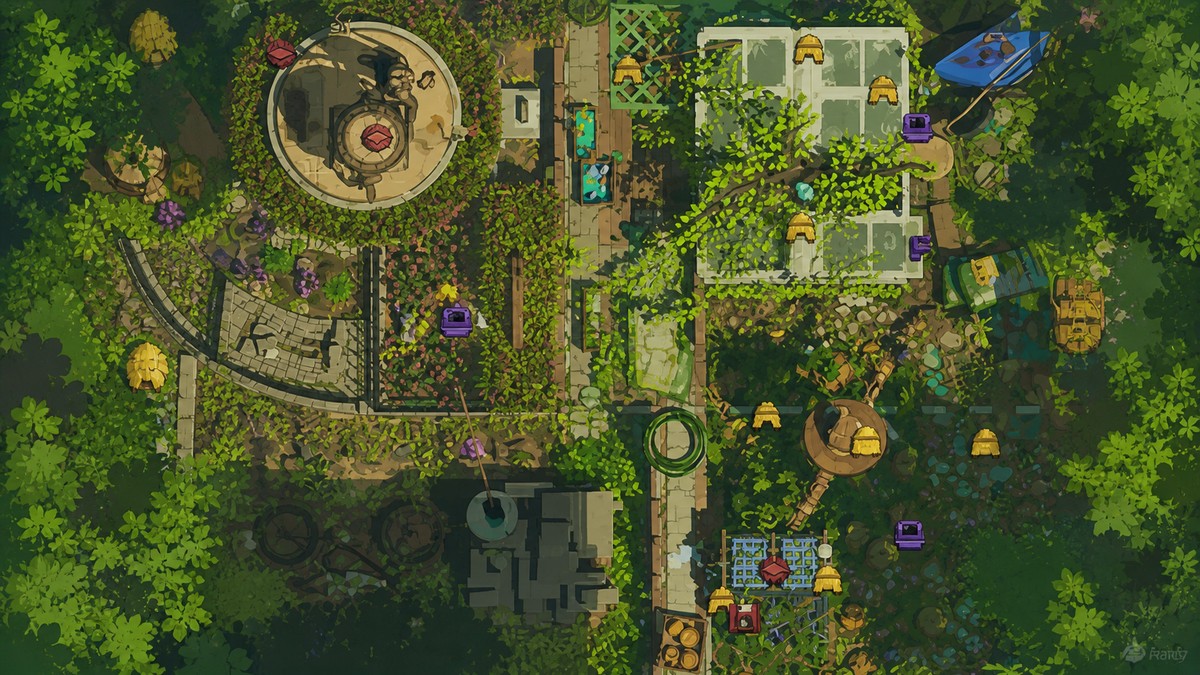
To unlock ziplines in Grounded 2, get the Pergola Optical Disk from the Crow’s Nest at the top of the Pergola, insert it at a Ranger Station, then buy Ziplines from the Science Shop for 2,500 Raw Science.
To unlock Ziplines in Grounded 2, climb the Pergola, collect the Pergola Optical Disk from the Crow’s Nest, insert it at a Ranger Station, and buy the recipe for 2,500 Raw Science. This is the Into the Abyss route, not the old Hedge Lab unlock from the first game.
Zipline unlock requirements in Grounded 2
| Requirement | Detail |
|---|---|
| Pergola Optical Disk | Found in the Crow’s Nest at the top of the Pergola |
| Final terminal | Insert the disk at a Ranger Station |
| Science Shop cost | 2,500 Raw Science |
| Helpful mount | An Orb Weaver makes the Pergola climb much easier |
Key You need the Pergola Optical Disk before the Science Shop sells the zipline recipe. Bring enough Raw Science before you return to a Ranger Station, or you will have to come back after collecting more.
Where the Pergola Optical Disk is
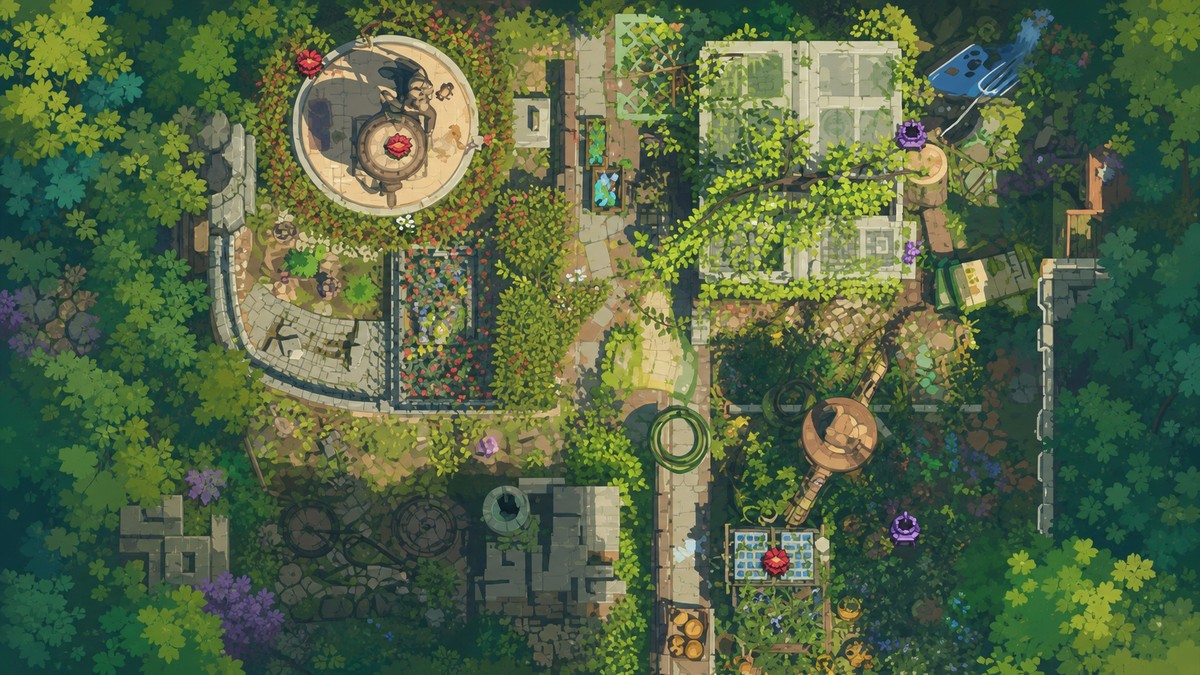
The Pergola Optical Disk is in the Pergola section of the map. Zoom in on that area and look for the Missing Optical Disk marker inside the giant bird nest, which is the Crow’s Nest at the top of the structure.
The practical approach starts from the front-left corner of the Pergola, near the sprinkler and the thick root. That root is your ramp into the climb, leading into web bridges, wooden slats, plants, and upper roots before the nest.
Bring an Orb Weaver mount before starting the climb, because it handles the awkward slats and vertical root sections far more comfortably than going on foot.
How to get the Pergola Optical Disk and buy Ziplines in Grounded 2
Start at the front-left Pergola approach, climb to the Crow’s Nest, collect the disk, then turn it in at a Ranger Station to unlock the recipe.
STEP 1/12
Mark the Pergola target
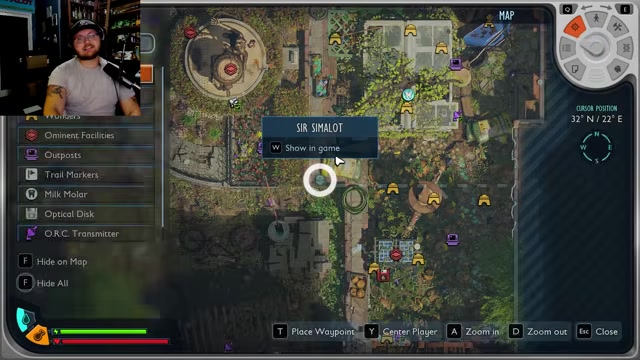
Open the map, zoom into the Pergola, and set your route toward the Missing Optical Disk marker inside the Crow’s Nest.
STEP 2/12
Start at the sprinkler root
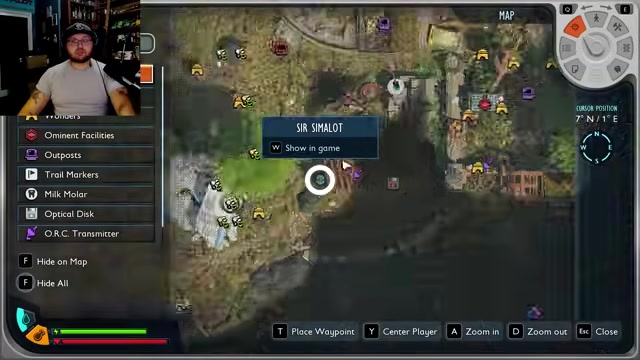
Go to the front-left ground-level corner of the Pergola, where the sprinkler and thick root mark the fastest route up.
STEP 3/12
Follow the root and web bridge
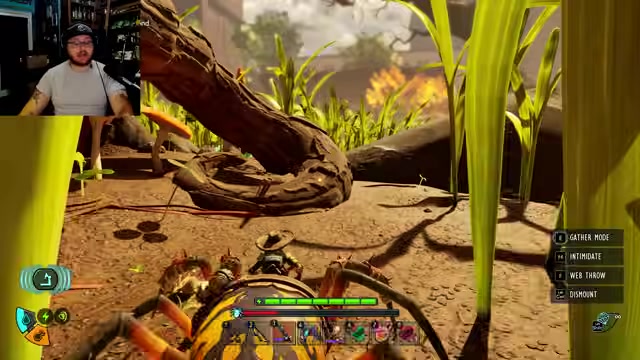
Run up the root, cross the web bridge, and keep moving while watching for Orb Weavers attacking your mount.
STEP 4/12
Keep climbing instead of dropping
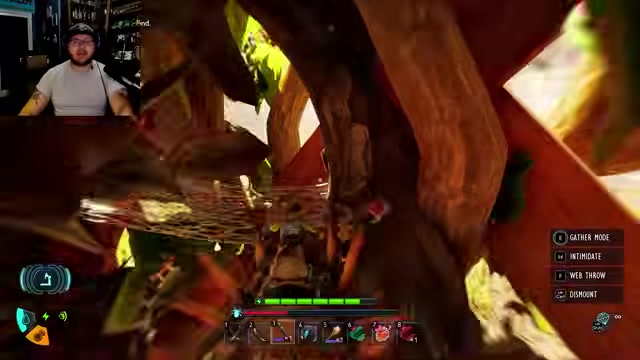
Take the left bridge and stay on the upward route when the path splits or loops back.
STEP 5/12
Use the wooden slats
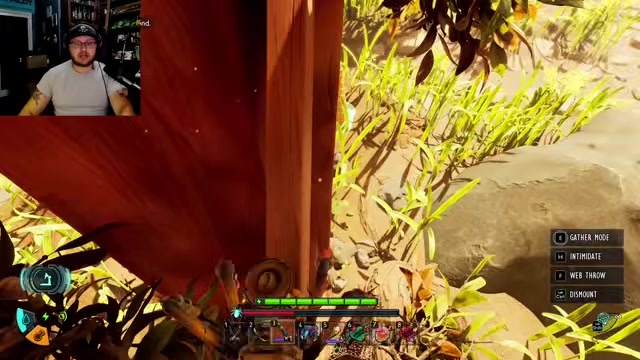
Walk onto the wooden slats at the dead end, hop upward, and use them to gain height along the Pergola frame.
STEP 6/12
Drop onto the next wood support
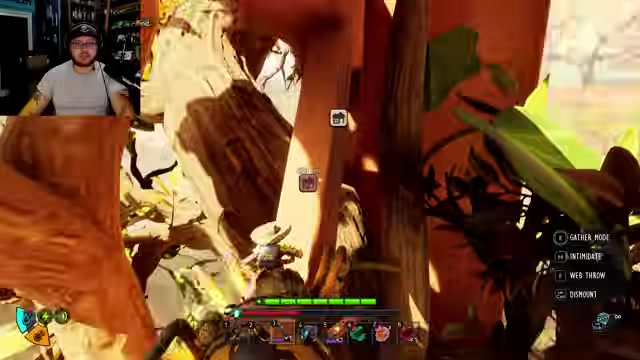
After climbing as high as the slats allow, turn and land on the nearby wooden support to continue around.
STEP 7/12
Cross the plant section
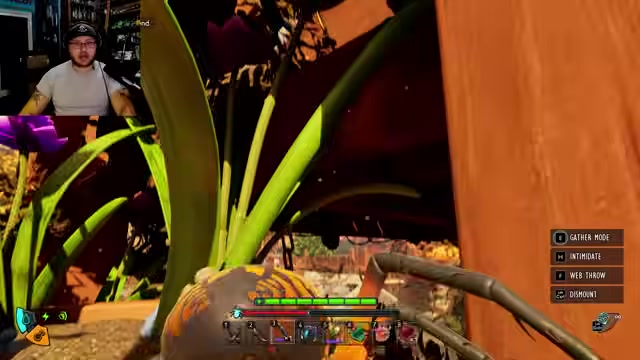
Jump onto the plants, cross the bridge or plant route ahead, and follow the upper path under the wires.
STEP 8/12
Reach the top of the Pergola
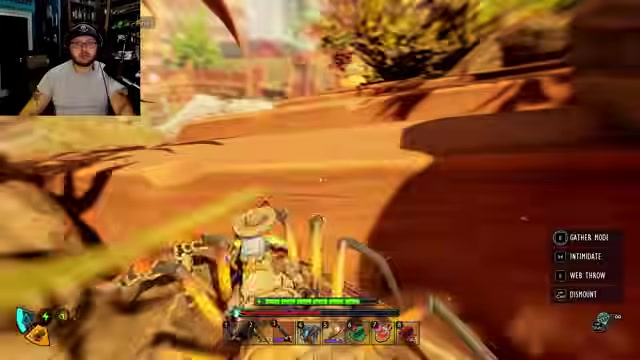
Jump up onto the top section, then run past the ORC enemies and spiderlings instead of stopping to fight everything.
STEP 9/12
Enter the Crow’s Nest

Keep heading across the top until the Crow’s Nest is on your right, then enter the nest.
STEP 10/12
Pick up the Pergola Optical Disk
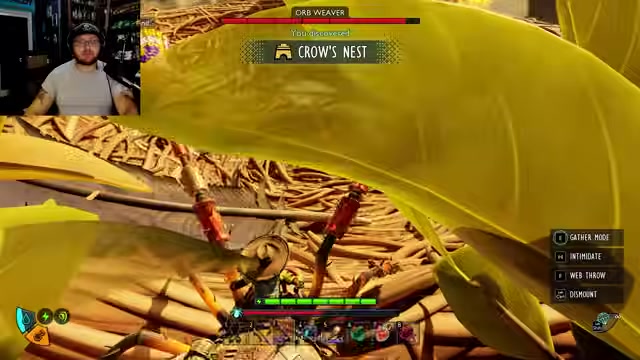
Grab the Pergola Optical Disk near the skeleton and rummage the nearby pack for the Zipline Test Plan and supplies.
STEP 11/12
Insert the disk at a Ranger Station
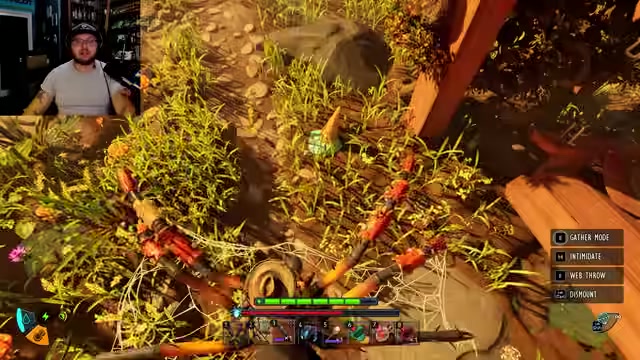
Return to a Ranger Station terminal and slot in the Pergola Optical Disk.
STEP 12/12
Buy Ziplines from the Science Shop
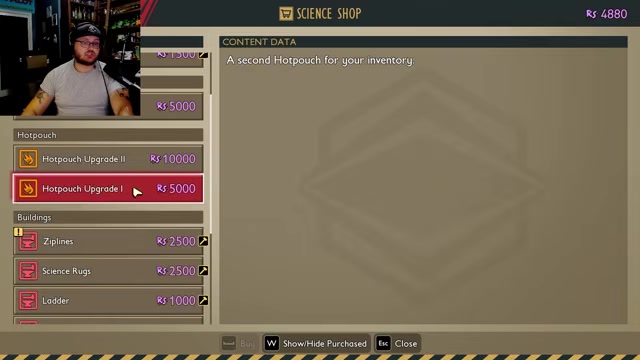
Open the Science Shop and purchase Ziplines for 2,500 Raw Science.
Video help
Zipline Anchor crafting recipes
| Structure | Recipe |
|---|---|
| Zipline Anchor | 1 Web, 4 Clay, 5 Weed Stems |
| Zipline Wall Anchor | 1 Web, 2 Clay, 2 Bee Parts |
The standard Zipline Anchor is the easier first build if you already have weed stems. The Zipline Wall Anchor needs bee parts, so make that material run before setting up a wall-mounted endpoint.
How ziplines work after the unlock
Ziplines are player-built traversal lines between anchors. Place the anchor structures where you want the route to begin and end, then use the line to move between those points across the park.
They are separate from the Pneumatic Transit System, which is a different fast-travel setup. Use ziplines as your custom point-to-point movement network for high landmarks, towers, and bases, not as a replacement for PTS stations.
Skip older Grounded advice about the Hedge Lab, BURG.L chips, or the Assistant Manager for this unlock in Grounded 2. The basic zipline recipe comes from the Pergola Optical Disk and the Science Shop; any two-way zipline or zipper-style upgrade follows a separate route.
Related Grounded 2 guides




Leave a Reply