
What to know
- The Wakemaker blueprint requires scanning 3 separate fragments.
- All fragments are located north of the starter Lifepod area.
- One fragment is hidden behind a sealed camp door you must open manually.
- Scanning the third fragment instantly unlocks the Wakemaker recipe.
In Subnautica 2, the Wakemaker is an important early technology unlock that players can obtain surprisingly early with minimal equipment. The fragments are scattered across abandoned camps north of the starting zone, and while the locations are close together, some are easy to miss if you do not explore each structure carefully.
Quick overview of the Wakemaker blueprint
| Feature | Details |
|---|---|
| Unlock Method | Scan 3 Wakemaker fragments |
| Starting Point | Lifepod / starter area |
| Main Direction | North and North-Northeast |
| Main Locations | Abandoned camp structures |
| Difficulty | Easy early-game exploration |
| Required Tool | Scanner |
| Blueprint Reward | Wakemaker recipe |
Where to find the Wakemaker fragments
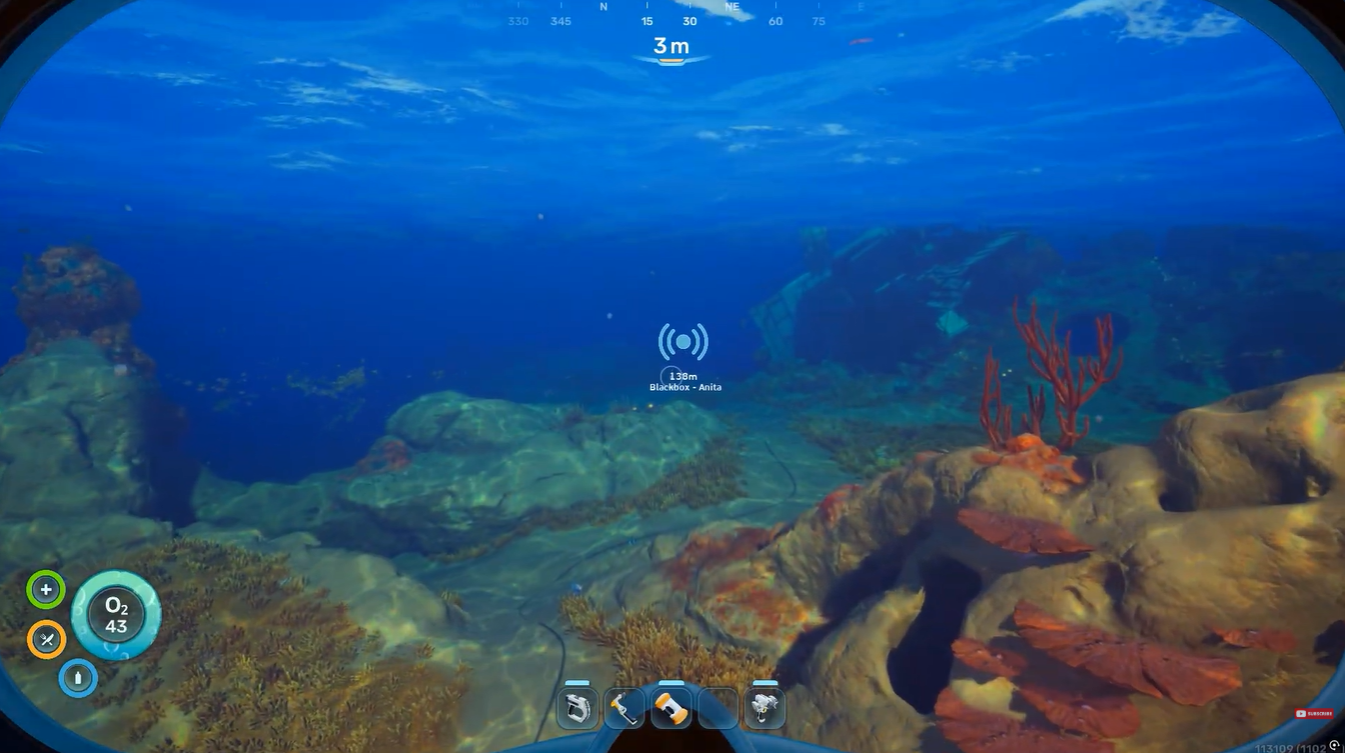
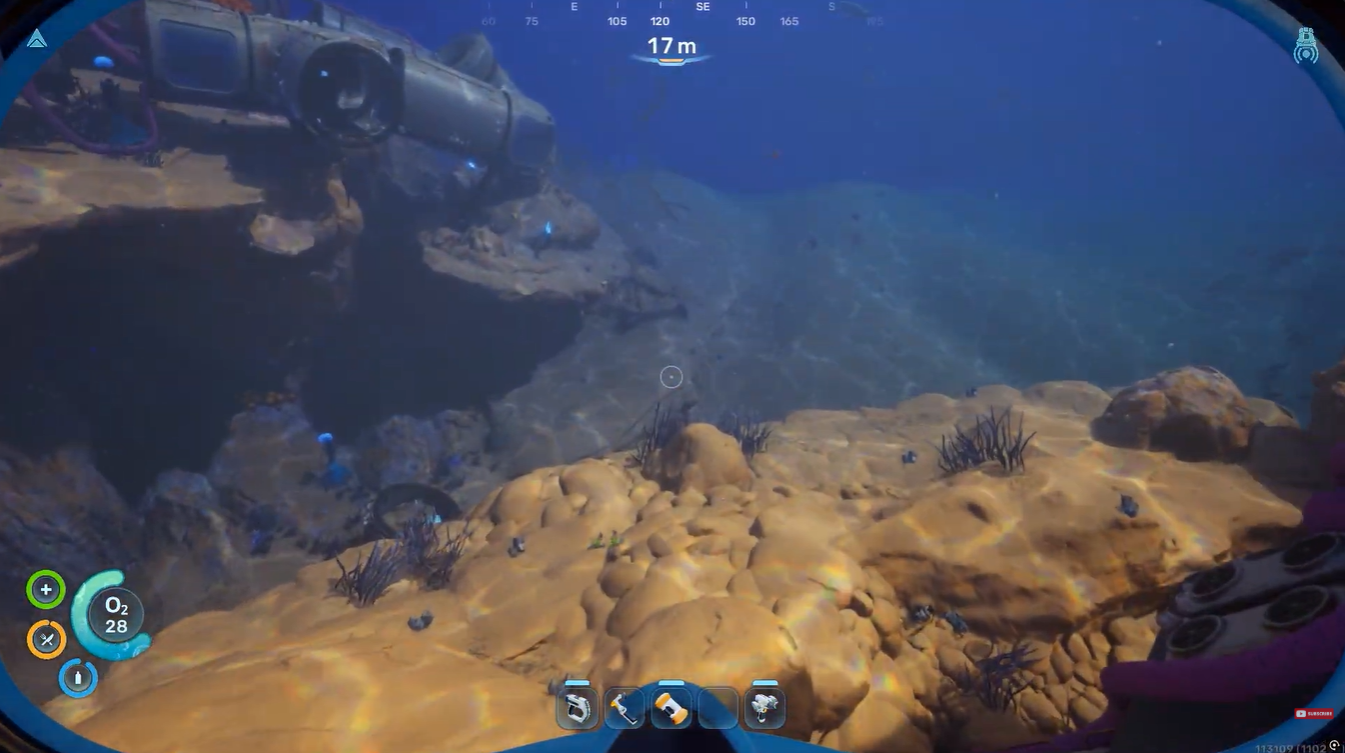
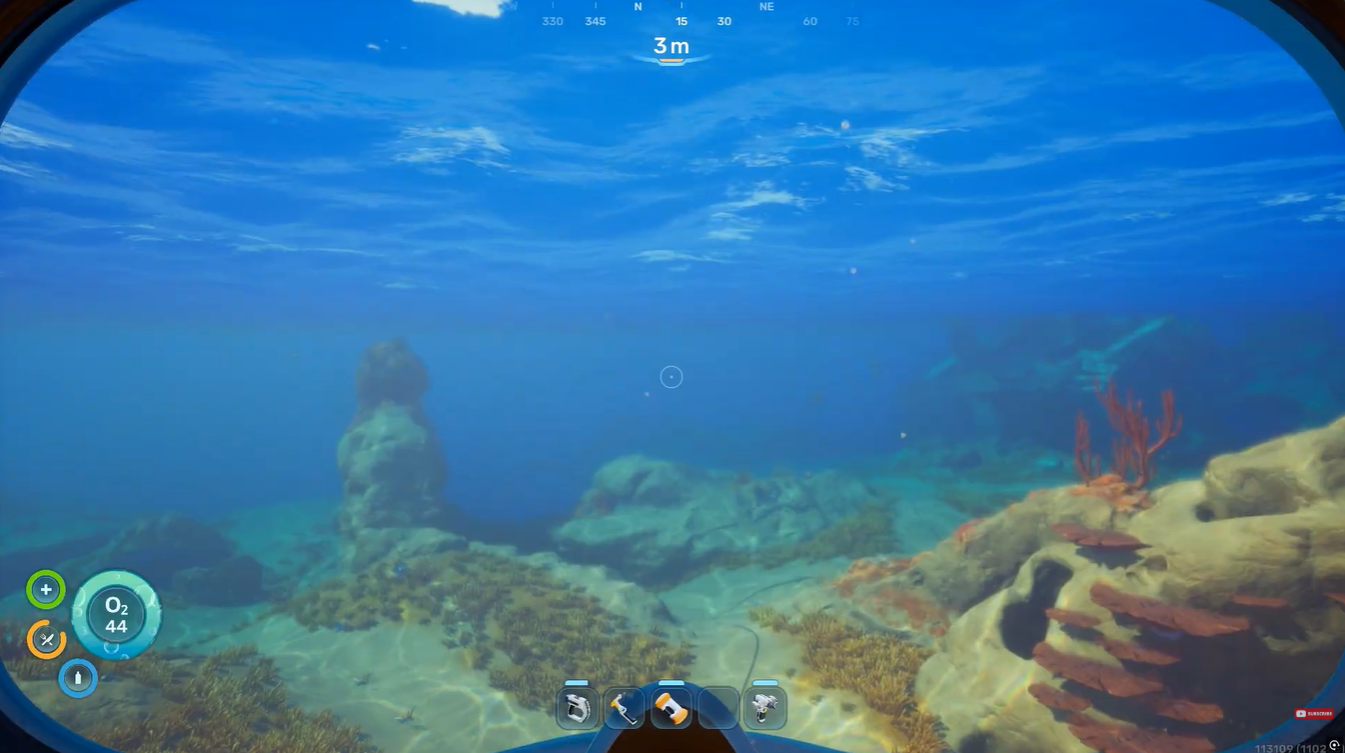
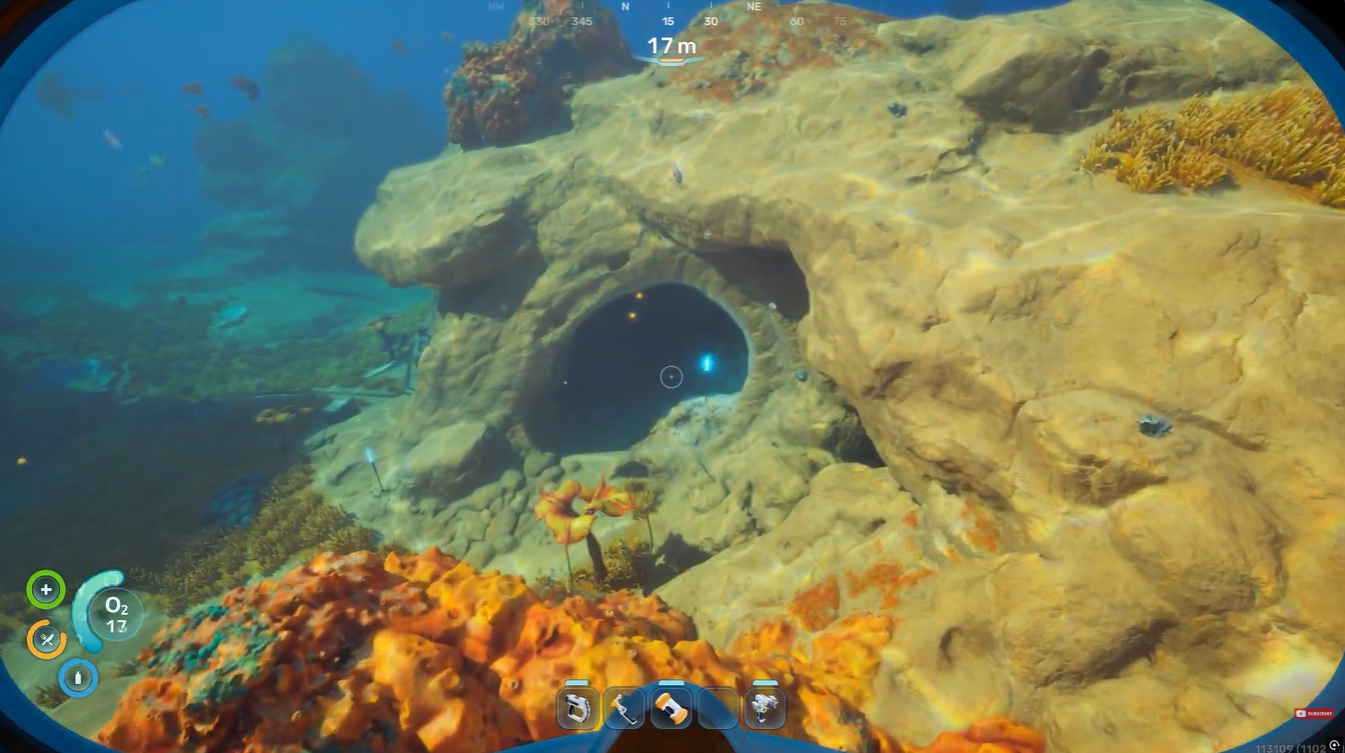
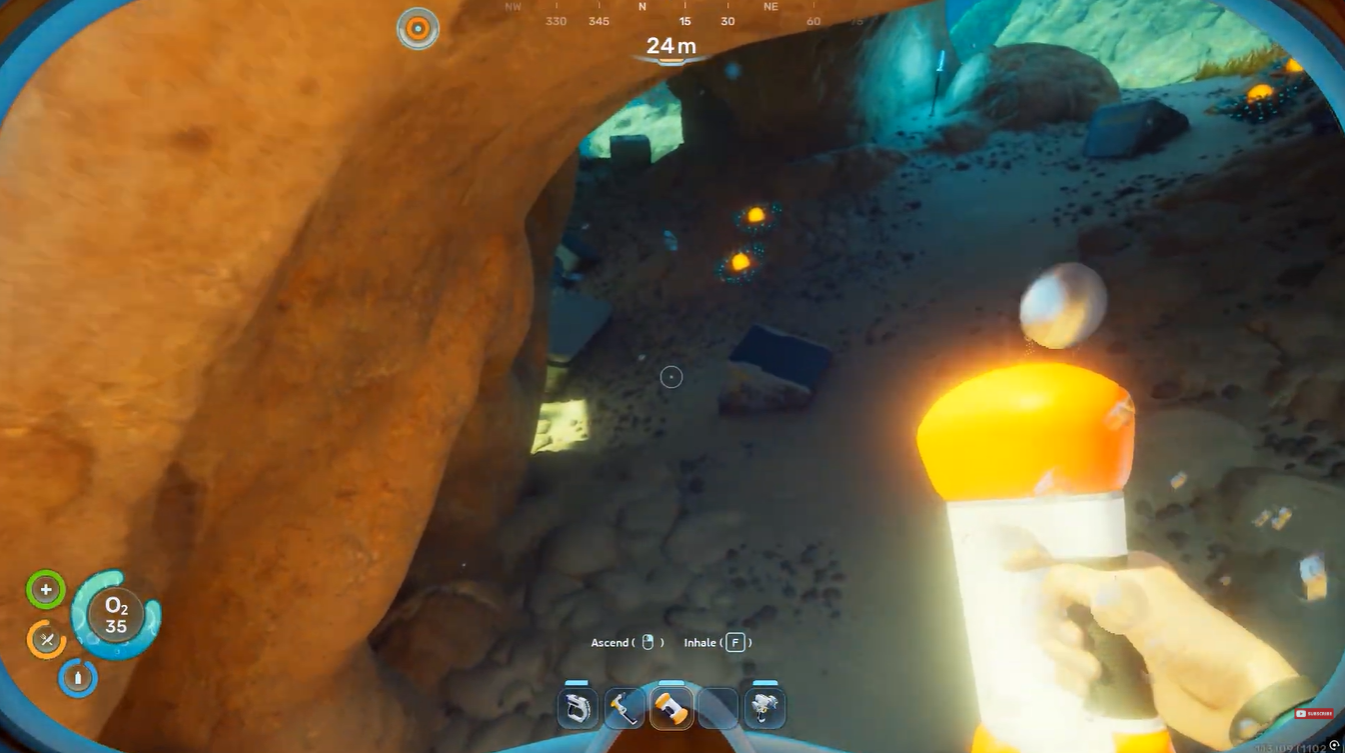
The Wakemaker fragments are located across a series of abandoned research camps situated north of the starter biome. The first fragment is hidden behind the initial camp, the second is inside a sealed room nearby, and the third lies farther north near a glowing light source on the seabed. The route stays within relatively safe waters, making this blueprint one of the easiest early unlocks available.

How to unlock the Wakemaker blueprint in Subnautica 2
Preparing before searching for fragments
Before leaving your Lifepod, make sure you have a scanner equipped since every fragment must be scanned individually. Extra oxygen capacity and a seaglide can help speed up exploration, although neither is strictly required.
1st Wakemaker fragment
Step 1
Start at your Lifepod and head toward the North-Northeast direction, approximately around the 20° heading.
Step 2
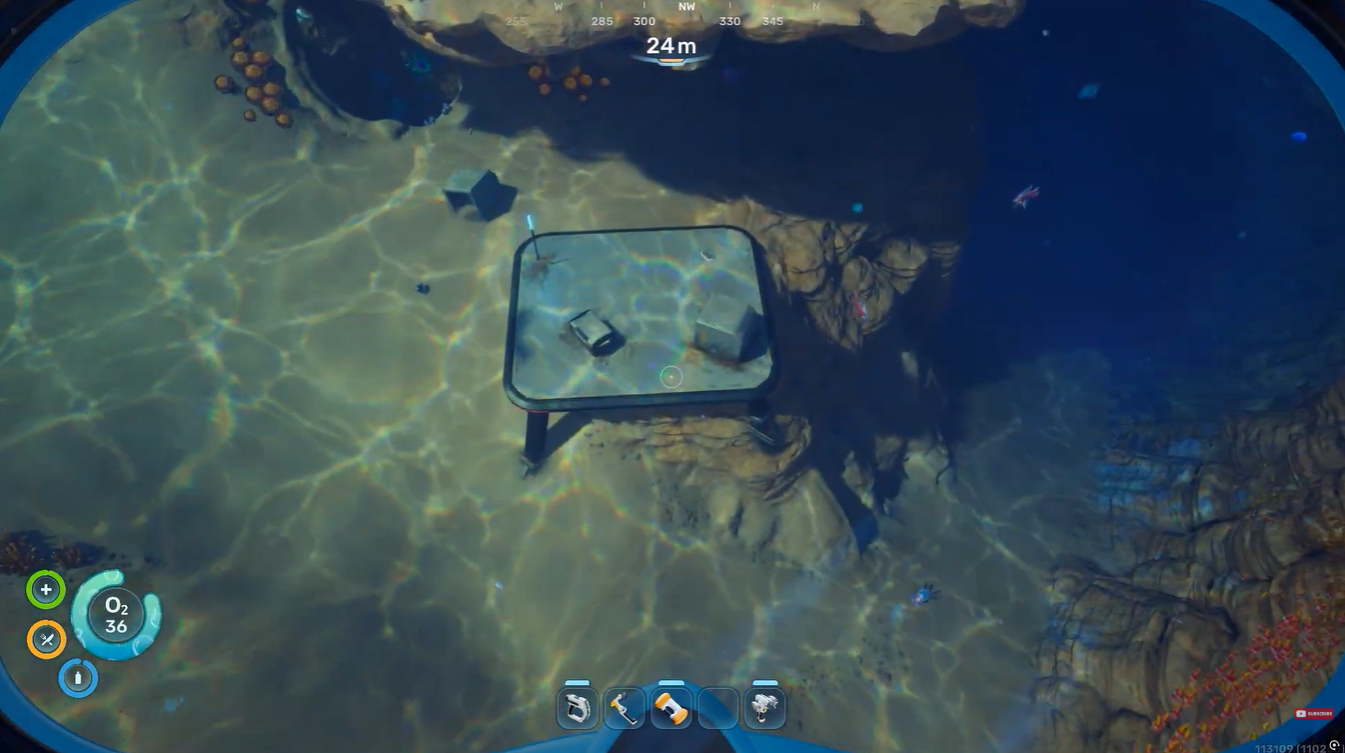
Continue swimming until you discover a small abandoned camp structure.

Step 3
Ignore the main entrance area at first and move behind the camp.
Step 4
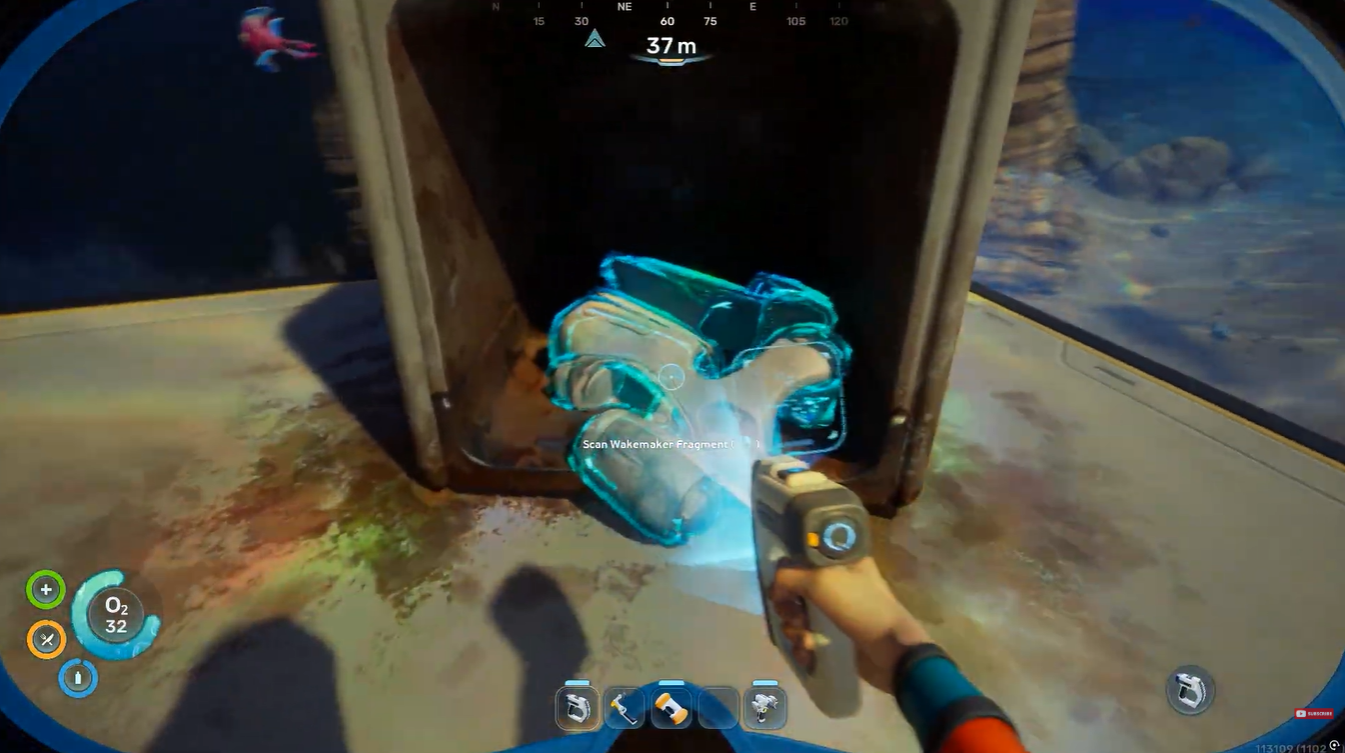
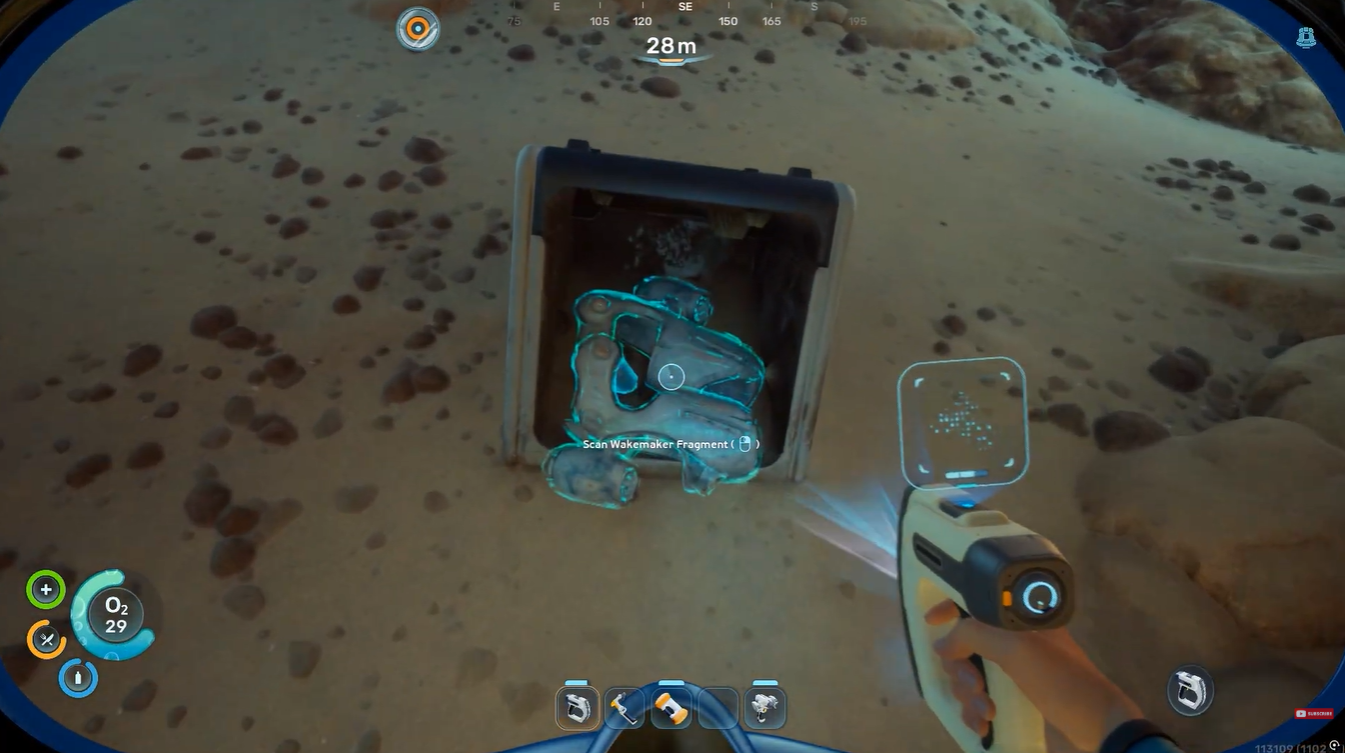
Search carefully along the rear side of the structure until you locate the first Wakemaker fragment.
2nd Wakemaker fragment
Step 1
After scanning the first fragment, continue exploring the nearby connected camp area.
Step 2
Locate the sealed door leading into the next structure section.

Step 3
Interact with the door controls to open it and enter the interior room.
Step 4
Inside the structure, search the room carefully for the second Wakemaker fragment.

3rd Wakemaker fragment
Step 1
Return toward the general starter Lifepod region after obtaining the second fragment.
Step 2
From there, swim directly North. Watch for a small glowing light source visible in the water ahead.
Step 3
Approach the illuminated area and inspect the nearby seabed carefully.
Step 4
You will find the third and final Wakemaker fragment near the light source.
Wakemaker fragment progression rewards
| Fragments Scanned | Unlock Status |
|---|---|
| 1 Fragment | Partial blueprint progress |
| 2 Fragments | Blueprint nearly complete |
| 3 Fragments | Full Wakemaker blueprint unlocked |
Why unlocking the Wakemaker early matters
The Wakemaker becomes extremely useful during early progression in Subnautica 2 because it expands your technology options before entering deeper and more dangerous biomes. Since the fragments are located close to the starter region, unlocking it early saves considerable backtracking later.

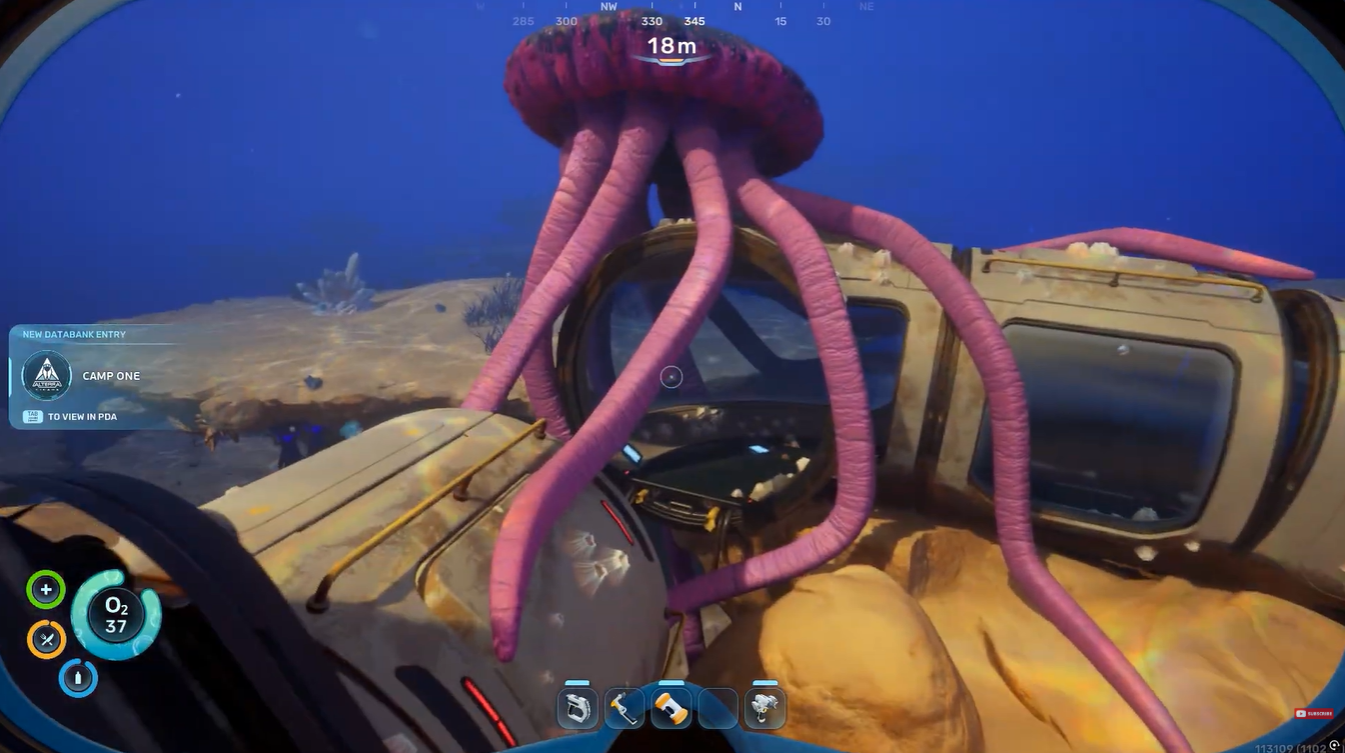
The route also introduces you to several abandoned camp structures that contain additional resources and environmental storytelling elements worth exploring while gathering the fragments.
Unlocking the Wakemaker blueprint is one of the easiest and most valuable early-game objectives in Subnautica 2. With only a scanner and some careful exploration north of the Lifepod, you can collect all three fragments quickly and gain access to the complete recipe long before reaching the game’s harsher zones.


Leave a Reply