
The Into the Abyss update has four new secret weapon or secret-item pickups shown in the route: one on a stick table in the water biome, one tier-four weapon inside a Tier 3 Cleaver underwater cave, one underwater cave pickup below the bridge, and one cold-cave weapon near the red track.
The new Into the Abyss route in Grounded 2 takes you through water, caves, spiders, cold damage, and tight oxygen checks. Track the pickups by where you grab them and the gear each route requires: the table pickup, the Tier 3 Cleaver cave weapon, the under-bridge cave pickup, and the cold-cave weapon.
- Every Into the Abyss secret pickup location
- Prepare before searching for the secret weapons
- Get the water-biome table trinket and recipe
- Find the tier-four weapon in the Tier 3 Cleaver cave
- Grab the under-bridge cave pickup
- Take the cold-cave weapon near the red track
- What Into the Abyss adds around these hunts
- Frequently Asked Questions
Every Into the Abyss secret pickup location
| Secret pickup | Where to find it | Needed gear |
|---|---|---|
| Water-biome table trinket and recipe | On a table reached by climbing a small stick from the water biome | Combat gear for a few small creatures |
| Tier-four underwater cave weapon | Inside the underwater cave that must be opened with a Tier 3 Cleaver | Tier 3 Cleaver, oxygen management, armor, healing |
| Under-bridge cave pickup | In the large underwater cave below the bridge, behind a creature | Koi Helmet or Diving Helmet, plus a tier-three club/tool |
| Cold-cave weapon near the red track | Inside the cold cave beside the red track | Full Fuzzy armor |
Key These four pickups are separate runs, not one clean loop. The underwater cave weapon is the longest and riskiest route, while the cold-cave weapon is fast if you do not stop to fight.
Prepare before searching for the secret weapons
| Requirement | Use |
|---|---|
| Tier 3 Cleaver | Opens the blocked path in the underwater cave that leads to the tier-four weapon. |
| Koi Helmet or Diving Helmet | Helps with the long under-bridge swim. |
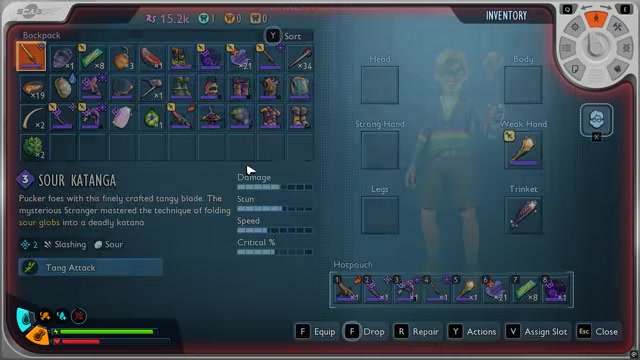
| Armor swap | Remove armor for some diving movement, then put armor back on before fighting inside the cave. |
| Healing items | Useful before the return swim from the tier-four weapon cave. |
| Full Fuzzy armor | Stops the cold from becoming the main threat in the cave beside the red track. |
| Manual save | Worth doing before the dangerous underwater route. |
Bring gear for the environment you are entering, then swap armor when the route demands it. The underwater sections are less about raw damage and more about getting through before your oxygen and health collapse, while the cold cave is mostly a sprint in Fuzzy armor.
Save before the Tier 3 Cleaver dive, because that route stacks darkness, oxygen pressure, a cave fight, and a fast return swim.
Get the water-biome table trinket and recipe
Climb the small stick from the water
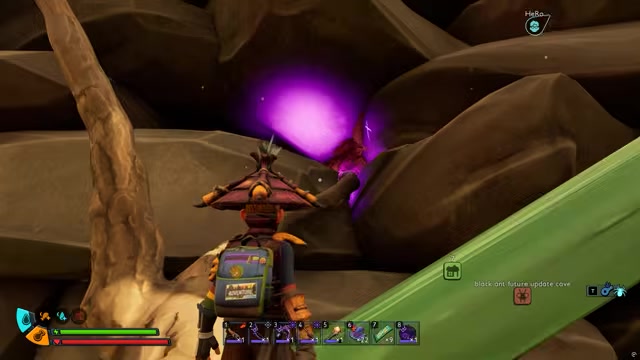
Head to the water biome and climb onto the small stick sticking out of the water.
Defeat the creatures on the table
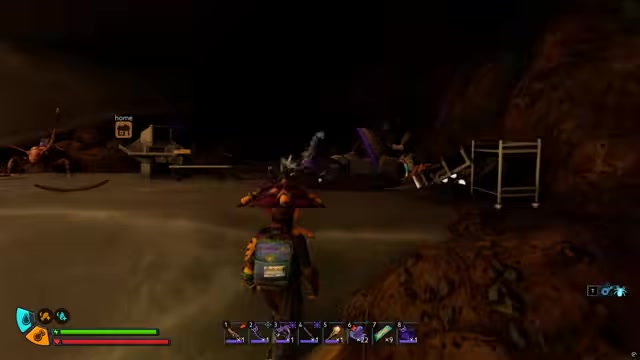
Clear the two creatures on the table, then watch for the third creature behind the pickup area.
Collect the trinket and recipe
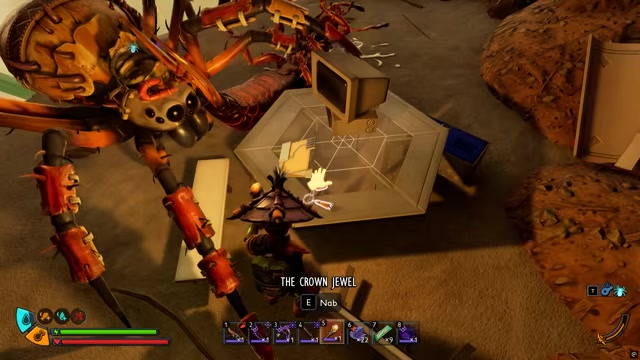
Pick up the new trinket and the new recipe from the table.
Use the trinket for smashing attacks
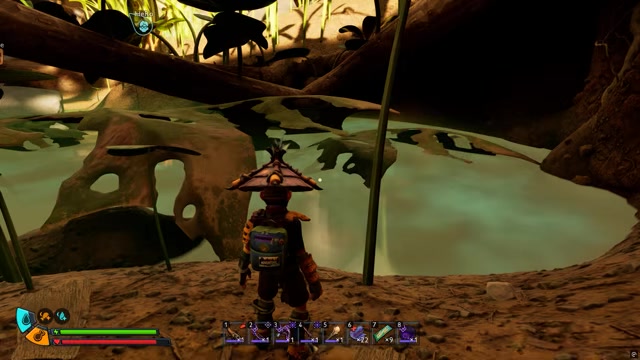
Equip the trinket to add extra smashing attack power to your attacks.
Find the tier-four weapon in the Tier 3 Cleaver cave
Dive to the cave entrance
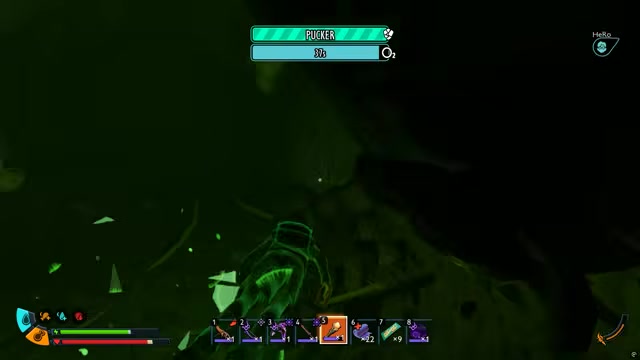
Enter the water in Skunk Pond and swim down until the cave opens below you.
Watch oxygen and health
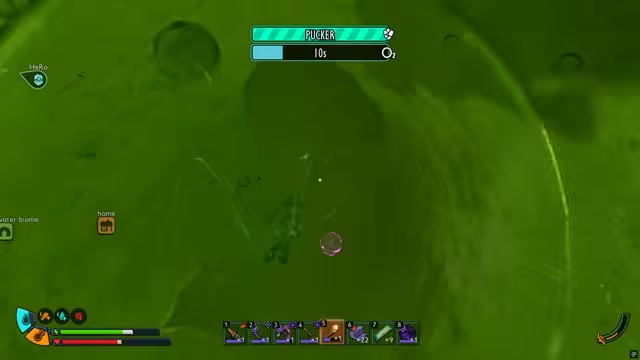
Keep moving through the dark cave while tracking your oxygen level and incoming damage.
Break the first blocked path
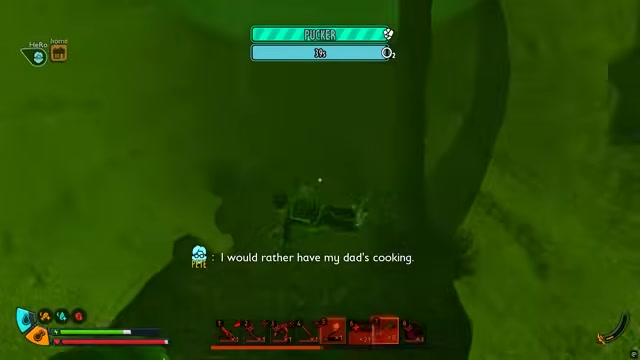
Use a Tier 3 Cleaver to break open the blocked section quickly.
Surface for oxygen
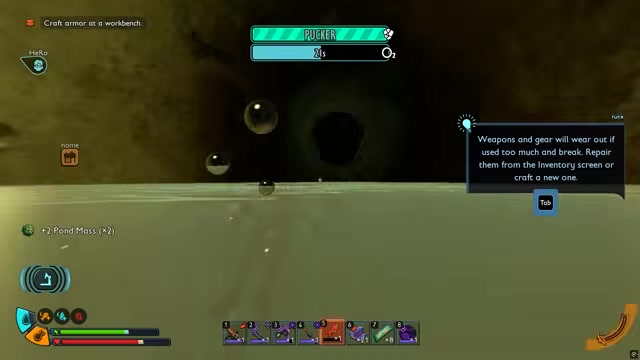
Push through to the other side and refill your air before diving again.
Open the next entrance
Dive back down and clear the second entrance that leads deeper into the cave.
Put armor back on
Equip armor before the fight inside so the creature cannot shred you quickly.
Defeat the cave creature
Kill the enemy waiting inside the cave before you move in for the weapon.
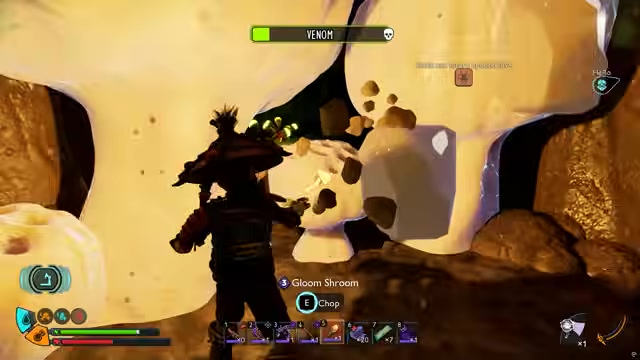
Clear the mushrooms
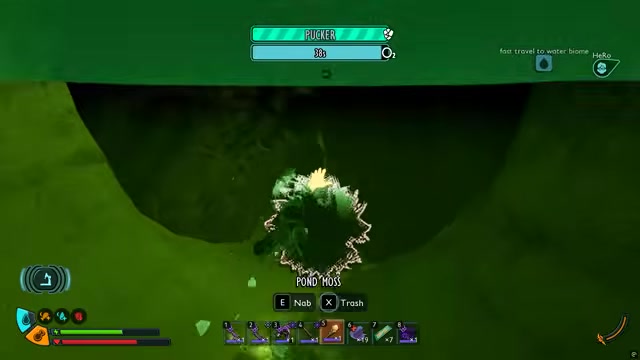
Break the mushrooms blocking the route and collect them as you advance.
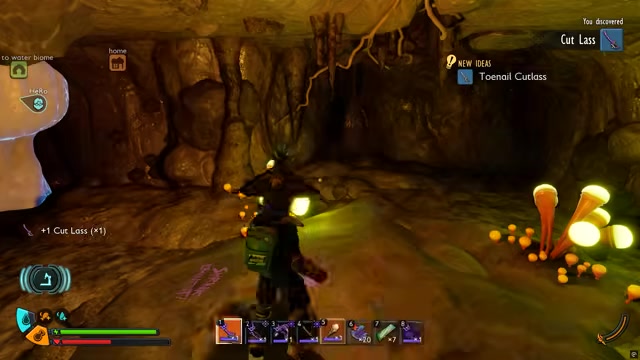
Pick up the tier-four weapon
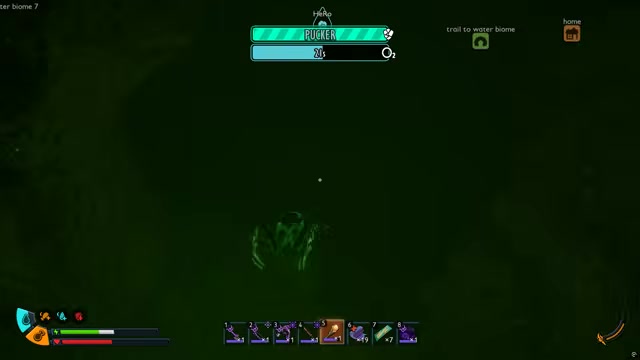
Pick up the new weapon from the ground; it is a tier-four item.
Leave by the same route
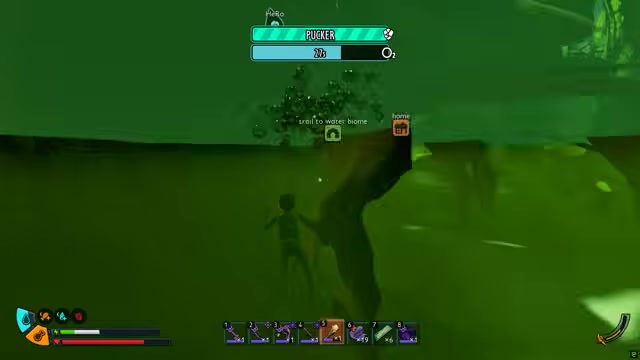
Heal, then swim back out through the same route before oxygen becomes a problem.
Grab the under-bridge cave pickup
Go below the bridge
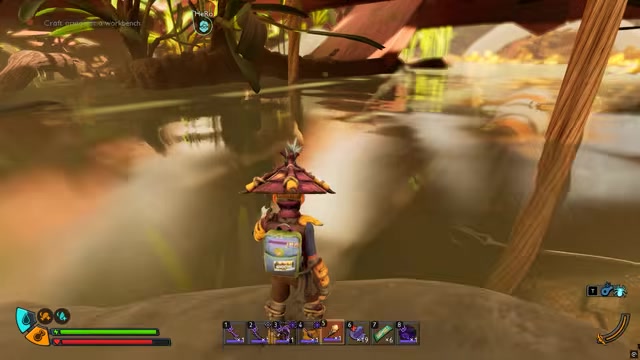
Start from the under-bridge area and find the large cave entrance in the water.
Wear a breathing helmet
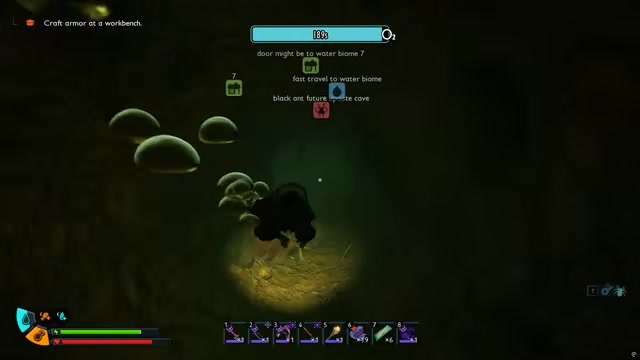
Use a Koi Helmet, or use the Diving Helmet once you have crafted it.
Bring the tier-three tool

Bring a tier-three club/tool for this route.
Enter the large cave
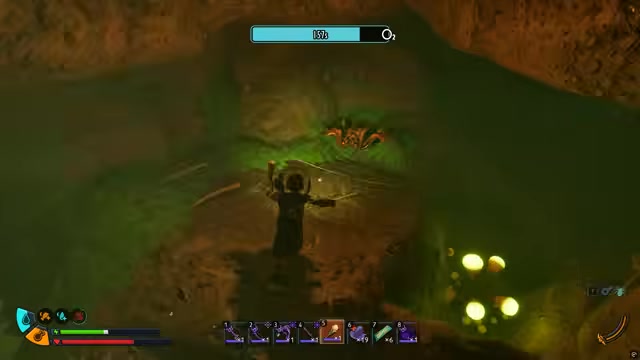
Swim inside and continue deeper through the big open tunnel.
Move under the creature
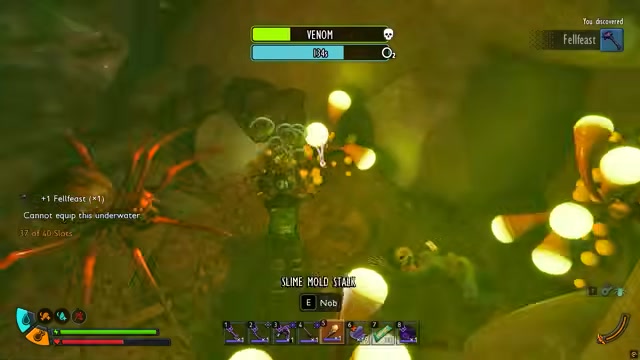
When you spot the creature inside, swim underneath it and circle behind it.
Take the pickup behind it
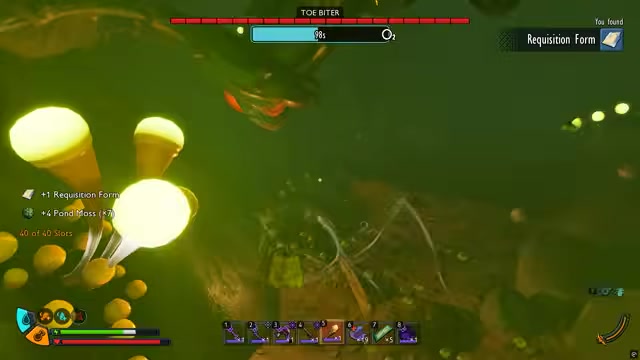
Grab the item positioned behind the creature without committing to a full fight.
Collect tier-three marble if you want
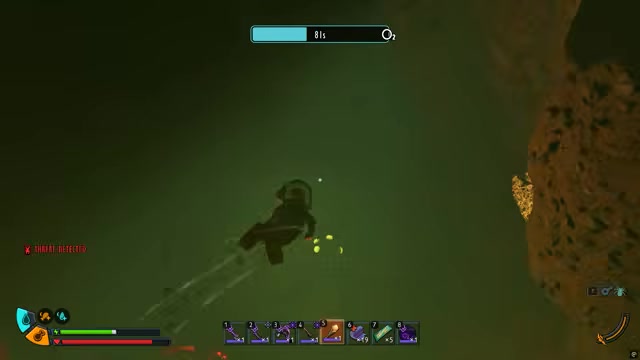
The cave also has tier-three marble and other resources worth taking when you still have oxygen.
Exit the same way
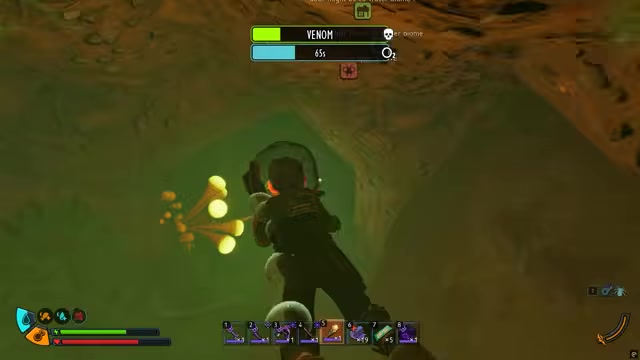
Leave through the same underwater route, especially when the spiders spot you.
Take the cold-cave weapon near the red track
Equip full Fuzzy armor
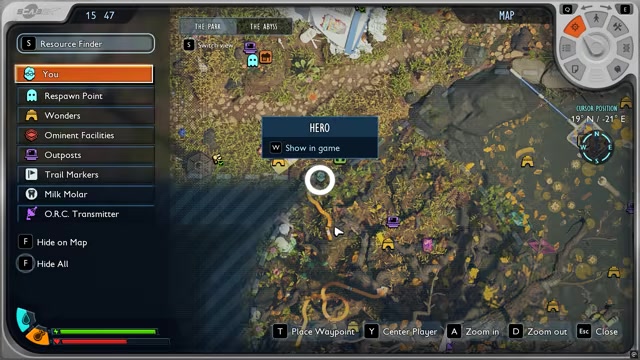
Wear the full Fuzzy armor set before entering so the cold does not drain you.
Enter beside the red track
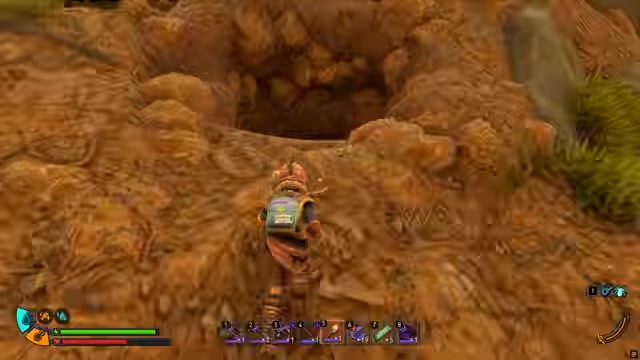
Find the cave next to the red track and head inside.
Drop into the lower path
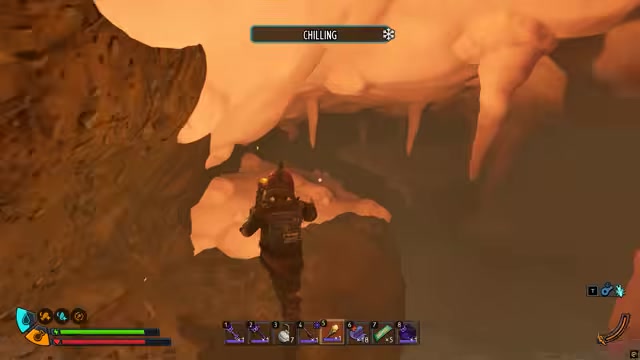
Follow the route down into the cave.
Avoid the first creatures
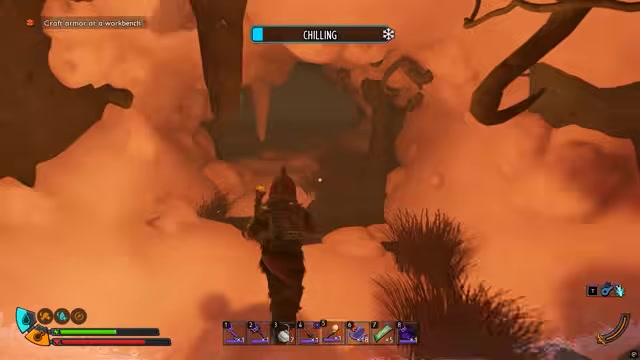
Run past the creatures waiting along the path instead of slowing down.
Grab the secret weapon
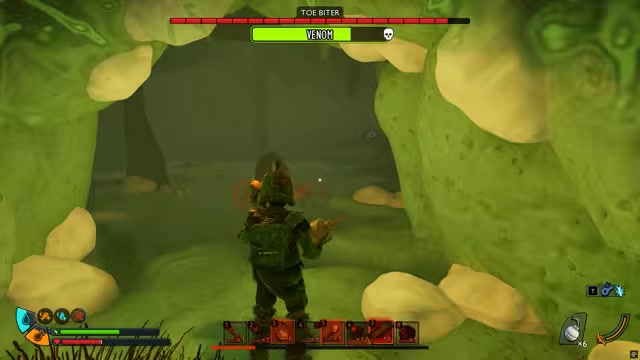
Push into the weapon room, grab the new secret weapon, and leave immediately.
Retreat through the entrance route
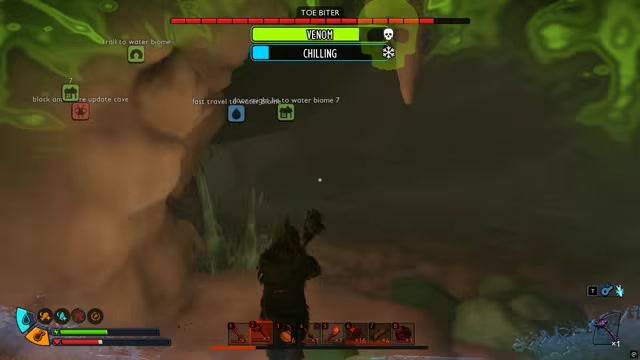
Leave the same way you came in; fighting in Fuzzy armor is risky because it takes heavy damage quickly.
What Into the Abyss adds around these hunts
Into the Abyss expands Grounded 2 around Skunk Pond and the deeper Abyss, with new underwater exploration, diving gear, underwater base building, and new threats below the surface.
The update also changes water movement and combat with agile swimming, Burst movement, underwater lock-on, and the Harpoon gun. These secret routes use the same pond progression checks: longer breathing time, underwater fighting when the route forces it, and fast exits instead of clearing every enemy.
Related Grounded 2 guides
Frequently Asked Questions
Can you get these secret weapons without fighting every enemy?
Yes. The under-bridge cave pickup and the cold-cave weapon can both be grabbed while avoiding major fights, as long as you move quickly and leave by the same route.
Do you need the Diving Helmet, or is the Koi Helmet enough?
For the under-bridge cave route, a Koi Helmet is enough, while the Diving Helmet is another option after you have crafted it.
Is the Harpoon gun one of the secret weapons in this route?
The Harpoon gun is part of the Into the Abyss underwater combat additions, but its unlock path is separate from the four location-based pickups covered in this route.
Video help






Leave a Reply