

Grounded 2 Into the Abyss adds four new Masked Stranger items to find: The Crown Jewel, Cut Lass, Felfeast, and Rime Rend, each hidden in its own dangerous location.
The new Masked Stranger gear is a fixed-location hunt, with each pickup tucked behind a different environmental check or combat pocket. This guide covers the item routes, prep, and effects only, so it stays focused on finding the gear instead of farming O.R.C. Waves or fighting the Masked Stranger boss.
- Every Into the Abyss Masked Stranger item location
- Gear to bring for the Masked Stranger routes
- How to get The Crown Jewel
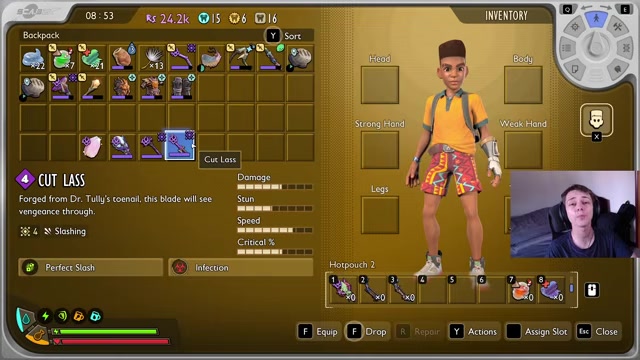
- How to get Cut Lass
- How to get Felfeast
- How to get Rime Rend
- What The Crown Jewel, Cut Lass, Felfeast, and Rime Rend do
- Where Forbidden Workbenches fit in
- Frequently Asked Questions
Every Into the Abyss Masked Stranger item location
| Item | Where to find it |
|---|---|
| The Crown Jewel | On a table inside the Skunk Pond wall cave on the northern edge. |
| Cut Lass | Behind mushrooms past the far northeast pergola sour pond cave route. |
| Felfeast | On a skeleton in the underwater cave by the bridge gnome and fishing hook. |
| Rime Rend | On a rock inside the GnarliBark and ice cream cart cave near the Hot Wheels track end. |
Key The in-game item spellings to use are Cut Lass, Felfeast, and Rime Rend, even though early captions and mentions may render them differently. Treat these four as the new Into the Abyss Masked Stranger set for this route.
Gear to bring for the Masked Stranger routes
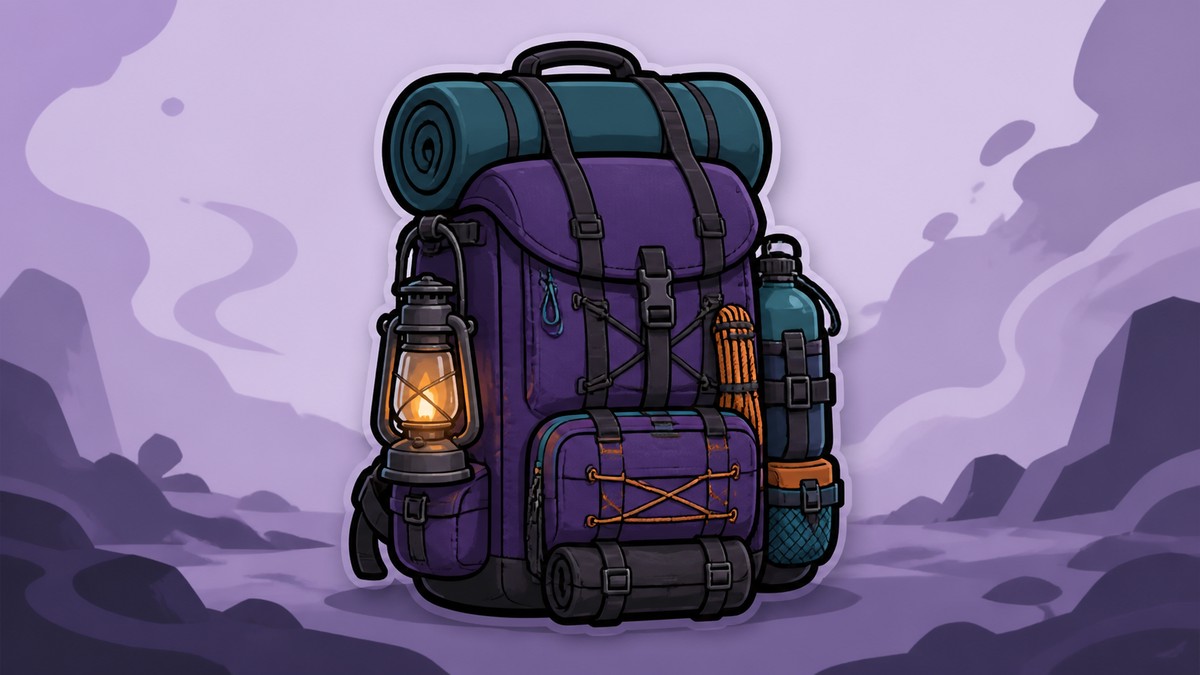
A Tier 3 Omnicutter is the shared gate for several paths because roots and pond moss block the way. Bring bombs before going for Rime Rend, and keep healing smoothies ready because the sour pond route drains health fast.
For the underwater routes, use proper diving gear or ride a Toe Biter Buggy where possible. The sour pond wants Sour Sensation, tang resistance, or armor management, while the icy cave wants enough chill protection to keep you fighting instead of retreating.
How to get The Crown Jewel
Reach northern Skunk Pond
Go to the northern edge of Skunk Pond and look for the large wall.
Find the Masked Stranger opening
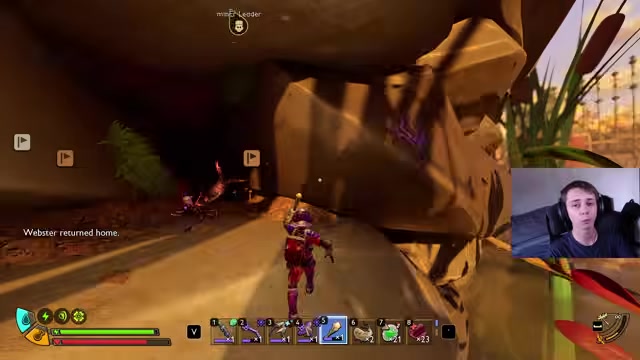
Climb into the wall opening marked with the Masked Stranger symbol.
Clear the first enemies

Take out the earwigs, scorpions, and other oak enemies inside so the climb stays controlled.
Follow the cave path

Move through the cave until it opens into the small outlook area.
Secure the outlook

Clear the remaining oak enemies near the end of the route.
Collect The Crown Jewel
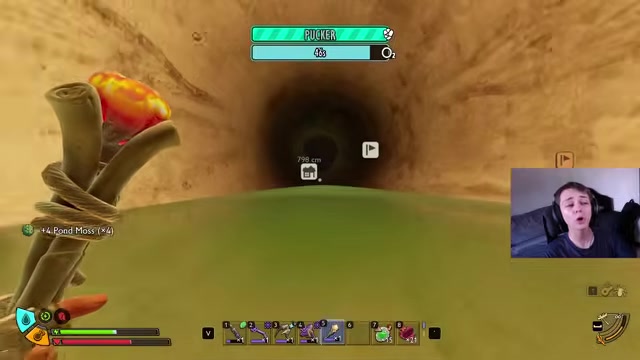
Pick up The Crown Jewel from the table in the outlook area.
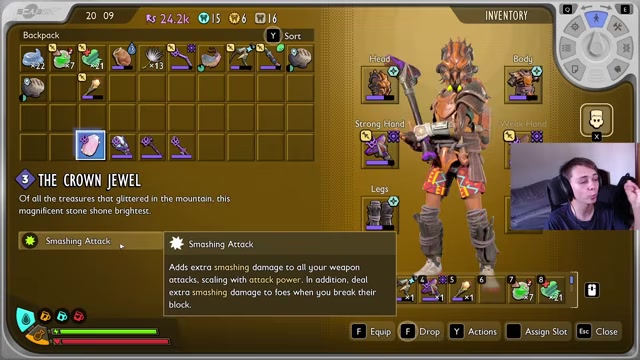
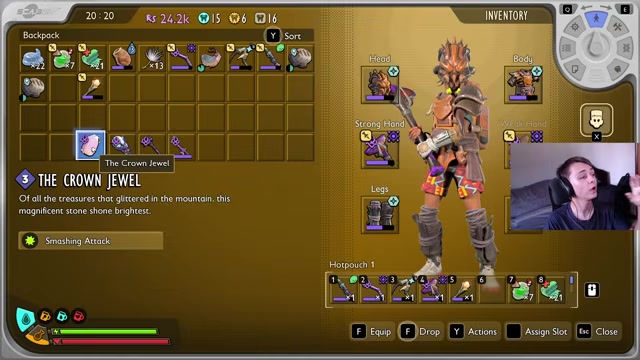
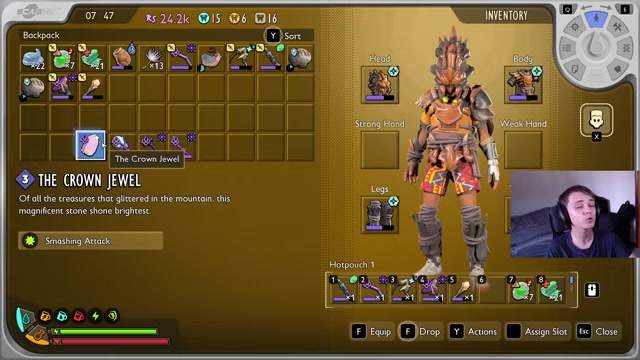
The Crown Jewel gives Smashing Attack, adding extra smashing damage to weapon attacks based on your current attack power. It also adds more smashing damage when you break an enemy’s block, making it a natural fit for high attack-power, two-handed smashing weapons that already lean into charged hits and block breaks.
How to get Cut Lass
Enter the sour pond

Go to the far northeast pergola area and enter the green sour pond.
Manage tang damage
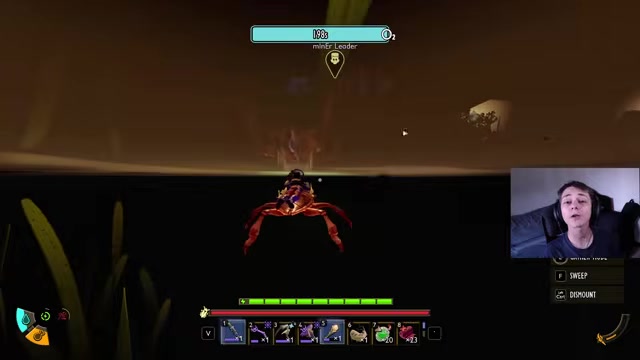
Remove armor if you want to avoid durability loss, or use tang-resistant gear such as Rust Beetle armor.
Keep resistance active
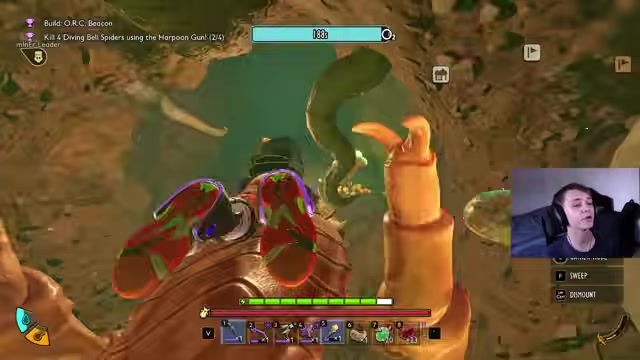
Equip Sour Sensation and keep healing smoothies ready while moving through the murky water.
Cut through the roots
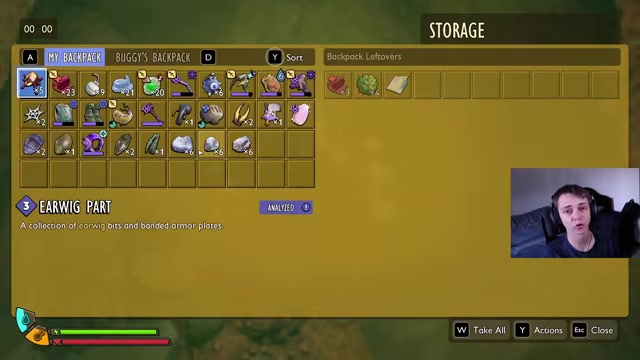
Use a Tier 3 Omnicutter to get through the roots and pond moss blocking the route.
Go through the pipe
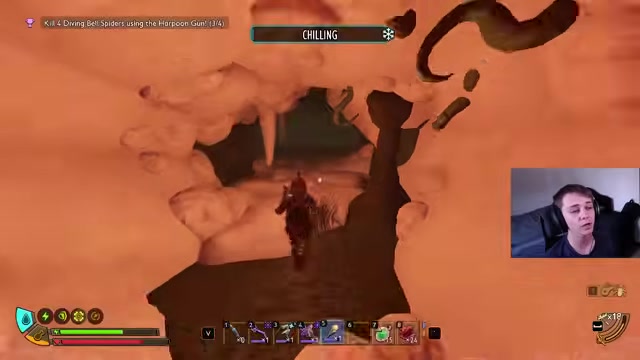
Follow the pipe into the soggy roots and keep cutting through the hidden path.
Leave the toxic section
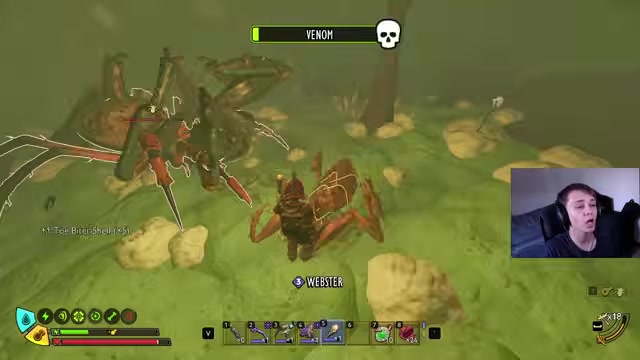
Once you exit the tang area, re-equip your armor before pushing into the cave.
Kill the striped bark scorpion
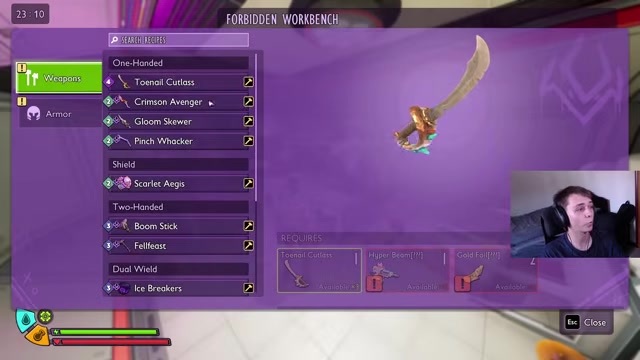
Defeat the striped bark scorpion inside, watching for the laser attack from its tail.
Chop the mushrooms
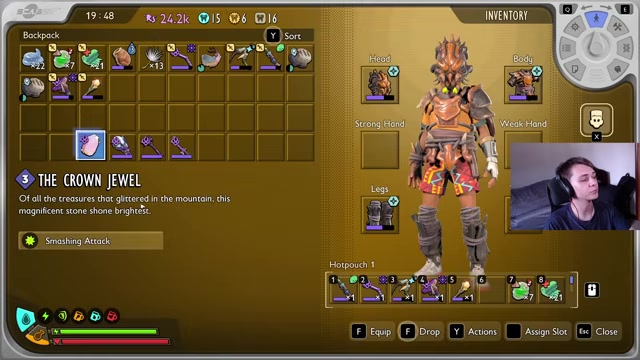
Cut down the mushrooms hiding the final pocket of the cave.
Pick up Cut Lass
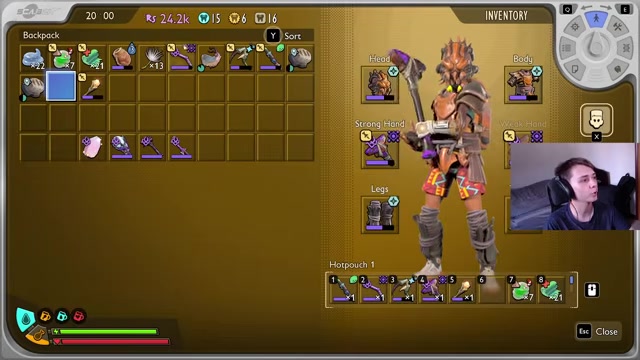
Grab Cut Lass from the rock behind the mushrooms.
Re-equip your armor as soon as you leave the sour pond section, because the striped bark scorpion fight starts after the environmental damage route.
How to get Felfeast
Find the bridge gnome
Go to the bridge area and stand by the giant gnome.
Turn toward the water
Face away from the gnome, then swim down near the fishing hook.
Enter the underwater cave
Go into the small cave beside the hook, using a Toe Biter Buggy if you have one.
Cut the cave blockage
Use a Tier 3 Omnicutter to open the deeper route.
Follow the deep tunnel
Keep going down through the cave with diving gear so you do not drown.
Loot the skeleton
At the slime mold area, take Felfeast from the skeleton and loot its data too.
How to get Rime Rend
Reach the Hot Wheels cave
Go to the edge between GnarliBark and the ice cream cart area, near where the Hot Wheels track ends.
Enter with chill protection
Head into the cave with armor or protection that helps against chilling.
Cut through the roots
Use your Tier 3 Omnicutter to clear the roots blocking progress.
Use bombs deeper in
Blow open the blocked section, then keep pushing through the cave.
Clear the Toe Biters
Defeat the Toe Biters and the deeper O.R.C. Toe Biters.
Pick up Rime Rend
Take Rime Rend from the rock behind the enemies.
What The Crown Jewel, Cut Lass, Felfeast, and Rime Rend do
| Item | Effect | Upgrade note |
|---|---|---|
| The Crown Jewel | Smashing Attack adds smashing damage to weapon attacks based on attack power, with extra damage on block breaks. | Works especially well with high attack-power, two-handed smashing weapons. |
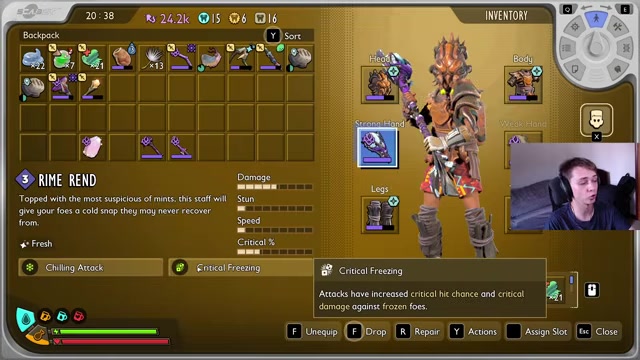
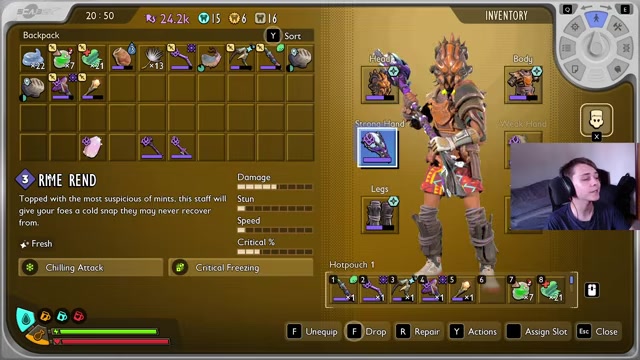
| Rime Rend | A stronger Glacial Sting variant with chilling attack and Critical Freezing. | Has slightly more damage and crit hit chance than Glacial Sting, but gains no extra level-up ability. |
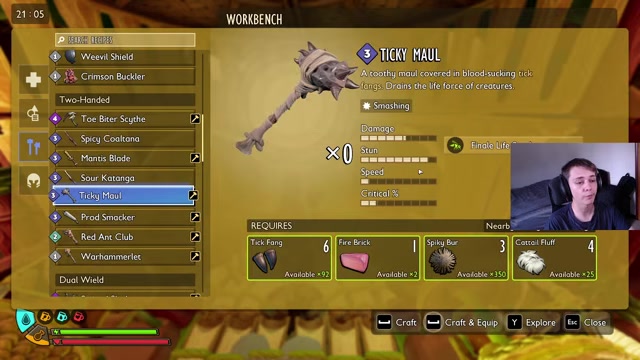
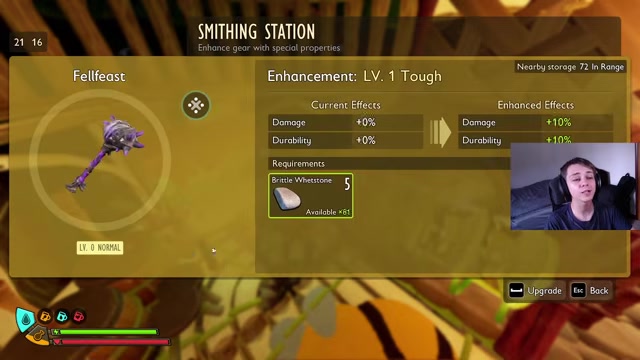
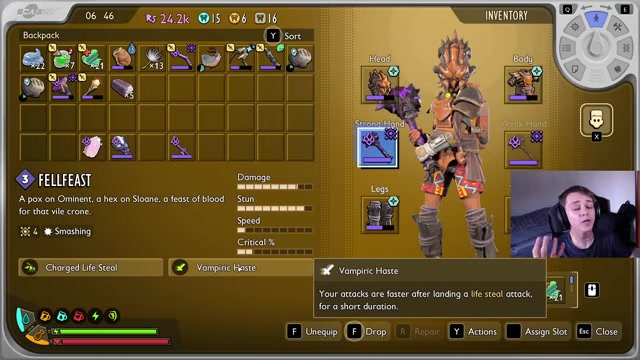
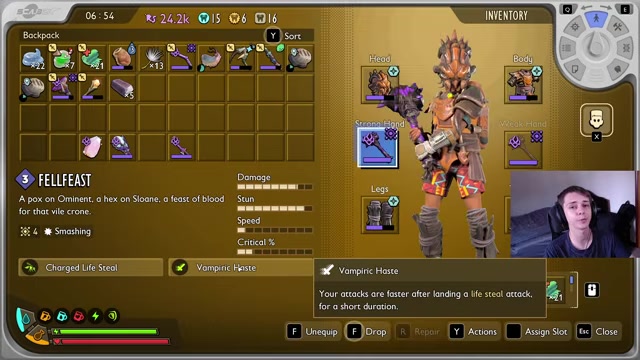
| Felfeast | A Ticky Maul variant with Charged Lifesteal instead of combo-finale lifesteal. | At level four on the mighty path, Vampiric Haste speeds attacks briefly after a lifesteal hit. |
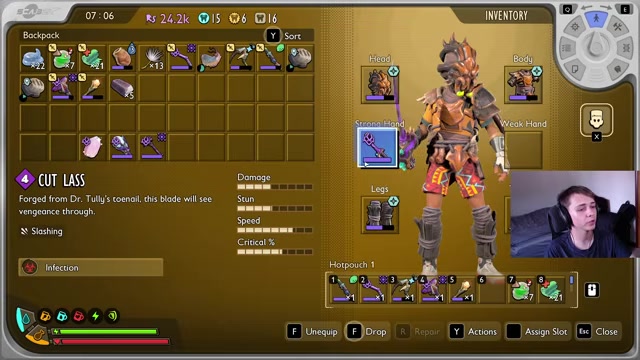
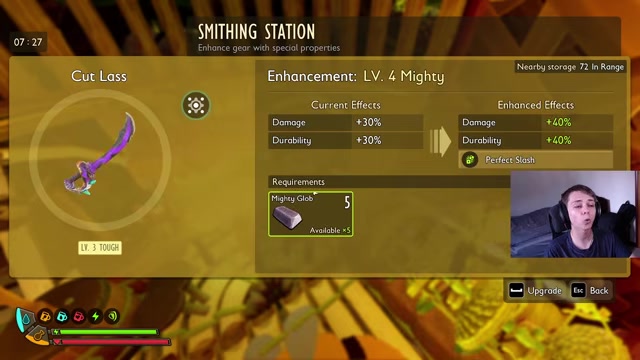
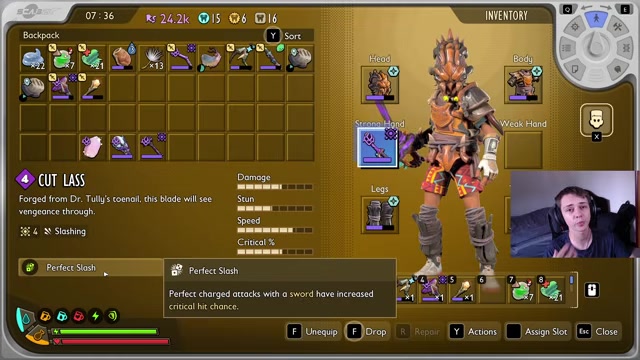
| Cut Lass | A Toenail Cutlass variant with Infection, slowing enemy attack speed and reducing attack damage. | At level four on the mighty path, Perfect Slash raises crit hit chance on perfect charged sword attacks. |
These items are variants or upgrades around existing playstyles rather than universal replacements. The Crown Jewel supports smashing builds, Rime Rend improves a freezing staff role, Felfeast rewards charged lifesteal play, and Cut Lass adds a stronger sword option for infection and perfect charged attacks.
Where Forbidden Workbenches fit in
Additional Masked Stranger weapons and trinkets are crafted at Forbidden Workbenches after discovery, not at regular crafting benches. You cannot build these workbenches yourself; they appear in certain Ranger outposts.
Pine Hill is the clearer example location for a Forbidden Workbench. The Ceremony area may also have one, but Pine Hill is the location to remember first when you need the Masked Stranger crafting station.
Related Grounded 2 guides
Frequently Asked Questions
Do these new Masked Stranger items require O.R.C. Wave farming?
No. These four Into the Abyss items are found as fixed pickups in specific locations, so you do not need to farm O.R.C. Waves to collect them.
Do you have to beat the Masked Stranger boss for these items?
No. The routes here are exploration pickups tied to caves, hazards, and guarded areas, not a Masked Stranger boss reward path.
Video help




Leave a Reply