
The three Aquatic Optical Disks are the Pond Aquatic Optical Disk in the Skunk Pond Diving Station, the Gnarly Bark Aquatic Optical Disk inside the hollow tree classroom area, and the Bridge Aquatic Optical Disk on the broken bridge guarded by a Green Shield Beetle.
Each disk is a separate Skunk Pond pickup, with one underwater route, one hollow-tree climb, and one risky bridge grab. Collecting all three opens the pond-focused Science Shop options tied to underwater gear, Toe Biter Buggy progress, and buoyant building pieces.
All three Aquatic Optical Disk locations
| Disk | Where to find it | Main danger |
|---|---|---|
| Pond Aquatic Optical Disk | Inside the Diving Station below the middle lily pad in Skunk Pond. | Dark water, cold, koi fish, and the toe biter landmark near the station entrance. |
| Gnarly Bark Aquatic Optical Disk | On the ground in the classroom-like room inside the hollow tree at Gnarly Bark. | Hornets outside, rust beetles and earwigs inside, plus a lethal fall risk. |
| Bridge Aquatic Optical Disk | On a lower plank of the broken bridge after crossing the beams with a spider buggy. | An ORC Green Shield Beetle spawns at the pickup platform. |
Key Use the table to pick your missing disk, then follow that disk’s route below. The Pond route is the best starting point if you are still building up your underwater kit; the Bridge route is shorter, but punishes hesitation.
Gear to bring before collecting the disks
For the Pond Aquatic Optical Disk, bring a Gill Tube and Fin Flops. A torch also helps because the swim down to the Diving Station and the tree interior both get dark enough that landmarks are easy to miss.
For Gnarly Bark and the Bridge, use a spider buggy or Orb Weaver Buggy to reach the upper routes faster. Be ready to either fight or slip past hornets, rust beetles, earwigs, orb weavers, and Green Shield Beetles; the routes are not long, but both can punish bad footing or stopping in the wrong place.
Keep moving through enemy rooms once your route is set; all three disks are pickups, and stopping to clear every fight adds more risk than value.
Pond Aquatic Optical Disk route
Start at the central lily pad
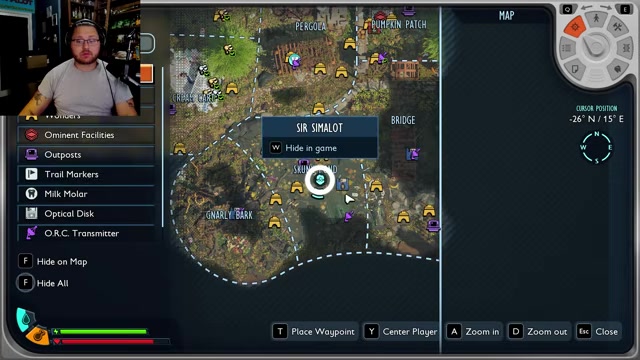
From the blue pole and fountain line, head to the lily pad in the middle of Skunk Pond.
Swim straight down
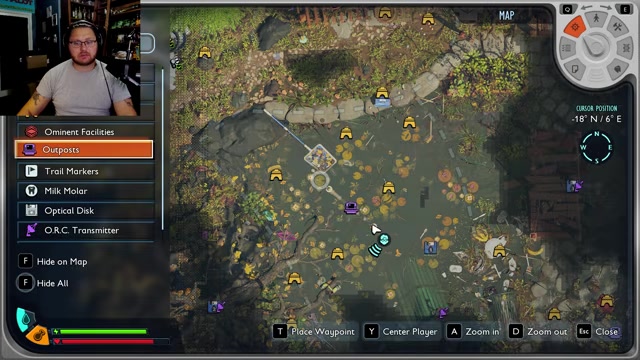
Drop into the water from the lily pad and keep descending toward the triangle-shaped section below.
Find the overcropping
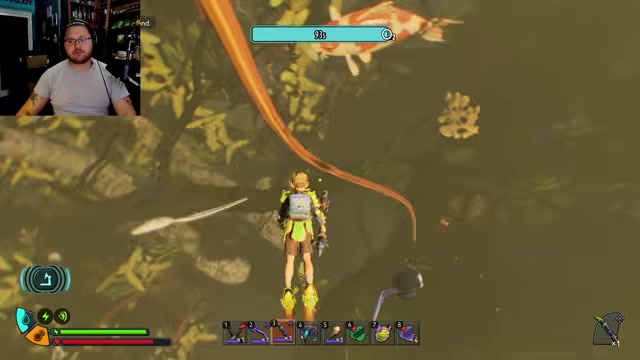
Use the overcropping under the triangle-shaped area as your line into the lower pond route.
Pass the toe biter
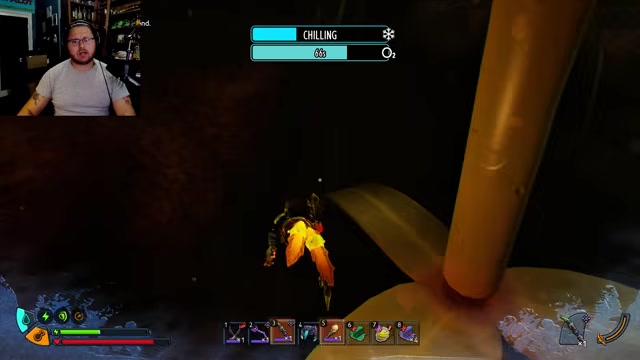
Keep going when you see the big toe biter; the Diving Station entrance is just beyond it.
Enter the Diving Station
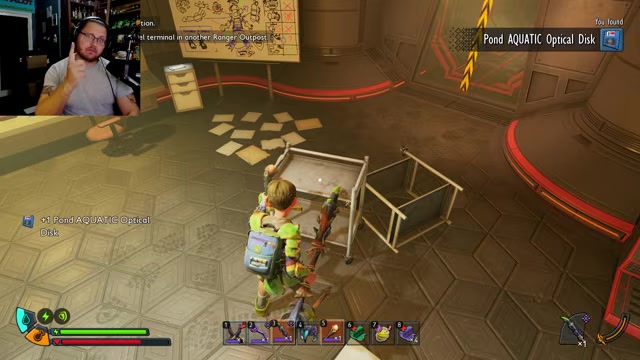
Climb the station ladder, cross the interior, then drop down the small ladder leading into the lower room.
Pick up the disk
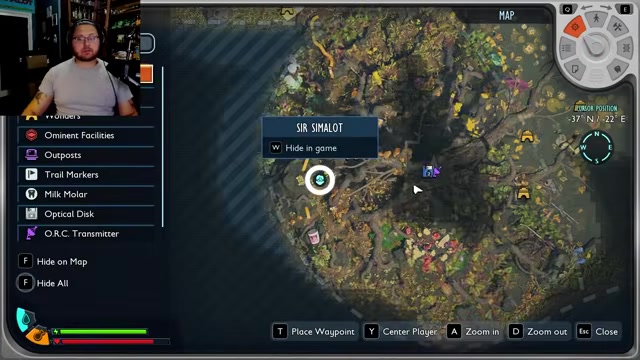
Grab the Pond Aquatic Optical Disk from the table in that room.
Gnarly Bark Aquatic Optical Disk route
Start near the controller
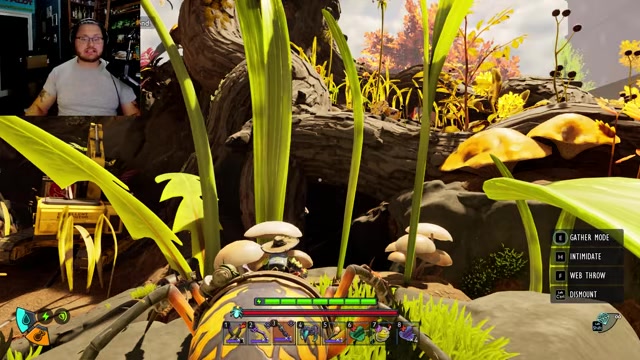
Go to the far side of Gnarly Bark by the controller and the earth mover.
Climb onto the branch
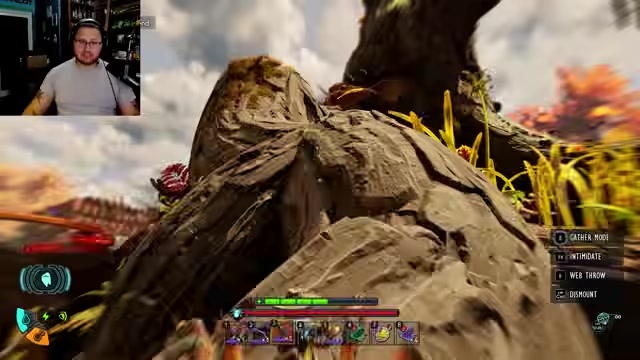
Use the mushrooms around the branch to reach the grassy bend in the tree.
Watch the hornets
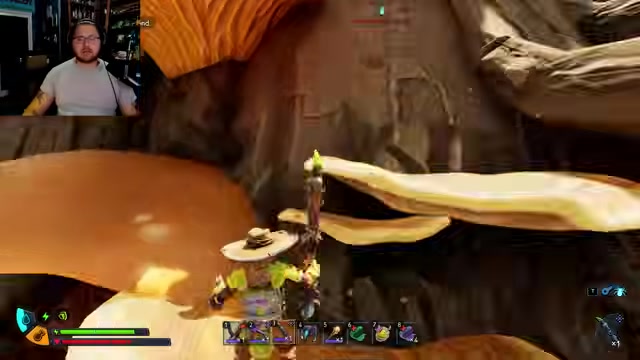
Keep moving through the outer climb and avoid getting pinned while your buggy is exposed.
Enter the hollow tree
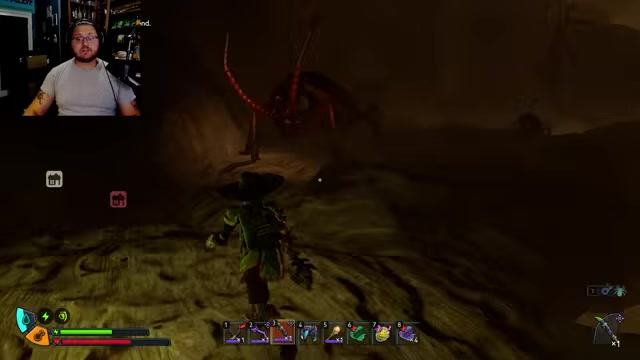
Send the Orb Weaver Buggy home before the interior climb so it is not left in enemy pathing.
Climb upward inside
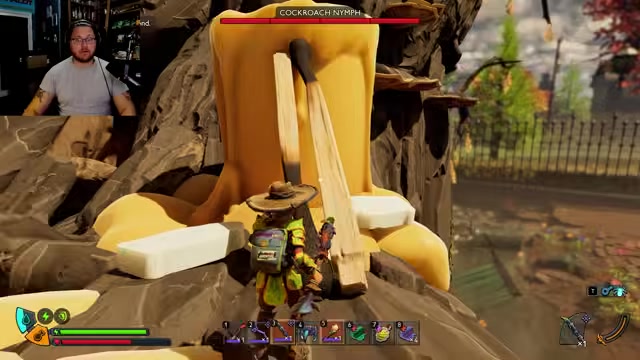
Work around the dark wood ledges with a torch out, ignoring cockroaches and earwigs when you can.
Use the candles as your landmark
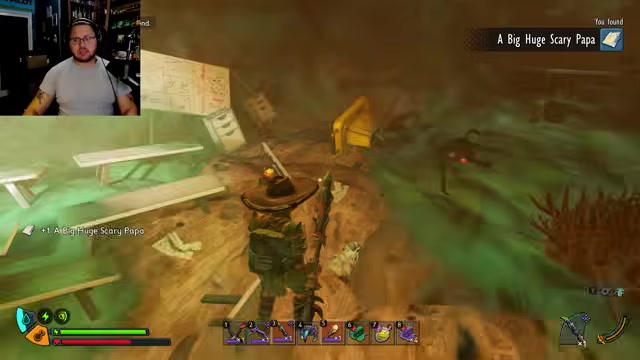
When you reach the candles, watch the sizzling buildup and cross into the classroom-like area.
Grab the disk from the ground
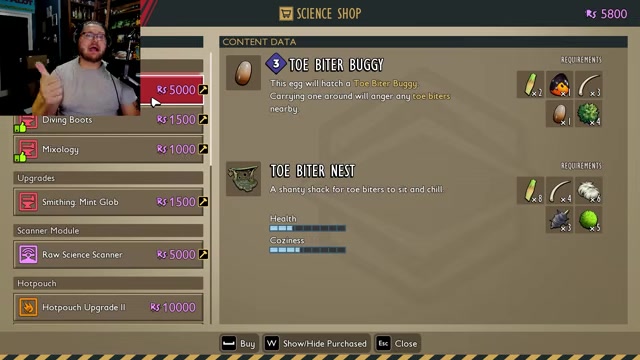
In the room with rust beetles and a black ant fighting, pick up the Gnarly Bark Aquatic Optical Disk from the floor.
Leave carefully
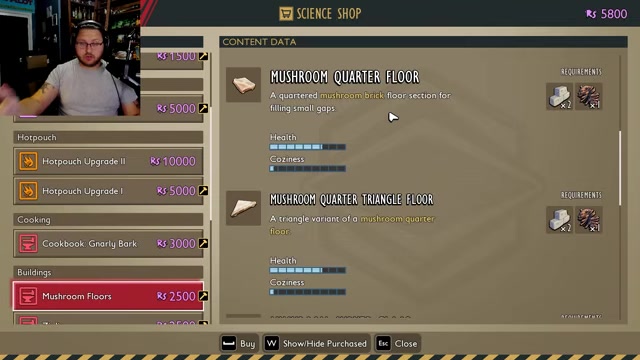
Use the outside ledges with patience, because the fall from this area can kill you.
Bridge Aquatic Optical Disk route
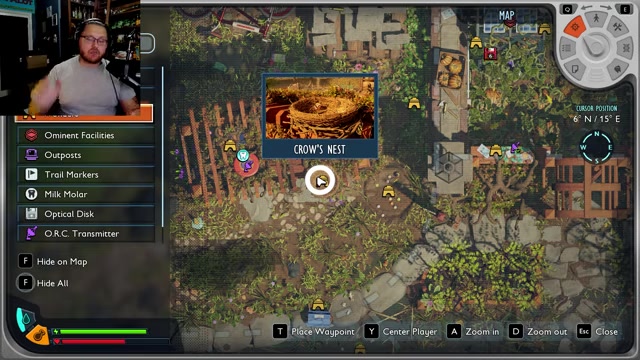
Reach the broken bridge
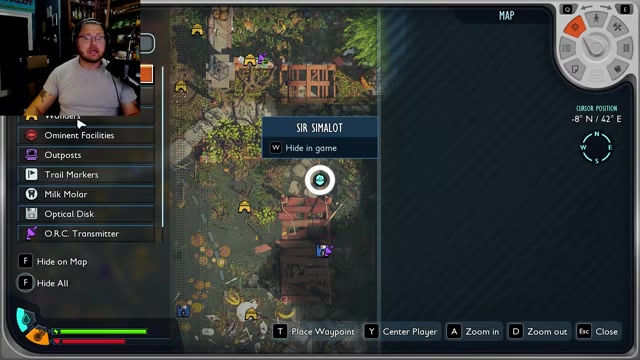
Approach the bridge from the garden-side door or run in from the bridge side shown on the map.
Cross the beams with a spider buggy
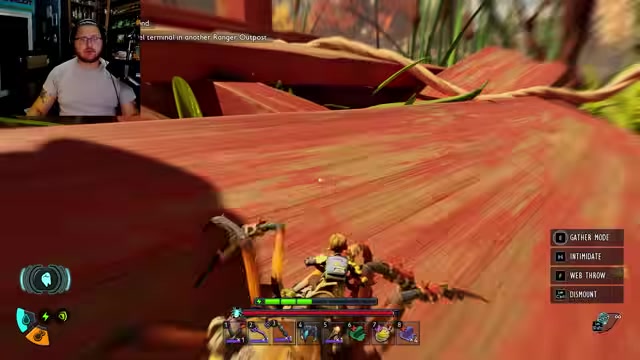
Ride across the red bridge beams, weaving back and forth while watching for orb weavers.
Hop to the upper beam
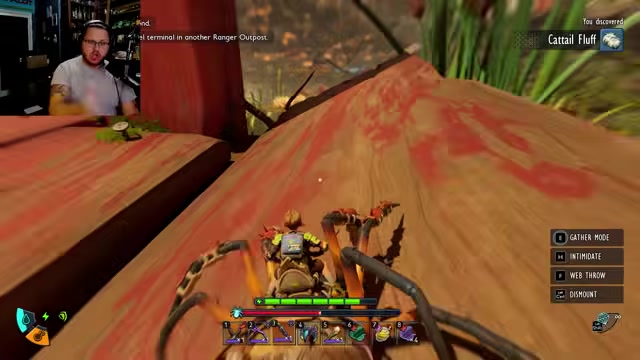
Jump left onto the connected beams and climb to the spot above the lower platform.
Drop to the disk
Jump down to the lower red plank where the Bridge Aquatic Optical Disk sits.
Grab and leave immediately
Take the disk and move out before the ORC Green Shield Beetle spawn traps you on the platform.
Check the nearby body only if safe
The body and backpack can have extras such as a Worn Pamphlet, but the disk should come first.
Science Shop unlocks from each Aquatic Optical Disk
| Disk | Unlocks |
|---|---|
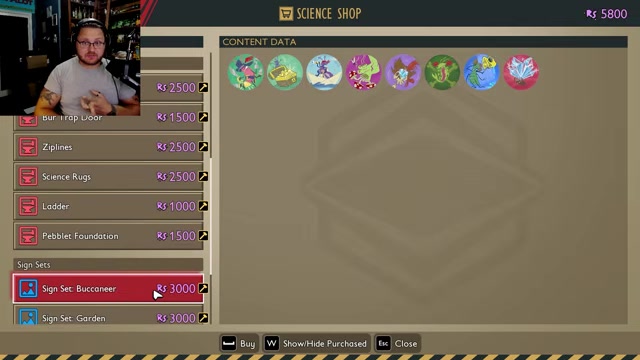
| Pond Aquatic Optical Disk | Diving Helmet (1,500 Raw Science), Croakwurst, underwater cooking: Pressure Cooker, Boatman Fin Soup, Tadpoloca Pudding; Sign Set: Swim. |
| Gnarly Bark Aquatic Optical Disk | Toe Biter Buggy, Toe Biter Nest, Diving Boots, Cookbook: Gnarly Bark with Toejambalaya and Mosquite Skewers; Mushroom Floor. |
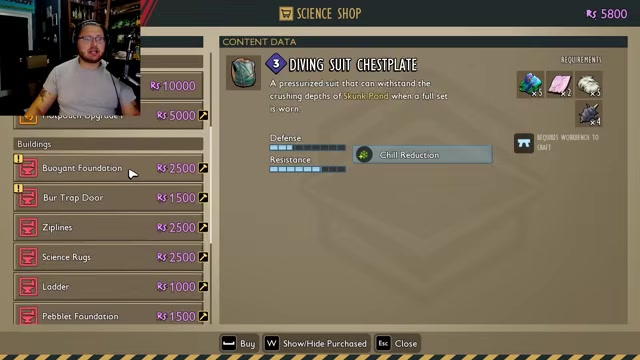
| Bridge Aquatic Optical Disk | Diving Suit Chestplate, Buoyant Foundation, Bur Trap Door, Sign Set: Buccaneer. |
Key Insert each Aquatic Optical Disk at a Ranger Station. Each turn-in gives 1,000 Raw Science and adds that disk’s group to the Science Shop.
Related Grounded 2 guides
Frequently Asked Questions
Bark Aquatic Chips and Aquatic Optical Disks the same thing?
Yes. Players may use Aquatic Chips as shorthand, but the in-game pickup names use Aquatic Optical Disk: Pond, Gnarly Bark, and Bridge.
Which Aquatic Optical Disk should I get first for Abyss progression?
Get the Pond Aquatic Optical Disk first. It asks for basic swim gear instead of a hollow-tree climb or a Green Shield Beetle escape, so it is the cleanest first stop before deeper pond runs.
Where do I turn in Aquatic Optical Disks?
Use a Ranger Station terminal after picking up a disk, then check the Science Shop for the new purchase group. You can turn them in one at a time, so there is no need to carry all three before spending Raw Science.
Video help




Leave a Reply