Screen Recording is a great feature when communicating with someone, it allows you to record and showcase all your actions on the screen, ensuring that the concerned user can easily follow along.
You can screen record in multiple ways in Windows 11, using third-party applications or native tools. Most screen recorders allow you to record audio from input devices, while some even allow you to record your system audio.
So which is the best tool to use? Let’s find out!
Best screen recorder apps for Windows 11 in 2023
Here are our top picks for the best screen recorders currently available on the market for Windows 11.
Most of our choices are open-source tools that respect user privacy. However, there are some closed-source listings. We recommend you go through the product details before making your decision. Let’s get started.
1. Snipping Tool
Snipping Tool has received a lot of quality-of-life improvements in the past couple of months. The UI has been updated to match the overall Windows 11 aesthetic, and most of all, you can now record your screen using the Snipping Tool. This eliminates the hassle of using various workarounds to record your screen natively on Windows 11. Here are a few prominent features of the new Snipping Tool that help it stand out from the crowd.
- Multiple Screen capture support
- Screen recording support
- Annotation support (only screenshots)
- Native Windows utility
- Lightweight and easy to use
- Dedicated keyboard shortcuts
- In-built sharing options
Related: Screenshots on Windows not working? 8 Fixes
2. ShareX
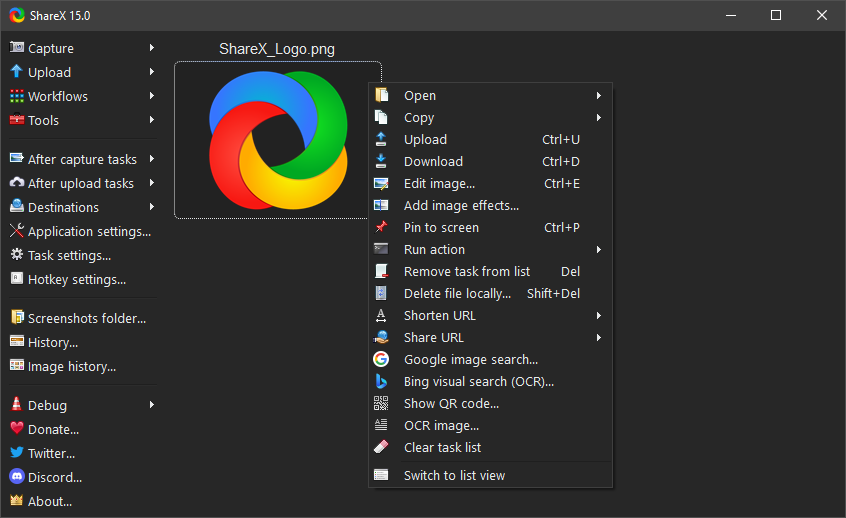
ShareX is another popular screen-capturing tool bundled with tons of features. You can capture different regions, windows, and more while performing after-capture automated tasks that help complement your workflow. ShareX can also record your screen in the .MP4 or GIF format. This can be quite useful as you can prioritize quality or sharing size based on your immediate needs and requirements. ShareX also has tons of customizable options that can help you capture almost everything on your screen. It even has built-in tools like an image editor, Ruler, image combiner, splitter, the ability to add image effects, and a lot more. You can also create multiple workflows to have ShareX behave according to the task at hand. Here are some of the best features of ShareX that make it one of our top picks when it comes to screen recording on your PC.
- Open-source and free tool
- Support for multiple sources and regions
- Advanced hotkey support
- No advertisements
- Lightweight and intuitive design
- Support for after-capture tasks
- Support for customized workflows
- In-built tools
Related: How to take scrolling screenshots on Windows 11 [2023]
3. Xbox Game Bar
Xbox Game Bar is the preinstalled Xbox utility that has been a boon for gamers since its release. Although initially infamous for its resource usage, Xbox Game Bar soon mended its reputation by introducing new and interesting features for free alongside resource optimizations.
Depending on your preferences, you can now use the Game Bar to record your screen with or without system audio easily. Simply press Windows + G on your keyboard to bring up the Game Bar whenever you wish.
In addition to screen recording, you also get the ability to capture your screen as well as the ability to view performance metrics during long gaming sessions. Here are some prominent features the Xbox Game Bar offers in Windows 11.
- Per-app volume control
- System performance monitoring widgets
- Music and media widgets
- Screen capturing capability
- Xbox Live chat
- Custom Hotkeys
- Controller Bar (upcoming)
- Ability to link the following social platforms
- Steam
- Twitch
- Discord
- Support for third-party app widgets
4. OBS Studio
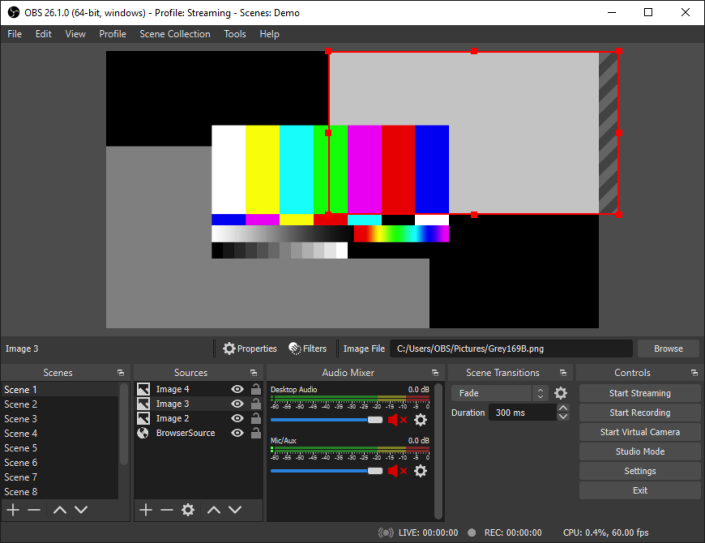
OBS Studio has been an industry staple since its release back in 2012. Thanks to its easy and comprehensive design, it has been the go-to choice for many professional streamers.
Unlike many free offerings on the market, OBS Studio has creator-centric features that allow you to adjust almost any aspect of your recording or stream.
This gives you complete creative control over your content, which everybody can enjoy. Here are the prominent features offered by OBS Studio.
- Support for scenes
- Real-time video and audio capture
- Support to capture windows, images, text, browsers, capture cards, and other sources
- Support for custom transitions
- Multiple audio source support
- Comprehensive audio mixer
- Audio filters
5. FFmpeg
FFmpeg has long been the go-to utility for command line and terminal enthusiasts thanks to its open-source nature and huge libraries and programs.
This suite is well known for its comprehensive coverage of everything audio and video and can be used to record your screen easily. You can choose to use the command-line interface or opt for one of the popular GUIs like Screen Capture Wrapper.
Here’s a list of all the features offered by FFmpeg.
- Format based transcoding
- Trimming support
- Support for Video scaling, Video Effects, Video and audio compression
- Extracting images
- Screen capture capability
- GIF and PDF support for making videos
6. Nvidia GeForce Experience
Nvidia GeForce Experience is the free gaming utility and overlay offered by Nvidia to all its graphics card users. GeForce Experience can capture your screen and has numerous other features to help you make the most of your games.
You get access to the Nvidia overlay, automatic optimization, and even the ability to update your drivers automatically. If you want to record your screen and own an Nvidia GPU, then the GeForce experience might be the best choice.
- Nvidia ShadowPlay
- Nvidia Highlights
- Ability to broadcast live to social media platforms
- Automatic driver updates
- Nvidia Ansel photo mode
- Nvidia Game Filters
7. Microsoft PowerPoint

Microsoft PowerPoint also has a built-in screen recorder that can help you record your screen and use the video in your presentations. But you can also save this video locally and use it as intended.
If you already have Microsoft Office installed on your PC and do not wish to install another program for screen recording, then this might be the best option for you. Here are the prominent features offered by the built-in screen recorder in PowerPoint.
- Ability to define custom regions to screen capture
- Capture mouse pointer
- Capture audio from input devices
- Capture system audio
8. VLC Player
VLC has been a long-standing open-source media player that has been the favorite of many users worldwide. It offers the ability to capture your screen seamlessly with simple clicks.
VLC offers you the basic options to configure your recording while allowing you to capture audio as well. Here are the features offered by VLC.
Note: VLC is not the recommended solution if you also wish to record audio. Recording audio with VLC can be buggy and might result in no audio or distorted audio.
- Simple screen capture
- Customizable video profile
- Customizable frame rate
- Simple export options
9. ScreenGun
ScreenGun is another screen-capturing software popular for its ease of use and comprehensive features. ScreenGun is an open-source project working off of FFmpeg hosted on GitHub.
The tool is simple and is only suitable for short recordings at lower frame rates. If you want to record high frame rate content, we recommend you opt for one of the more comprehensive options mentioned in this list.
- Open Source
- Customizable capture region
- Easy to use
- Publically hosted
- Based on FFmpeg
Alternatives
If the above screen recorders do not fit your requirements, you can try one of the alternatives mentioned below.
These alternatives offer features similar to the tools above, with additional add-ons that might help fulfill your requirements.
- Loom | Download Link
- SimpleScreen Recorder | Download Link
- VirtualDub | Download Link
- UltraVNC Screen Recorder | Download Link
- Freeseer | Download Link
- Krut Computer Recorder | Download Link
- Captura | Download Link
How to screen record in Windows: Step-by-Step guides
Let’s take a look at Snipping Tool and ShareX and how you can use them to record your screen in Windows 11. ShareX and Snipping Tool are some of the easiest ways to record your screen on Windows 11. If you don’t wish to download a separate tool to help you record your screen, then you can use the Snipping Tool. If you’d like more control over the format you record in and the region you capture, then we recommend you check out ShareX instead. Let’s get started.
1. Using the Snipping tool
You can use the steps below to record your screen using the Snipping Tool on your PC.
Open the Start menu and search for Snipping Tool. Launch the tool once it appears in your search results.

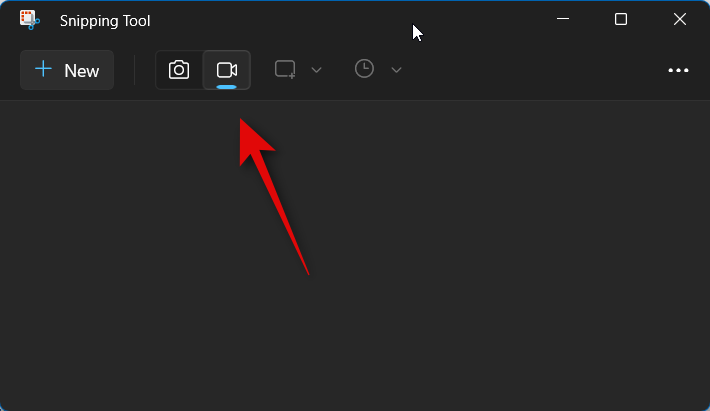
Now click the Video icon at the top.
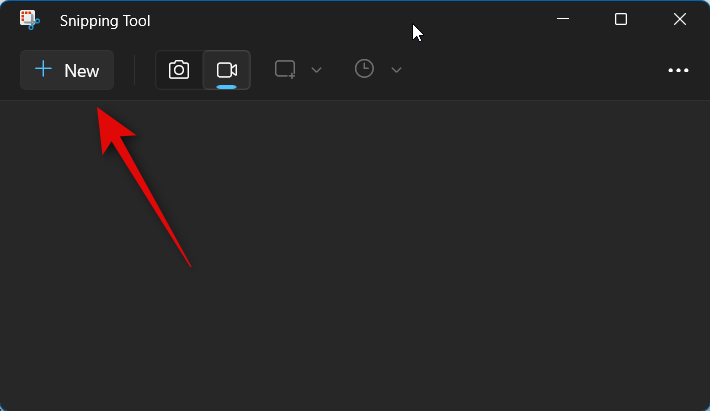
Click New.
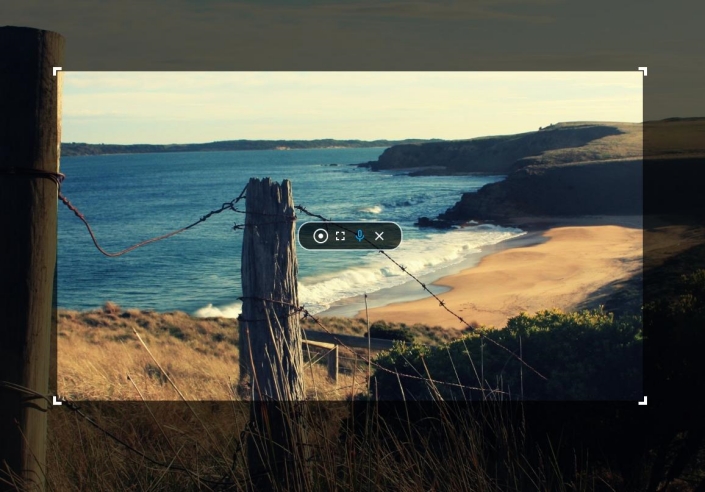
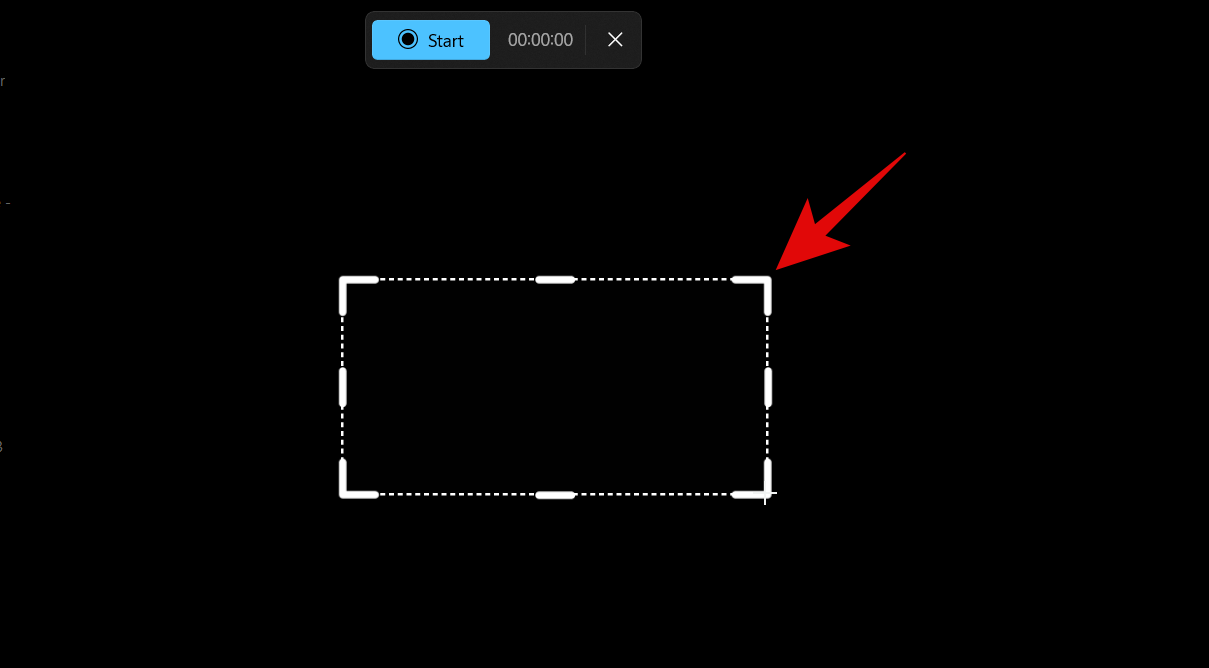
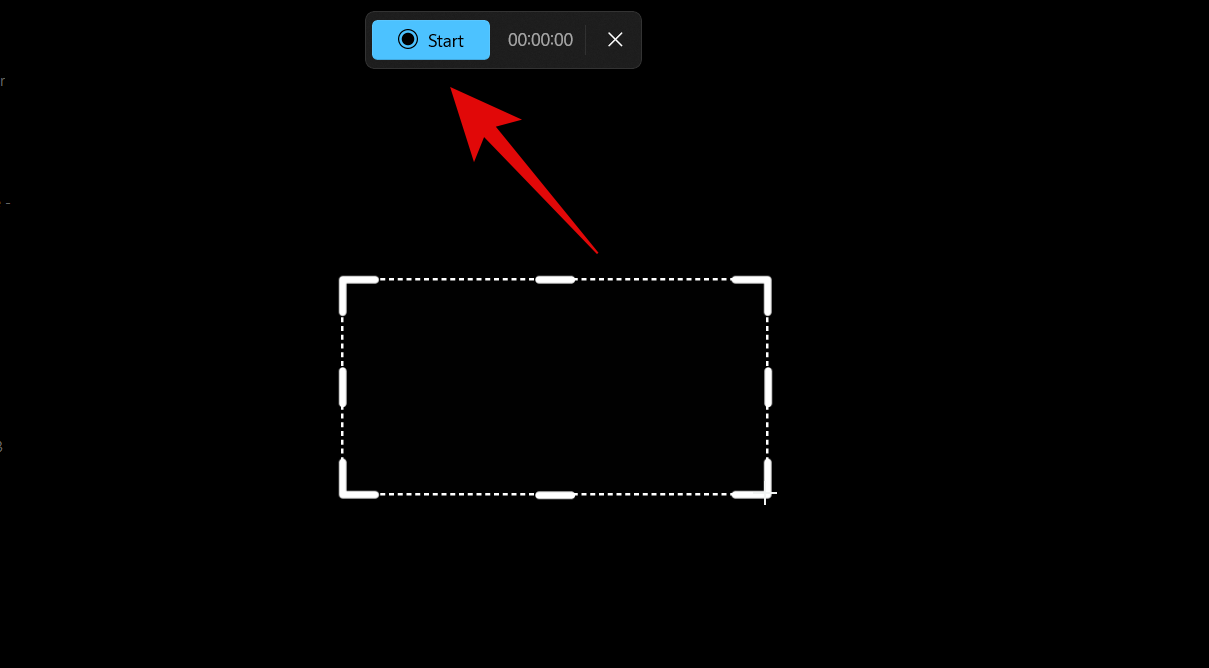
Now click and drag on your screen and select the region you wish to record. You can resize your capture selection by clicking and dragging either corner.
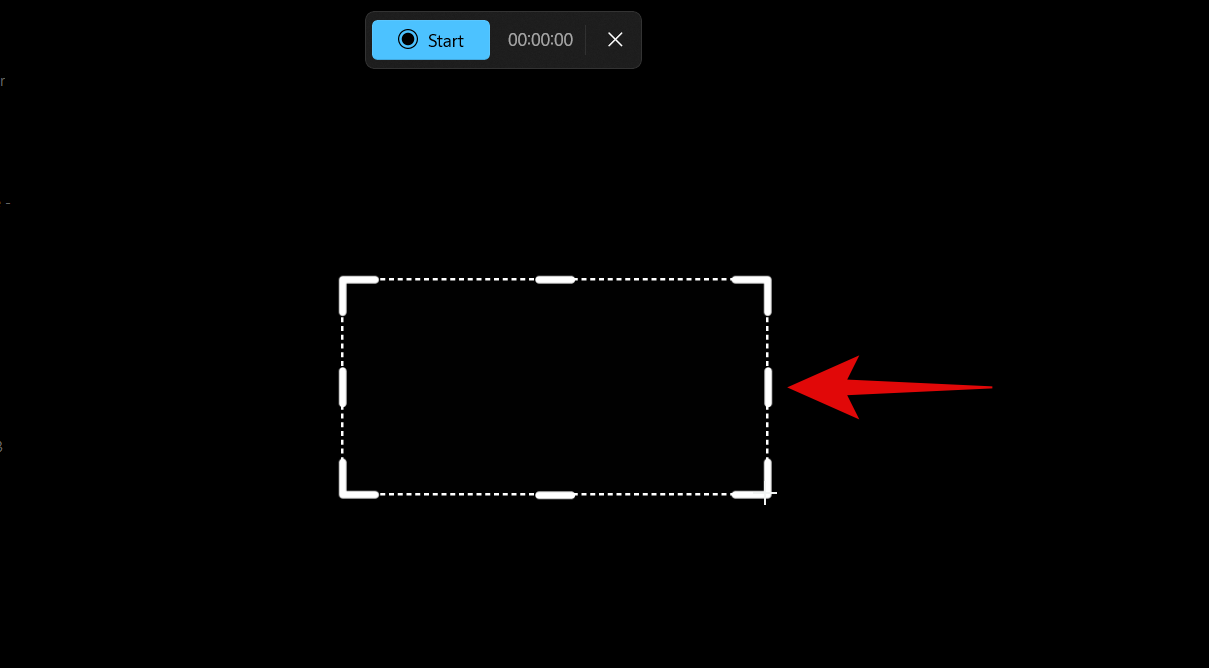
You can also resize it using the markers on each side. Click and drag the region to reposition it on your screen.
Once you’re ready, click Start at the top.
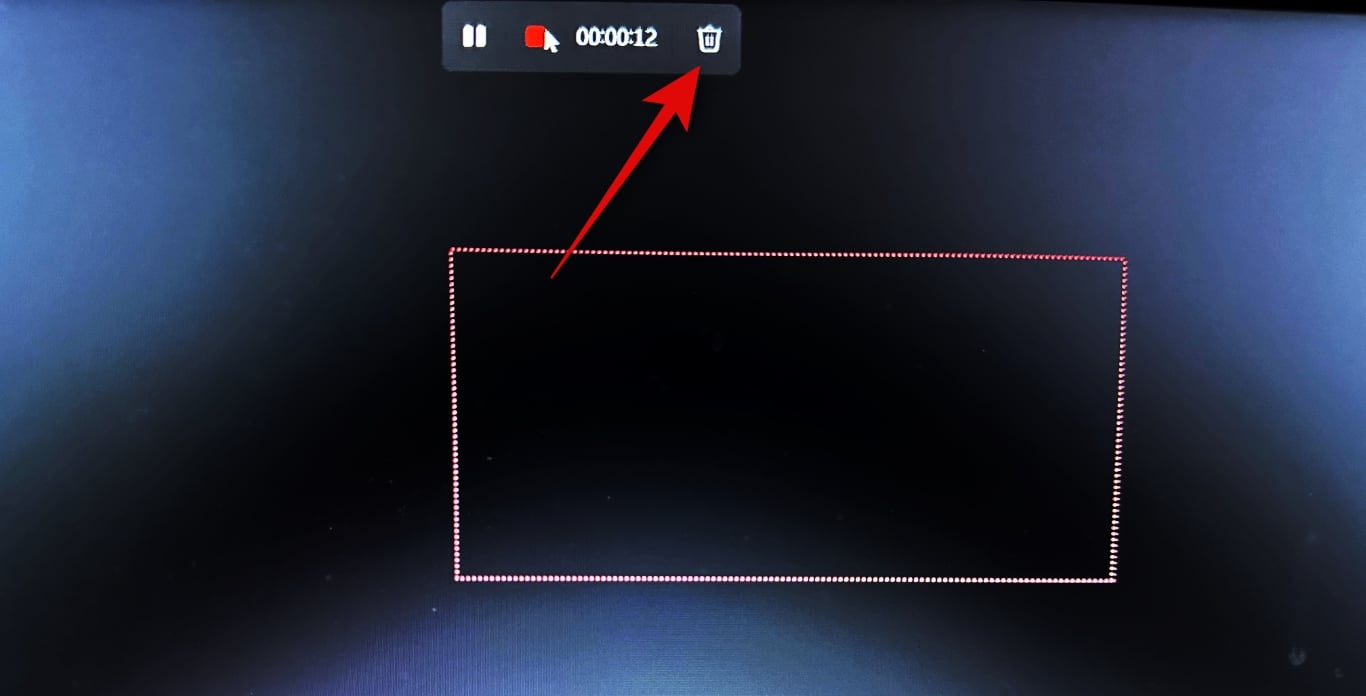
You can now use the Pause icon to temporarily pause your screen recording.

Once you are done recording, press the Stop icon.

You can also click the Bin icon to discard the current recording and start over.
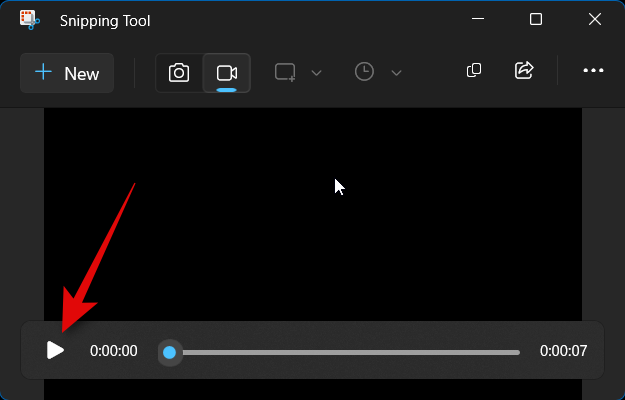
Once you click the stop icon, the recording will open in the Snipping Tool. Click the Play icon to view a preview.
You now have the option to copy the recording to your clipboard, so you can paste it into a compatible app or service. Click the Copy icon in the top right corner.
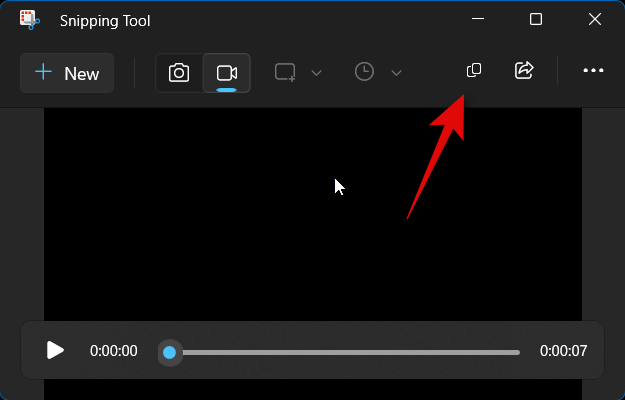
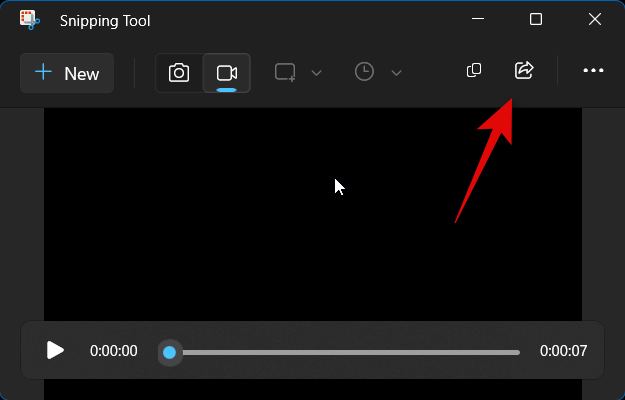
You can also share the recording with your contacts and nearby devices. Click the Share icon if you wish to do so.
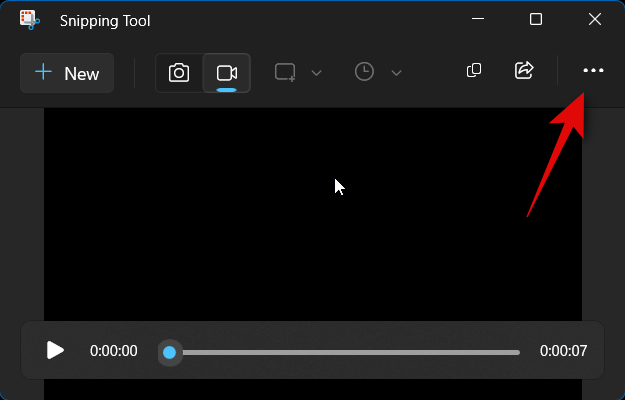
Lastly, click the 3-dot () icon in the top right corner to save your recording to your local storage.
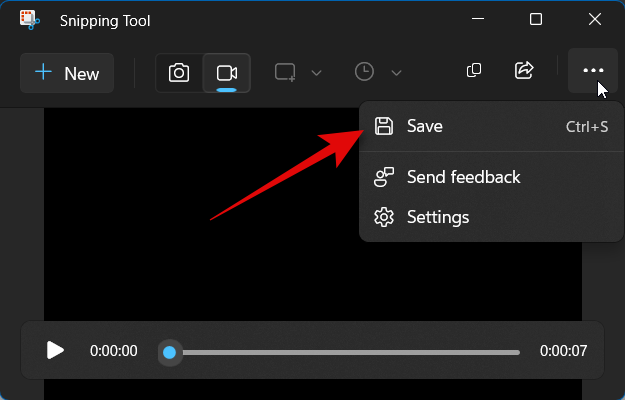
Select Save.
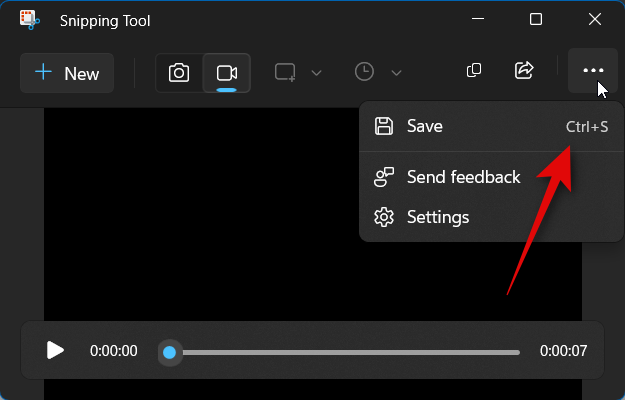
Alternatively, you can also use the Ctrl + S keyboard shortcut.
Now choose a preferred location for your screen recording.
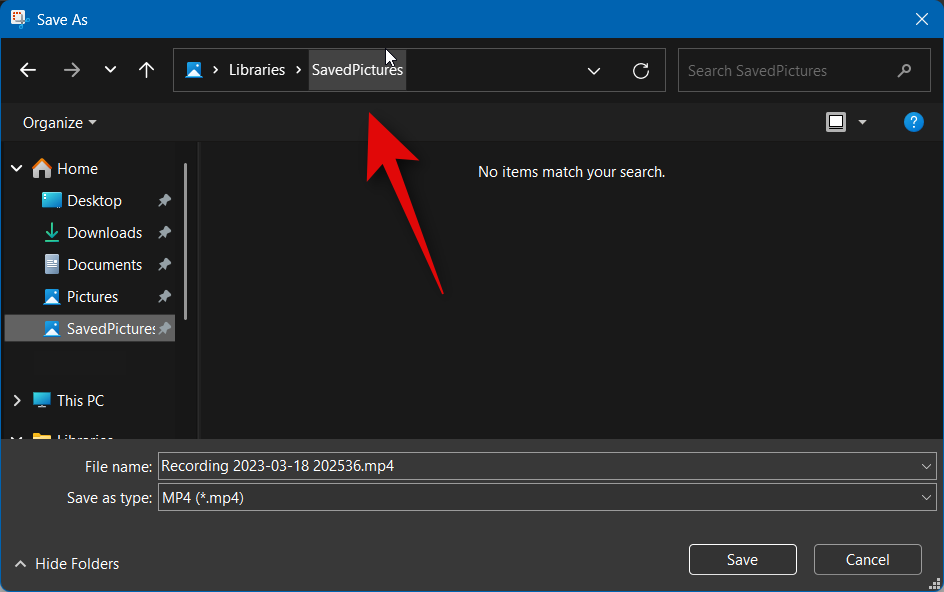
Type in the preferred name at the bottom.
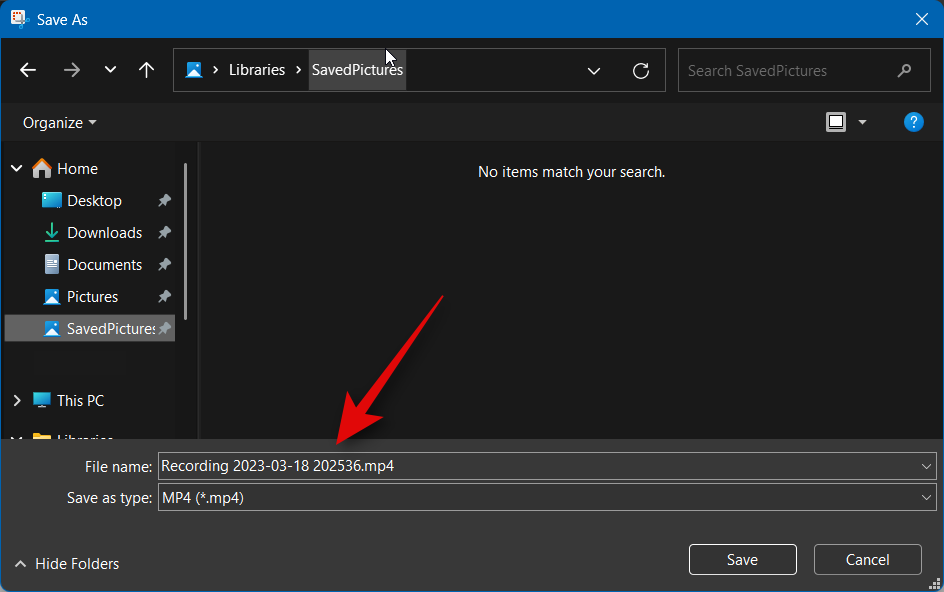
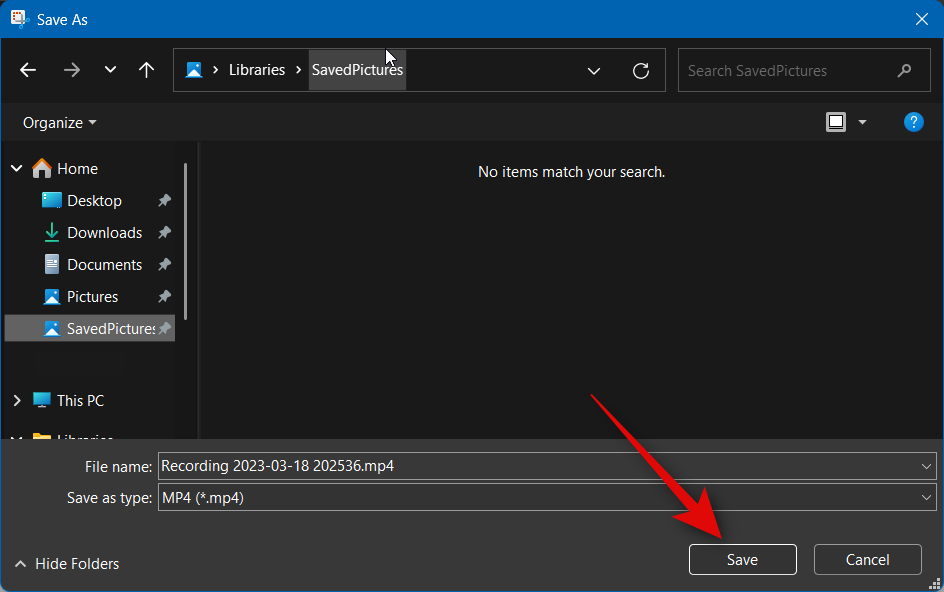
Now click Save.
And that’s how you can record your screen using the Snipping Tool on Windows 11.
2. Using ShareX
Follow the steps below to help you use ShareX to record your screen on your PC.
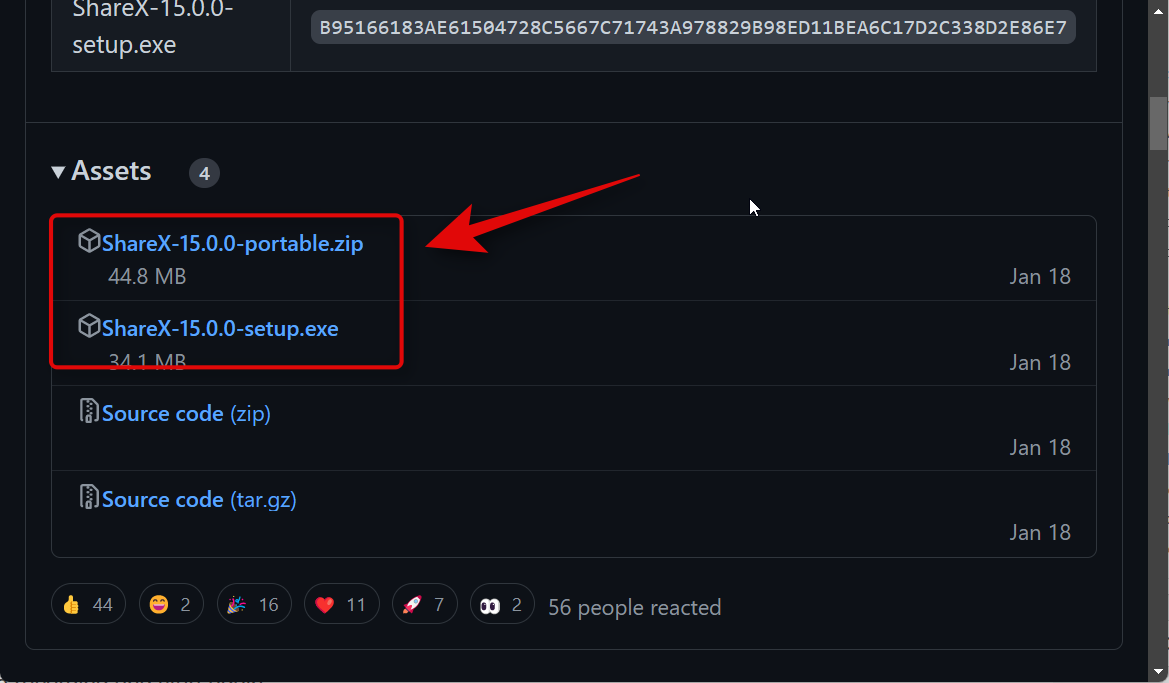
Open https://github.com/ShareX/ShareX/releases in your browser and download the latest release for ShareX for your PC. Depending on your preferences, you can download the portable package or the installer.
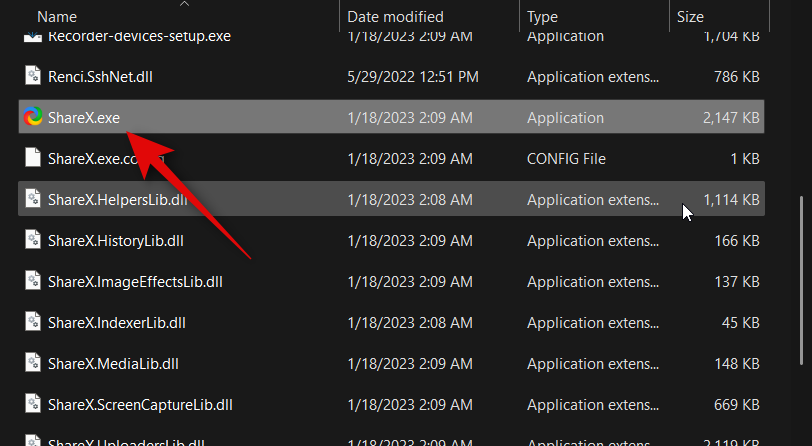
If you downloaded the installer, double-click it and follow the on-screen instructions to install ShareX on your PC. If you downloaded the portable package, then extract the archive and use ShareX.exe to launch ShareX on your PC.
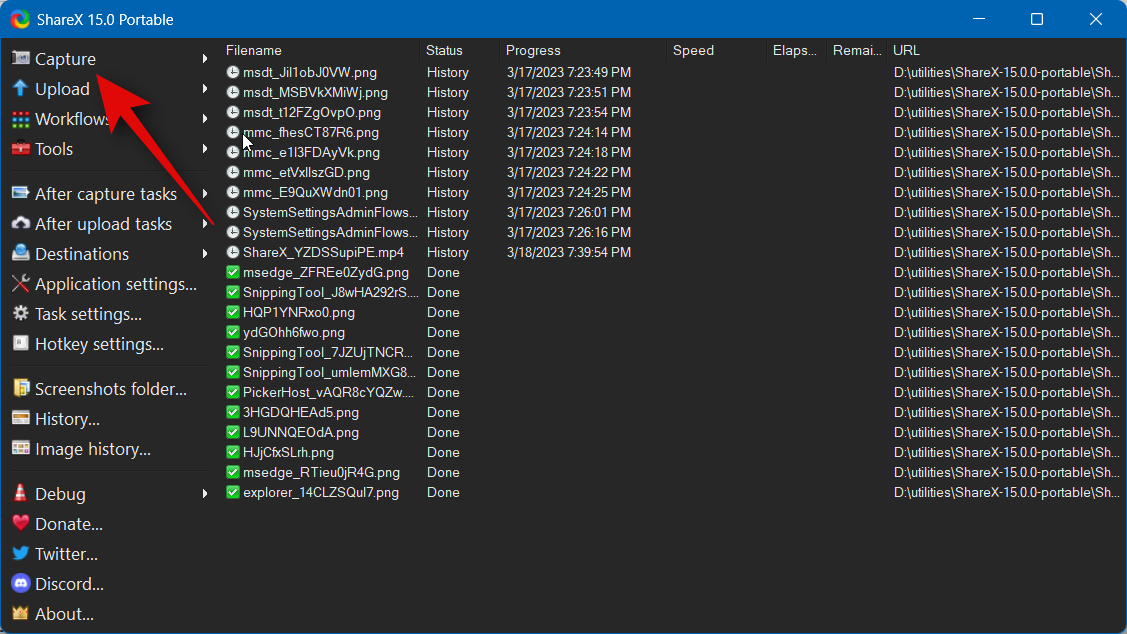
Once ShareX is launched, click Capture in the left sidebar.
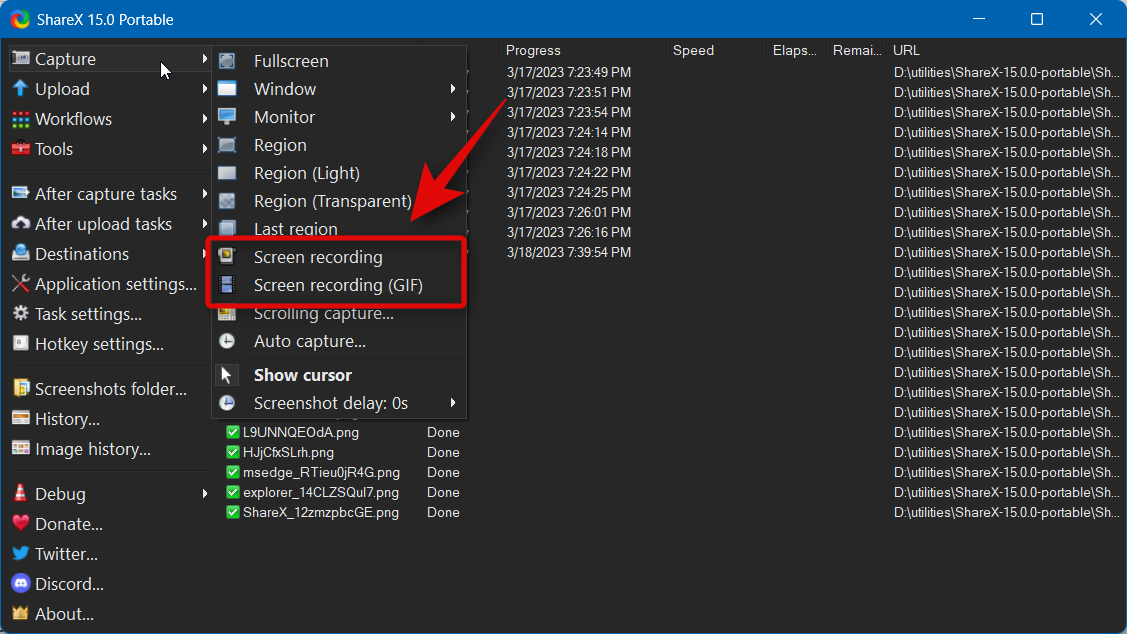
Now select Screen recording if you wish to record and capture your screen in the .MP4 format. Select Screen recording (GIF) if you wish to record in the GIF format.
Click and select the region you wish to record. ShareX will automatically detect and resize the capture region based on your selected window or area.
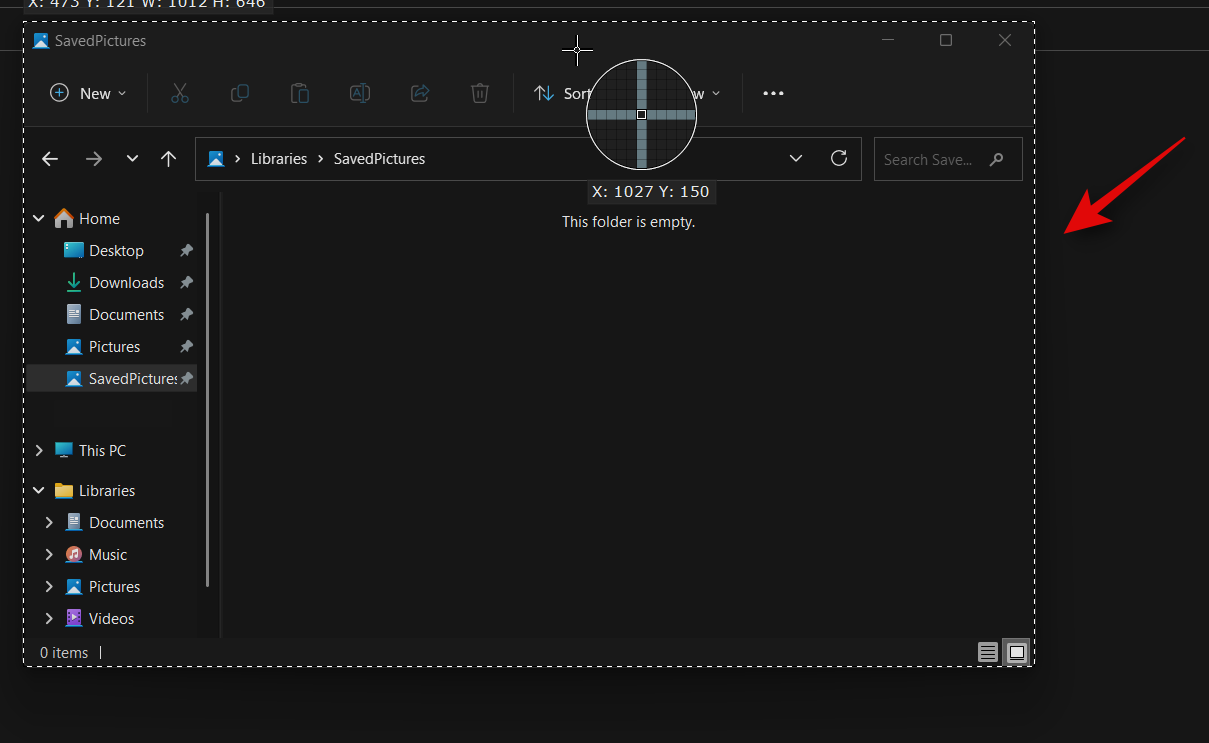
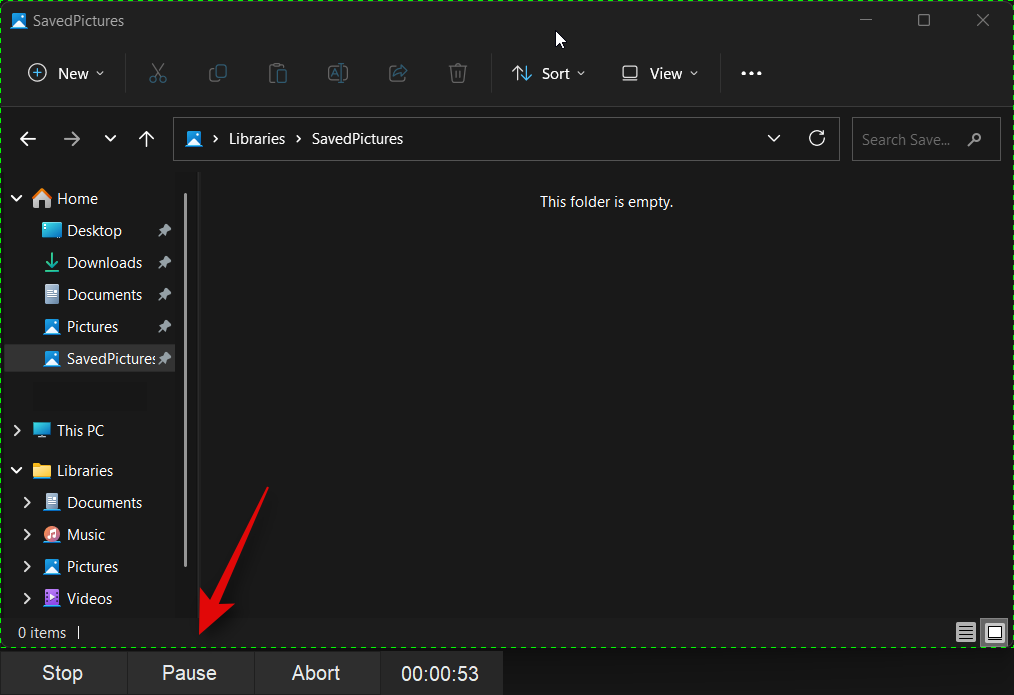
The recording will begin as soon as you click and select your region. Click Pause to pause the recording temporarily.
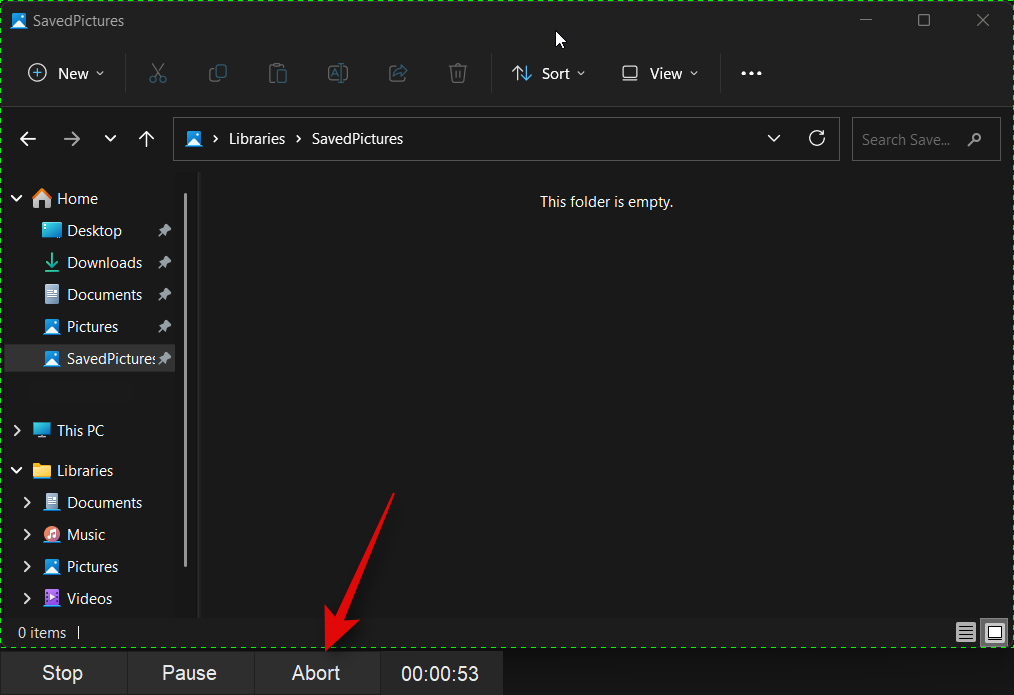
Click Abort if you wish to discard the recording and start again.
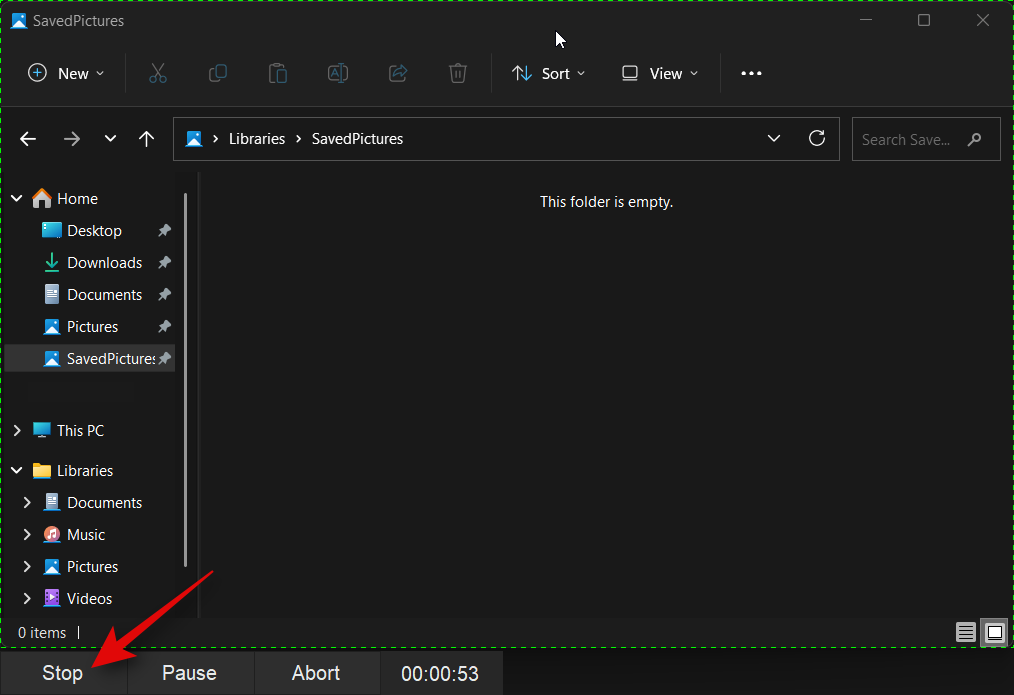
Click Stop to stop recording the selected region. The recording will be stopped and saved as soon as you click Stop.
You can now find the recording in the ShareX library.
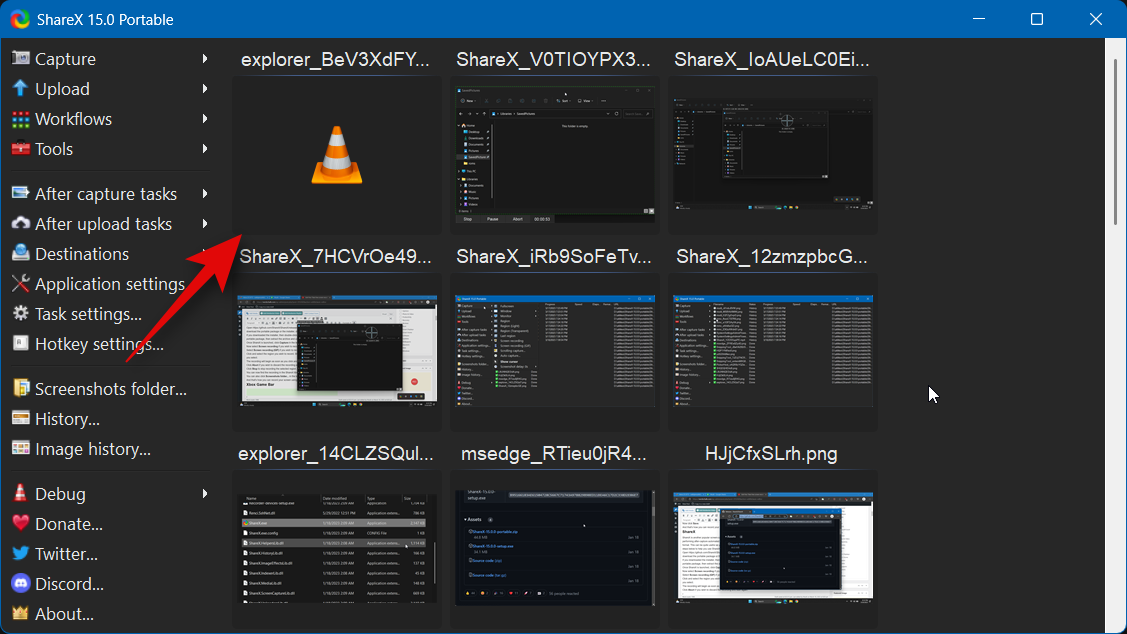
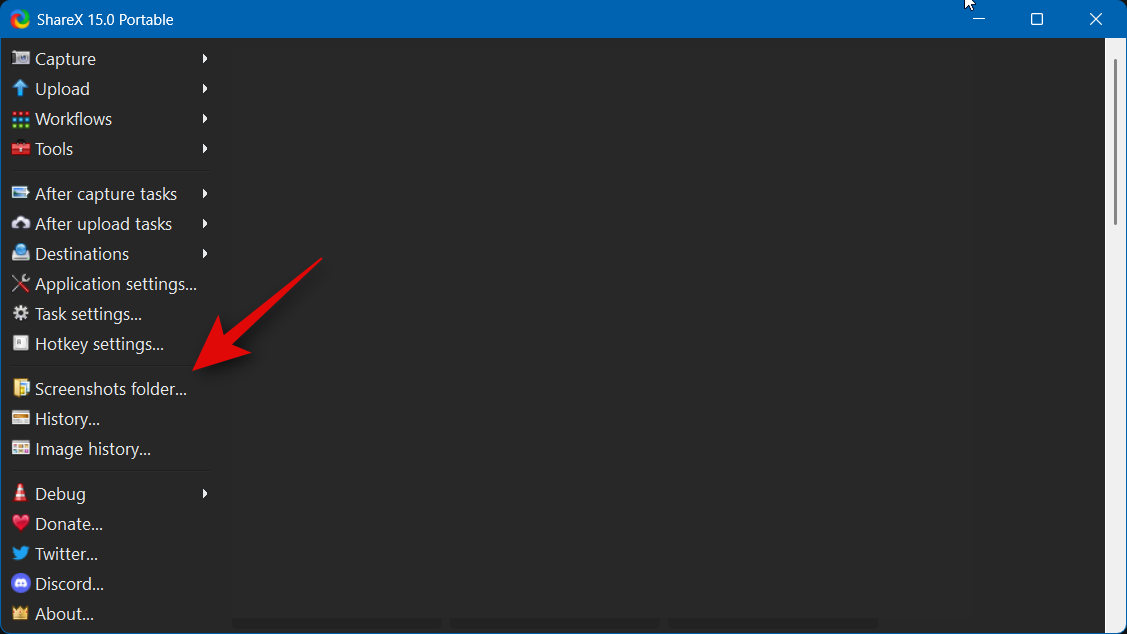
You can also click Screenshots folder… in the left sidebar to find the recording on your local storage.
And that’s how you can record your screen using ShareX on your PC.
We hope this post helped you find the best screen recorder based on your needs. If you have any more questions, feel free to reach out using the comments below.