
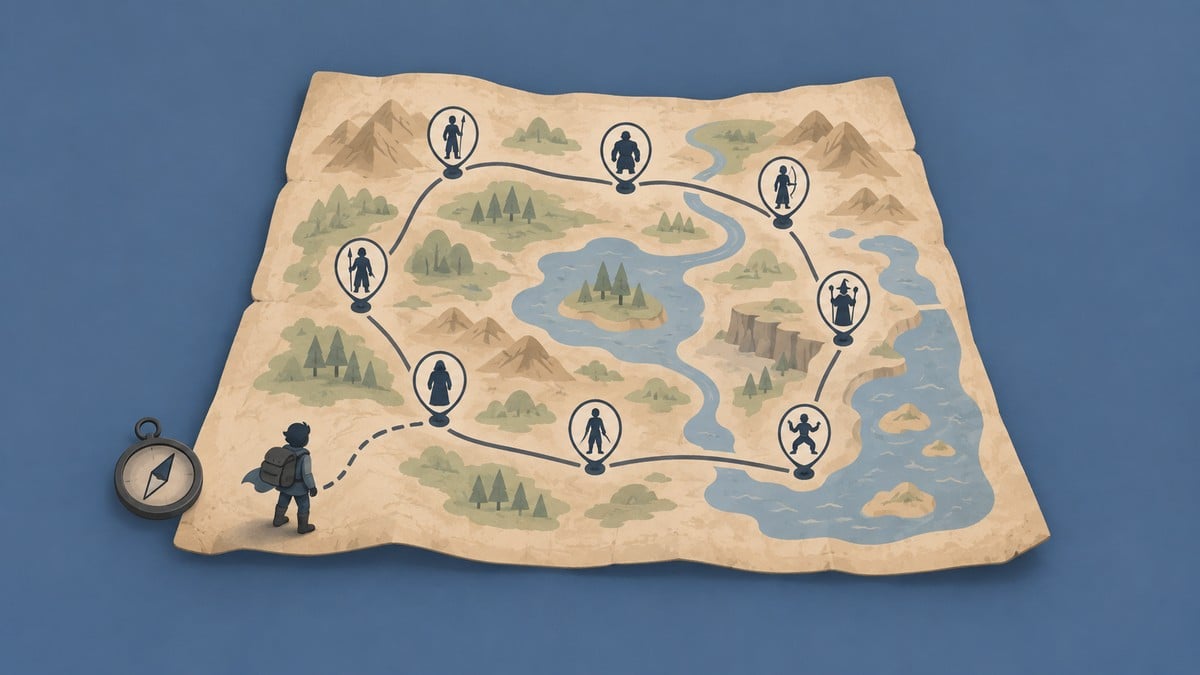
Slayers 2’s eight breathing trainers teach Thunder, Wind, Serpent, Water, Stone, Insect, Flame and Sound across mountains, Butterfly Mansion, coastal houses and the snowy region.
You’re standing beside Bamboo Grove’s red torii gate, with bears nearby. Several trainer journeys start here. Pick the breathing style you want and follow its route.
- All breathing trainer locations in Project Slayers 2
- Materials and movement skills to prepare
- Thunder trainer Zentaro location near Windy Peak
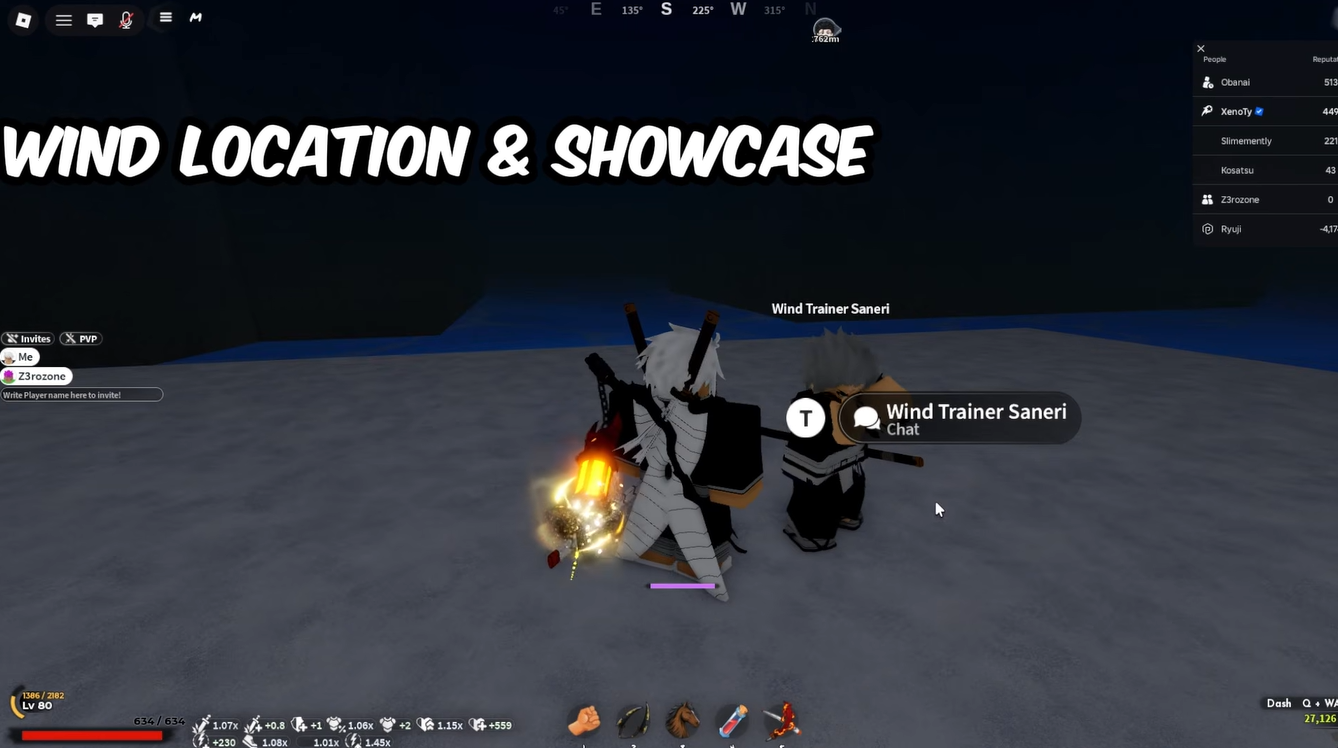
- Reach Wind Trainer through the snow
- Climb the starting-side cliffs for Serpent
- Use the island house’s hidden entrance for Water
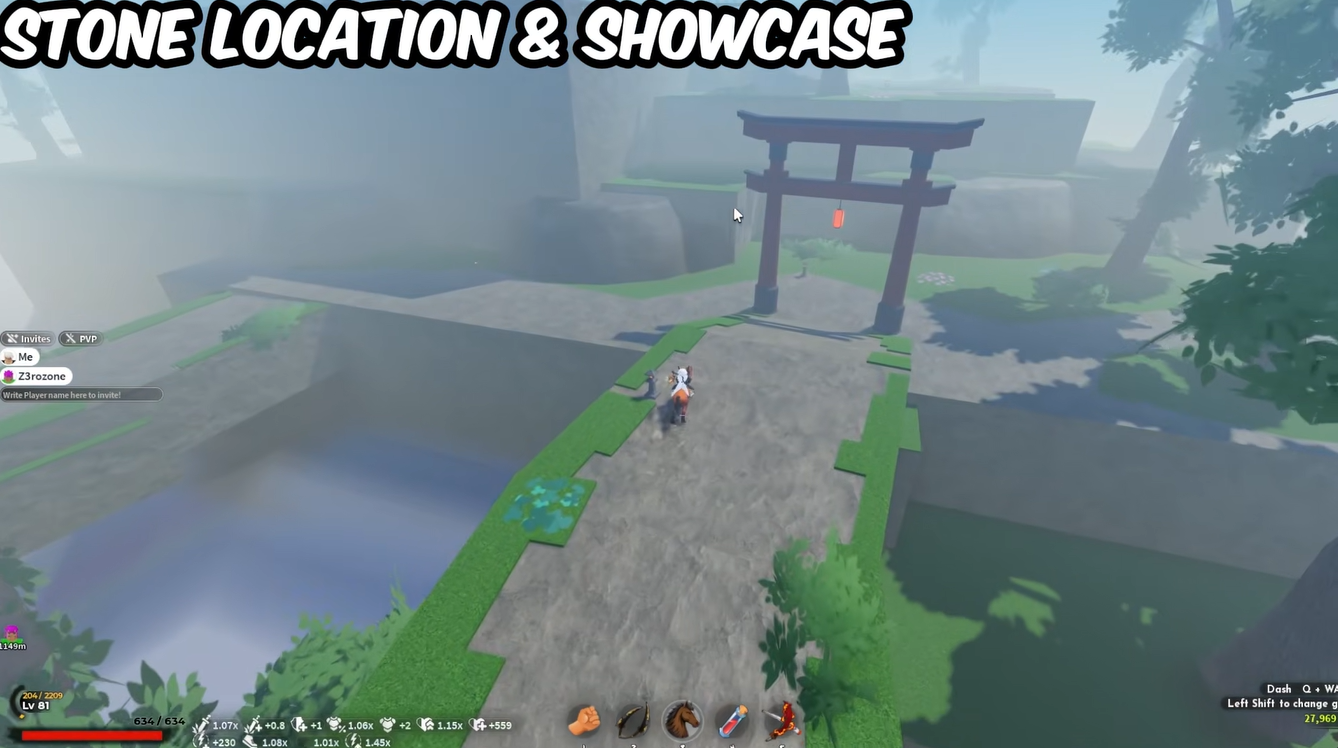
- Take Stone’s lower route and farm its weapon
- Find Insect at Butterfly Mansion’s second building
- Pass Mistfall Harbor and Rengu to reach Flame
- Climb Iceveil Valley’s high ledge for Sound
All breathing trainer locations in Project Slayers 2
| Breathing style | Destination |
|---|---|
| Thunder | Elevated mountain platform near the bear-area route. |
| Wind | Platform surrounded by water in the snowy region. |
| Serpent | Cliffs above the starting-side bear approach. |
| Water | Concealed room beneath the island house near Bamboo Grove. |
| Stone | Temple on the lower mountain route. |
| Insect | Beside the exterior wall of Butterfly Mansion’s second building. |
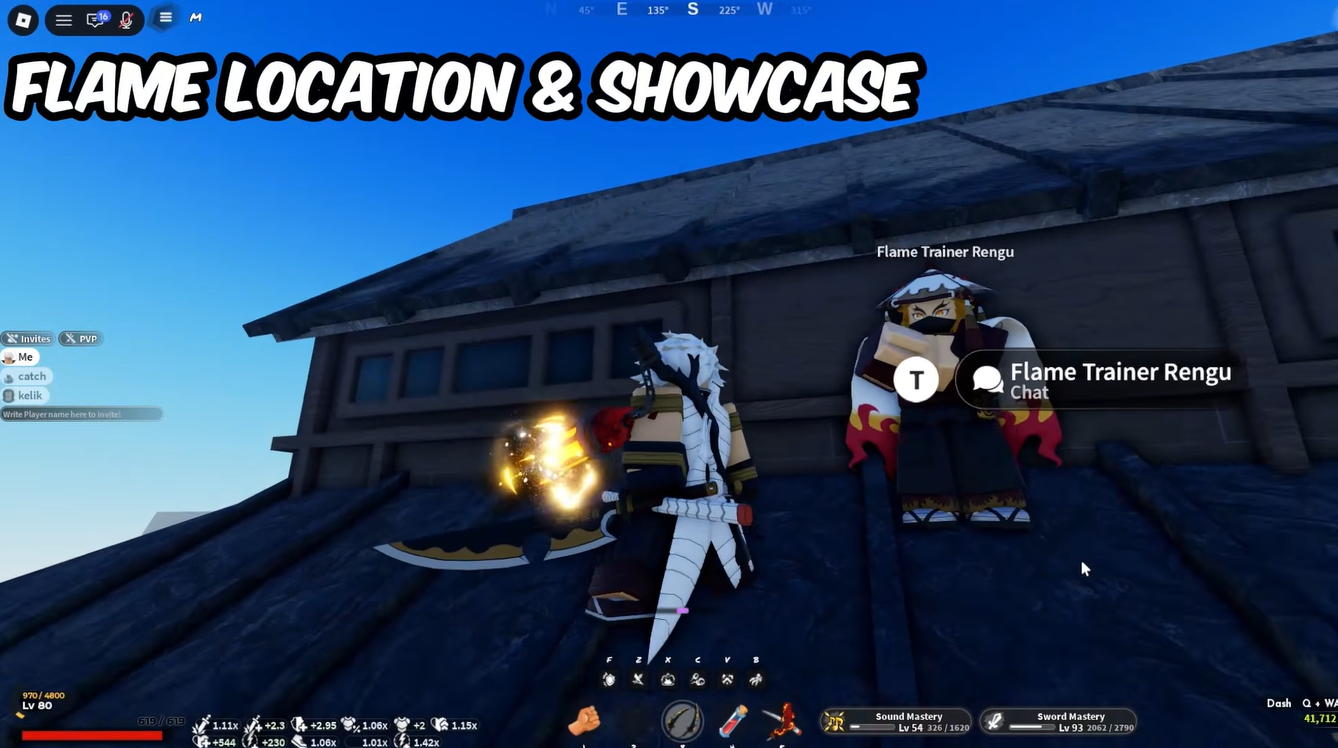
| Flame | Small house beyond the Rengu boss area on the harbor route. |
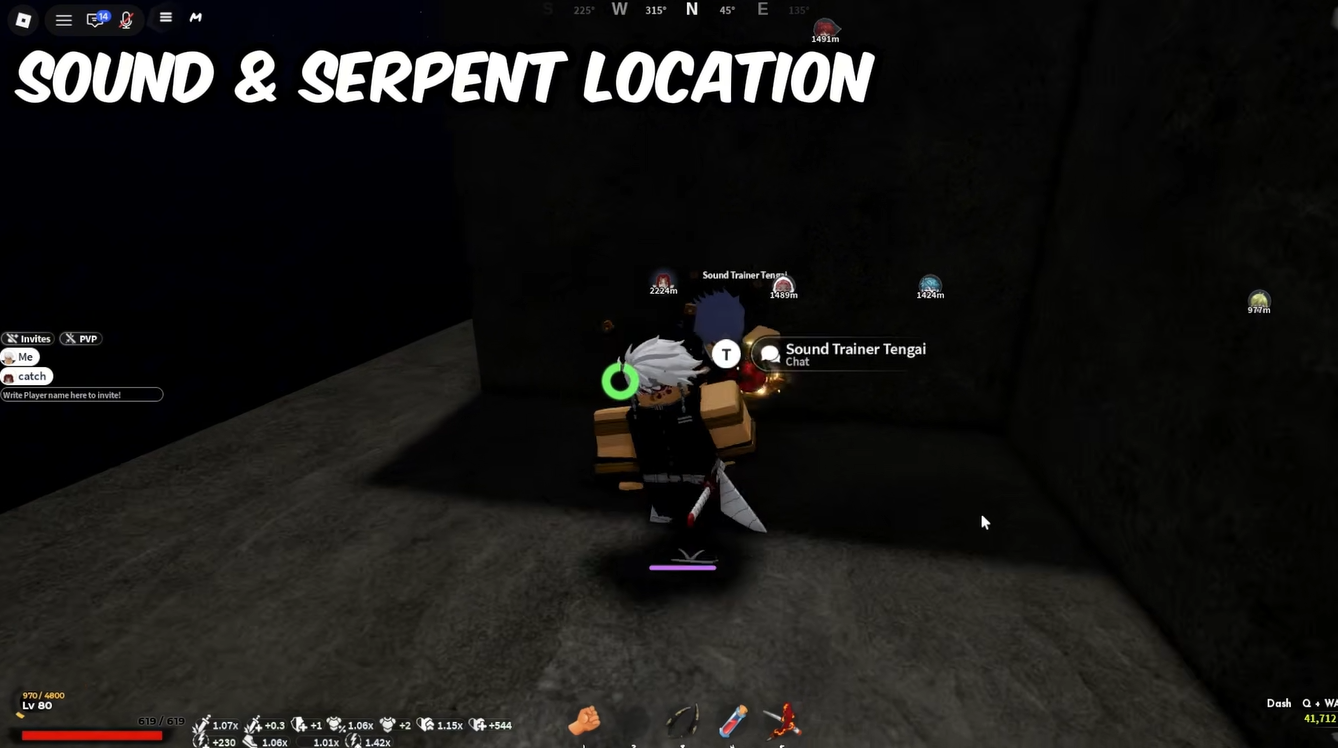
| Sound | High cliff ledge in Iceveil Valley. |
The approach matters as much as the destination: Water’s entrance leads below the surface, while Stone begins with a descent before the later climb toward its temple.
Materials and movement skills to prepare
Breathing trainers ask for materials, including Demon Horns. Quantities vary by style, so prepare for your chosen trainer instead of treating one horn allowance as enough for every breathing technique.
The demons inside the waterfall near spawn drop Demon Horns when killed, making that interior a farming spot before you travel. Unlock Double Jump through your skill tree to help with the mountain approaches.
Use a horse available around the map to shorten travel between destinations compared with walking.
Open the world map to locate Bamboo Grove and its surrounding landmarks. From Windy Peak, the forest exit leads toward Bamboo Grove past the bear area. Regional level bands describe the areas: Windy Peak is 1–12, Bamboo Grove is 13–25, and Mistfall Harbor is 10–25. Those bands are separate from breathing eligibility.
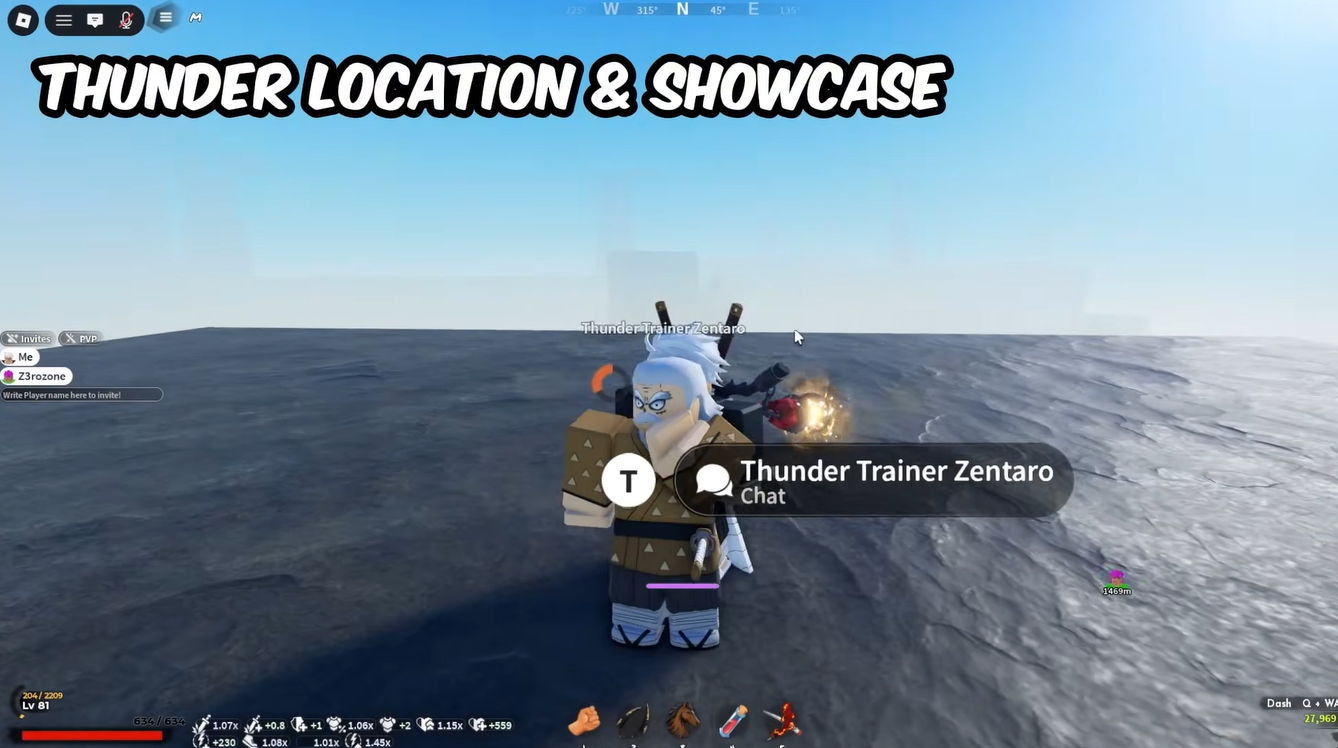
Thunder trainer Zentaro location near Windy Peak
STEP 1/5
20%
Reach the cliff edge
Cross the grass toward the cliff with a waterfall below it.
STEP 2/5
40%
Descend toward the large tree
Jump from the edge and glide into the foggy valley, landing beside the large tree trunk.
STEP 3/5
60%
Climb the trunk and cliff
Use the vines on the trunk and cliff face to reach the elevated ledge.
STEP 4/5
80%
Continue across the branches
Ascend the remaining vertical cliff walls and cross the tree branches toward the top of the stone pillar.
STEP 5/5
100%
Approach Zenitsu
Look near the platform’s edge for Thunder Trainer Zenitsu. The high plateau overlooks Demon Mid Village.
Reach Wind Trainer through the snow
The freezing region inflicts repeated cold damage, so prepare for exposure before entering. A Frozen Heart Lantern offers protection; its source is a level-90 boss, which does not make level 90 a trainer requirement. A direct horse dash may get you through quickly enough, but survival on that approach is not guaranteed.
STEP 1/4
25%
Leave the bears for Iceveil Valley
Head toward the torii gate marking the entrance to Iceveil Valley.
STEP 2/4
50%
Follow the snowy paths inward
Continue through the snow toward the central area near Doma; the world map displays the valley’s layout.
STEP 3/4
75%
Reach the waterside ledge
Follow the snow-covered ledge beside the water until you can approach the platform across it.
STEP 4/4
100%
Cross to Sanemi
Jump and glide over the water, then land beside Wind Trainer Sanemi.
The ice village and an enormous descending tree branch are additional approach landmarks: travel through the village, descend along the branch, and continue toward the snowy water platform.
Climb the starting-side cliffs for Serpent
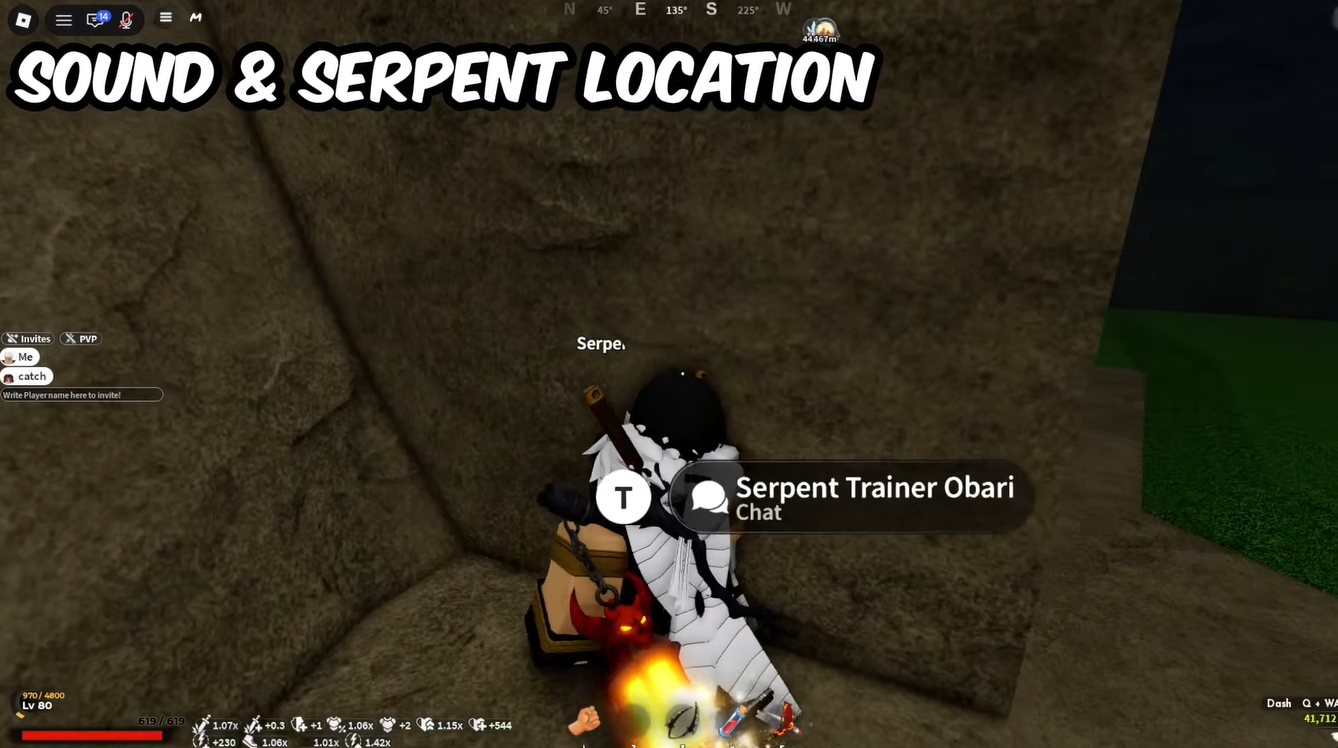
Serpent Breathing, also called Snake Breathing, requires 20 Demon Horns and 5 Beast Cores. Keep to the starter-zone side of the mountain for this ascent.
STEP 1/4
25%
Approach from the starter village
Pass the nearby NPCs and head toward the bandit camp, continuing to the Mother Bear area.
STEP 2/4
50%
Go beyond the torii gate
From the Bamboo Grove bears, take the upward approach behind the gate and ascend the stone steps.
STEP 3/4
75%
Climb the cliff ridges
Work upward along the stone cliffs, jumping between raised ledges and continuing through the bushes at the cliff edge.
STEP 4/4
100%
Find the trainer against the mountain
At the upper end of the approach, look beside the mountain wall for the Serpent trainer.
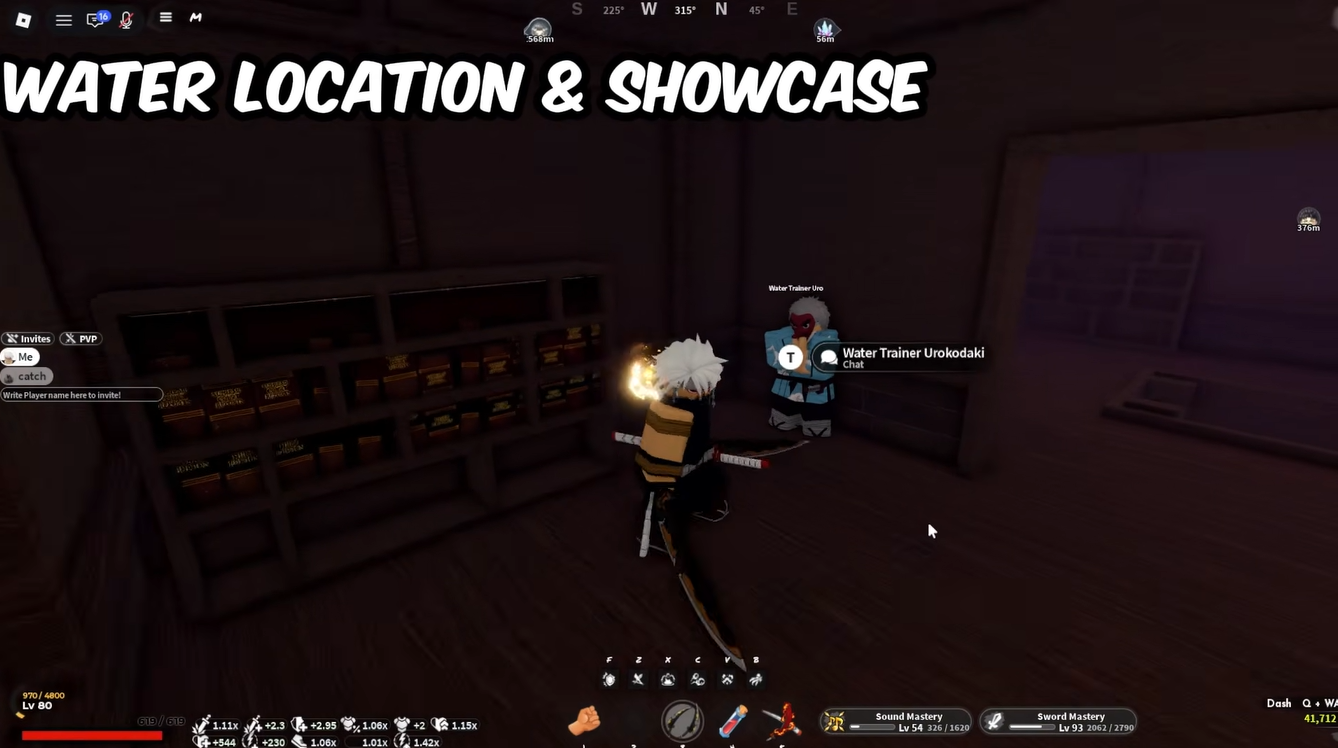
Bring 5,000 Wen and 30 Demon Horns for Water Breathing. The house is your surface landmark, but reaching Urokodaki means taking its concealed entrance down into the passage.
STEP 1/5
20%
Descend from the Mother Bear side
Head beyond the Mother Bear area and drop from the cliff toward the water, facing the small wooden house across it.
STEP 2/5
40%
Swim to the island
Enter the water and swim across, then climb onto the island holding the house.
STEP 3/5
60%
Circle to the house’s front
Go around the building until you reach the square opening at the front.
STEP 4/5
80%
Drop into the passage
Descend through the opening and swim downward along the dark underwater passage.
STEP 5/5
100%
Climb into Urokodaki’s room
Follow the passage to the ladder and climb it into the concealed room, where Water Trainer Urokodaki waits.
A wall-entry interaction may offer another way into the Water trainer’s room. The front opening provides the approach described here.
Take Stone’s lower route and farm its weapon
Stone’s material requirement includes 5 Beast Cores plus an Axe and a Mace. Getting its weapon first is useful preparation, and the Stone Trainee on the approach gives you a chance to obtain it.
STEP 1/6
17%
Return to the bears
STEP 2/6
33%
Take the descending path
Follow the lower branch and descend from the cliff edge into Wilderness.
STEP 3/6
50%
Follow the cliffs toward the roots
Continue along the path beside the cliff toward the very tall tree roots.
STEP 4/6
67%
Climb beside the high wall
Ascend the stone hill next to the tall wall to approach the temple grounds.
STEP 5/6
83%
Find the Stone Trainee
Look near the temple on the plateau route for the Stone Trainee, which has 600 HP. Fight it for a 7% chance at the weapon drop; a defeat does not guarantee the reward.
STEP 6/6
100%
Cross toward the shrine
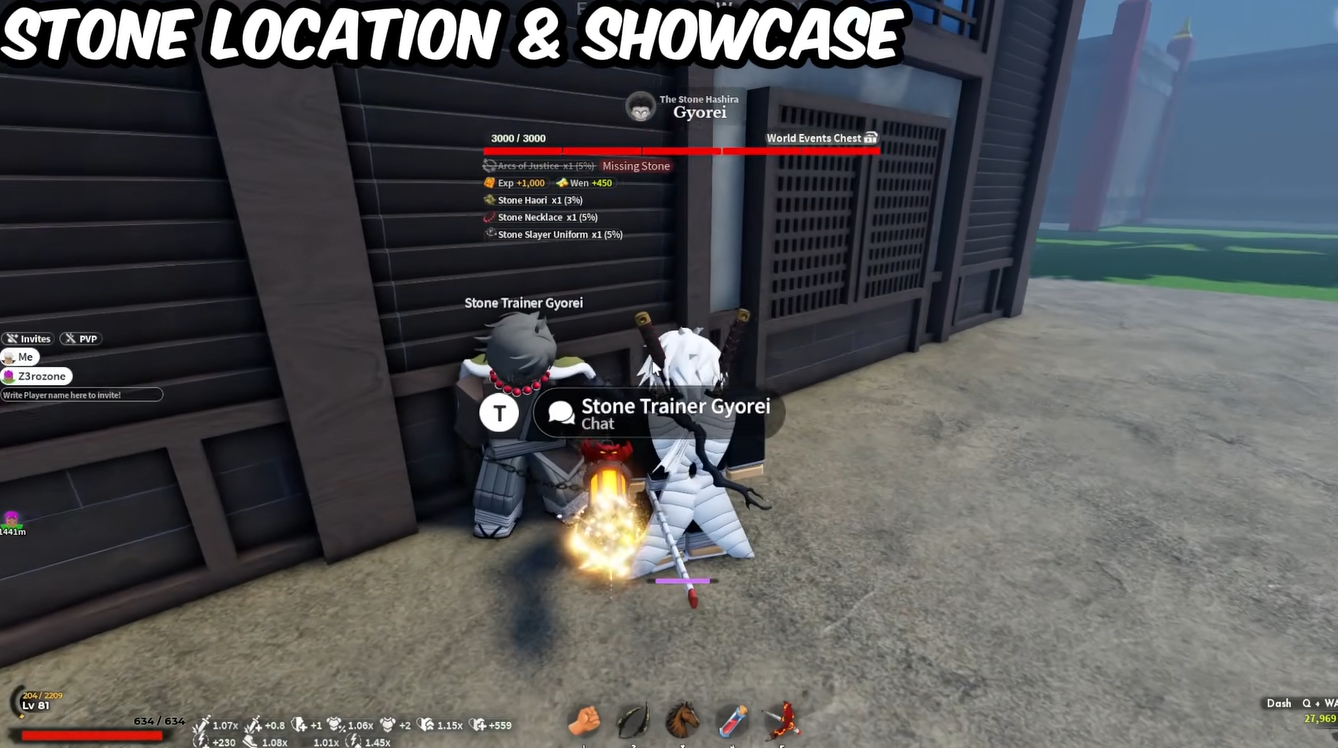
Cross the river toward the building and approach Stone Trainer Gyorei immediately outside the main shrine entrance.
Mist Village is an approach landmark for the upper temple grounds. The shrine also carries a Stone Hashira Gyorei boss timer; that indicator belongs to the boss, separate from the trainer outside the entrance.
Find Insect at Butterfly Mansion’s second building
Butterfly Mansion belongs to the Slayer estates area and appears as Butterfly Estate on the map. It becomes visually unlocked at level 20, while its listed regional level band is 25+. Those are separate conditions.
STEP 1/5
20%
Ascend from the bear grove
Take the uphill torii-gate path toward Windy Peak.
STEP 2/5
40%
Follow the mountain ridge
Continue along the mountain trail toward the estate. Beginner Village also provides a starting approach along the ridge, and main-road signs point toward Butterfly Mansion.
STEP 3/5
60%
Descend toward the tents
Drop down the successive grassy ledges into the valley containing tents.
STEP 4/5
80%
Enter the estate grounds
Use the map’s Butterfly Estate label to orient yourself, then descend into the compound toward the purple wisteria trees.
STEP 5/5
100%
Follow the second building’s exterior
Head toward the rear of the estate and follow the outside wall of the second building to find Insect Trainer Shinora.
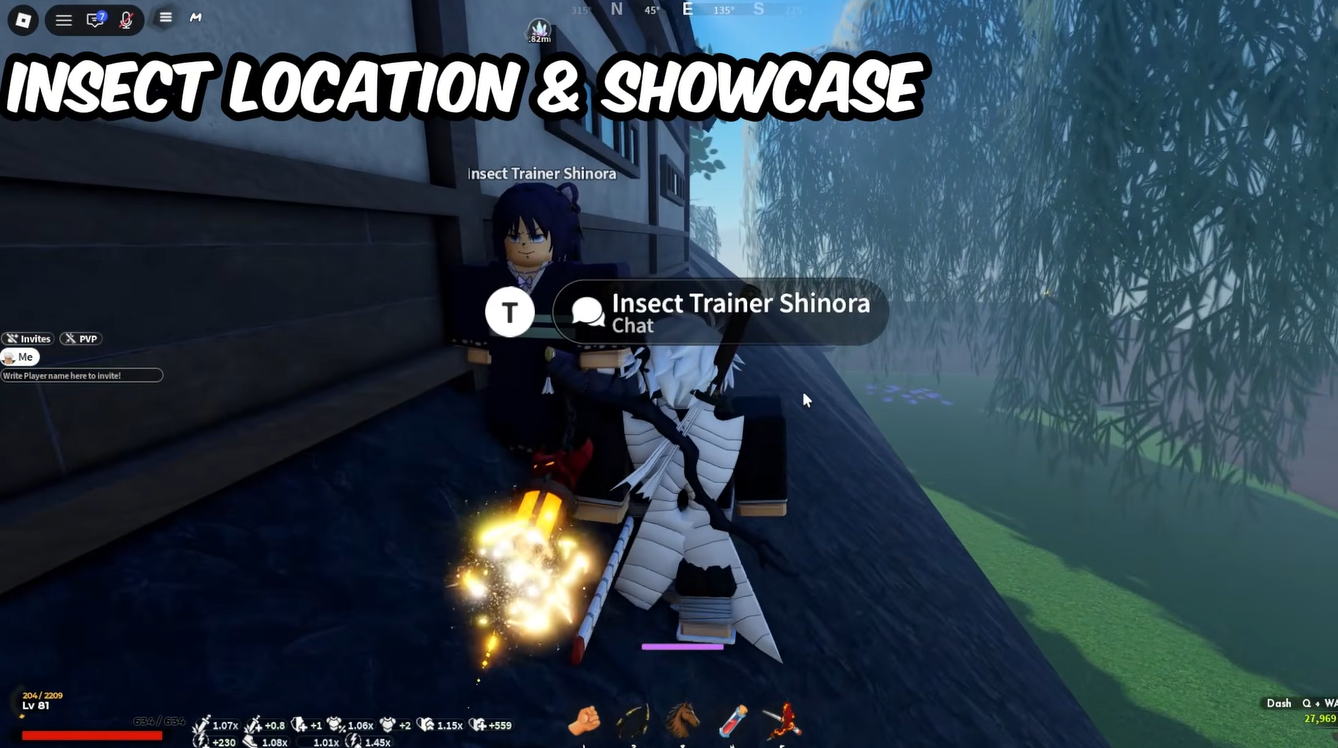
If you need healing while visiting the estate, Butterfly Mansion has a medic NPC.
Pass Mistfall Harbor and Rengu to reach Flame
Mistfall Harbor is a coastal port town on the Flame approach. From Windy Peak, its main road descends toward the water; near the harbor, the Water Hashira Giyo spawn timer provides another orientation landmark.
STEP 1/5
20%
Drop down from the bears
Descend from the bear area onto the dirt path leading past the Sumari mob.
STEP 2/5
40%
Stay on the harbor path
Continue past the wooden bridge and red torii gates into Mistfall Harbor.
STEP 3/5
60%
Continue beyond the docks
Pass the docks and cross the stretch of ocean on the onward route, continuing south toward Terra Lac.
STEP 4/5
80%
Climb behind the harbor
Scale the tall cliff behind the harbor to reach the open field containing the Flame Hashira Rengu boss.
STEP 5/5
100%
Pass the Rengu boss field
Continue beyond the field with autumn leaves toward the nearby small wooden house, the destination for Flame Trainer Rengu.
Climb Iceveil Valley’s high ledge for Sound
Sound Breathing requires 10 Demon Horns. Its extended ascent makes cold exposure a practical obstacle: movement abilities shorten the journey, but damage continues during the climb. Campfires provide another cold-management option within the snowy region.
STEP 1/6
17%
Enter Iceveil Valley
Head into the snowy valley and follow the path toward Tengai’s area.
STEP 2/6
33%
Pass the snowy camp
Continue past the wooden tents and campfires along the approach.
STEP 3/6
50%
Ascend the cliffs and stone walls
Climb the snow-covered cliff faces and stone walls to gain height.
STEP 4/6
67%
Cross the frozen water
Use your movement abilities to cover the frozen-water crossing quickly before the final ascent.
STEP 5/6
83%
Scale the high corner wall
Climb the sheer cliff at the far corner until you reach the upper ledge.
STEP 6/6
100%
Approach Tengai
Look into the corner for Sound Trainer Tengai.
Arrange the Frozen Heart Lantern before attempting this climb. The long ascent may be impractical without it. If you can’t obtain the lantern alone, get another player’s help with the Yeti before setting out.
Related Slayers 2 guides



Leave a Reply