
The Tamari Evil Art is a throw-based Blood Demon Art in Slayers 2 that conjures durable temari balls and is built around a five-skill moveset of ranged throws, ground slams, and combo-extending finishers.
The Tamari Evil Art is one of the range-focused Blood Demon Arts in Slayers 2, and its whole identity is the ball. It fights at a distance by conjuring handballs and then throwing, slamming, and kicking them into the enemy. This walkthrough covers the full kit — the M1 basics plus five skills — so you know what each button does before you ever equip it.
- What the Tamari Evil Art is in Slayers 2
- The full Tamari Evil Art moveset at a glance
- Spinning Throw: tap for a slow, hold for a barrage
- Tamari Dunk: a crater slam with a delayed blast
- Piercing Kick: the aerial kick and bounce follow-up
- Tamari Meteor: launch and cursor-targeted plummet
- Spiraling Shot: the all-arms drill finisher
- How the Tamari Evil Art plays in a fight
What the Tamari Evil Art is in Slayers 2
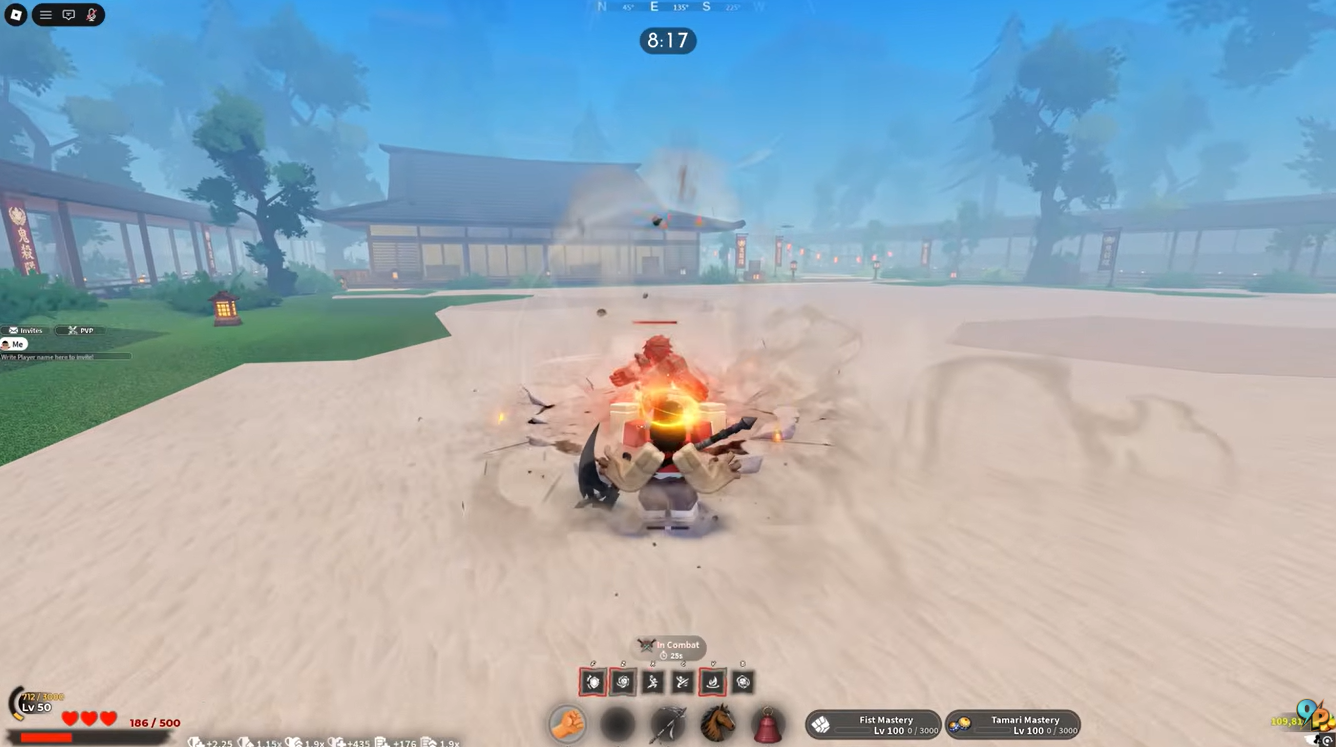
At its core, the Tamari Evil Art lets you summon temari — woven handballs that are far tougher than they look. They hold up to being thrown and kicked at high speed and can smash straight through objects, which is why every skill in the kit treats the ball as a projectile rather than a melee weapon. You spend most fights lobbing, spiking, and drilling these things into whoever you’re chasing.
That makes it a returning Blood Demon Art built for zoning and pressure instead of pure face-to-face brawling. The moveset leans on ranged throws, a downward ground slam, and a couple of finishers that extend combos, and each skill carries its own control effect — a slow, a stun, a launch. The sections below break every one of them down in the order the showcase runs through them.
The full Tamari Evil Art moveset at a glance
| Skill | Input | Effect |
|---|---|---|
| M1 basics | M1 | Basic close-range temari combo |
| Spinning Throw (tap) | Tap | Hurls one powerful temari; applies a slow on hit |
| Spinning Throw (hold) | Hold | Barrage of six temari, then one final heavy throw |
| Tamari Dunk | Press | Downward slam; crater stun plus a delayed second blast |
| Piercing Kick | Press, then press again | Aerial kick; on a hit, a follow-up temari detonates on its third bounce |
| Tamari Meteor | Press | Launches targets up, then plummets them to your cursor |
| Spiraling Shot | Press | Kicked temari drills in, lifts the target, and detonates |
Everything here is throw-based, and most skills bundle a crowd-control effect onto the impact. Use the table to pick your opener, then read on for the timing and follow-up details that decide whether each one actually lands.
Spinning Throw: tap for a slow, hold for a barrage
Spinning Throw is the one skill with a real input decision, and it’s the backbone of the kit. Tap the key and you hurl a single powerful temari straight at your target; if it connects, it stamps a slow debuff on them, which is your cleanest way to lock down a runner before committing to a longer combo.
Hold the key instead and the move charges into something much heavier — you unleash a rapid barrage of six temari in quick succession, then cap it off with one final devastating throw. The tap keeps someone from escaping; the hold is what you use once they can’t.
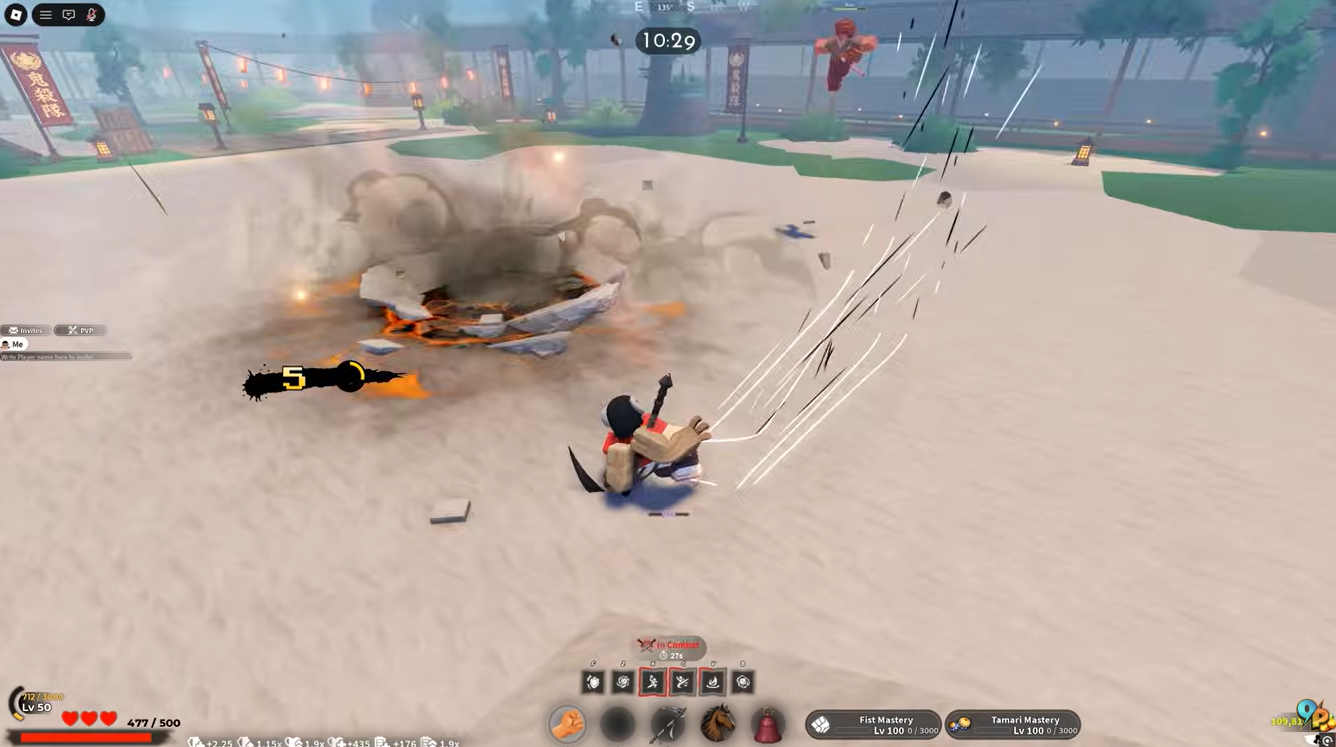 The hold variant fires six temari before the finishing throw | Ouw Productions/YouTube
Tamari Dunk: a crater slam with a delayed blast
Tamari Dunk trades range for a hard vertical hit. You conjure a temari, leap into the air, and hurl it straight down, and the impact leaves a crater that stuns everyone caught in the blast. It’s a two-hit move: shortly after the initial slam, the ball detonates a second time in a follow-up explosion, so anyone who eats the stun eats the secondary blast right after.
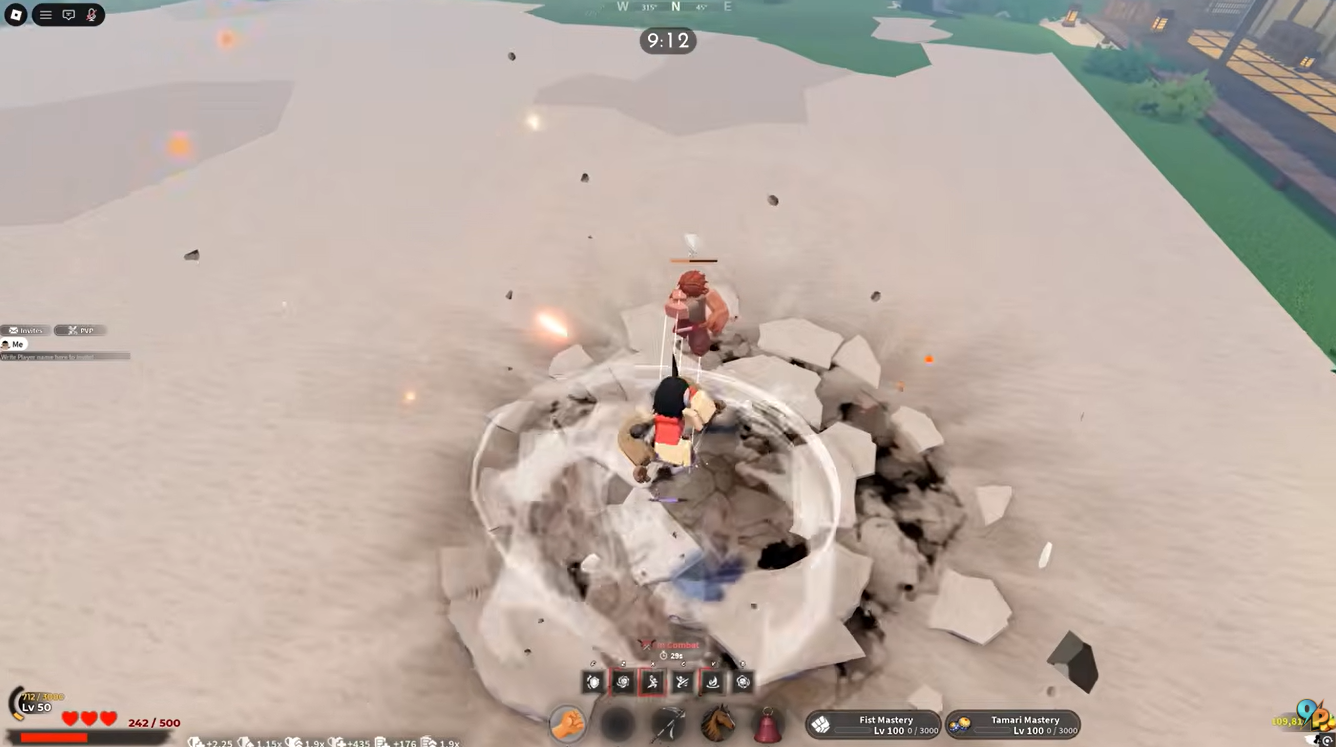 The dunk’s ground impact leaves a stunning crater | Ouw Productions/YouTube
Piercing Kick: the aerial kick and bounce follow-up
Piercing Kick is a conditional combo tool. You leap up and deliver a powerful kick, and the payoff only opens up if that kick lands — on a hit, pressing the key again throws a temari that bounces repeatedly off the opponent. On the third bounce, the ball detonates for a final burst of damage, so the reward is there only when you connect the initial kick.
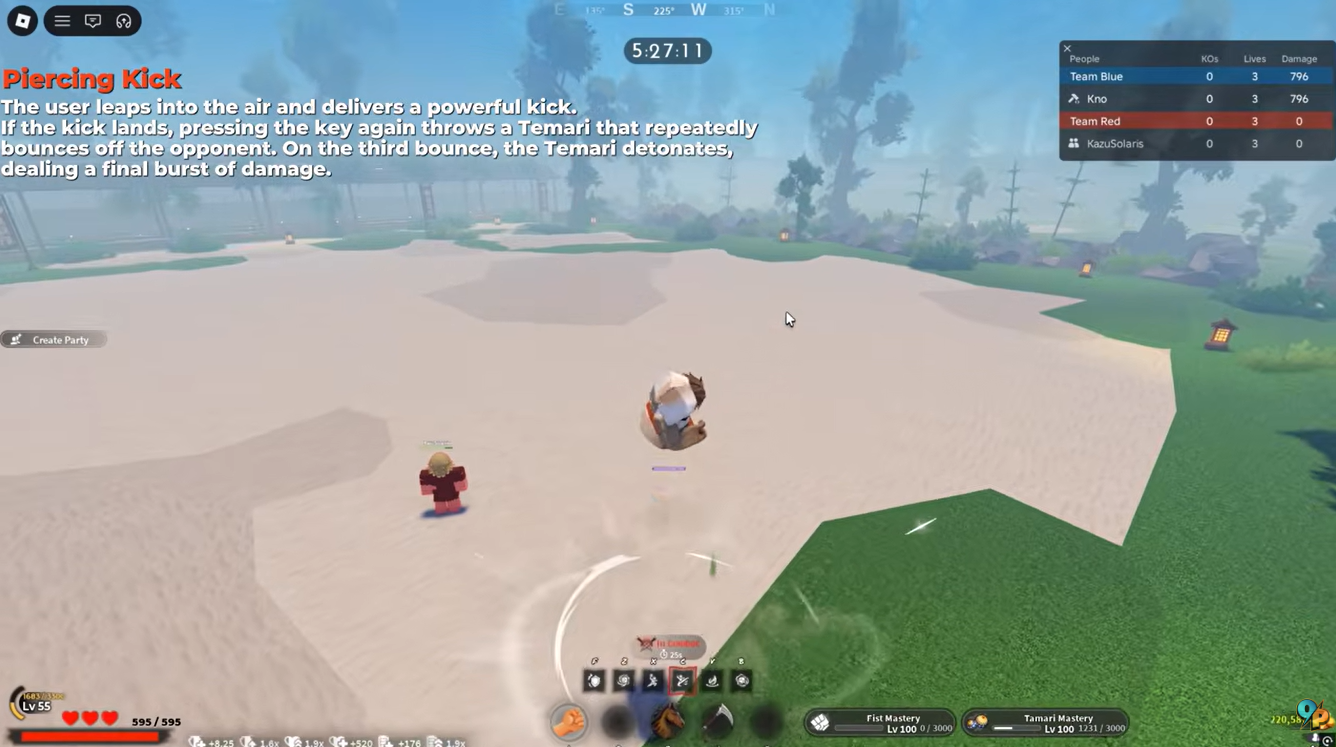 The follow-up temari detonates on its third bounce | Ouw Productions/YouTube
Tamari Meteor: launch and cursor-targeted plummet
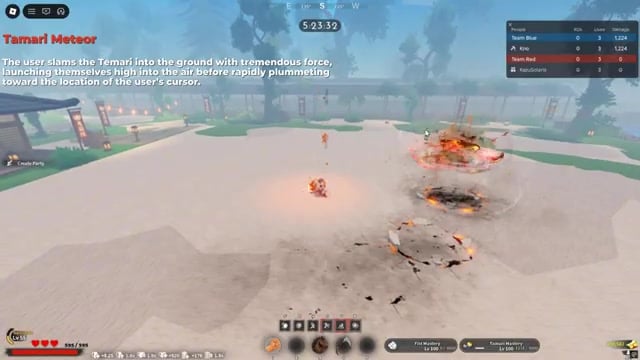
Tamari Meteor is the kit’s launcher. You slam the temari into the ground with tremendous force, which flings targets high into the air — and then, instead of just dropping, they rapidly plummet toward wherever your cursor is pointing. That cursor-aimed crash is the distinctive part: you get to decide where the airborne target comes back down.
Spiraling Shot: the all-arms drill finisher
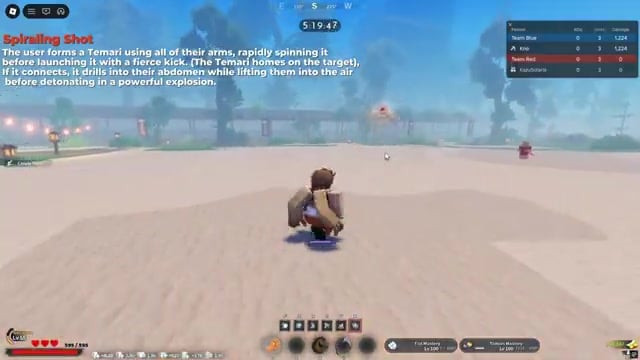
Spiraling Shot is the showcase’s big finisher. You form a temari using all of your arms, spin it up rapidly, and launch it with a fierce kick. If it connects, the ball drills into the target’s abdomen while lifting them into the air, then detonates in a powerful explosion — a full wind-up-to-payoff sequence that rewards a clean hit.
How the Tamari Evil Art plays in a fight
Key Put the pieces together and the Tamari Evil Art reads as a ranged, crowd-control-heavy art. You have a slow on the tap Spinning Throw, a stun on Tamari Dunk, and launches on Tamari Meteor and Spiraling Shot, which means most of your damage comes with a control effect attached rather than as raw swings.
In practice that shapes a poke-and-punish rhythm: apply a slow or a launch to stop your opponent moving, then chain into the bigger, slower throws — the hold barrage, the drilling finisher — while they’re pinned. The conditional follow-ups on Piercing Kick and the delayed second blast on Tamari Dunk give you combo extensions when your opener connects, so the kit rewards landing that first hit and building pressure off it from range.
Video help
Related Slayers 2 guides






Leave a Reply