
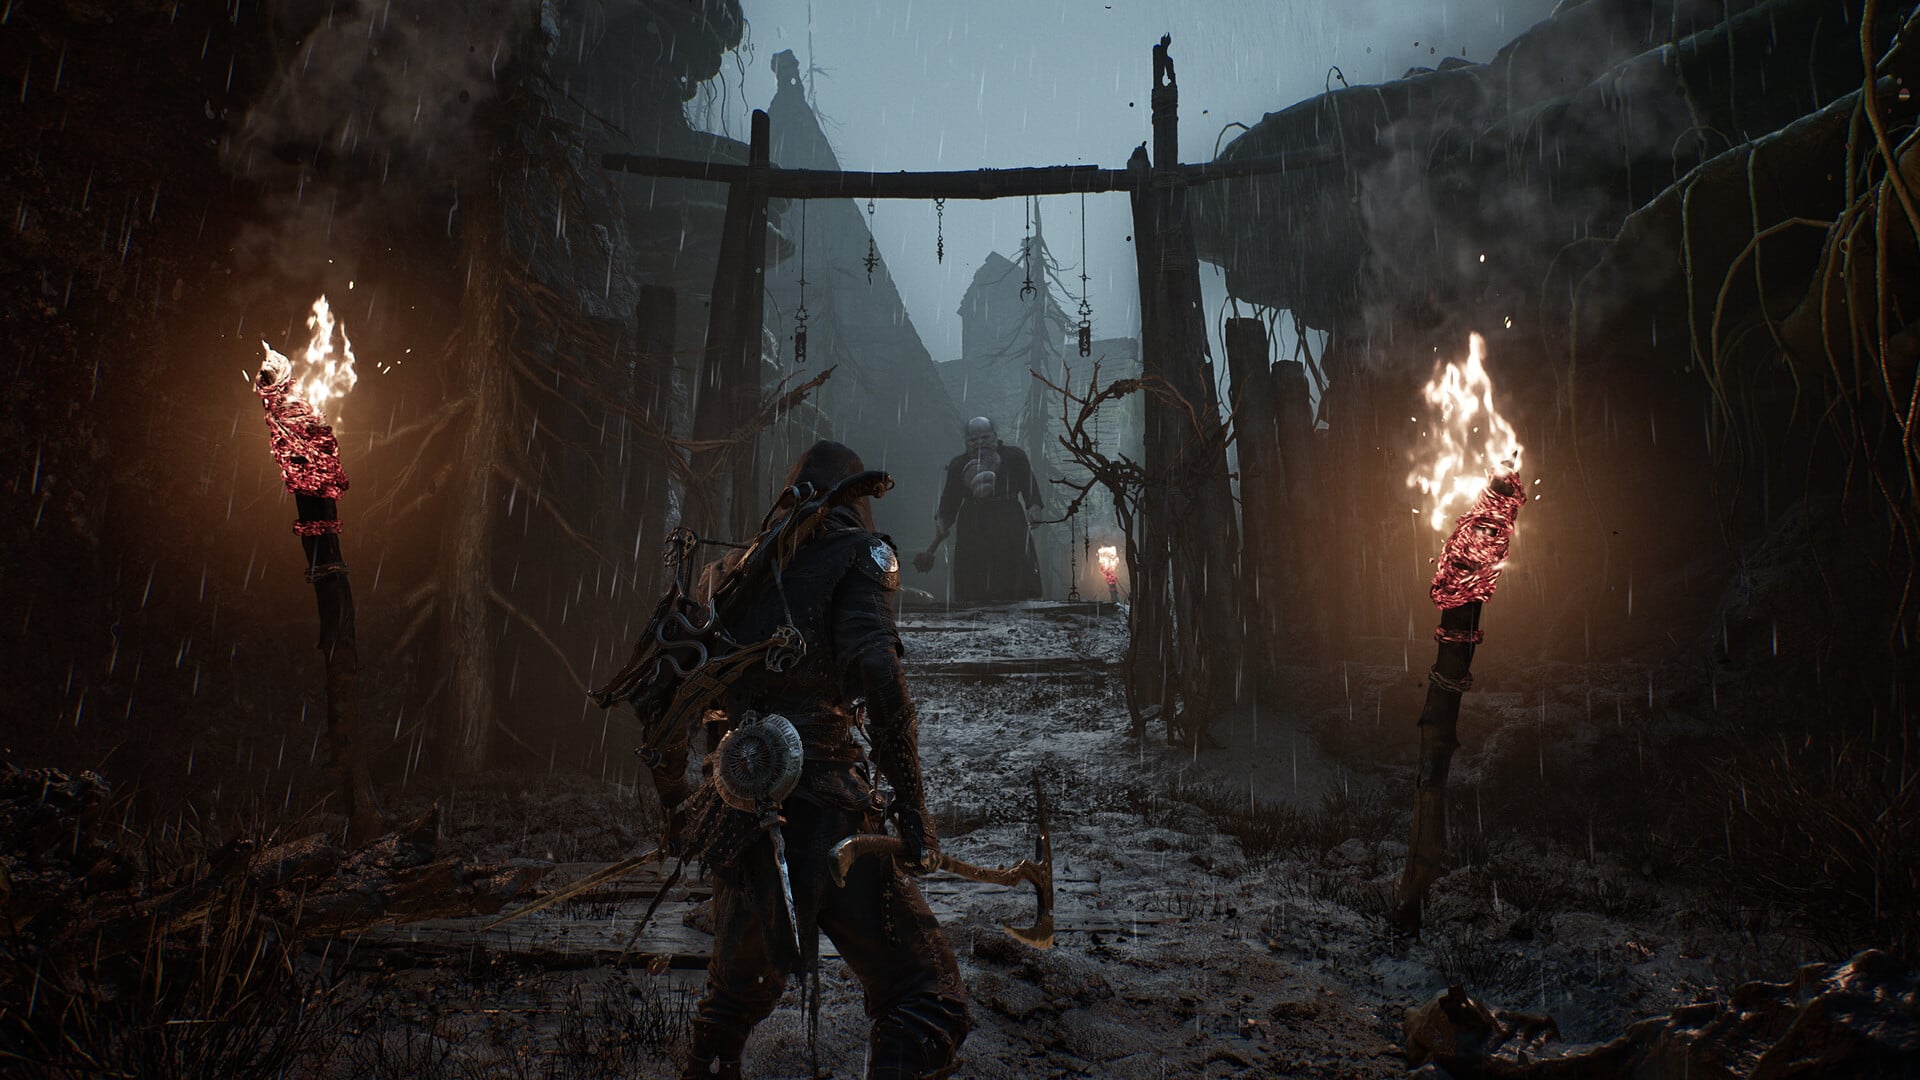
The complete Mortal Shell 2 dungeon and hidden-area checklist covers 75 named locations, from Abandoned Shrine to Wortbriar Encampment, with several entrances hidden behind enchantments, wells, keys, bosses, beacons, or world actions.
This list combines named dungeons with hidden areas, so it is a discovery checklist rather than a claim that all 75 locations belong to one official dungeon category. Use the jump links to mark discoveries and open individual entries for available route details.
Quick answer
Activate each nearby beacon, then sweep walls, ruins, wells, pits, arches, doors, and lower paths around the cluster. If an entrance remains blocked, record whether it appears tied to a key, boss, enchantment, world action, or beacon progress and return after advancing that condition.

At a glance comparison
| Area | Quick clue |
|---|---|
| Abandoned Shrine | Shrine-type ruin |
| Alchemist’s Workshop | Workshop or laboratory side space |
| Bellkeeper’s Corner | Bell structure and nearby alcoves |
| Besieged Ruins | Damaged fortified ruins |
| Big Ol’ Hole | Large pit or downward route |
| Blackwell Cavern | Cavern entrance |
| Broodshell Nest | Nest or lair space |
| Burrowkin Dwelling | Burrow-like dwelling |
| Central Sewers | Drainage or sewer access |
| Chamber of Becoming | Southeastern Mammon; Sariel-gated |
| Collapsed Mine | Abandoned Outpost slums |
| Conquerer’s Rise | Elevated fortification |
| Coward’s Retreat | East of Blackridge Pass |
| Crumbling Tunnel | Multiple beacon-linked entrances |
| Derelict Hideout | Abandoned hideout |
| Deserted Mine | East of Mushroom Village |
| Desolate Keep | Ruined keep |
| Discple’s Stash | Small concealed cache |
| Feeding Grounds | Blackridge graveyard route |
| Flooded Village | North of Widow’s Overlook; concealed |
| Forbidden Archives | Archive rooms and side passages |
| Garrick’s Den | Den or lair entrance |
| Gloomstricken Garrison | Garrison or fortified interior |
| Grisha Hunting Grounds | Hunting-ground area |
| Hag’s Pit | Pit or recessed chamber |
| Hall of Echoes | Large hall complex |
| Hall of Illusions | Illusion-focused interior |
| Hall of Murmurs | Southwest Castigator’s Keep route |
| Hermit’s Pass | Narrow pass or side route |
| Holding Cells | Well near Blackridge Hamlet |
| Hushed Sanctum | Sanctum interior |
| Illusionist’s Cache | Hidden cache |
| Infested Den | Infested lair |
| Kingdom of Fools | Broad interior or domain |
| Area | Quick clue |
|---|---|
| Mango Sanctuary | Sanctuary space |
| Martyr’s Prison | Prison interior |
| Martyr’s Tomb | Church near Widow’s Overlook |
| Mawbreak Cavern | Cavern route |
| Mornefrost Grave | Frozen grave site |
| Mustworn Tomb | Tomb entrance |
| Neglected Prison | Abandoned prison |
| Obsidianite Mines | Lower Abandoned Outpost slums |
| Odious Crevice | Narrow fissure or crevice |
| Overgrown Temple | Vegetation-covered temple |
| Overrun Quarry | North of One-Legged Wolf |
| Parasitic Stash | Concealed stash |
| Passenger’s Shrine | Shrine or roadside structure |
| Pilfered Crypt | Crypt entrance |
| Ravaged Hideout | Damaged hideout |
| Ravaged Tomb | Damaged tomb |
| Revered Beacon | Beacon-linked space |
| Ritual Grounds | Mushroom Village and Widow’s Overlook route |
| Ritualist’s Hideaway | Ritual chamber or hidden room |
| Rootwater Hollow | Glutted Mire via Seeping Mire |
| Sentry’s Grave | Grave or memorial site |
| Servant’s Hall | Service corridor or hall |
| Sester’s Bastion | Bastion or fortified structure |
| Sester’s Censer | Sester-related hidden space |
| Shrine of Sorrows | Shrine interior |
| Shrine of Trials | Keyed Mushroom Village chapel |
| Smuggler’s Hideout | Northwest of Outskirts of Mammon |
| Spoiled Mortuary | Mortuary rooms |
| Temple of Desolation | Temple complex |
| Temple of Finality | Temple complex |
| Temple of Innocence | Temple complex |
| Temple of Obscenity | Temple complex |
| Temple of Promise | Temple complex |
| Temple of Rebirth | Temple complex |
| The Hidden Keep | Concealed keep |
| The King’s Crypt | Royal crypt |
| Thieves Retreat | Hideout or retreat |
| Traveller’s Domain | Named domain or interior |
| Viletongue’s Domain | Named domain or lair |
| Waterfall Camp | Camp near a waterfall |
| Wortbriar Encampment | Encampment and its perimeter |
Treat these links as a discovery tracker, not a forced progression route. The nearest beacon and the exact displayed area name are the most useful details to record while clearing each region.

How to use this list
Work through Mortal Shell 2 in beacon clusters. Once a beacon is active, circle the surrounding terrain and inspect walls, ruins, wells, pits, arches, doors, cave mouths, lower levels, and paths that disappear behind major structures.
When you find a sealed route, note both the nearest beacon and the obstruction. Separating keys, bosses, enchantments, world actions, and beacon-linked gates prevents unnecessary repeat searches and gives you a focused return route later.
| Goal | Priority |
|---|---|
| Early upgrades | Sweep Martyr’s Tomb and locations clustered around the first accessible beacons. |
| Shell progress | Pair the southeastern Mammon shell route with Chamber of Becoming. |
| Hidden-area cleanup | Recheck enchanted arches, wells, lower paths, and the Glutted Mire route. |
| Completion tracking | Record the nearest beacon and distinguish repeated Crumbling Tunnel entrances. |
| Late-game return visits | Revisit chapel doors, boss-linked passages, and entrances blocked by world actions. |
Before leaving a region, record the nearest beacon and what blocked each entrance—a key, boss, enchantment, world action, or beacon requirement.

Complete reference
Expand any entry below for its available route, access condition, or environmental search cue. Entries without a precise route focus only on the kind of structure or terrain worth inspecting.
Abandoned Shrine
Inspect ruined devotional structures, recessed chambers, and paths passing behind the main shrine platform.
Alchemist’s Workshop
Check laboratory-like interiors, work areas, storage rooms, and side doors branching from larger structures.
Bellkeeper’s Corner
Sweep the edges and compact alcoves around bell structures instead of searching only for a large dungeon facade.
Besieged Ruins
Inspect broken walls, collapsed approaches, and openings around the base of damaged fortifications.
Big Ol’ Hole
Look for a controlled descent, reachable ledges, or an opening below ground level rather than a conventional doorway.
Blackwell Cavern
Follow the rock walls and examine dark recesses that can blend into the surrounding terrain.
Broodshell Nest
Search organic-looking chambers, nest spaces, and branching lair passages carefully before leaving.
Burrowkin Dwelling
Check low openings, earthen passages, and enclosed living spaces that resemble a burrow.
Central Sewers
Inspect drainage channels, lower city levels, grates, and routes descending beneath occupied structures.
Chamber of Becoming
In southeastern Mammon, activate the Silent Steps beacon and use the jump gate to reach Sariel’s area. Defeat Sariel the Endless to reveal the passage; inside, destroy the gravestones around the arena to prevent Sariel from returning and claim Sariel’s Shell.
Collapsed Mine
Travel south of the Abandoned Outpost beacon into the slums, follow the platforms around the central pit, and take the western path to the cave entrance.
Conquerer’s Rise
Check stairways, ramps, upper approaches, and routes rising above the surrounding terrain.
Coward’s Retreat
Follow the rocky wall east of the Blackridge Pass beacon. Stay close to the stone so the opening does not disappear into the cliff face.
Crumbling Tunnel
This display name appears on multiple beacon-linked tunnel entries, including routes associated with Widow’s Overlook and Outskirts of Mammon. Record the nearby beacon for every occurrence.
Derelict Hideout
Inspect ruined camps, concealed rooms, and side paths screened by debris.
Deserted Mine
Head east of Mushroom Village and continue beyond the area where you meet Hilga and Grom to search for the mine entrance.
Desolate Keep
Sweep the outer wall, damaged gate approaches, towers, and lower entrances around the ruined keep.
Discple’s Stash
Inspect dead ends, tucked-away rooms, and compact spaces hidden behind larger points of interest.
Feeding Grounds
Search the graveyard northeast of Blackridge Pass near the map edge. Break the three Golden Flower Tombstones at the Stones of Remembrance to open the route.
Flooded Village
Travel north of Widow’s Overlook. The entrance is concealed by an enchantment, so walk through the apparently solid stone arch to reveal its doorway.
Forbidden Archives
Inspect library-like rooms, blocked collections, side chambers, and passages behind shelving or ruined walls.
Garrick’s Den
Follow enclosed side routes and check recesses around terrain that resembles a den or hostile lair.
Gloomstricken Garrison
Examine fortifications, barracks-like interiors, wall openings, and lower military passages.
Grisha Hunting Grounds
This area may feel more open than a traditional dungeon, so sweep its full perimeter for an enclosed route or transition.
Hag’s Pit
Look below the main path and inspect ledges that provide a controlled descent into a recessed chamber.
Hall of Echoes
Check adjoining chambers and branching corridors before treating the central hall as the endpoint.
Hall of Illusions
Test suspicious walls, visual distortions, and routes that appear to end abruptly.
Hall of Murmurs
From the Castigator’s Keep beacon, go southwest through the center of the area. Beyond the central courtyard, look for stairs descending into the ground.
Hermit’s Pass
Search along cliff faces and between rock formations instead of expecting a large entrance.
Holding Cells
Find the well near the edge of Blackridge Hamlet. The cells are reached through the well rather than a prison doorway at ground level.
Hushed Sanctum
Inspect secluded religious spaces, rear chambers, and passages around altars or ceremonial structures.
Illusionist’s Cache
Examine visually deceptive corners, false-looking boundaries, and side rooms that do not resemble full dungeon entrances.
Infested Den
Check enclosed natural spaces, organic growth, and tunnels branching away from the main chamber.
Kingdom of Fools
Track the internal branches carefully so its broad domain is not mistaken for several separate discoveries.
Mango Sanctuary
Search ceremonial structures and their surrounding side rooms for a concealed transition.
Martyr’s Prison
Inspect cell blocks, lower corridors, barred side rooms, and passages adjoining other martyr-named spaces.
Martyr’s Tomb
Enter the ruined church on the hill overlooking the Great Arbiter of Flesh from Widow’s Overlook. Clearing the enemies below yields the Obsidian Lathe and Parasitic Stone.
Mawbreak Cavern
Inspect fractured rock formations, cave mouths, and shadowed openings below the main trail.
Mornefrost Grave
Search icy burial structures, recessed tomb entrances, and paths obscured by snow or pale stone.
Mustworn Tomb
Inspect burial grounds, stone chambers, and stairways descending beneath memorial structures.
Neglected Prison
Search decayed cell areas, damaged doors, and lower passages around the abandoned structure.
Obsidianite Mines
Go south of the Abandoned Outpost beacon into the slums, drop into the central lower area where enemies are mining, and find the entrance on the western wall.
Odious Crevice
Follow close rock walls and inspect narrow gaps that do not resemble a standard dungeon gate.
Overgrown Temple
Check behind roots, foliage, broken masonry, and partially buried ceremonial entrances.
Overrun Quarry
Search just north of the One-Legged Wolf beacon. Quarry walls and changes in elevation can hide the entrance when viewed from a distance.
Parasitic Stash
Examine small side chambers, infested recesses, and dead ends instead of looking for a full dungeon facade.
Passenger’s Shrine
Inspect roadside structures, travel routes, and devotional spaces near larger paths.
Pilfered Crypt
Search graveyards, disturbed burial structures, and lower rooms reached through damaged stonework.
Ravaged Hideout
Inspect ruined camps and side rooms that remain accessible despite collapsed sections.
Ravaged Tomb
Look for broken burial entrances, exposed lower chambers, and routes through collapsed masonry.
Revered Beacon
Inspect the beacon structure’s immediate surroundings and any passage connected to its cleansing route.
Ritual Grounds
Approach from east of the Widow’s Overlook beacon along the route toward Mushroom Village, or search south of Mushroom Village behind the house and gravestone where Tiel’s Shell is found.
Ritualist’s Hideaway
Check behind ceremonial areas, ruined dwellings, and side passages near ritual activity.
Rootwater Hollow
Cleanse the Mushroom Village Gate beacon to enter the unmapped Glutted Mire sub-region. Inside, follow the route associated with the Seeping Mire beacon to reach the dungeon.
Sentry’s Grave
Inspect guarded burial sites and recessed spaces near sentry positions.
Servant’s Hall
Check secondary corridors, lower floors, and doors away from a structure’s ceremonial rooms.
Sester’s Bastion
Search the fortified walls, lower approaches, and adjoining chambers for the entry transition.
Sester’s Censer
Inspect ceremonial interiors and compact side spaces associated with censers or devotional objects.
Shrine of Sorrows
Search religious ruins, rear chambers, and passages beneath or behind the central devotional space.
Shrine of Trials
Find the chapel behind the Mushroom Village beacon. The door near the Grisha Hunter remains locked until you obtain the Chapel Key.
Smuggler’s Hideout
Travel northwest of the Outskirts of Mammon beacon and search around the nearby camp for the hideout entrance.
Spoiled Mortuary
Check preparation rooms, burial corridors, and lower chambers adjoining grave sites.
Temple of Desolation
Inspect the outer walls, damaged approaches, ceremonial rooms, and any descent below the main floor.
Temple of Finality
Clear the adjoining rooms and check behind the central ceremonial space for further routes.
Temple of Innocence
Search side chapels, rear passages, and lower chambers rather than following only the central aisle.
Temple of Obscenity
Inspect corrupted ceremonial spaces, recessed rooms, and openings around the temple’s perimeter.
Temple of Promise
Check the entry court, adjoining chambers, and routes concealed behind religious structures.
Temple of Rebirth
Sweep every ceremonial chamber and inspect routes descending beneath the primary worship area.
The King’s Crypt
Inspect monumental burial structures, sealed-looking stone doors, and descending passages.
Thieves Retreat
Search camps, concealed side rooms, and less-traveled paths away from major structures.
Traveller’s Domain
Map its internal branches and exits carefully rather than judging the domain by a single chamber.
Viletongue’s Domain
Inspect adjoining chambers and environmental transitions throughout the full lair.
Waterfall Camp
Inspect behind the falling water, along nearby rock walls, and around the camp perimeter.
Wortbriar Encampment
Sweep the tents, barricades, perimeter paths, and any concealed route leading beneath or behind the camp.
The easiest routes to overlook are the ones that do not present a conventional entrance. Flooded Village hides its doorway behind an enchanted stone arch, while Holding Cells sends you downward through a well near Blackridge Hamlet.
Other entrances depend on progression conditions. Shrine of Trials requires the Chapel Key, Feeding Grounds is tied to the Golden Flower Tombstones at the Stones of Remembrance, and Chamber of Becoming opens through the Sariel encounter.
Rootwater Hollow sits beyond the Glutted Mire and Seeping Mire route, so reaching the hidden sub-region is only part of the search. Crumbling Tunnel creates a different tracking problem: the same display name appears at more than one beacon-linked entrance, making the nearby beacon essential for distinguishing discoveries.
Frequently Asked Questions
Are dungeons and hidden areas permanently missable before New Game+?
No. They remain available after the final boss, giving you time to finish discovery and cleanup before choosing to enter New Game+.
Why do launch-era lists give different dungeon totals?
The totals use different category boundaries. Launch-era material cites 35, 36, or over 60 dungeons, while older pre-release claims exceeded 80. Hidden regions, beacon chambers, repeated entrances, and other named areas account for much of the variation, which is why this article tracks 75 named locations without presenting that number as one settled official dungeon total.
What should I do when an enchanted or sealed entrance will not open?
For an enchanted boundary, approach on foot and cross the apparent doorway instead of waiting for an interaction prompt. If it is physically sealed, check your keys, completed boss encounters, nearby beacon progress, and unresolved world interactions before returning.
Should repeated names such as Crumbling Tunnel be tracked separately?
Yes. Track every occurrence by its nearest beacon or region, since identical display names can belong to separate entrances and completion records.






Leave a Reply