Windows Spotlight was first introduced on the lock screen and later added to the desktop in Windows 11. However, as this feature sources its data from the internet, it can sometimes fail to work as intended. If you’re facing the same issue with Windows Spotlight, then here’s how you can fix it on your PC.
Why is the Spotlight not working on Windows 11?
There can be a couple of reasons why Spotlight isn’t working as intended on Windows 11. Here are some prominent ones that should help you get familiar with the issue.
- Internet connectivity issues
- Firewall conflicts
- DNS conflicts
- Broken background apps and services
- Broken cache and assets
- Other issues with Windows background services
All these issues can cause problems with Windows Spotlight and in the worst case, break it altogether.
How to fix Spotlight on Windows 11
Here’s how you can fix Windows Spotlight on your PC. We recommend you start by ensuring everything is set up as intended on your PC. You can then try the fixes listed below to get Spotlight working again on your PC.
Step 1: Perform these checks to ensure everything is set up as intended
Let’s start by performing a few checks on your system. In case you fail these checks, you can try fixing them using the subsequent guides. These could be the nominal reasons on Windows 11 preventing you from accessing Windows Spotlight as intended on your PC. Let’s get started.
Check 1: Ensure the system is using the correct date and time
Let’s start by ensuring that the system date and time are correctly set on your PC. Simply verify it with the time on your mobile device or use one of the links below to view the current time in your area.
- Google | Current time
- Timeanddate.com | Current time
- Time.is | Current time
- Greenwichmeantime.com | Current time
If your system clock is out of sync, then here’s how you can get it in order. On the other hand, if time is set correctly on your PC then you can move to the other checks in this list.
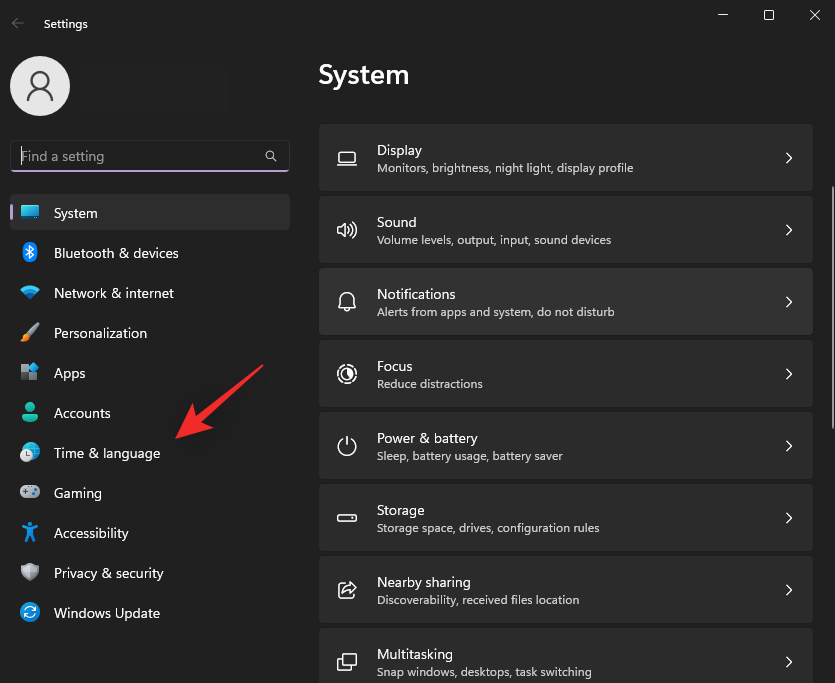
Press Windows + i and click Time & language.
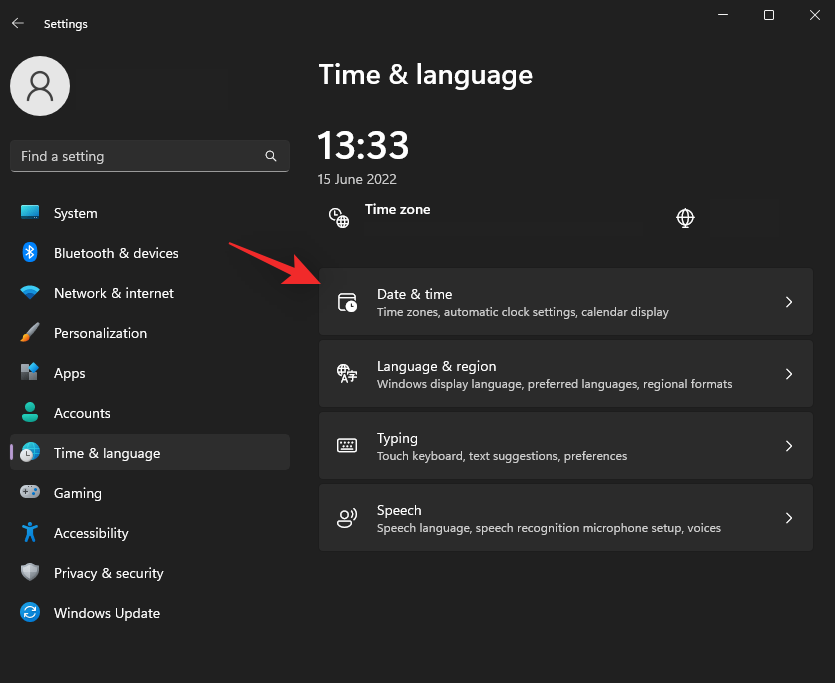
Click Date & time.
Turn on the toggle for Set time automatically at the top.

Click the drop-down menu for Time zone and choose your correct time zone.

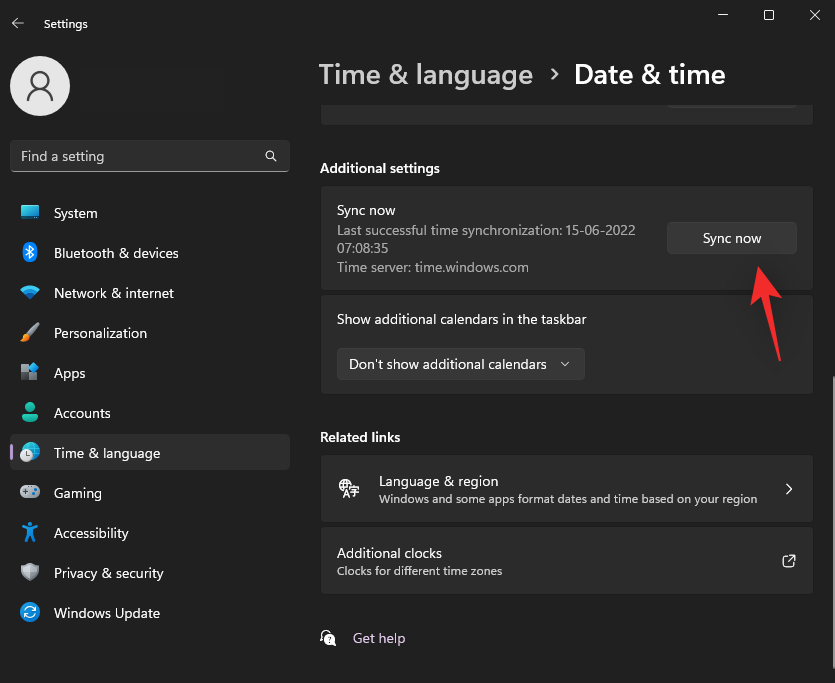
Click Sync now under Additional settings.
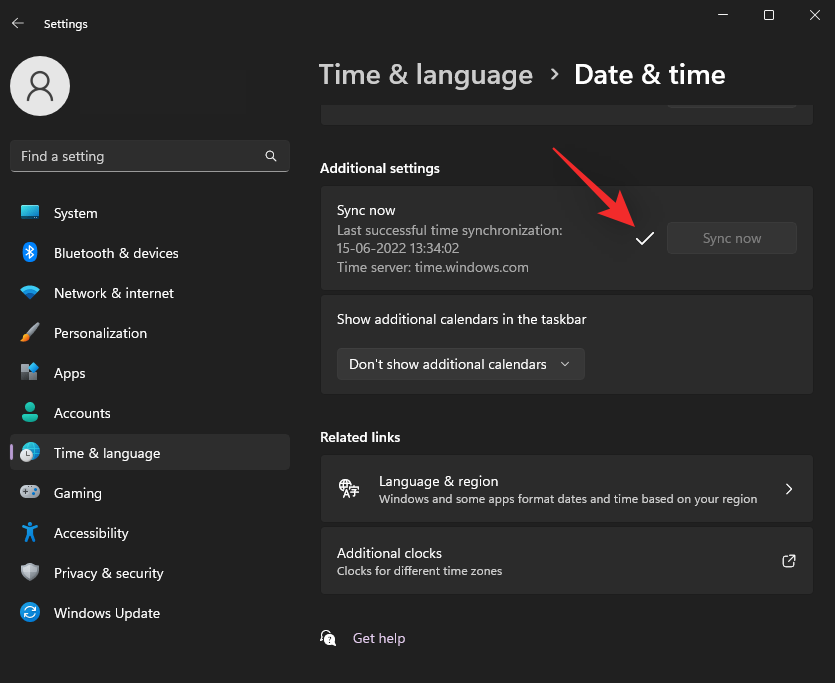
Your clock will now be synced with Microsoft servers and it should now reflect the correct time on your PC.
You can also use this guide from us to manually set time on Windows 11 if you’re facing issues with the clock on your system.
Check 2: Ensure you have Internet connectivity
Internet is a requirement when it comes to using Spotlight as the daily image as well as the widget data sourced from the cloud. If Spotlight is unable to access the dedicated servers then it could be the reason why it fails to work for you as intended.
Start by visiting a website in your browser to check your internet. If you aren’t getting a connection on your PC then try using the same network on your mobile device to ensure that it is currently down.
If you’re facing internet issues, then you can try either of these fixes to get the internet back up and running again on your PC.
- Wait: In most cases, the issue will stem from the back with your Wi-Fi provider and not your PC. If all devices on the network are unable to access the internet then we recommend you wait a while for the issue to resolve itself. You can also get in touch with your internet provider to further fix your issue.
- Check your DNS settings: If you’re using a custom DNS then we recommend you check your DNS settings and fix them accordingly. Mismatched DNS settings or broken DNS servers can also prevent you from accessing the internet as needed.
- Use Windows troubleshooters: Windows troubleshooters have come a long way since their initial release. Troubleshooters can now look for issues using data in the cloud and similarly use custom scripts and fixes to resolve your issues. We recommend you run the Internet troubleshooter on your system by going to Settings > System > Troubleshoot > Other troubleshooters.
- Use a different connection: At this point, we recommend you try switching networks until the issue with the current network has been resolved. You can temporarily use a hotspot from your mobile device or opt for a different Wi-Fi or Ethernet connection altogether.
Check 3: Ensure you are not using a metered connection
Metered connections restrict the data usage on a device to minimize the data used by Windows apps and services. It also minimizes the data consumed in the background and these restrictions apply to Windows Spotlight as well. Thus, if you’ve been unable to use Spotlight as intended or it fails to update for you, then you’re likely using a metered connection. You can either switch to a different connection to keep the data usage on the current network to a minimum or choose to mark the current network as non-metered. Here’s how you can do that on Windows 11.
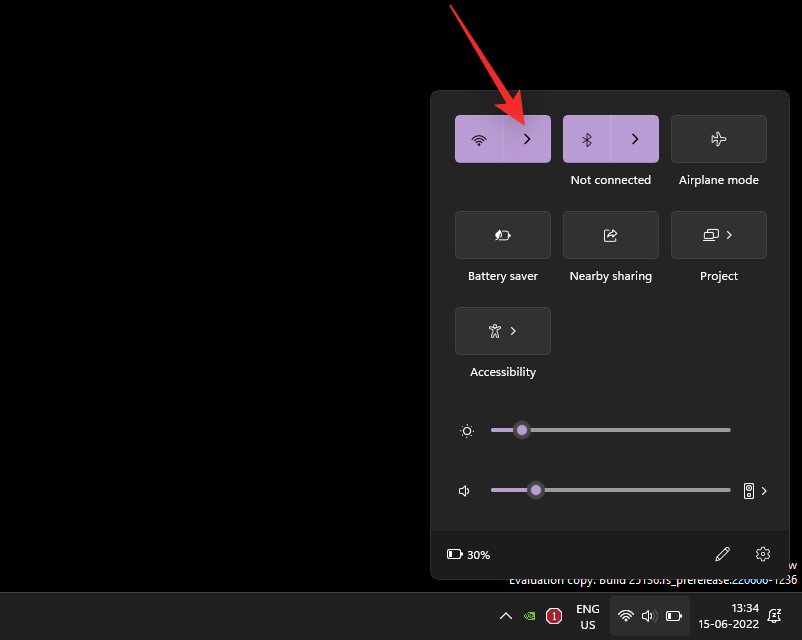
Press Windows + A and click the > icon beside Wi-Fi to view all networks.
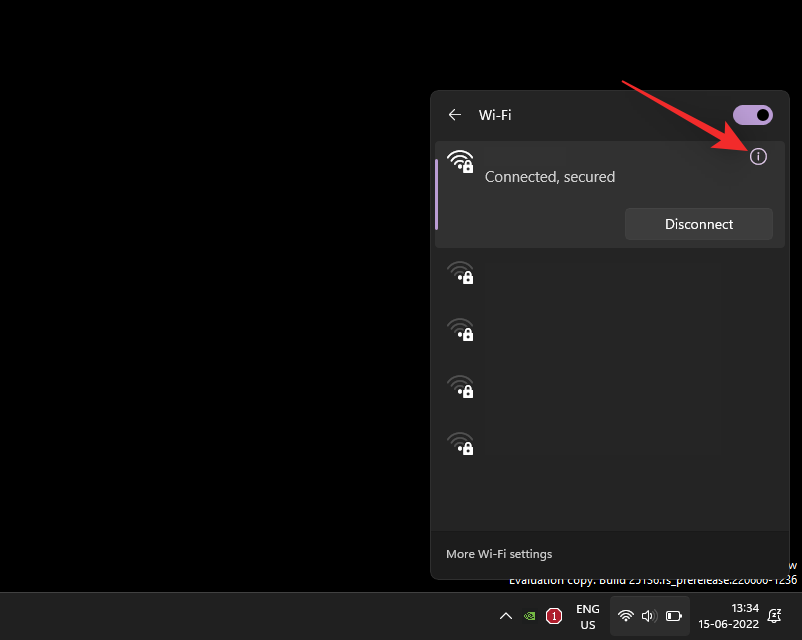
Click the information (i) icon for the current network.
Now turn off the toggle for Metered connection on your screen.
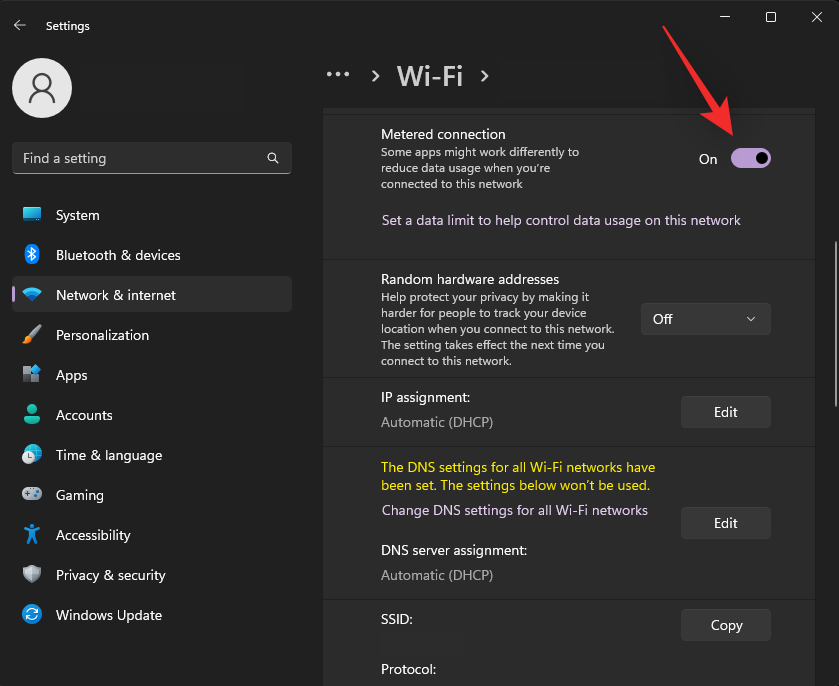
The current network will now be marked as non-metered and Windows Spotlight should now be able to access Microsoft servers as needed.
Step 2: Fixes for Spotlight on Windows 11
Now that we’ve ensured everything is set up correctly on your system, let’s start fixing the Spotlight on your system. We recommend you start with the first fix and make your way through the list until you manage to fix Spotlight on your system. Let’s get started.
Fix 1: Restart Windows Spotlight
Let’s start by restarting Windows Spotlight. Use the steps below to help you along with the process.
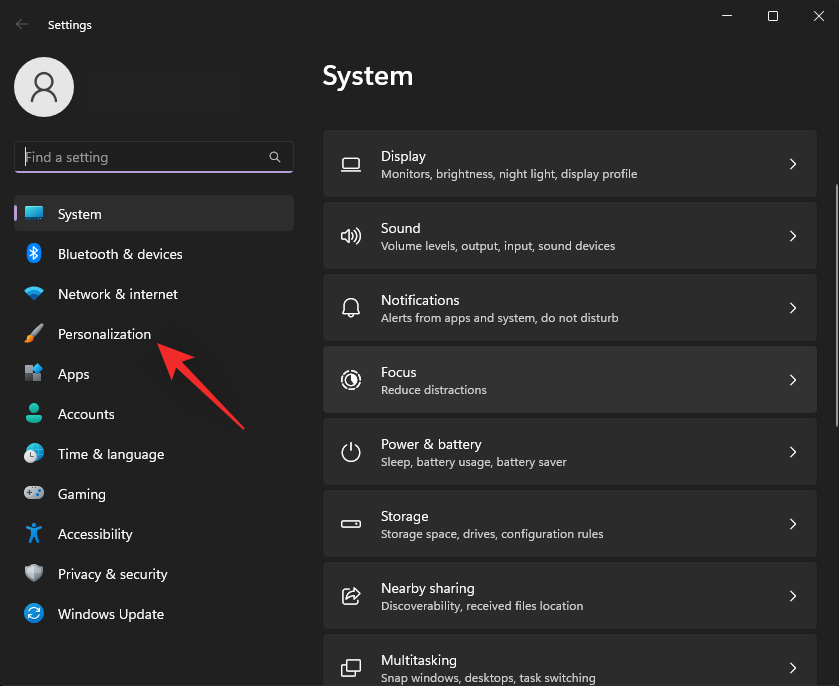
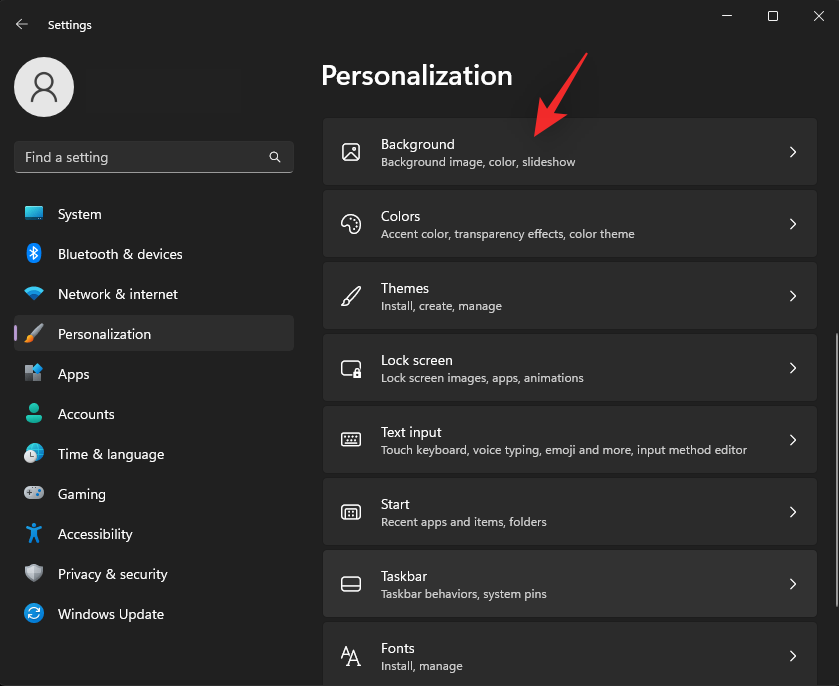
Press Windows + i and click Personalization.
Click Background.
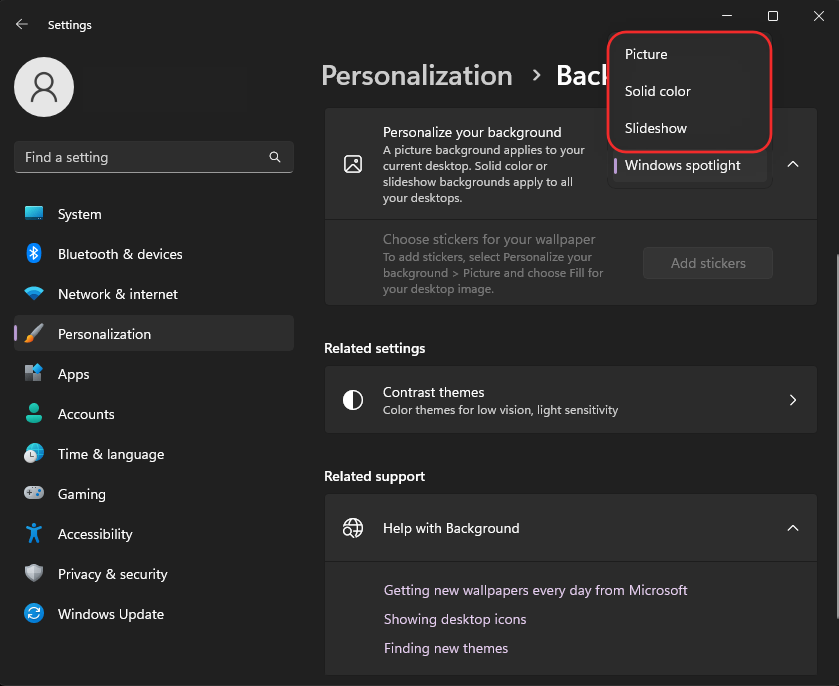
Click the drop-down menu for Personalize your background.
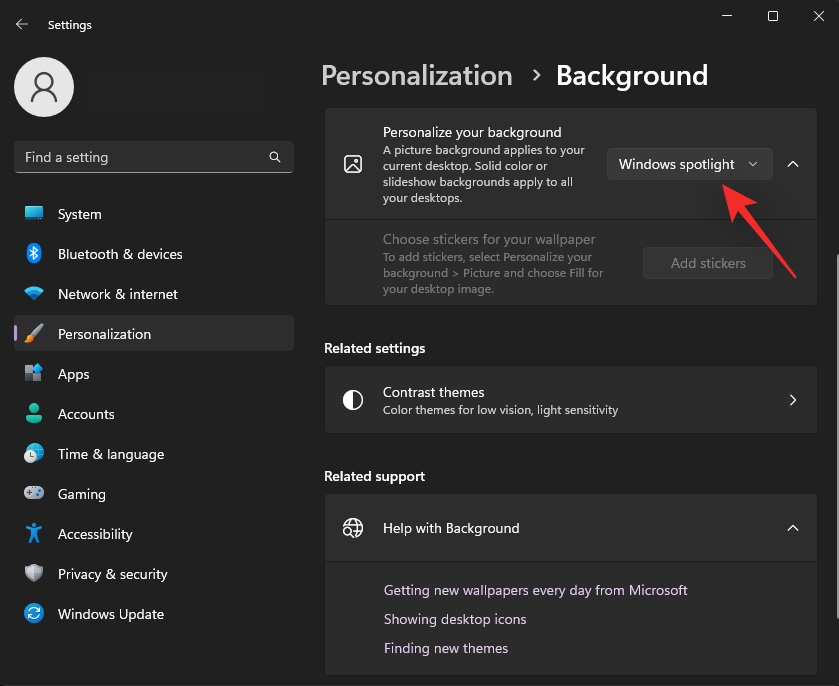
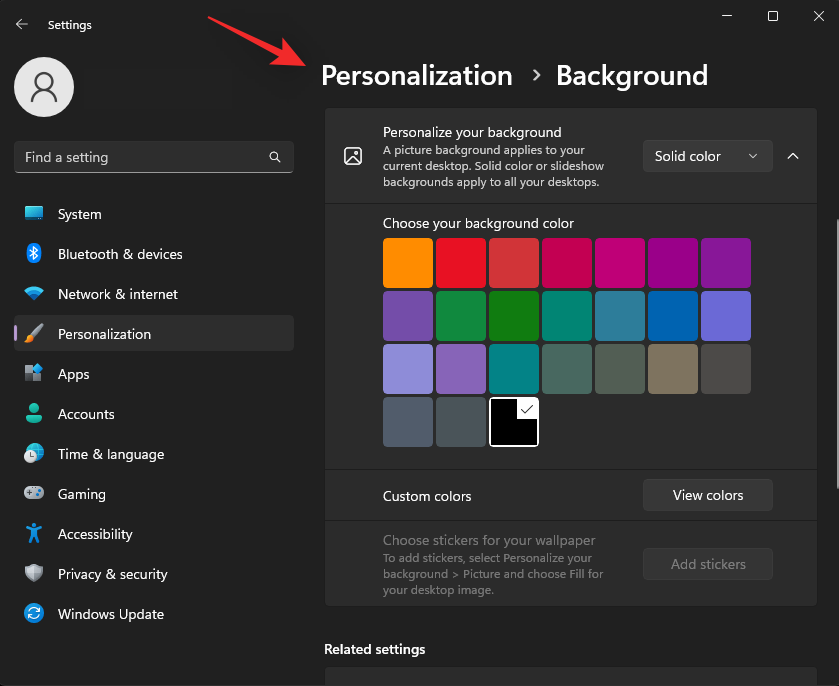
Select either of the options instead of Windows Spotlight.
Click Personalization at the top.
Now click the Lock screen.
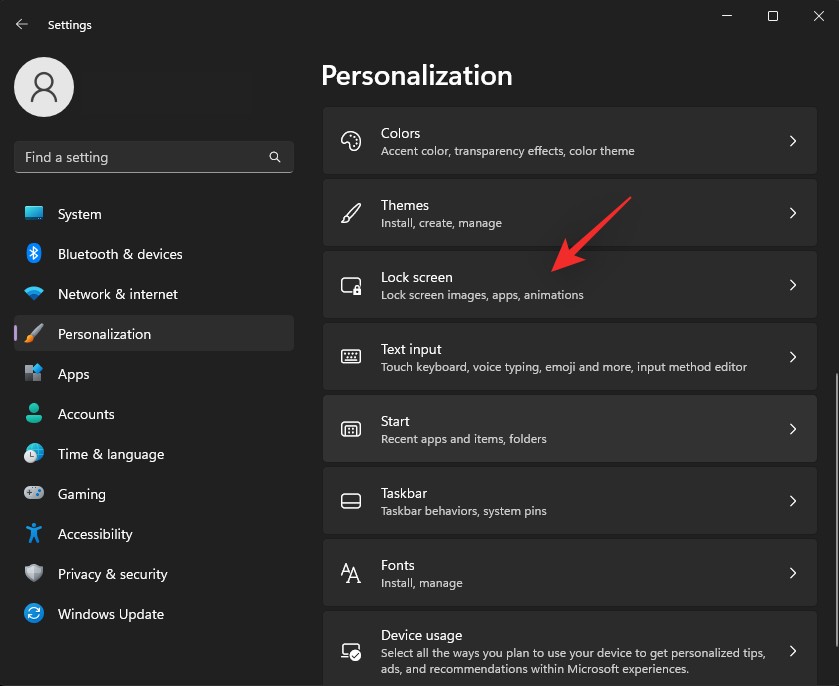
Click the drop-down menu beside Personalize your lock screen and select any option besides Windows Spotlight.

Now close the Settings app and restart your PC.

Ensure that you’re connected to the internet and set Windows Spotlight as your desktop and lock screen background. If your background updates with the latest image then Windows Spotlight is now fixed on your system.
Fix 2: Delete Spotlight Assets
If restarting the Spotlight did not work for you, then we can try rebuilding its Asset cache. Use either of the methods below to help you along with the process.
Method 1: Using CMD
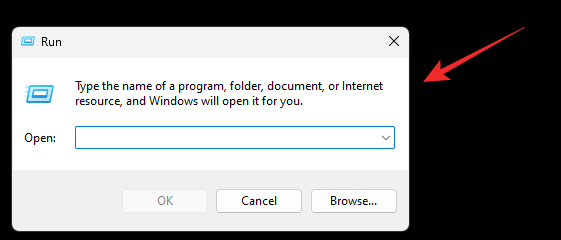
Press Windows + R to launch Run.
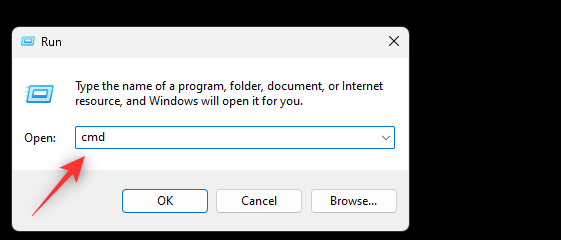
Type in the following and press Ctrl + Shift + Enter on your keyboard.
cmd
Now type in the following command and press Enter once done.
DEL /F /S /Q /A "%USERPROFILE%/AppData\Local\Packages\Microsoft.Windows.ContentDeliveryManager_cw5n1h2txyewy\LocalState\Assets
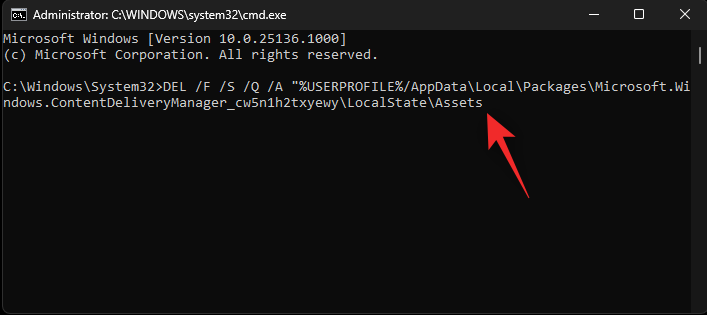
This will delete all Spotlight assets from your PC. Enable spotlight on your desktop or lock screen if needed and restart your PC. If a corrupted asset cache was the cause of your issue, then the Windows Spotlight should now be fixed on your system.
Method 2: Manually delete Spotlight Assets
If the CMD method does not work for some reason or you prefer to manually delete assets from your system, then here’s how you can do it.
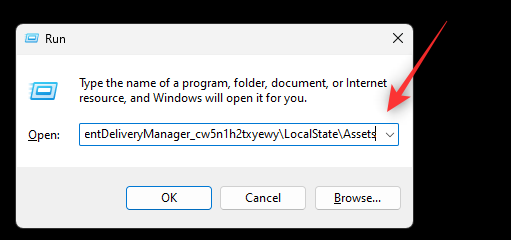
Press Windows + R to launch Run.
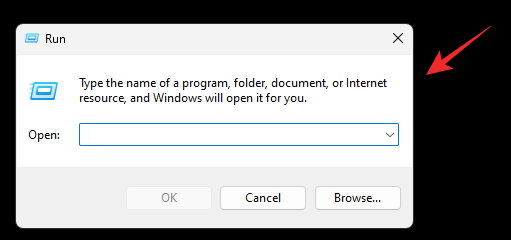
Now paste in the following path and press Enter. You can also click OK.%USERPROFILE%/AppData\Local\Packages\Microsoft.Windows.ContentDeliveryManager_cw5n1h2txyewy\LocalState\Assets
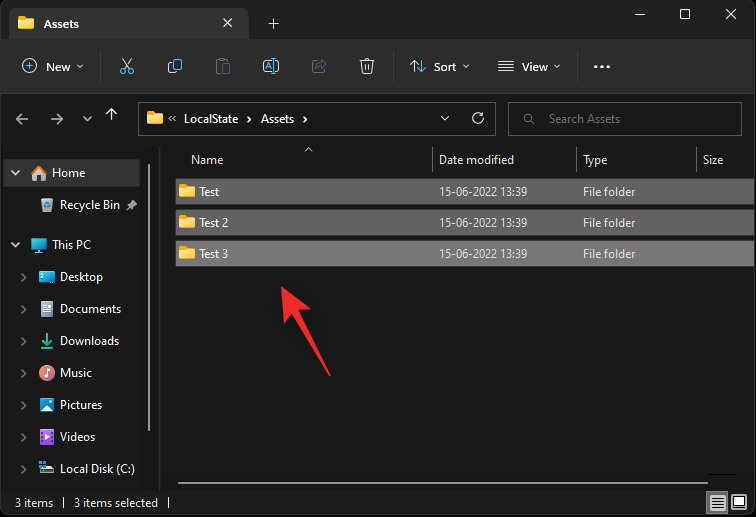
Select all the files in the folder using Ctrl + A and then press Shift + Del to permanently delete them.
Confirm your choice by clicking Yes.
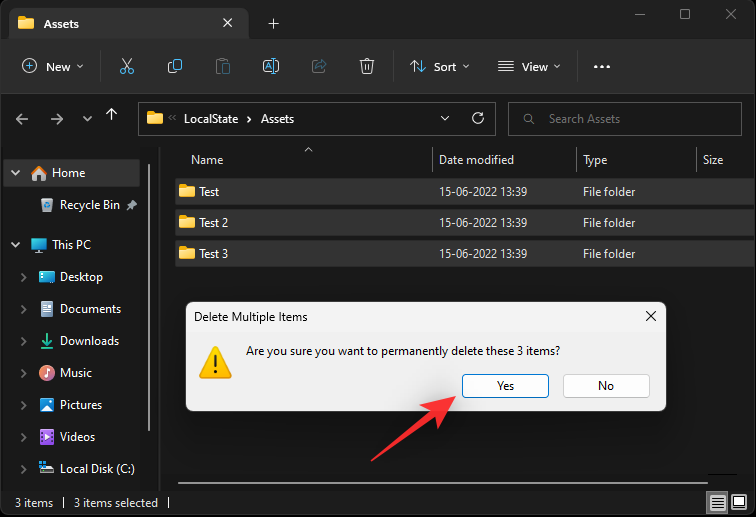
Once all files have been deleted, restart your PC and set Windows spotlight as your desktop and lock screen background. If an asset conflict was the cause of your issue, then it should now be fixed on your system.
Fix 3: Reset Spotlight Settings
We will now start by resetting your Windows Spotlight settings. Use either of the methods below to help you get started.
Method 1: Using CMD
Press Windows + R to launch Run.
Now type in the following and press Ctrl + Shift + Enter.
cmd
CMD will now open on your screen. Type in the following command and press Enter on your keyboard.
DEL /F /S /Q /A "%USERPROFILE%/AppData\Local\Packages\Microsoft.Windows.ContentDeliveryManager_cw5n1h2txyewy\Settings
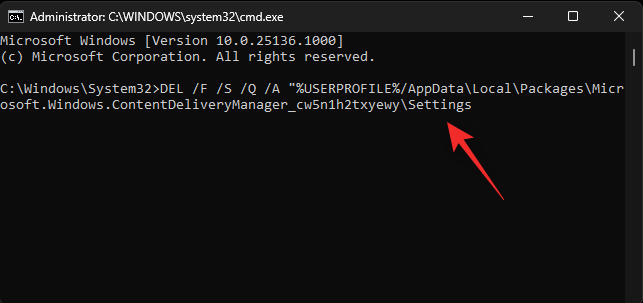
The settings for Windows Spotlight will now be deleted from your system. Restart your PC and set Windows Spotlight as your background again. If background settings conflict was the cause of your issue then it should now be fixed on your system.
Method 2: Manually reset Spotlight Settings
You can also choose to manually reset Spotlight settings using the steps below.
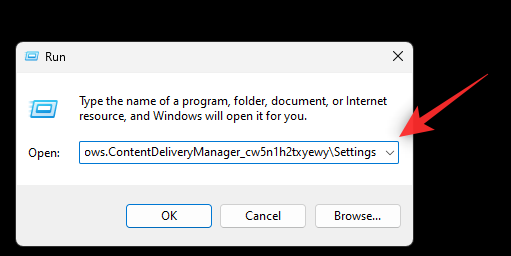
Press Windows + R to launch Run.
Paste the following path in the Run dialog box and press Enter. You can also click OK if needed.
%USERPROFILE%/AppData\Local\Packages\Microsoft.Windows.ContentDeliveryManager_cw5n1h2txyewy\Settings
Now rename the roaming.lock and settings.dat file to the following.
- roaming.lock.bak
- settings.dat.bak
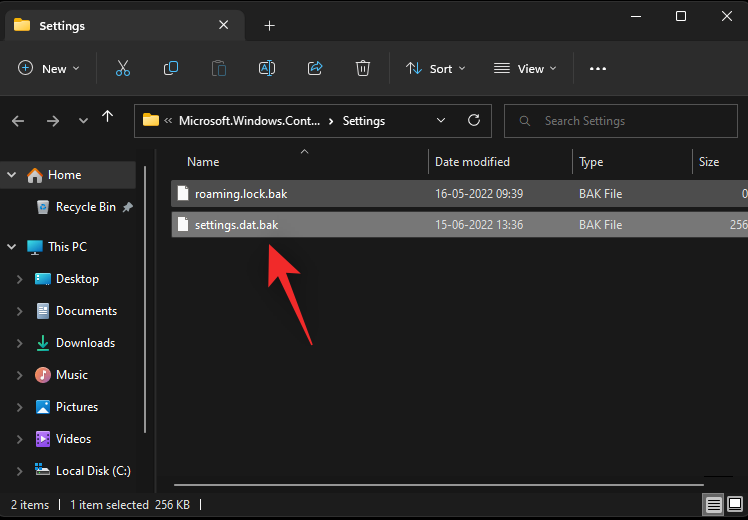
Now close the folder and restart your PC.
Set Windows Spotlight as your background. If mismatched settings were the cause of your issue, then they should now be fixed on your system.
Fix 4: Re-register Windows Spotlight
We will now re-register Windows Spotlight to see if that fixes the issue on your system. Use the steps below to help you along with the process.
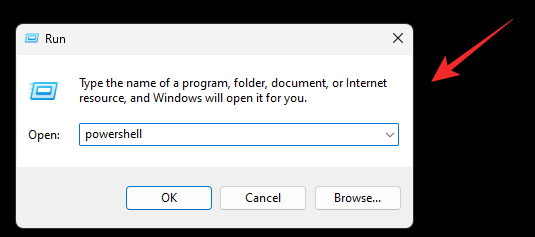
Press Windows + R to launch Run.
Type in the following and press Ctrl + Shift + Enter.
powershell
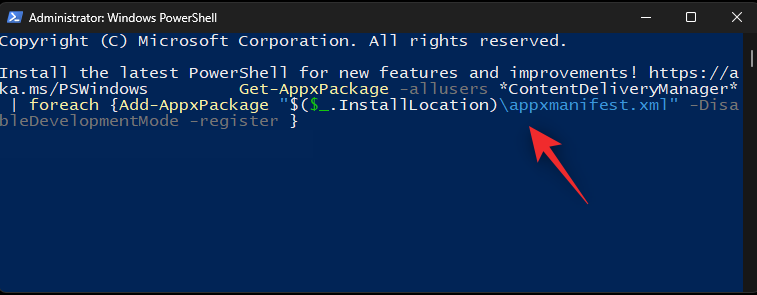
Now copy and paste the command below in the PowerShell window. Once done, press Enter on your keyboard.
Get-AppxPackage -allusers *ContentDeliveryManager* | foreach {Add-AppxPackage "$($_.InstallLocation)\appxmanifest.xml" -DisableDevelopmentMode -register }
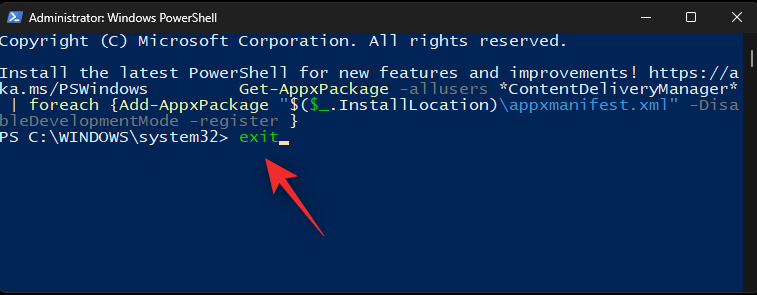
Once done, type in the following to close PowerShell.
exit
Now restart your PC and set Windows Spotlight as your background if needed.
Windows Spotlight should now be fixed on devices facing background conflicts with Windows services.
Fix 5: Run System Maintenance troubleshooter
You can also run the system maintenance troubleshooter on your system to fix Windows Spotlight. Follow the steps below to help you along with the process.
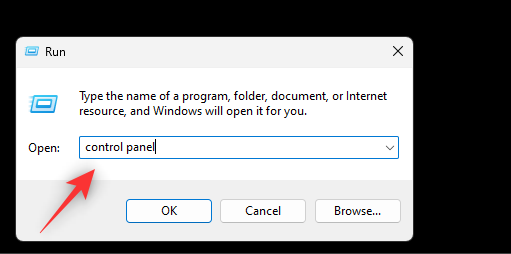
Press Windows + R to launch Run.
Type in the following and press Enter. You can also click OK if needed.
control panel
Click the drop-down menu in the top right corner and select Large icons.
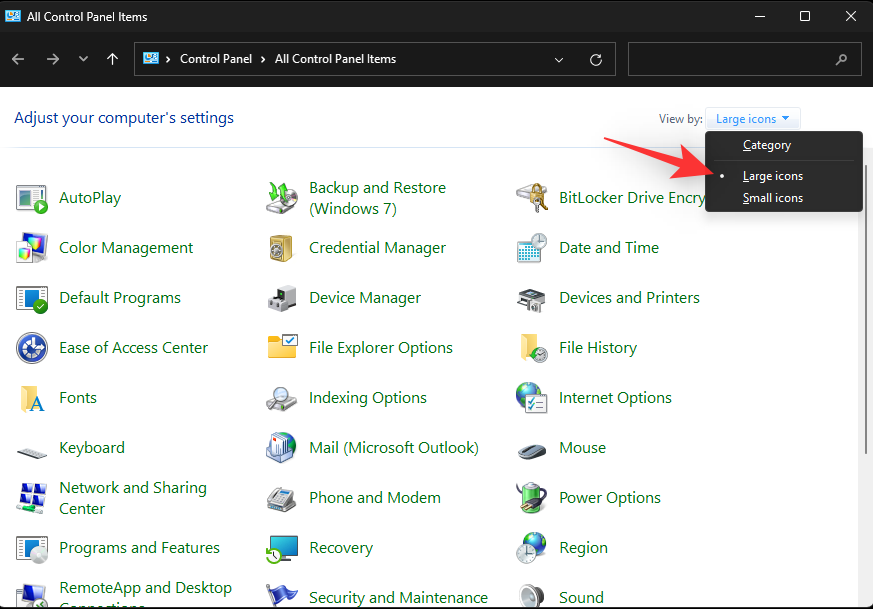
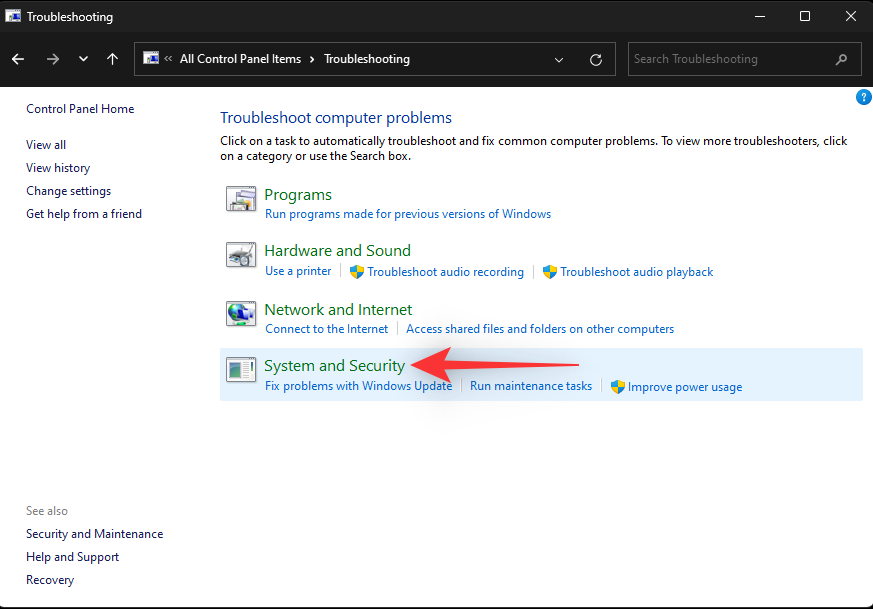
Click Troubleshooting.

Now click System and Security.
Click System Maintenance.

Click Next.
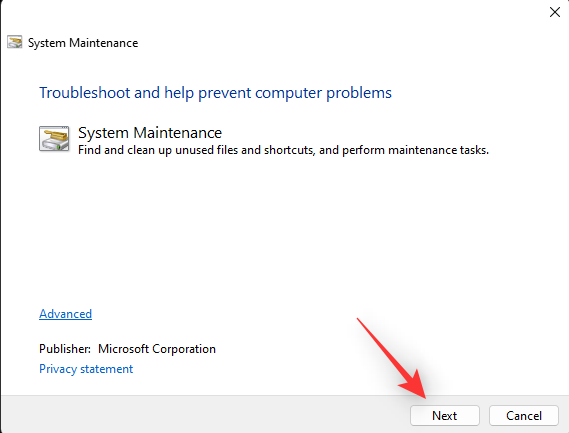
The troubleshooter will now do its thing and fix any issues it finds on your system. Once the process completes, restart your PC and try using Windows Spotlight again.
Fix 6: Run SFC scan
An SFC scan or a system file checker scan can help identify and fix issues with your system files. Use the guide below to help you run the same on your system.
Press Windows + R to launch Run.
Type in the following and press Ctrl + Shift + Enter.
cmd
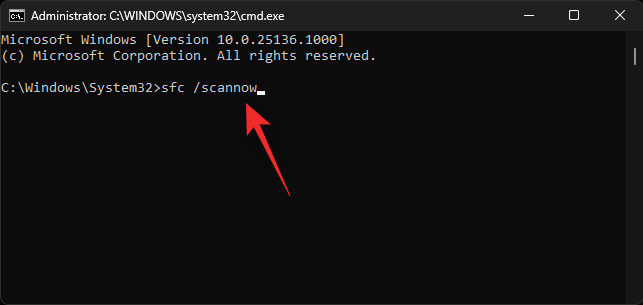
Now use the following command to run an SFC scan.
sfc /scannow
Once the scan is done, type in the following to close CMD.
exit

Restart your PC and try using Windows Spotlight again. If broken system files were the cause of your issue then it should now be fixed on your system.
Fix 7: Use a third-party alternative

At this point, you can try opting for a third-party app to replace Windows Spotlight if you don’t wish to opt for drastic measures. We recommend trying out Dynamic Theme which works similarly, has a great rating, and is recommended by many users that face a similar issue. Use the link below to download the same on your PC.
- Dynamic Theme | Download Link
Last Resort Fixes:
At this point, we will need to opt for some drastic measures to fix Windows Spotlight. These measures can hamper your setup, delete your files and remove custom drivers. We recommend you back up all your data before opting for either of these options mentioned below.
Fix 8: Use System Restore
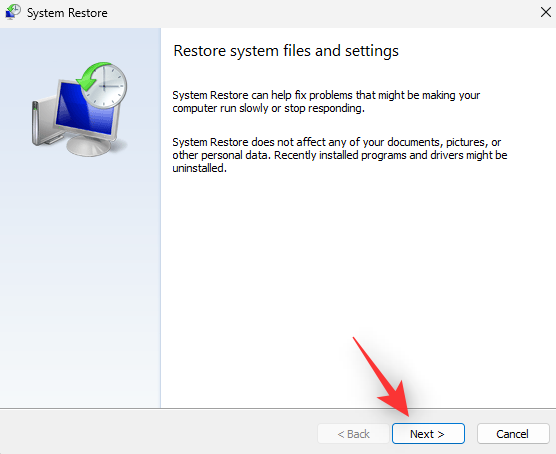
You can start by using System Restore on your PC to help restore your files, apps, and system files to a previously known date when Windows Spotlight was working for you. System Restore helps retain most of your files except the new ones created after the System Restore Point was created. This also includes installed third-party and Windows Store apps. Use this comprehensive guide by us to help you along with the process.
Fix 9: Reset your PC
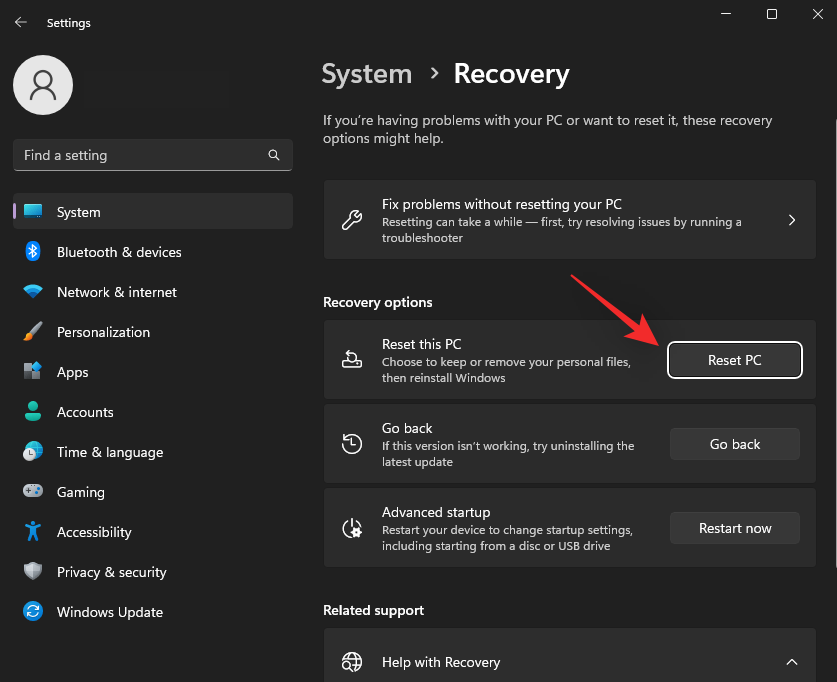
As a last resort, you can Reset your PC. A fresh start will help you test everything out of the box and Windows Spotlight should not face any conflicts with installed apps, drivers, or files on your PC. Once everything is working as intended, you can use the backup we created earlier to restore all your data. Use this guide by us to help you Reset your Windows 11 PC.
We hope this post helped you easily fix Windows Spotlight on your PC. If you have any more questions, feel free to drop them in the comments below.
RELATED:


