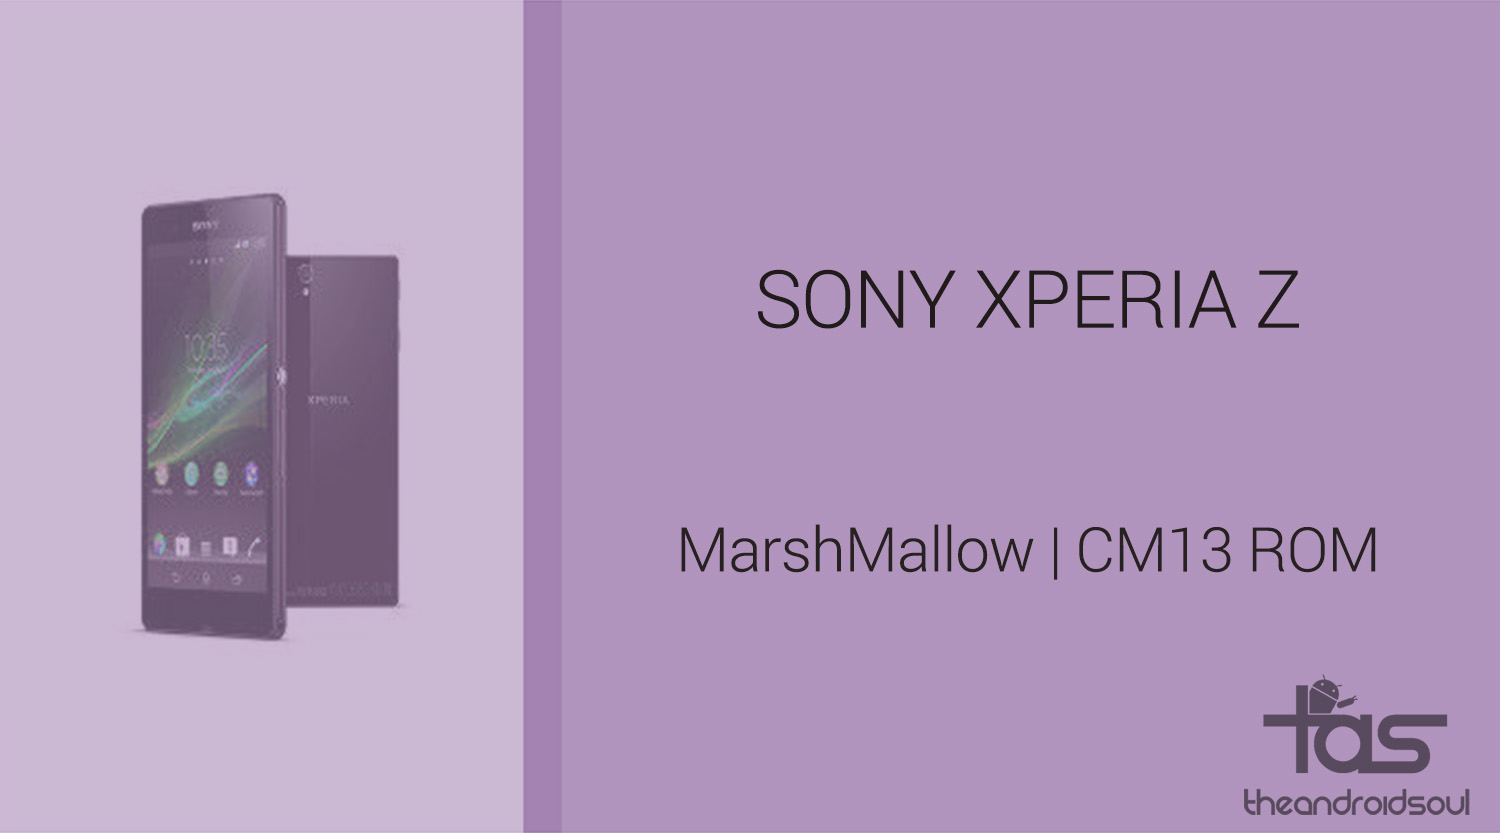
While other devices are gaining the Android 4.4 KitKat update via CM11, it’s pure AOSP ROM, not made off the CM code, which has brought the Android 4.4 update to Xperia Z.
While Sony will take forever to get Xperia Z users, their fair share of KitKat update, the unofficial gates to the update has already opened up, and we’ve already got hands on the Android 4.4 ROM for the Sony Xperia Z.
You need to have a custom recovery to be able to install the Android 4.4 on your Xperia Z.
Either of CWM and TWRP recovery would do, just make sure that you are using the latest version to successfully flash the recovery.
Bugs/Issues with the ROM (as of Nov 13, 2013):
- Screenshot preview doesn’t work (but the screenshot itself is fine)
- adb shell screenrecord doesn’t work (not supported by the qcom blobs)
- Selecting a Mobile network manually will cause the ‘Please wait…’ dialog to stay even after the phone registered to the network. Just hit the ‘home’ button to make the dialog vanish.
- Syncing the Calendar with google may not work on a fresh 4.4 installation. Reboot your phone 2 times and it should be fine. (Seems to be a gapps issue, there is nothing i can do about it)
WARNING!
Warranty may be void of your device if you follow the procedures given on this page.
You only are responsible for your device. We won’t be liable if any damage occurs to your device and/or its components.
CHECK DEVICE MODEL NO.
To make sure your device is eligible with this, you must first confirm its model no. in ‘About device’ option under Settings. Another way to confirm model no. is by looking for it on the packaging box of your device. It must be C6602/C6603/C6606/C6616!
Do not use the procedures discussed here on any other device. You have been warned!
BEFORE YOU BEGIN..
You must do this pre-installation stuff before attempting to install the ROM on your Sony Xperia Z in order to avoid any complications later, and have a smooth and successful process.
BACK UP YOUR DEVICE
Back up important data and stuff before you start playing around here as there are chances you might lose your apps and app-data (app settings, game progress, etc.), and in rare case, files on the internal memory, too.
For help on Backup and Restore, check out our exclusive page on that linked right below.
► ANDROID BACK UP AND RESTORE GUIDE: APPS AND TIPS
INSTALL SONY XPERIA Z DRIVERS
You must have proper and working driver installed on your windows computer to be able to successfully KitKat on your Xperia Z. Download and Install the Xperia Drivers from the link below. Be sure to re-start your computer after installing these drivers.
CHARGE YOUR DEVICE
If your android device powers off due to lack of battery while the process is underway, it could damage the device.
So, make sure your device is adequately charged — at least 50% battery of the device.
EXAMPLE VIDEO
If you haven’t used a custom recovery, either CWM or TWRP, before, to install a .zip file of a ROM on anything else, then we suggest you first watch a video of that, given right below, to get familiar with the process.
Just fyi, the video below shows installing a .zip file (of recovery) on Galaxy S3, but it doesn’t matter as the process remains exactly same. So, once you are finished with video, jump to downloads and step-by-step guide below.
SONY XPERIA Z ANDROID 4.4 KITKAT INSTALLATION GUIDE
DOWNLOADS
Download the files given below and save them to a separate folder on your computer
- Boot.img and System.img files: DOWNLOAD LINK
File name: pabx_aosp_yuga-3_3.zip (213 MB) - Gapps file: DOWNLOAD LINK
File name: gapps_44_yuga_3.tgz (86.4 MB) - Fastboot and adb files: DOWNLOAD LINK
File name: Fastboot and ADB files.zip (0.78 MB)
STEP-BY-STEP GUIDE
Make sure you have backed up your phone adequately (including important data stored on internal memory). Also create a nandroid backup using your recovery for additional safety.
NOTE: To be able to flash files using Fastboot, you first need to unlock bootloader on your Xperia Z.
FLASH BOOT.IMG AND SYSTEM.IMG
- Unzip/Extract Fastboot and ADB files.zip (using 7-zip free software, preferably) to a separate folder on your computer
- Unzip/Extract pabx_aosp_yuga-3_3.zip file. You’ll get a boot.img file and a system.img file. Transfer/Copy both of these files to the folder where you extracted the contents of Fastboot and ADB files.zip in Step 1
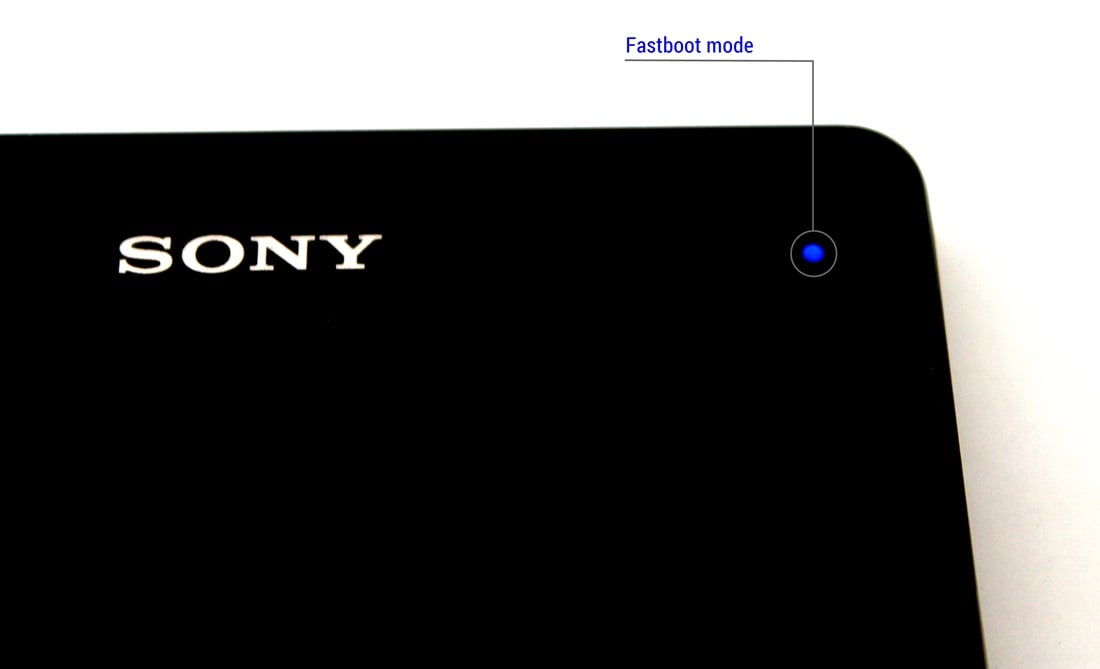
- Connect your phone in fastboot mode
- Switch off your phone
- Hold the Volume UP key on your phone and connect it to PC using a USB cable
- The LED notification light on your phone should turn blue. If it doesn’t — do the above step again
- Now open a command window inside the folder where you transferred the files in Step 2. For that, first open the folder, then press “Shift + Right click” on any empty white space inside the folder and select “Open command window here” option from the context menu

- Now flash the ‘system.img‘ file on your phone from the command window. Type/Paste the command given below in your command window and hit enter. This may take some time so be patient!
fastboot flash system system.img
- Once the system.img file is flashed successfully, flash the ‘boot.img‘ file. Type/Paste the command given below in your command window and hit enter.
fastboot flash boot boot.img
- Disconnect your phone from computer once boot image is flashed successfully
└ Your phone will automatically reboot after disconnecting from computer with Android 4.4 installed. But it will not have Google services (like Play store) and root installed by default. You’ll have to flash them through recovery.
FLASH GAPPS
- Transfer the Gapps file (gapps_44_yuga_3.tgz) that you downloaded from the downloads section above to the the root of your phone’s internal SDcard
└ Do not copy the file inside any folder on your phone. Copy the file to root of phone’s internal sdcard. - Once you’ve transferred the ‘gapps_44_yuga_3.tgz’ file to the correct location, reboot your phone
└ Your phone will reboot twice. First, to install Gapps and then again to finish the installation.
Your phone will now reboot into Android 4.4 KitKat on board. Enjoy!
FEEDBACK US!
It was easy to install KitKat, right? Let us know how it tastes 😉
Your suggestions are most welcomed!
Via Blinken Lights

6 responses to “[How to] Update Sony Xperia Z to Android 4.4 KitKat with an AOSP ROM”
My phone got stuck on step 7 and did not restart automatically. Here’s what I did… if the blue light is still on just plug it back in and type in cmd ‘fastboot reboot’.. Great post btw!
My phone got stuck on step 7 and did not restart automatically. Here’s what I did… if the blue light is still on just plug it back in and type in cmd ‘fastboot reboot’.. Great post btw!
My phone got stuck on step 7 and did not restart automatically. Here’s what I did… if the blue light is still on just plug it back in and type in cmd ‘fastboot reboot’.. Great post btw!
Can i just flash in recovery without fastboot
Can i just flash in recovery without fastboot
Can i just flash in recovery without fastboot