

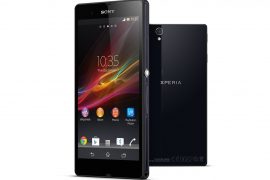
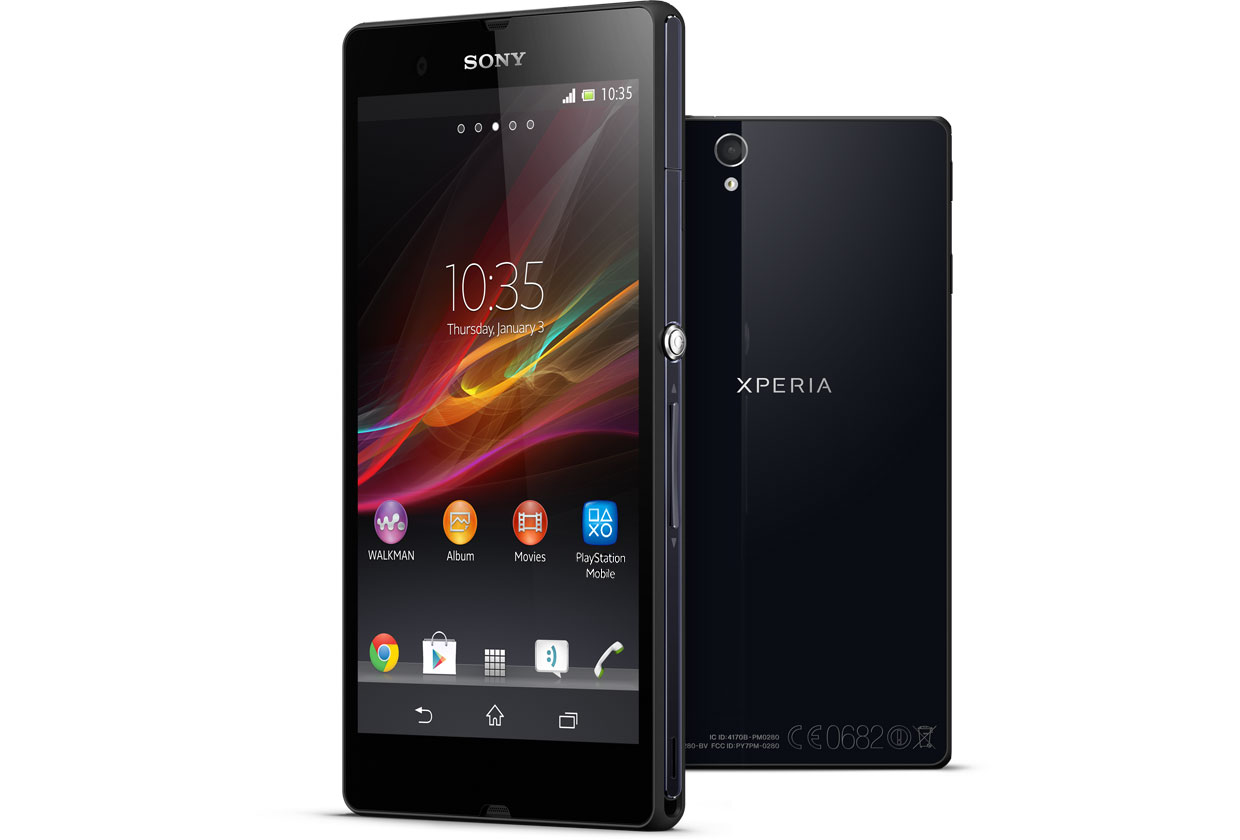
Some of you who updated the Xperia Z and ZL to Android 5.1 update from Sony must be looking a way back to root and TWRP recovery, right? Well, we have got you fully covered.
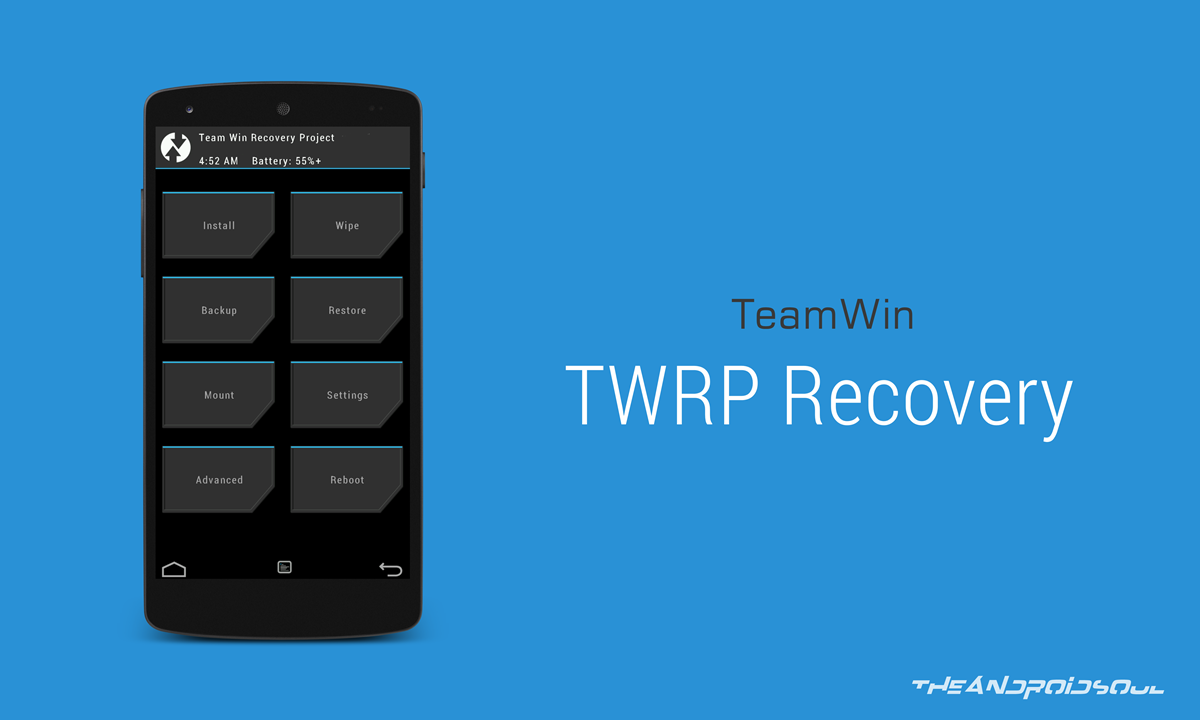
Start with installing the TWRP recovery first. And then using the TWRP, you can root your Xperia Z/ZL back pretty easily. Thanks goes to shoey63, for coming up with the modified boot images to get TWRP back on Android 5.1.1.
Required?
It must be noted that the TWRP is currently available only for unlocked devices. See step 1 below for help on this.
Downloads
- TWRP Recovery:
- SuperSU Root package — Link | File: UPDATE-SuperSU-v2.46.zip
Supported devices
- SONY XPERIA Z, codename Yuga
- SONY XPERIA ZL, codename Odin
- Don’t try this one any other device!
Important: Check your device’s model no. on free Android app called Droid Info. If you see codename mentioned above in the app, then use this recovery, otherwise not. BTW, you can check model no. device’s packaging box too.
Warning: Warranty may be void of your device if you follow the procedures given on this page. You only are responsible for your device. We won’t be liable if any damage occurs to your device and/or its components.
Backup important files stored on your device before proceeding with the steps below, so that in case something goes wrong you’ll have backup of all your important files.
- Go to Settings > About phone, and then tap ‘Build number’ 7 times or until you see the ‘you’re not a developer’ message pop up.
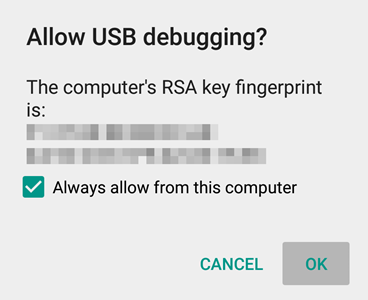
- Go back to Settings, then choose ‘Developer options’. Find the ‘USB debugging’ option and use its toggle button to enable it. Accept warning by tapping on OK button.
If you wish to root your device too, then transfer the SuperSU file (UPDATE-SuperSU-v2.46.zip) to phone.
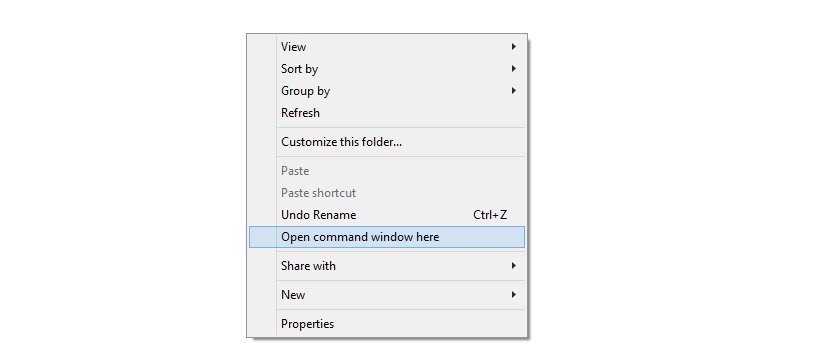
- Open that folder and then left click on empty white space in the folder.
- Now, while holding shift key, right click on empty white space to get a pop-up as shown below.
- Now choose Open command window here option from that.
You will see a command window open up, with location directed to folder where you have the twrp recovery file.
- Switch off your Xperia Z1.
- Press and hold the Volume Up button on device and while holding it, connect it to your PC using a USB Cable.
└ Before plugging in the USB cable on your Xperia Z1 make sure that the other end of USB cable is already connected to the PC. - Your Xperia Z1 should be in Flash Mode now and the device’s LED light should turn into blue.
→ Upon running command below, you should get a serial no. with fastboot written after it. If you don’t get fastboot written on cmd window, then it means you need to reinstall adb and fastboot drivers, or change restart PC, or use original USB cable.
fastboot devices
fastboot flash boot boot.img
- Turn your device off.
- Now, press both Power and Volume down button together until your you feel vibration from the device. Once you do, release the Power button quickly while keep holding the Volume down button.
- If you did the above step correctly, then you will see the screen with dead green Android in the middle, with an exclamation mark.
- Now, when you see that screen, release the Volume down button and you will enter recovery mode. You will see TWRP recovery.
Happy flashing!
And let us know if you need any help regarding installation of TWRP recovery on your Xperia Z/ZL. Use the comments section below.



15 responses to “Sony Xperia Z and ZL Android 5.1.1 Root and TWRP Recovery”
Happy to see that some people still interested in 1st Gen Z series. Thanks.
Happy to see that some people still interested in 1st Gen Z series. Thanks.
any root for Tablet Z (SGP311)? Thanks 🙂
any root for Tablet Z (SGP311)? Thanks 🙂
Works for Xperia Z C6603 Thanks buddy
Works for Xperia Z C6603 Thanks buddy
when im doing this the cmd window says waiting for device ???
when im doing this the cmd window says waiting for device ???
Thanks for all information here! I did all step by step, and everything went smoothly. My “Z” now has nice TWRP recovery, and is rooted. Nice present for myself on New Year’s night! 🙂 Special thanks for all authors and programmers of these solutions. Happy New Year! 🙂
Thanks for all information here! I did all step by step, and everything went smoothly. My “Z” now has nice TWRP recovery, and is rooted. Nice present for myself on New Year’s night! 🙂 Special thanks for all authors and programmers of these solutions. Happy New Year! 🙂
Good guide, though the instructions for booting into recovery are wrong for the Z. You have to mash the volume up or down buttons when the LED first lights up for it to go to recovery.
Good guide, though the instructions for booting into recovery are wrong for the Z. You have to mash the volume up or down buttons when the LED first lights up for it to go to recovery.
Fastboot is not recognized as an external or internal command this is error message i am getting please hep
Fastboot is not recognized as an external or internal command this is error message i am getting please hep
Why don’t you telling people that they must take TA partition before unlocking bootloader?!