
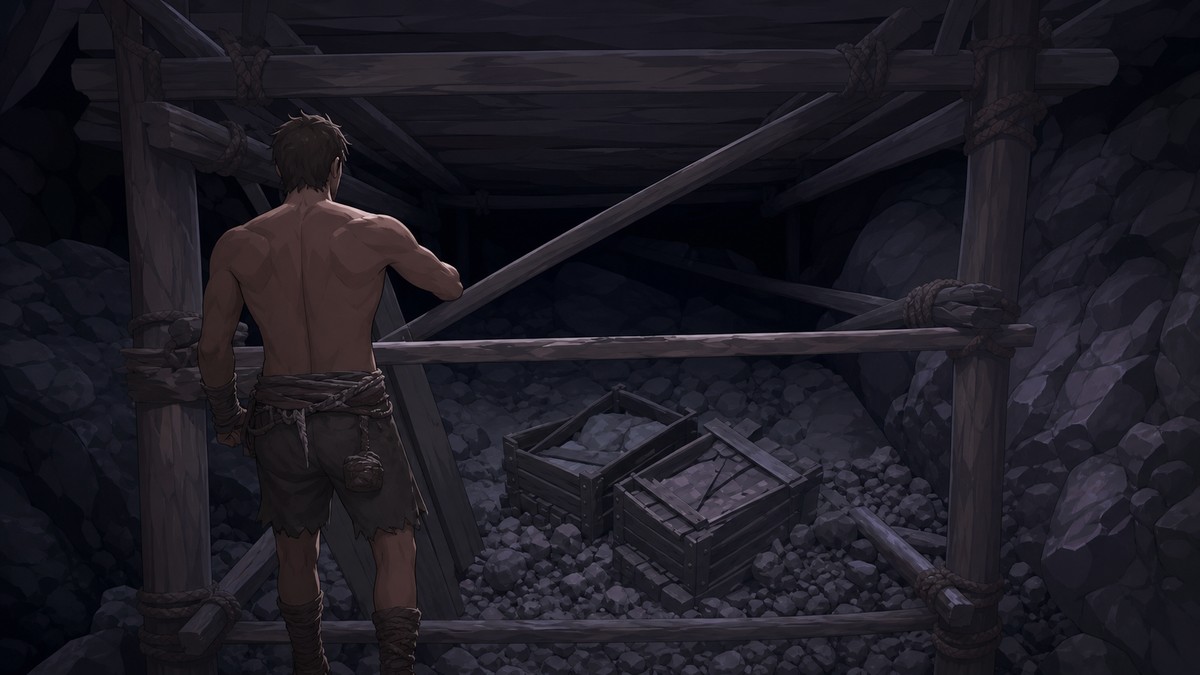
The Swivel Guns Ultimate Plan is in a chest inside the Devil’s Eye Caverns Diving Bell location in the Cruz region; swim through the long northern cave route, surface into the hidden cavern, and open the chest on the left.
This is one of the longer underwater blueprint runs in Assassin’s Creed IV: Black Flag, mostly because the correct chest sits well beyond the first wreck you find. The route is straightforward once you follow the cave landmarks in order and save your air before the deeper sections.
Swivel Guns Ultimate Plan location and requirement
| Detail | Value |
|---|---|
| Item | Swivel Guns Ultimate Plan |
| Region | Cruz |
| Dive site | Devil’s Eye Caverns |
| Prerequisite | Diving Bell unlocked through the main story |
| Chest landmark | Hidden cavern chest on the left after the long northern cave route |
| Approximate coordinates | Around 445,334 to 460,324 |
KEY!The Swivel Guns Ultimate Plan is tied to a Diving Bell run, so do not look for it on the surface or inside a fort. Go to the named Devil’s Eye Caverns dive site in Cruz; the map numbers vary slightly, but the icon name is the reliable marker.
How to reach the Swivel Guns Ultimate Plan chest in Assassin’s Creed IV: Black Flag
Start from the Devil’s Eye Caverns Diving Bell and follow the cave route all the way to the hidden chest.
STEP 1/13
Use the Diving Bell
Activate the underwater bell at Devil’s Eye Caverns and descend into the shipwreck route.
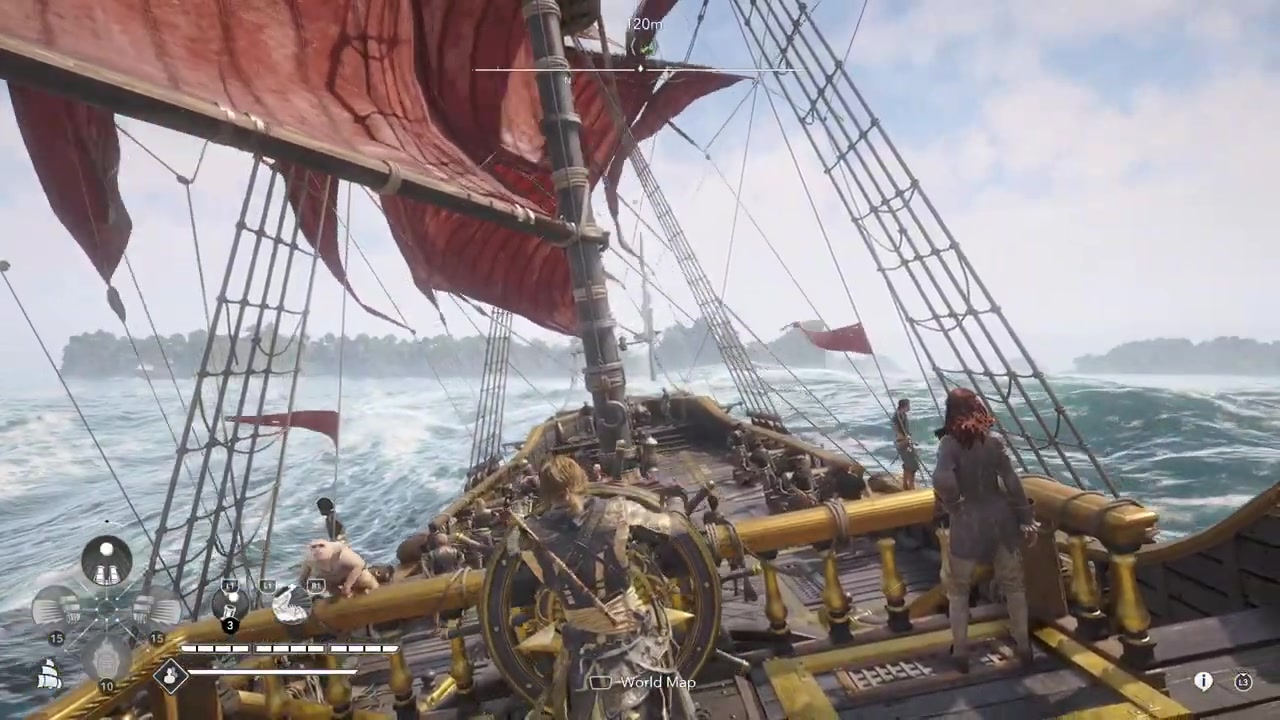
STEP 2/13
Swim north from the start
Leave the bell area heading north and enter the first secret cave opening.
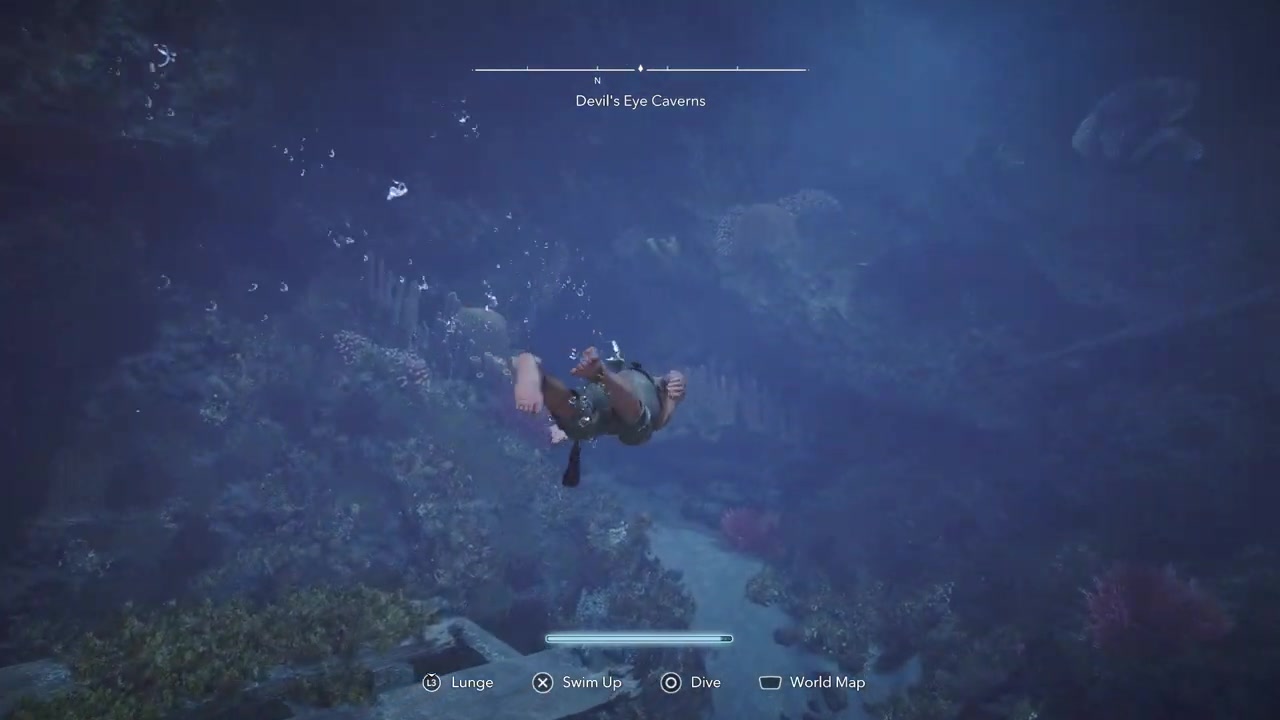
STEP 3/13
Pass the eye-shaped rock
When the cave forms an eye-like opening, go around the right side and keep turning right.
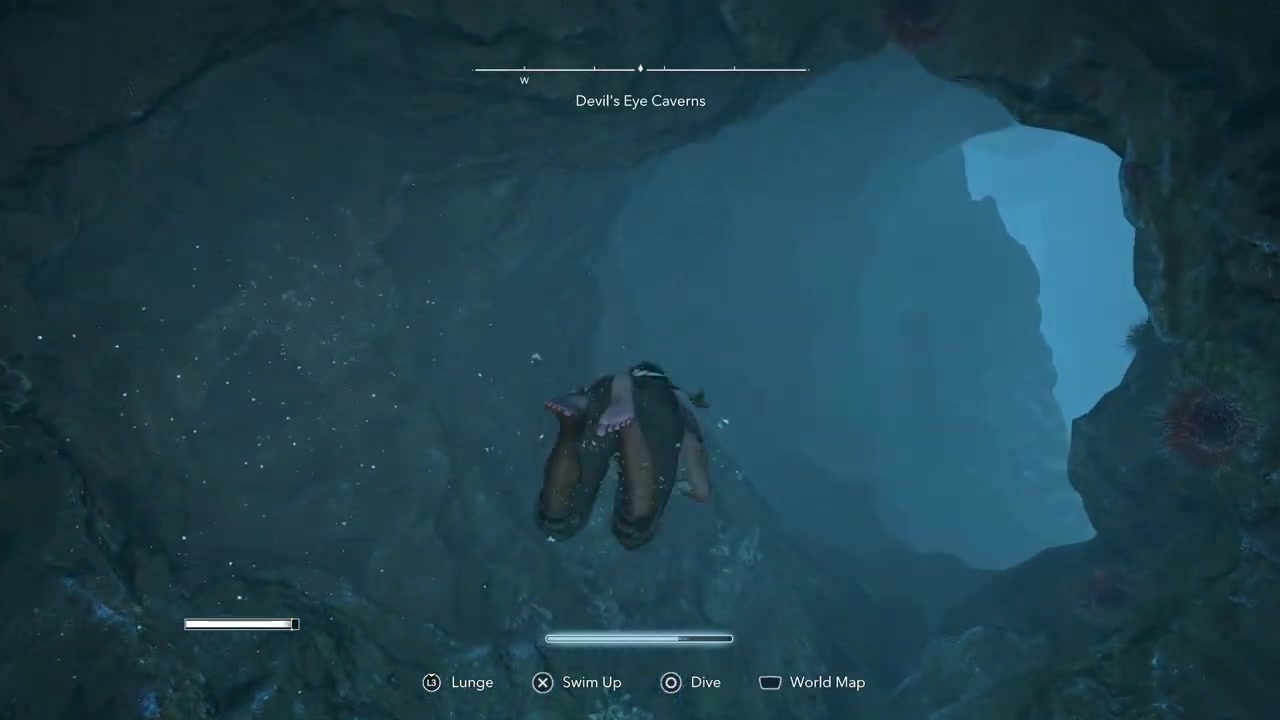
STEP 4/13
Pass the first wreck chest
At the school of fish and broken ship, ignore that chest if you only want the plan.
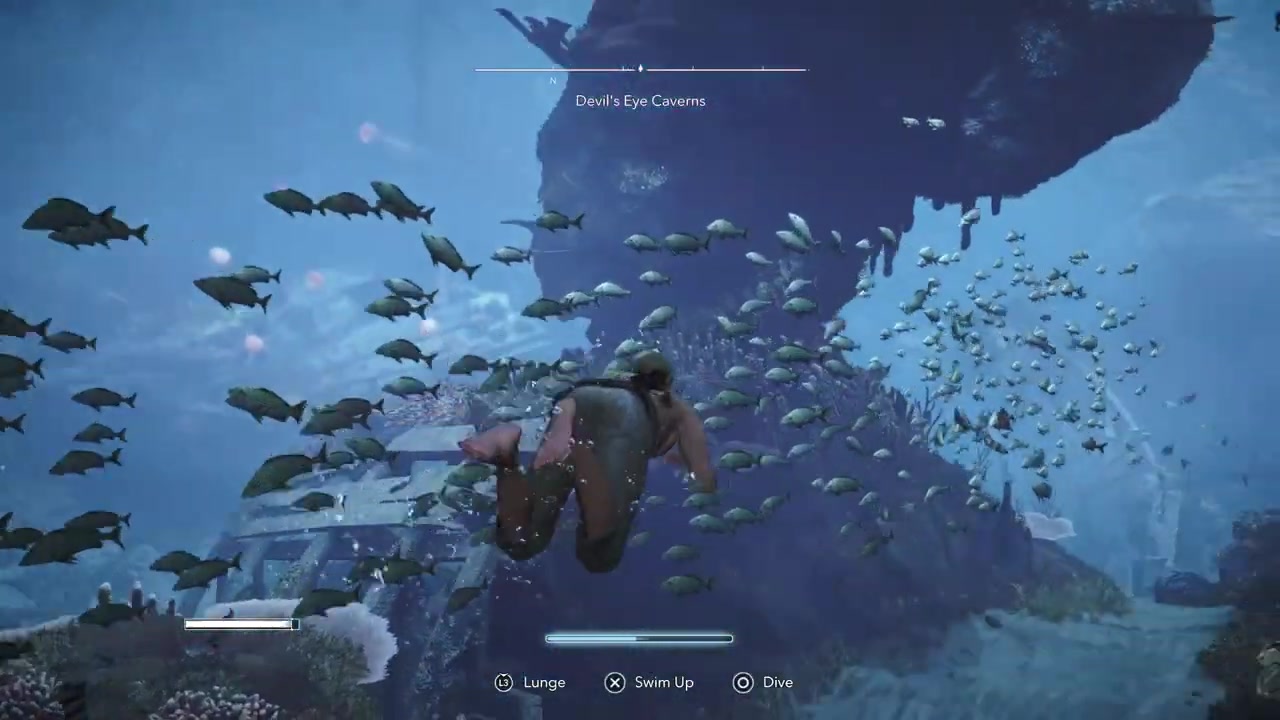
STEP 5/13
Swim toward the next wreck
Continue past the first ship and head for the next broken-down ship instead of doubling back.
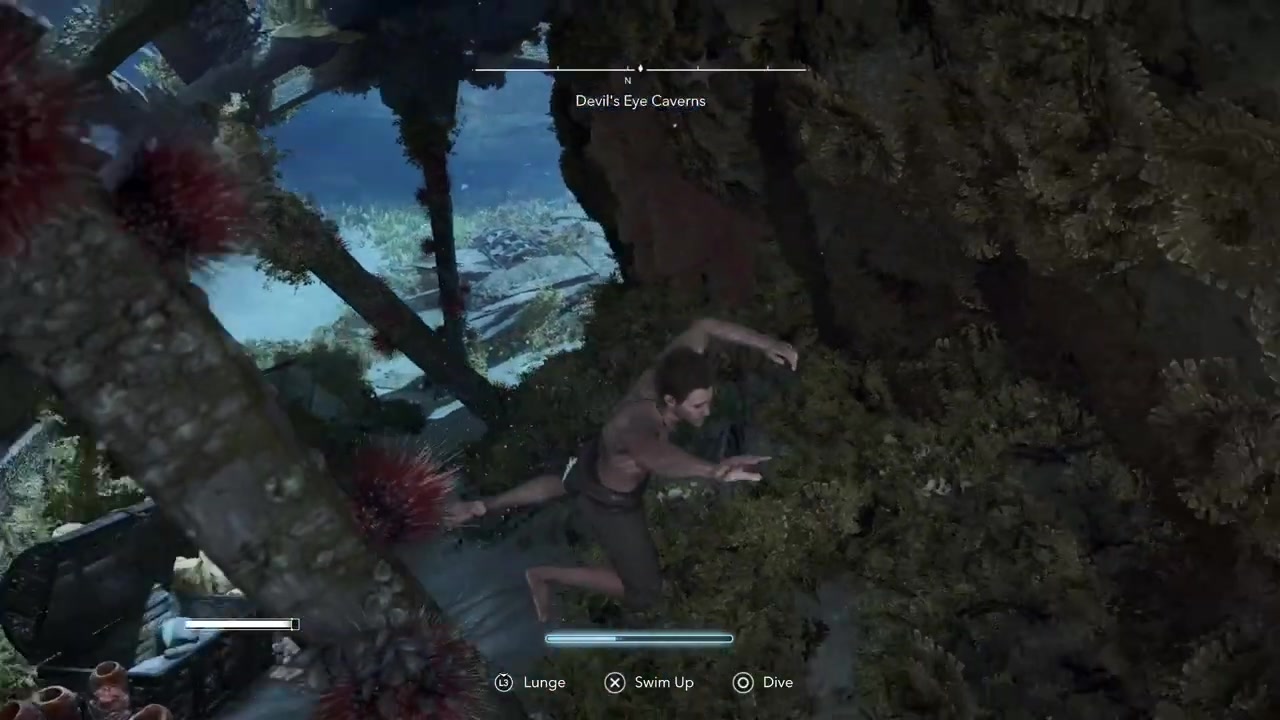
STEP 6/13
Take the air stop
Use the breather beside the second broken ship before entering the longer cave section.
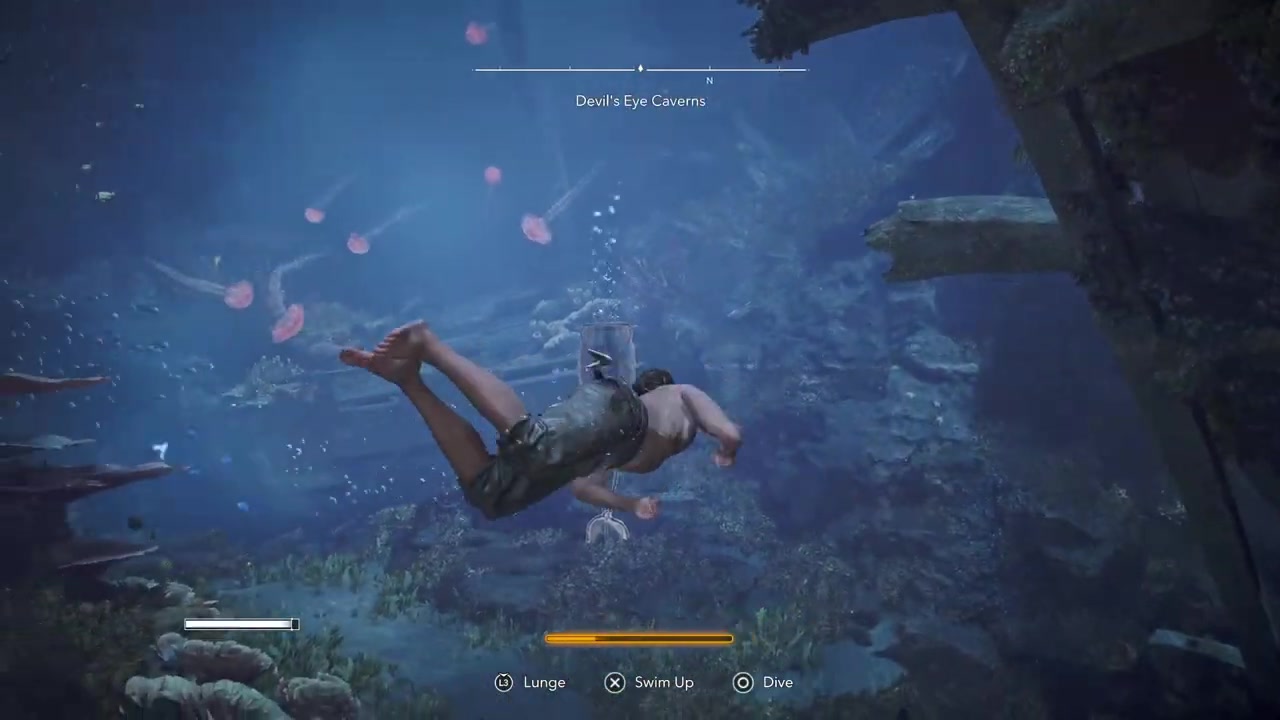
STEP 7/13
Enter the hatch on the ship
Drop through the hatch on top of the broken ship to reach the second cave.
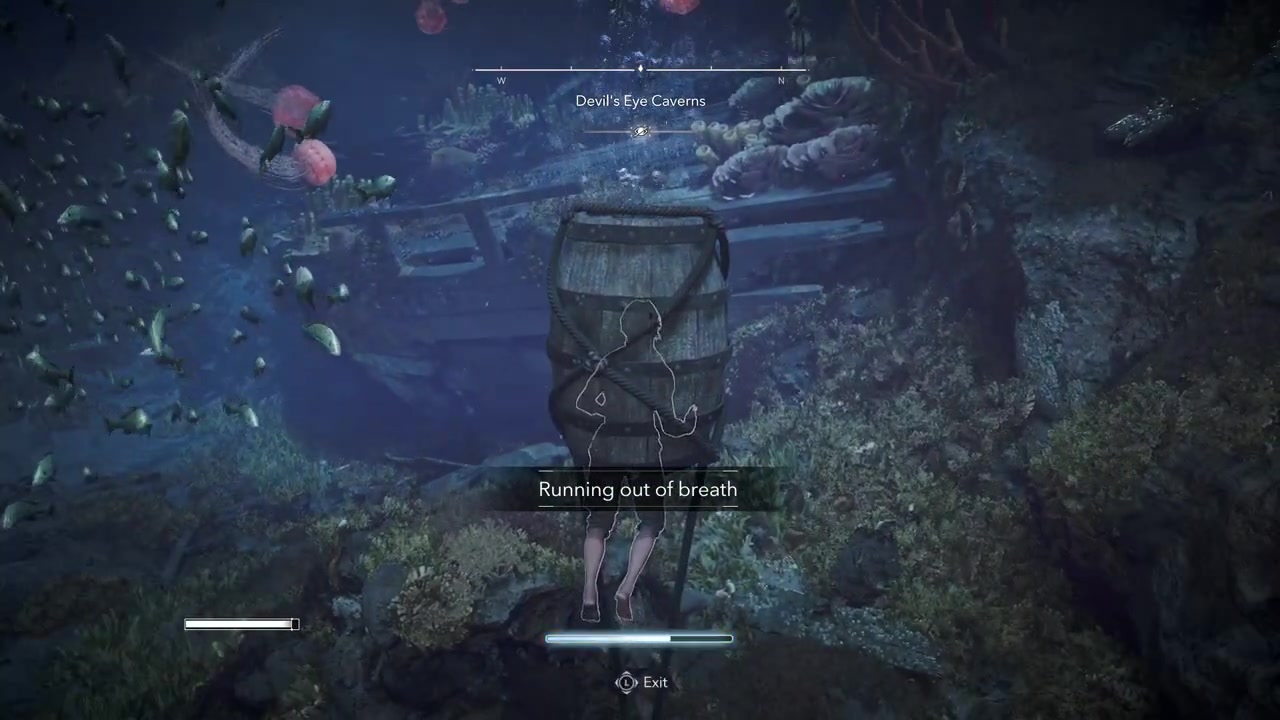
STEP 8/13
Use the air bubbles
When air bubbles appear overhead, rise into them for your next breather.
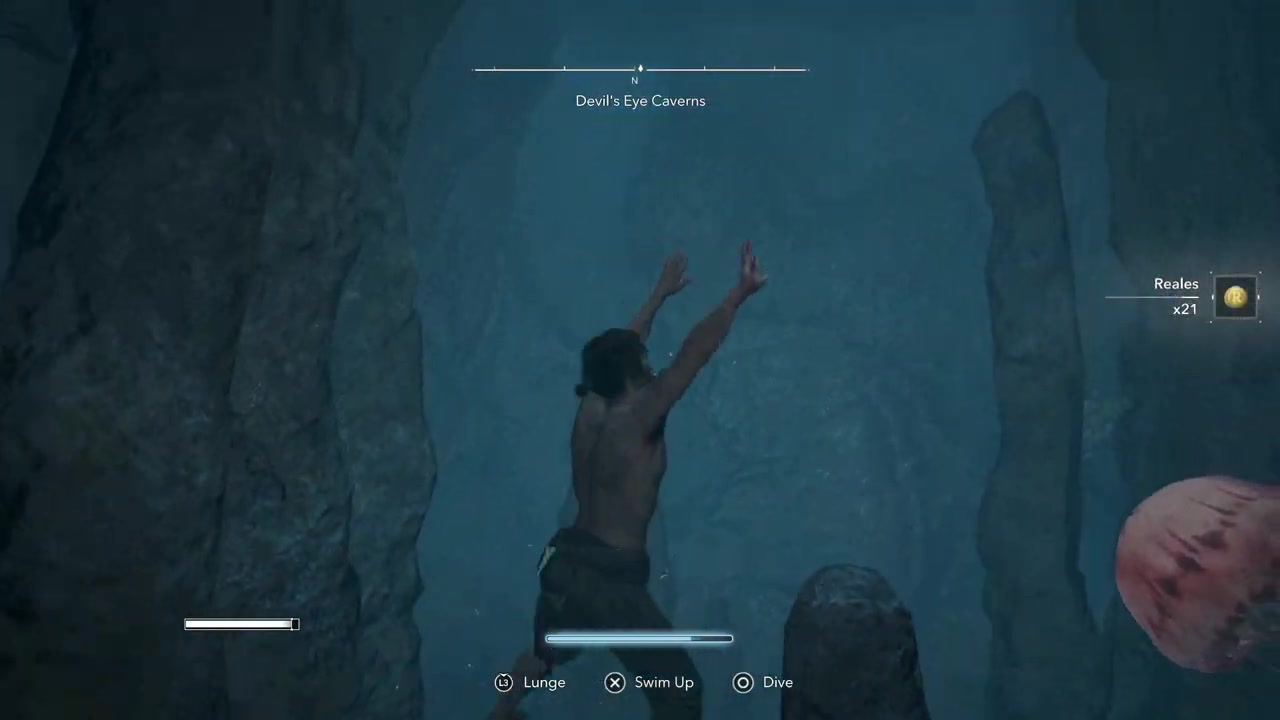
STEP 9/13
Keep moving west
Continue through the cave in the same direction, following the route toward the west.
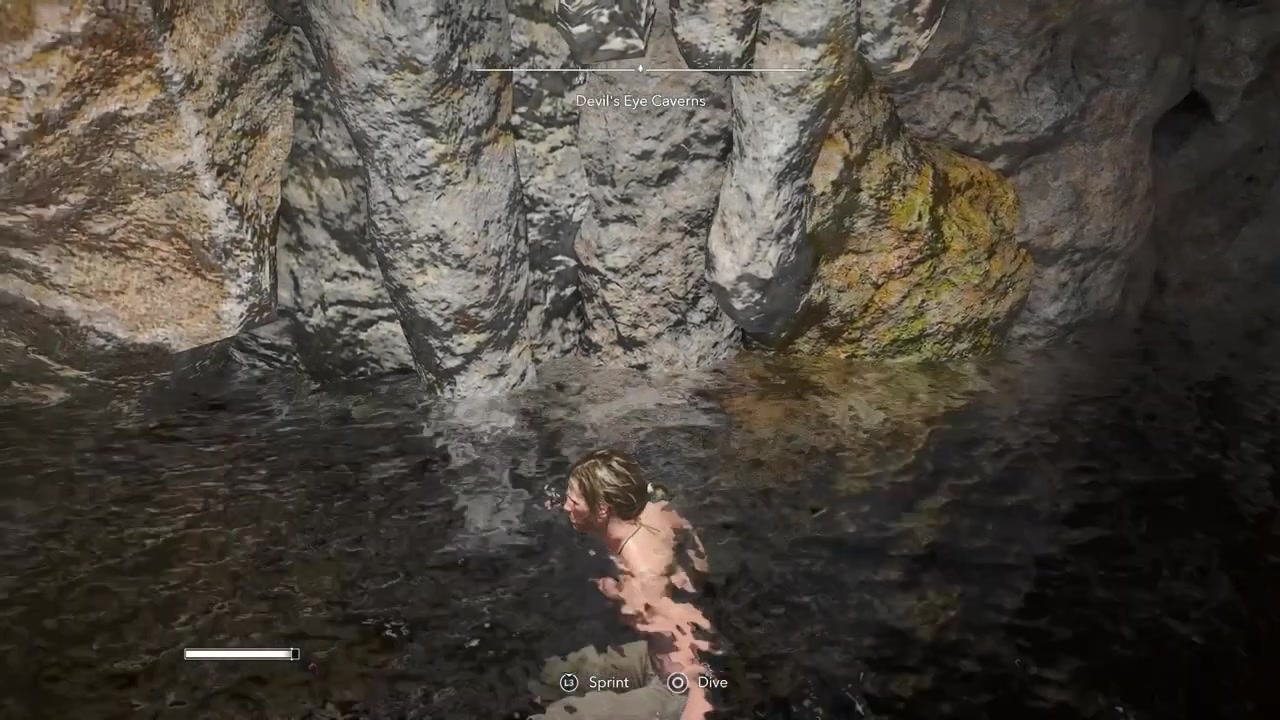
STEP 10/13
Thread through the jellyfish
Swim carefully through the jellyfish-filled section without bumping into them.
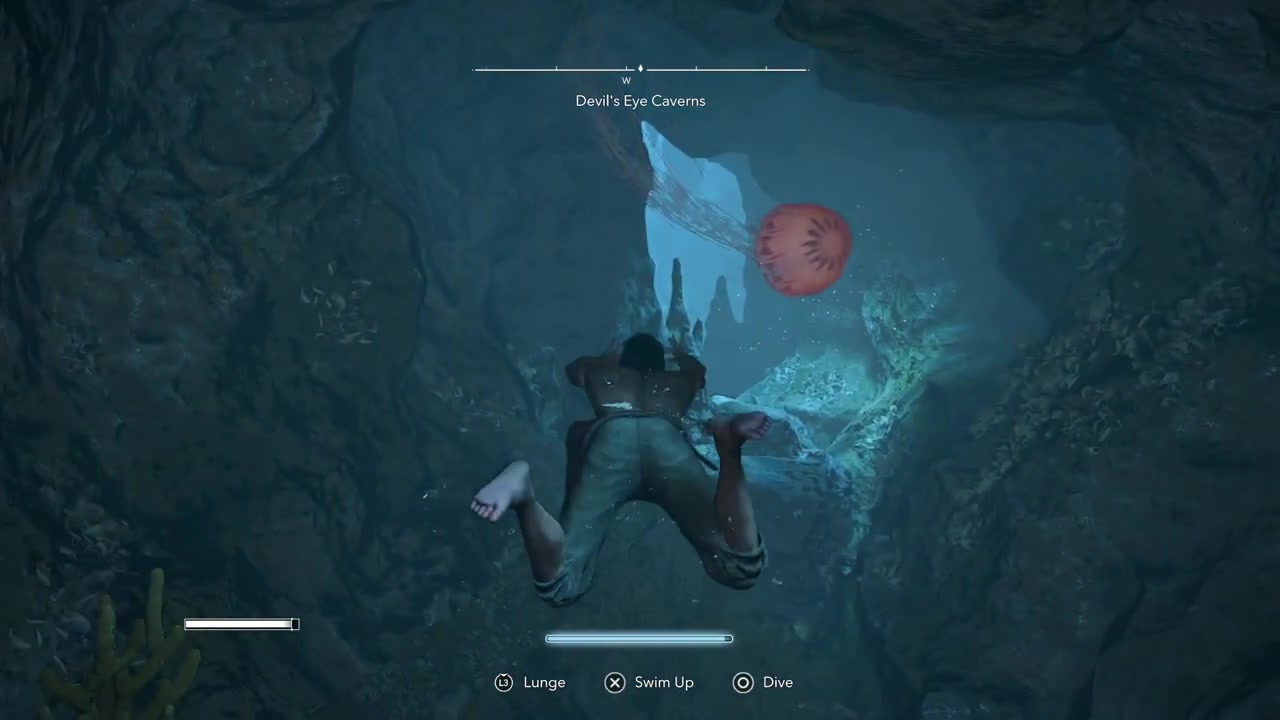
STEP 11/13
Turn left to head south
Make the left turn at the far end and follow the southern path through more jellyfish.
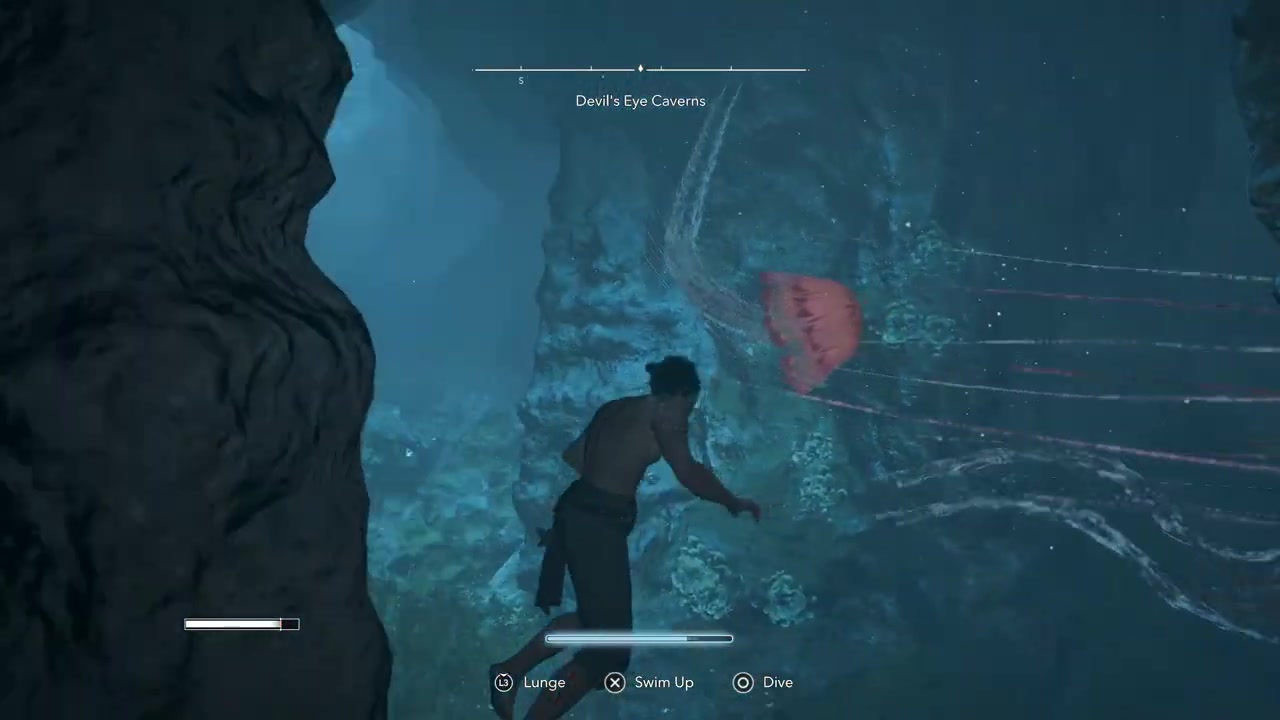
STEP 12/13
Find the staircase
Keep going until the cave opens onto a stairway, which marks the final chest area.
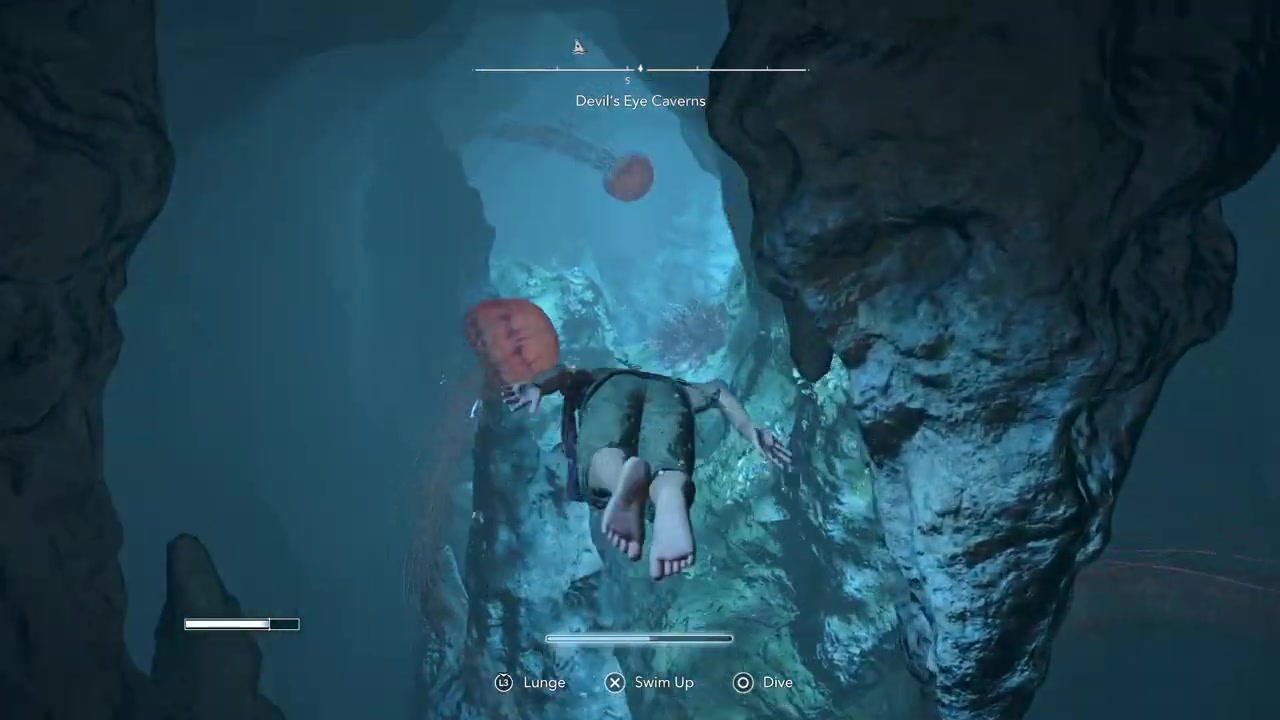
STEP 13/13
Open the chest on the left
From the stairway, come back to the left and open the chest holding the Swivel Guns Ultimate Plan.
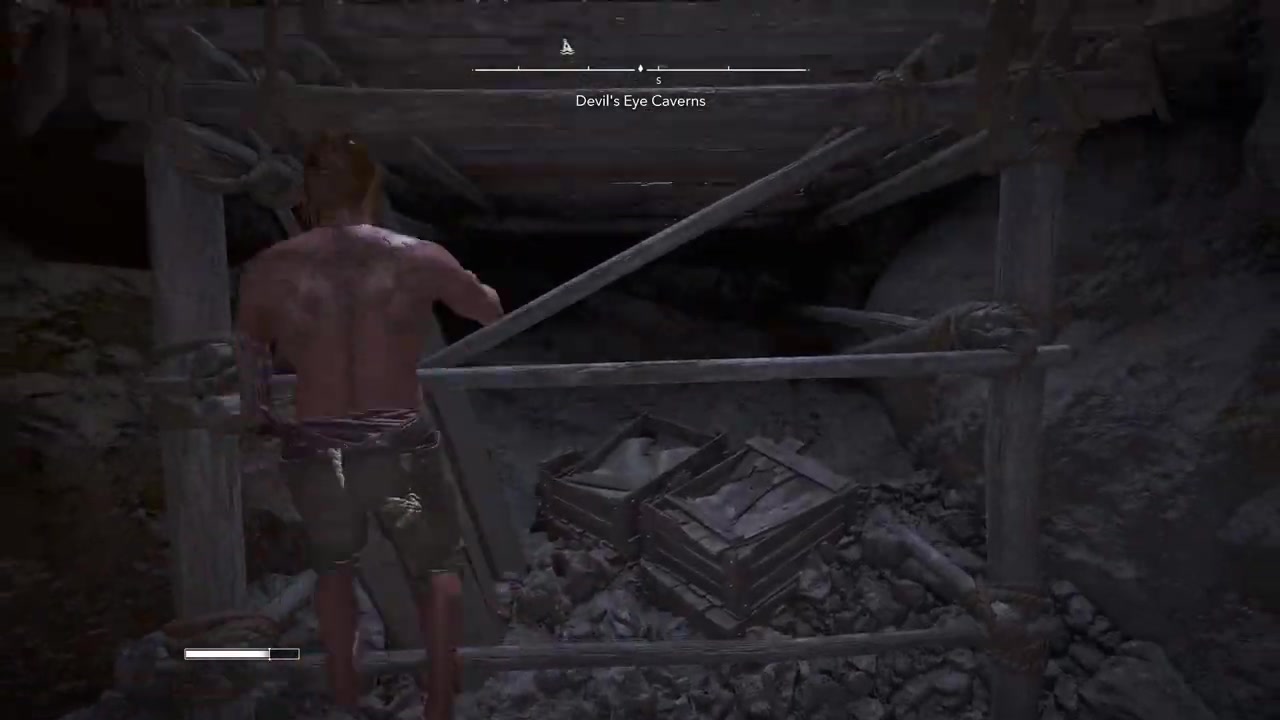
Ignore the first wreck chest; the plan chest is much farther in, after the hatch, jellyfish section, and stairway.
Video help
Wrong turns in Devil’s Eye Caverns
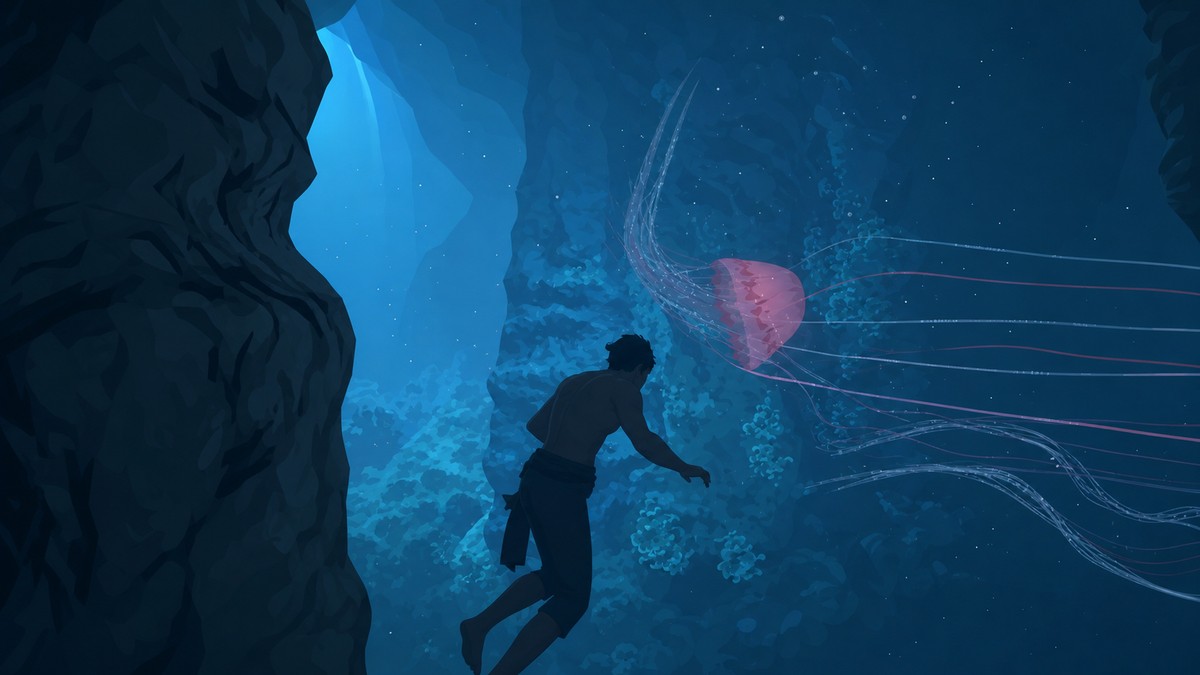
The first mistake is arriving before the Diving Bell is unlocked. Devil’s Eye Caverns is an underwater bell location, so the route only opens once that system is available.
Once you are below, the most tempting wrong move is the chest in the first broken ship near the school of fish. Loot it if you want, but it is not the Swivel Guns Ultimate Plan chest.
Past that wreck, the route depends on finding the hatch on top of the next broken ship. Missing that hatch keeps you in the wrong part of the cave and makes the real chest feel unreachable.
Do not skip breathers. Take the air near the second wreck, then use the later air bubbles before the long jellyfish section; brushing jellyfish damages Edward and rushing through them is a bad trade. At the end, check the left side from the stairway before leaving the final cavern.
Using the Swivel Guns Ultimate Plan
Once the chest is opened, the plan is added to your Jackdaw upgrade options. Visit a Harbourmaster and purchase the final Swivel Guns upgrade from the ship upgrade menu when you have the required resources.
Frequently Asked Questions
Where is the Swivel Guns Ultimate Plan located?
It is inside Devil’s Eye Caverns, a Diving Bell location in the Cruz region, in the chest reached after the long cave route.
Do you need the Diving Bell first?
Yes. The Devil’s Eye Caverns route is underwater, and the Diving Bell becomes available through the main story mission Diving for Medicines.
Which chest has the Swivel Guns Ultimate Plan?
The correct chest is the left-side chest in the final hidden cavern, after the hatch route, air bubbles, jellyfish passage, and stairway.
Are the Devil’s Eye Caverns coordinates exact?
No. Map readouts vary, including 445,334, 456,332, and 460,324, but they point you toward the same Devil’s Eye Caverns dive icon.
How do you use the plan after collecting it?
Take it to a Harbourmaster through the Jackdaw ship upgrade menu and purchase the final Swivel Guns upgrade once you have the required materials.




Leave a Reply