Samsung has begun shipping out the Galaxy S10 devices to users who have pre-ordered the device and most customers have already received their shiny new Galaxy S10, S10e, or the Galaxy S10 Plus.
There’s probably not a single person out there who does not love playing around and exploring the host of new features that come along with a new smartphone.
If you too have received your Galaxy S10 and are trying to figure out the ins and outs of the device, then we’ve got a few suggestions which could possibly help you make the device a little more personal.
So without much further ado, let’s check out a few first things to do with your brand new Samsung Galaxy S10.
First things to do on Galaxy S10, S10e and S10 Plus
Here are the first settings and recommendations to check out already to get a good head start with your Galaxy S10 life!
Sign in to your Google and Samsung account

Almost every one of us has seen a post on social media where someone’s got a new phone and have lost all their contacts, that’s right, isn’t it? Signing into your Google account and Samsung account helps you store your contacts in the could as well as other important app settings and passwords so you could easily switch between smartphones without having to worry about losing your contacts.
⇒ Settings > Accounts and backup > Samsung account
Setup biometric security (fingerprint)
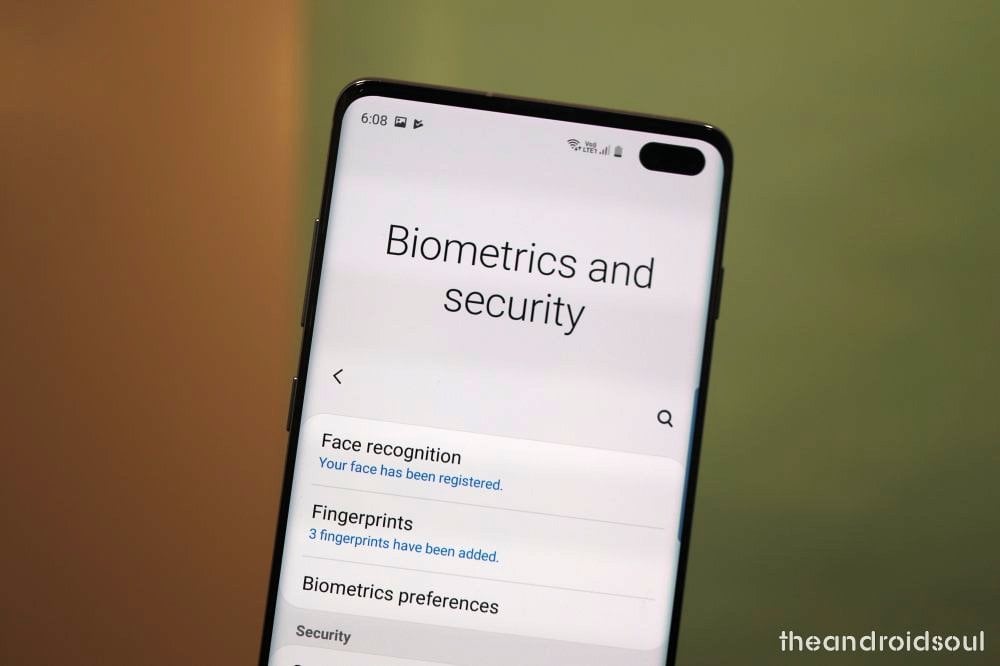
The Galaxy S10 comes with the world’s first ultra-sonic in-display fingerprint scanner on a smartphone and it’s the only biometric authentication system on the Galaxy S10 since Samsung’s ditched the Iris scanner.
You get the option to set up fingerprint unlock as well as face unlock while setting up the device but in case you skipped then, here’s how to find these settings.
⇒ Settings > Biometrics and security > Fingerprints
Be sure to set it up right away. You may also set up Face Unlock for even faster unlock but know that it’s not very safe – someone can unlock your phone even using a photo of you.
⇒ Settings > Biometrics and security > Face recognition
If you plan to use two methods to unlock your phone, be sure to select Fingerprints as your preferred method for unlocking your Galaxy S10.
⇒ Settings > Biometrics and security > Biometric preferences > Preferred biometric > Fingerprints
Check out the Full screen gestures
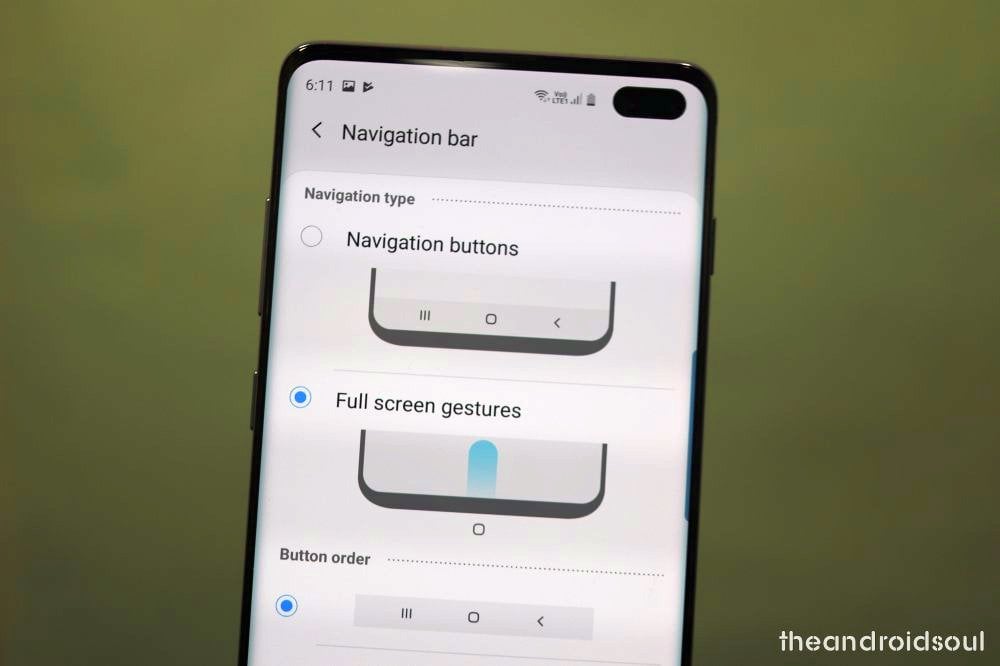
Samsung introduced the Full screen gestures feature with the release of One UI on top of Android 9 Pie. Full screen gestures let you navigate around the UI by simple swipe up gestures rather than having to use the navigation bar. It also allows apps to take up the entire screen for a more immersive experience.
⇒ Settings > Display > Navigation bar > Full screen gestures
Remap the Bixby Button
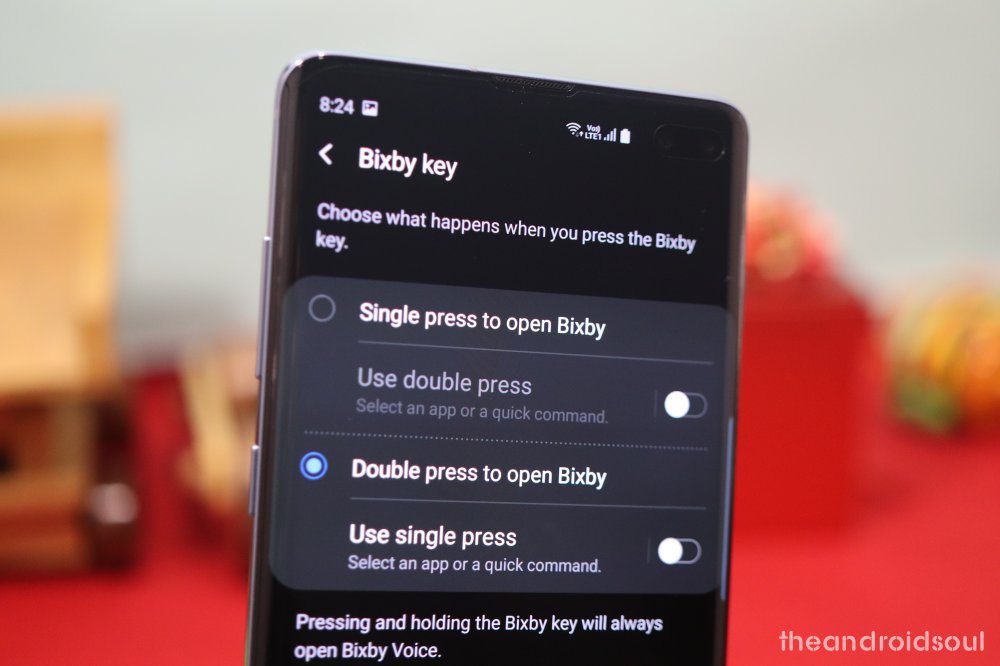
The single key on the left side of your Galaxy S10 is a Bixby key, named after Samsung’s AI software, Bixby. The key allows you to fire up the Bixby Assistant quickly, which is good only if you want Bixby. Which is a rare thing, let’s admit. So, why not change it to something else that’s more to your liking.
Samsung has updated the Bixby app and has added the ability for users to remap the Bixby Key. Even if you want Bixby, you can choose the setting to bring up Bixby only when you double press the key. And if you don’t, put something else up for it, like Google Assistant.
⇒ Settings > Advanced features > Bixby Key > Select Double press to open
Here, you can also set any app or quick command to run on on a single press if you want to, like opening the camera app quickly with a single press of Bixby button, but choose wisely, as it’s easy to press the Bixby button accidentally.
→ How to remap Bixby to open Google Assistant or anything else
Enable Dolby Atoms

The Galaxy S10 lineup of devices do have the Dolby Atmos sound enhancement feature as well and it does make a difference when it comes to the audio quality. Here’s how to enable Dolby Atmos.
⇒ Swipe down from top to pull down the notification panel > Swipe down again to bring more Quick setting buttons > Swipe right to left for more buttons > Find the Dolby Atmos button > Tap on it to enable or disable it.
You can also check out the Dolby Atmos feature in the Settings app.
⇒ Settings > Sounds and vibrations > Advanced sound settings > Sound quality and effects > Toggle on Dolby Atmos, or tap on it to find more options related to when you want to use it.
Enable dark mode (night mode)
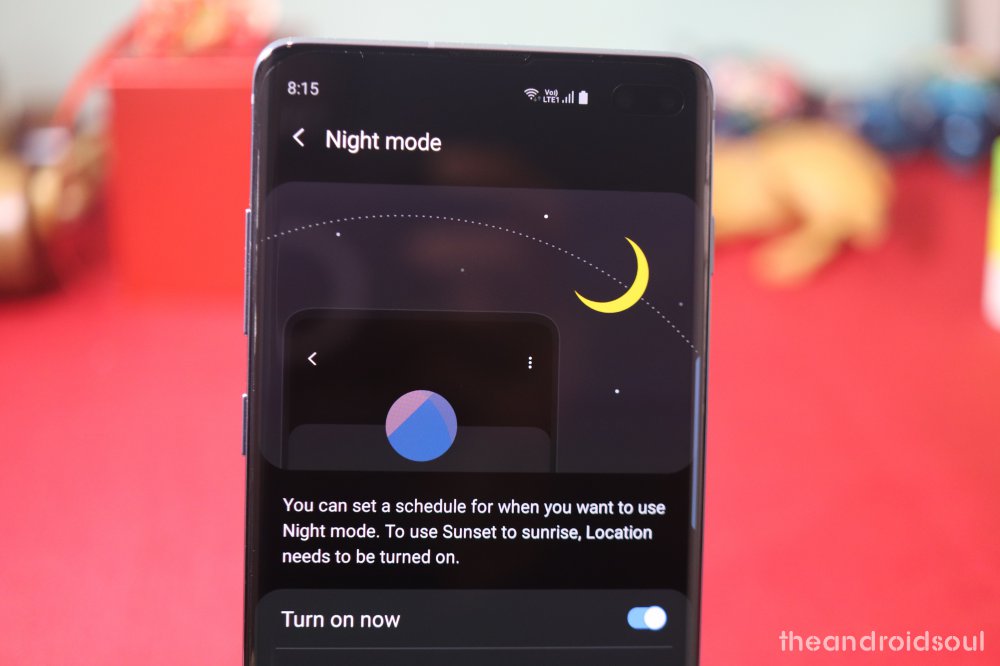
This one’s completely optional; however, dark mode on One UI is especially useful in the night and does indeed help save a bit of battery since the black pixels completely turn off on the Galaxy S10, S10 Plus, and the S10e.
⇒ Settings > Display > Night mode > Turn on now
Quick alternate method:
⇒ Swipe down from top to pull down the notification panel > Swipe down again to bring more Quick setting buttons > Swipe right to left for more buttons > Find the Night mode button > Tap on it to enable or disable it.
Setup the Always on Display
The Always on Display does take a small toll on the battery; however, if you charge your device at night or in the middle of the day, then there’s absolutely no need to worry.
The AOD helps you see notifications and the time without having to wake up the device.
⇒ Settings > Lock screen > Always On Display
Protect your precious device with a case
Protecting your Galaxy S10, S10 Plus, or the S10e with a great case is the best thing to do as soon as you take it out from the box. Samsung’s giving you a free transparent case in the box itself, which should do alright if basic protection is what you are after (helps in maintaining the shiny looks of the device, too).
But if you want more types of cases, we have got you covered. See the link below for your variant of the Galaxy S10, where we have covered rugged, clear, very thin, wallet, leather and many more types of cases.
Change the wallpaper
Changing a default wallpaper helps to make the device a tad more personalized. There are a ton of cool wallpaper apps available on the Google Play Store (see the link below for our best recommendations) for you to check out. You could also use your own images as wallpapers if you’d like.
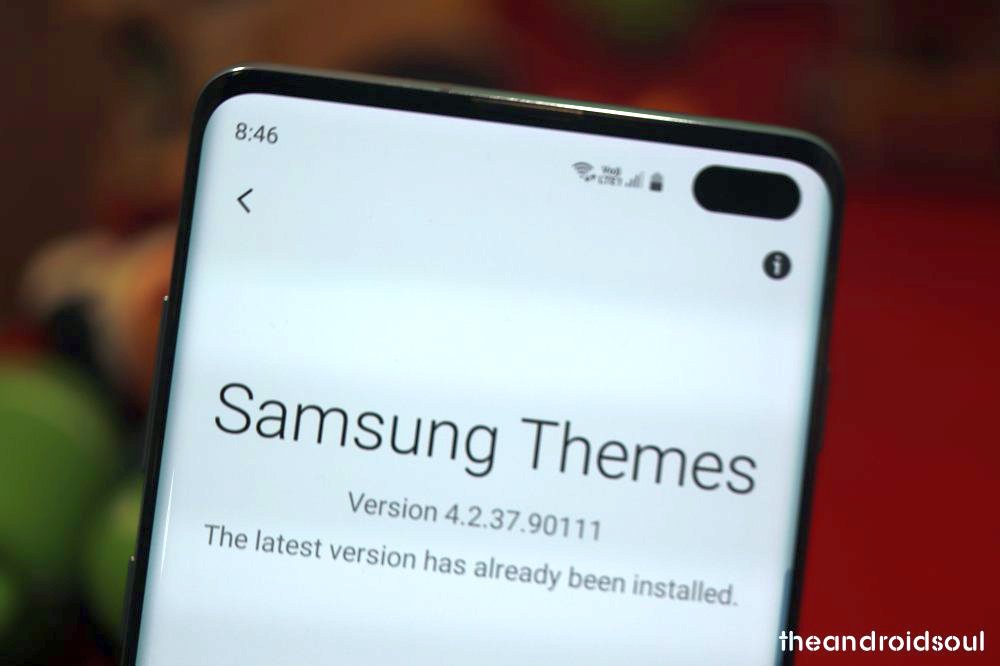
That’s not all. Samsung’s Themes app has a ton of customization options, too.
Make your device snappier by reducing animations
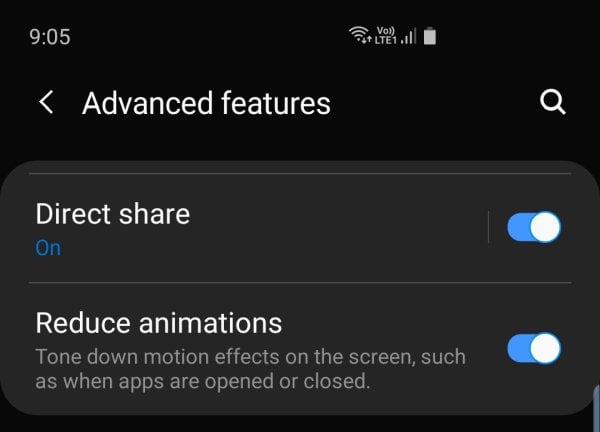
Samsung has a dedicated feature in its One UI skin to reduce animations to make the device perform a tad quicker. That’s not to say the S10 lags or can’t put up with animations, far from it actually, the S10 is a spec beast and can handle anything you throw at it. But if you want that extra snap in the performance, this will do you a good favor.
⇒ Settings > Advanced features > Toggle on — Reduce animations
Use Smart Switch to transfer data from old phone
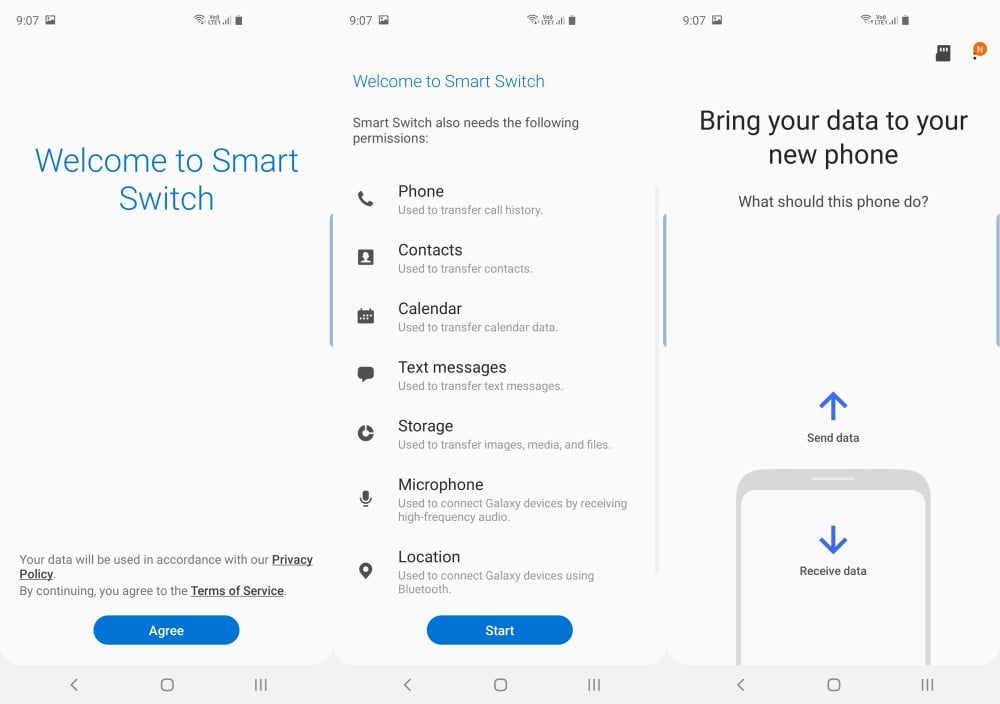
Transferring data to your new S10 device isn’t as hard as you might think. Simply use Samsung’s SmartSwitch app to transfer all data from your old phone to your new Galaxy 10, S10 Plus, or the S10e.
The SmartSwitch software is also available for PC, BTW, and it helps a lot in various ways. You can take a complete backup of your Galaxy device using Smartswitch, and even update the software when regular OTA updates fail you. And there is much more than that.
⇒ Download: Smart Switch Android app | Smart Switch PC software
Check for updates

Samsung has already seeded out its first update for the Galaxy S10, Galaxy S10e, and Galaxy S10 Plus. The update improves the fingerprint scanner and the camera. There is also an addition of Instagram mode in the first update itself.
⇒ Settings > Software update > Download and install
- Samsung Galaxy S10 update | S10 Firmware
- Samsung Galaxy S10e update | S10e Firmware
- Samsung Galaxy S10 Plus update | S10 Plus Firmware
Get rid of the junk (bloatware)

Samsung has improved a ton and does not include a ton of bloatware on their devices these days; however, there might be a few unnecessary applications installed on the device. They are called bloatware. You can remove them (or disable, in some cases) to keep more RAM free, which also translates into faster performance. Here’s how you can uninstall/disable the apps you are sure you don’t want to use.
⇒ Settings > Apps > Tap on the app you don’t need > Disable/Uninstall
Another method to do this is to hold the app’s icon in the Apps screen and select the desired option. For this, go to the home screen > swipe up to bring Apps screen > find the app you want to remove > tap and hold on its icon > select disable or uninstall, whichever option is available, depending on the app. For example, on our Galaxy S10, Facebook could only be disabled, but DU recorder could be uninstalled.
RELATED