Just as one removes unwanted apps and data to save space and reduce redundancies, obsolete information about printers and other hardware should also be periodically removed from your Windows OS. Even if your printer hasn’t been connected to the computer in a while, information about its configuration from prior connections can still be present in your system to simplify future connections.
It’s never good to have lingering printer drivers and abandoned registry keys on your system where they’re only gathering digital dust, not least for reasons concerning system maintenance. They can also interrupt other similar connections being made. For all these reasons and more, it is a good idea to remove an unwanted printer entry completely from Windows 11. In this guide, we take a look at how to do so as well as a few fixes for when the printer refuses to go away.
Remove a printer on Windows 11
Completely removing a printer will require two things – removing the printer itself, and then removing the drivers. There are a few ways in which you can do these on Windows 11. Here they are:
Method 1: From Settings
Perhaps the most utilized way, printers can easily be removed from Windows’ Settings app. Here’s how to go about it:
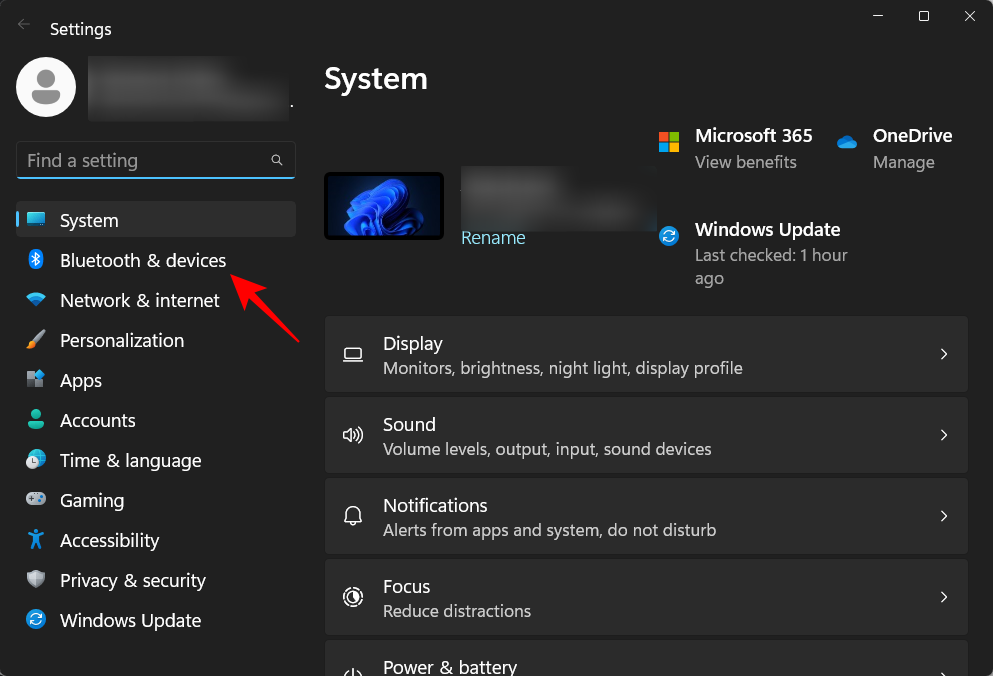
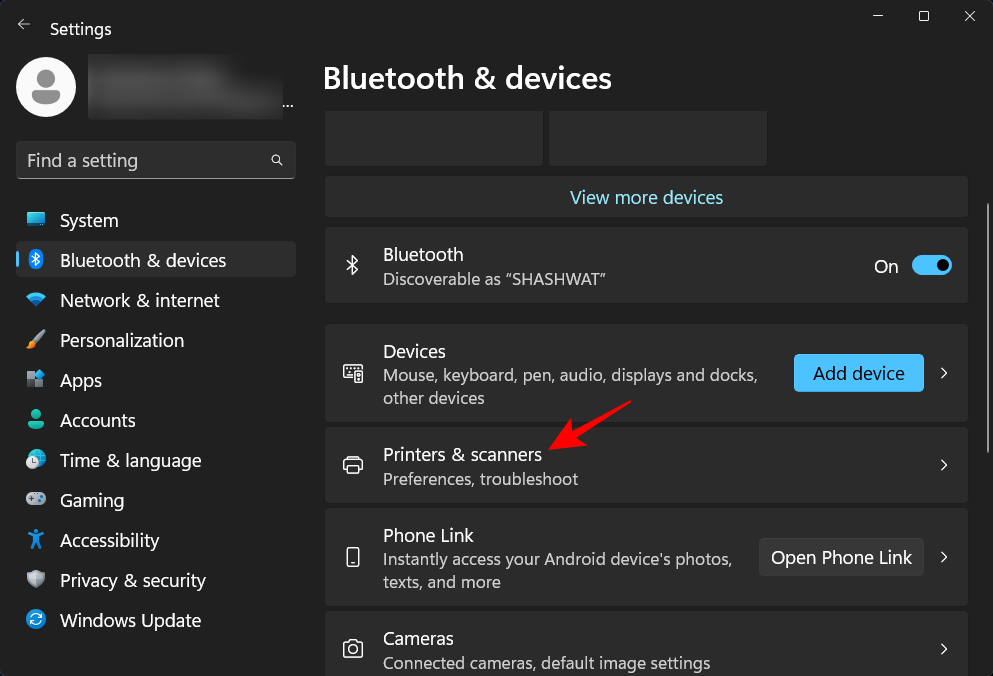
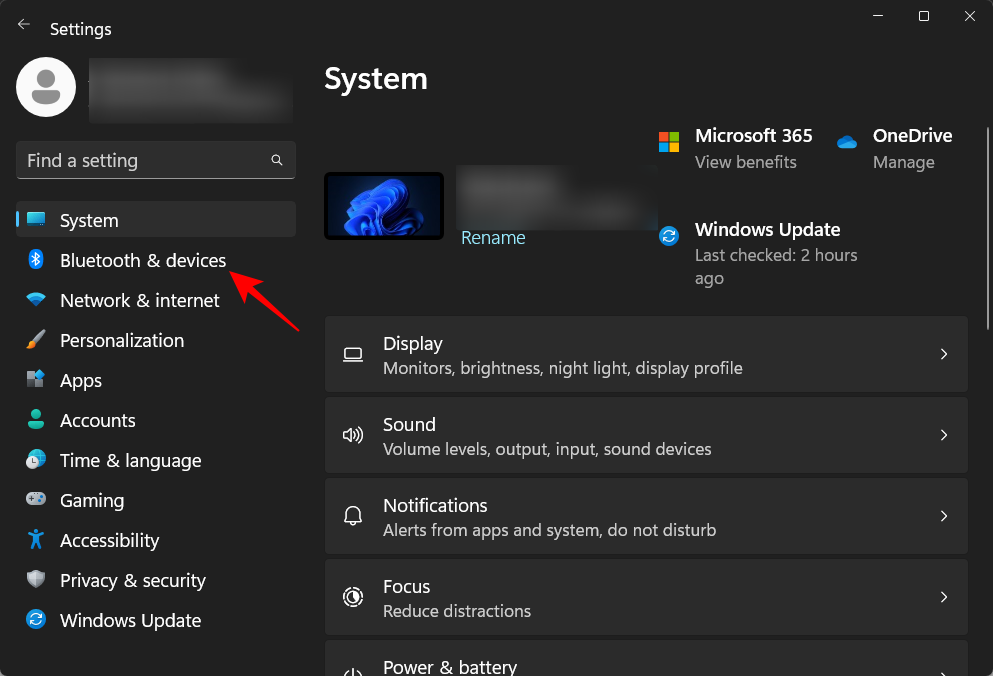
Press Win+I to open Settings. Then click on Bluetooth & devices in the left pane.
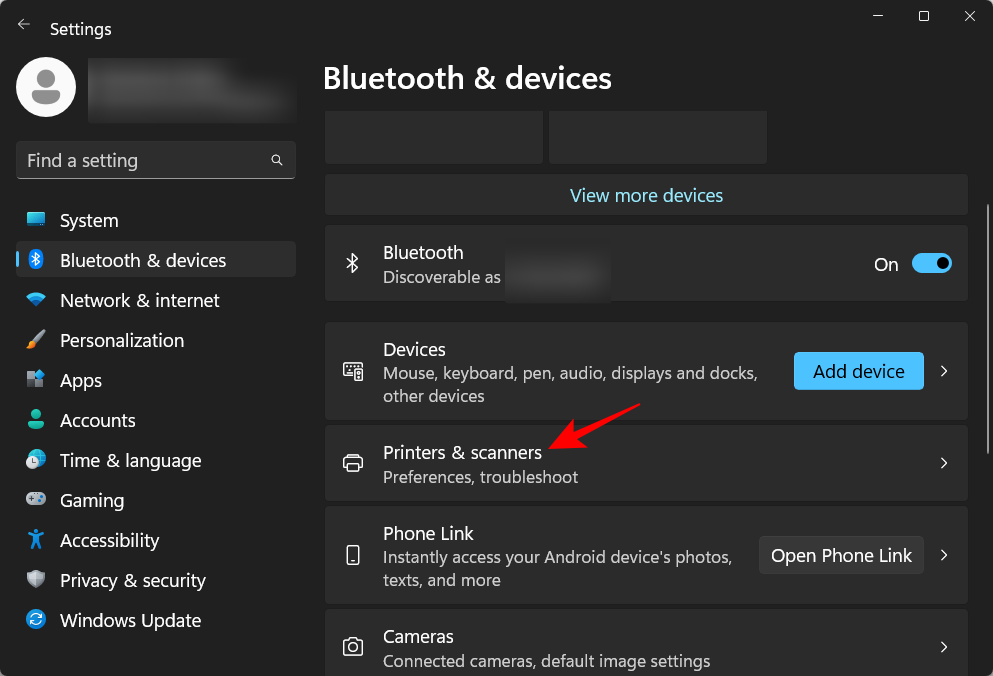
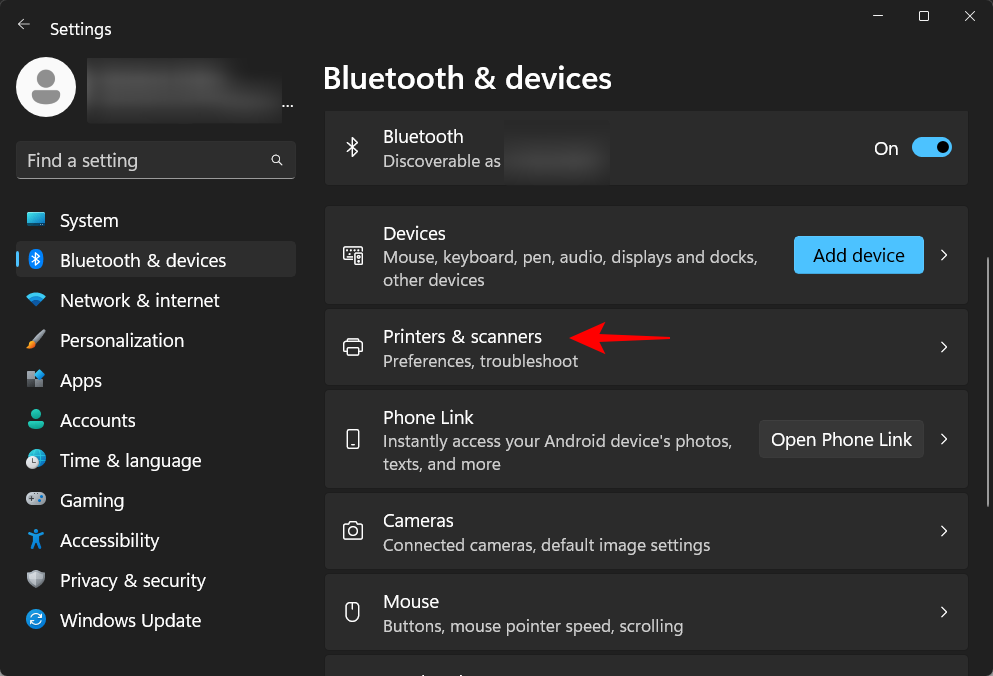
On the right, click on Printers & scanners.
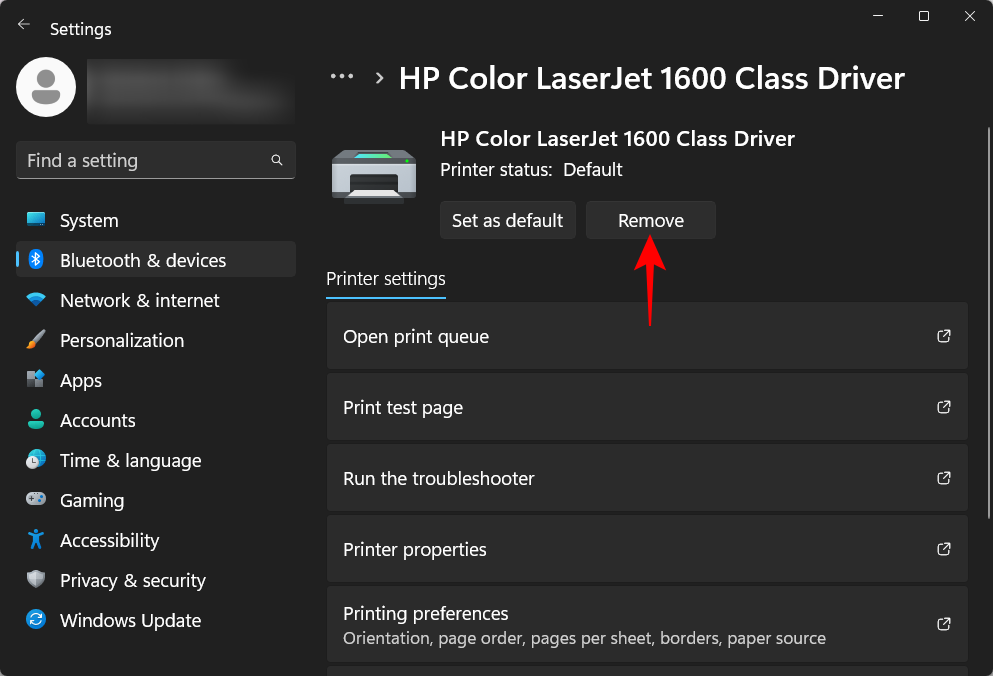
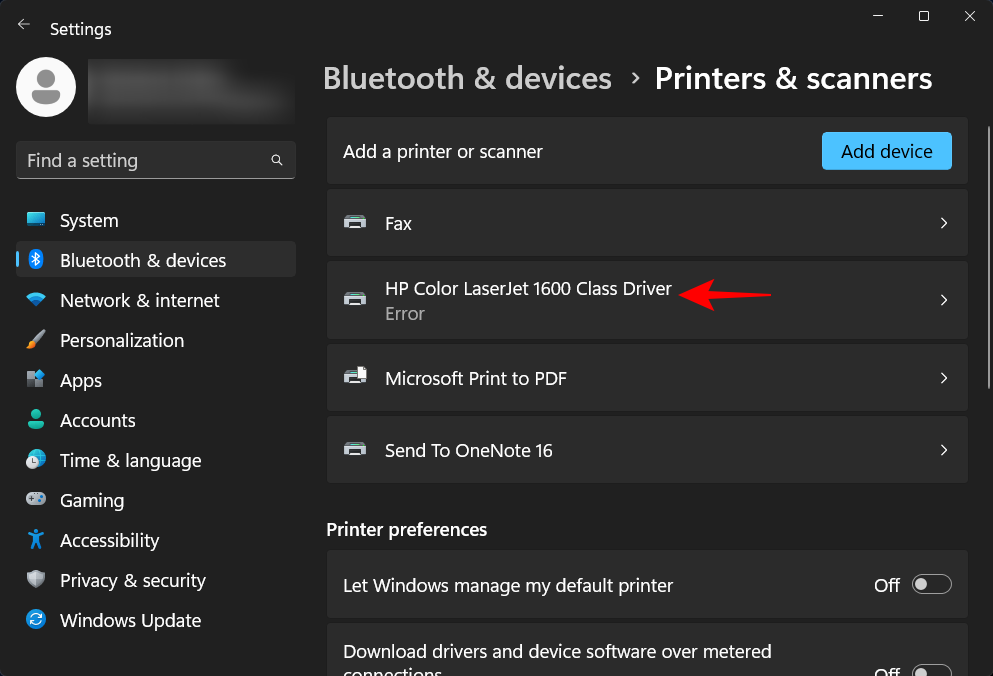
Click on the printer that you want to uninstall.

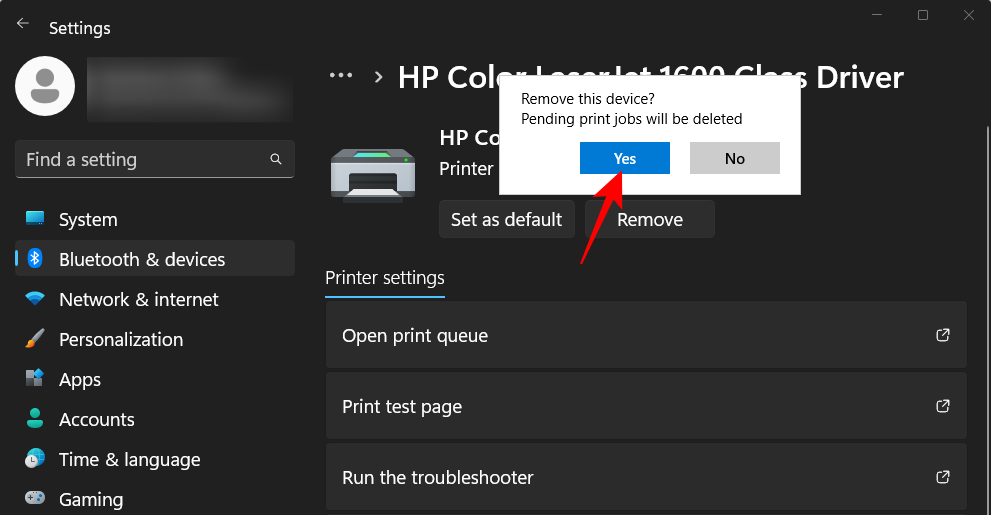
Select Remove.
When prompted, click on Yes.
Method 2: Delete printer drivers using Device Manager
Device Manager lets you manage and remove device drivers on Windows. Here’s how to use it to remove your printer’s drivers:
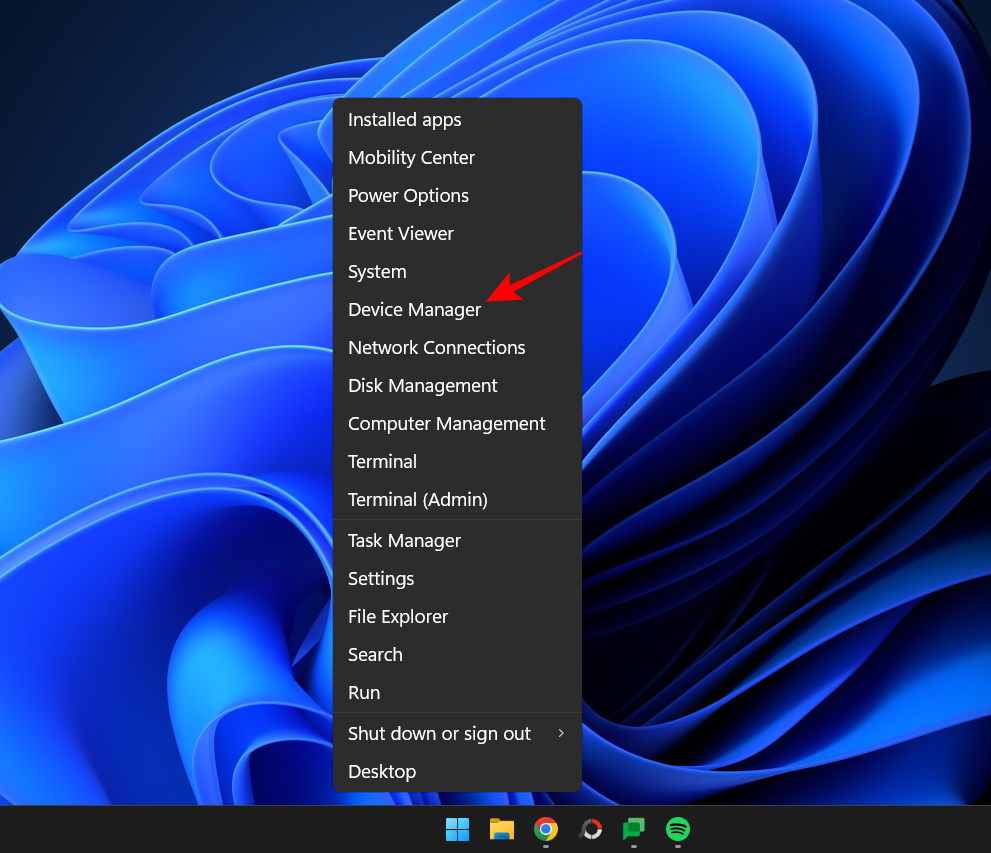
Right-click on the Start Menu and select Device Manager.
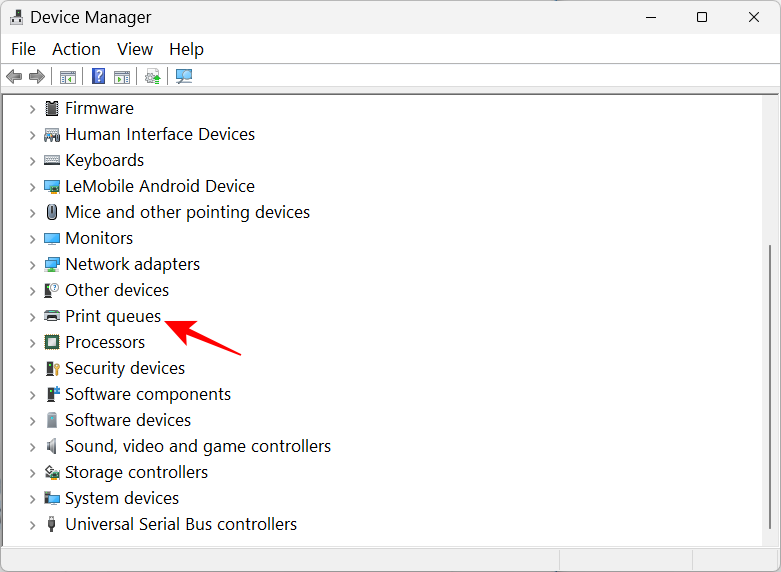
Expand the Print queues branch.
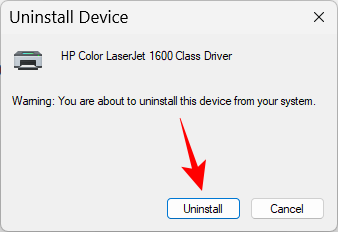
Right-click on your printer and select Uninstall device.
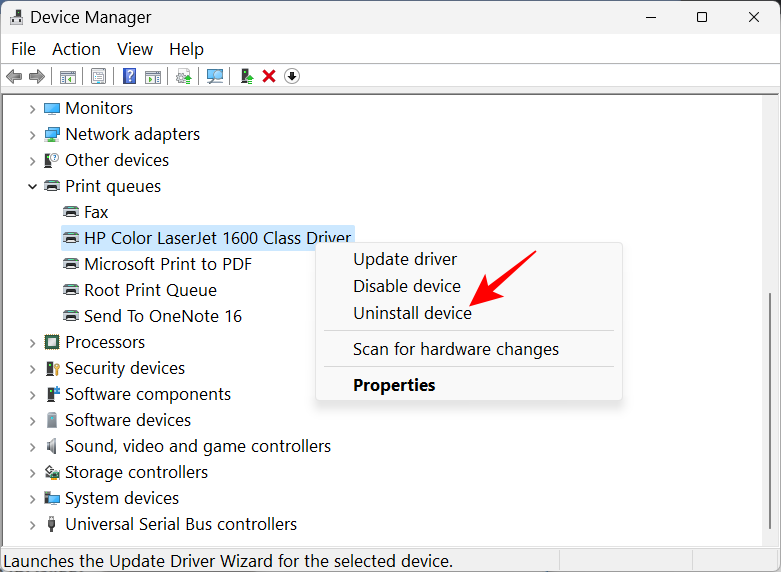
When prompted, click Uninstall.
And just like that, you have removed your printer’s drivers.
Method 3: Using Windows Tools (or Print Management)
The native Windows Tools app can let you delete drivers related to your printer as well. Here’s how to go about it:
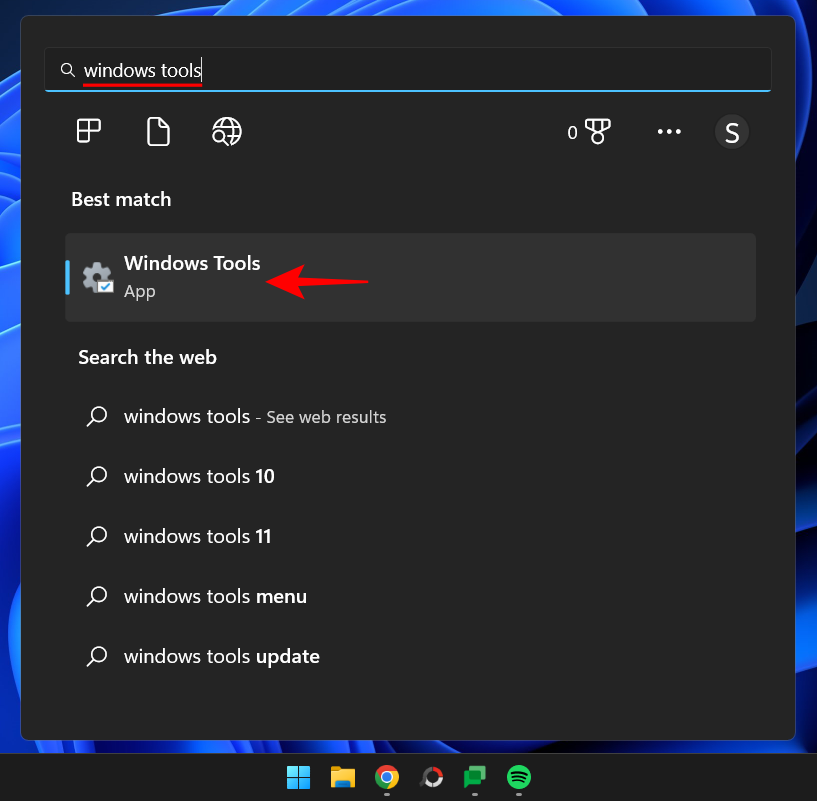
Press Start, type windows tools, and hit Enter.
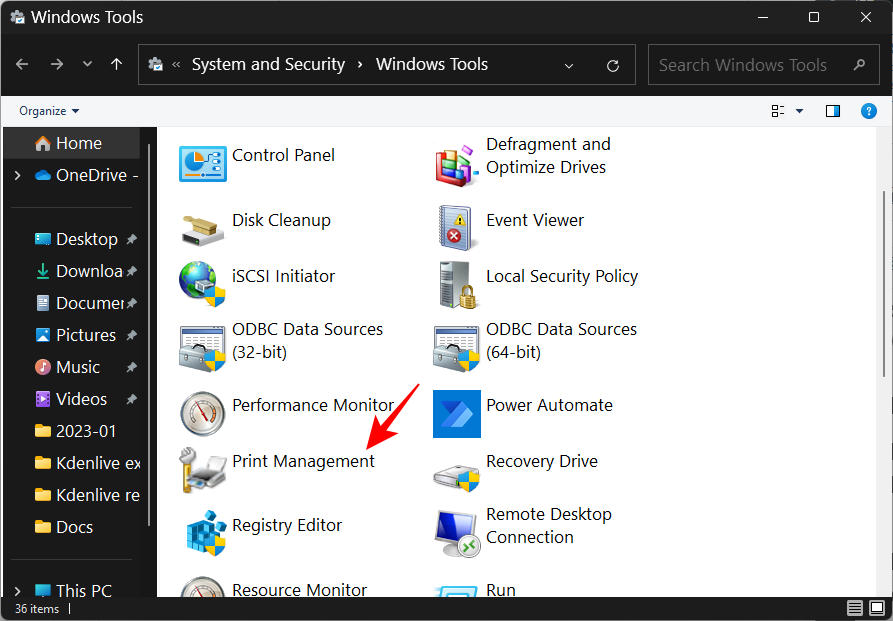
Once it opens, double-click on Print Management.
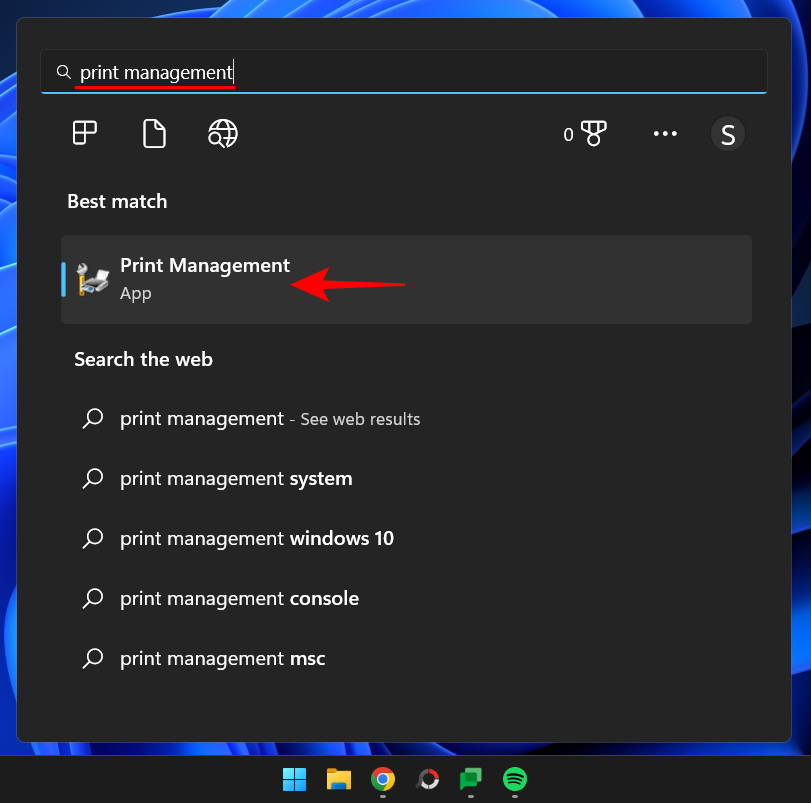
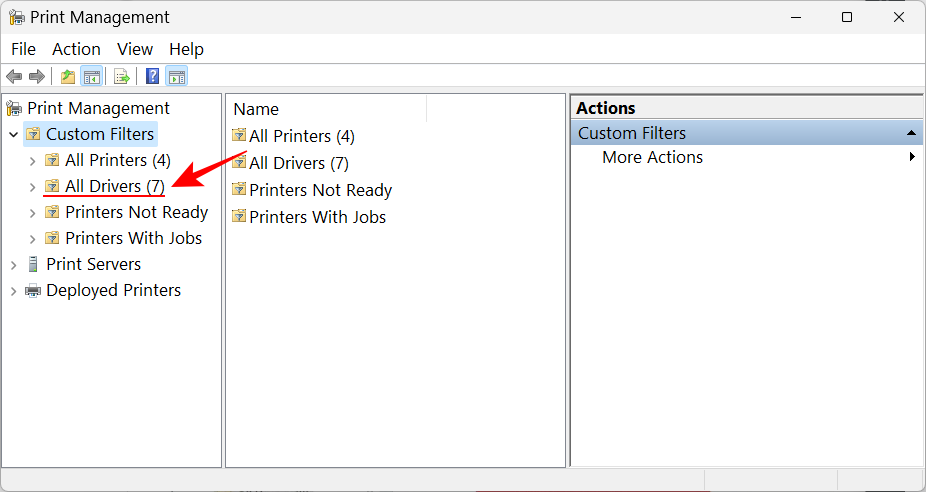
This will open the “Print Management” window. You can also open the Print Management window by searching for it in the Start Menu.
Once it opens, click on All Drivers (under Custom Filters) in the left pane.
Find the printer whose drivers you want to remove, then right-click on it and select Remove Driver Package…
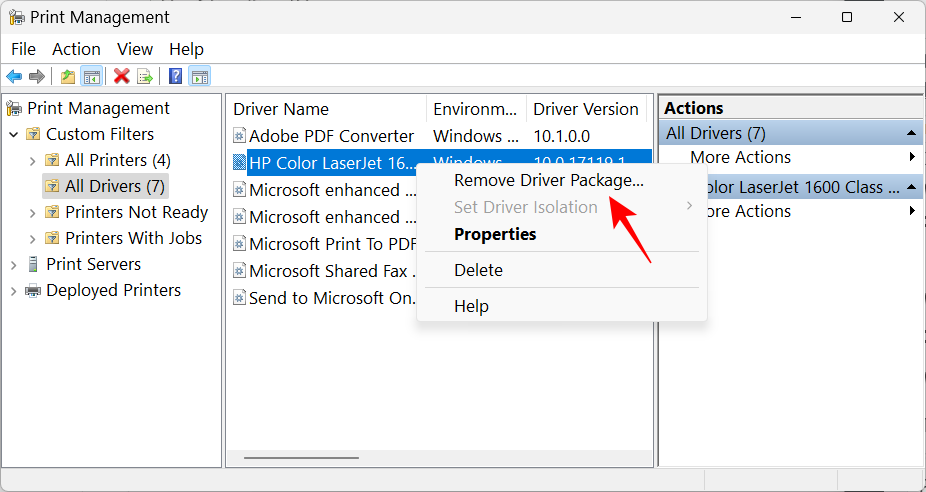
When prompted, click Yes.
Method 4: Using PowerShell (Remove-Printer command)
Windows 11 Home edition users don’t have access to the Print Management window. However, they can still remove the driver packages using command terminals like PowerShell and the Command Prompt. Here, we start with the former:
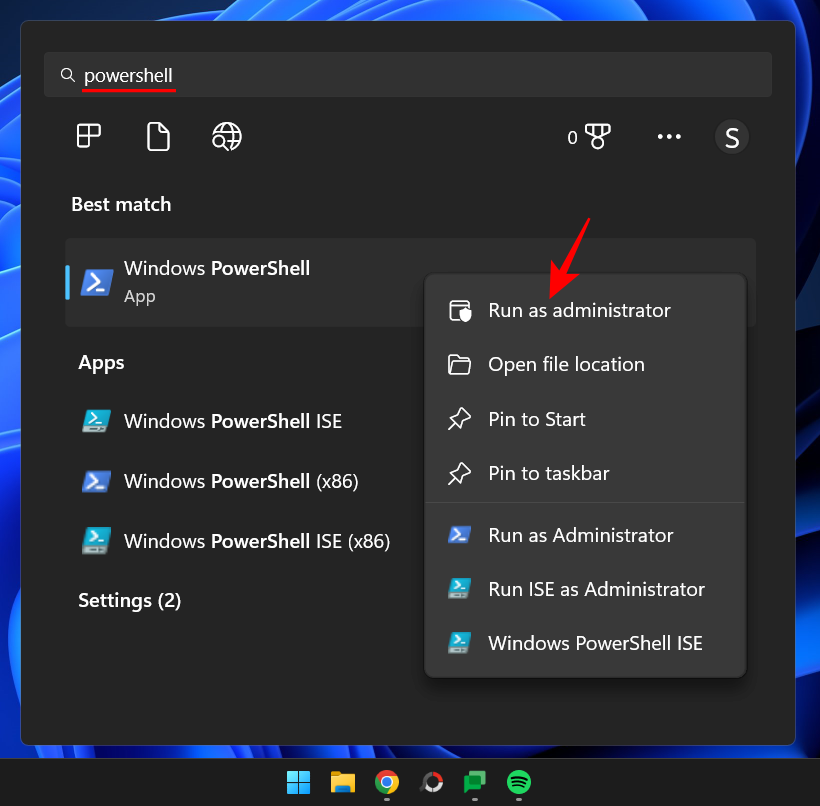
Press Start, type powershell, right-click on it, and select Run as administrator.
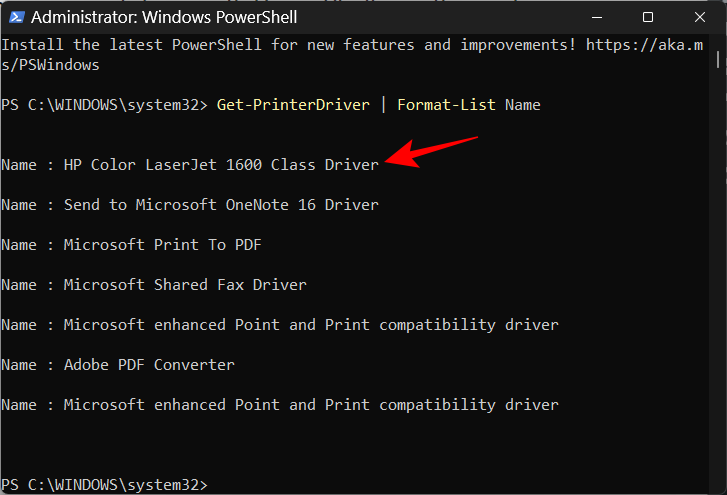
Now, firstly, type the following command and get a list of the printer drivers that are on your computer:
Get-PrinterDriver | Format-List Name
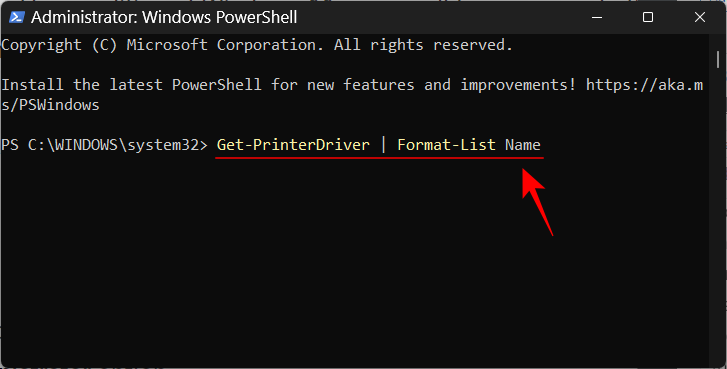
Hit Enter. Once the list is created, take note of the printer name whose drivers you want to be removed.
Then type the following command:
Remove-PrinterDriver -Name "Printer Name"
Here, make sure to remove Printer Name with the actual name of the printer as given in the list, like so:
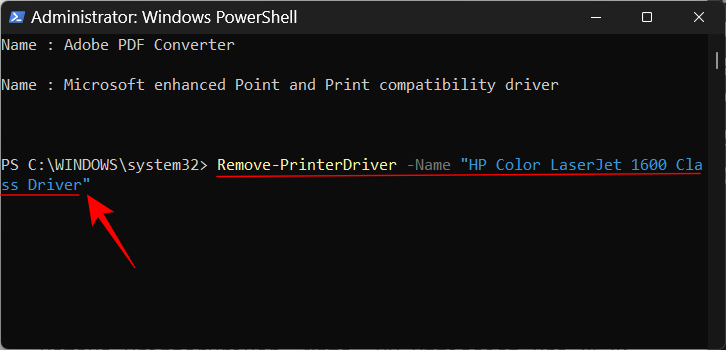
Then hit Enter.
Method 5: Using Command Prompt (Printui command)
If you prefer the Command Prompt, here’s how to use the printui command to remove your printer’s drivers:
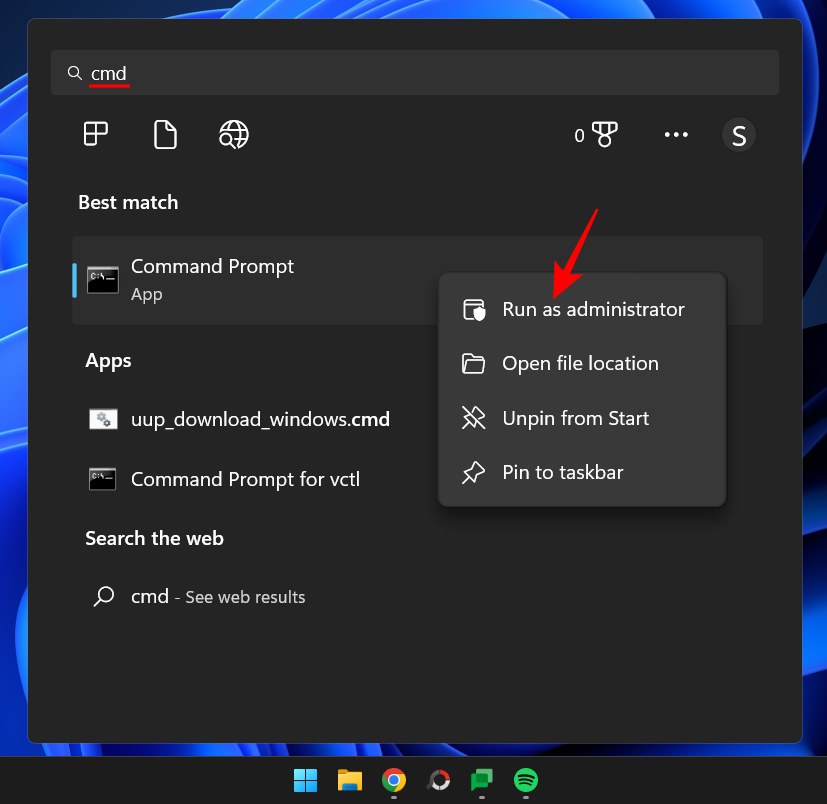
Press Start, type cmd, then right-click on Command Prompt and select Run as administrator.
Then, to start with, we will use the earlier PowerShell command, with a slight change, to get the list of the printer names on the system:
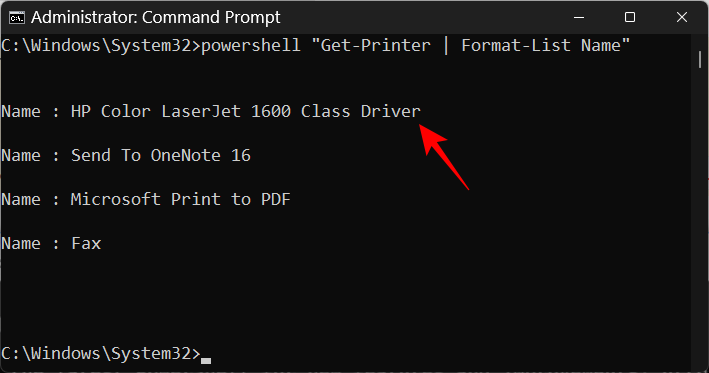
powershell "Get-Printer | Format-List Name"
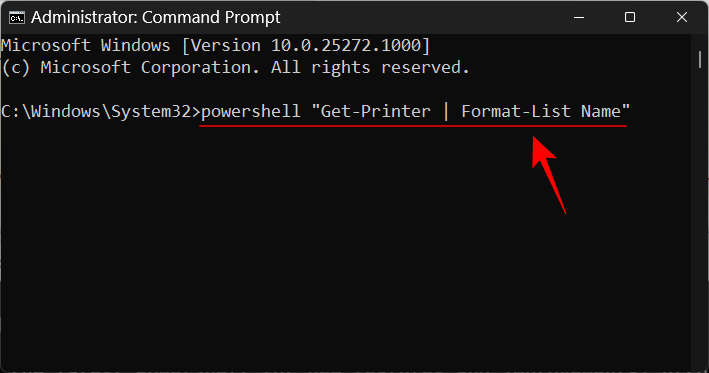
Hit Enter. As before, you will get a list of the printer names. Take note of the one that you want to remove.
Then type the following printui command:
printui.exe /dl /n "Printer Name"
Make sure to replace Printer Name with the actual name of the printer noted before.
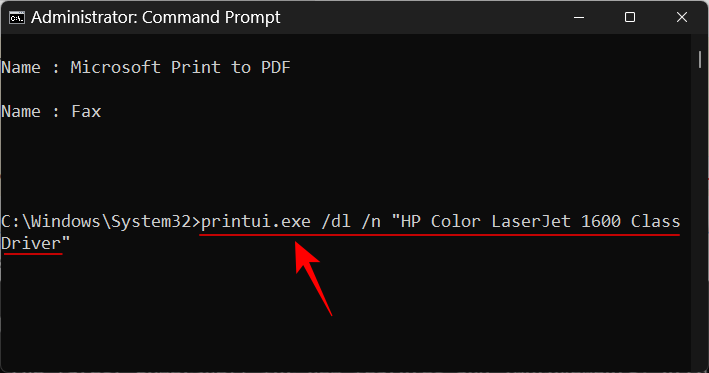
And hit Enter.
Method 6: From the Printers folder
You can also directly reach the Printers shell folder on your PC and delete your printer entry from there. Here’s how to do so:
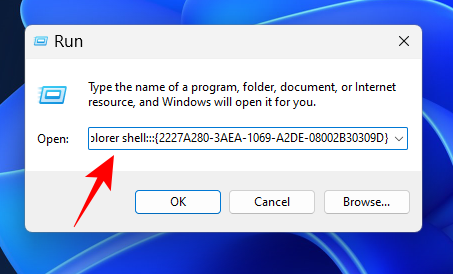
Press Win+R to open the RUN box. Then copy the following command:
explorer shell:::{2227A280-3AEA-1069-A2DE-08002B30309D}
And paste it into the RUN box. Press Enter.
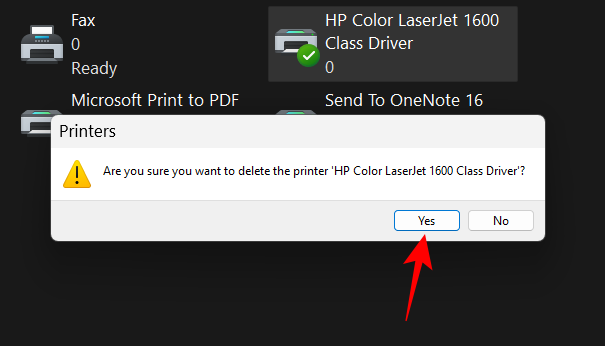
Now simply right-click on your printer and select Delete.
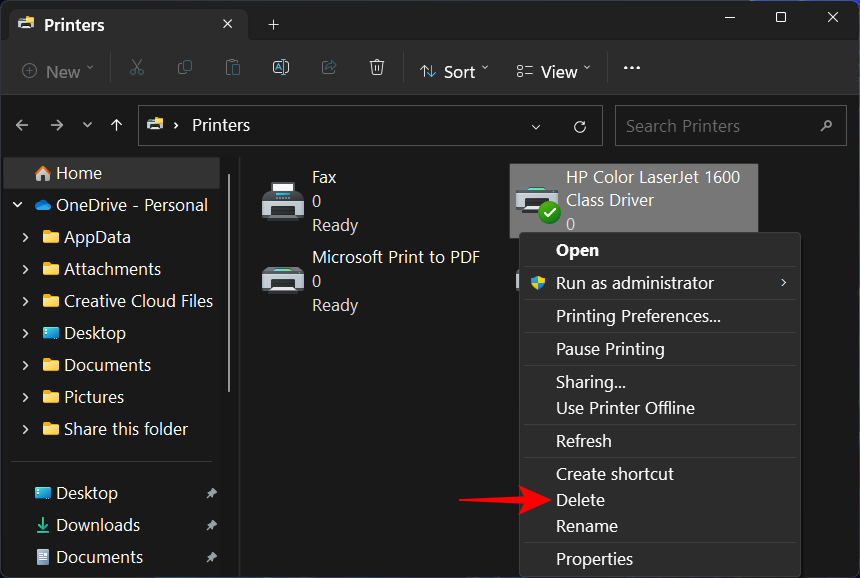
Click Yes when prompted.
FIX: Unable to remove printer on Windows 11
In certain cases, you may not be able to remove the printer using one or more methods given above. There are a few reasons why. Perhaps there are pending printer jobs in the queue that need to be cleared first, or perhaps the printer service is currently running. Whatever the case may be, it’s good to use as many fixes as possible to hunt down the heart of the problem. Here are all the fixes that you can apply to continue with the complete removal of the printer from your Windows PC.
FIX 1: Run Printer Troubleshooter
Windows can have a variety of printer-related issues. So of course there is a dedicated “Most frequent” Printer troubleshooter on board for you to diagnose and resolve printer-related issues so that once these are resolved, the removal can go smoothly. Here’s how to use the Printer Troubleshooter:
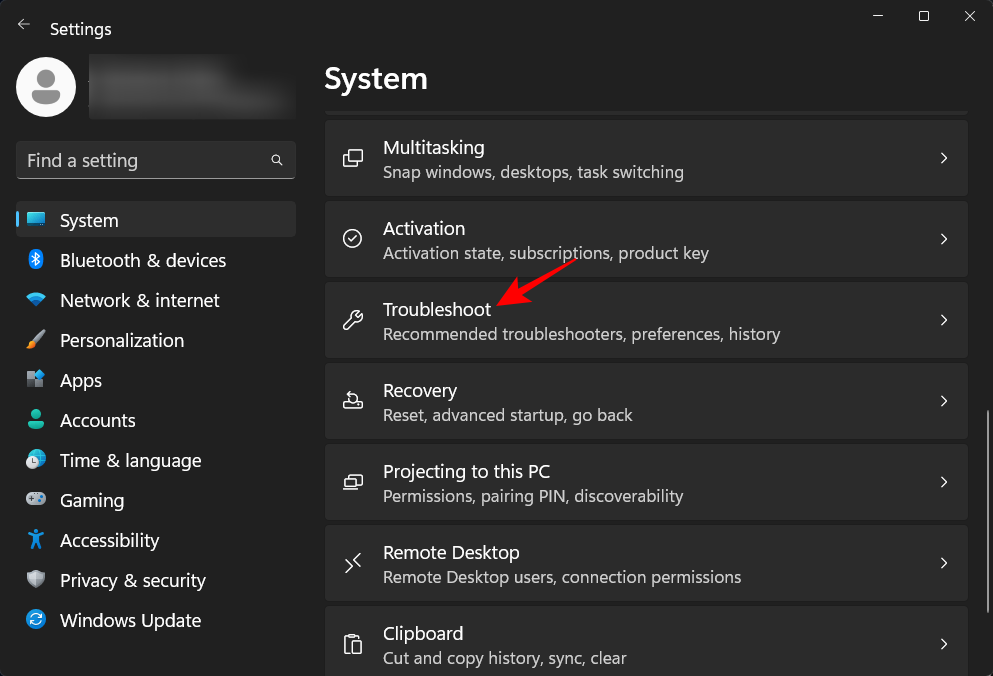
Press Win+I to open Settings. Then scroll down on the right and select Troubleshoot.
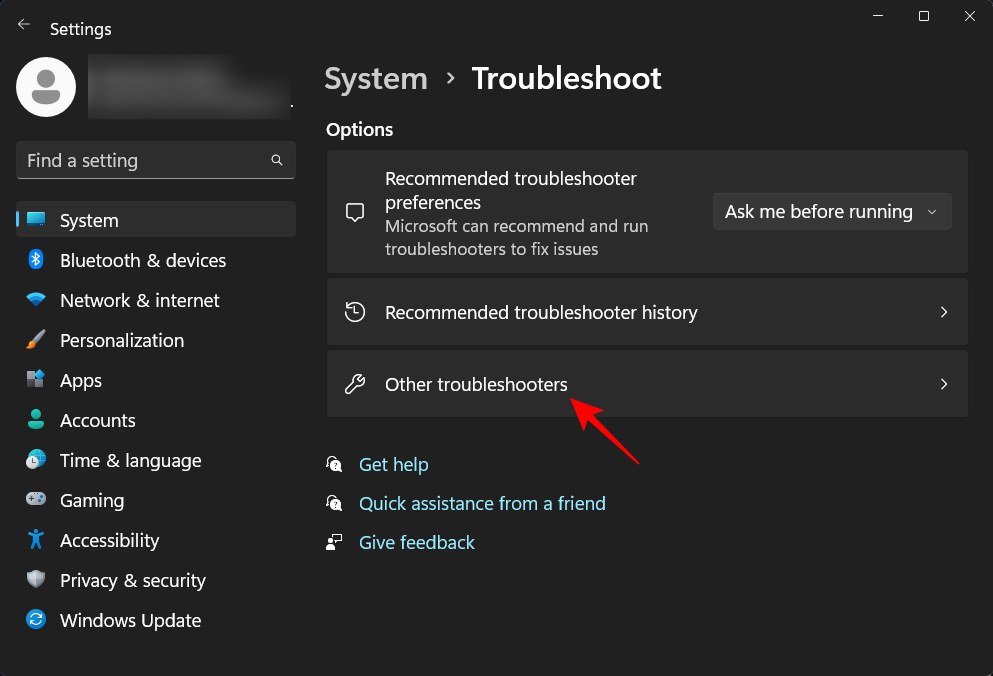
Click on Other troubleshooters.
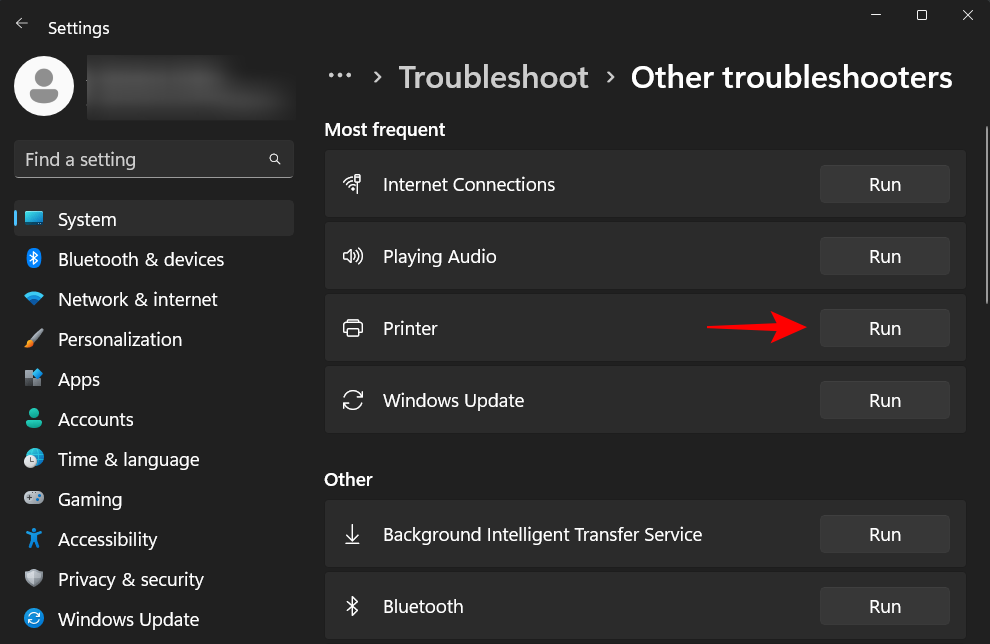
Click on Run next to Printer.
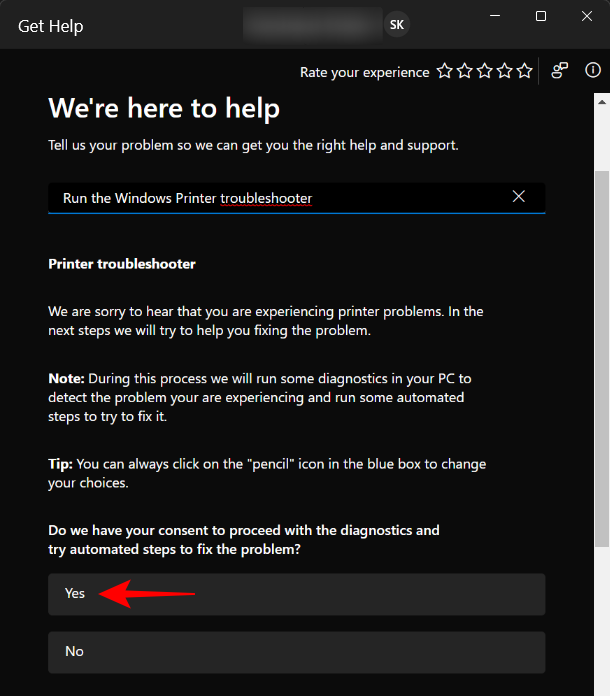
This will open the Get Help window. Here, click on Yes to give consent to proceed with diagnostics and try automated steps the fix the problem.
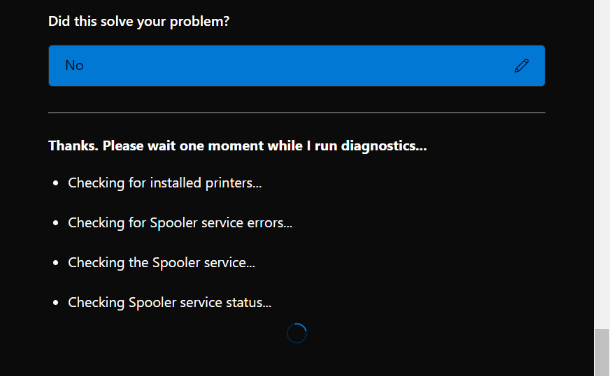
Under “Did this solve your problem?”, click on No.

Wait for the diagnostics to run and check for spooler service errors.
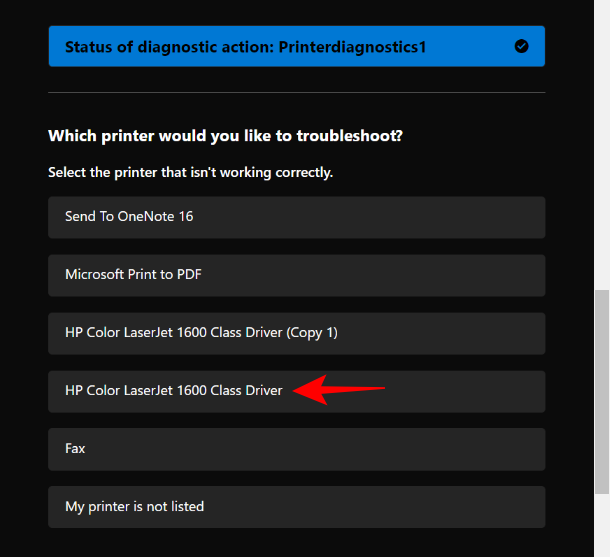
Then choose your printer.
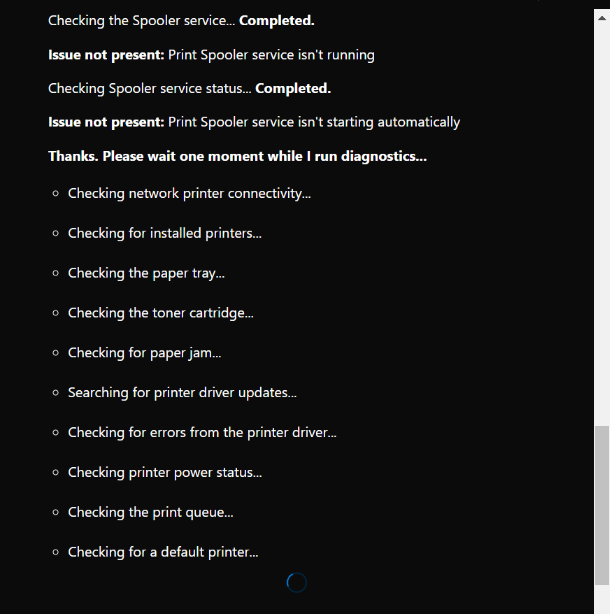
Let the scan run again and then apply any fixes that are suggested by the troubleshooter.
FIX 2: Remove pending printer jobs
If your printer has pending print jobs in the queue, that means it is still interacting with Windows and is waiting for the go-ahead to finish them. Unless this is taken care of, your request to remove the printer will be denied. Here’s how to remove your pending printer jobs:
Press Win+I to open the Settings app. Then click on Bluetooth & devices from the left pane.

Click on Printers & scanners on the right.
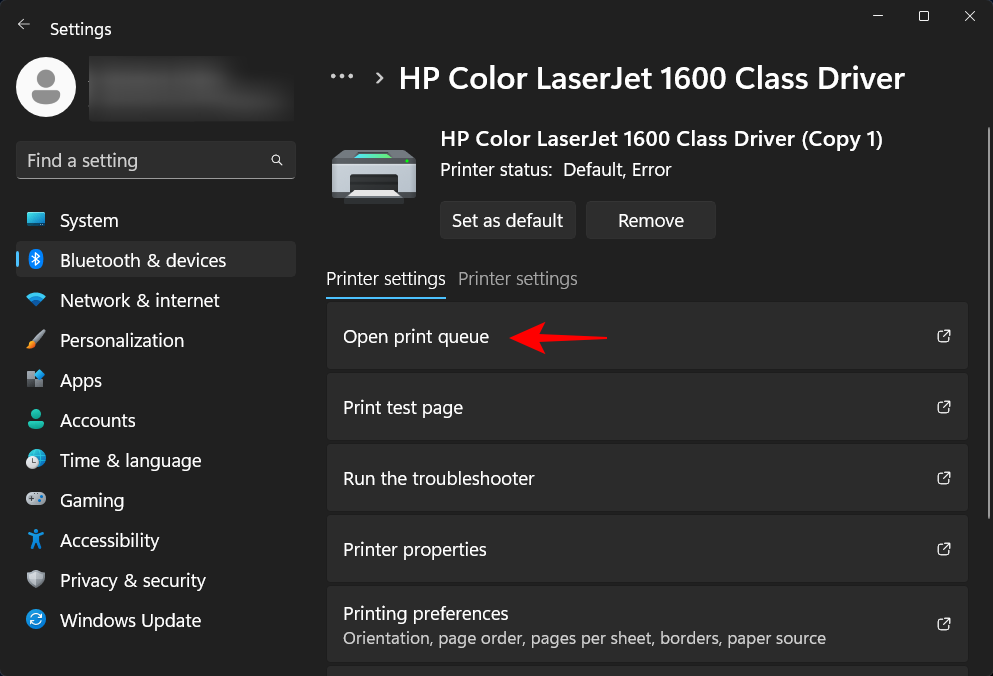
Select your printer.
Click on Open print queue.
Click on the three-dot icon next to your printer.
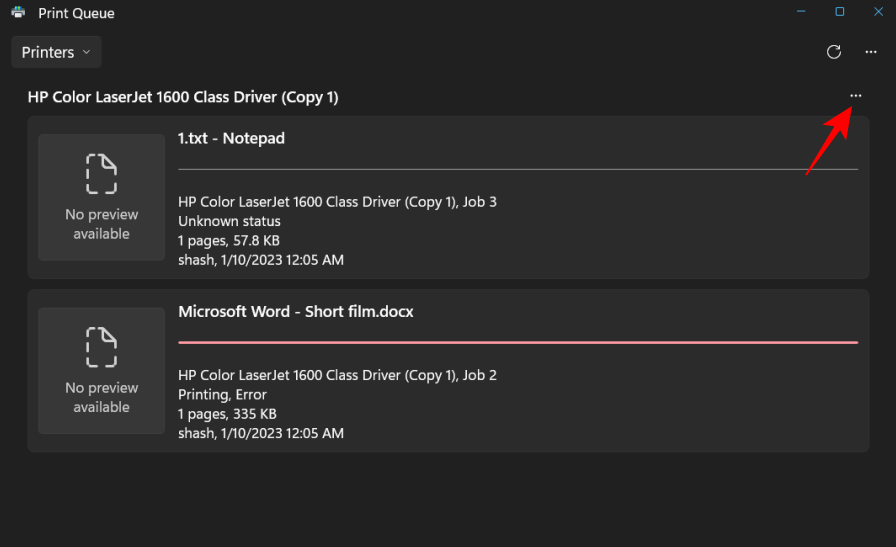
Select Cancel all.
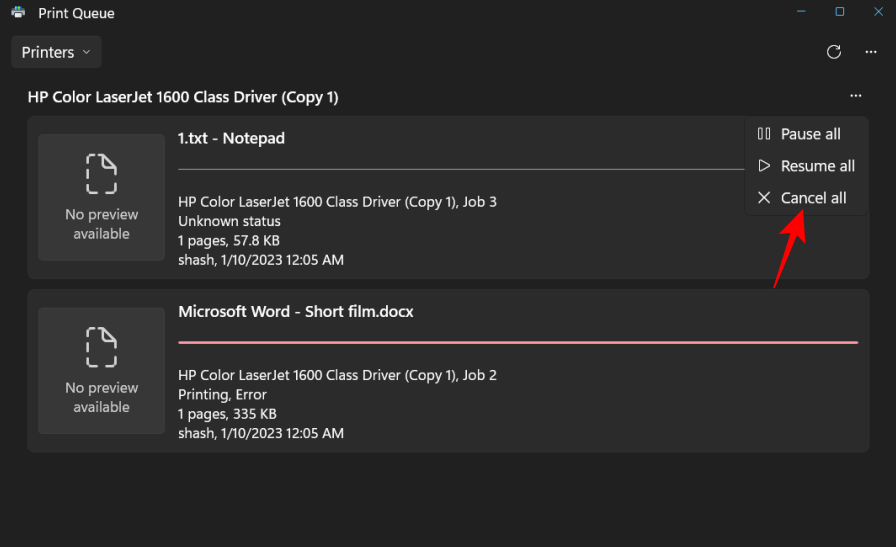
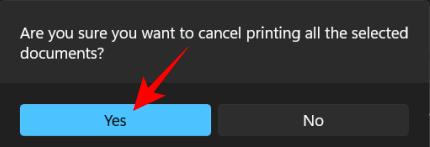
When prompted, click on Yes.
Once these are deleted, you can try removing the printer from the methods given above.
FIX 3: Remove printer drivers from Print server properties
If your printer’s drivers are the cause, perhaps removing them from a different location can do the trick. Here’s how to use the Print Server properties to delete your printer’s drivers:
Press Win+I to open the Settings app. Then click on Bluetooth & devices from the left pane.
Click on Printers & scanners on the right.
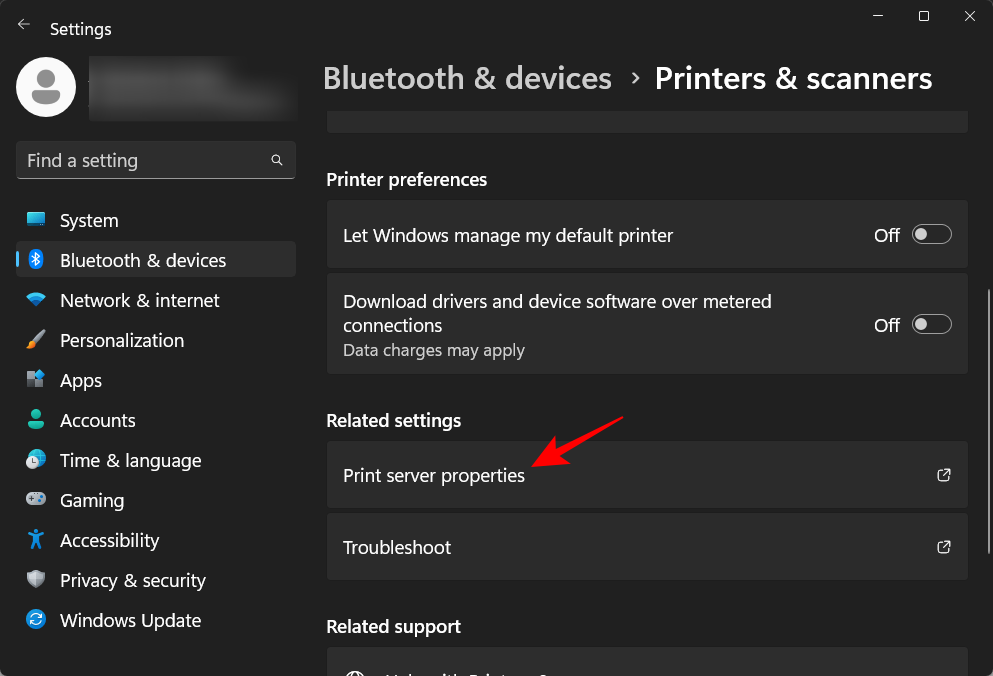
Scroll down and click on Print server properties under “Related settings”.
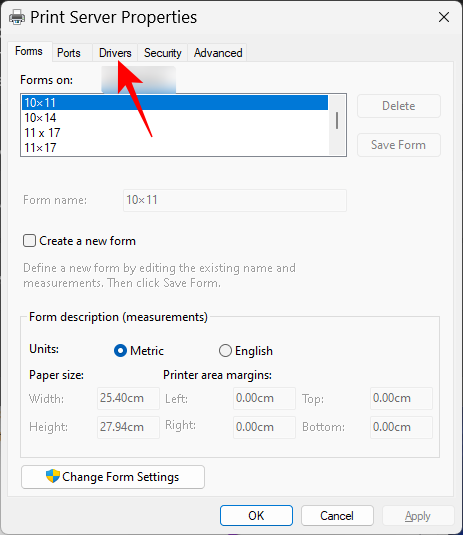
In the “Print Server Properties” window, click on the Drivers tab.
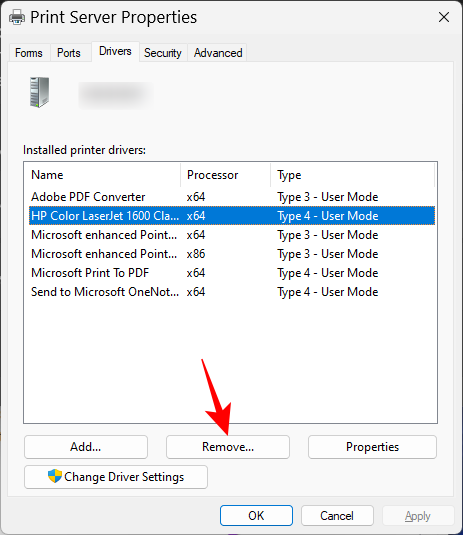
Here, select your printer. Then click on Remove.
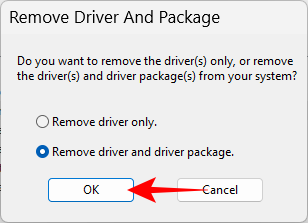
When prompted, select Remove driver and driver package.
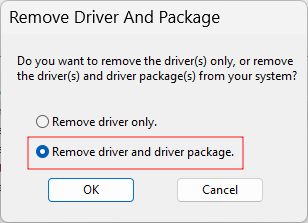
Then click OK.
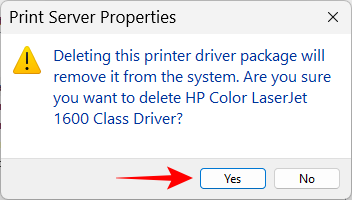
Click on Yes again.
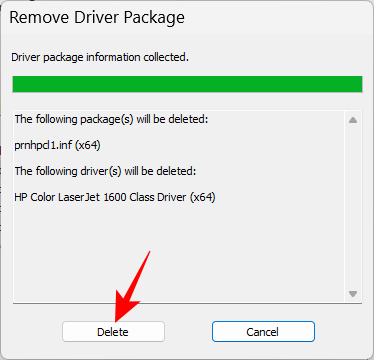
Finally, click on Delete again.
If you’re getting an error here as well move on to the next fix.
FIX 4: Stop Print Spooler service
The Print Spooler service (aka the printer service) has been known to create quite a lot of problems in the past. And if removing the printer is in question, it’s most likely to throw a monkey wrench in the process if it’s still running. You may want to stop it first and then proceed with the printer removal methods.
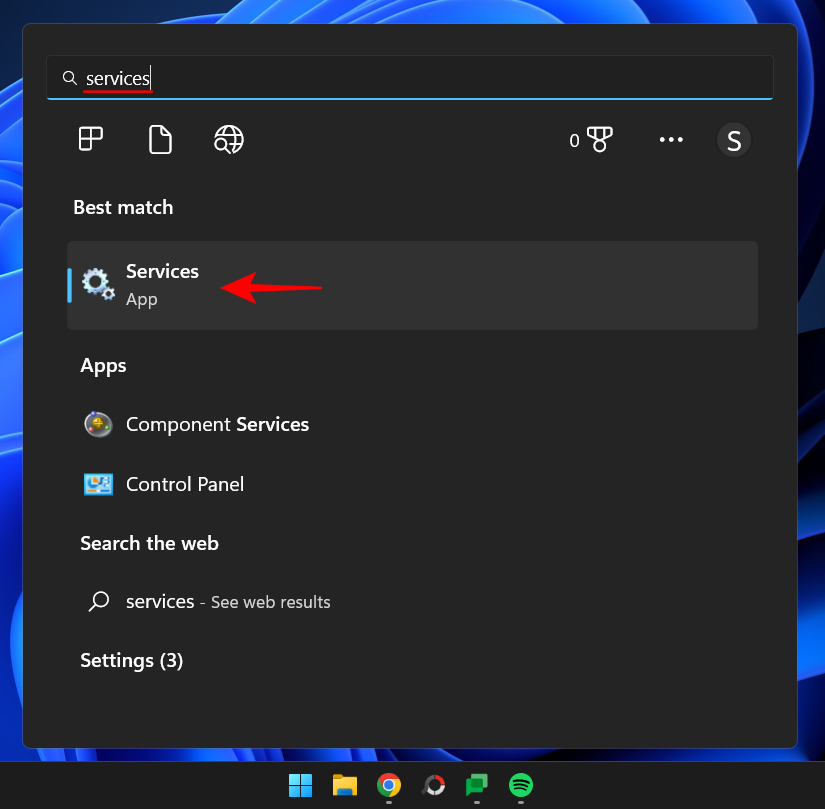
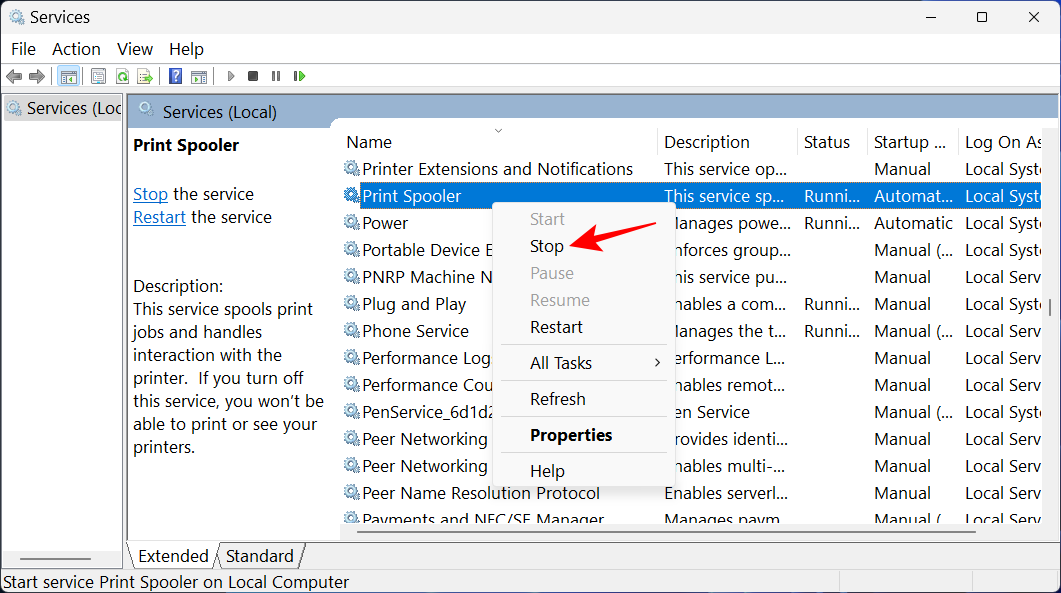
Press Start, type Services, and hit Enter.
Now find the Print Spooler service, right-click on it and select Stop.
FIX 6: Uninstall Printer App
If you have a printer app installed to take care of your printing jobs, removing it first can help resolve the issue with printer deletion.
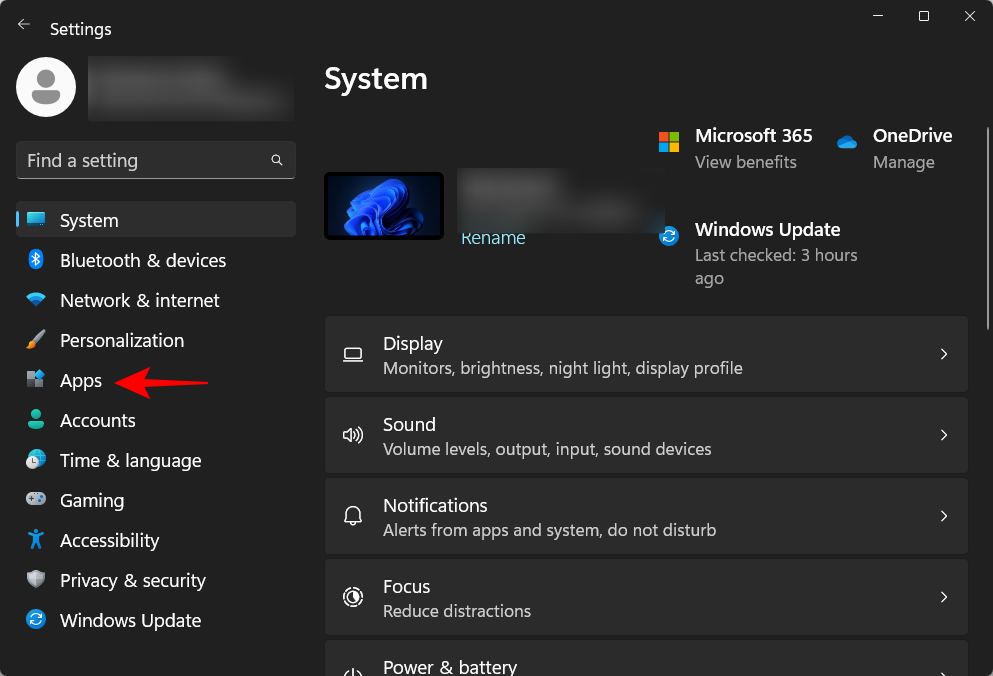
Press Win+I to open the Settings app. Then select Apps in the left pane.
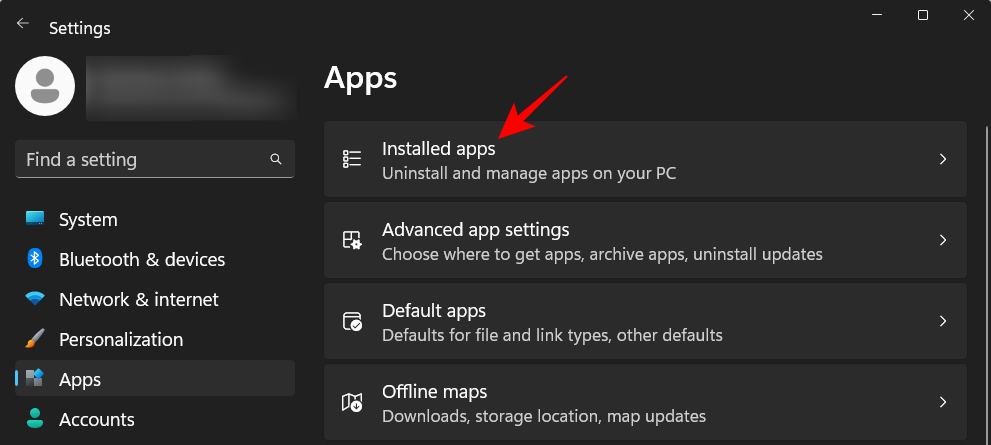
Select Installed apps on the right.
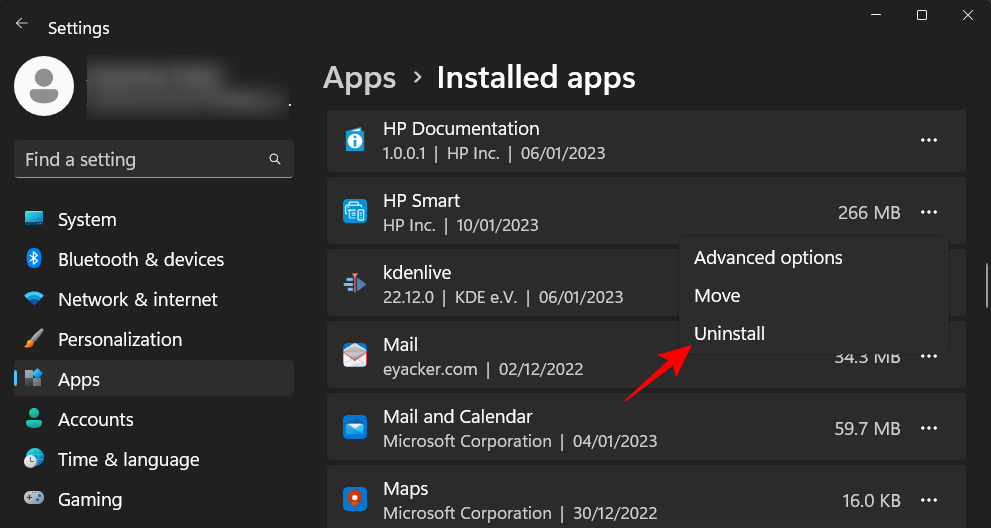
Scroll down the list of installed apps and click on the three-dot icon next to your printer app.
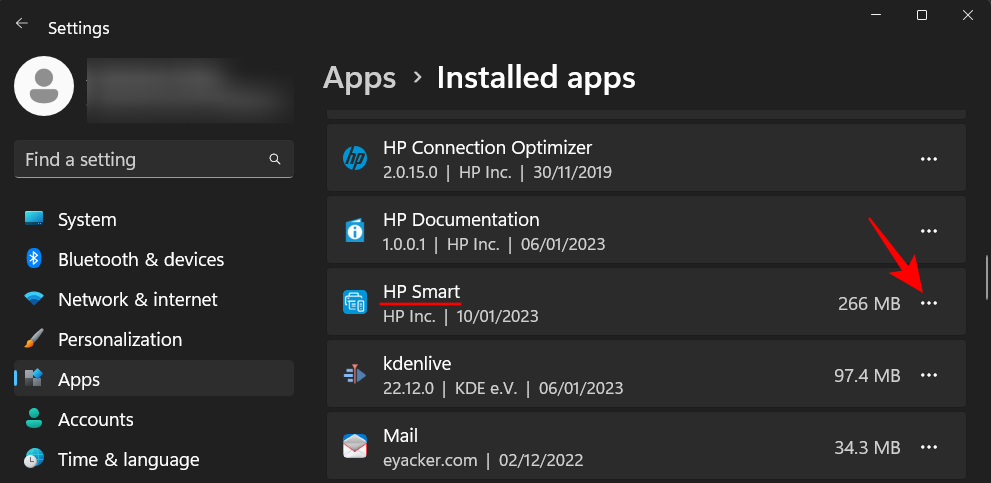
Select Uninstall.
Click on Uninstall again.
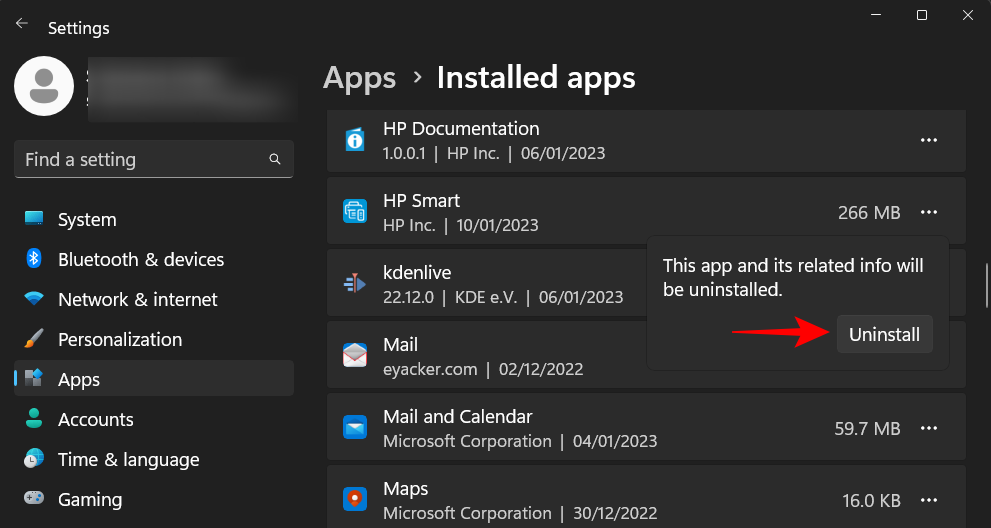
Once the uninstallation is complete, try deleting the printer using the methods given above.
FIX 7: Delete Printer from Registry
Windows creates registry entries for every little piece of hardware and software that makes its way to your system. But these redundant registry keys can also become a hurdle. You may benefit from removing your printer’s registry entry as well. Here’s how to go about it:
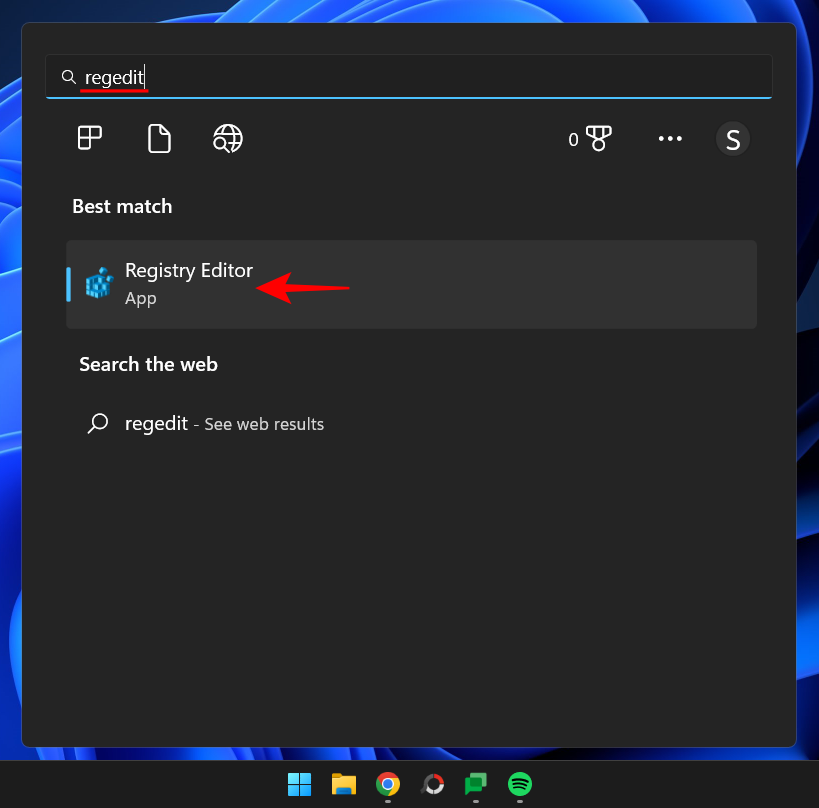
Press Start, type regedit, and hit Enter.
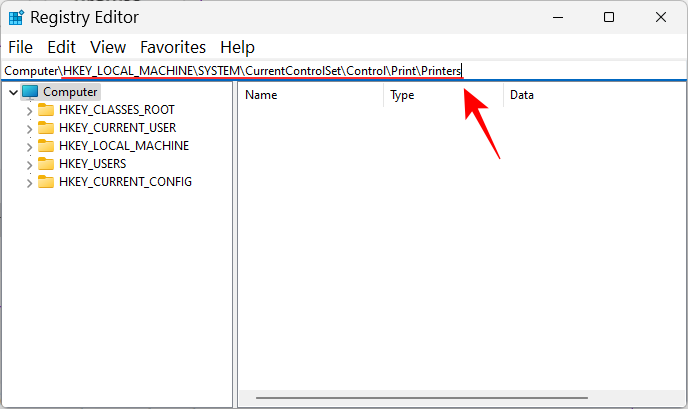
Then navigate to the following address in the Registry Editor:
HKEY_LOCAL_MACHINE\SYSTEM\CurrentControlSet\Control\Print\Printers
Alternatively, copy the above and paste it into the registry editor’s address bar and hit Enter.
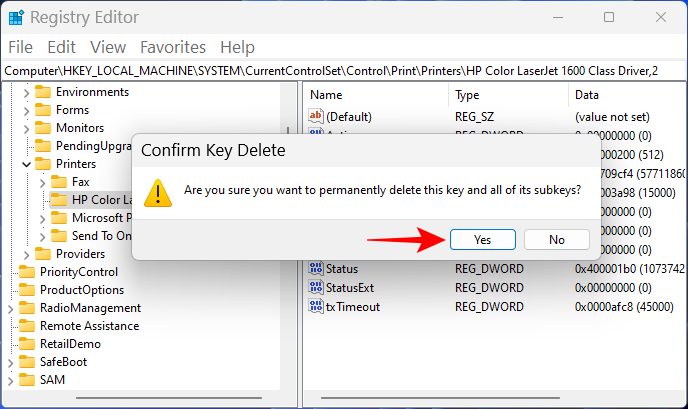
Now, find your printer under the Printers key in the left pane. Right-click on it and select Delete.
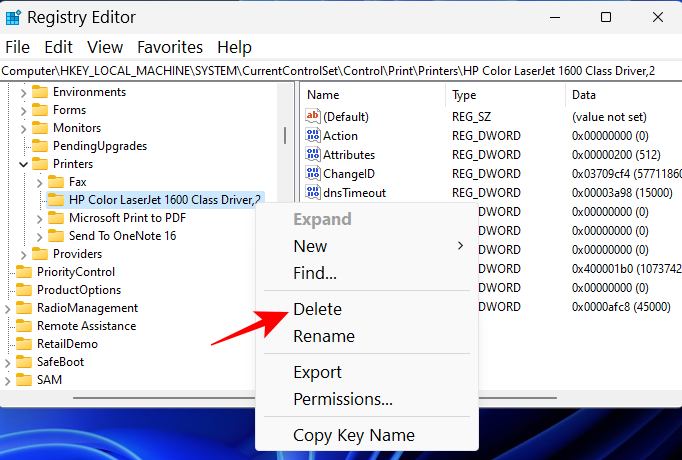
Click Yes.
And just like that, you have removed the printer from the Windows registry. Try removing it from other areas using the methods given above.
FAQs
Let’s go through a few commonly asked queries about deleting and removing printers from Windows 11.
Can not remove printer Windows 11?
If you’re not able to remove your printer on Windows 11, it’s most likely because the printer’s driver is being used or the printer service is still running. You may also want to remove the printer entry from the registry. Refer to the fixes given above to know more.
How do I completely remove a printer from my computer?
To completely remove your printer, you must delete it from the Settings app, remove its driver package, and also remove any apps or pending print jobs that might be tied to the printer. Cleaning out your printer’s registry files is also recommended.
How do I uninstall HP printer on Windows 11?
The steps to uninstalling an HP printer on Windows 11 is the same as with other printers. Use the methods given in this guide and the fixes if you encounter any hiccups along the way.
We hope you were able to remove your printer from your Windows 11 PC.


