

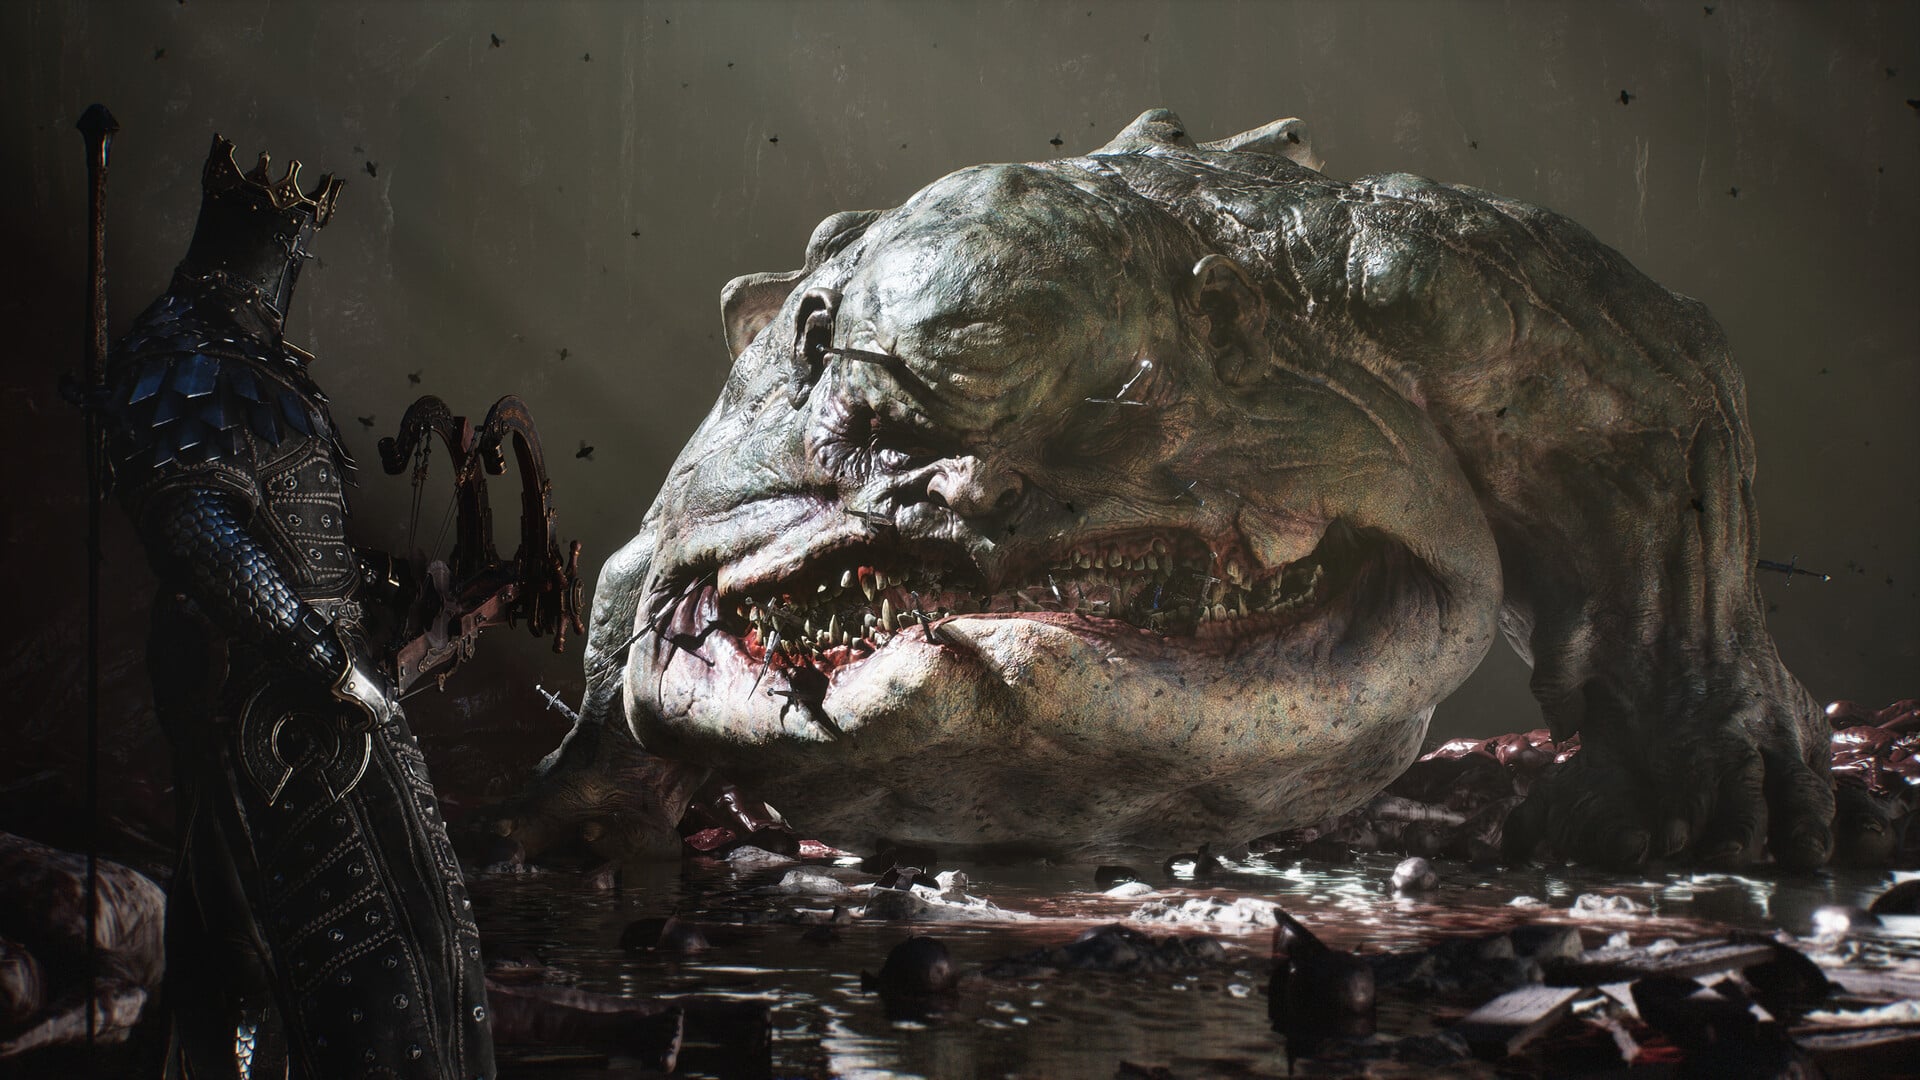
The Warden’s Stone is one of the more useful Tarstones for players using the Great Martyr’s Blade in Mortal Shell 2. Unlike a general-purpose Tarstone, it is tied to a specific weapon, but its Frost effect gives the slow greatsword a powerful form of crowd control. To obtain it, you need to reach Urrig the Executioner and defeat him near Winterglass Lake.
| Quick overview | Details |
|---|---|
| Tarstone | Warden’s Stone |
| Type | Infusion |
| Location | Conquered Temple |
| Required boss | Urrig the Executioner |
| Starting point | Winterglass Lake Beacon |
| Weapon | Great Martyr’s Blade |
| Effect | Frost |
| Activation cost | 30 Resolve |
| Upgrade progression | 4 strikes → 8 strikes → Permanent |
How to reach the Warden’s Stone location
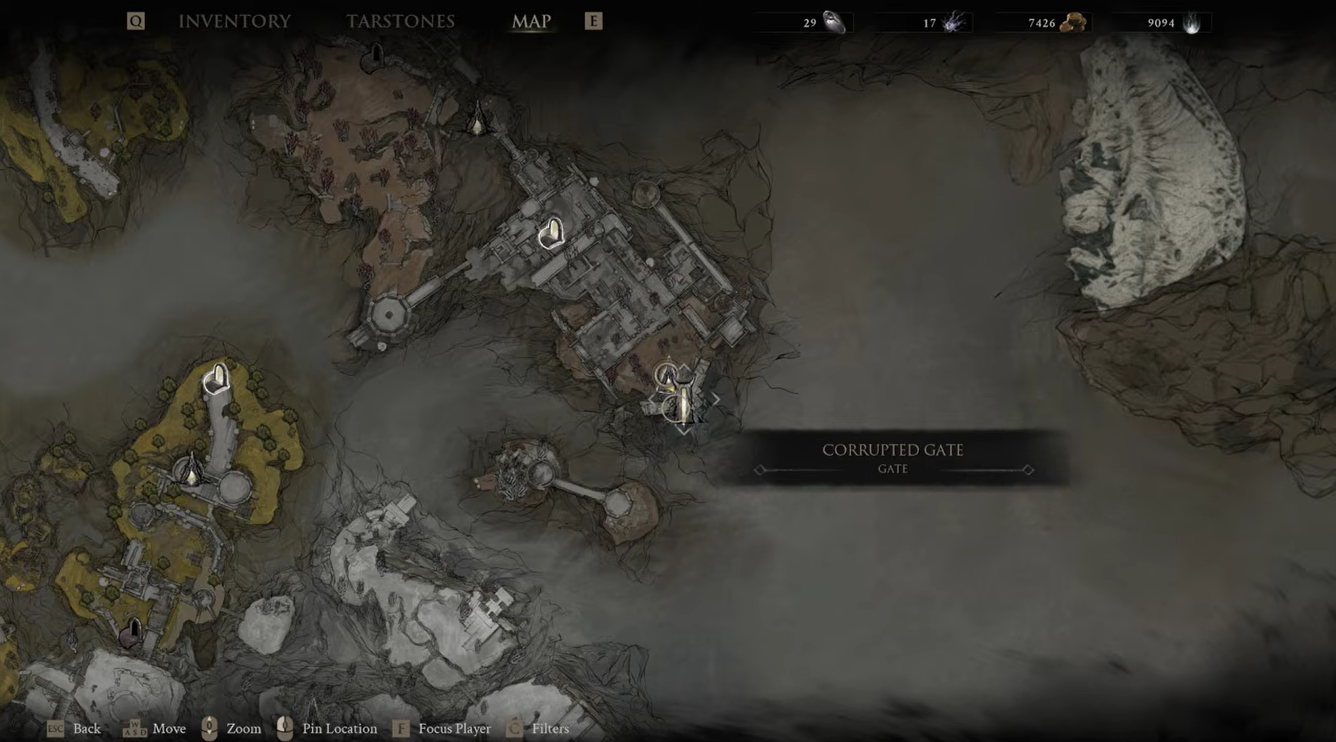
The Warden’s Stone is located in the later Conquered Temple section, so you cannot simply pick it up from a chest. You must first reach the region through the Abbey and then progress through the snowy area until you reach Winterglass Lake. The route begins around the Abbey region southeast of Marrow Keep and eventually takes you through the cleansed Sester’s Gate into the Conqueror’s Domain.
How to get Warden’s Stone in Mortal Shell 2
Step 1: Reach Sester’s Gate in the Abbey
Make your way through the Abbey region until you reach the Sester’s Gate Beacon, located southeast of Marrow Keep. Starting from the Outskirts of Mammon, follow the main route through the siege camp and use the Bone Gates and jump pads to reach the Abbey Entrance Beacon. From there, continue toward Sester’s Gate.
Step 2: Cleanse Sester’s Gate
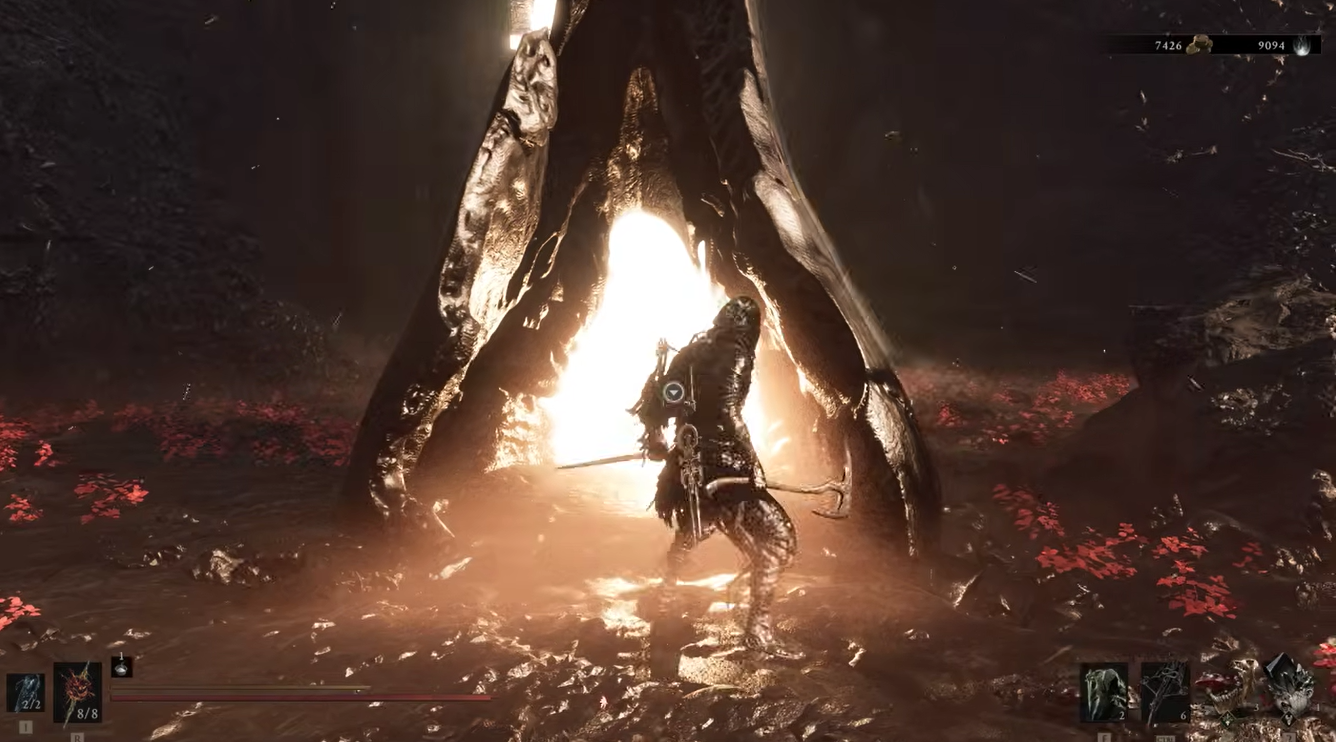
Activate the Sester’s Gate Beacon and cleanse the gate. Once it has been cleansed, you can pass through it and enter the Conquered Temple/Conqueror’s Domain.
Step 3: Travel toward Winterglass Lake
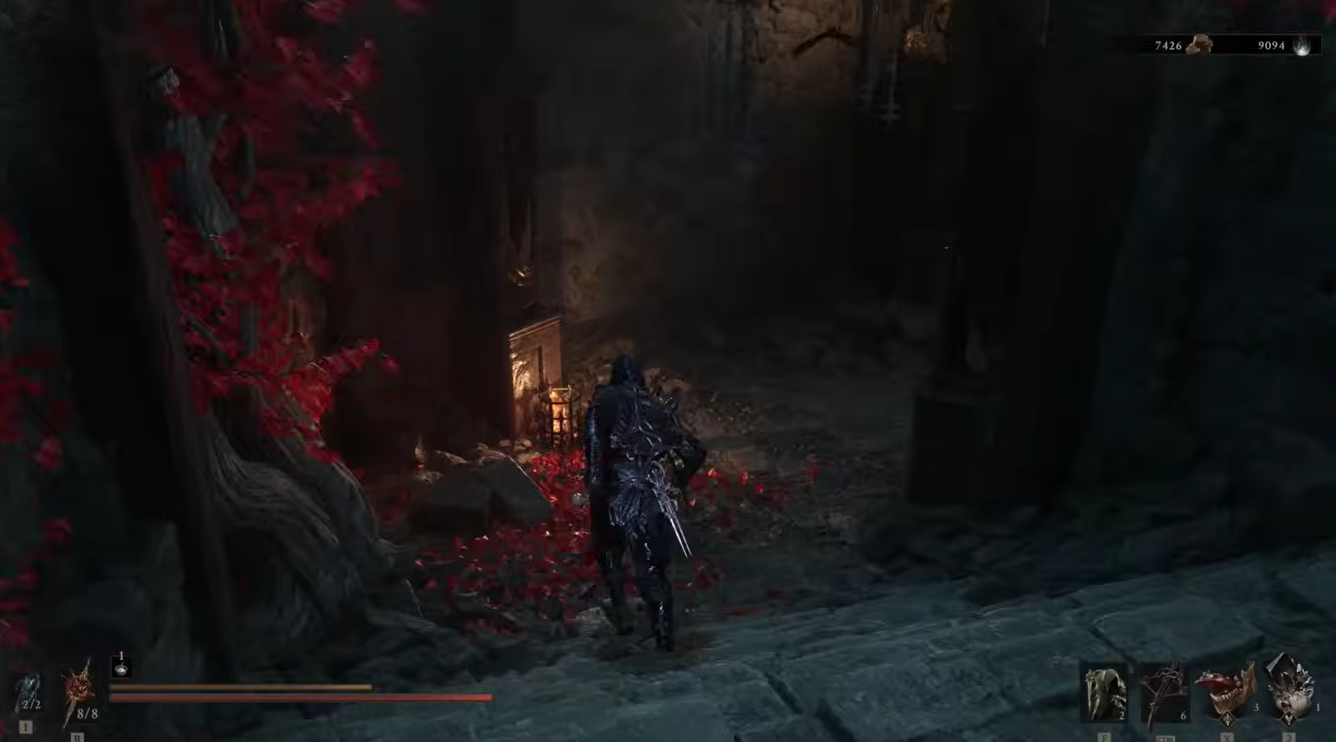
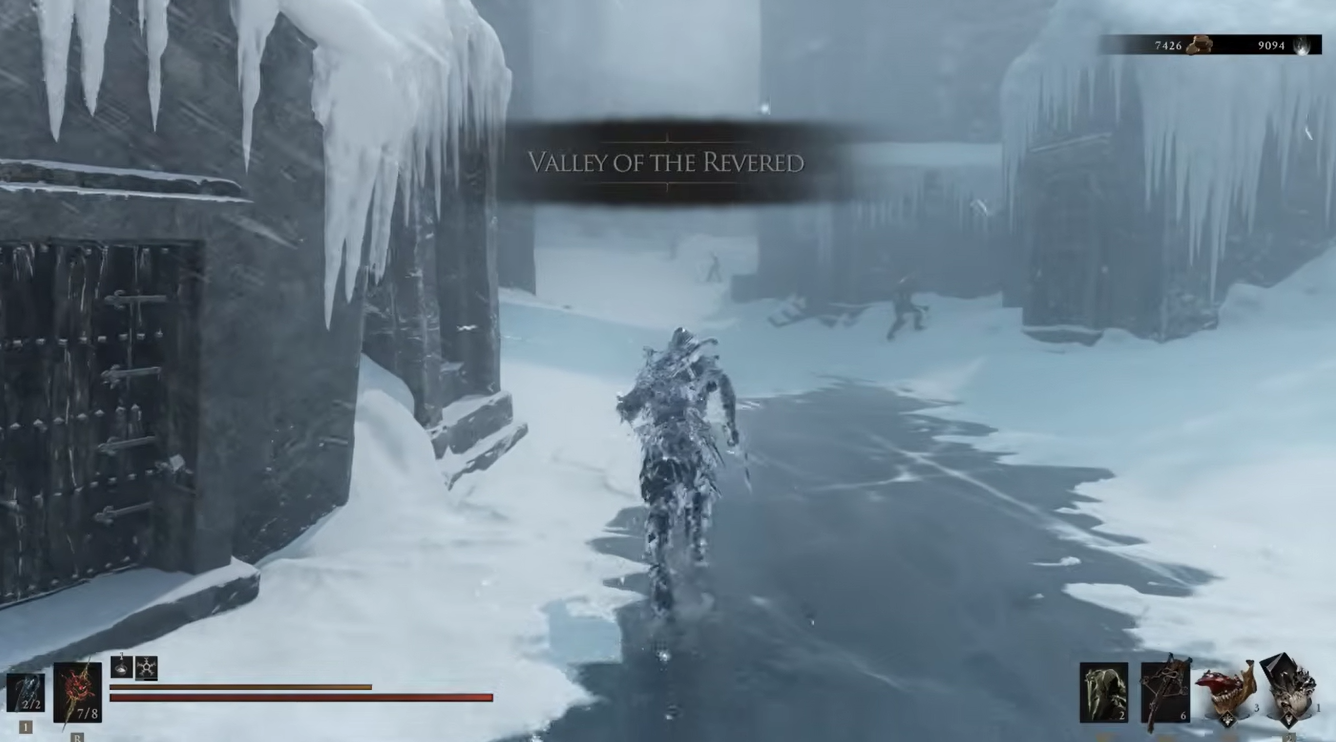
Continue through the snowy mountain section of the Conquered Temple until you reach Winterglass Lake. The Winterglass Lake Beacon is positioned beside the stairs leading toward a broken bridge, so activate it before proceeding.
Step 4: Ring the two bells
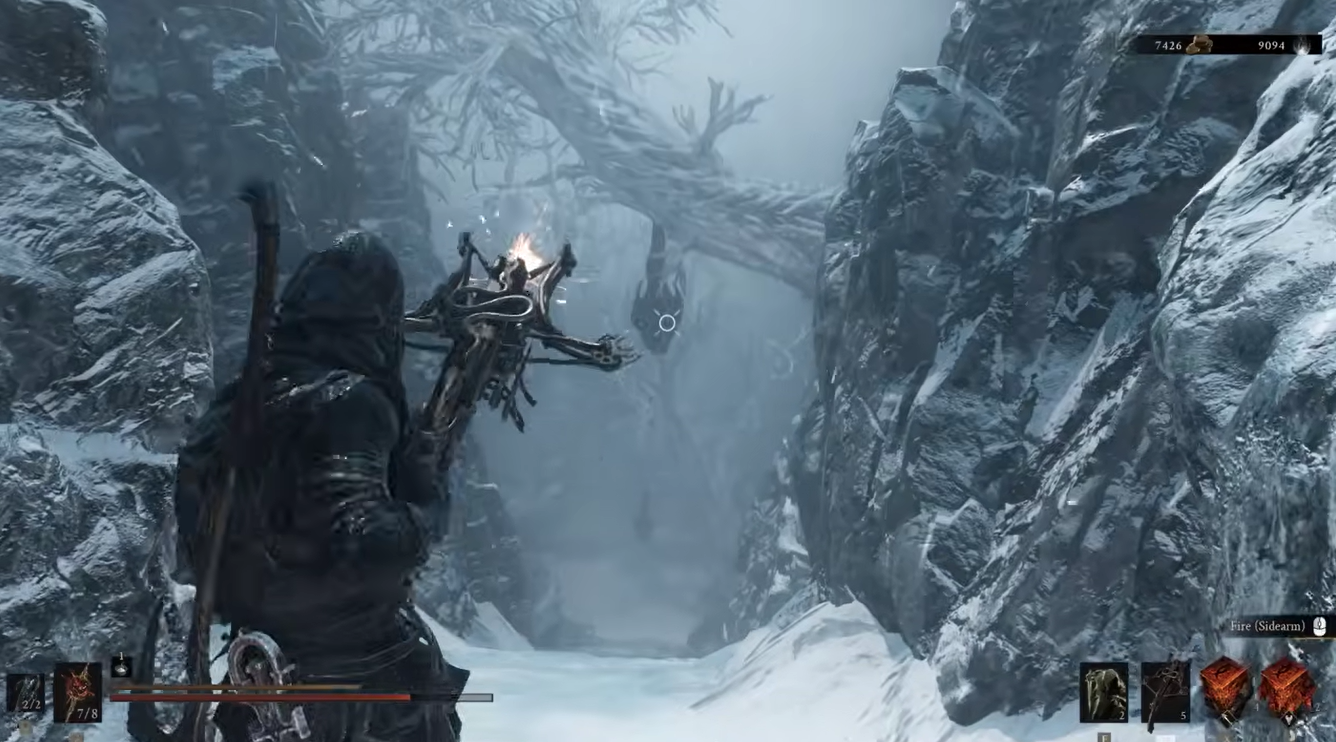
At the broken bridge, use your Sidearm to ring two bells. One bell is located down on the left side of the gap, while the other is across the gap. Ring both bells to open the route ahead.
Step 5: Find Urrig the Executioner
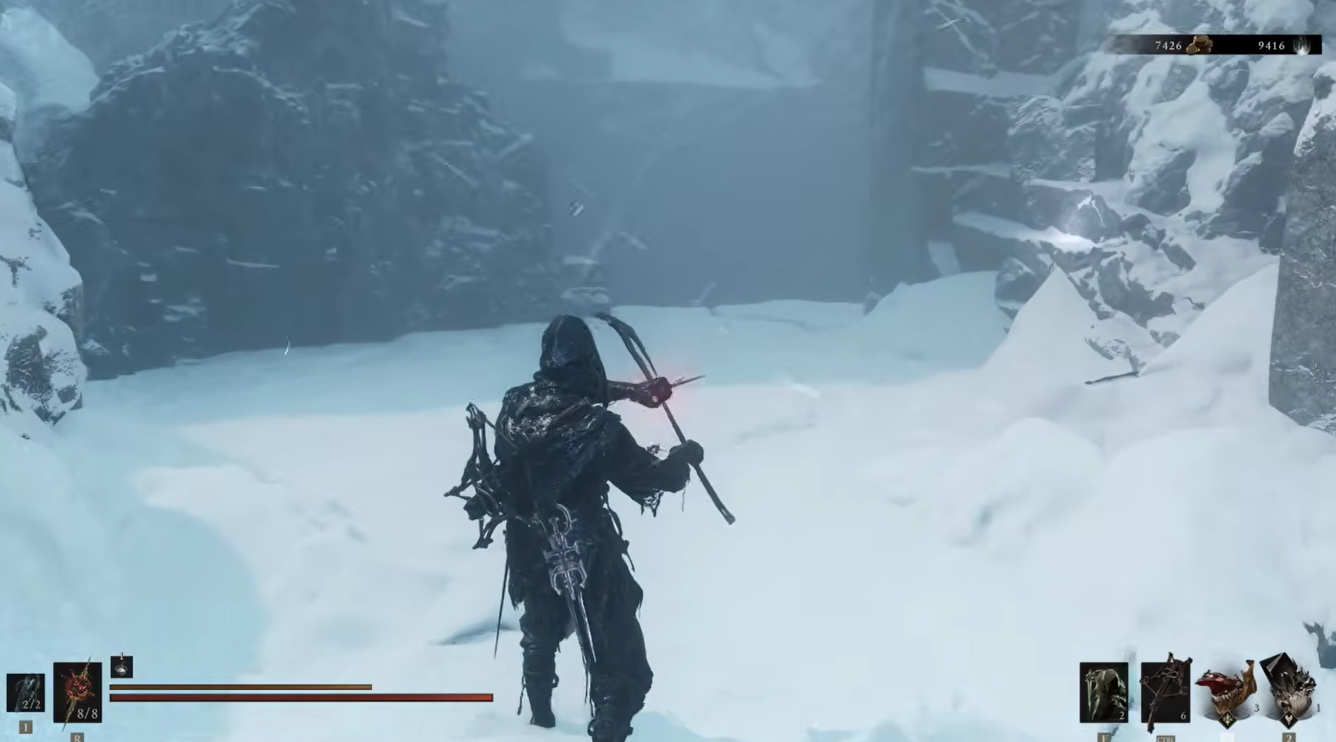
After activating both bells, follow the newly opened path. It leads directly toward Urrig the Executioner, the boss who guards the Warden’s Stone.
Step 6: Defeat Urrig
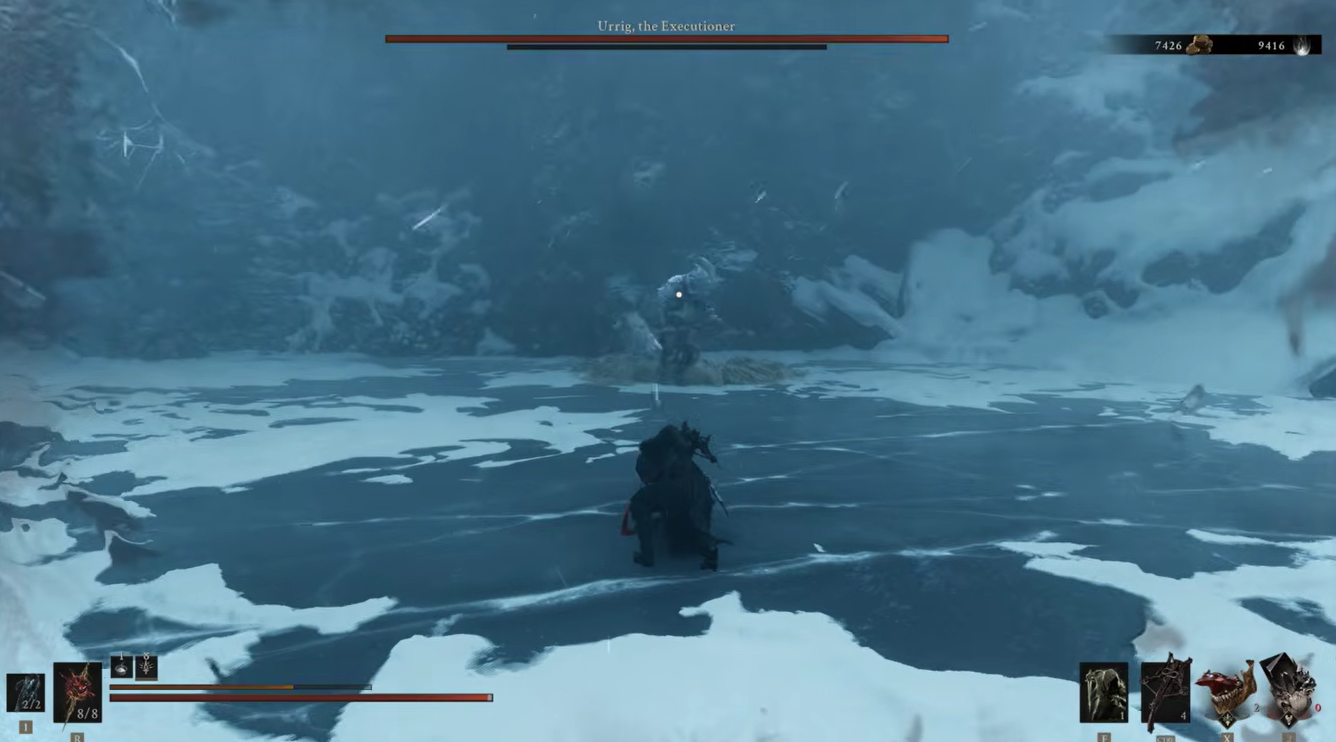
Urrig has several unblockable attacks, so avoid trying to block everything and instead dodge his heavier attacks. Keep your distance when necessary and punish him after his attack animations. Be careful because repeated Frost buildup can eventually freeze you.
Step 7: Collect Warden’s Stone
Once Urrig is defeated, Warden’s Stone is awarded as the boss reward. You do not need to search for a separate chest.
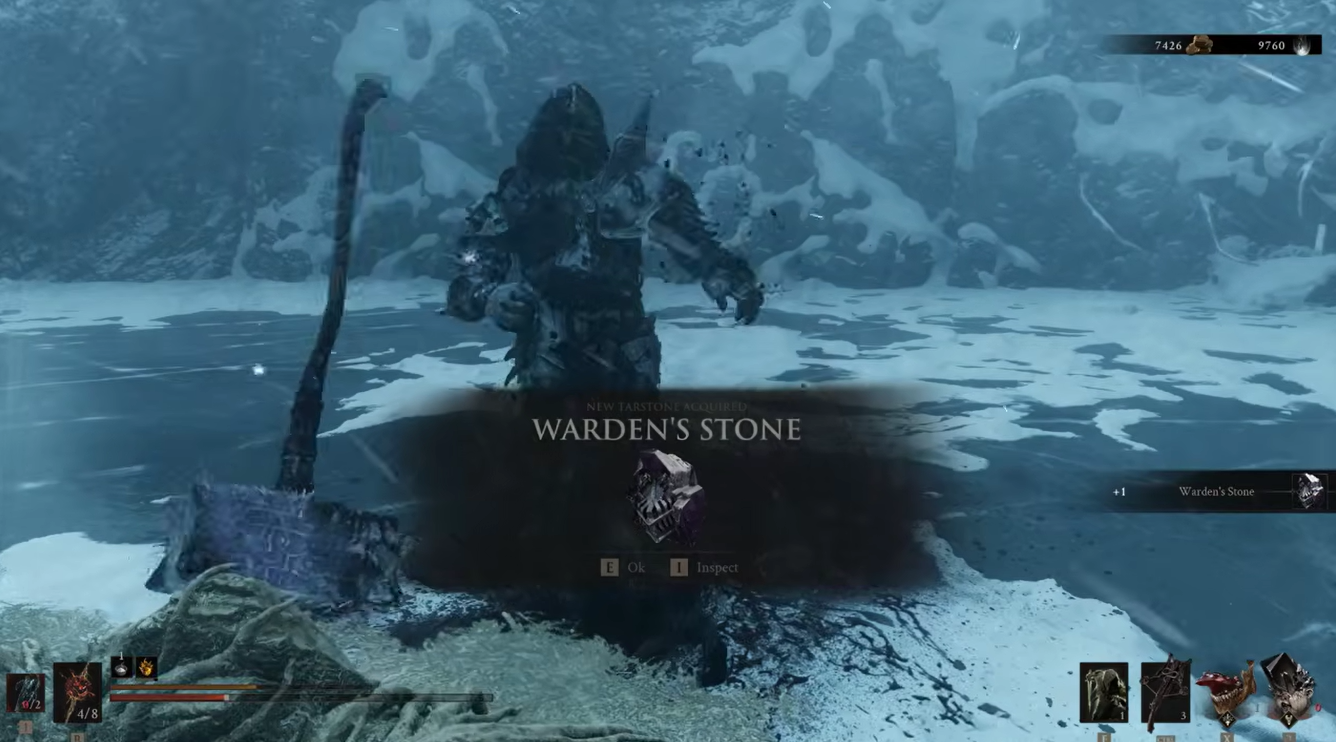
How Warden’s Stone works
Warden’s Stone is a weapon Infusion Tarstone that applies Frost to compatible weapons. Current information identifies the Great Martyr’s Blade as its Frost weapon. Activating the stone consumes 30 Resolve.
| Upgrade | Frost effect |
|---|---|
| Level 1 | Infusion lasts for 4 strikes |
| Level 2 | Infusion lasts for 8 strikes |
| Level 3 | Infusion becomes permanent |
The Frost effect is particularly strong with the Great Martyr’s Blade, since freezing an enemy creates an opening for its slower, high-damage attacks.
Warden’s Stone vs other Infusion Tarstones
Warden’s Stone is one of several Infusion Tarstones in Mortal Shell 2, but its role is more specialized because it focuses on Frost and is tied to the Great Martyr’s Blade.
| Tarstone | Infusion | Activation cost |
| Arbiter’s Prize | Bloodcurse | 30 Resolve |
| Serpent Stone | Poison | 15 Resolve |
| Voltaic Crown | Lightning | 30 Resolve |
| Warden’s Stone | Frost | 30 Resolve |
| Torpor Stone | Stasis | 25 Resolve |
| Wretchcaller’s Stone | Trauma | 30 Resolve |
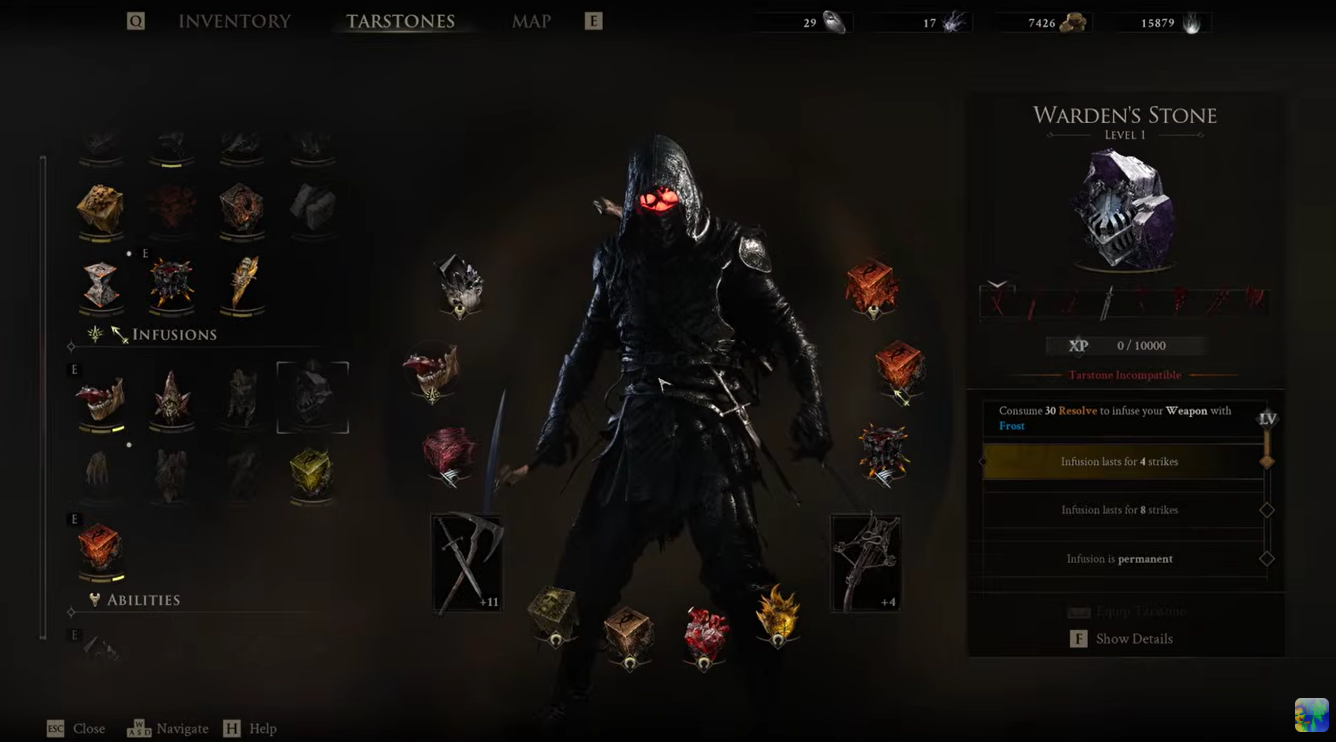
The key difference is that Warden’s Stone is particularly suited to a Frost-focused Great Martyr’s Blade setup, while the other Infusion Tarstones support different status effects and weapons.
| Effect/name | What it does |
| Warden’s Stone | Infuses the Great Martyr’s Blade with Frost |
| Frost effect | Builds through attacks until enemies can be frozen |
| Weapon compatibility | Great Martyr’s Blade |
| Resolve cost | 30 Resolve |
| Maximum upgrade | Permanent Frost infusion |
Why Frost is useful with the Great Martyr’s Blade
The Great Martyr’s Blade already specializes in heavy attacks and strong damage, but its slower attack speed can make aggressive play risky. Frost gives the weapon a way to create its own openings. Once an enemy freezes, you can safely commit to heavier attacks while the target is unable to retaliate.
The Frost effect can also be useful against a large majority of bosses, making the Warden’s Stone more than just a crowd-control option for ordinary enemies. Its value is especially noticeable when you’re comfortable timing the Great Martyr’s Blade around enemy recovery windows.
There is also a notable interaction with Eredrim’s Apathy skill. The third effect of Apathy increases damage against frozen enemies by 200%, meaning the Great Martyr’s Blade and Warden’s Stone can create a strong heavy-damage setup when used with Eredrim.
Video help:






Leave a Reply