


If you want Lightning damage early in Mortal Shell 2, the Voltaic Crown is one of the most worthwhile Tarstones to chase. It is tied to a relatively early optional-feeling boss encounter, but defeating that boss also helps open the route into Prisoner’s Domain. Current guides and build recommendations continue to highlight the Crown as a core part of Lightning-focused setups.
| Quick overview | Details |
|---|---|
| Tarstone | Voltaic Crown |
| Effect | Infuses your weapon with Lightning |
| Resolve cost | 30 Resolve |
| Initial infusion | 4 strikes |
| Next upgrade | 8 strikes |
| Final upgrade | Permanent Lightning infusion |
| Boss | Vrago, Solikar Champion |
| Location | Abandoned Shrine / Nochtean Gate |
| Region | Ruins of Nochte |
| Main benefit | Adds Lightning buildup and enables Shock-focused builds |
Where to find the Voltaic Crown in Mortal Shell 2
The Voltaic Crown is obtained from Vrago, Solikar Champion, who is found inside the Abandoned Shrine associated with the Nochtean Gate. Current location guides place the encounter on the route through the Ruins of Nochte and identify the boss as the source of the Crown.
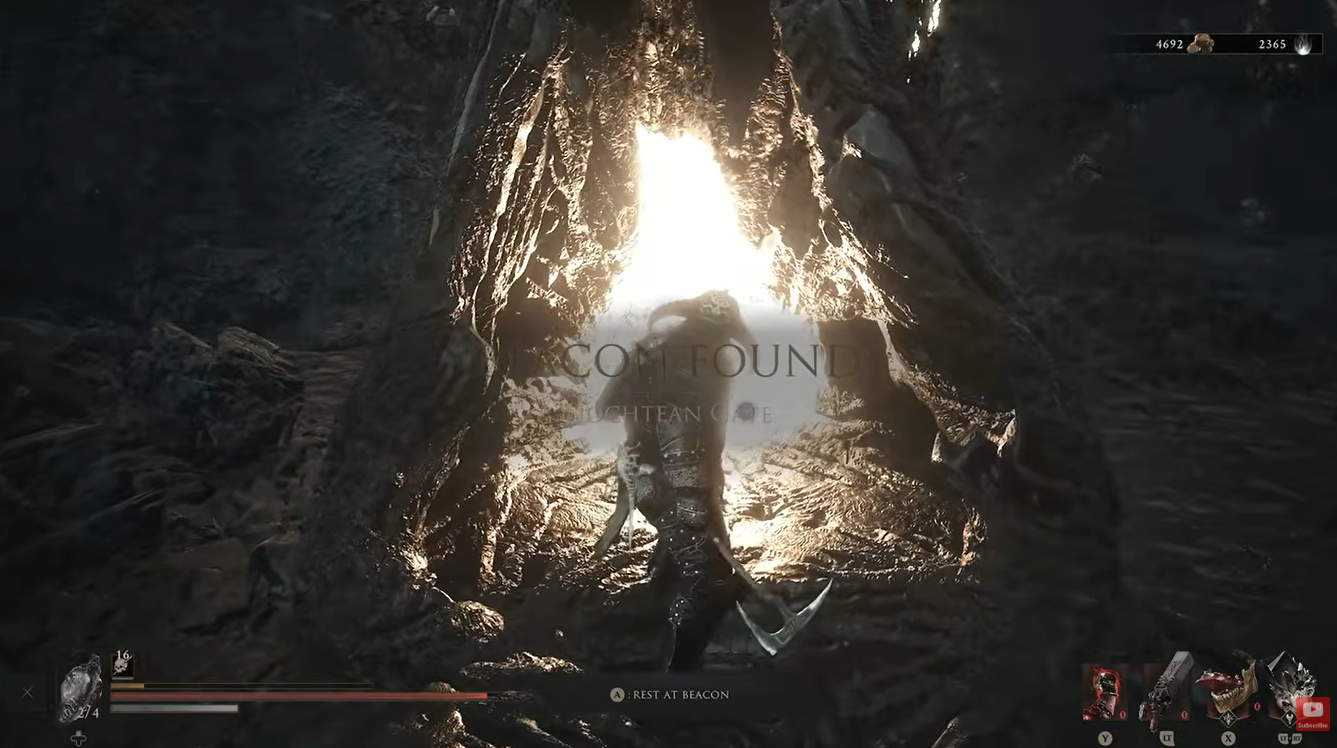
Your starting point for the fast route is Widow’s Overlook. From there, follow the route toward the Ruins of Nochte. The path contains several jump-pad sections, allowing you to move through the area quickly. You do not need to fight every enemy along the way, so skipping unnecessary encounters can make this one of the quicker early Tarstone runs.
The Nochtean Gate Beacon is particularly important because it gives you a convenient checkpoint before the dungeon and Vrago fight. A current walkthrough confirms that reaching the Nochtean Gate Beacon leads into the dungeon where Vrago waits deeper inside.
How to get Voltaic Crown in Mortal Shell 2
Step 1: Start at Widow’s Overlook
Begin at the Widow’s Overlook beacon and prepare your equipment before heading toward the Ruins of Nochte. You should have enough healing and Resolve-generating options available because Vrago can punish mistakes heavily.
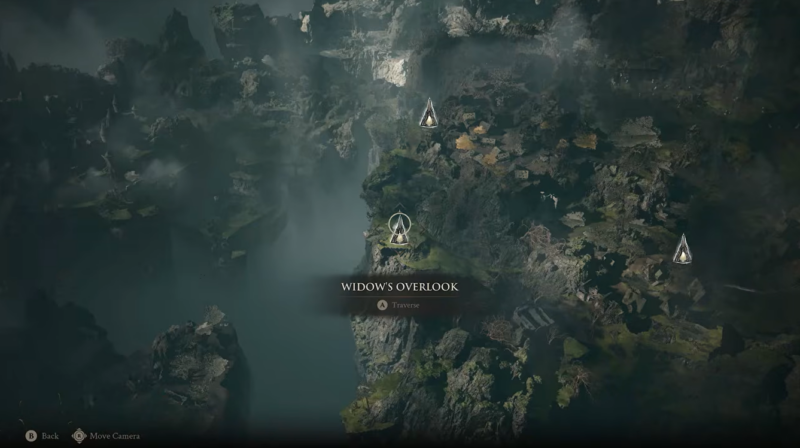
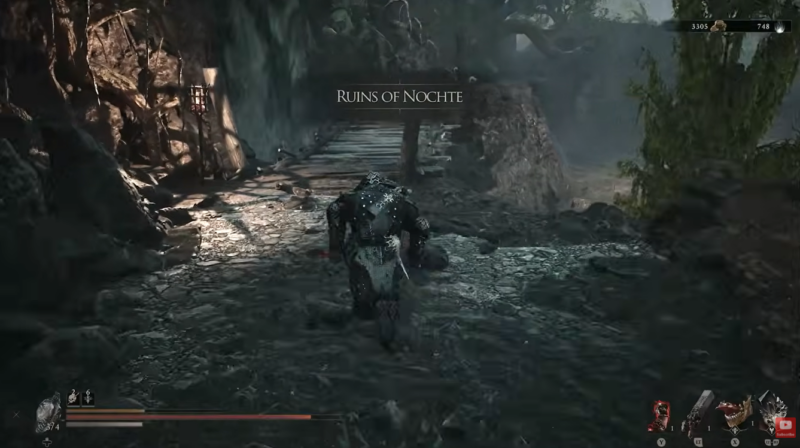
Step 2: Follow the route into the Ruins of Nochte
Continue along the main route toward the Ruins of Nochte. You will encounter several elevated sections where jump pads help you cross gaps and reach higher platforms.
For a fast Voltaic Crown run, do not stop to clear every enemy. Many encounters can simply be bypassed while you continue toward the next section.
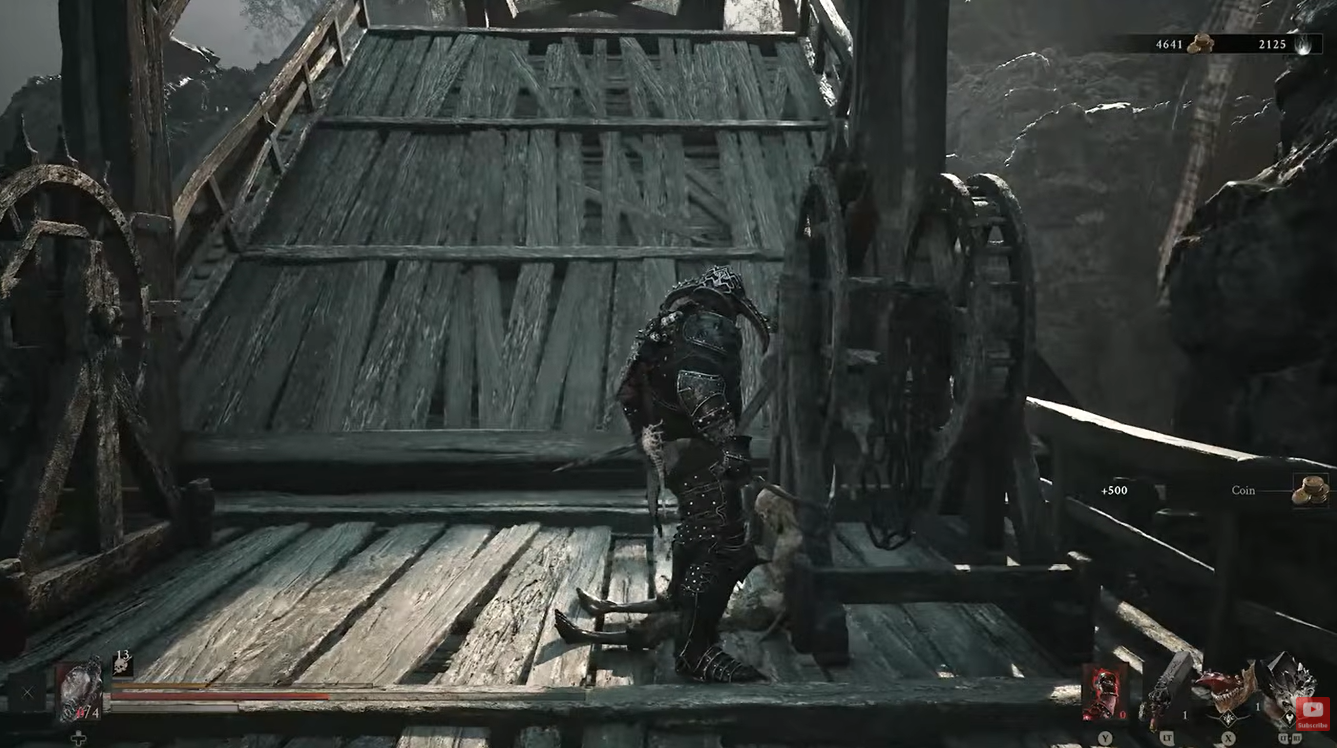
Step 3: Activate the shortcut lever
Look for the lever along the route and activate it. This creates a shortcut that makes returning to the area considerably easier if you die against Vrago.
This is worth doing even if you are confident about the boss because the shortcut saves time on repeated attempts.
Step 4: Reach the Nochtean Gate Beacon
Continue forward until you reach the Nochtean Gate Beacon. Light it before entering the boss section.
This gives you a checkpoint close to the encounter, meaning you will not have to repeat the entire Ruins of Nochte route after every failed attempt.
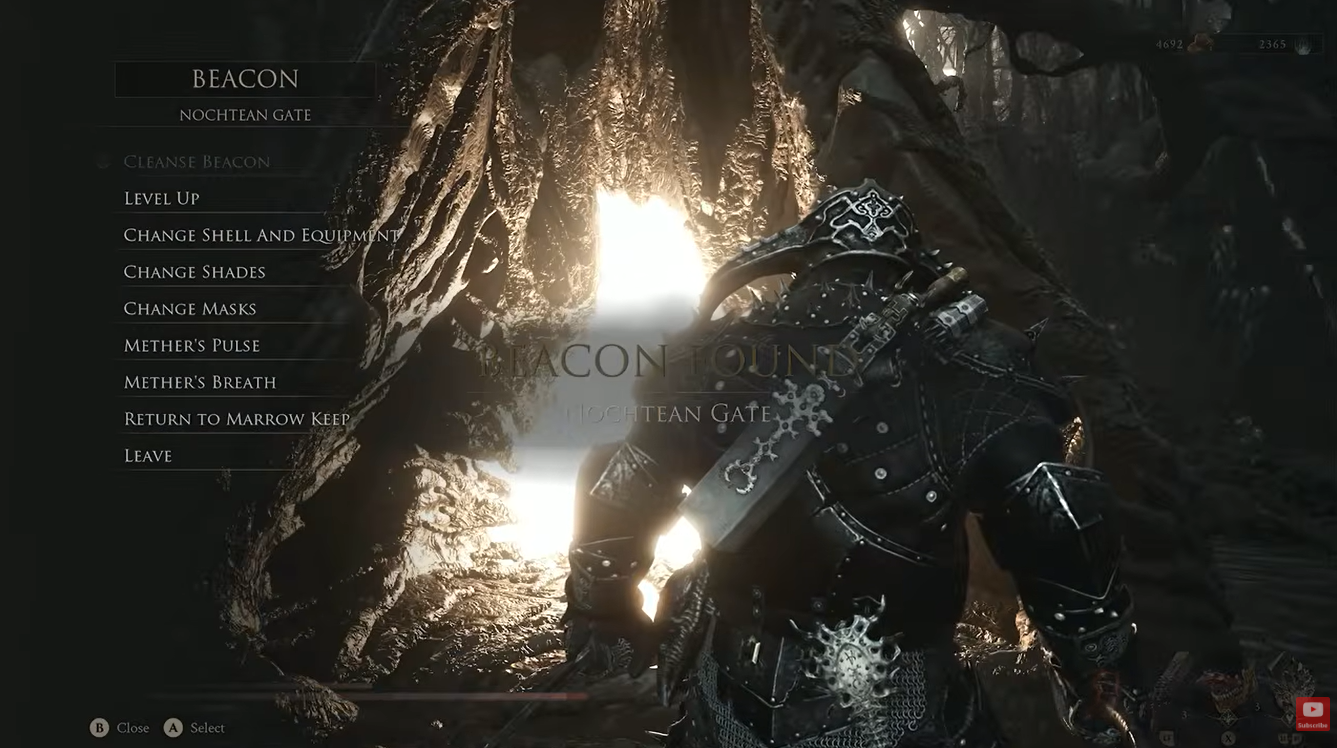
Step 5: Enter the dungeon
After activating the beacon, proceed into the dungeon and take the elevator downward. The deeper section leads to the encounter with Vrago, Solikar Champion. Current walkthrough information confirms that Vrago appears after descending farther into the dungeon.
Step 6: Defeat Vrago, Solikar Champion
Vrago is a dangerous opponent because his attacks hit hard and several of his moves cover a surprising amount of distance. The safest approach is to learn his attack rhythm rather than trying to overwhelm him immediately.
His regular combinations can be avoided by staying mobile and dodging through or away from the attacks. Current boss guidance also notes that his jumping attacks cannot simply be blocked, making a well-timed dodge particularly important when he leaves the ground.

Watch for his three-hit combinations and avoid becoming trapped directly in front of him. His red attacks should be treated as major danger signals rather than opportunities to trade damage.
One of his most important attacks is the large jumping strike. When Vrago jumps high into the air, create distance and dodge backward to avoid the resulting area-of-effect attack. Trying to remain underneath him during this animation is an easy way to take unnecessary damage.

Vrago can also throw his wheel-like weapon, so do not assume that creating distance completely removes the danger. Stay ready to dodge even when you are outside his immediate melee range.
The fight becomes much easier when you resist the temptation to attack after every move. Let Vrago finish his combination, dodge the dangerous follow-up, and then punish the recovery window with a short attack sequence.
Once his health reaches zero, the Voltaic Crown becomes your reward.
Voltaic Crown rewards and upgrade effects
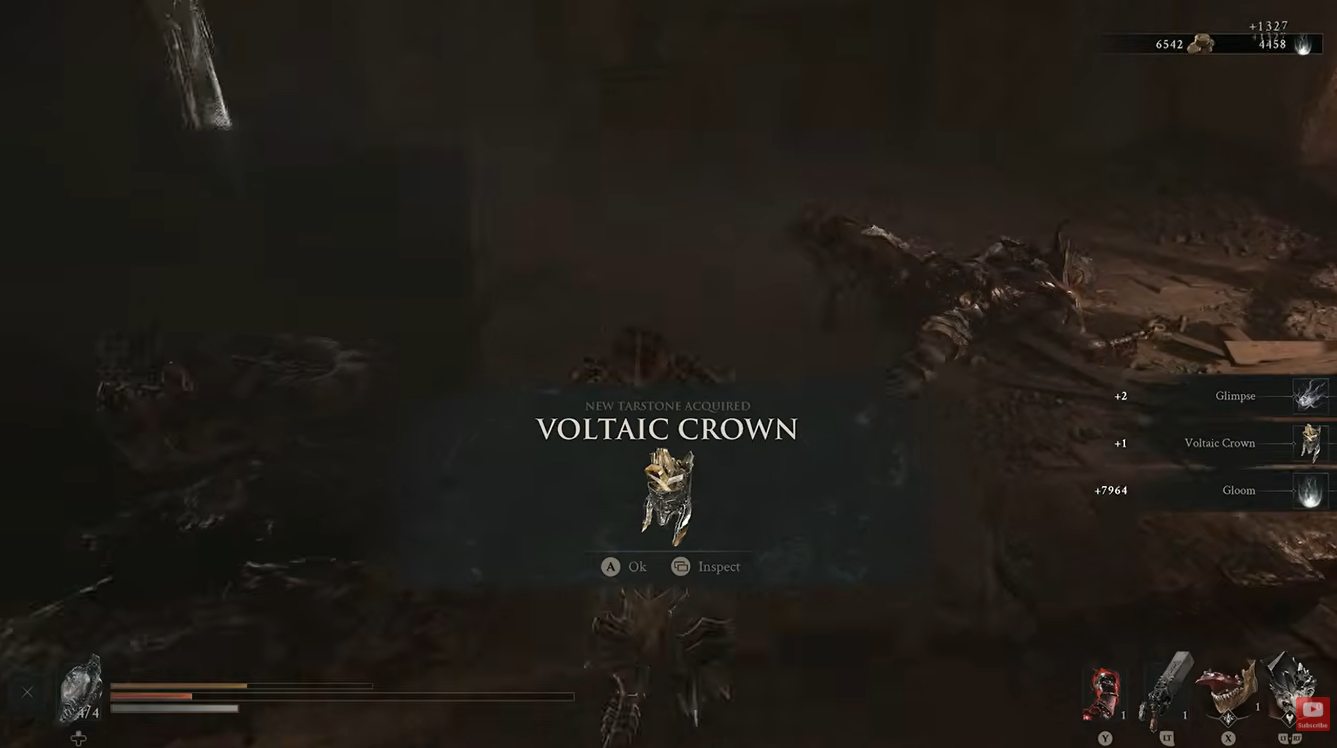
The Voltaic Crown is more than a simple Lightning damage bonus. Its upgrade path changes how often you need to spend Resolve to maintain the effect.
| Crown level | Effect |
|---|---|
| Level 1 | Consume 30 Resolve to infuse your weapon with Lightning |
| Level 2 | Lightning infusion lasts for 4 strikes |
| Level 3 | Lightning infusion lasts for 8 strikes |
| Level 4 | Lightning infusion becomes permanent |
Current Tarstone databases consistently list the Crown as a 30-Resolve Lightning infusion, with the progression moving from four strikes to eight strikes and eventually to a permanent effect.
This makes the final upgrade particularly valuable. Rather than repeatedly spending Resolve to refresh the effect, your compatible weapon can remain Lightning-infused while the Voltaic Crown is equipped.
How to use the Voltaic Crown effectively
After equipping the Crown, use it with a weapon that benefits from frequent attacks. Lightning becomes increasingly useful when you can repeatedly apply hits and build toward the associated status effects.
The Crown is especially attractive for fast melee setups. Current build guides recommend it alongside weapons such as the Axatana, where rapid attacks can take advantage of Lightning buildup and Shock-related effects.
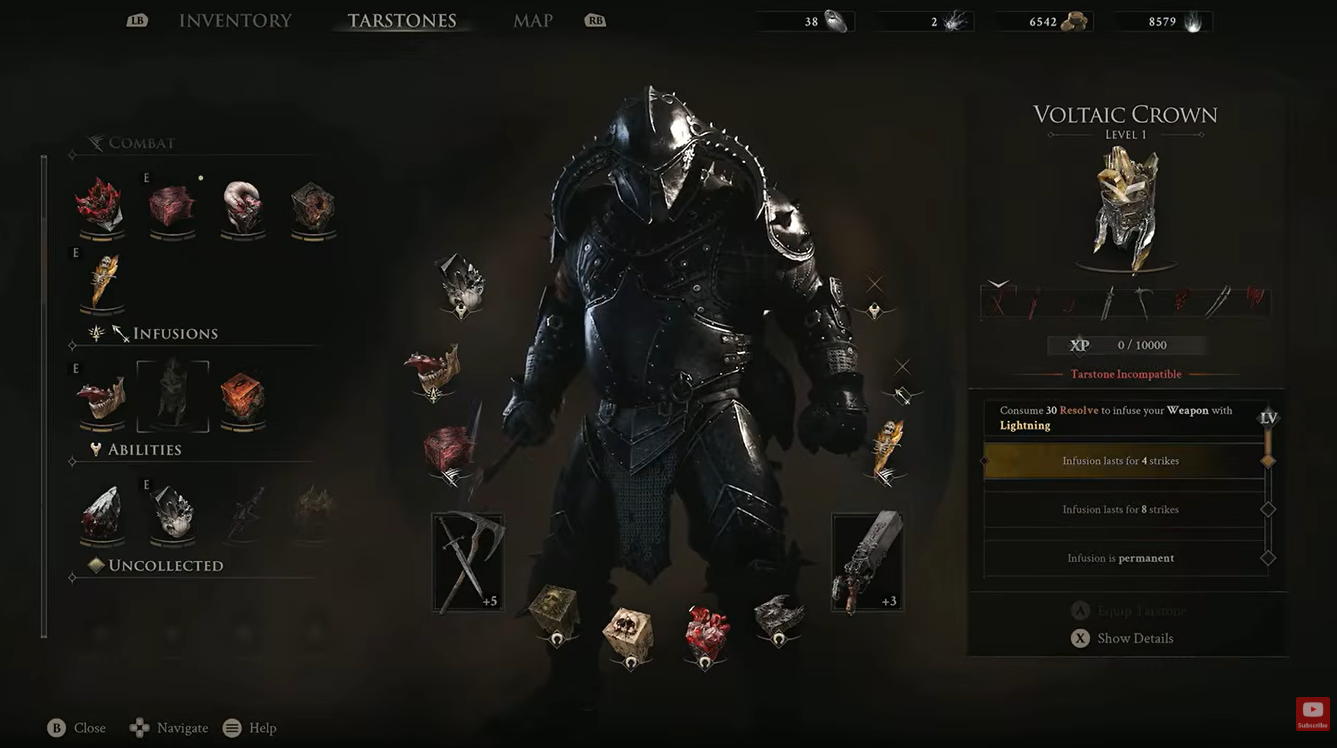
A Lightning-focused setup can follow a straightforward combat loop: build Resolve, activate the Crown, attack rapidly to build Lightning, trigger Shock effects, and then use the resulting opening to continue attacking.
This is one reason the Voltaic Crown has already become a prominent part of Lightning builds shortly after launch. Current Proxima guides, for example, combine the Crown with fast attacks and other Tarstones to repeatedly build Lightning and create stagger opportunities.
If you are still using the basic version of the Crown, however, remember that the Lightning effect is temporary. Do not spend Resolve to activate it when you are about to leave an encounter or when there are too few enemies left to justify the cost.
Why the Voltaic Crown is worth getting early
The biggest reason to obtain the Crown early is flexibility. You do not have to commit to a Lightning build immediately, but having access to the Tarstone gives you another powerful damage option as your weapon collection and Shell builds expand.
Its value increases substantially once you invest in its upgrades. The permanent infusion at the final tier changes the Crown from a temporary combat buff into a persistent part of your weapon setup.
It also fits naturally into builds that already rely on rapid attacks or Lightning-related Shell abilities. Current Proxima guides are a good example, combining Voltaic Crown with Axatana and other Tarstones to create repeated Lightning and Shock applications.
For a first playthrough, you can simply treat it as a strong elemental option. For later builds and NG+, however, the Crown can become one of the central pieces of a dedicated Lightning setup.
Video help:




Leave a Reply