

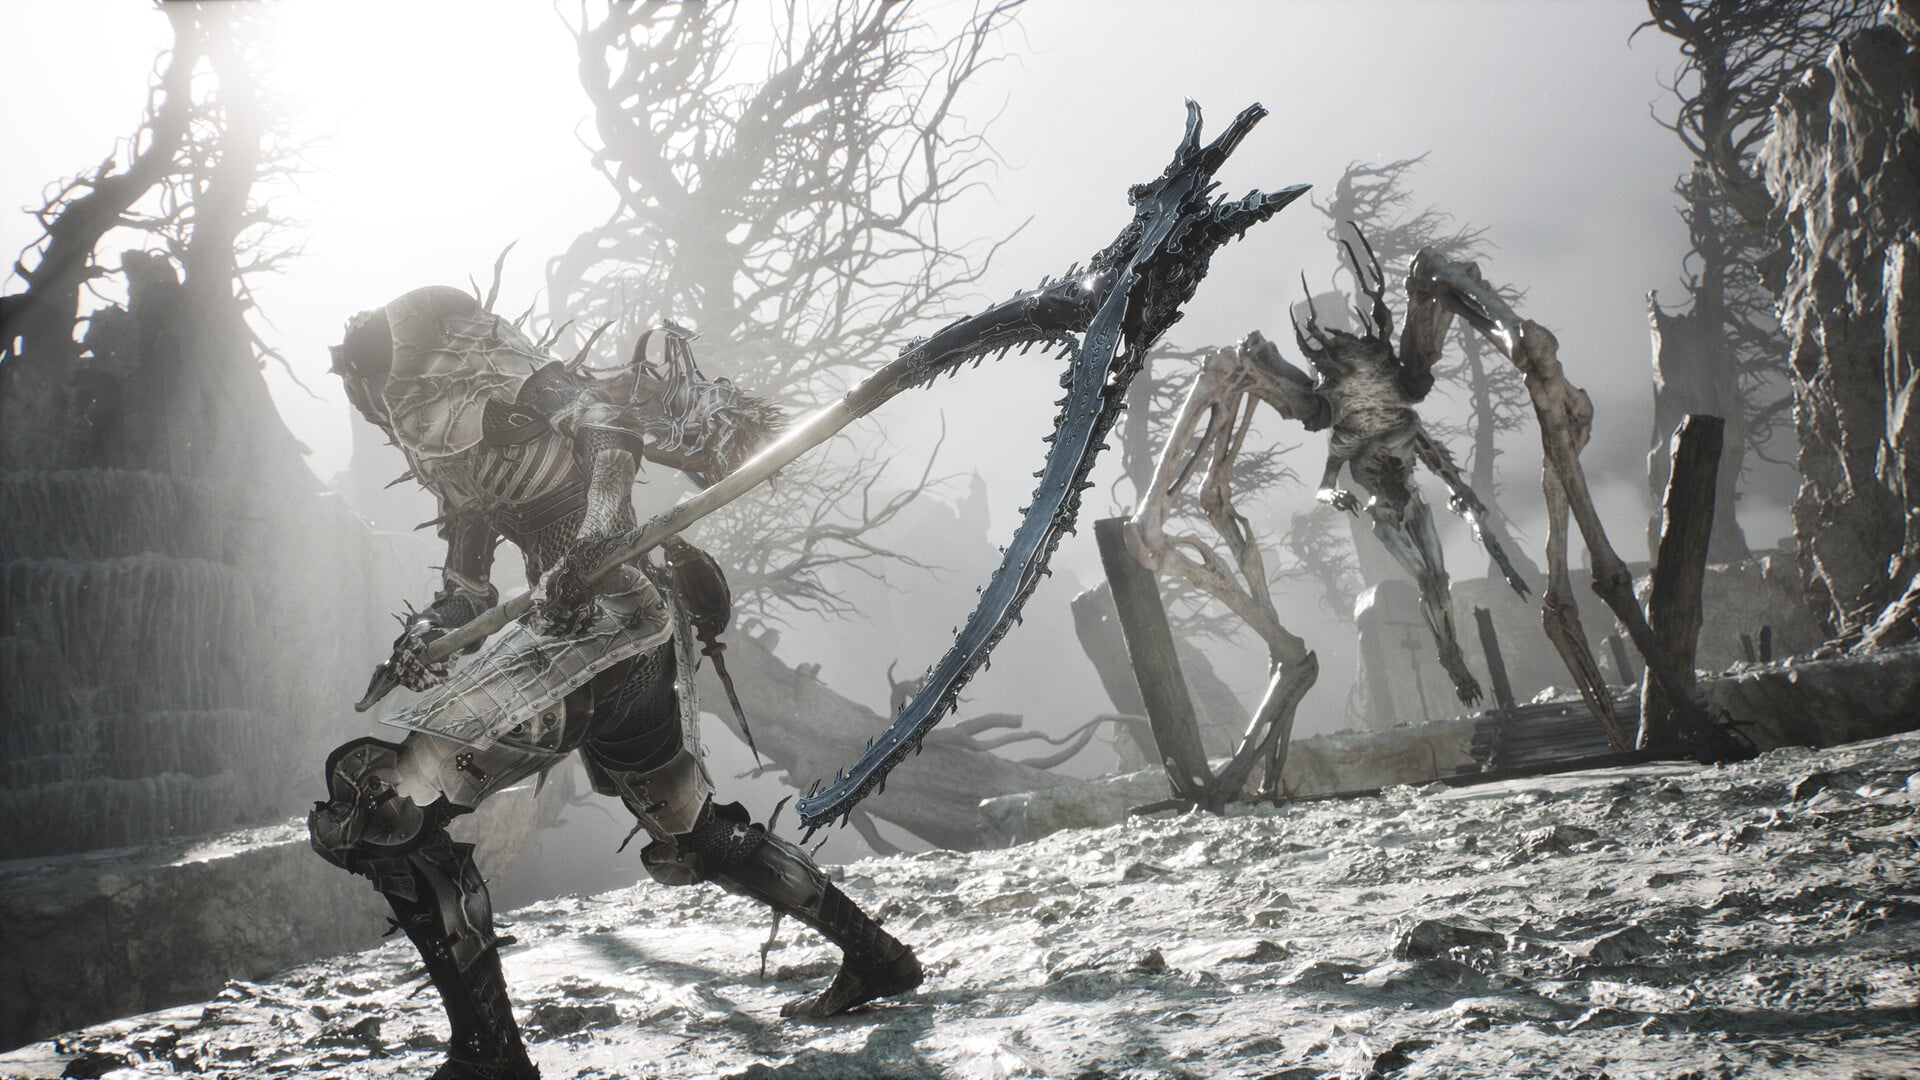
The Tyrant’s Stone is one of the more useful Combat Tarstones in Mortal Shell 2 if you want to build around heavy attacks. Unlike an ordinary stat-boosting Tarstone, it adds a dedicated heavy finisher to your weapon combo and becomes more effective as you upgrade it.
| Quick overview | Details |
|---|---|
| Item | Tyrant’s Stone |
| Type | Combat Tarstone |
| Equipment | Weapon |
| Location | Sester’s Abbey |
| Nearby beacon | Abbey Entrance |
| Main effect | Unlocks a special Heavy Combo Finisher |
| Level 2 | 4 Weak stacks |
| Level 3 | 5 Weak stacks |
| Level 4 | 6 Weak stacks |
| Main benefit | Heavy finisher applies Weak |
- How to reach the Tyrant’s Stone at Abbey Entrance
- How to get Tyrant’s Stone in Mortal Shell 2
- How the Tyrant’s Stone heavy finisher works
- How to make the most of Tyrant’s Stone
- Tyrant’s Stone upgrade effects
- Tyrant’s Stone compared with other heavy-focused options
- How to decide whether Tyrant’s Stone is worth using
How to reach the Tyrant’s Stone at Abbey Entrance
The Tyrant’s Stone is located around the Abbey Entrance area of Sester’s Abbey. Current guides place the item inside a chest concealed behind a fake or illusory wall. One route begins from the Abbey Entrance beacon, where you can cross toward the nearby structure and search for the concealed wall.
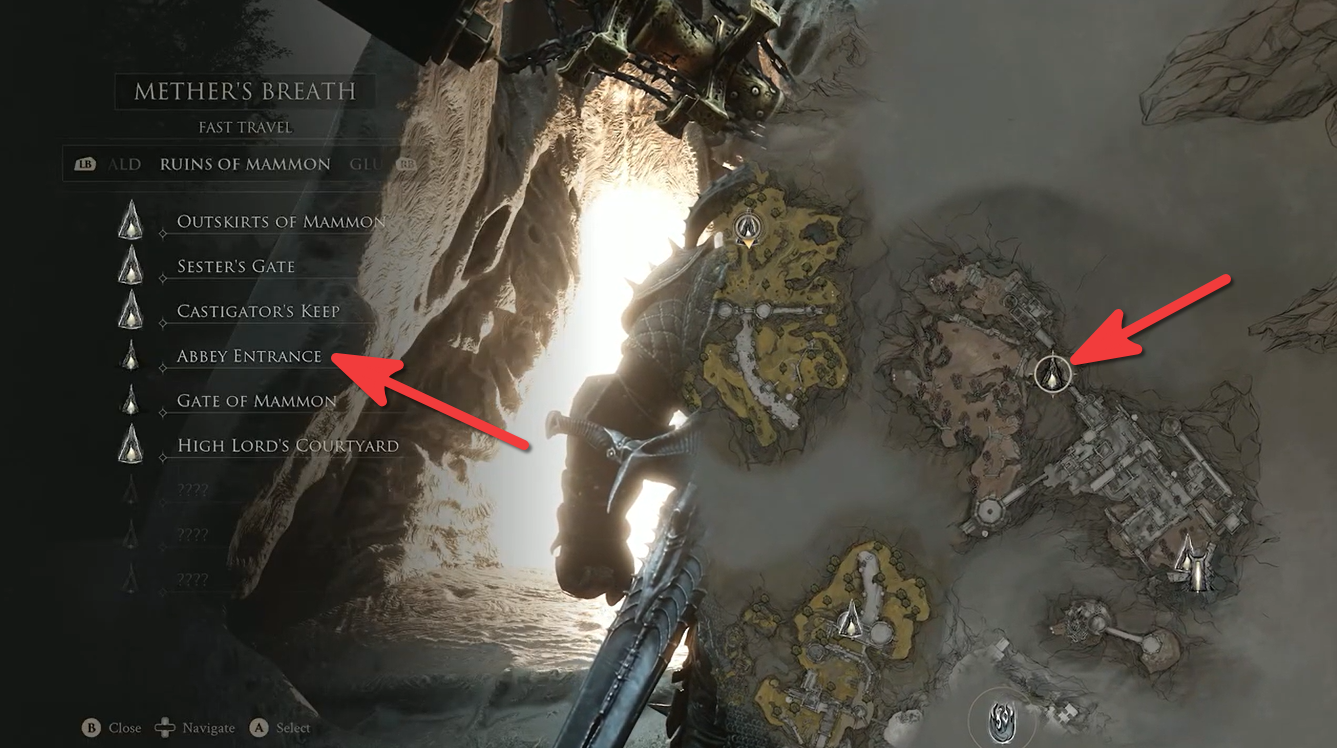
The route described in the accompanying walkthrough starts from the Outskirts of Mammon and follows the Road of Absolution toward the Abbey Entrance. After navigating the jump gates and stairs, you eventually reach the Abbey Entrance beacon. From there, the final section involves dealing with enemies and finding the hidden wall protecting the chest.
How to get Tyrant’s Stone in Mortal Shell 2
Step 1
Start from the Outskirts of Mammon and make your way toward the Abbey Entrance through the Road of Absolution.
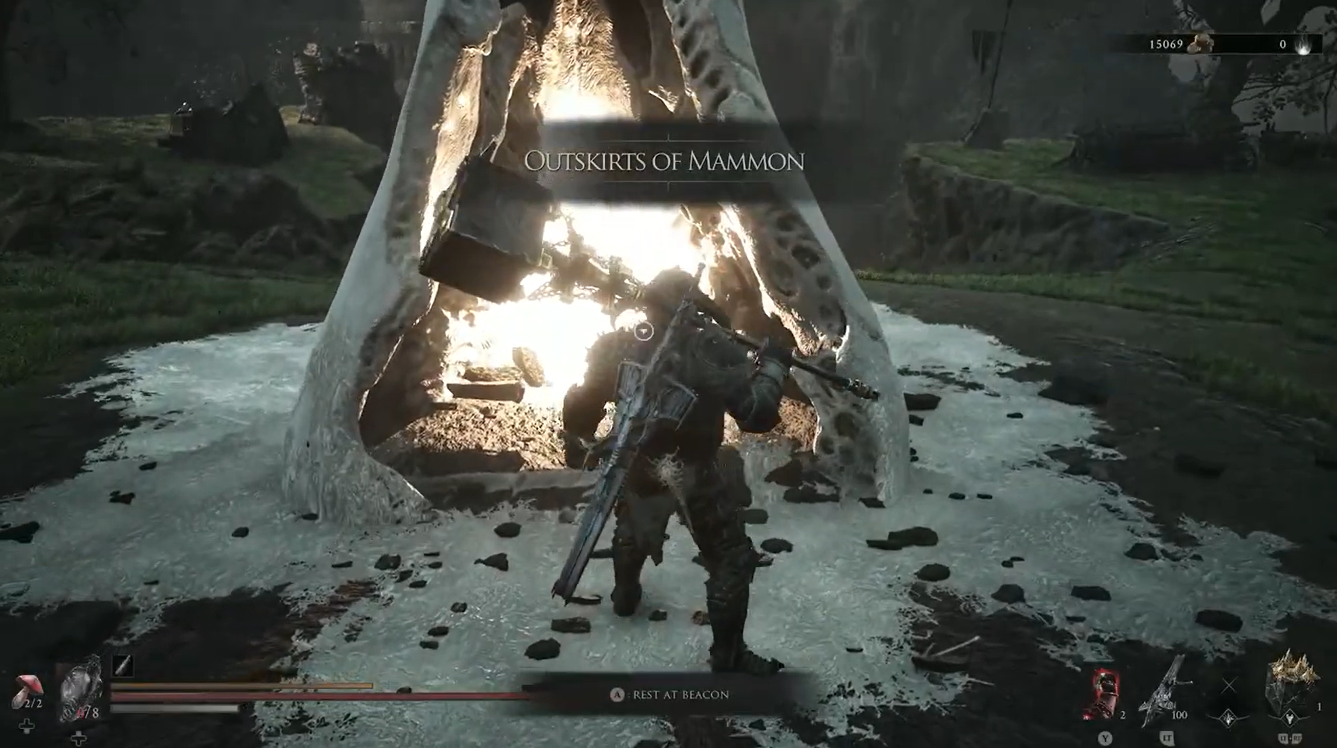
Step 2
Continue through the route’s jump gates and stairs until you reach the Abbey Entrance area.
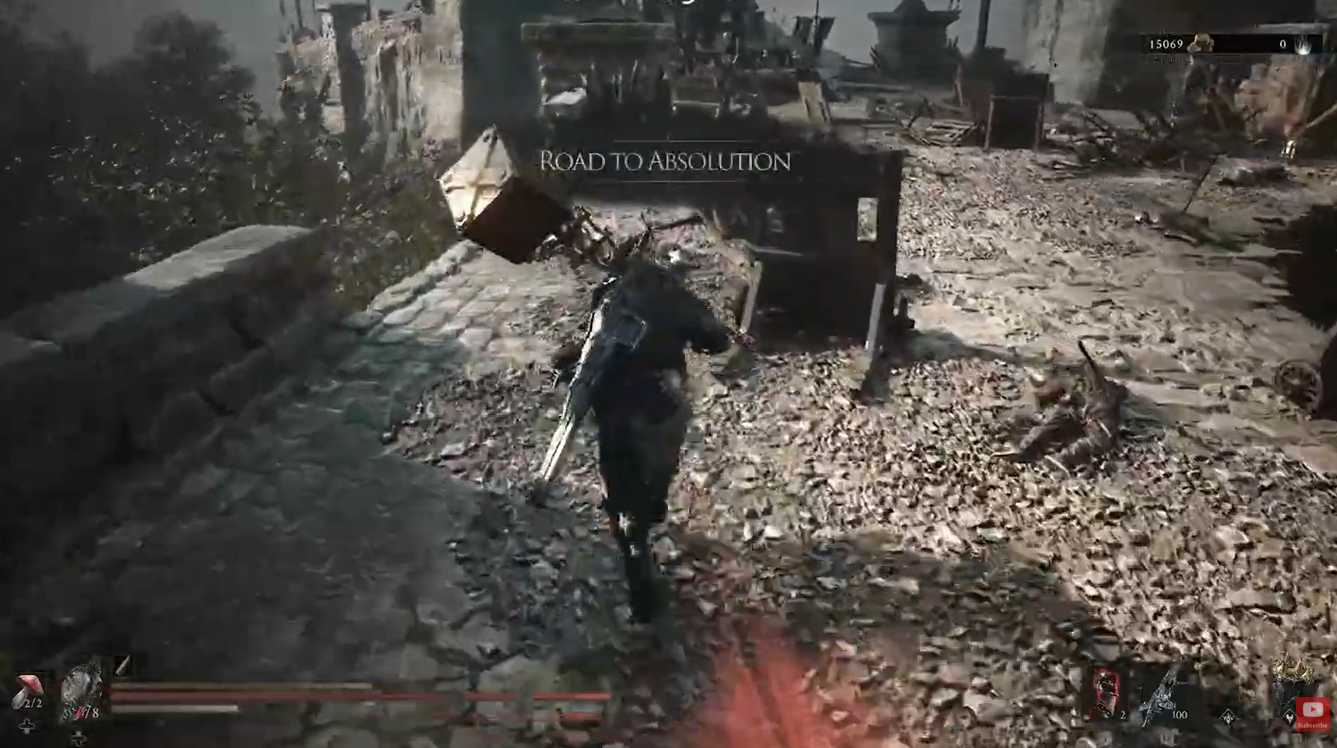
Step 3
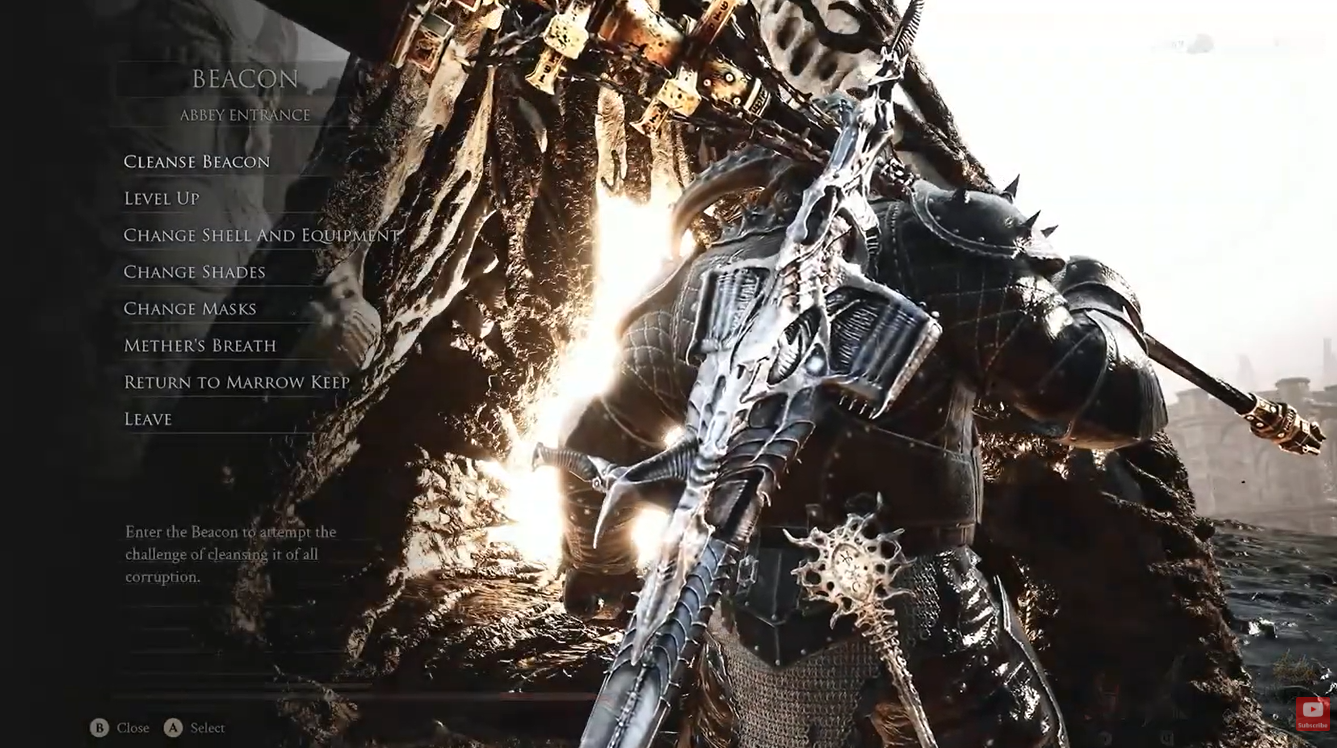
Activate the Abbey Entrance beacon if you have not already done so. This gives you a convenient checkpoint for returning to the area.
Step 4
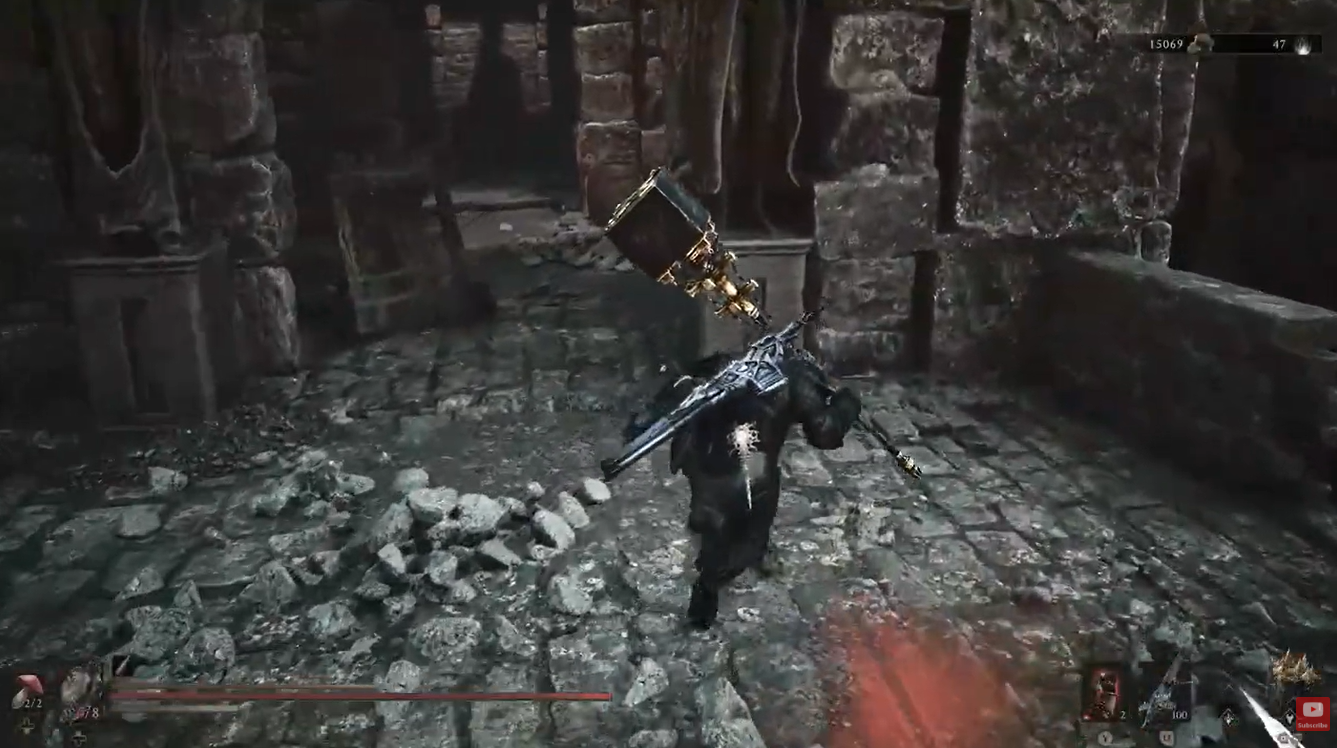
From the Abbey Entrance, turn back and cross toward the nearby structure. A current location guide describes the route as going north over the bridge and entering the building.
Step 5
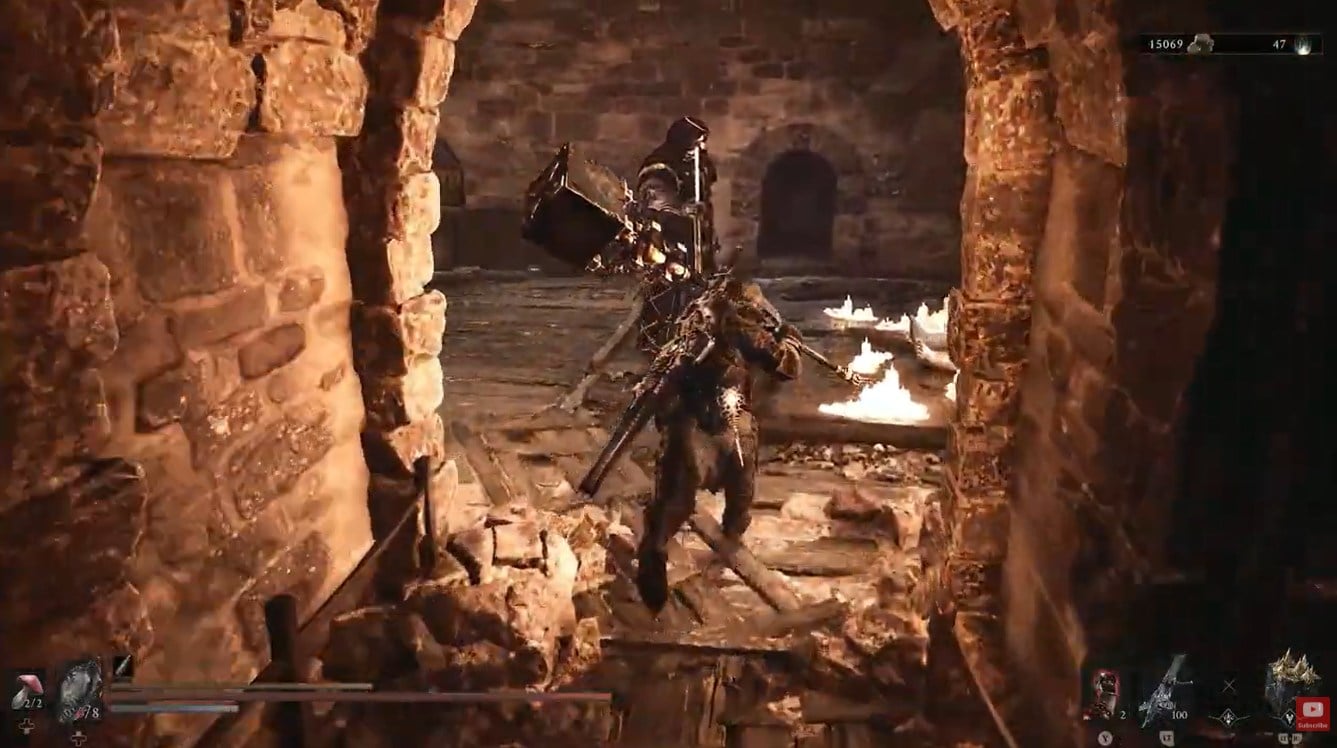
Move through the building and look for the corridor containing a wall with a white sign on it. This is the concealed section hiding the Tarstone chest.
Step 6
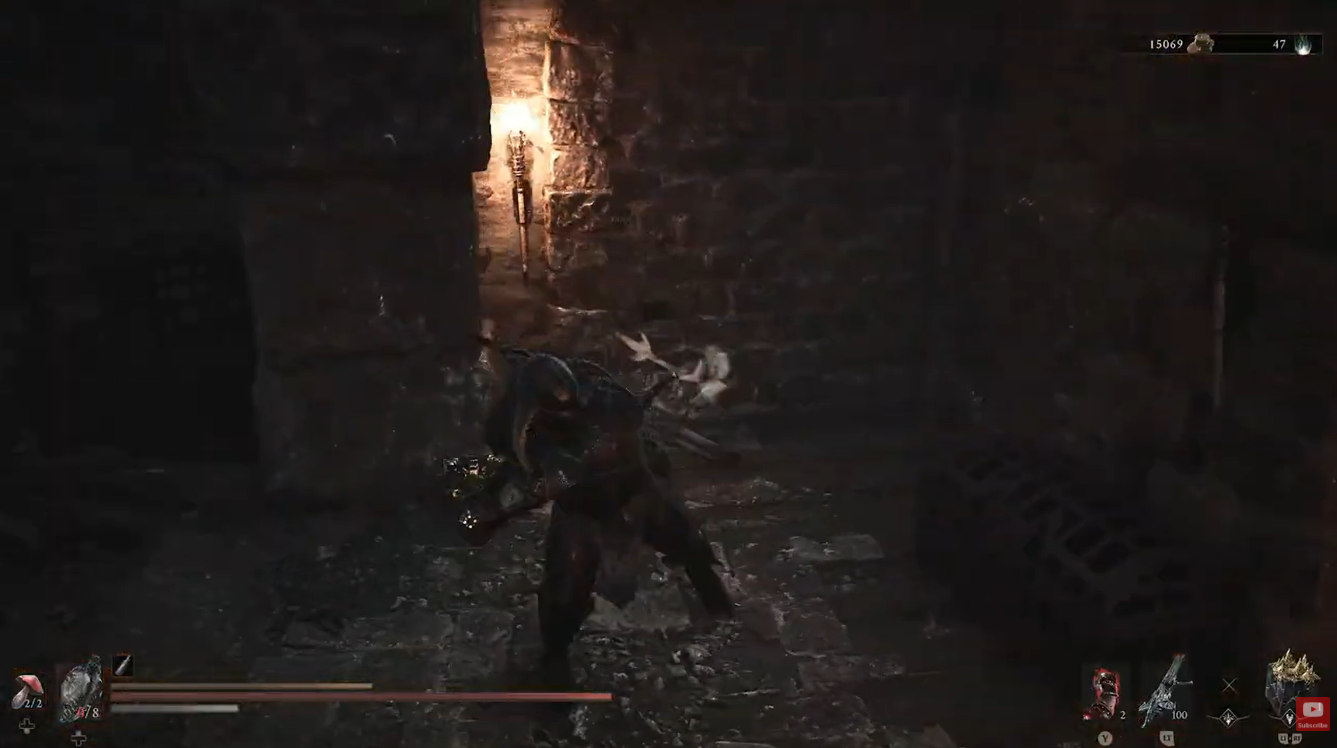
Attack the suspicious wall. It is an illusory wall, so hitting it reveals the hidden area rather than requiring a key or separate puzzle.
Step 7
Enter the revealed space and open the chest to collect the Tyrant’s Stone.
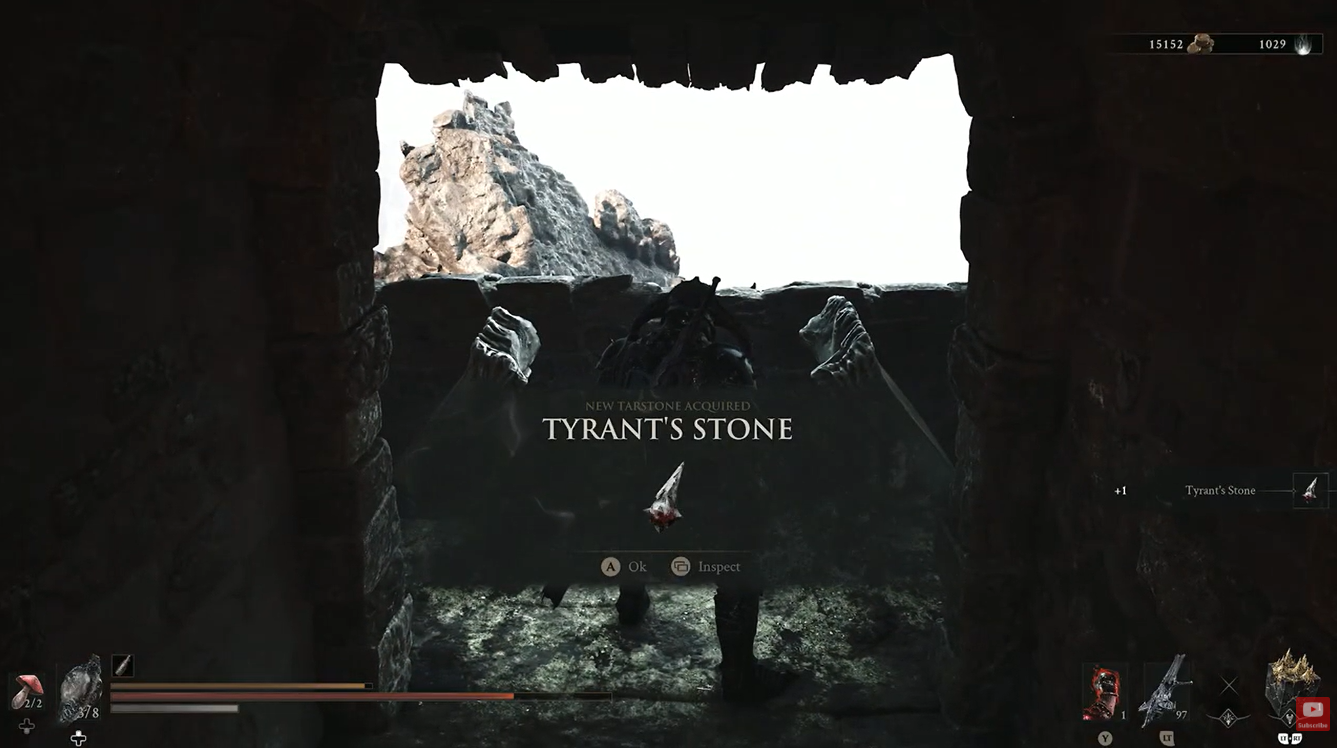
Be prepared for enemies around the route. The area can contain tougher opponents, so clearing them before searching for the wall can make the final part of the journey considerably easier.
How the Tyrant’s Stone heavy finisher works
The Tyrant’s Stone belongs to the Combat Tarstone category and occupies a weapon slot. Its defining feature is the special Heavy Combo Finisher. The effect is separate from simply increasing your weapon’s regular heavy-attack damage: it gives the heavy attack string a dedicated finishing move.
Its upgrade progression makes the finisher increasingly useful:
| Tyrant’s Stone level | Effect |
| Level 1 | Unlocks the special Heavy Combo Finisher |
| Level 2 | Heavy finisher inflicts 4 Weak stacks |
| Level 3 | Heavy finisher inflicts 5 Weak stacks |
| Level 4 | Heavy finisher inflicts 6 Weak stacks |
The important part of the later upgrades is the Weak status effect. Each additional level increases the number of Weak stacks applied by the finisher, making the Tarstone increasingly attractive for builds that repeatedly use heavy combo finishers.
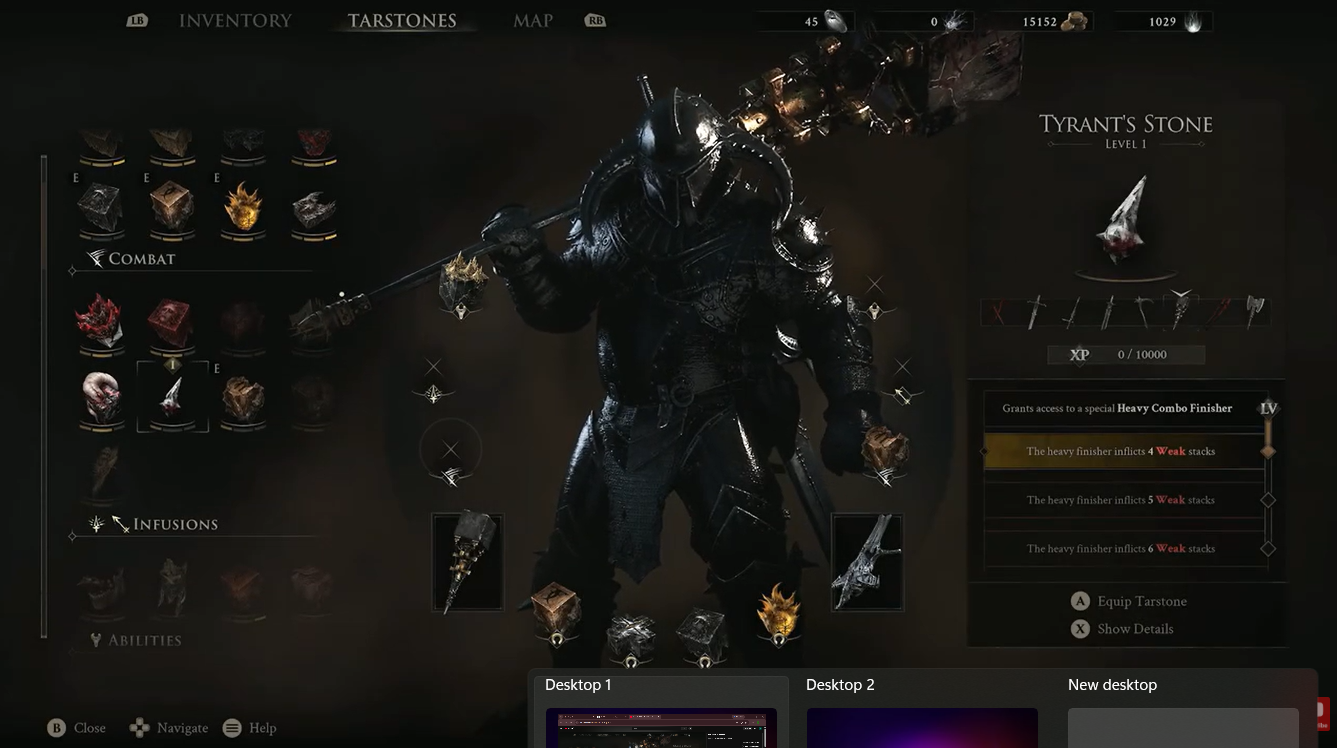
Tyrant’s Stone is also distinct from the Clerik’s Stone, another Combat Tarstone that provides a special heavy finisher. Clerik’s Stone instead improves the heavy finisher’s Critical Chance as it levels, while Tyrant’s Stone focuses on applying Weak stacks.
How to make the most of Tyrant’s Stone
The Tarstone is best suited to a playstyle that deliberately builds toward heavy combo finishers. Because its defining effect is attached to the finisher, you get the most value by completing your heavy attack string rather than treating the Tarstone as a passive bonus.
The walkthrough also highlights the Hammer as a particularly effective choice for heavy damage. The tradeoff is that heavier weapons can require more practice to use effectively, especially when enemies are aggressive and leave little room for long attack animations.
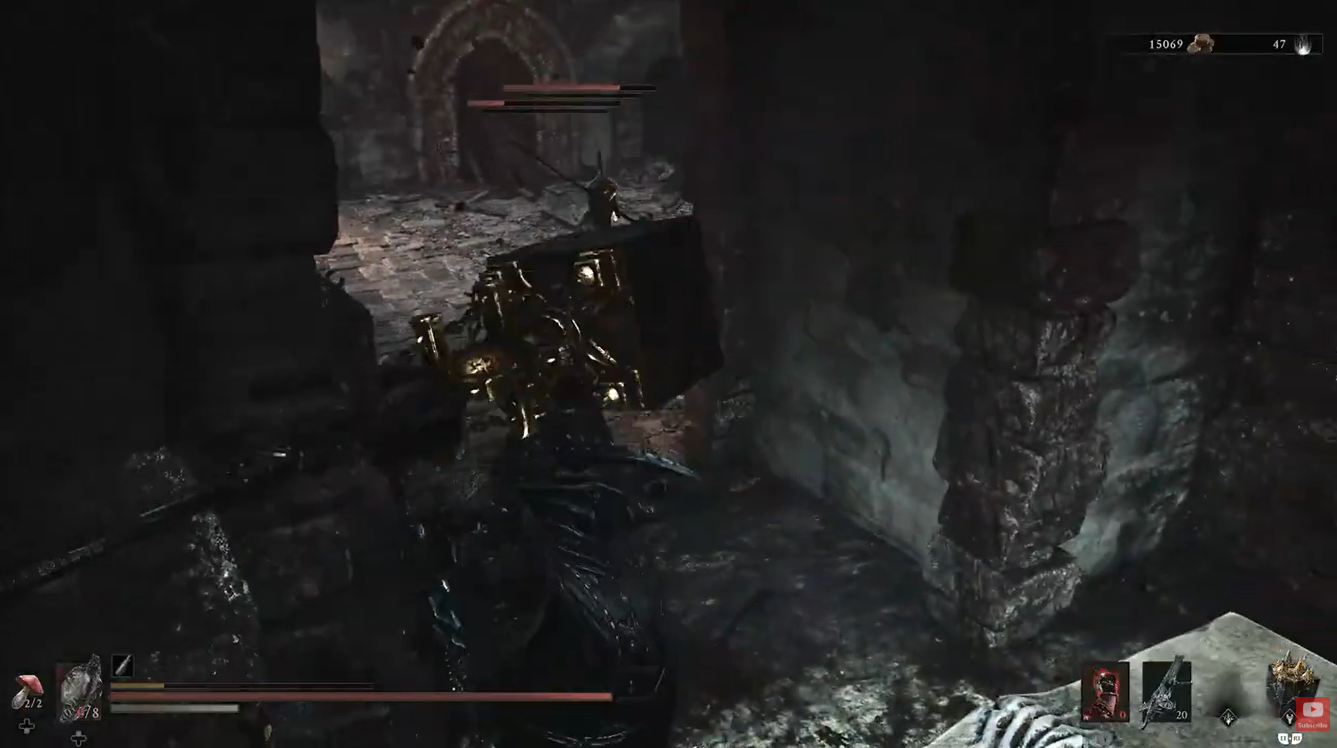
For a heavy-focused build, Tyrant’s Stone can therefore complement a weapon that already encourages deliberate, high-impact attacks. The later upgrades become especially attractive when you want the finisher to contribute a defensive advantage through Weak stacks rather than relying purely on raw damage.
Tyrant’s Stone upgrade effects
| Reward | What you get |
| Tyrant’s Stone | Combat Tarstone |
| Level 1 effect | Special Heavy Combo Finisher |
| Level 2 effect | 4 Weak stacks |
| Level 3 effect | 5 Weak stacks |
| Level 4 effect | 6 Weak stacks |
There is no separate trophy or achievement associated with picking up the Tyrant’s Stone. The primary reward is the Tarstone itself and the additional heavy finisher it adds to your weapon. Current Tarstone references also list the Tyrant’s Stone among the game’s Combat stones and confirm that it is specifically designed for weapon use.
Tyrant’s Stone compared with other heavy-focused options
Tyrant’s Stone is particularly interesting because Mortal Shell 2 has multiple Tarstones that alter combo finishers. Clerik’s Stone also grants a special Heavy Combo Finisher, but its upgrades improve Critical Chance instead of adding Weak stacks. Meanwhile, Stillblade’s Stone and Zealot’s Stone focus on special Light Combo Finishers.
| Tarstone | Finisher type | Main benefit |
| Tyrant’s Stone | Heavy | Applies Weak stacks |
| Clerik’s Stone | Heavy | Improves Critical Chance |
| Stillblade’s Stone | Light | Adds Break Damage |
| Zealot’s Stone | Light | Generates additional Resolve |
This gives you a straightforward choice when shaping a combo-focused build. If you want your heavy finisher to provide an additional debuff rather than simply increasing its critical potential, Tyrant’s Stone is the more specialized option.
How to decide whether Tyrant’s Stone is worth using
If your build revolves around fast attacks, the Tyrant’s Stone may not be your first choice because its value is tied directly to the heavy finisher. However, if you already favor slower, harder-hitting weapons, it can fit naturally into your setup.
The biggest reason to keep it equipped is the combination of a new heavy finisher and the Weak effect at higher levels. Rather than simply making one attack hit harder, the Tarstone gives the completed combo an additional purpose by weakening the enemy.
Tarstones are an important part of Mortal Shell 2’s build system, with Combat, Infusion, Ability, and Support categories offering different ways to alter weapons and combat mechanics.




Leave a Reply