
Beat the Rabid Grisha Pack by running The Iconoclast with the Shrike Stone, saving Resolve for Shrike Stone slams, summoning a Grisha Remnant ally, and focusing one Grisha down first so the fight becomes a manageable 1v1.
The Rabid Grisha Pack throws two fast, hard-hitting Grishas at you in a cramped cage at the bottom of the Holding Cells, and the fight only feels unfair while both are alive. The whole plan is to hit hard enough to delete one of them quickly — a few Shrike Stone slams do exactly that — so the rest of the fight is a clean one-on-one. Lean on a summon to soak aggro, keep your Resolve for the slam, and read the red attacks instead of panicking.
Recommended setup for an easy kill
| Gear | Use |
|---|---|
| The Iconoclast | Main sword; the only weapon that can channel the Shrike Stone |
| Shrike Stone | Your main damage — a staggering shockwave slam; Level 2 hits harder |
| Grisha Remnant | Summons a Grisha ally to draw aggro off you |
| Healing items | Health potions to top up during punish windows |
| Level 18 shell (demonstrated) | Over Level 10 is plenty; not a hard requirement |
The build here does the heavy lifting. The Shrike Stone is a Tarstone whose special attack launches a high-damage shockwave that staggers, and it can only be channelled through the game’s main sword, so pair it with The Iconoclast and nothing else. A Grisha Remnant in your kit lets you summon a Grisha ally mid-fight to split the pack’s attention. Upgrading the Shrike Stone to Level 2 makes the slam hit harder, but it is a bonus rather than a requirement.
The demonstrated run cleared the fight on an Obsidian Harbinger shell at Level 18, but that is context, not a gate — anything past roughly Level 10 is enough to stop the pack from bullying you. Bring healing along for the short punish windows between slams.
Where to find the Rabid Grisha Pack
The pack waits at the bottom of the Holding Cells dungeon. To get there, head to the well entrance in Blackridge Hamlet, southeast of the Blackridge Pass beacon, and drop in.
Ride the elevator down into the sewers and hug the right wall to work your way toward the lower cells. The route runs past the locked Feeding Room door — grab the Feeding Room Key from a shack in the corner of the lower cell area, unlock the door, then take the lift beyond it down to the arena. That path also passes a Glimpse pickup on the way in.
How to beat the Rabid Grisha Pack in Mortal Shell 2
Key This is the exact order that turns a two-boss brawl into a quick pair of executions — open big, split their aggro, and hoard Resolve for the slam.
STEP 1/6
Open with the Shrike Stone slam
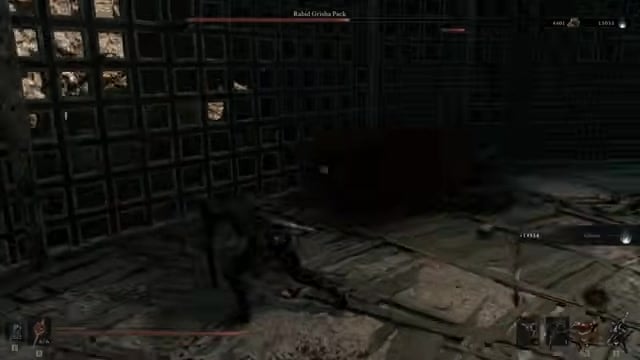
Drop into the cage and immediately fire the Shrike Stone special into the pack, staggering and gutting the first Grisha’s health.
STEP 2/6
Summon your Grisha Remnant
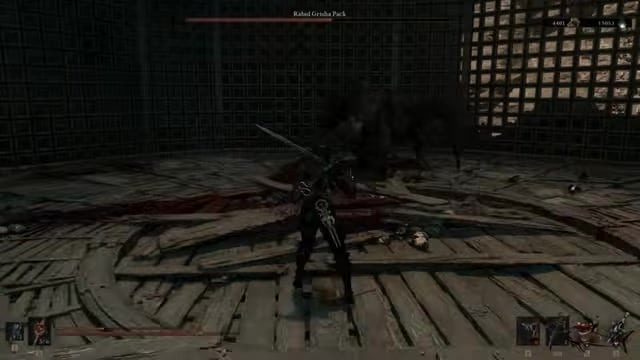
Call in your Grisha ally so it pulls aggro and buys you breathing room while both bosses are still up.
STEP 3/6
Rebuild Resolve with safe hits
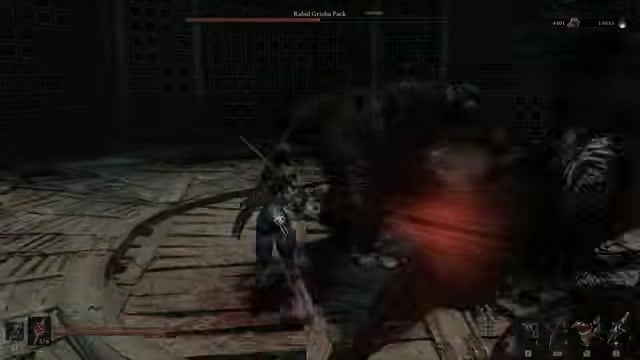
Run to reset spacing and only trade quick strikes when you have a clean opening, feeding your Resolve meter back up.
STEP 4/6
Bank every point of Resolve for the Shrike Stone
Spend Resolve on nothing else — no weapon abilities — and cash it straight back into another Shrike Stone slam.
STEP 5/6
Drop the first Grisha and take its Remnant
Finish the staggered Grisha off and pick up the Grisha Remnant it leaves behind, turning the fight into a 1v1.
STEP 6/6
Dodge the survivor’s red attacks to finish
Against the lone Grisha, roll its red-indicator moves and punish between swings until it falls.
Spend Resolve on nothing but the Shrike Stone slam — every point you waste on other abilities is one less stagger, and the stagger is what lets you delete a Grisha before the pack boxes you in.
Video help
Arena tricks and backup tactics
| Tactic | Best use |
|---|---|
| Shrike Stone slam | Main burst — pour all your Resolve into it |
| Hanging cylinders | Shoot one when a Grisha stands beneath it for heavy damage and a knockdown |
| Grisha Remnant summon | Split the pack’s aggro so you can reset spacing |
| Parry into Riposte | Build Break and stagger if your build supports defensive play |
| Dodge red attacks | Roll clear of any red-indicator move — never parry it |
The Shrike Stone route above is the fastest way through, but the arena hands you extra tools if your build leans a different way. Two cylinders hang from the top of the cage: wait until a Grisha is standing directly under one, then shoot it down to score massive damage and a knockdown that gives you a free window on the other beast. There are only two, so treat them as limited super-attacks rather than a spammable opener.
If your kit is built around defense, the pack’s simple moveset also rewards parrying into Ripostes to build Break and stagger them, and lightning-based abilities can stun and slow both Grishas at once. Whichever tools you use, the winning discipline is the same — stay calm, isolate one Grisha, and never fight both head-on.
Attacks that turn the fight against you
The single read that decides this fight is the red indicator: when a Grisha flashes it, that attack cannot be parried, so dodge, do not parry. Try to time a parry on a red move and you eat it every time.
The other killer is positioning. Getting boxed in between both Grishas is what makes the pack feel unfair, so the moment you feel surrounded, move out and away rather than swinging your way free. Keep your punishes short — a strike or two, then reset — and remember to hold your Resolve for the Shrike Stone instead of dumping it on anything else. Losing a shell is not the end of the run; you can revive back into it and keep going with the health you have spare.
What the Rabid Grisha Pack drops
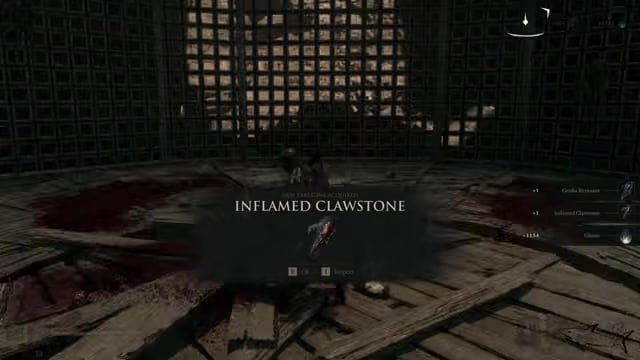
You pick up a Grisha Remnant off the first Grisha during the fight, and clearing the pack rewards the Inflamed Clawstone — a Tarstone for the Veteran’s Battle Axe that infuses it with fire damage. Reports of the exact haul beyond that vary, with some runs listing an extra Grisha Remnant and a Gloom payout, so treat the Inflamed Clawstone as the guaranteed prize and anything on top as a bonus.
Related Mortal Shell 2 guides






Leave a Reply